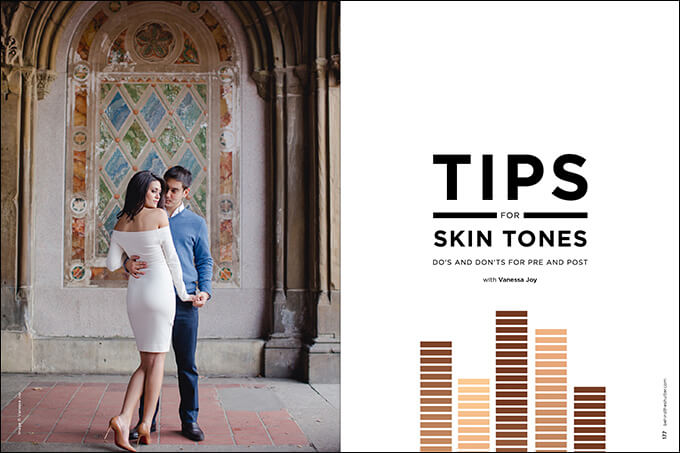
Tips for Skin Tones – Do’s and Don’ts for Pre and Post
Want more information on this article? Get access to video content and additional supporting images. Launch the January issue of the magazine by logging in or signing up for a free account by clicking here. Shutter Magazine is the industry’s leading professional photography magazine.
Getting the correct skin tones can be one of the toughest things for a wedding photographer. It’s a huge issue when comparing cameras and camera brands. One photographer likes the skin tones that come out of a Nikon, while another prefers Canon. Here in New Jersey, I deal with a wide variety of skin tones—everything from super-pale to African American, and everything in between, including the all-too-famous Jersey fake bake.
To be frank, I don’t think I’ve perfected the art of getting the exact same skin tone in every shot, or at least the tone I want. My goal is to achieve a tone that accurately represents my client in the most flattering way in every shot. But at a wedding, I don’t have as much control over the light as I would like. Ceremonies are often in dark churches with red carpets, stained glass and no flash allowed.
But there are some things we can do pre and post to make sure we are getting the best possible light and skin tones.
If you’re photographing your clients outside in a grassy field, one of the biggest mistakes you can make is to assume the natural light provides a good color. The light that’s reflecting off the ground and hitting the client’s face is absorbing the color from the surrounding area. If you’re just allowing the reflective light to hit your client, then you’re allowing green light from the grass to hit them, which is bad. The same thing goes for pretty much any other place you photograph. Whatever surface the light is reflecting off, that color will reflect back on your client’s face and skin tones, altering them in a way neither of you will like.
The solution is either a reflector or a light source. I prefer reflectors because they’re easy. Using the white side or silver side of the reflector ensures I am bouncing light back onto my client that is colorless rather than tinted green. It’s the easiest and fastest method as long as you have an assistant. You can see what you’re doing because you can see the light on the client’s face. Alternatively, you can place the reflector, black side up, on the ground in front of the subject to help block some of the green reflection on the face.
When I use my own light source, such as off-camera flash, I go for the Profoto B1 or B2 because of their power and portability. I bring one of each to every wedding. I use the B1 if I’m in a place where I can position it on a light stand without fear of it falling over or being carried away by the wind. I use a B2 for a more run-and-gun scenario, where I’m short on time, have to move quickly or can’t trust that the wind won’t pull a Mary Poppins on my umbrella.
I always recommend using a light shaper of some kind. My go-to is the umbrella, preferably deep white, depending on the situation, with a baffle over it that softens light and makes it look a little more natural. Ideally, I want a softbox or beauty dish, but the umbrella is much faster to set up in a pinch. I lean toward that unless I have time to set up my portable beauty dish.
Even when you do your best to get it right in camera, sometimes you just don’t capture the exact skin tone you want. That’s where post-production comes into play. You’ll see later in the video in this article exactly how I treat skin tones in post-production. Lightroom is where I do most of the work, because I can quickly control the saturation and luminance of specific colors. I look to control red, orange for darker skin tones or tanned skin, and orange and yellow for more fair skin. Depending on the client’s actual skin tone, you can also brighten mid-tones and whites to brighten the skin a little.
Skin tones are subjective, especially in the mind of your clients. Many of my clients spend a lot of time and money tanning, whether it’s spray tanning, bed tanning or real tanning. If I make their skin too pale and completely absent of that tan, they’re going to be upset. At the same time, if I let them see what their tan looks like straight out of camera, they might be concerned that they would give Willy Wonka’s Oompa Loompas a run for their money.
It is a fine line. Keep in mind exactly how much saturation to leave in their skin color. I edit this in only my favorite photos from a wedding day because those are the photos that end up in my online portfolio. We don’t edit our proofs in house because it would be too costly to have my editors do skin tone corrections to each image. I send those out for processing.
Want more information on this article? Get access to video content and additional supporting images. Launch the January issue of the magazine by logging in or signing up for a free account by clicking here. Shutter Magazine is the industry’s leading professional photography magazine.