White Balance In-Camera For Better Results
I have always been challenged with capturing the most out of my subject matter. Whether it’s landscapes, architecture or portraits, I want to head into post-production with a fine-tuned image.
In my last article, I talked about controlling color in your photography by calibrating your monitor and creating a custom camera profile. This doesn’t solve the issue of color balance; you still need to apply proper white balance when shooting and editing. We all use ISO, shutter speed and aperture to control our exposure, but how do we control blue and orange color cast? We’ve all seen the WB button or option on our cameras, but what do we know about changing it from Auto? Auto does all the white balance correcting for you, right? What about other presets like incandescent, fluorescent, daylight, flash, shade, cloudy, etc.? Understanding your camera’s white balance settings and color temperature can save you all the painstaking hours of correcting color in post-production. We all want to capture more in our images, and by controlling white balance while shooting, you will achieve better results. We need to start by getting an understanding of color temperature and how it relates to lighting conditions.
Color temperature is the visual measurement of light, broadly described in photography as cool or warm. It is measured in kelvins (K), which describes the temperature rising, and is balanced with varied intensities of blue. As the image’s color temperature starts around 1,000 K, it gives the scene a bluish cast. At the opposite end of the color temperature spectrum, 15,000 K has a deep yellow/orange cast. Increasing the K number in your white balance settings adds less and less blue. Knowing this becomes useful in photography when planning for your event’s lighting conditions. For example, if you start the day by shooting in a lamp-lit room where the lighting is ultimately orange, using a lower-kelvin white balance setting adds blue to balance the neutral tones that are too warm. Vise versa with clear blue skies: a higher-kelvin temperature adds orange to bring back that daylight or balanced look to the image.


This Post Has 5 Comments
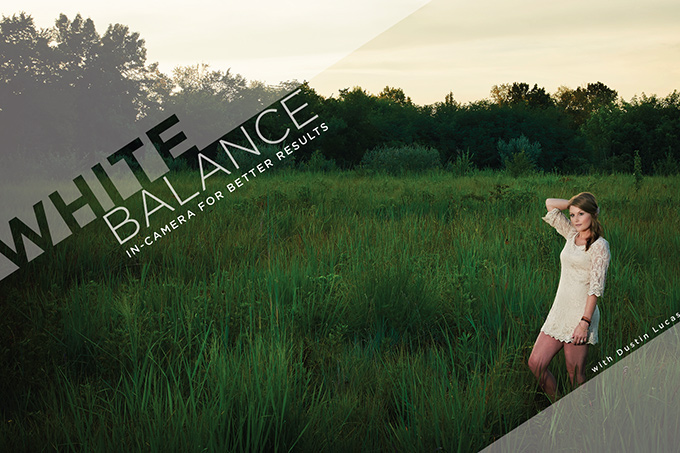
But you did pick an EXCELLENT image to illustrate this topic. Look at all that GREEN! But for an overcast day the girl has terrible shadows, so it looks like she was hit with some flash. Her legs are too magenta, and he face doesn’t match her legs. And the flash blew out some of the detail in her dress. (Is that dress white or “champagne”? If it’s supposed to be white, it’s not.)
I agree with Steven. I stopped using “Auto” years ago, but mostly because I did not want my camera selecting different color temperatures for potentially every image. Why? Because so much of what I do I’m dealing with is “mixed light”, especially in a church. Often a mixture of incandescent plus window light (and this will change with the weather and time of day), and then throw in whatever is coming through the stained glass, which likely varies in color-cast window-to-window. And what’s the WORST thing I can do? Make it all the more complicated by throwing in some 5000K flash. Yuck!
And I also agree with Wayne, and I don’t think your support that he was talking about “balancing the color” makes any sense at all. To “balance the color” we’re adjusting the green-magenta, yellow-blue, and red-cyan levels.
Trying to white-balance in-camera, other than selecting a pre-set, IMO is often a fool’s errand unless your entire shoot will be with consistent lighting. But even outside, whenever the sun goes behind a cloud, your color temperature changes. And then a few minutes later, it changes back again. Arrgh!
If you shoot in Raw and set the white balance in Lightroom.
You’ll be fine. For years I had Flourescent filters….graduated filters Tiffen etc.
With the software these days…it’s not neccessary..it’s not like we can shoot film and make a profit these days.
I carried a Sekonic around for years….but unless it’s a studio shoot, the average photog doesn’t need it.
I prefer not to touch the white balance in the camera.
Steven
This article has Color Temperature backwards. 15000K is VERY blue and cool. 1000K is VERY warm and redish.
hey Wayne – spoke to the writer – perhaps its not clear what he is referring to… he agrees he could have been clearer… in context, he is not talking about the color temp… he is talking about balancing the color… hope that makes more sense.