
Using Capture One Pro 10 Presets and Styles for Easy Black-and-White Images with Dustin Lucas
Want more information on this article? Get access to video content and additional supporting images. Launch the September 2017 issue of the magazine by logging in or signing up for a free account. Shutter Magazine is the industry’s leading professional photography magazine.
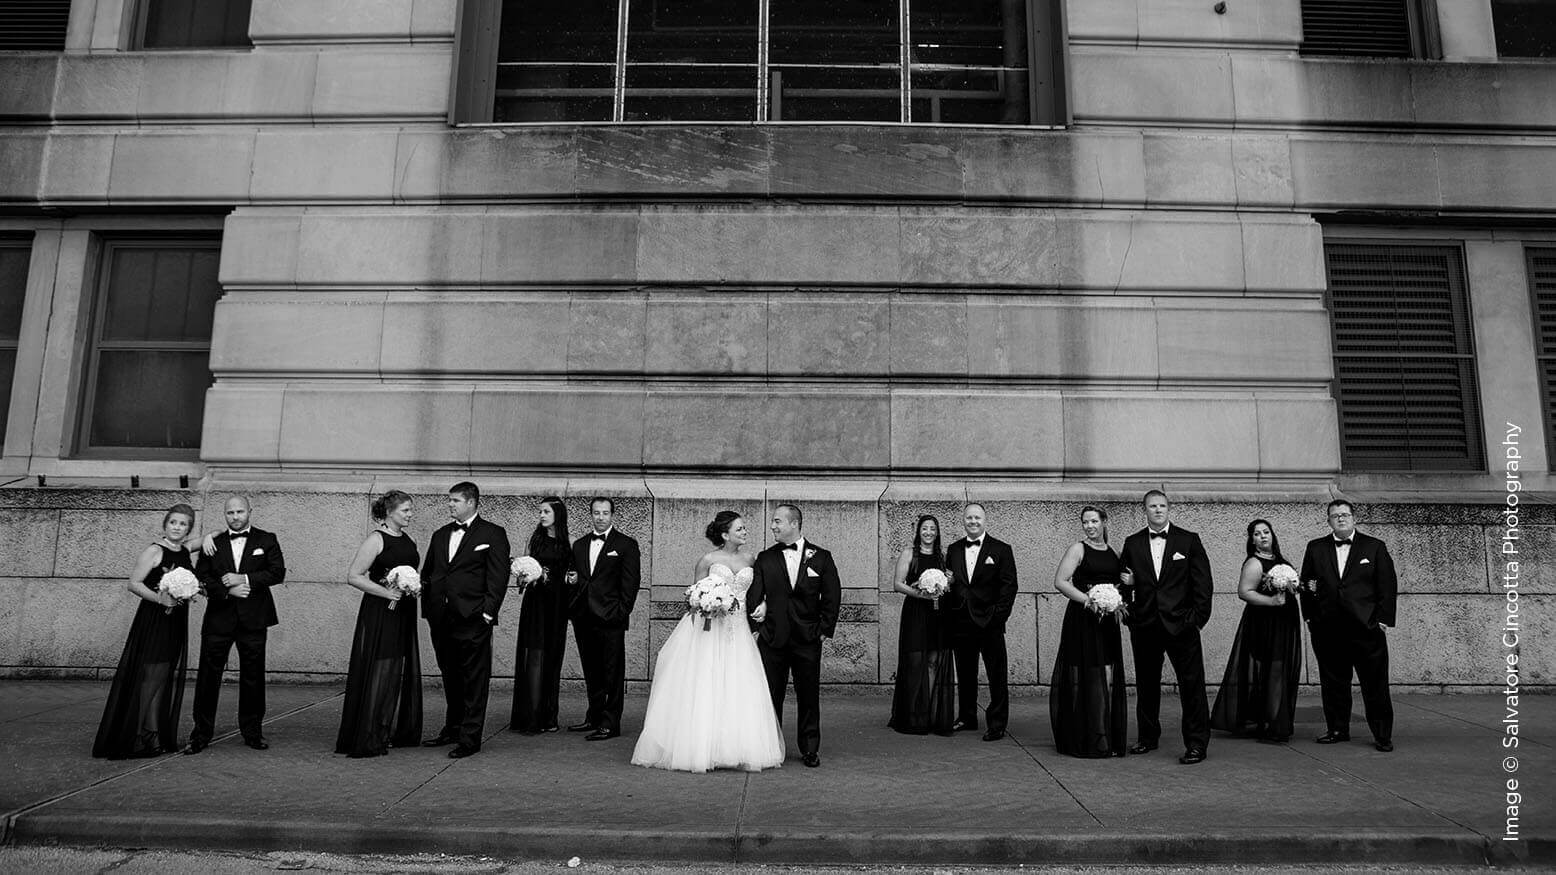
Whether you are shooting for grayscale or converting images due to horrible mixed lighting, you need a good workflow for black-and-white editing. Any good workflow requires efficiency and simple execution. Capture One Pro 10 offers a wide range of flexibility, convenience and, most importantly, simplicity. Before my fellow Lightroom and third-party plugin users walk away, hear me out.
Capture One Pro 10 is simple to customize and make your own. Check out my piece in last month’s Shutter, “Migrating From Lightroom to Capture One,” to familiarize yourself with Capture One Pro 10 for Lightroom or Camera Raw users. Capture One Pro 10 has made it simple to do a large majority of your black-and-white editing without the need to edit in another software or plugin. This article show you how to use the presets, styles and tools of Capture One to make your black-and-white editing not only easier, but prettier.
Single Steps With Presets
Like my fellow Lightroom users out there, I am comfortable using presets. They are the epitome of efficiency for my workflow, and the only way I can process 800 wedding images and deliver them to a client, proof ready, in under two hours. In Capture One, presets are used to apply single tool adjustments. It’s easy to create them, and they can easily be applied in steps or stacked.
You’ll notice there is a tool tab for each type of adjustment, like Exposure, Color, Details, Lens and Local Adjustments, but there’s not one for black and white. Right-click on any of the default tool tabs, and a drop-down menu appears. Hover your cursor over Add Tool Tab to select Black & White. Now you can reorder these tool tabs by holding Option, clicking the one you want to move and dragging it to where you want. Let’s click on the Black & White tool tab, drop down the Black & White tool and check the Enable box.
Now we can save our first user preset. Click on the Manage Presets button in the upper right corner of the Black & White tool and choose Save User Preset. Check off the adjustments within the tool to save in the preset. You can name the preset whatever you want, and you’ll notice that it’s automatically saved into a folder. This is to organize your presets into specific tool-named folders. If you want to view your presets similarly to your user presets made in Lightroom, simply choose to save the preset in the “Presets60” folder. I named this folder “My Presets” for quicker access to my globally applied presets. Here is where they are stored locally on your computer to further customize and organize your preset menu.
Spend some time creating your own presets for your single step changes. Make presets for different tool settings in varying increments, with Levels, Clarity, Structure, Sharpening, Curve, etc. You can create quick matte and high-contrast presets with Levels and Curves. (11) Simply drop down the Levels tool and set the Output RGB values to 5 and 250. Then create a preset from this Tool and name it “5/250” if you plan to keep it in the Levels subfolder, or click on your Custom folder and name it “Levels – 5/250.” Follow the same steps by incrementally lowering the RGB Output values, like 10/245 or 15/240. You can even set just the black point to matte the dark tones for a setting like 10/255. These presets can be organized in a Matte Tone folder. (15) Work on the opposite end and adjust the black-and-white points to increase density. You can save these in a folder named High Contrast. Experiment and make your own set of custom presets.
Another efficient option is to create specific default settings that apply to your images automatically. You can remove or adjust the defaults for each of your cameras. Start with the Sharpening and Noise Reduction Tools, and drop to 0 or begin to set camera-specific defaults. You can do this for the Exposure, High Dynamic Range, Levels, Curve, Clarity, Sharpening, etc. Just apply some generic settings in a tool and click in the upper right corner. Then select Save as Defaults for Camera Model, and these will save as your default settings. Remember, this has to be done for each Tool you want to change. What does that mean exactly? When you reset all adjustments for an image, it will revert back to these settings.
There’s Nothing Subtle About Styles
Moving into Styles, we can get very creative by applying multiple tools and adjustments in each with a single click. Let’s start by examining the default one listed under Built-In Styles. You’ll notice they aren’t categorized into the tool names, but organized by B&W, Color Effects, Landscape, Legacy Styles and Skin effects. Let’s look at the B&W to see if there is anything usable for wedding creatives.
The Portrait 0 style is a pretty simple application that converts to black and white, drops the red and blues, lifts yellows, and adds contrast and a hint of brightness. You can see the difference by hovering your cursor over each Built-In Style, and even compare with multiple images at once. Select a handful of images and change the Viewer Mode to Multi. Now hover your cursor over each Style to see how it looks on your set of outdoor creatives.
Let’s work on creating a variation of Portrait 0 with the preset adjustments we made previously. We can stack presets on top of each other to construct a style that will quickly apply all these tools together. I like to apply the matte effect made with the Levels tool and apply a Curve to further adjust the dark tones. I do not want to lose detail in the dark tones; by adding clarity and structure to the image, we retain the detail lost with our toning application. After we apply all the tools, we can save this style for future use. Go to the menu bar, click on Adjustments, hover the cursor over Styles and click Save User Style. This is the tricky part because you have to select each adjustment that you want to save. Remember that the preselected options do not reflect the changes you made. When you are finished, click Save.
I like to create low, medium and high versions of styles. Since we just created a style titled “Matte Medium,” we can add 30% of each effect for the Matte High and 30% lower for the Matte Low. We can also start to incorporate split toning to add some creative color tones to the highlights and shadows. Access this in the Black & White tool, and let’s add some cool shadows and warmer highlights. We can create a preset for step adjustments or save as a style.
Tips and Tricks
Once you invest time in the setup, it’s a simple click from there to apply your adjustments. An alternative is to purchase styles through Capture One or other reputable vendors. Capture One offers five different packs: Cinematic, Seasonal, B&W, Matte and Essentials, priced at $69 each. Do some research and find some other options for black and white, like Silver-Lux, 1Styles.pro and Image Alchemist.
Presets and styles can be used when importing images into Capture One, but you can choose only one. Apply a style to incorporate multiple starting-point tools. You can reset all the settings or specific tools if the predetermined settings do not fit the image. Remember that you can create custom default settings for your camera as well. These two combinations become very important to efficiency.
You can utilize custom keyboard shortcuts for the Auto tool to crank out some quick edits as well. The ability to custom-assign the “A” key to apply Auto adjustments makes it even easier. You can even select multiple images in a set and apply this. Quickly choose what adjustments you’d like to auto-adjust. This tool is even useful when converting outdoor creatives with a large sky to black and white. This too can be applied at import separately from your style or preset.
Customizing your workspace can mean the difference between editing in minutes and hours. Take the time to set it up. Do not be afraid to drag tools onto your images to better dial in settings. This is a cool feature of Capture One.
The Results
Try Capture One Pro 10 today for 30 days. Presets and styles will be your go-to for editing. From there, it’s a simple click-and-go with black-and-whites. There’s no need to edit in another program and lose the nondestructive editing capabilities of a Raw file. I am a huge Nik Silver Efex Pro 2 user, but Capture One gets me the results I need, faster.


