Unlock the Power of Smart Objects in Photoshop with David Byrd
What are Smart Objects in Photoshop? Well, glad you asked. In the simplest terms, they are an entire file format unto themselves, which may not sound very simple. You’ve heard of RAW files and JPEGs, right? Well, Smart Objects are identified in Photoshop in much the same way. Now let’s move to the bigger question: Why should you use Smart Objects in Photoshop? There are actually multiple answers and we’re going to explore three of them in detail right now. Let’s hit it.
Protect What You Got
The first major reason to use a Smart Object in Photoshop is to protect the data of your file as you go through the digital editing process. Our images (regardless of file types) are just massive collections of data—little subsets of ones and zeros that when put together make a high school senior, pet, bride, whatever. It’s important to remember that all of that data is finite; the possibilities for art creation with that data is infinite, but there is a finite amount of data to work with as you create. When you alter your image through digital editing, you are changing the data. In most cases, you are reducing the amount of available data and making that finite limit come faster than it needs to.
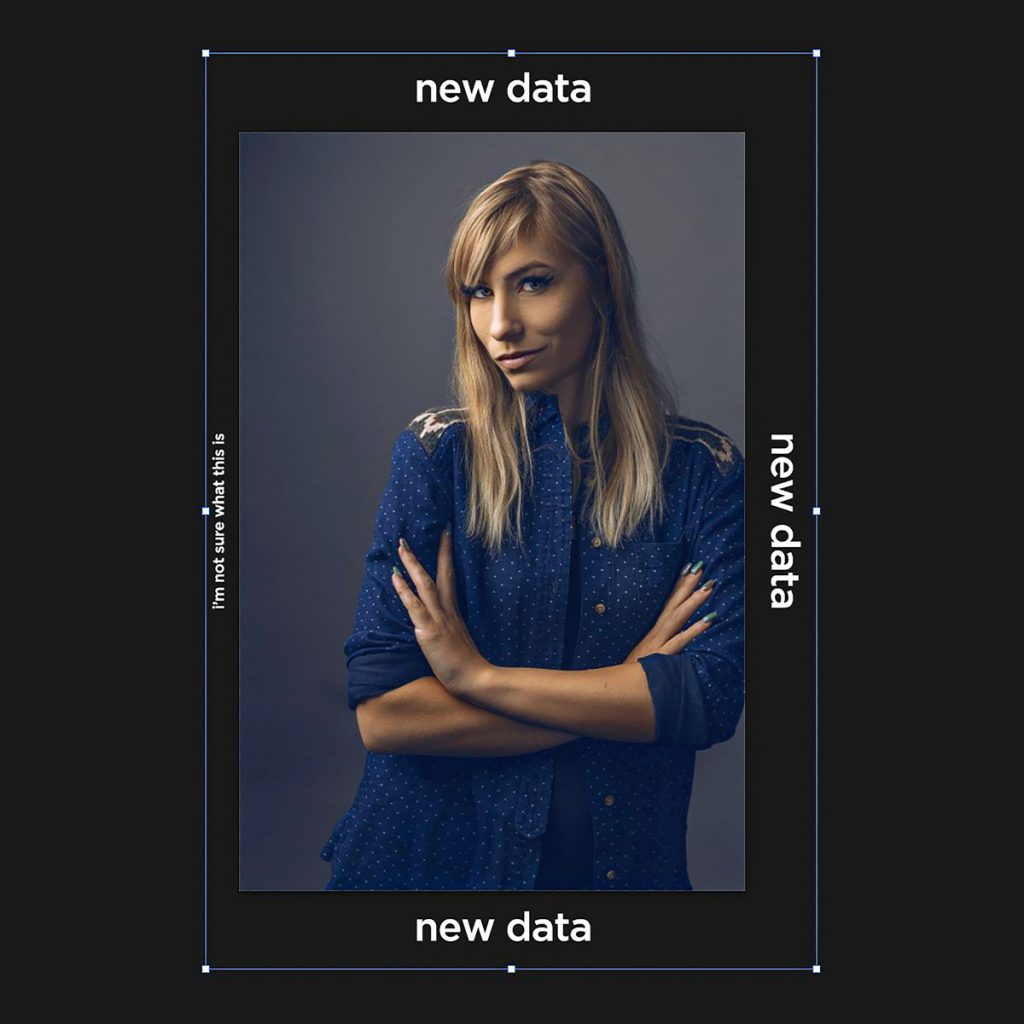
Let’s look at some real-world examples of this finite data issue. First, everyone say hi to my wonderful friend Danielle. She’s a brilliant artist both in front of and behind the camera.
This simple image has a composition that is a little bit off, so I’m going to reframe it in Photoshop. To do that, I’m going to unlock the layer, hit Control/Command-T to activate the Free Transform option in Photoshop, and then reframe or resize the image. Now we are cropped/zoomed into the image of Danielle and thus moving the audience’s focus toward her eyes and the story to be found there.
When we transformed the image and hit Enter to accept that transformation, Photoshop did a couple of things that can be devastating to the data. First, to enlarge the image, it had to make up new information based on the existing data. Remember, there is a finite amount of data in the file—a finite number of pixels. So, when we enlarged it, Photoshop had to create new pixels and new data and it did that by averaging the available pixels. It looked at each pixel and those around that pixel and took an average of the color, the light and more—and created new pixels so your image could be bigger. That process is like mad Photoshop scientist level stuff, but it’s not perfect.