Understanding Lighting for Composites with Felix Hernandez
Can you tell us about your background?
I’m a 47-year-old graphic designer, photographer, digital artist and miniature artist. I’m a husband and father of two, living in Cancun, Mexico. I manage my Photo Studio: Hernandez Dreamphography, where I create high-impact images for the advertising industry and branded content for digital media by mixing photography, digital art and crafts to bring my ideas to life.
What does photography mean to you?
For me, photography is the means by which I can portray all the ideas that arise from my mind.
What is your specialty?
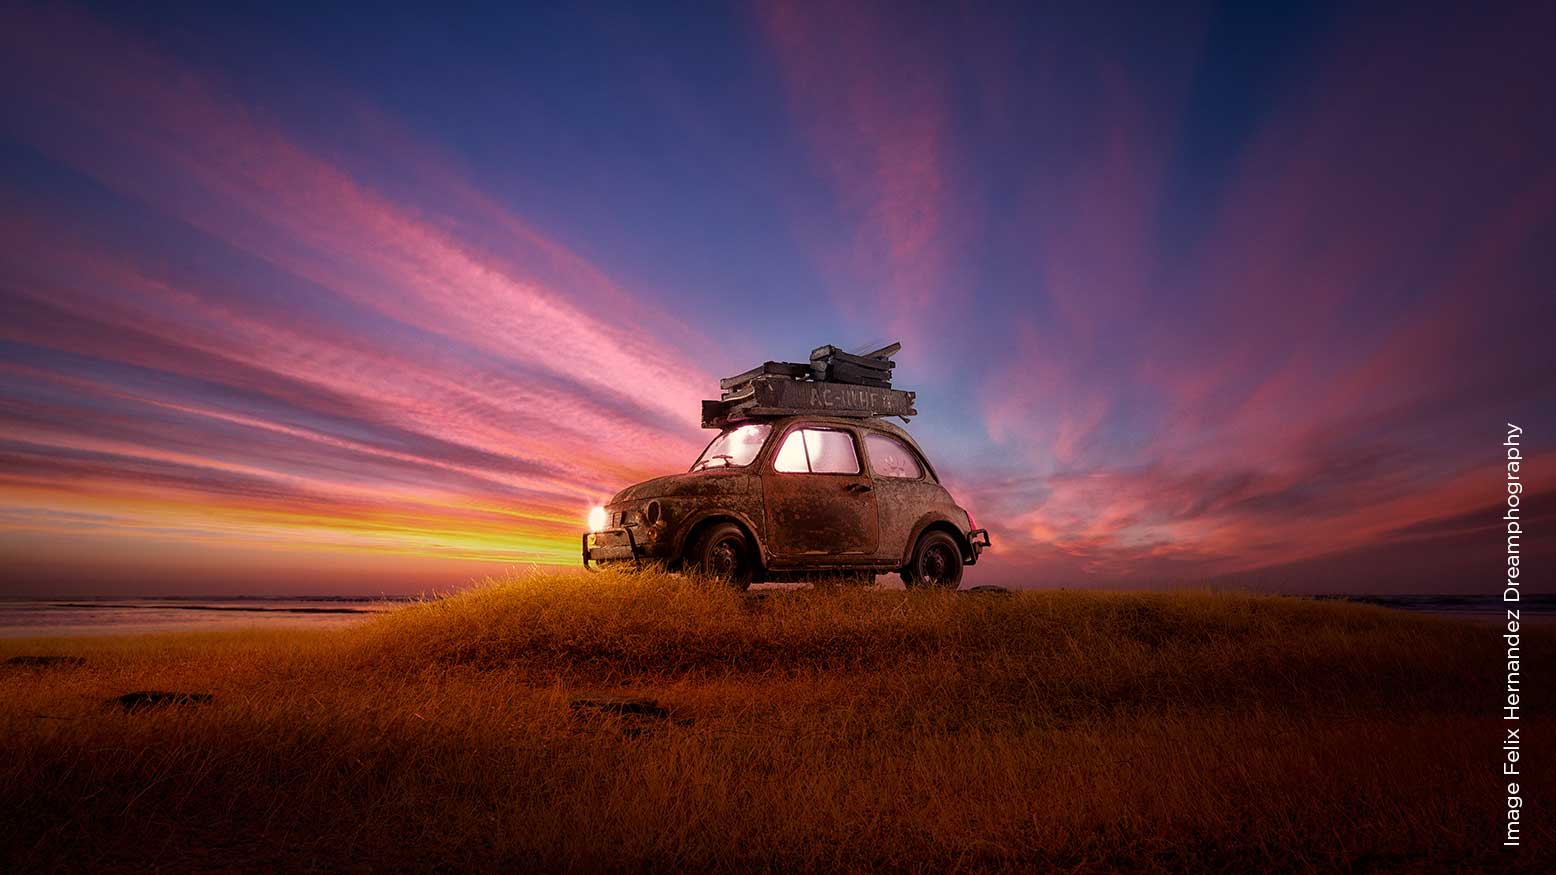
My specialty is “creative photography.” Normally I’m working in the studio with scale models and dioramas, doing practical effects and practical lighting mixed with digital manipulation.
Is there a niche in commercial photography for your work?
Of course there is… I have done projects for different brands around the world, such as Audi, Volkswagen, BBC’s Top Gear magazine, Mattel, Cadbury, The Red Cross, BMW, Adobe, and more. Also, a lot of the images of my personal projects have been licensed to different brands and are sold in fine art galleries such as YellowKorner.
What gives you inspiration?
I literally use my dreams as a source of inspiration. Also, I can be inspired by music, movies, books, and by the work of other artists, normally illustrators.
Can you tell us which kind of light you use in your studio?
In my studio I usually use flashes, but there are also occasions where I use continuous light or I combine flashes with continuous light to achieve certain effects on camera.
I also use the light painting technique a lot. For this, I use small LED light sources that allow me to put the light exactly where I want it. This gives me a lot of control over the scenarios and models. For this technique the shots have to be long exposure and the space where I am doing the production has to be totally dark.
For some of my images I have even combined these three lighting sources or techniques: flashes, continuous light and light painting.
How do you light your scenes?
The lighting in my scenes is very varied and depends on the idea or vision for creating that image.
I choose what type of lighting I will use for the production depending on the mood you want to achieve; whether it will be with flashes, with continuous light, light painting, or the combination of all or some of them.
The type of lighting I use also depends on whether you are going to do some kind of effect on camera (practical effects). There are effects that require freezing the action, and for this you need to use studio flashes that have a “short flash duration.” There are other effects that require some movement or “sweep” in the shot, and for that I use continuous light that allows me to take long exposure shots. But there are also effects that require the combination of both light sources.
First, I decide the mood for a scene and what kind of practical effects I want to perform. Then I make a lighting scheme or lighting design diagram; here I decide what type of light source I will use, how many light sources I will need, the light modifiers, and the position of each light source.
There are shots where I can be using up to six light sources and there are others where I only use one light source. This does not mean that the image that was created with six light sources is better than the other. Simply, the lighting design is at the service of the story you want to tell with that image.
How do you choose which light modifiers to use?
The light modifiers I choose for a scene depend on the story I want to tell and the mood I want to convey with the image. Depending on the modifier I use, I can achieve very soft light or harsh light. This is important if you want to emulate the light that enters through a window and give a feeling of nostalgia, or if you want to emulate a cloudy day and achieve a feeling of sadness. If you want to represent a scene in the desert, you would use a harsh light that produces well-defined shadows and the sensation of heat.
The position and angle of the light sources combined with the type of modifier you choose is key to telling the story. Normally the large modifiers at a short distance from our scene will give us a soft light and we can emulate a cloudy day. On the other hand, a small modifier placed remote from our scene will give us a harsh light to represent a sunny day.
Can you give us some lighting tips and tricks?
The first thing you have to ask yourself is what kind of story do you want to tell. Once you know this, then analyze what mood can represent that story well. Once you determine the mood for your scene, then translate it into light.
Here are seven lighting tips:
1. To represent a sad or reflective state of mind, use a soft light with a cool temperature.
- Big modifiers, placed near your scene.
- Cool tones via white balance, gels, or in post.
2. To represent an uncomfortable state of mind or dynamic scene, use harsh light and a warm temperature.
- Small modifiers, placed far from your scene.
- Warm tones via white balance, gels, or in post.
3. To represent action scenes, you could use a mix of soft and harsh light as well as a mix in light temperatures.
- Small and big modifiers.
- Warm tones for the shadows and cool tones for the highlights.
- Light painting can be really helpful.
4. To represent mystery, you could use a dim light and backlight the scene.
- Small or big modifiers.
- Cool tones.
- Backlit or lateral lit, bouncing the light just to fill a little bit of the shadows on your main character.
5. To achieve texture on your scene and characters, use harsh light and place it lateral coming from behind.
- Small modifiers.
- Lateral and behind lit. Bounce light to fill shadows.
- Light painting with a small LED light is great to create texture.
6. To freeze action, like smoke or explosions, liquid splashes, flying objects, etc., use flashes. Use studio flashes with short flash duration or speedlights. You could use a continuous light source as well, but it would have to be powerful enough to work at high-speed camera shutter durations (at least 1/1000).
7. Last but not least, remember that an image is telling a story, and that light is key to telling that story. Always look for these three light characteristics:
- Quality of light (not to be confused with quantity of light or power): Soft light or harsh light (soft or harsh shadows).
- Angle of light: Is it coming from top, ground level, lateral, backlit, etc.
- Temperature of light: Cool or warm.
Managing these main characteristics of light will help you to tell better stories and create better images.
What is the biggest mistake you ever made with photography?
I don’t remember a particular one, because I have made them all! For example, erasing all the files from the camera before downloading them and losing the photoshoot!
How do you see the future of photography?
I think we are living in exciting times for photography. There are a lot of amazing developments in the photography field. Some of them will help us to do our job easier, but also can transform us into lazy photographers. Competition as pro photographers is going to be bigger and harder. Now more than ever photographers have to be really well-prepared and develop their unique style.

