Are you ready to transform your photography studio space with continuous lighting, all without the need for new construction? Adding continuous lighting to your setup allows you to truly change how your space looks and feels. Best of all, what you see is what you get.
In this video, I show you how we are using Nanlite lights to enhance our space with different lighting modifiers, color temperatures, and more.
Equipment Used:
Camera: Canon EOS R5
Lens: Canon RF50 F1.2 L USM
Light: Nanlite FS-300B, FL-20G Fresnel Lens
Team:
Photographer: Sal Cincotta
Model: Brooke
Hair & Makeup: Brandi Patton, ReFine Beauty
What’s up, everyone? My name is Sal Cincotta. Today we are going to transform your studio space with continuous light.
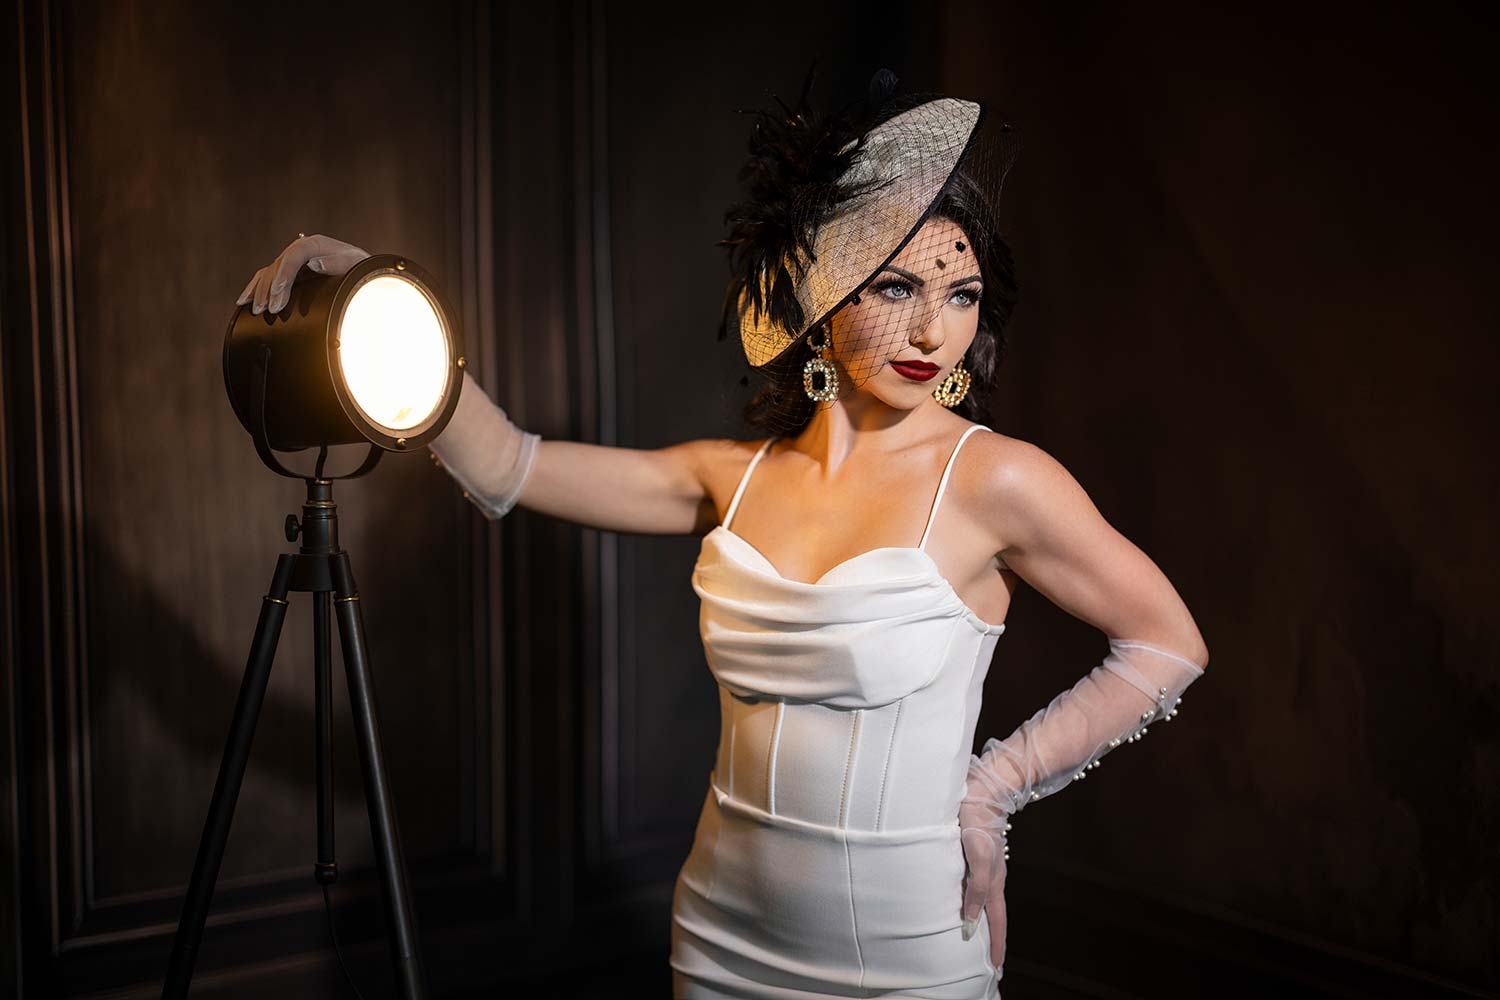
All right, so here we are in the studio. We’ve got an incredible backdrop and we’ve got the amazing Brooke. Sorry, I almost bypassed you, Brooke! We’ll throw her handle up here, so check it out. And we have the brand new Intuition Rooms Collection. I’m calling it the Rooms Collection; it’s plural! Nobody wants me to, but it’s rooms. There are multiple. So, we’ll say whatever we want to say, but it’s a collection of rooms with walls.
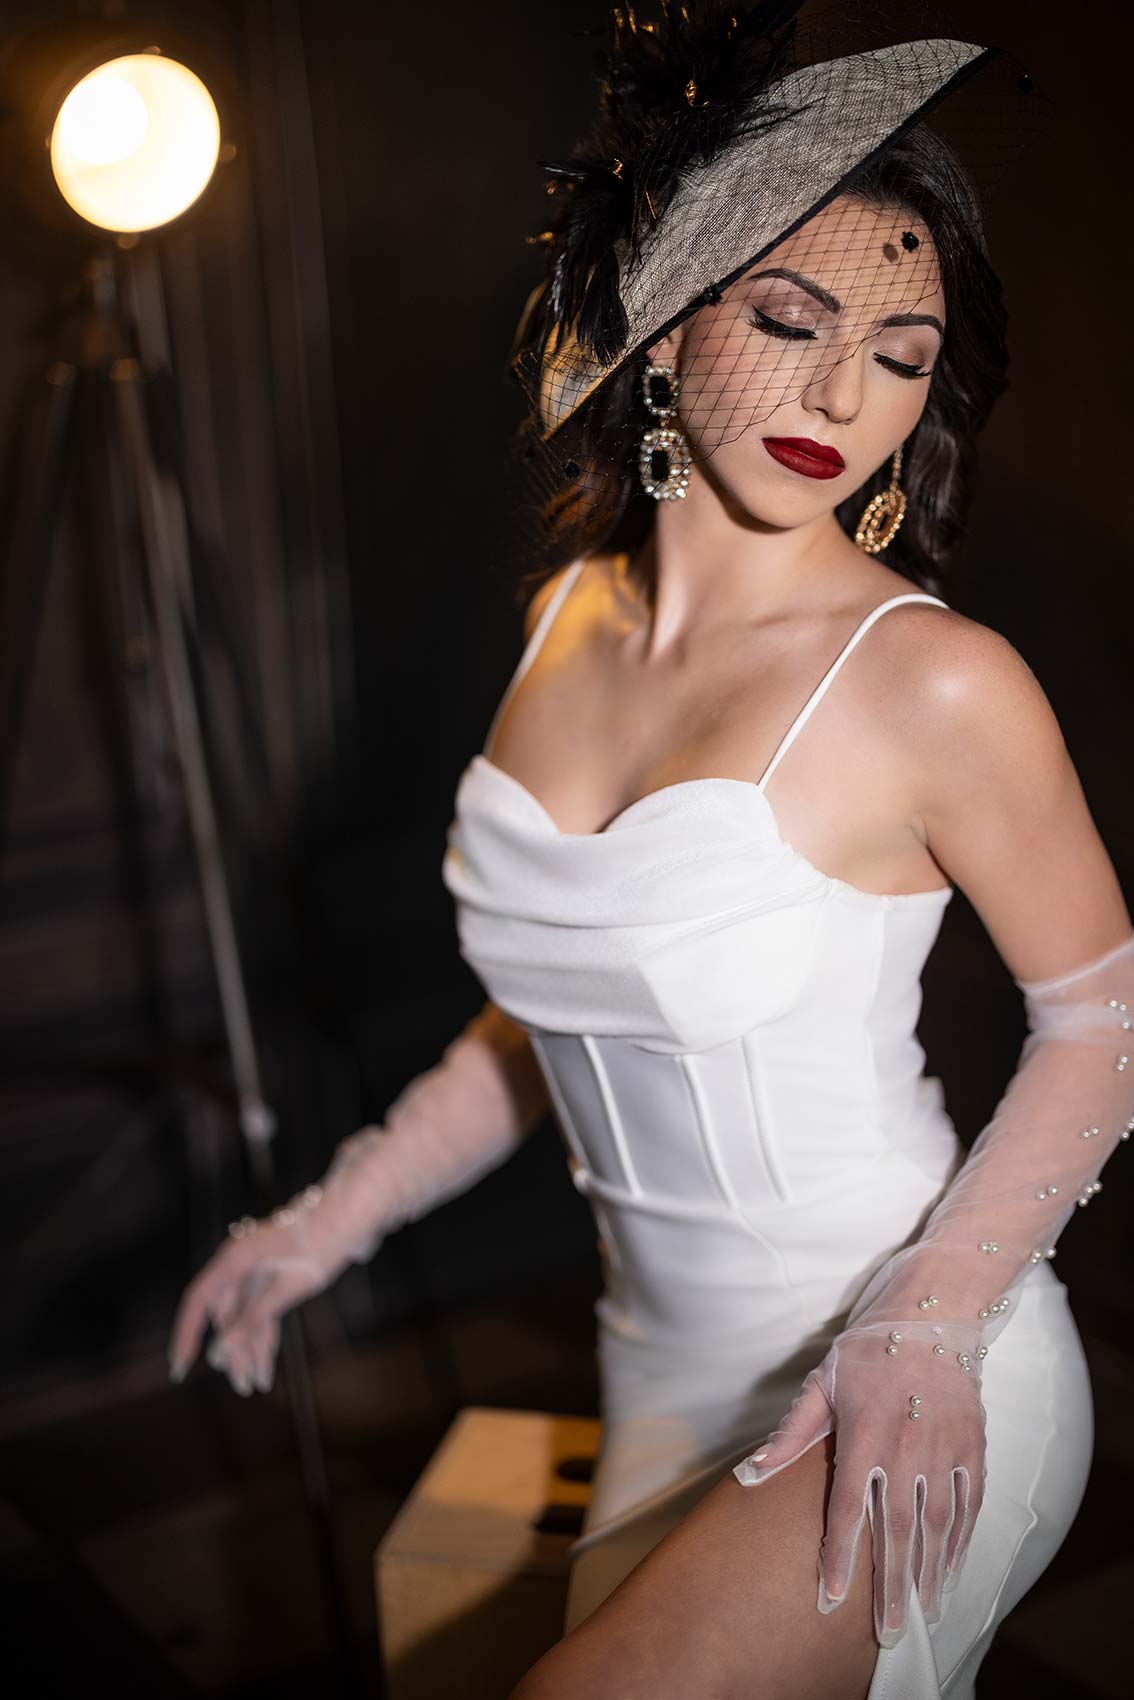
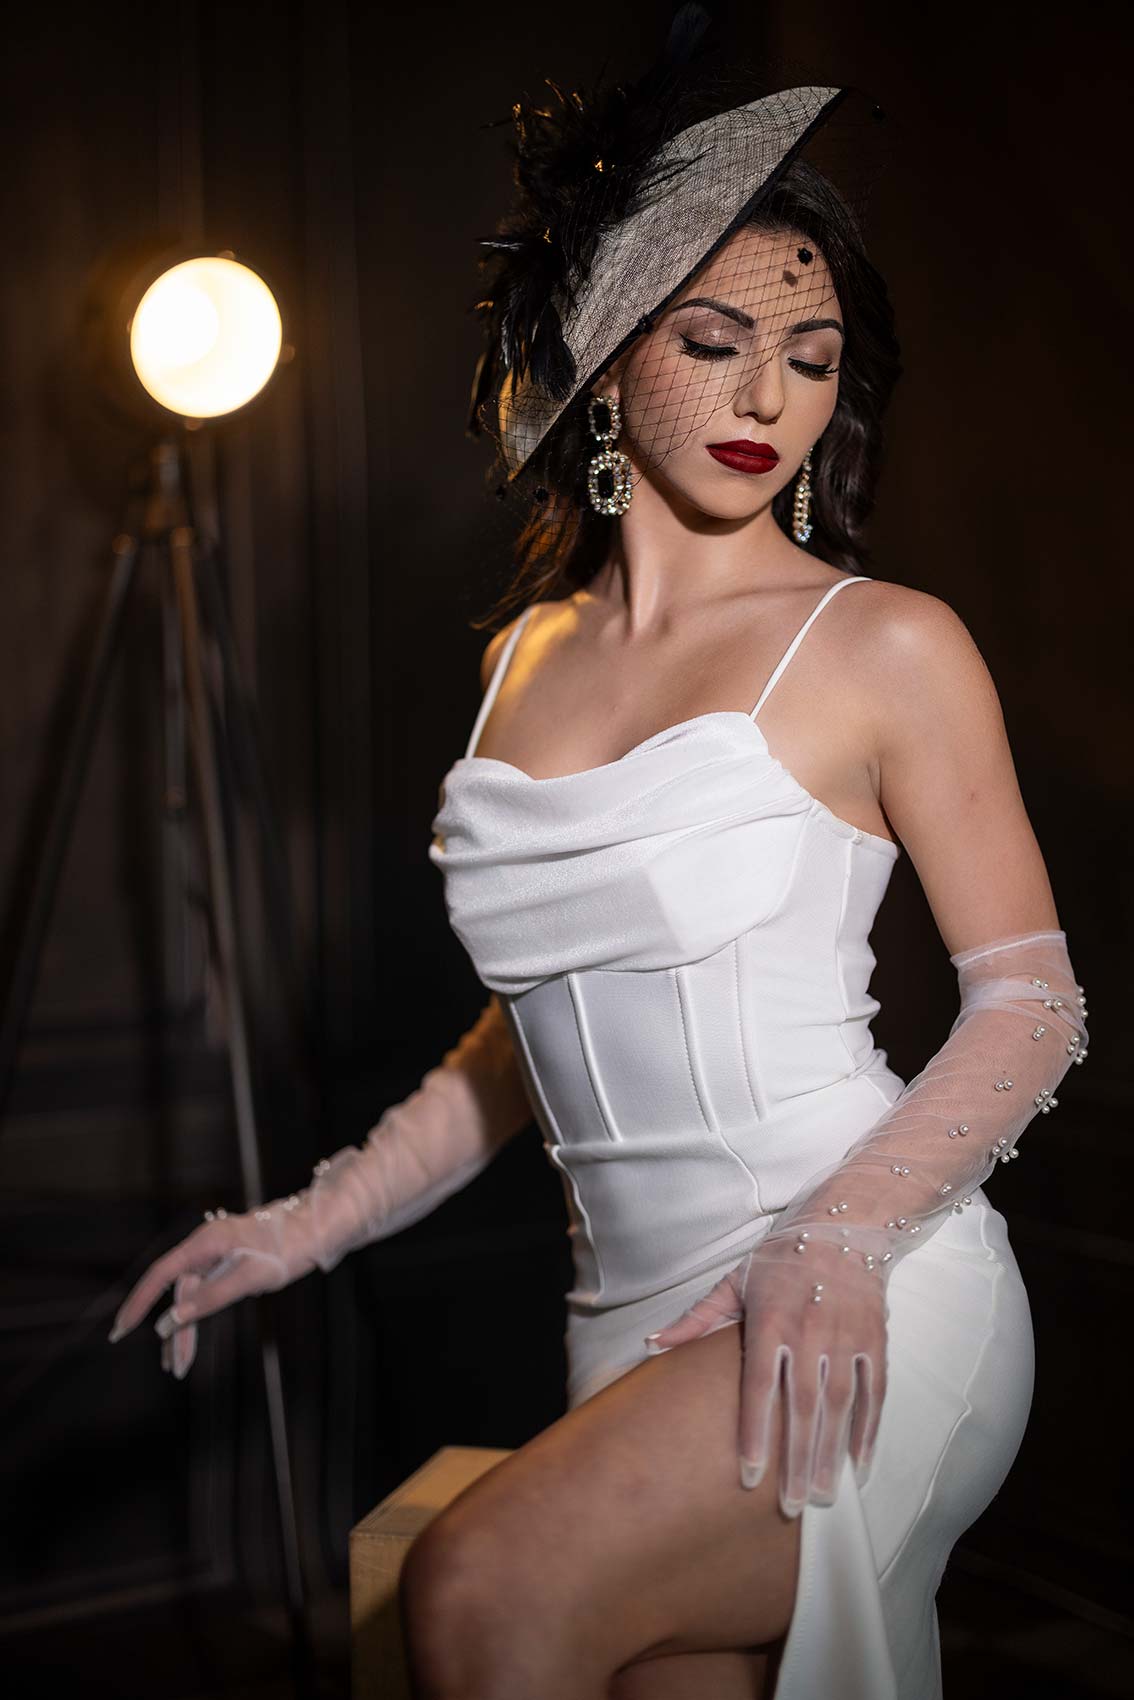
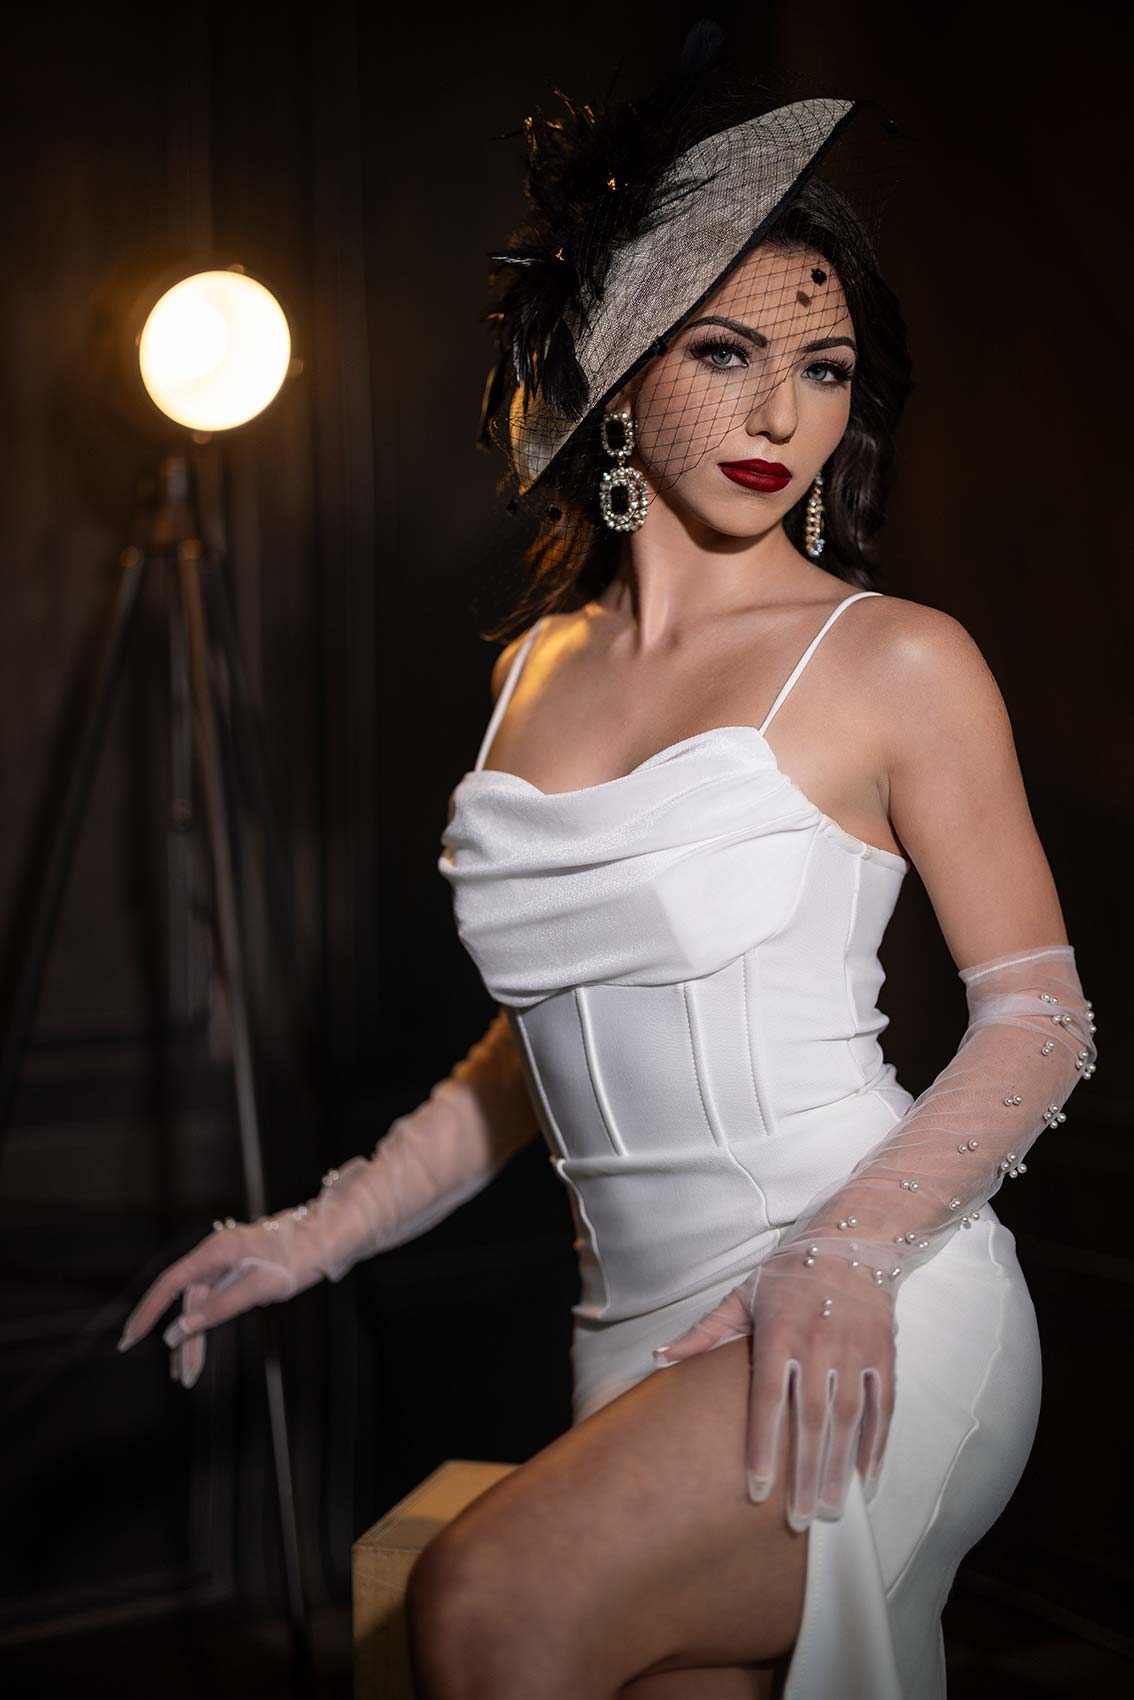
The reason I love this collection is that it allows us to create, well, as you guessed, a room. It gives us corners to shoot into rather than just shooting layers, where you’ve got your subject and then a background, making it very two-dimensional. This adds a little bit more depth, and I love the way it looks. So, we’ve got Brooke here, and it’s just got that old vintage style look and feel. Everything from the floor to the walls brings that all together.
How to Improve Studio Portraits with Continuous Lighting: Using the Nanlite FS-300B and FL-20G
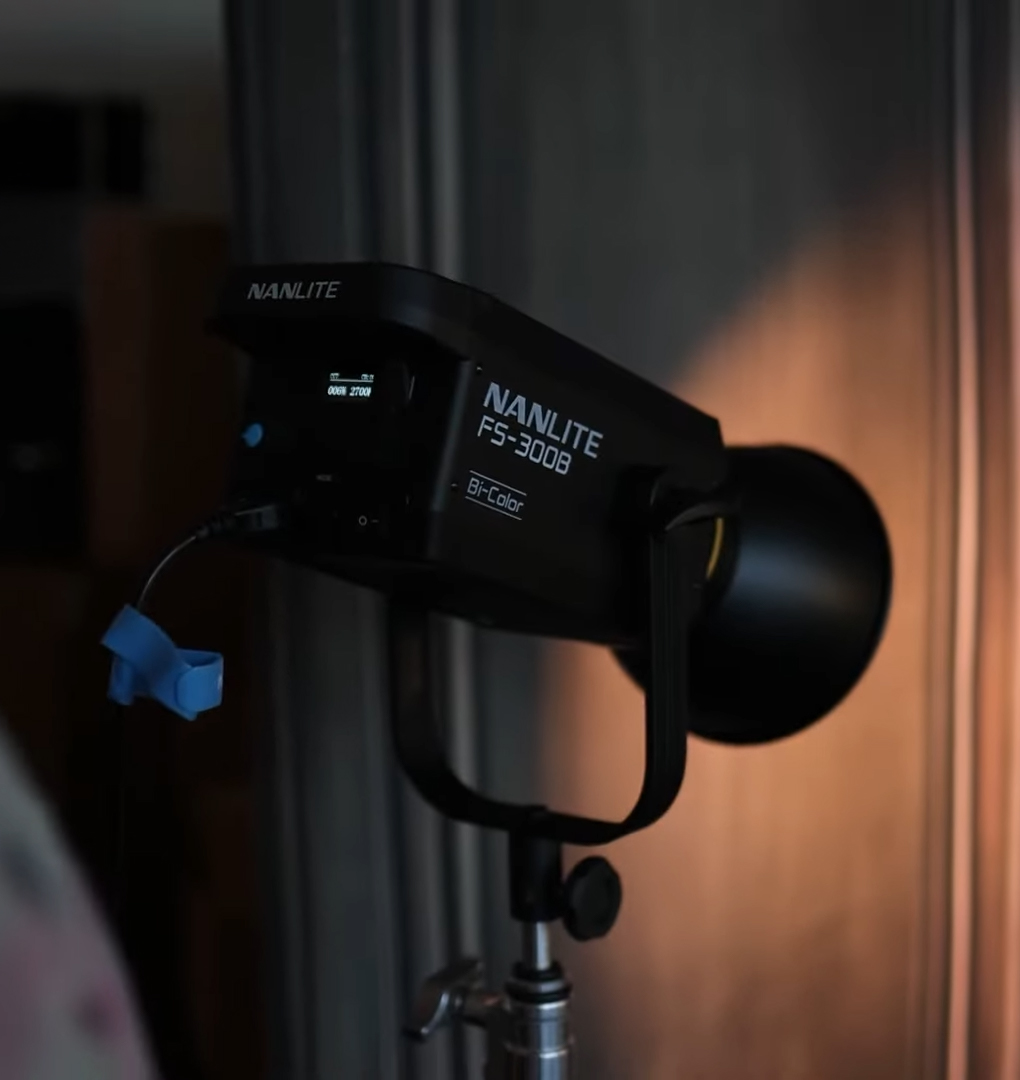
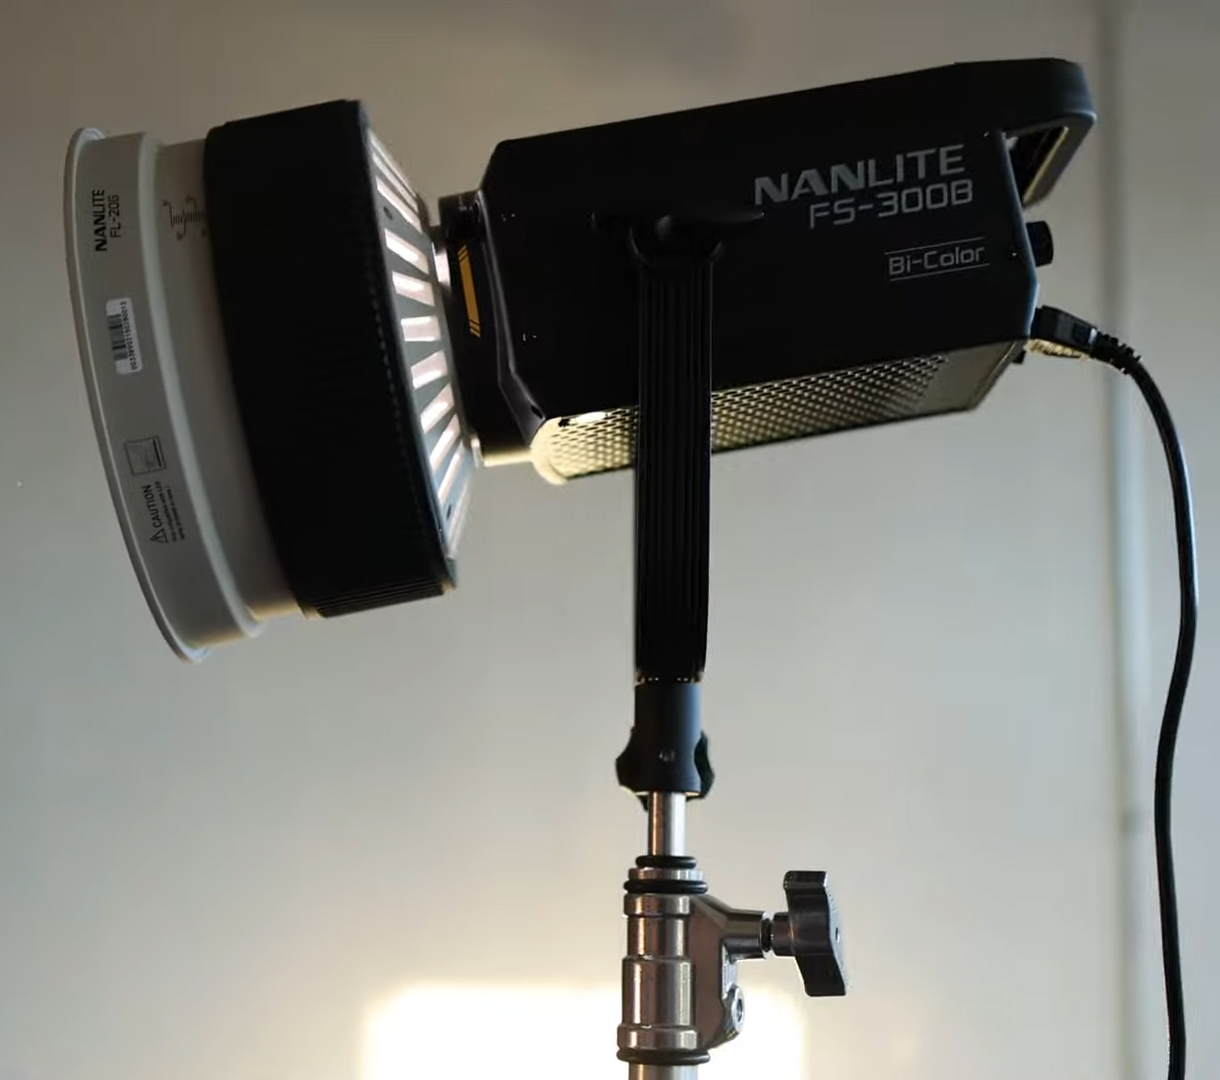
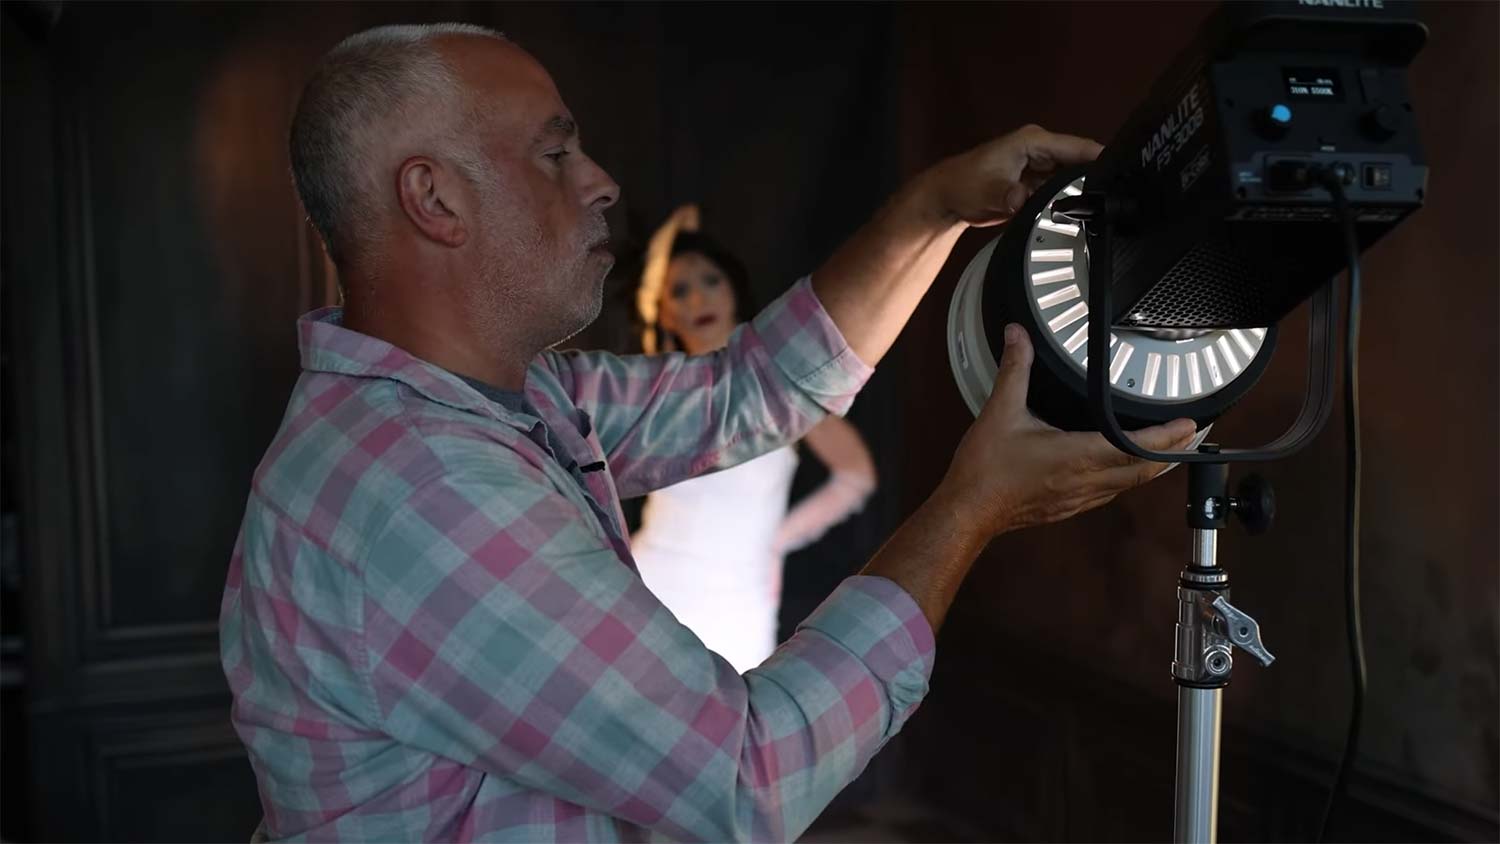
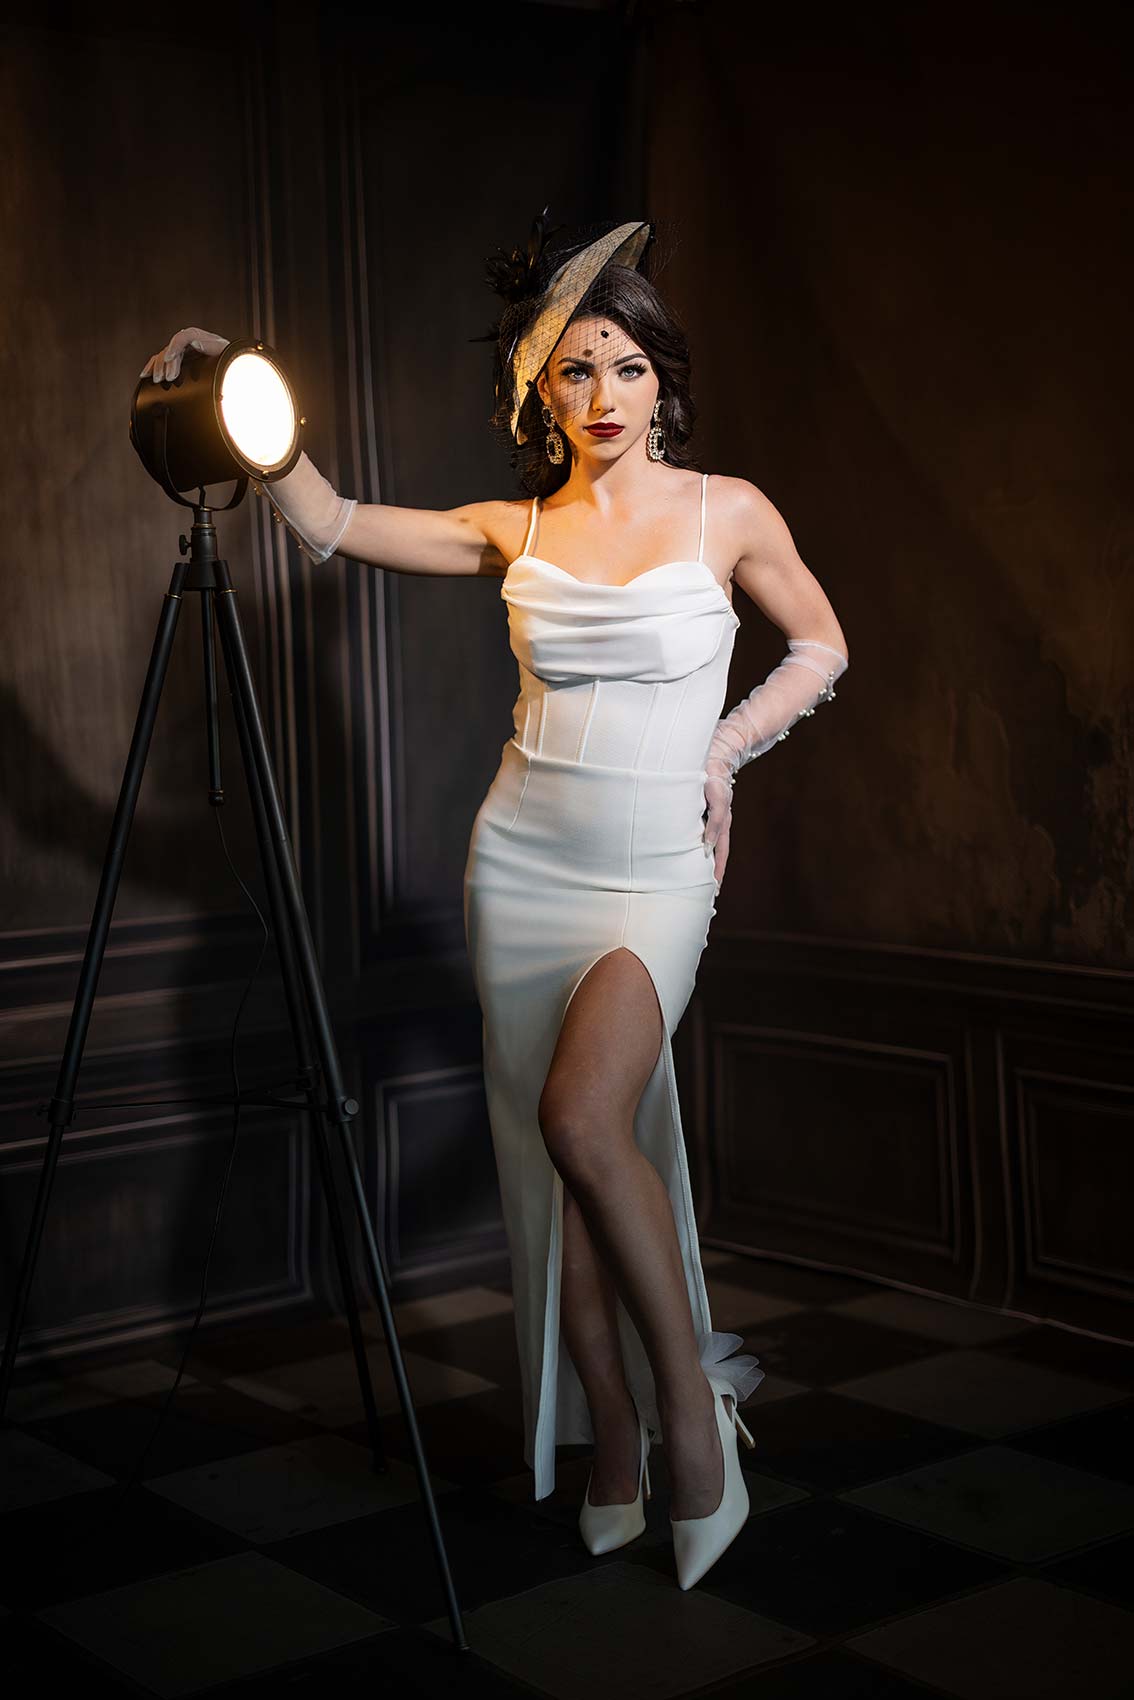
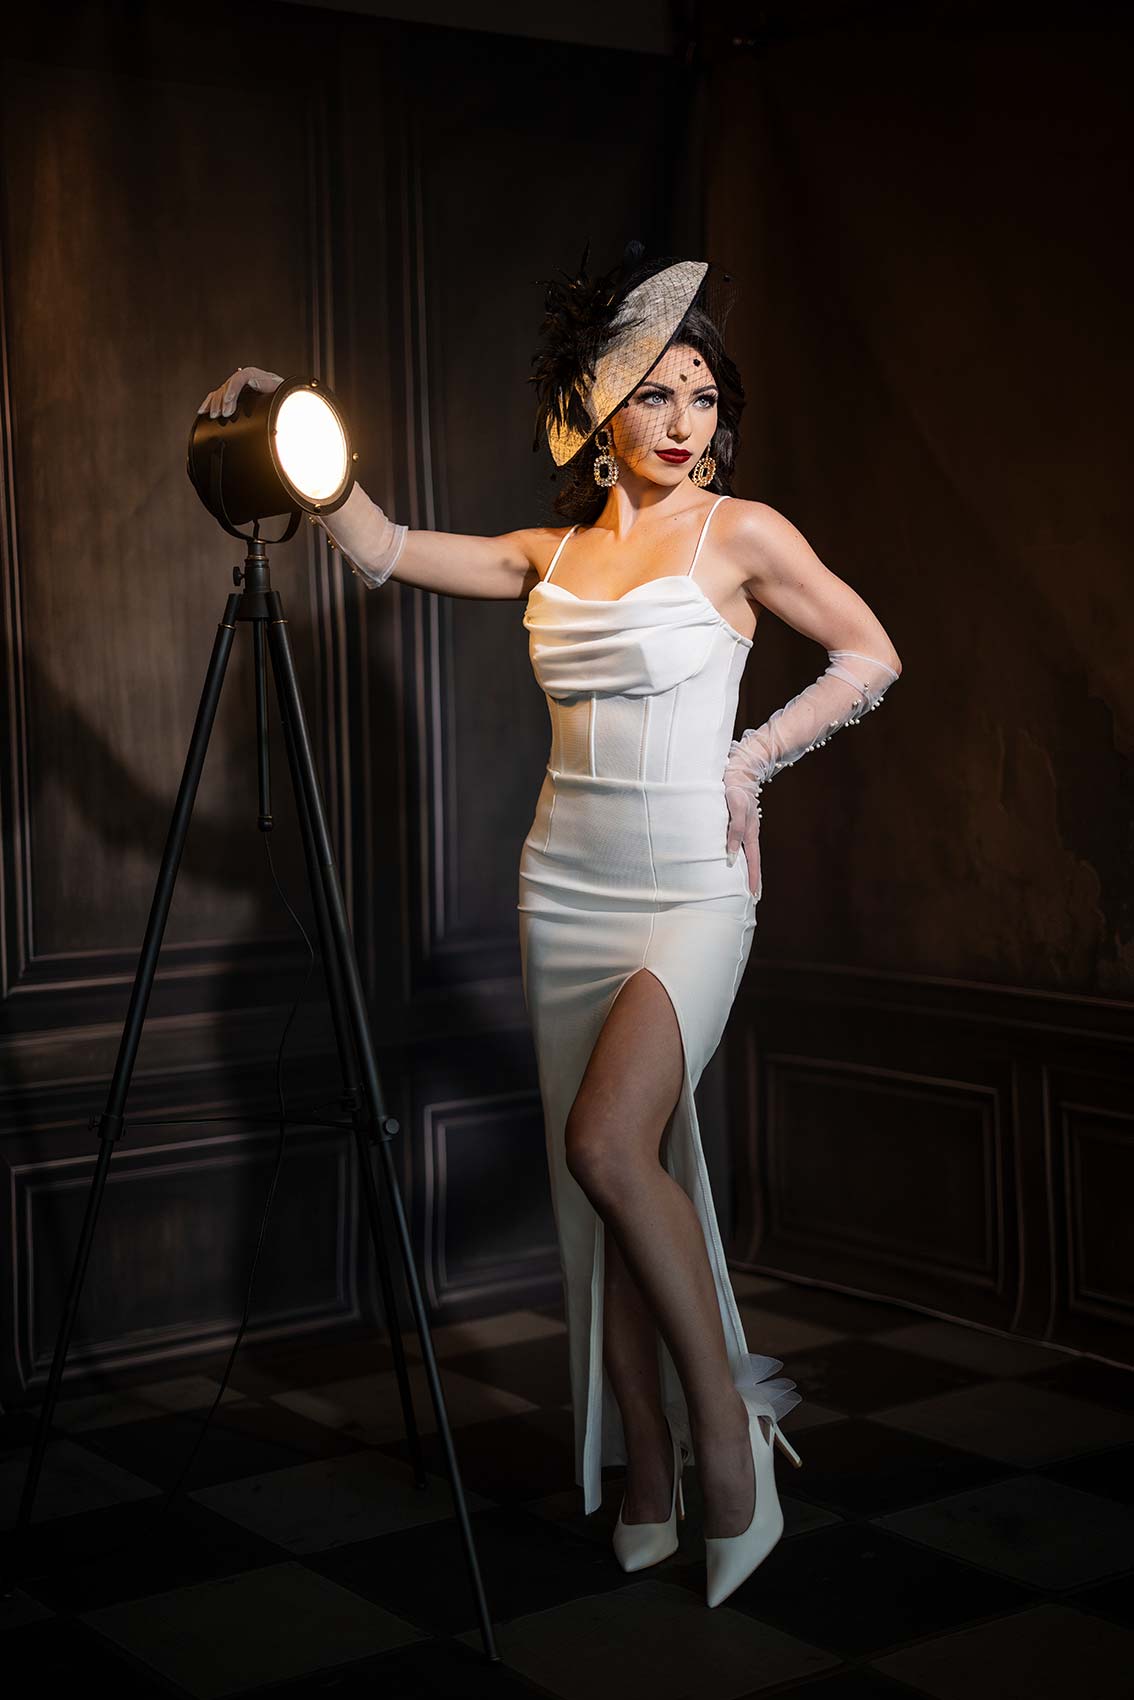
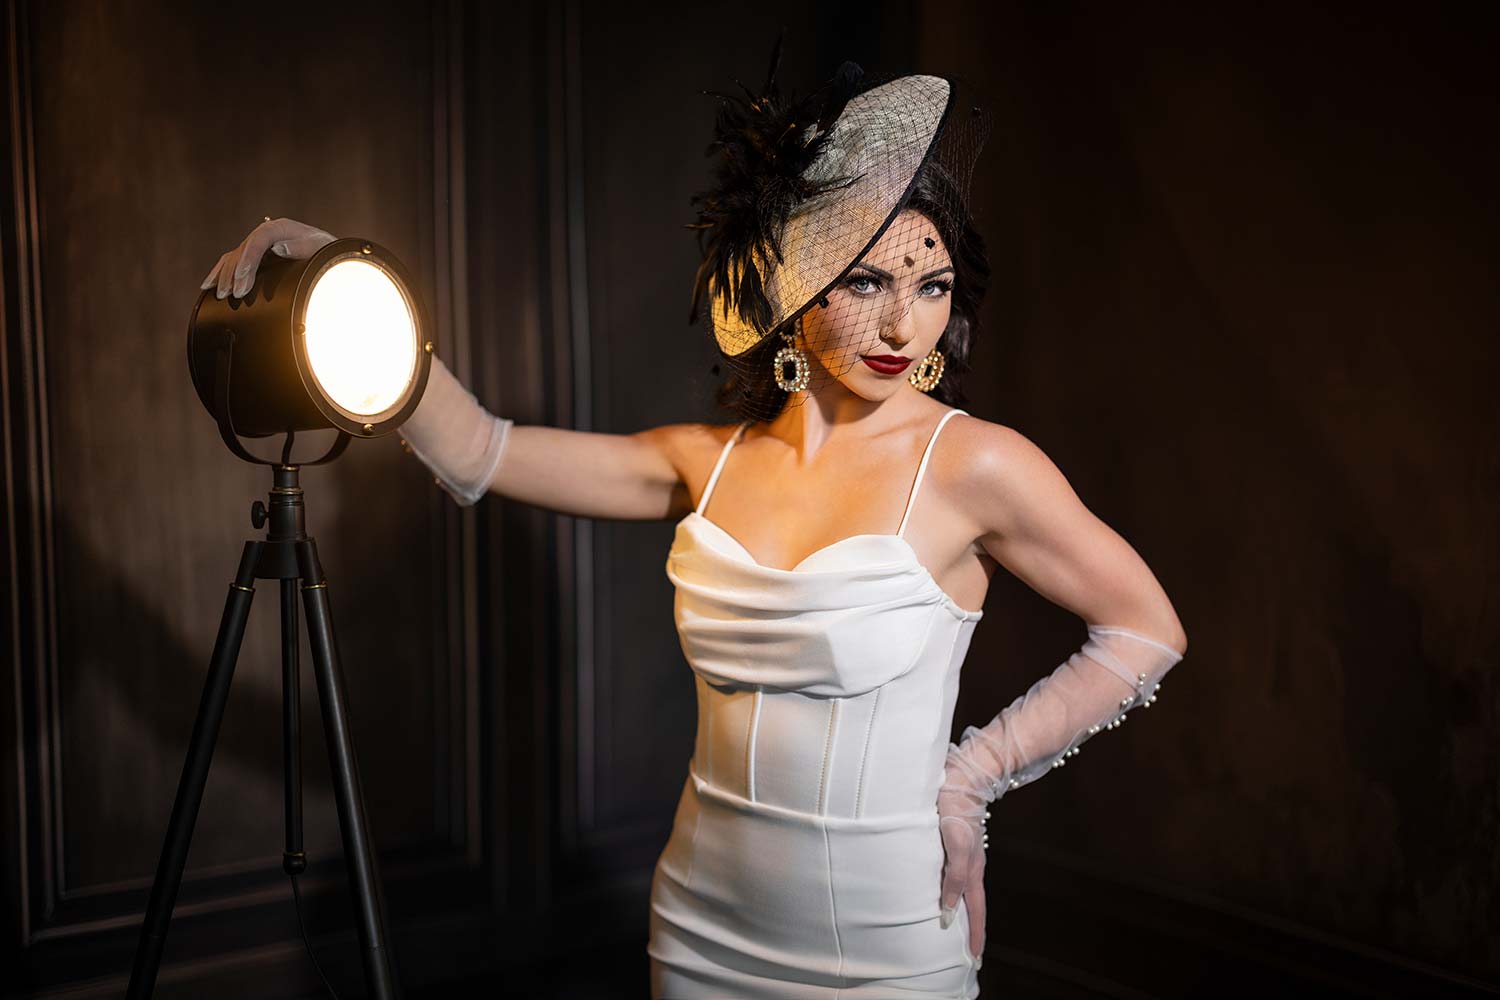
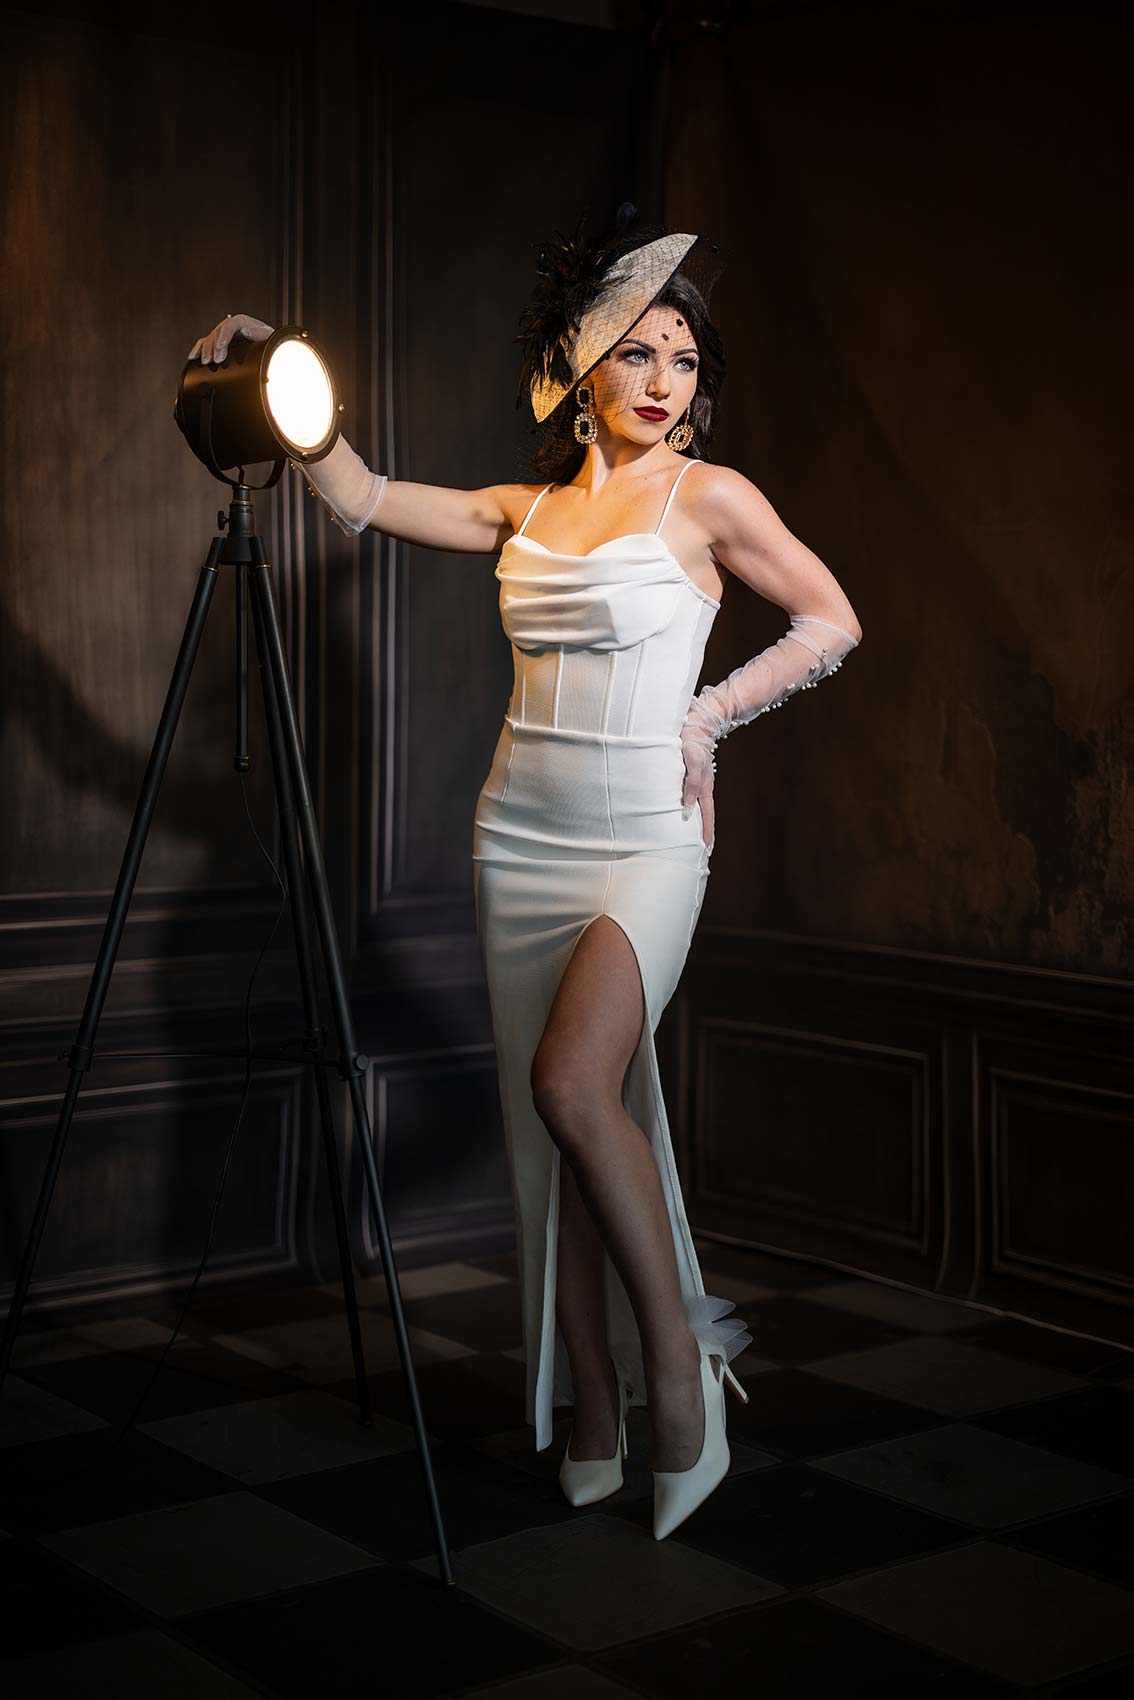
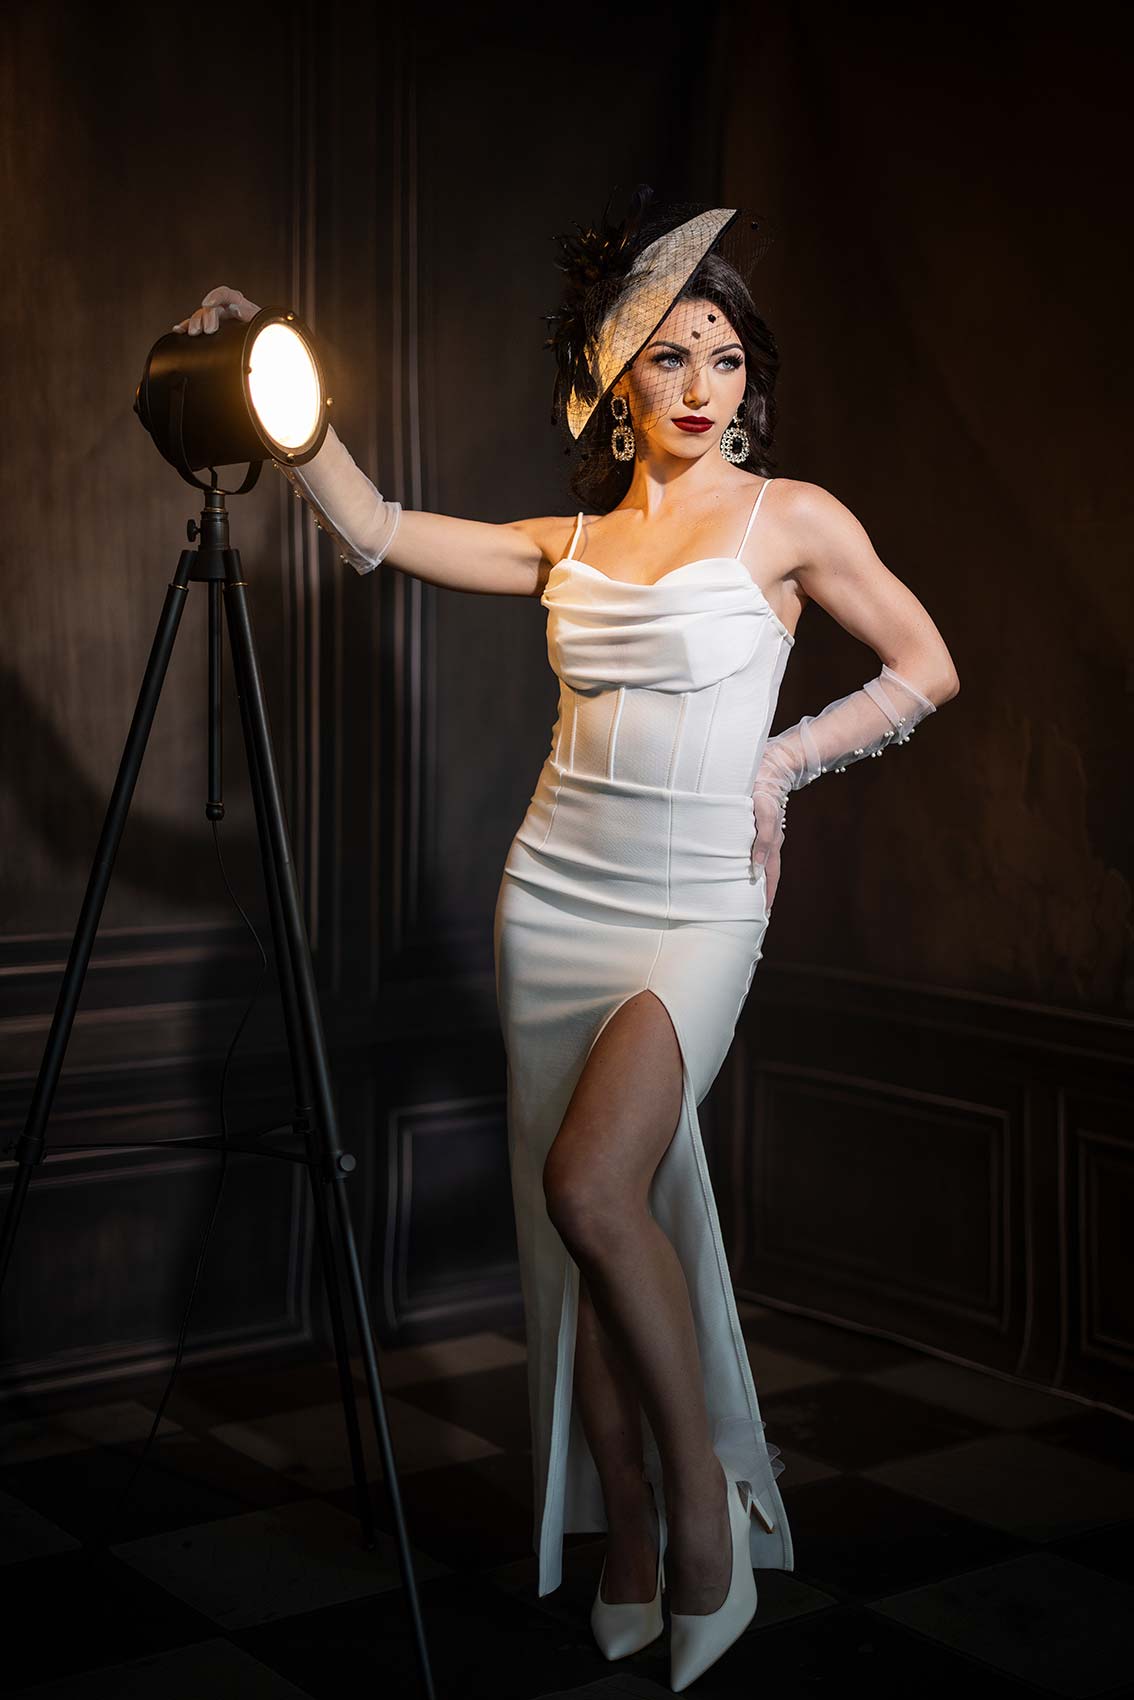
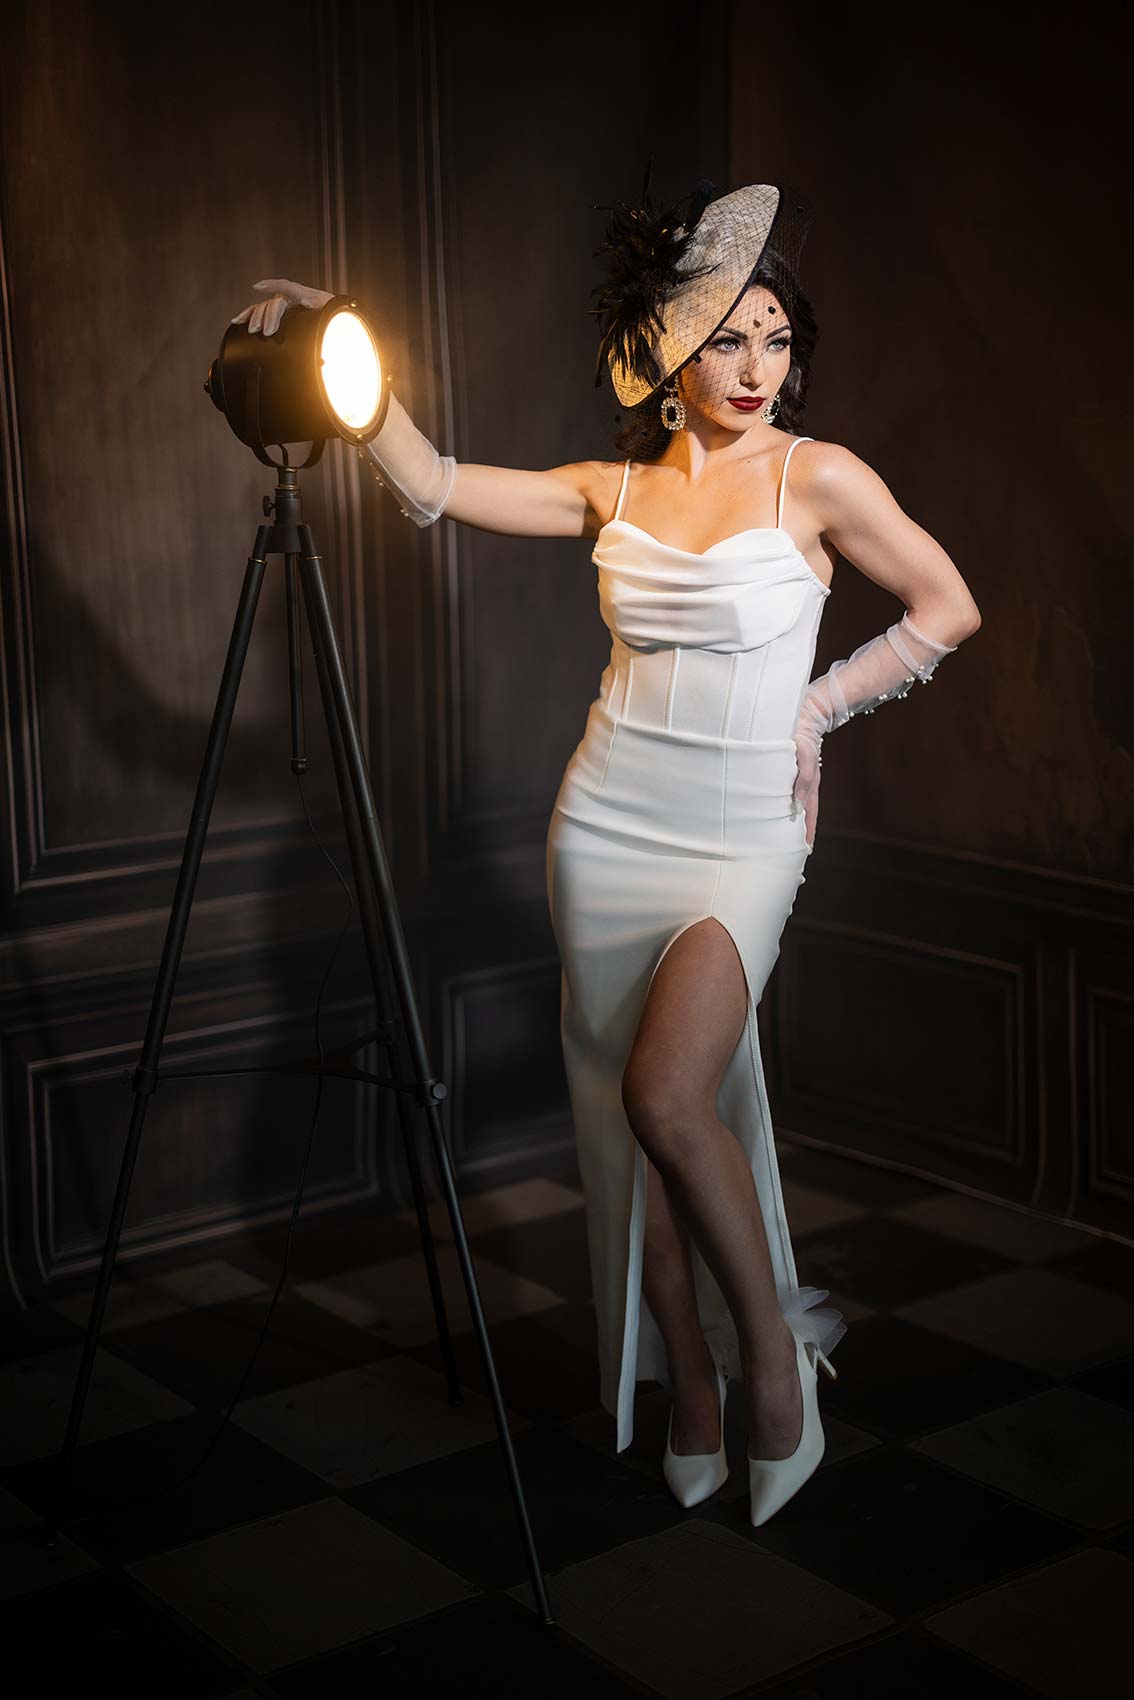
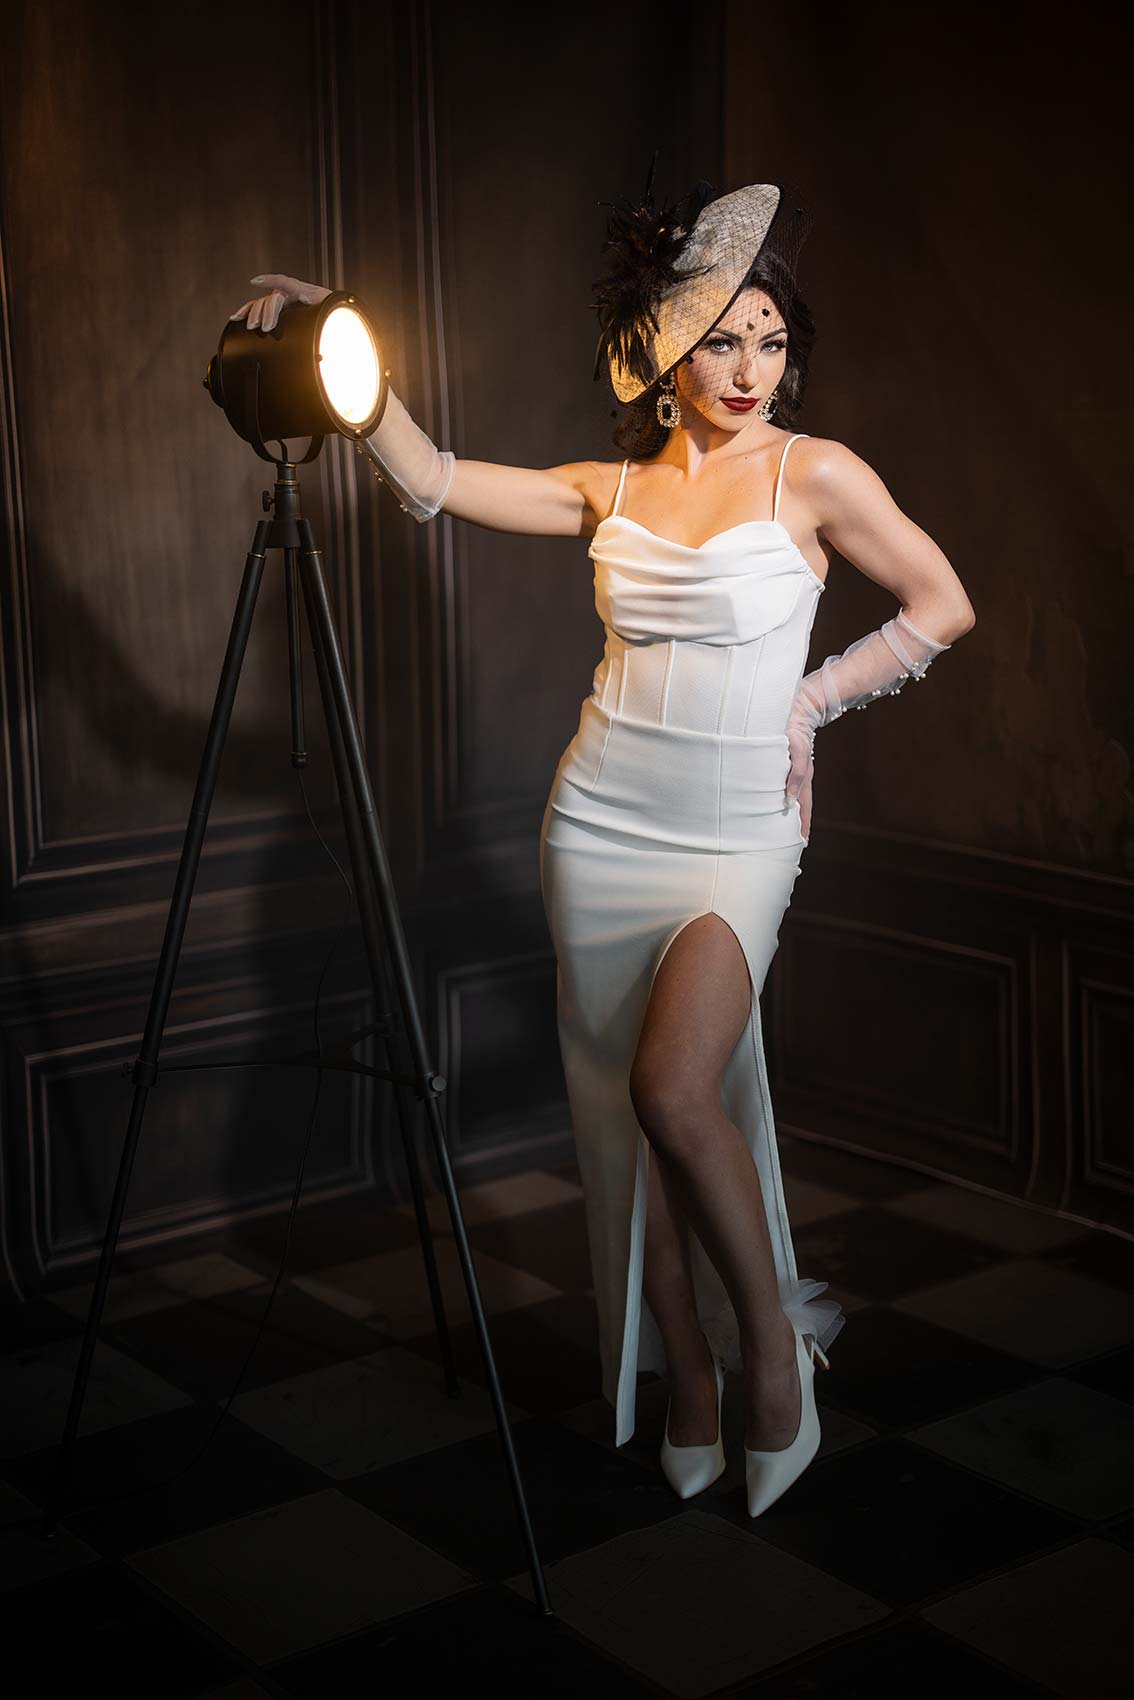
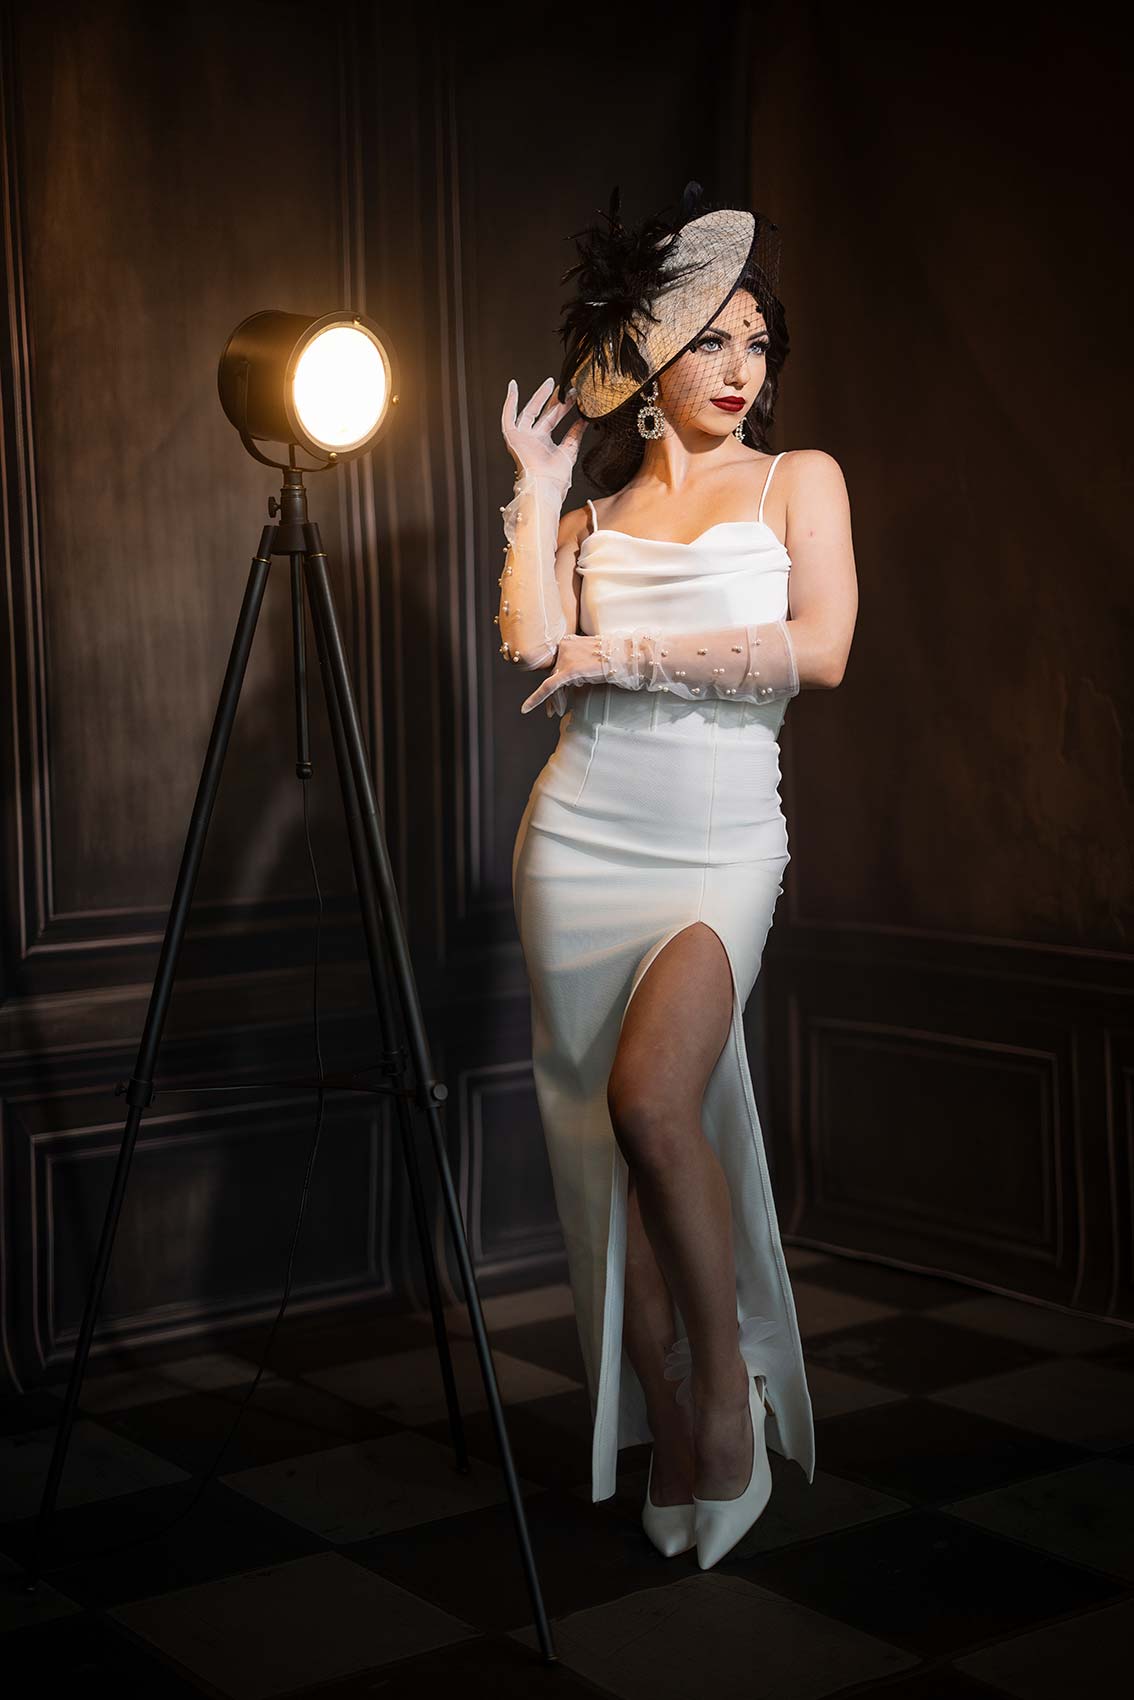
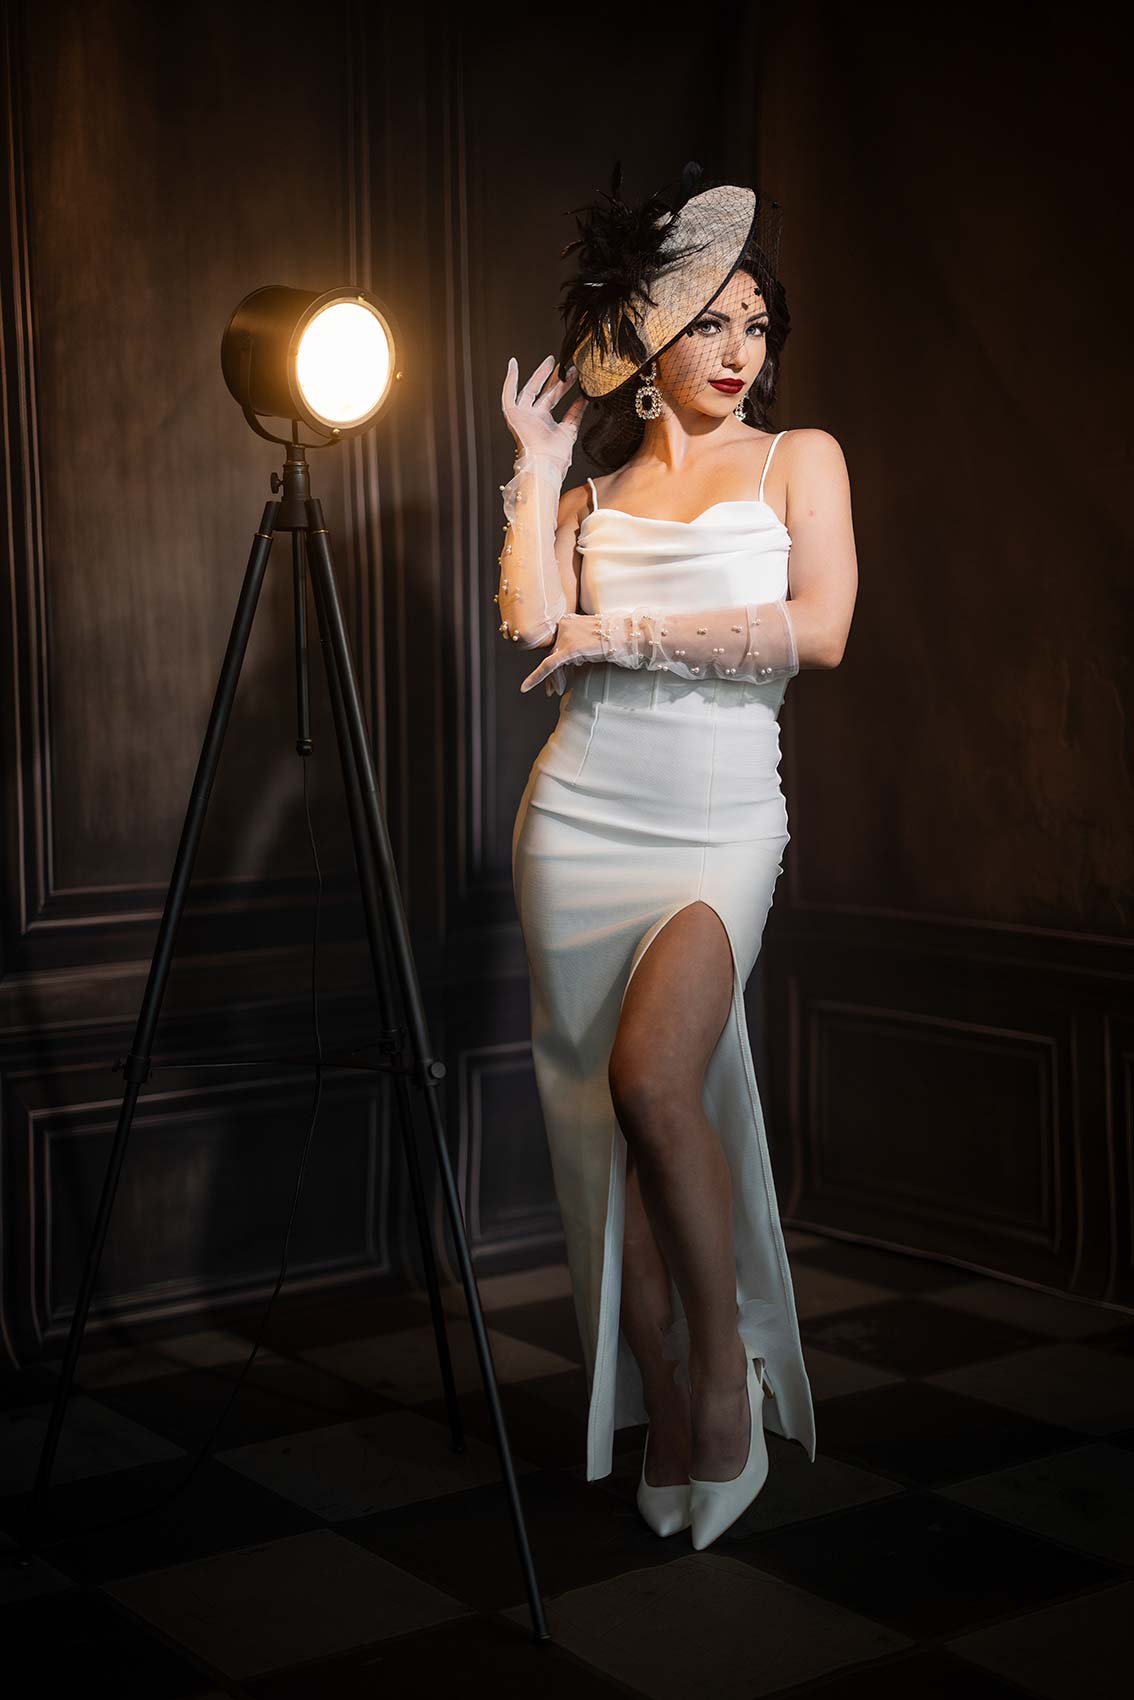
But let’s talk about lighting because that’s really what’s going to bring this all together. For the main light, we’re using the Nanlite FS-300B. These are bicolor, so it’ll go from 2,700 to 6,500 Kelvin. While that is, without a doubt, cool, what makes this incredibly useful and unique is the Fresnel lens. This is their FL-20G. What I really like about this is that it allows us to make the light wider or more narrow to control the fall-off. So that gives us some control of the look here.
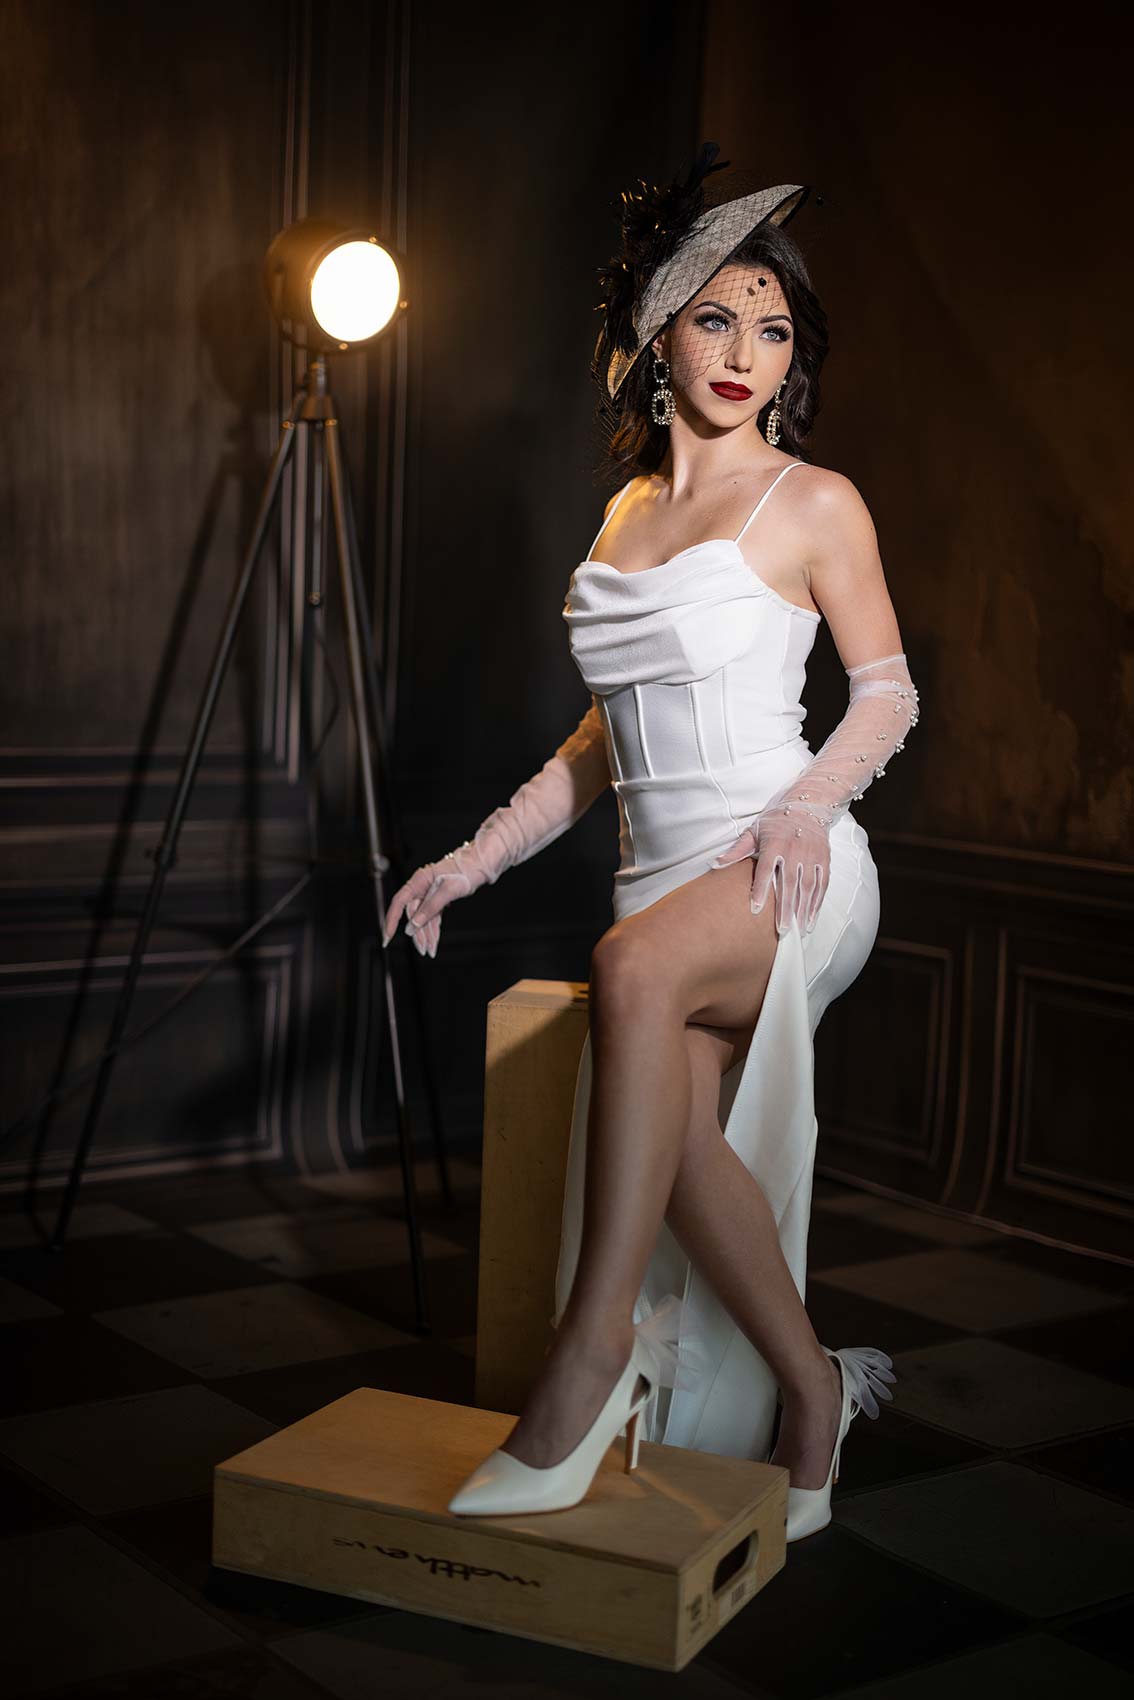
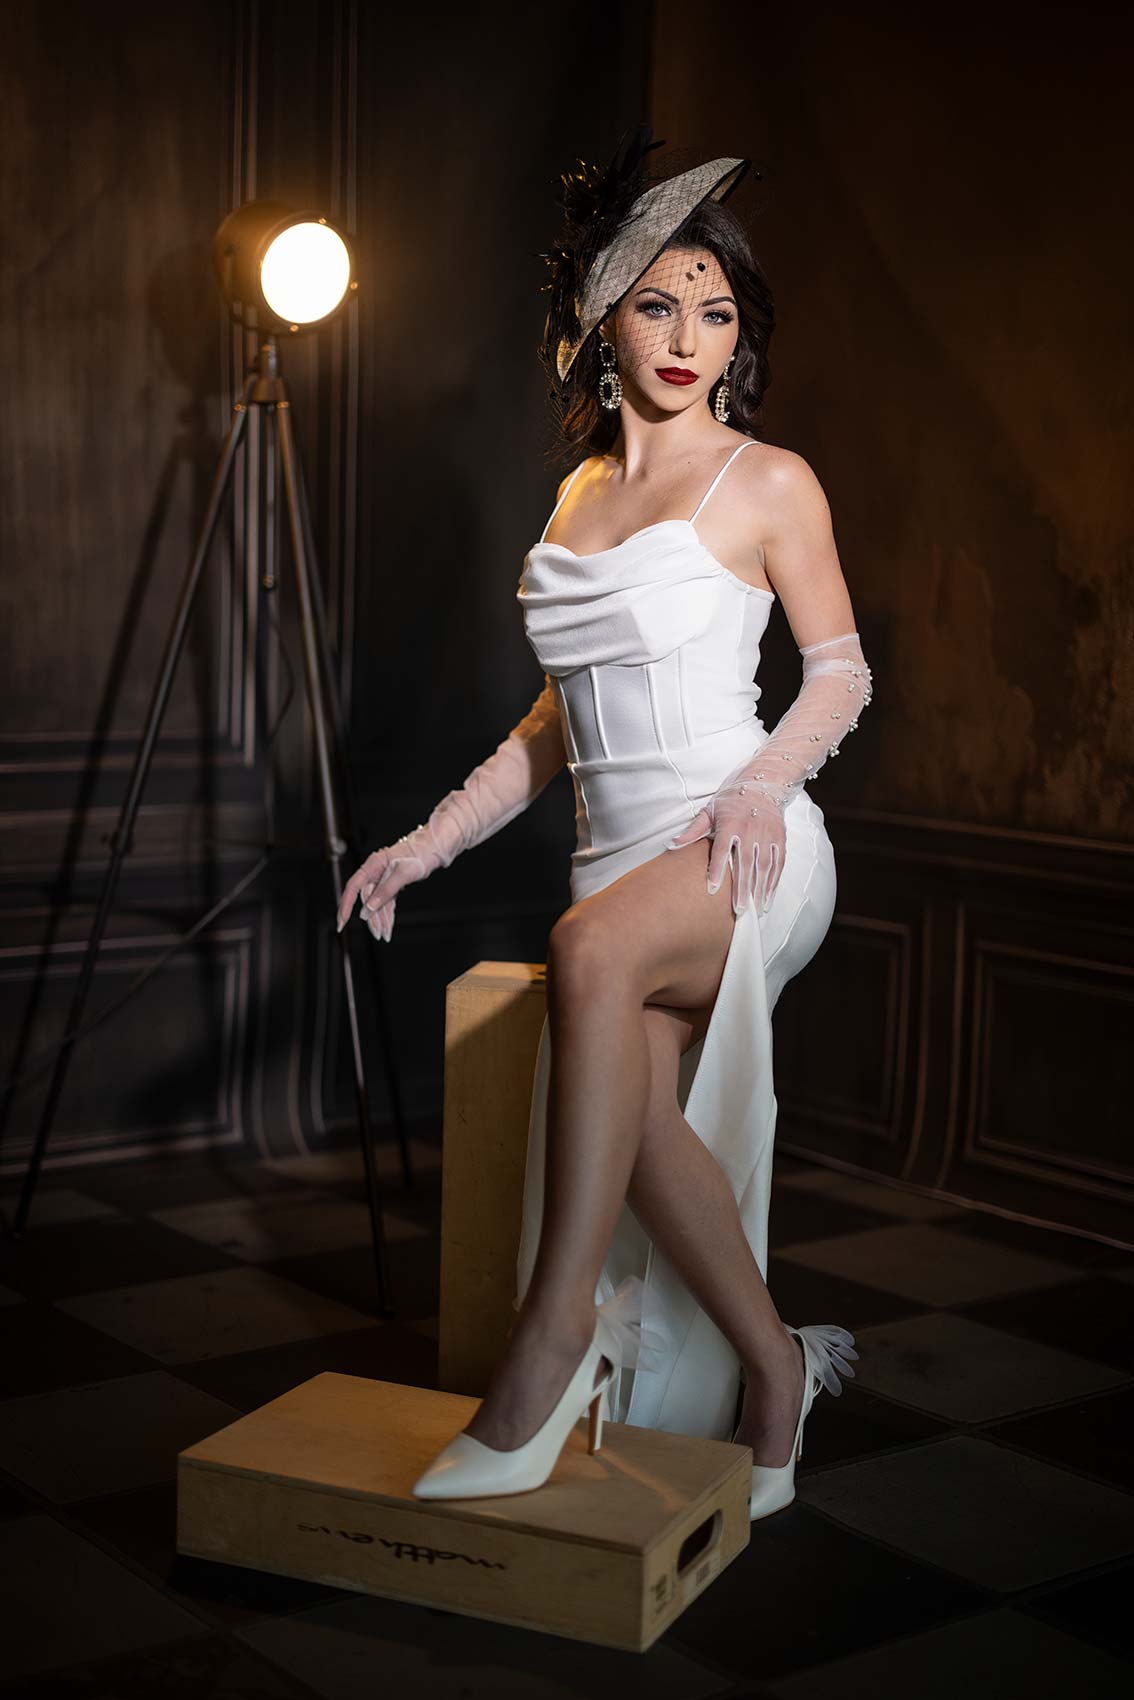
Then we’ve got this kind of old vintage lamp, which I think adds to the set. But I do want some warm light here, so we have another 300B set at 2,700 Kelvin. Let me lower this here so you can see. It’s really easy to control the light; we’re only at 6% power. This is going to throw out a ton of power if we need it, and I can quickly change it all the way up to 6,500. We’re going to work this at 2,700 because I want that tungsten light bulb look washing across the wall. There are a lot of things we can do in the room, so we’re going to take some shots here and then add some atmosphere to the shot just to give it a little more depth as well.
The beam is at about 24 degrees, so it’s a little bit wider, not quite as narrow. Obviously, I’m looking at this; we can go from 10 degrees, but I’m going to keep this at about 24. Ten degrees is going to be too narrow; there won’t be any light fall-off on the ground. We want to illuminate that a little bit. You have some really easy control with this. And again, what you see is what you get, so it’s nice to look at this with my eye and see without having to fire strobes and meter to know what I’m looking for.
I’m going to be shooting this in the corner of the setup. I want to bring the floor into play; she’ll be looking at the light, looking at me, and it’ll give us a nice look. The wash here is also very nice, and I’m getting a little bit of wash on her, which I want because the lamp is warm. The lighting should make some sense.
What’s the Best Way to Add Atmosphere to My Photos?
Okay, so what I want to do now is, while don’t get me wrong, I love this shot, I want to add a little bit of atmosphere. So, we’re going to use Atmosphere Aerosol. Honestly, I don’t even know if they’re still in business, but if they are, it’s a really cool product. Just be careful if you spray it near a fire alarm or smoke detector; it will set it off. We can speak from firsthand experience.
It’ll sit in the air long enough for you to start working with it, so start spraying this up higher, and no, this is not a tutorial on canned air. It’ll hang in the air long enough to get some shots, and then you can always come back in. Okay, let’s get a test shot here. I think we need more. Got to go crazy, it’s all or nothing.
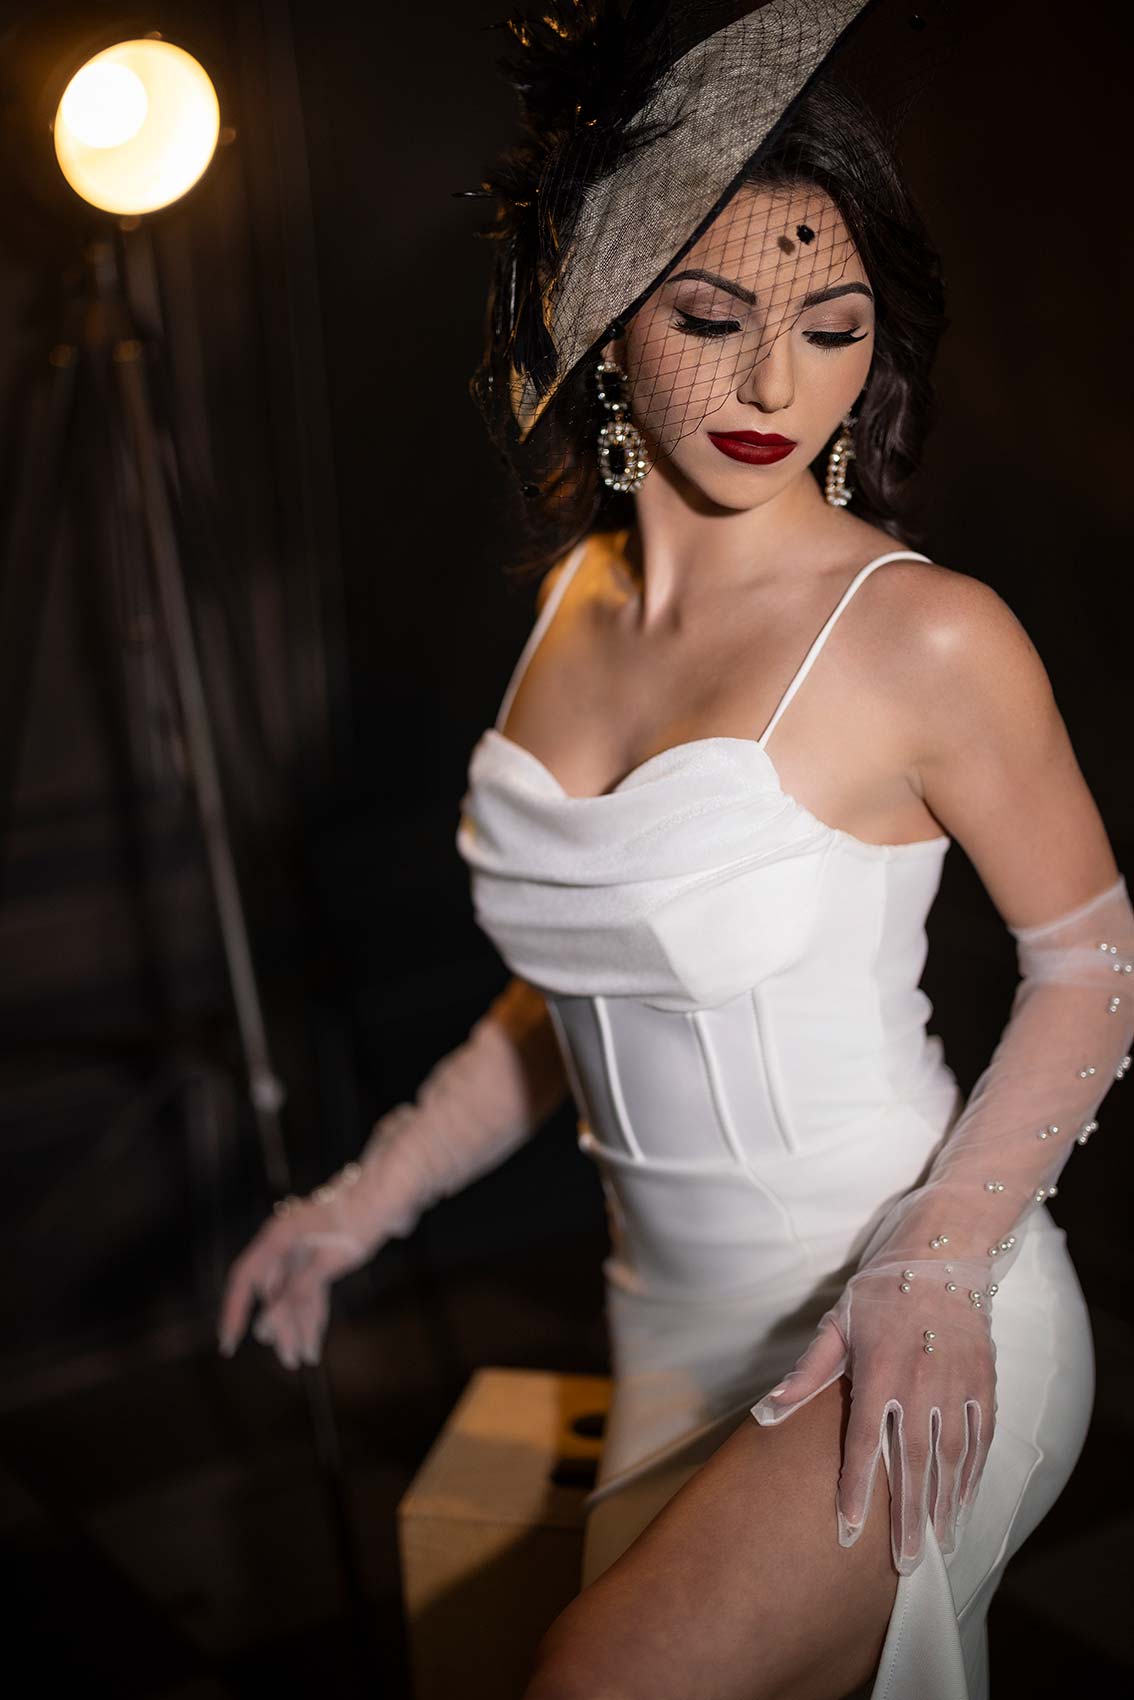
I want to sit her down now and keep working with this, just trying to frame it up so the light and everything else is where it needs to be.
All right everybody, that’s a wrap. Hopefully, you enjoyed the pictures you saw. Just two lights for this setup, which absolutely lets you transform your space and create any mood you’re aiming for. Let us know in the comments which one is your favorite, and we’ll see you in the next video.



This Post Has One Comment
I am a studio owner, thanks for the article it helped me decide on what continuous lighting I need to purchase. I have a cyc wall so I needed to get it properly lit for videography and I’m really only familiar with strobes. http://www.markschoenfelt.com