Light Is Light: Creating Your Own Lighting Style
In many circles throughout the world, people debate about what kind of lighting makes the best photographs. Hard light, soft light, natural light, strobes, LEDs…
Lighting is the foundation of a photographic composition. Photographers who are skilled in lighting can offer their clients flattering portraits no matter what environment they are working in. In the old days, lighting was just something that photographers understood. However, during the digital revolution, as cameras became more intuitive, people were able to obtain exposures much more easily by utilizing the automatic functions in their cameras.
From a professional point of view, understanding light and being able to execute your vision 'at will' despite the time of day or the location makes you an incredible asset to your client. Light is both an art and a craft. This broad spectrum can make lighting a daunting task to learn and teach. However, one simple philosophy of light can help clarify everything. There's good lighting, there's bad lighting, then there's the RIGHT lighting to help express the emotion you want.
High key lighting is a highly sought after and easy to create technique when you know how to do it. In this month's feature, I’ll show you how to create beautiful high key lighting on a low budget. I’ll take a reductionist approach, walking you step by step from the most complex, pro level, gear-intensive method, to a great 50% midway point, and then to our final 1-light method, the subject of this month’s tutorial.
Successfully controlling the harsh light from the sun requires two inexpensive tools: a diffusion panel to soften the light and one or more reflectors to bounce light, fill in unwanted shadows, and create accent light. Both of these tools are available in a wide variety of models, build qualities, features, sizes, and price points. The good news is you can pick up basic models of both tools that do the job well for around $100. Not too bad for professional location lighting! Ideally you’ll also want a light-duty stand to use with the reflector and a sandbag or two to keep things stable in the event of windy conditions.
All in all the shoot came together really well and my client couldn’t be happier. Bringing your client’s concepts to life doesn't have to be complicated or onerous. The key is good communication, a clear idea of what you’re trying to accomplish going in, and a simple, effective lighting plan. My advice is always to keep it uncomplicated and creative. Keep your eyes and ears open and always think about what you’re not seeing. The final you’re seeing here isn’t where I started out during this shoot. It’s easy to miss something potentially great when you’re in the shooting bubble. In my experience, the strongest image may not be the one you’re shooting but something still unseen and undiscovered. Stop, look around, reframe. You’ll be surprised at the hidden gems just waiting for you!
Choosing the right strobe for your needs is not only a question of budget but how you intend to use the strobe. The criteria and features desirable for studio strobes differ from those designed for location use, and vice versa. That said, strobes designed for location use can be used in the studio, and studio strobes can in some cases be used on location. So, if you can only budget for one type of strobe, don’t worry. Keep in mind that every strobe involves a series of compromises, and there is no one strobe that does everything and does it well. That’s why there are portable strobes designed for location work and larger, more powerful strobes intended for studio work. Each has its pluses, minuses and place.
When it comes to crafting killer quality of light, it’s all about modifiers. These light-shaping tools come in a variety of shapes, sizes and interior finishes. When attached to the front of strobes, modifiers help control the quality, shape, direction, spread, and amount of contrast, as well as how quickly the light falls off. While some have more versatility than others, there is no one-size-fits-all modifier. Each has its own unique characteristics, and each produces a different set of results.
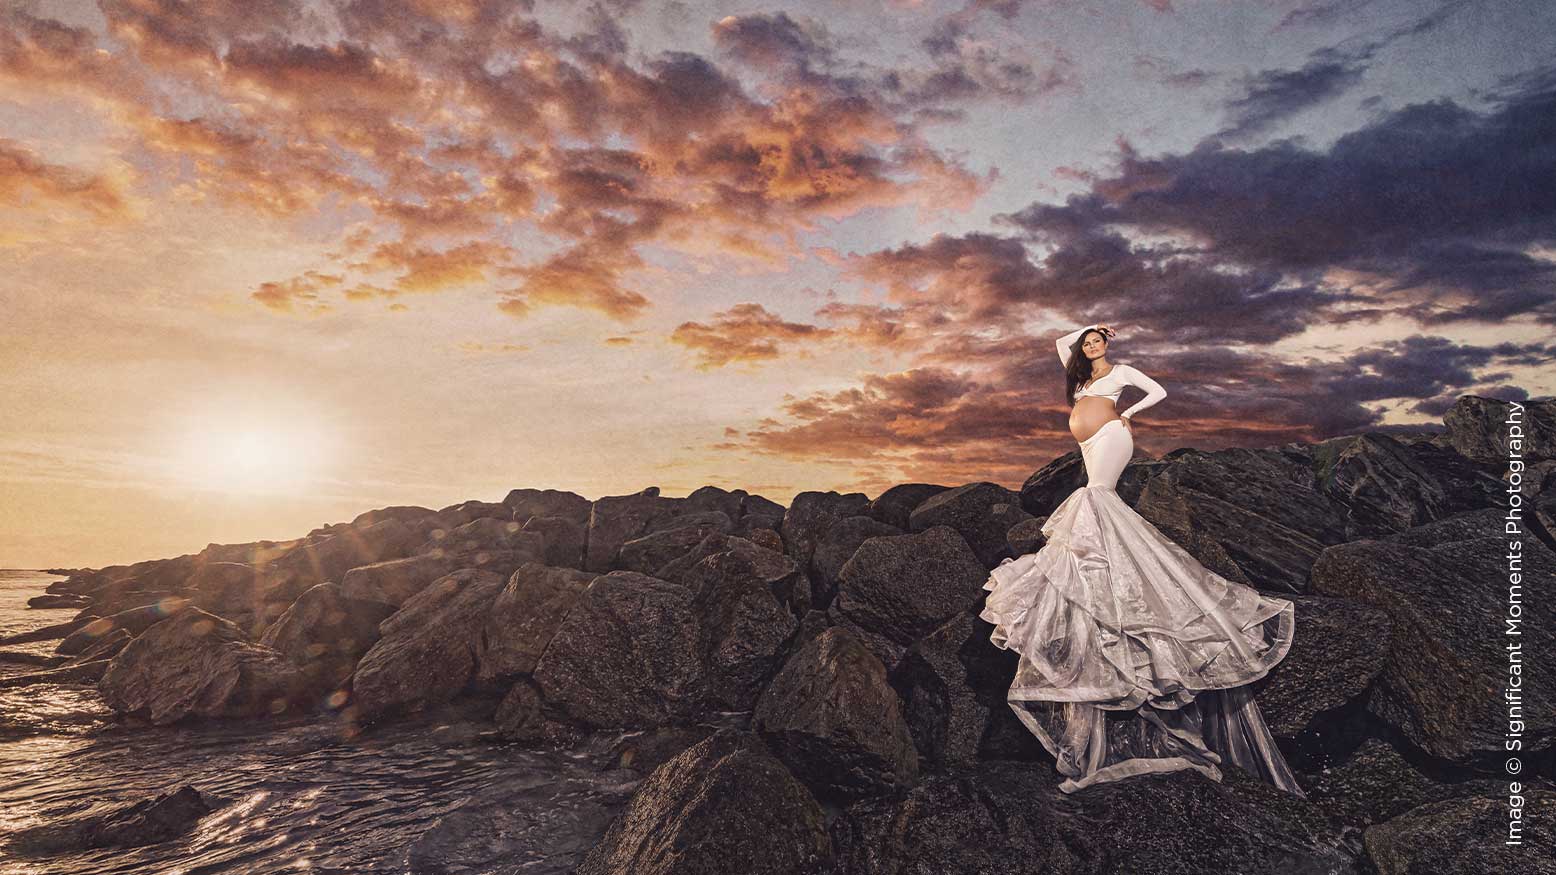
I love my strip boxes. My go-to's are the Profoto D2 line and the Profoto 1x6 RFI strip boxes with grids. I use these light modifiers for my maternity, fitness and boudoir clients, because of the control and impact they have when shaping light. You can use them to create gorgeous directional light that focuses on drama. And who doesn't enjoy an excellent dramatic photograph?
Learning where to place your key light and what angle to give it is easy using the six foundational lighting patterns photographers rely on for consistent results. These six simple, yet highly effective, lighting patterns are the go-to guide for an endless variety of predictable, repeatable lighting effects. In fact, one of these lighting patterns, Rembrandt Light, has been in practice since the master painter Rembrandt first used it.