Join us for a Behind the Scenes look at how I work with real clients to get stunning portraits in this studio lighting tutorial. We’ll be using the Nanlite PavoTube 2 LED lights, which are great for studio work and video production. These are a perfectly portable all around light for your photography.
Equipment Used:
Camera: Canon EOS R5
Lens: Canon RF50 f1.2
Light: Nanlite PavoTube 2
Team:
Photographer: Sal Cincotta
Model: Blaire Winter
Hair & Makeup: Brandi Patton, ReFine Beauty
Behind the Scenes | Stylized Shoot with the Canon EOS R5 and RF50mm F1.2
What’s up everyone, welcome back to another video. My name is Sal Cincotta and today I’m here with Blaire, one of my high school seniors, and we’re doing a little fashion shoot with some new lights that I’ve picked up from Nanlight. They’re the Pavotube IIs. That’s a tongue twister, try to say that a million times. I’m obsessed with these lights, they’re very what you see is what you get. They’re perfect for video or for portraits.
As you can see, we’re using them to change the color. They’ve got an RGB palette that you can cycle through and a host of other features that they do, making them very, very versatile. I’ve got the Canon R5 and a 50 mm lens, and that’s all I’m using. Let’s have some fun and see what we can create.
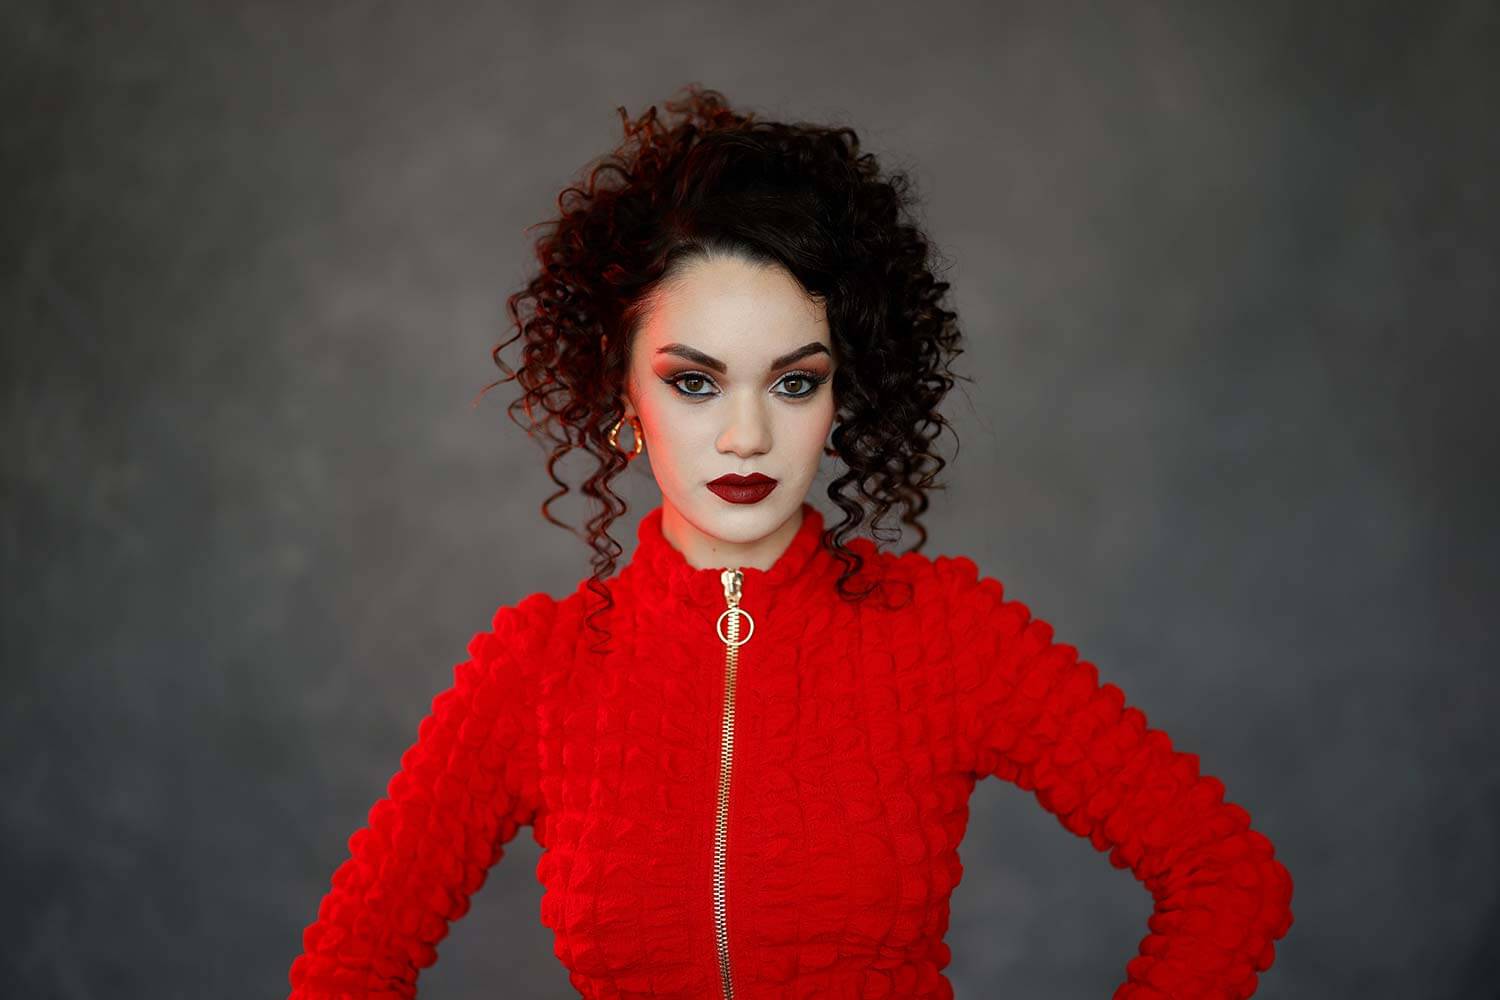
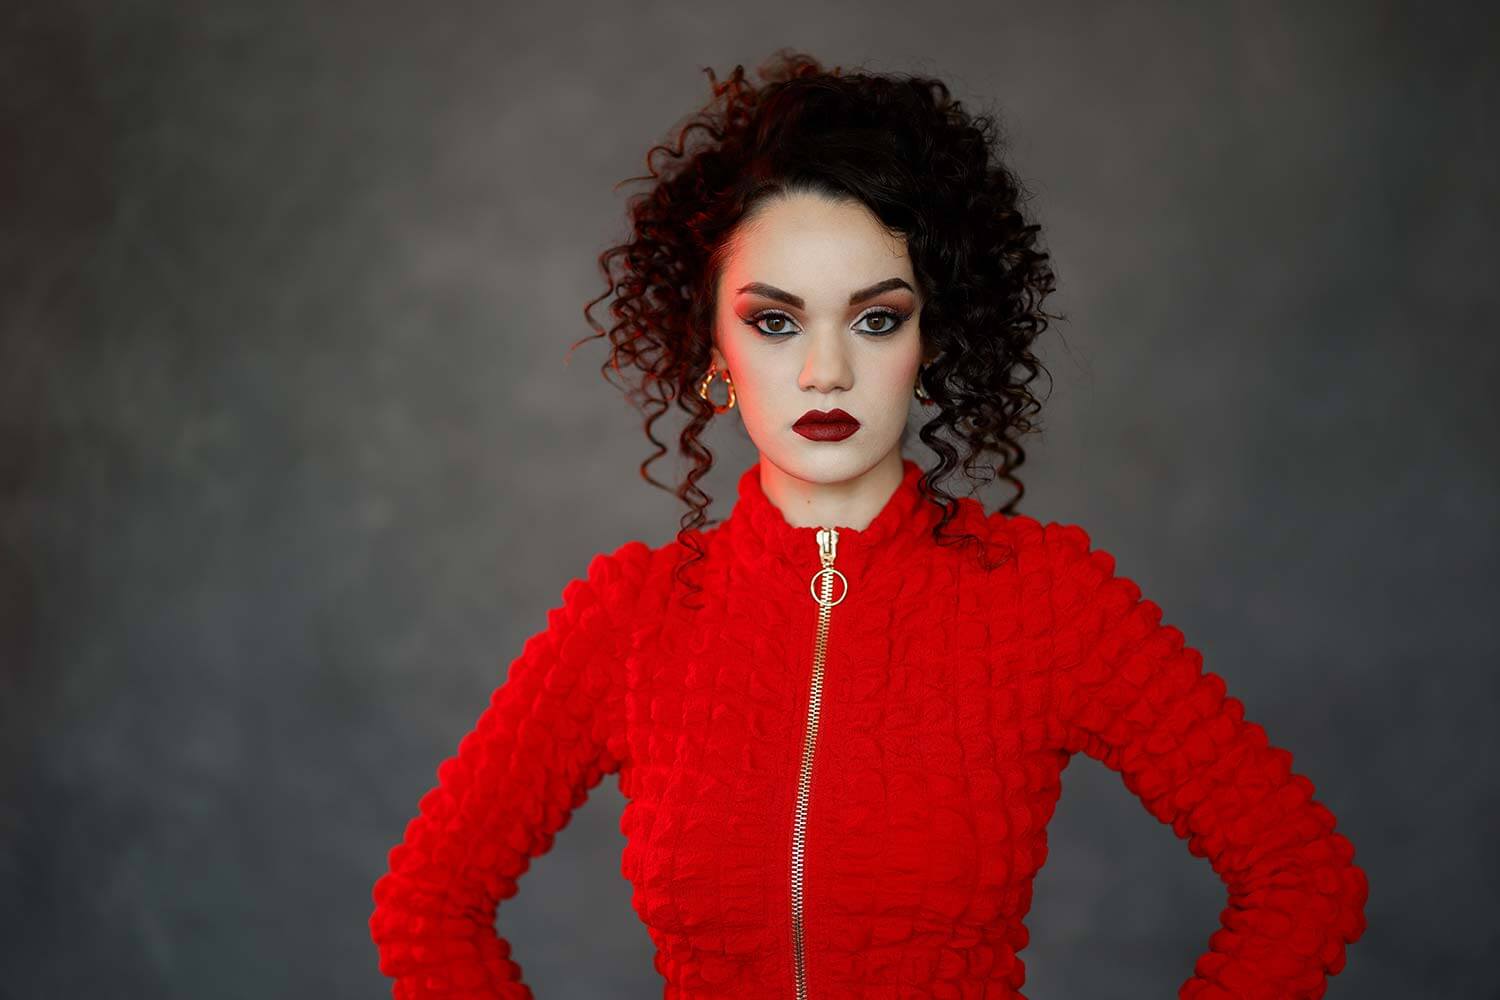
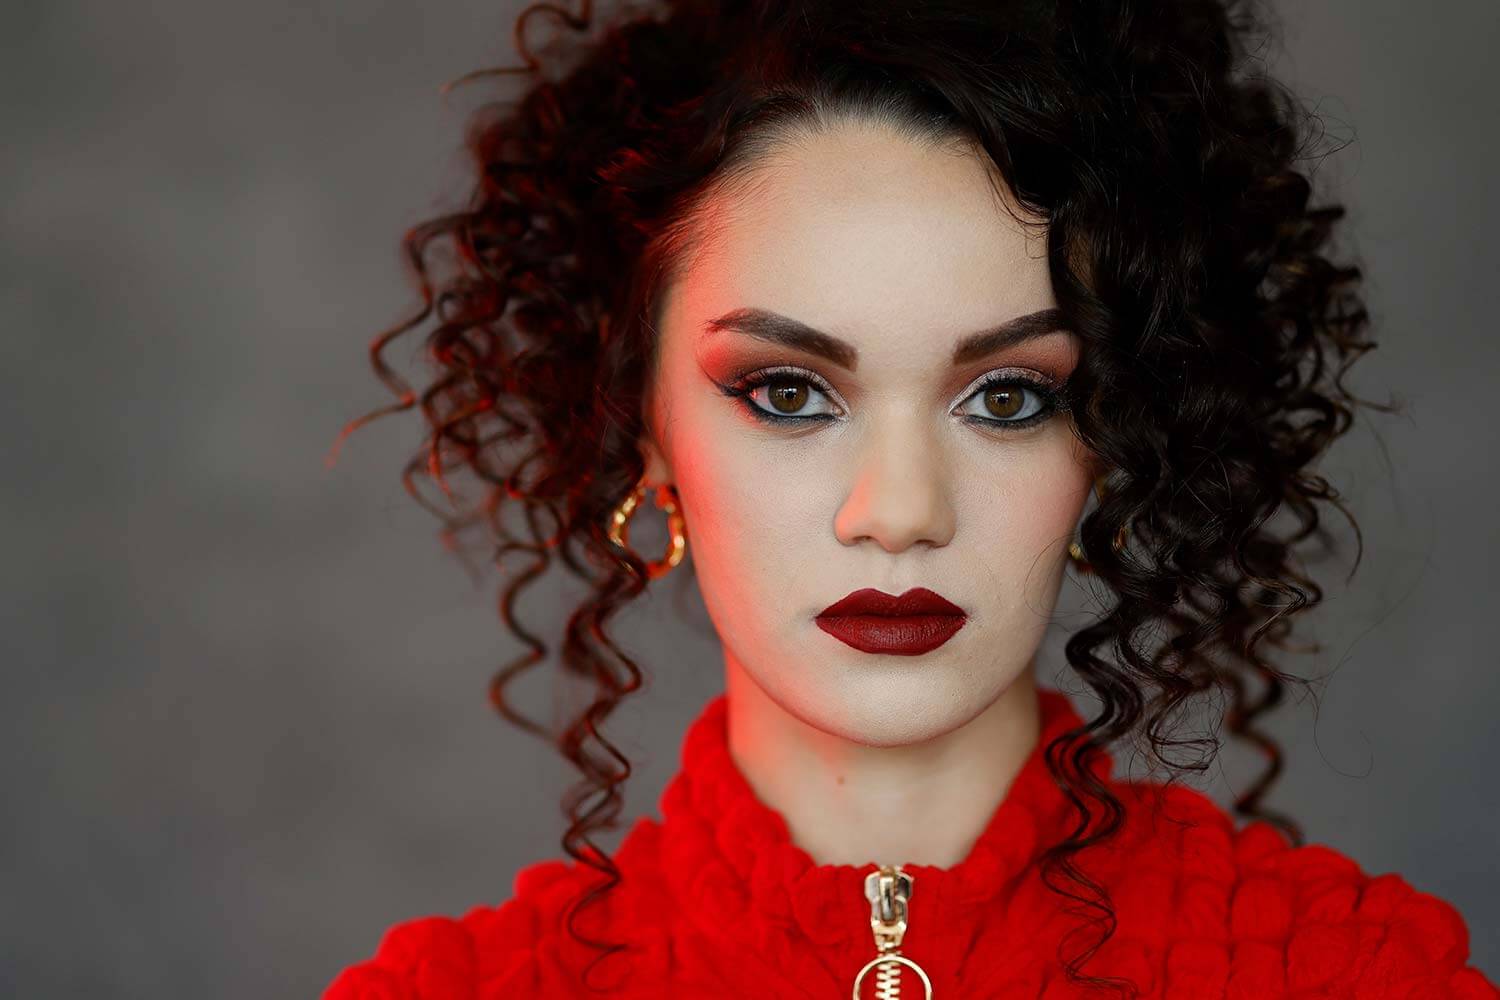
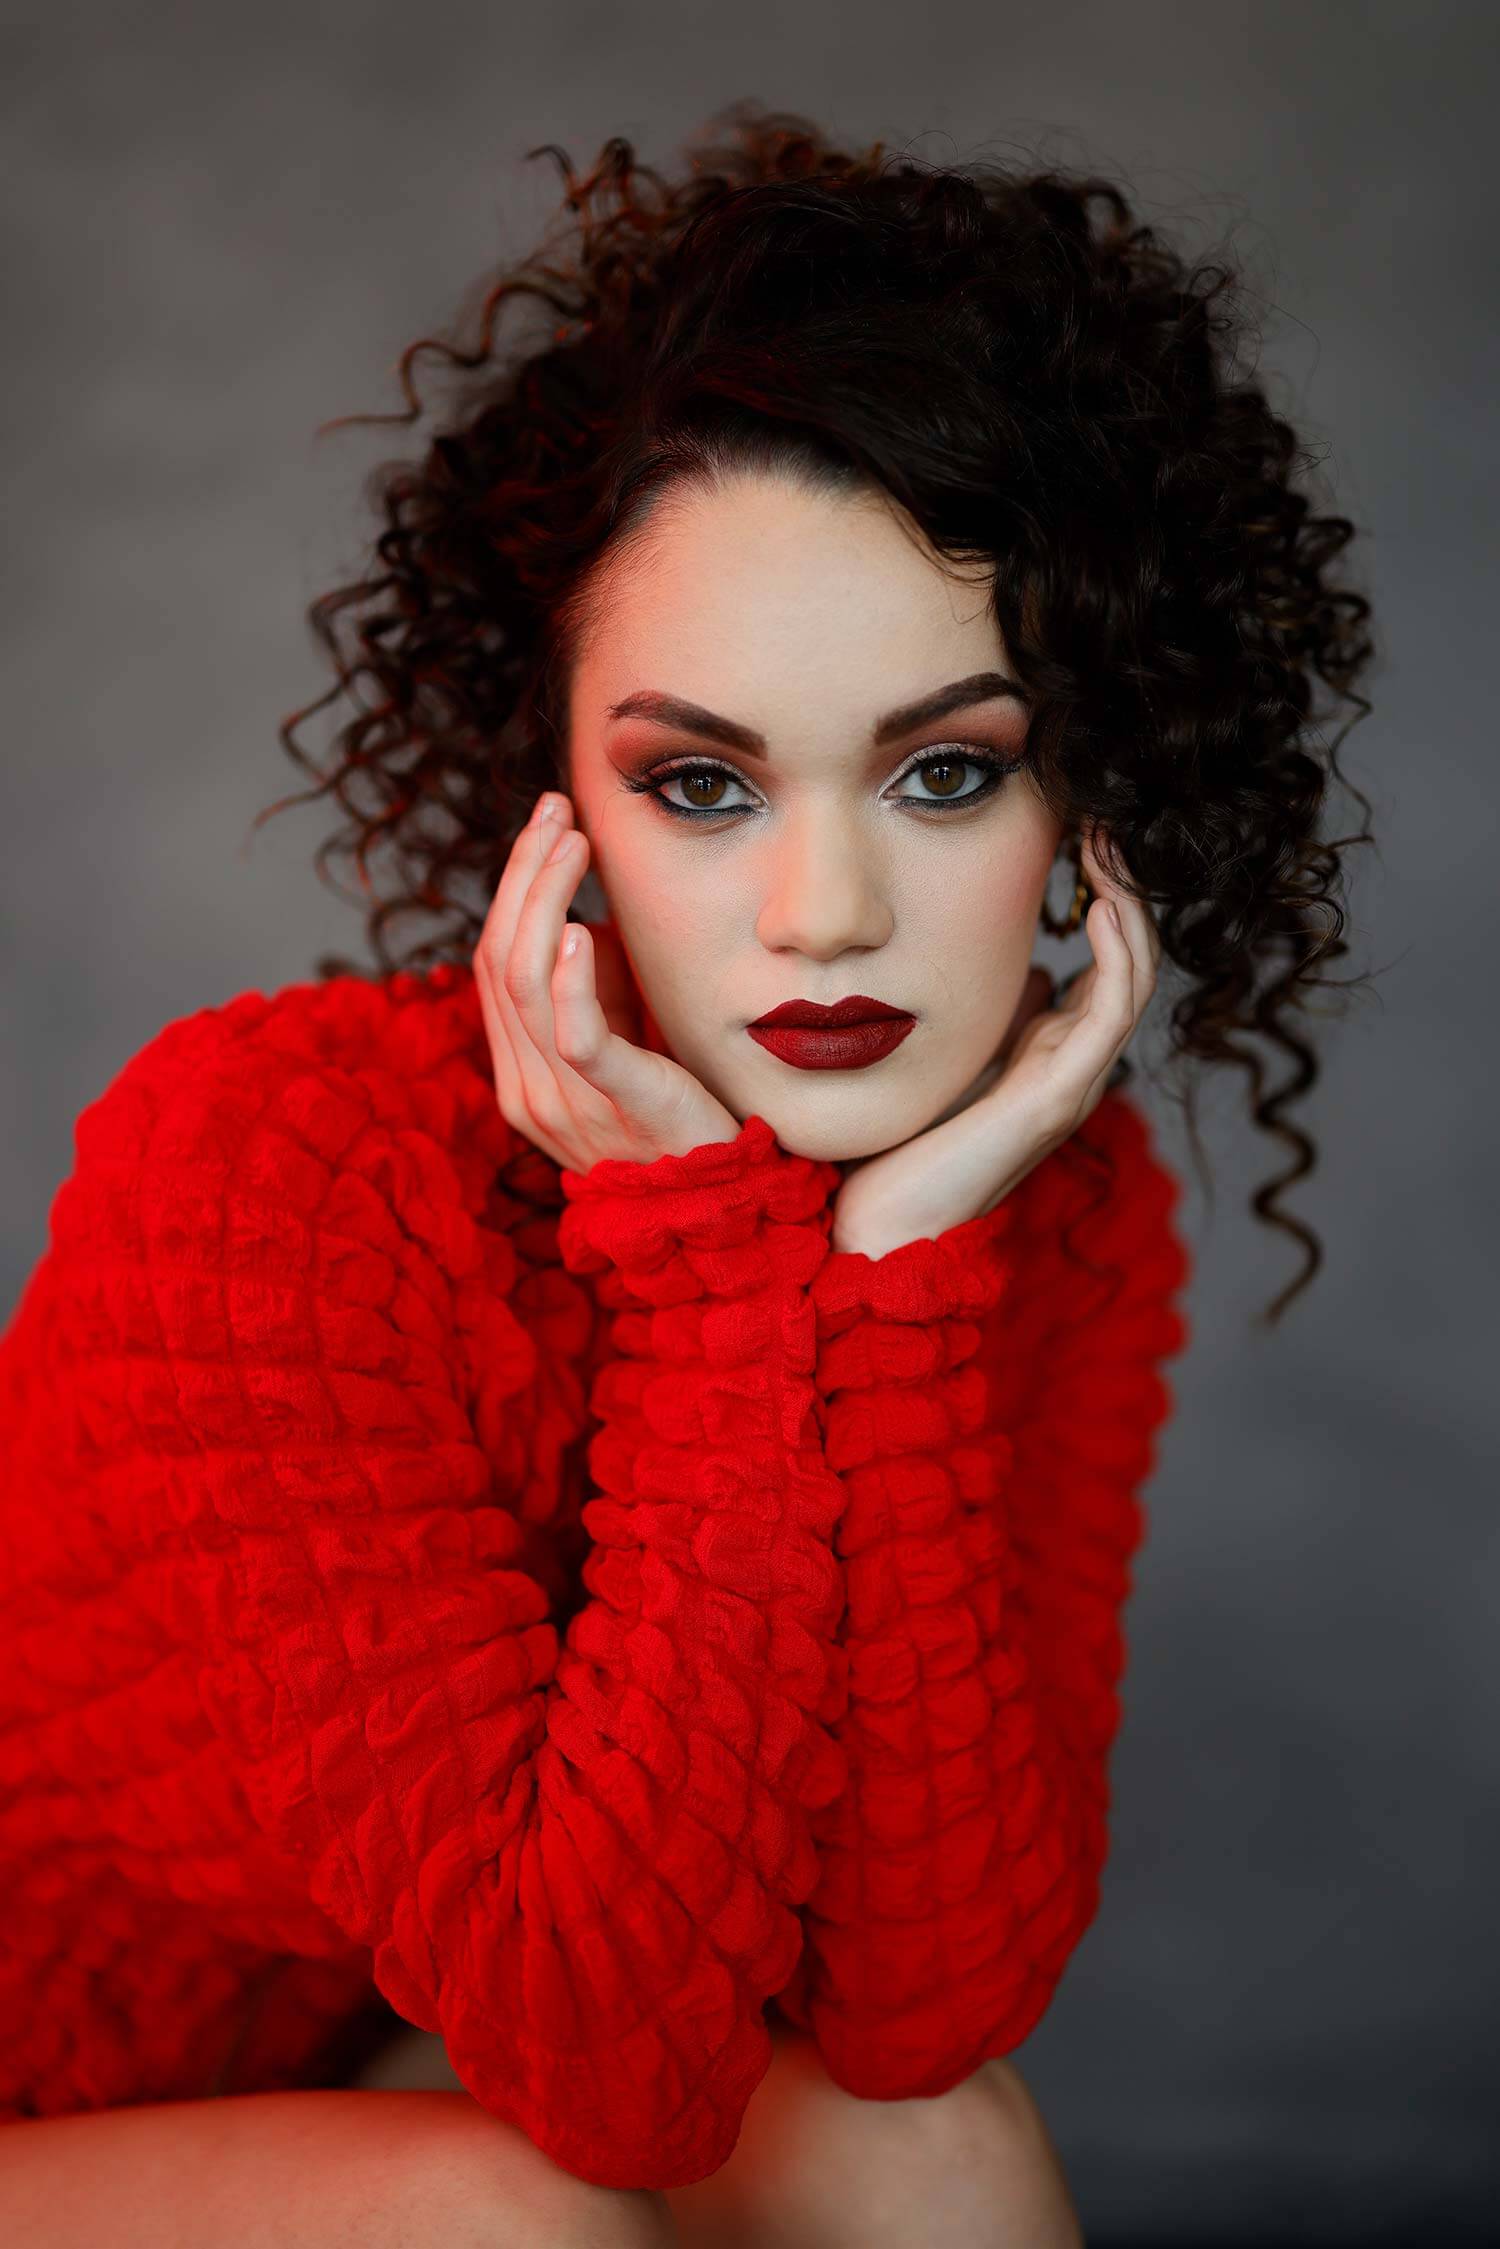
Let’s start here and see what this is looking like. I’m shooting at ISO-200 F/1.2. It’s got a really shallow depth of field. I love the way that’s looking with just a kiss of red light on her cheek. With this 50 mm, I like the 1.2. I really do like that shallow depth of field. I feel like it gives everything a very milky look and it’s really nice on skin.
Settings: f/1.2 @ 1/1000, ISO 200
Settings: f/1.2 @ 1/1000, ISO 200
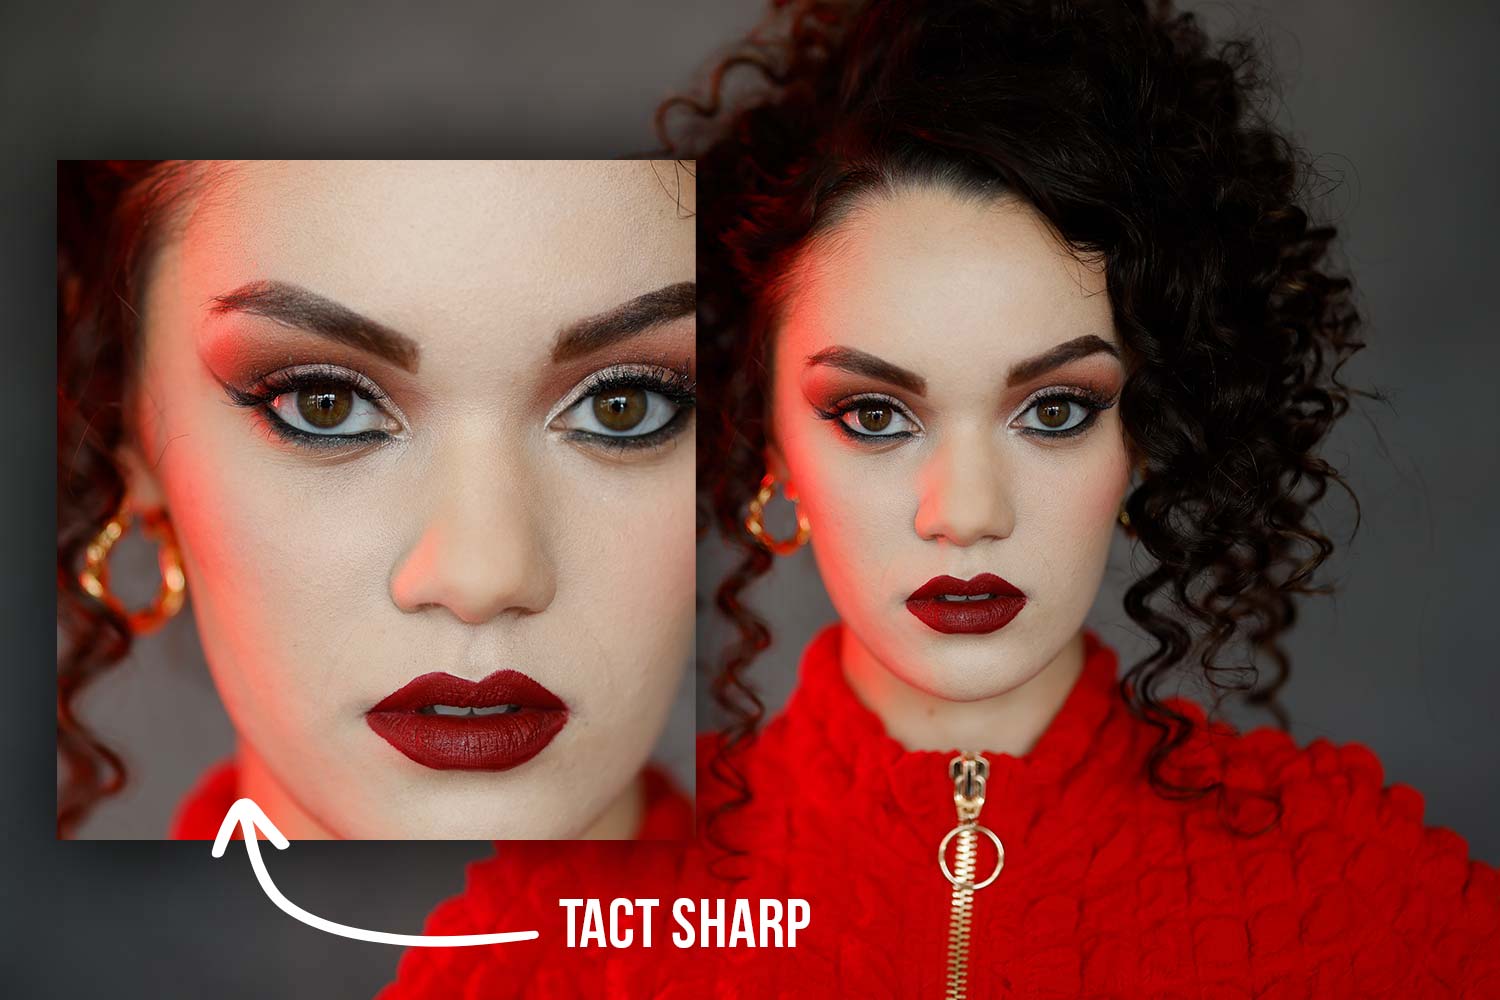
With a 50 mm you can get really close. Anything wider, you start getting some skew. But, this allows me to be close and still get a nice portrait of her where we’ve got some really good skin tones. Even at 1.2, that eye is tack-sharp. That is just a testament to Canon’s R Series glass. I am a Canon fanboy right now, sorry for everybody else out there. I don’t want to hear any bull… It is hard-pressed to beat this Canon RF 1.2 shooting it wide open. If you’re not going to shoot wide open, why’d you even bother getting the lens? I just love that look and that it’s tack-sharp.
Settings: f/1.2 @ 1/1000 ISO 200
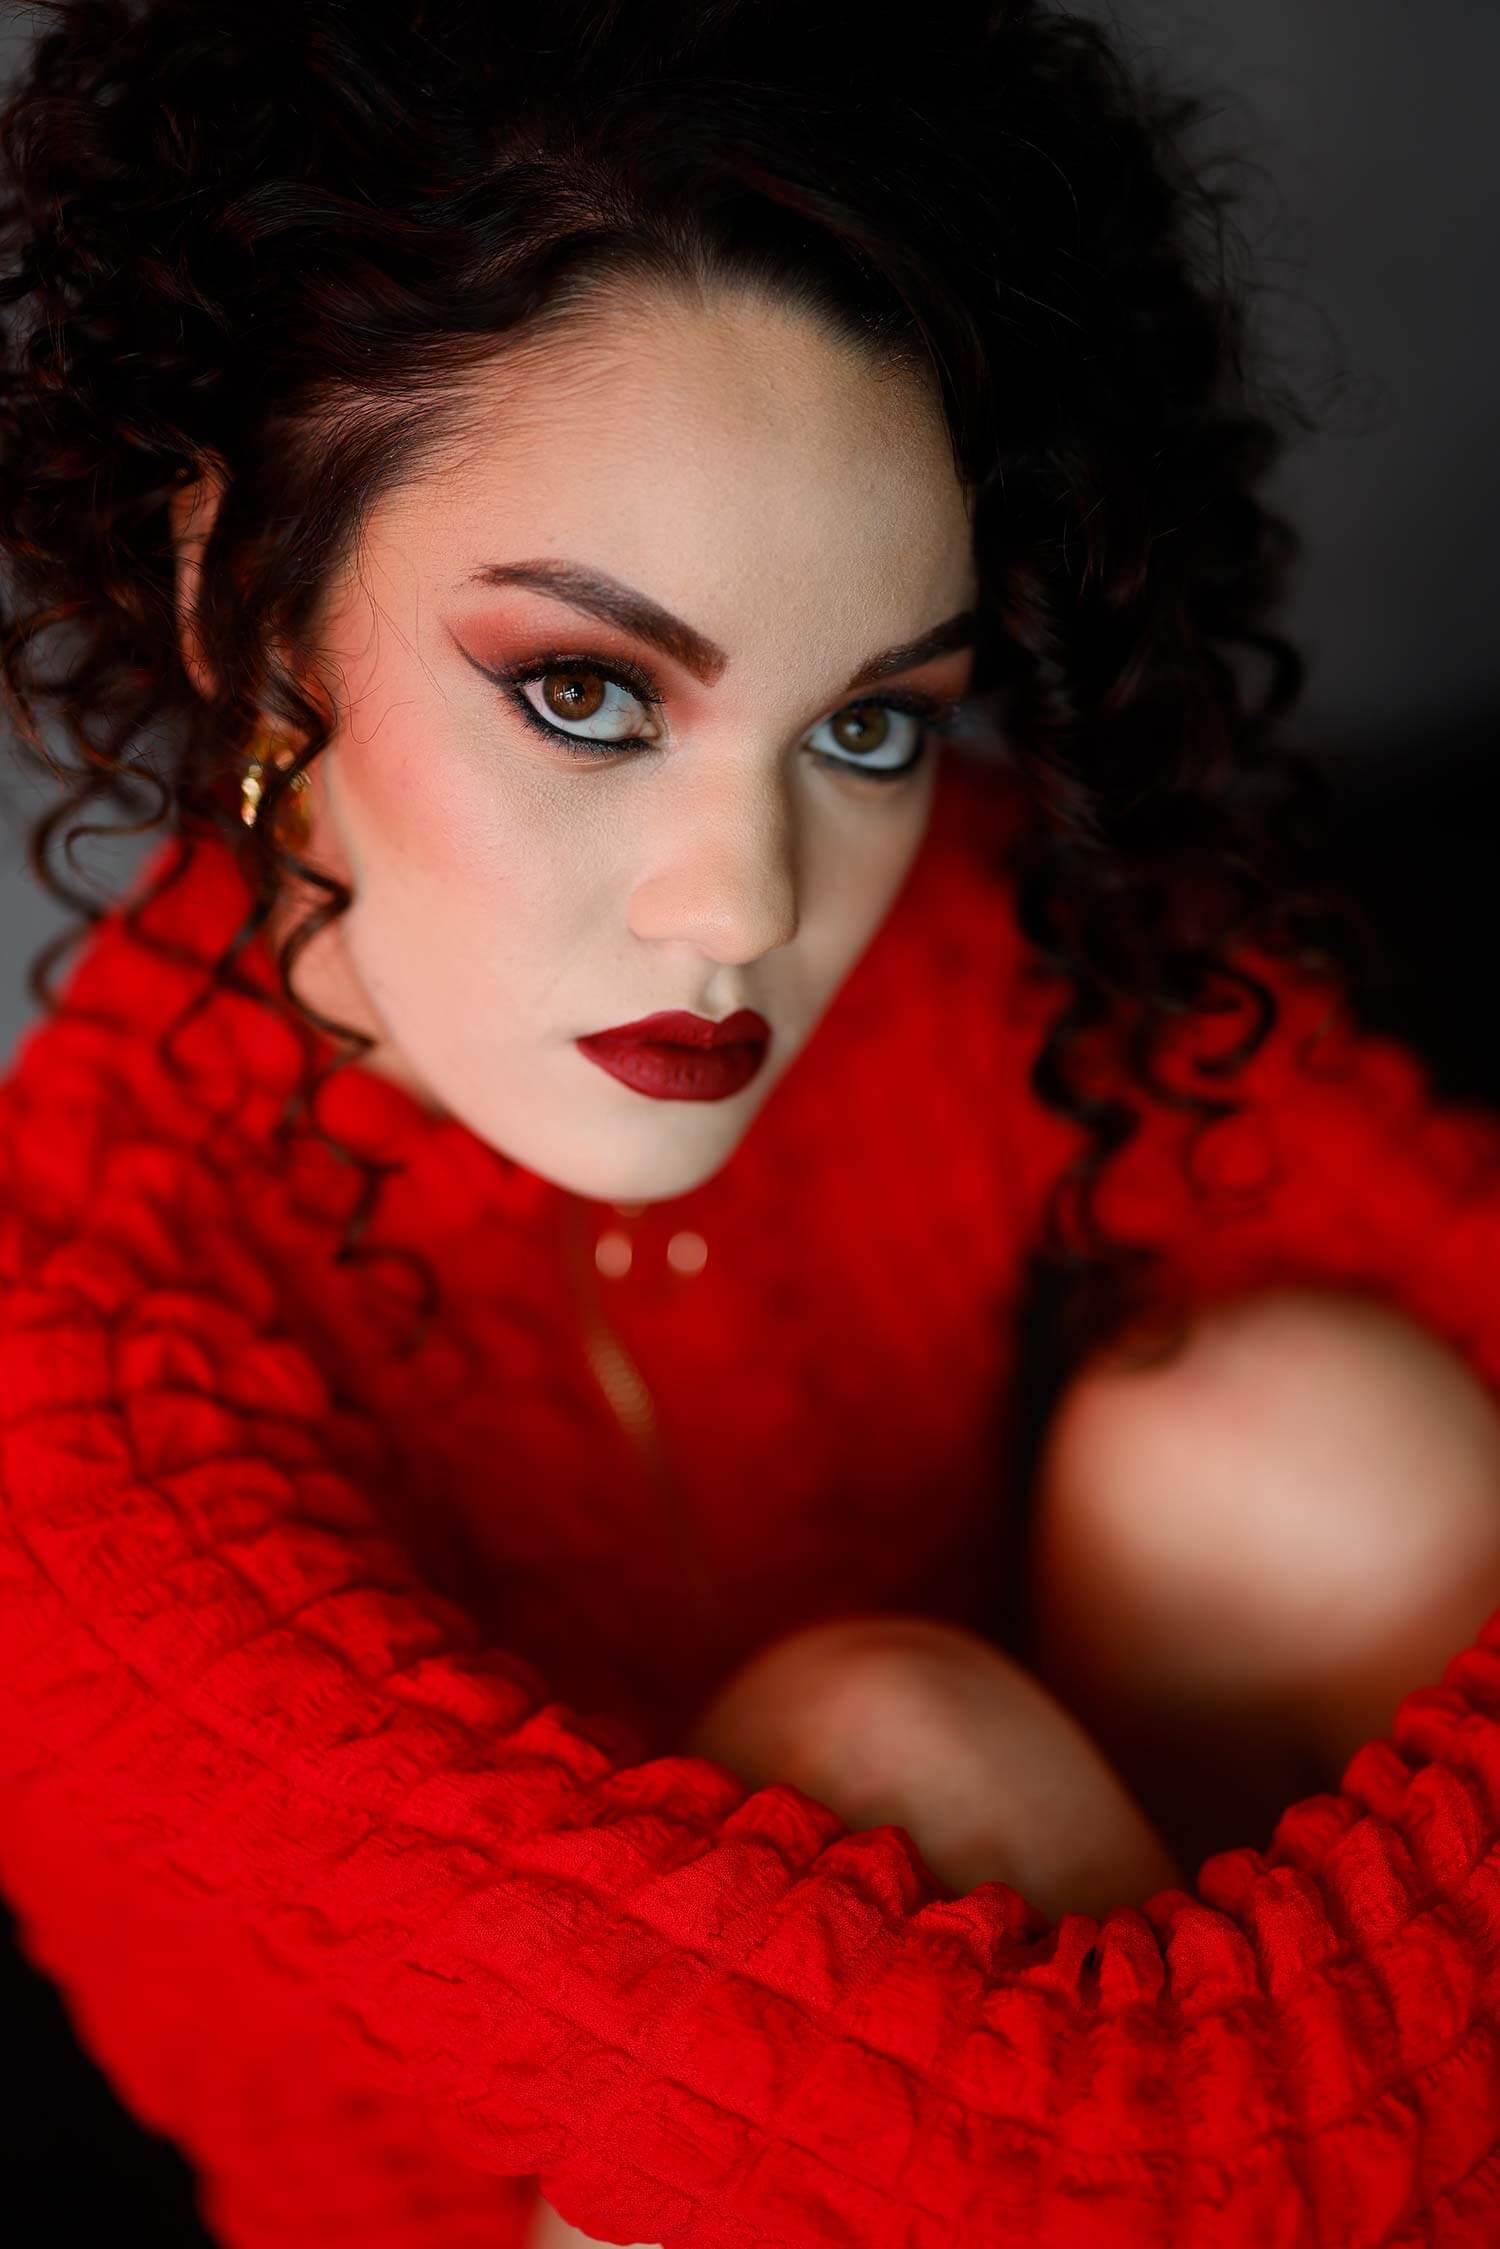
Something you may not know is that the camera system has also got a cropping aspect ratio. I can change this to 1.6, which is basically just making use of all those megapixels. Now my 50 mm lens has got a 1.6 crop, so it’s punching in on it. And, now at 50, I can get much closer and it looks like maybe I’m shooting it with an 85 or maybe even 8. I can still get that F/1.2, but now I’ve got one lens that’s giving me two different focal length looks. Yes, it’s digitally, but it doesn’t matter because it’s still giving me that same look.
Settings: f/1.2 @ 1/1000, ISO 200
You always wonder how many megapixels is too many megapixels – 50 megapixels, a hundred megapixels, what are you doing with it? The whole point of having that is so that you can crop in and move around a frame. That’s why, in the world of video, they film in 4K or film in 8K. There’s nobody displaying 8K movies, but filming it in 8K allows them to punch in and move around the frame, giving the frame motion. Obviously we’re doing stills, which is one of the benefits of it. I promise you that most of your cameras, the mirrorless cameras, are going to offer you the ability to do that. So, you might want to look in your user manual and read it once in a while to learn how to do that.
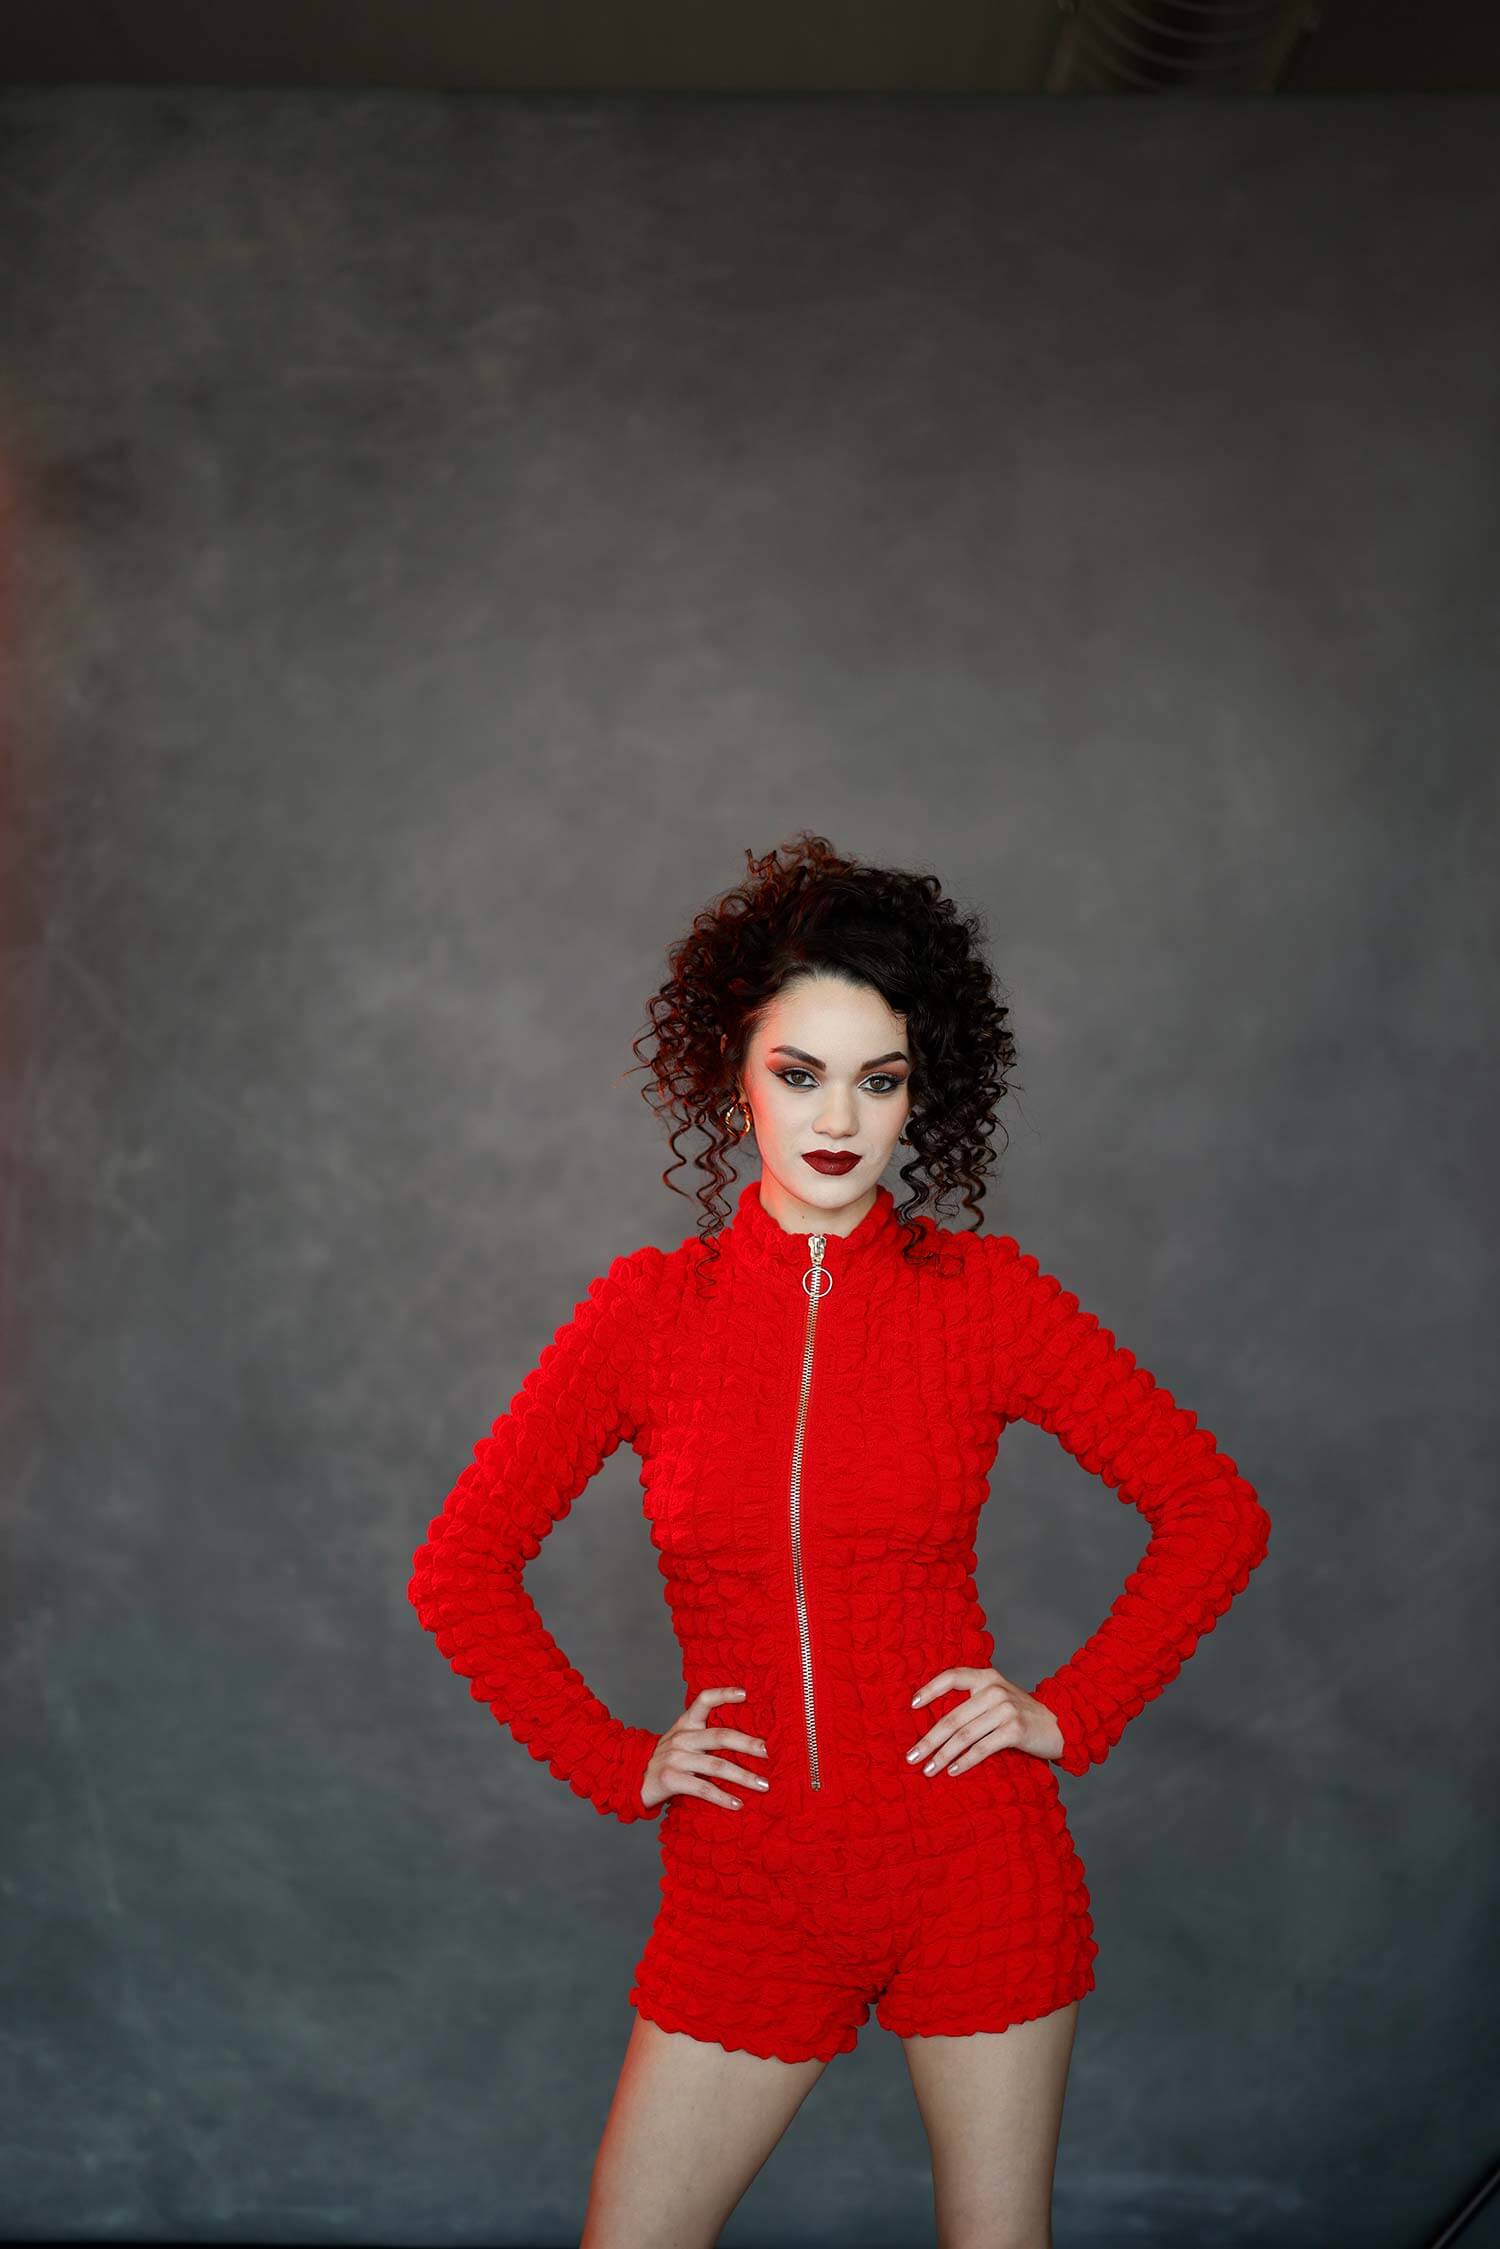
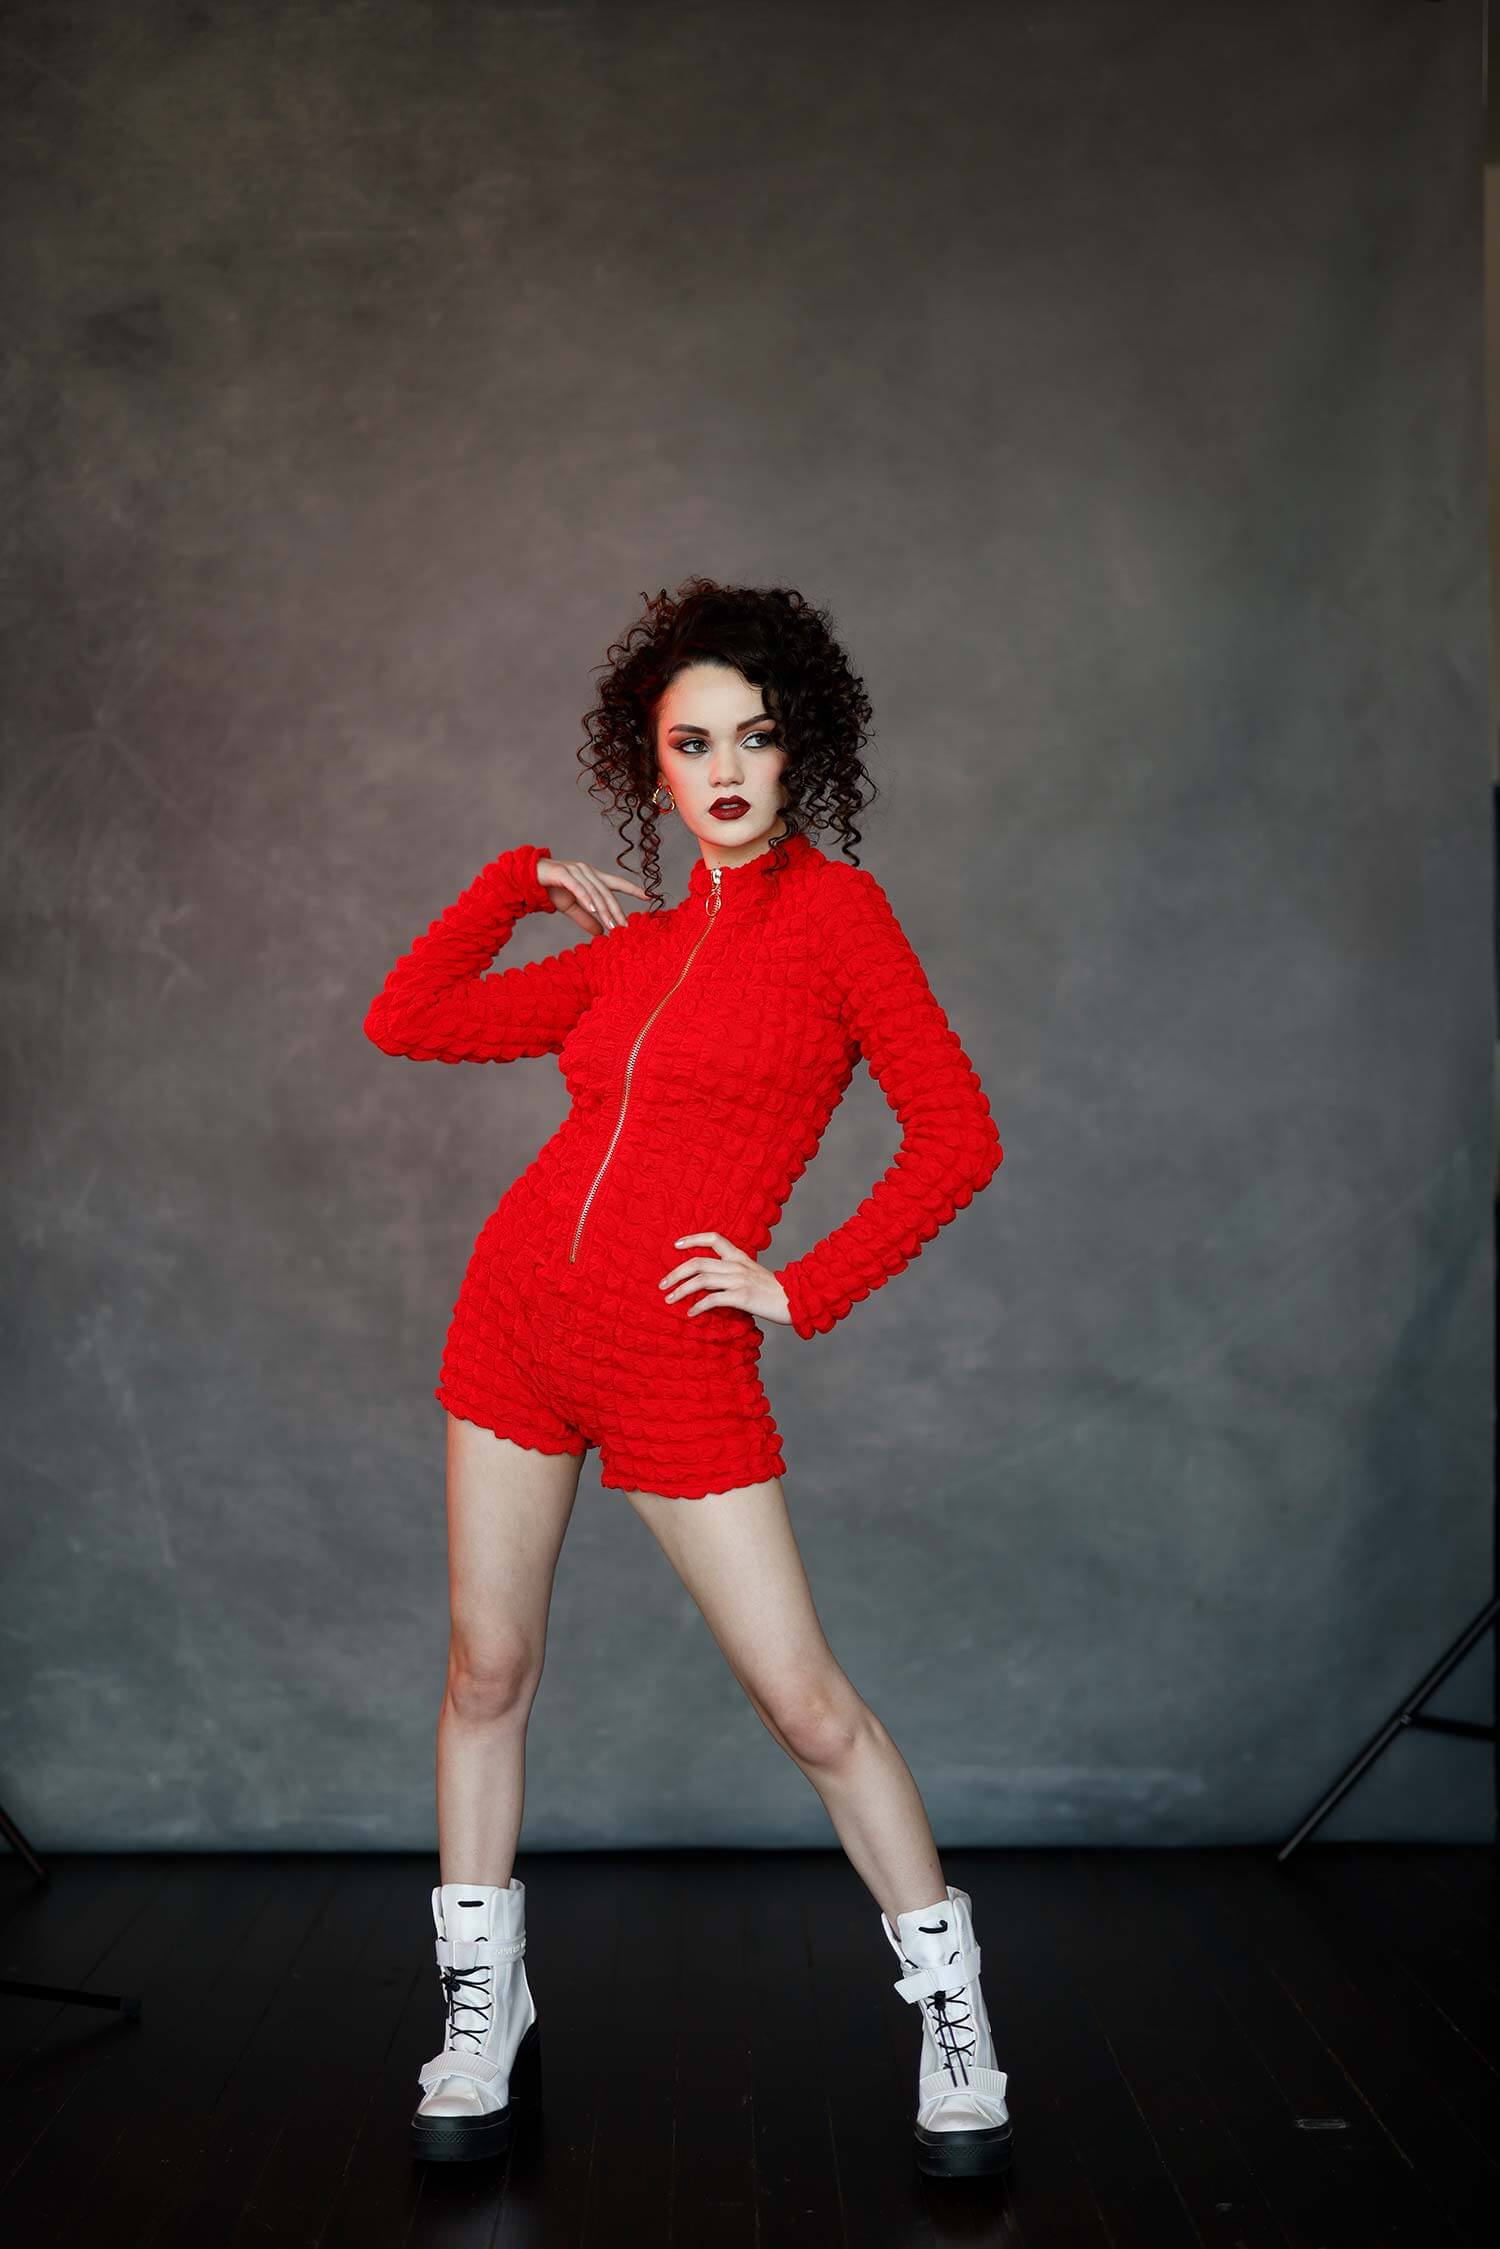
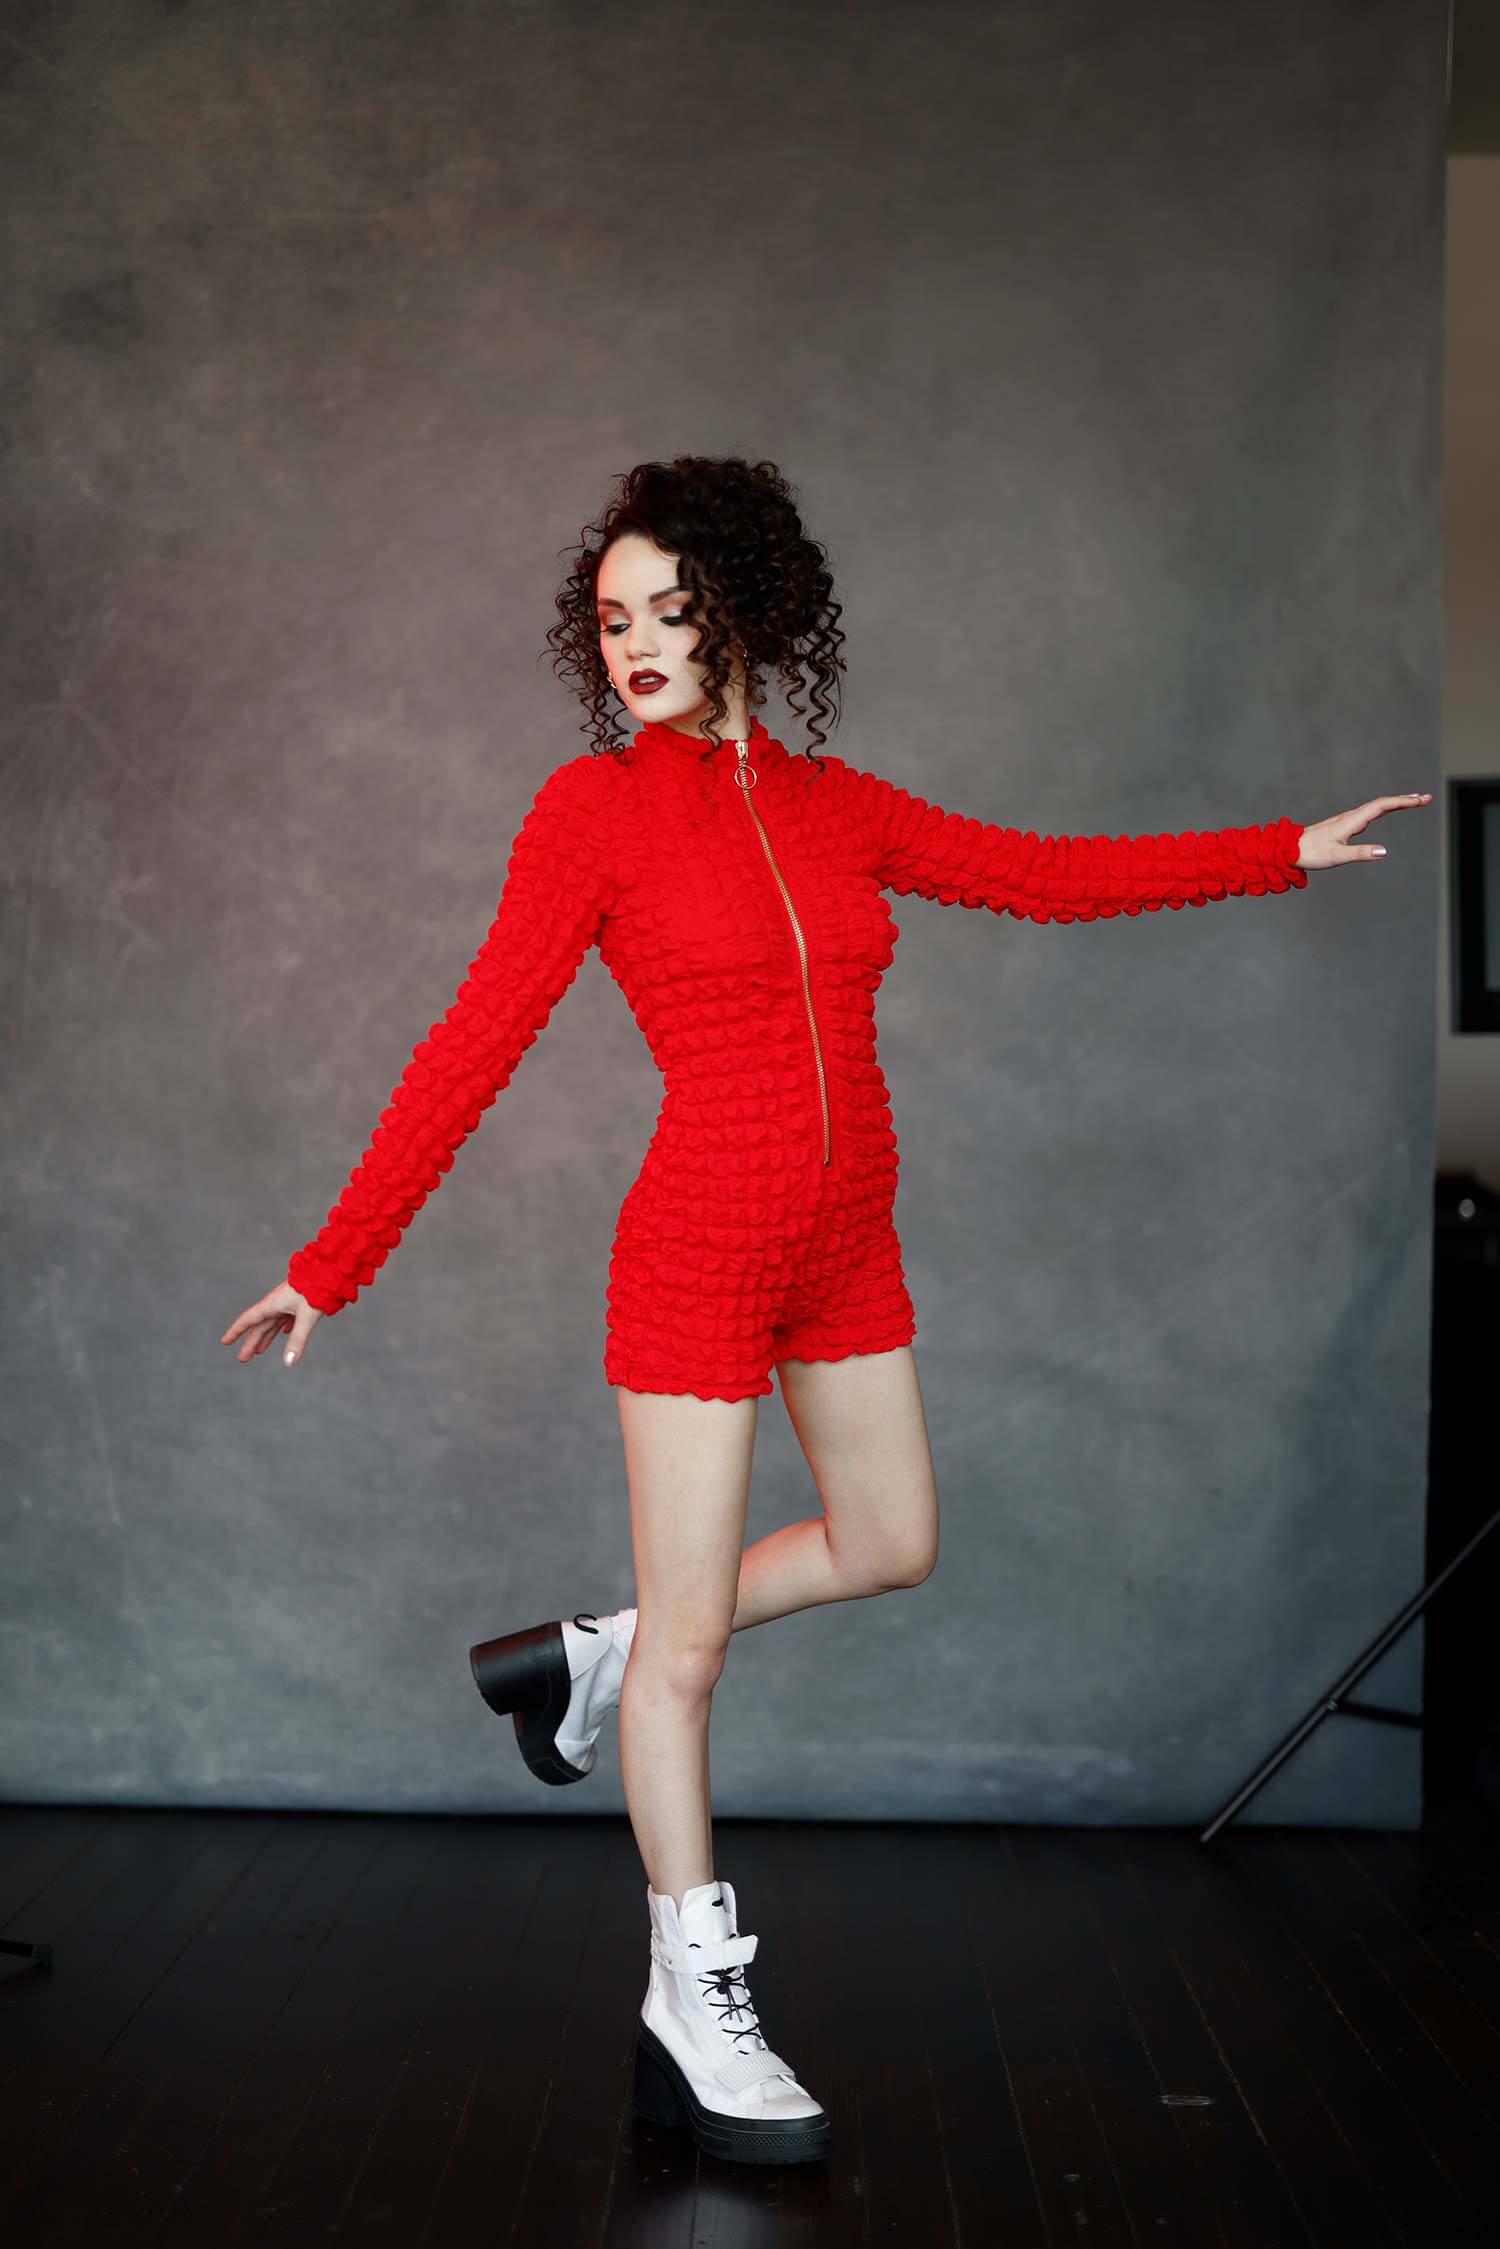
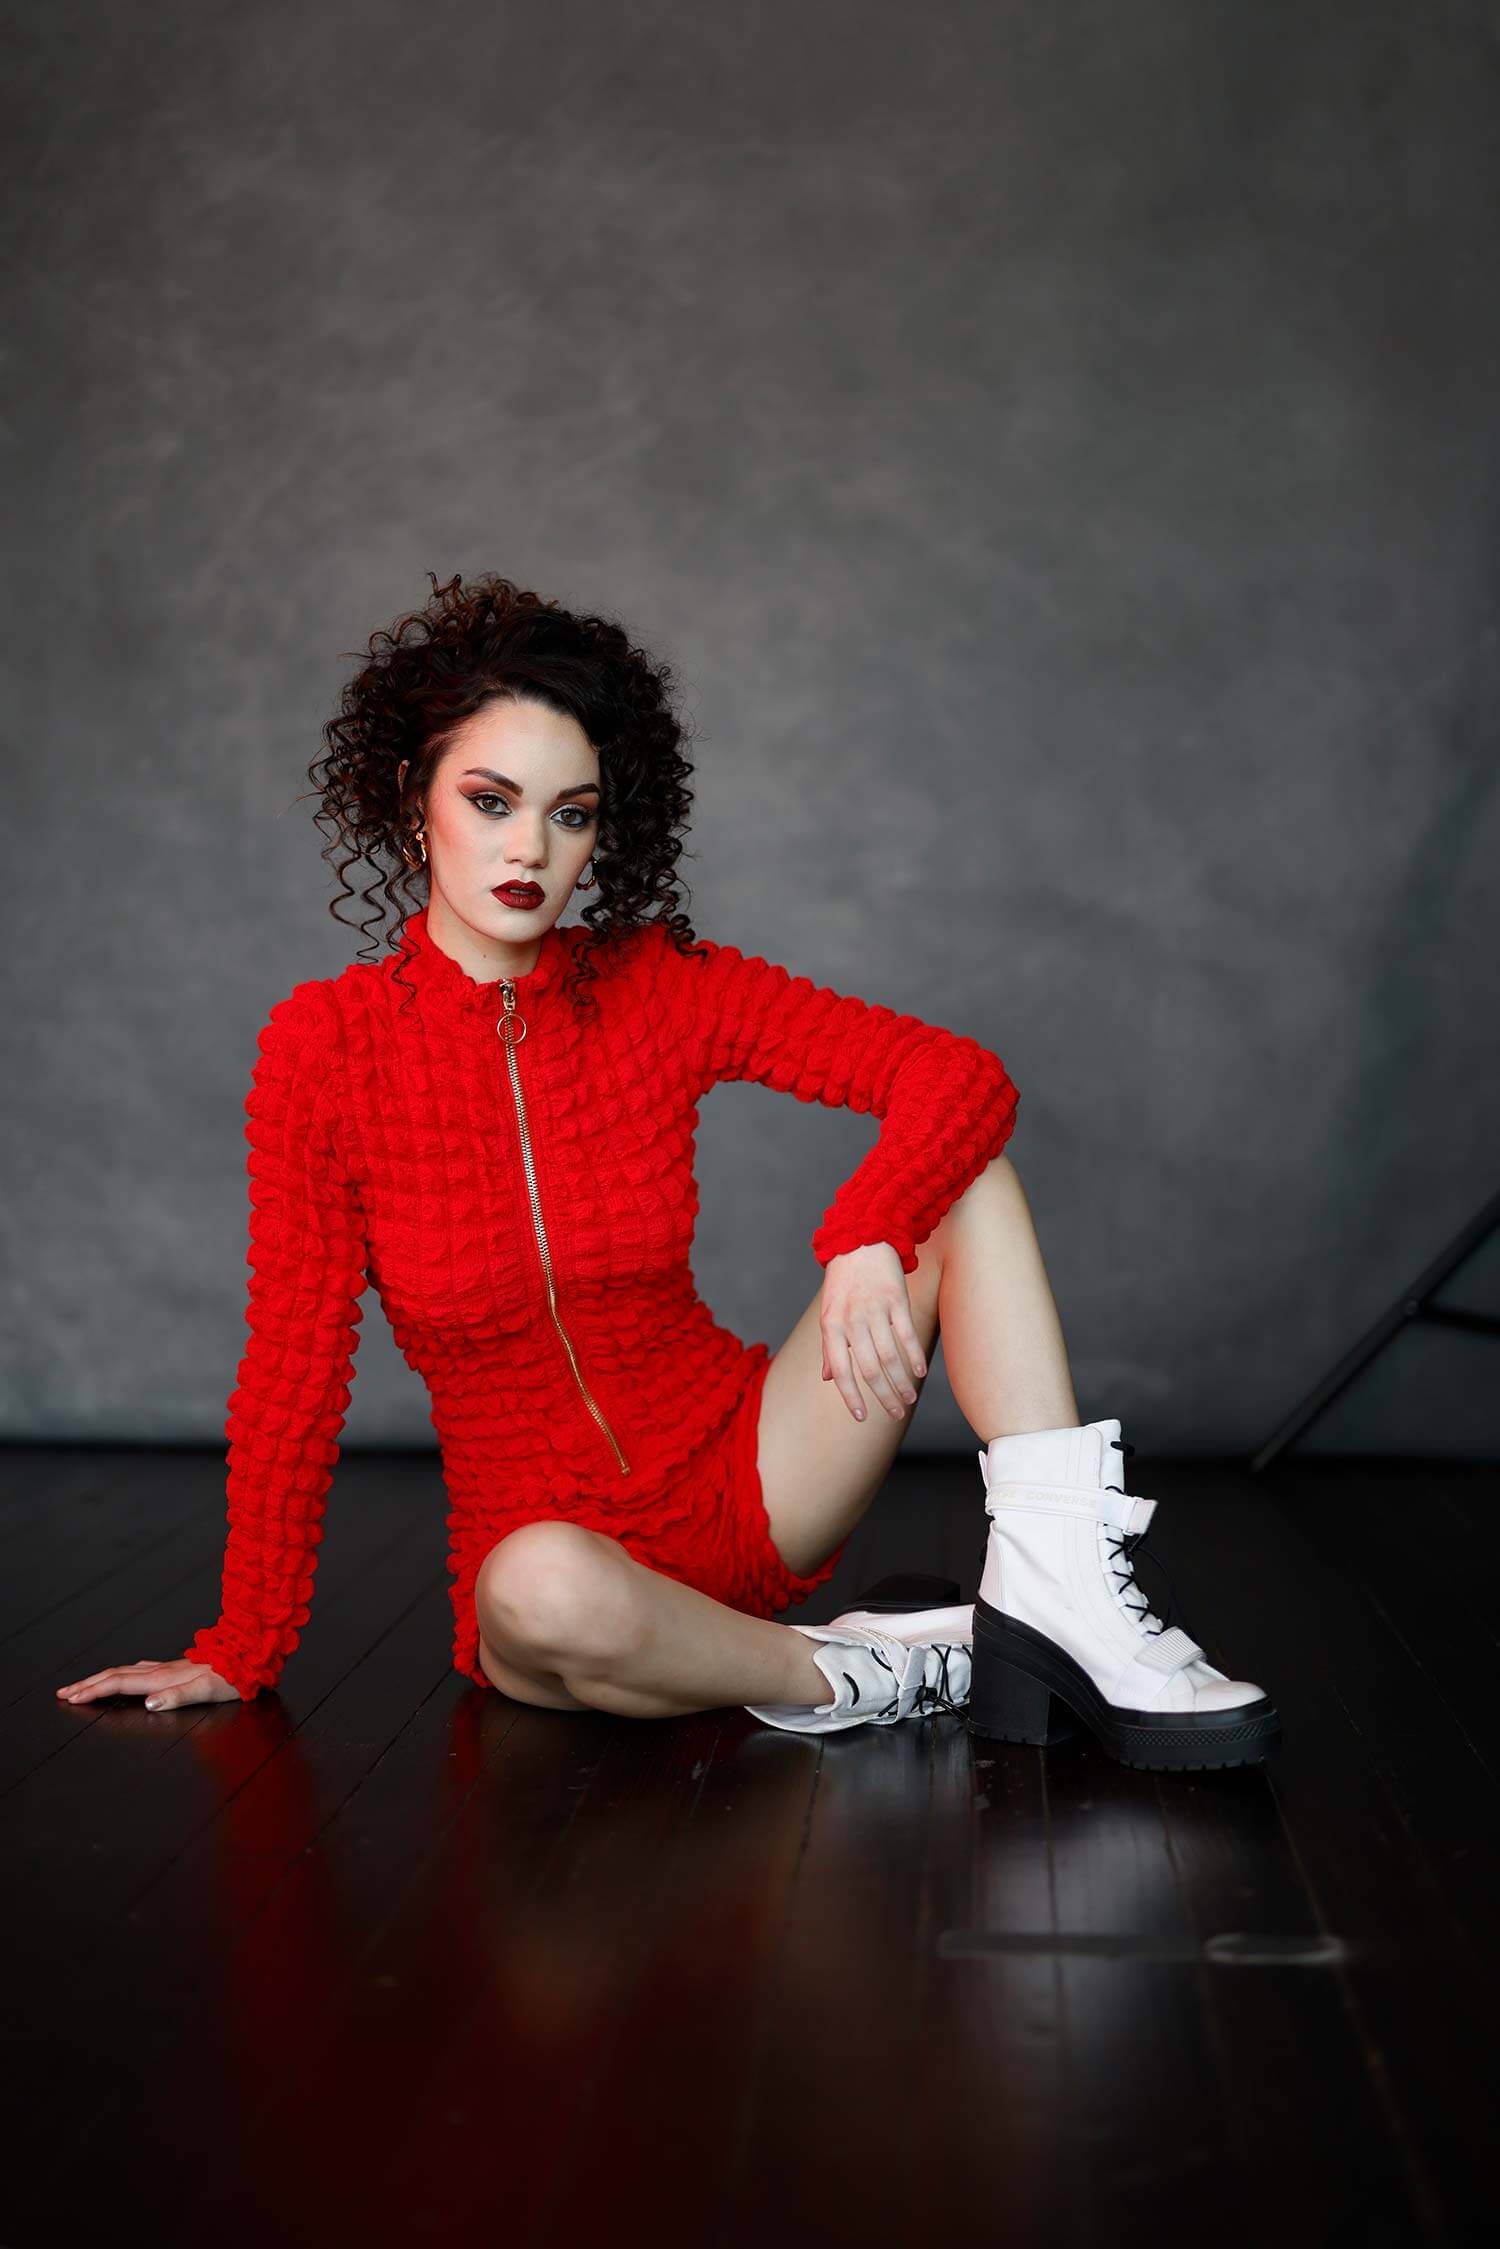
Now, I’m just going to move these lights a little bit out of the way. I still want them, but I want to be able to go full body. We’ve still got a 50 mm lens. It’s not a zoom, so you are the one who’s got to move in and out for this. We’ll have Blaire get a little funky with her poses.
Settings: f/1.2 @ 1/1000, ISO 200
Settings: f/1.2 @ 1/1000, ISO 200
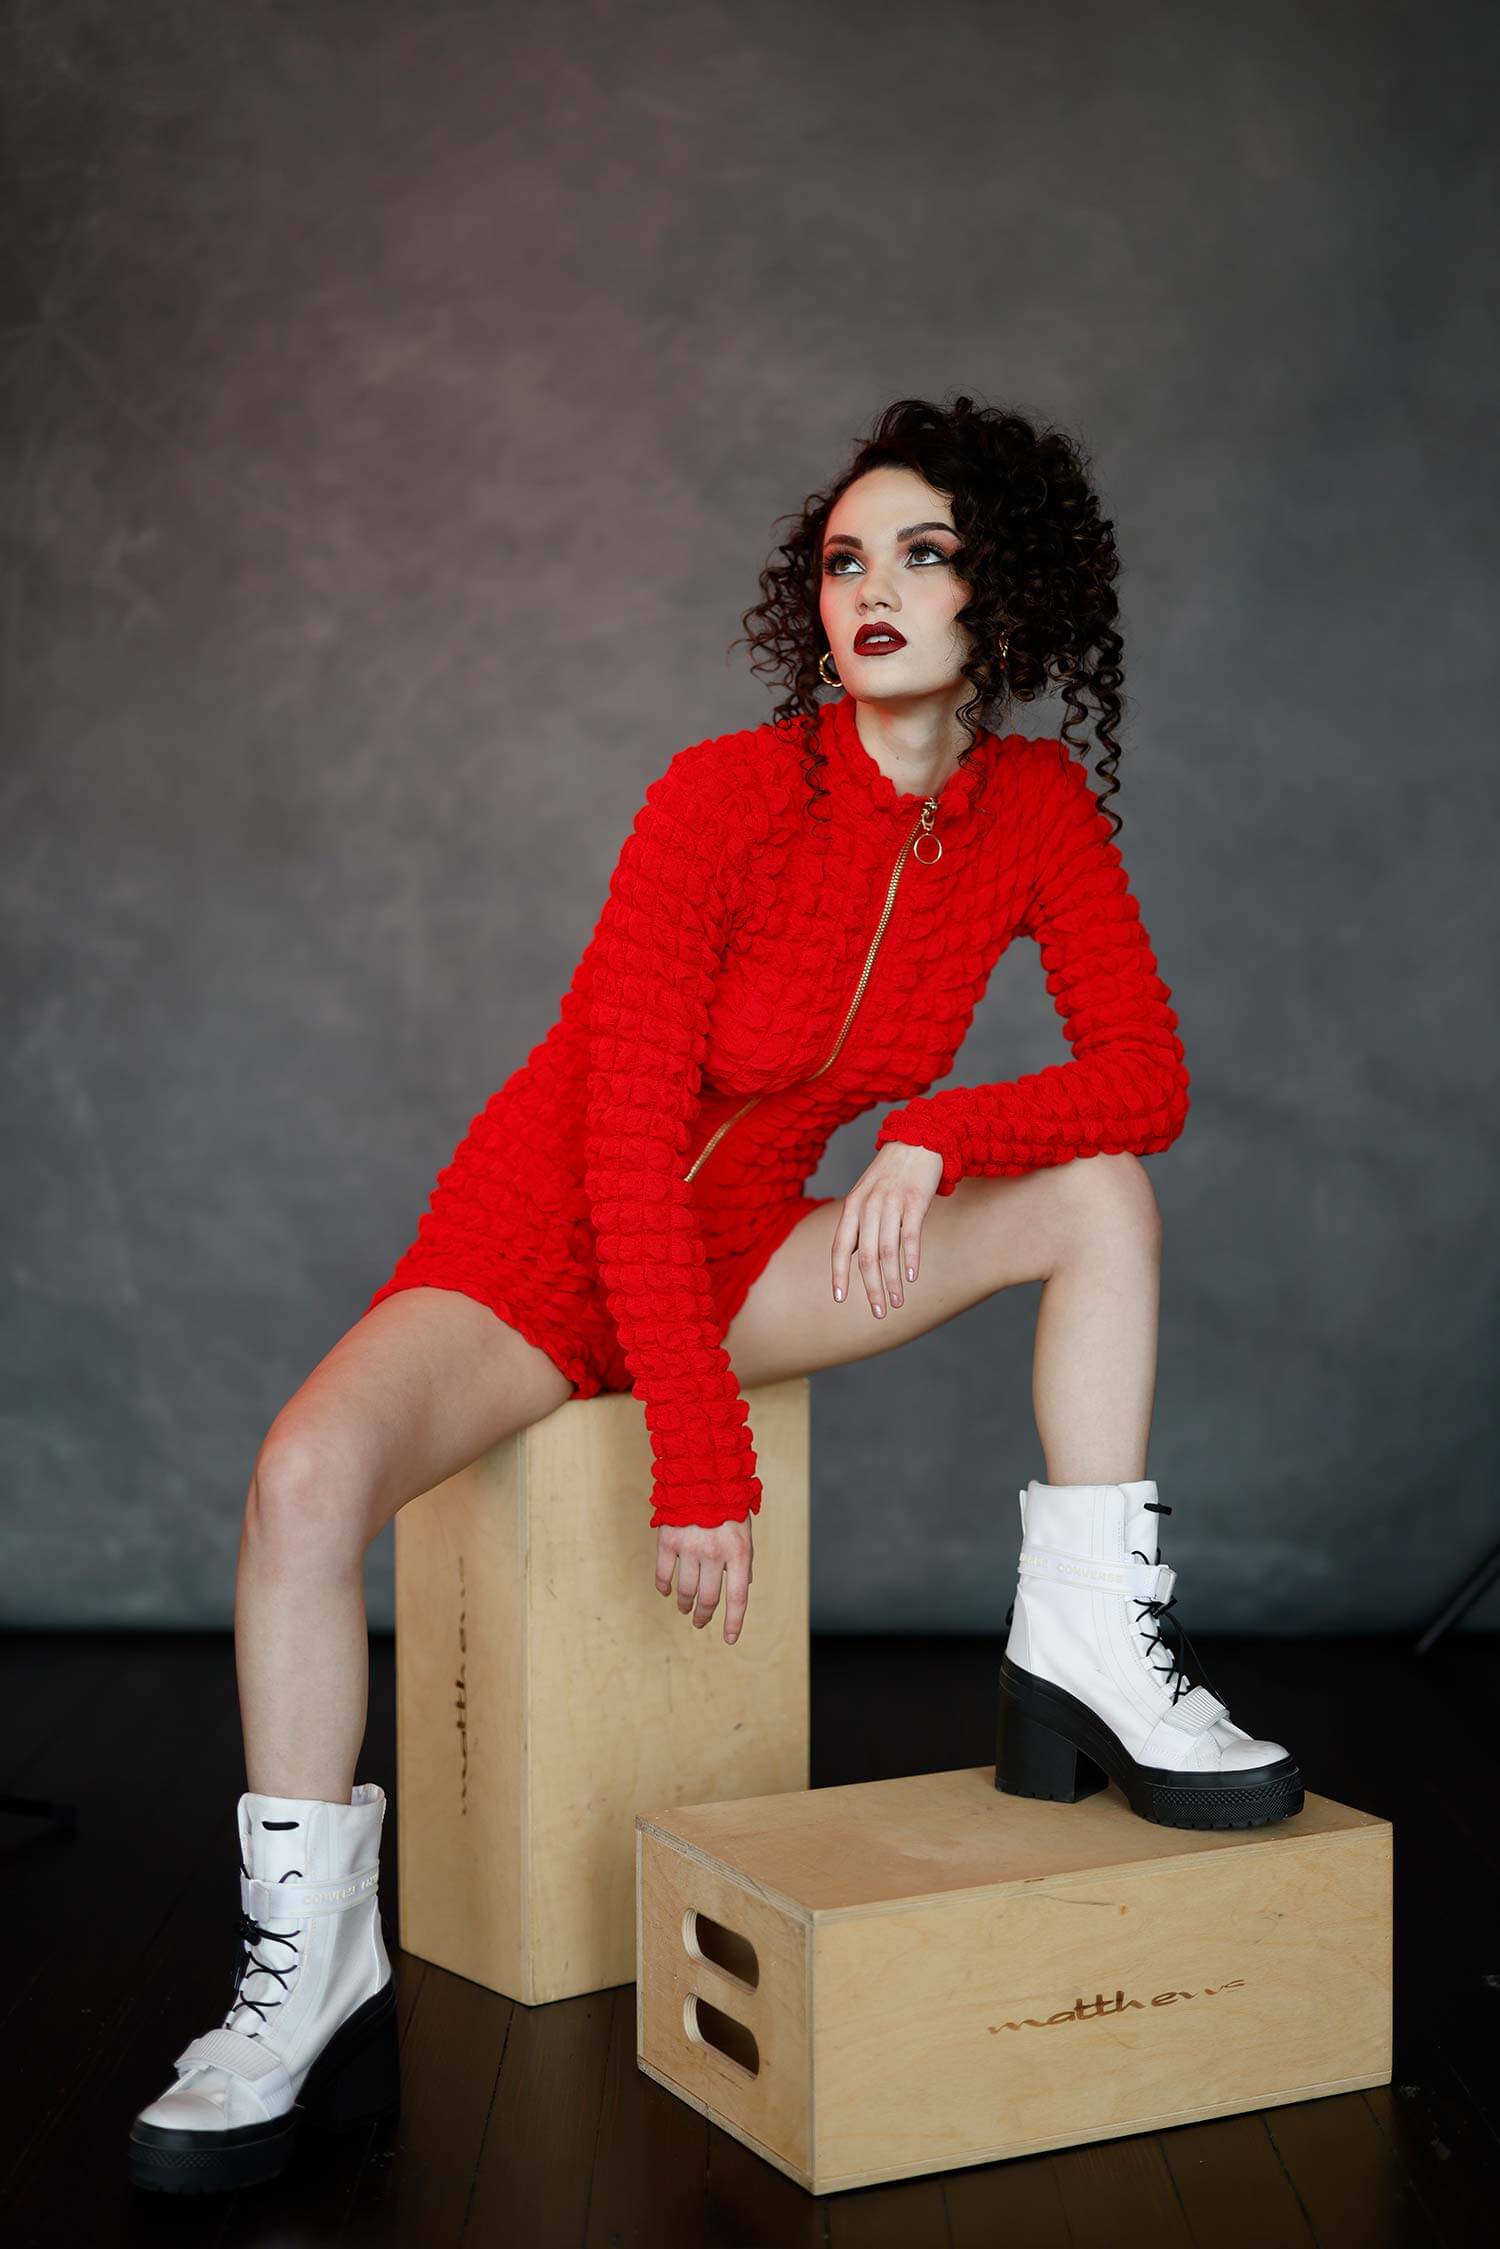
Now let’s have Blaire sit down on an apple crate, giving me real angsty teen. We’ll have her looking off to the right, letting her whole face go up at that light. Then, I’ll have her get both feet up with her hands under her chin.
Let’s have her also sit down on the ground. I’m going to lower the light again. These lights are so easy to maneuver to get the look and feel I want. I just like that little kiss of red on her. The whole point is showing the versatility of how just one lens really can get some cool stuff. And, I’m digging the reflection in the ground. Now, what if she wraps her arms around both knees? I love that, it’s very 1980s.
Alright everybody, that’s a wrap. Hopefully you can see how quickly you can move around with the nifty 50 to get all sorts of different types of images. Don’t hate on the shallow 1.2. I love the way it looks, giving that milky creamy look and feel. And, if your lens happens to be tack-sharp, then all the better. So don’t hate on me in the comments. Also, you’re seeing how flexible the Nanlights are. Again, what you see is what you get. They are real easy to use, real easy to set up, and super portable for any environment that you’re working in. We’ll see you in the next video.

