Size Matters: Super Resolution in Lightroom Classic with Dustin Lucas
As a photographer, there is always a concern with the number of megapixels and camera sensors handling large prints, right? Full frame camera manufactures have sold us on fitting more pixels on the same size sensors to push quantity over quality of pixels. That’s why you see the professional DSLR cameras at 20 megapixels or less for better low light performance. Well, with new upscaling options you can throw away the idea of buying 36+ megapixel cameras to get good 30×40 prints. It doesn’t matter!
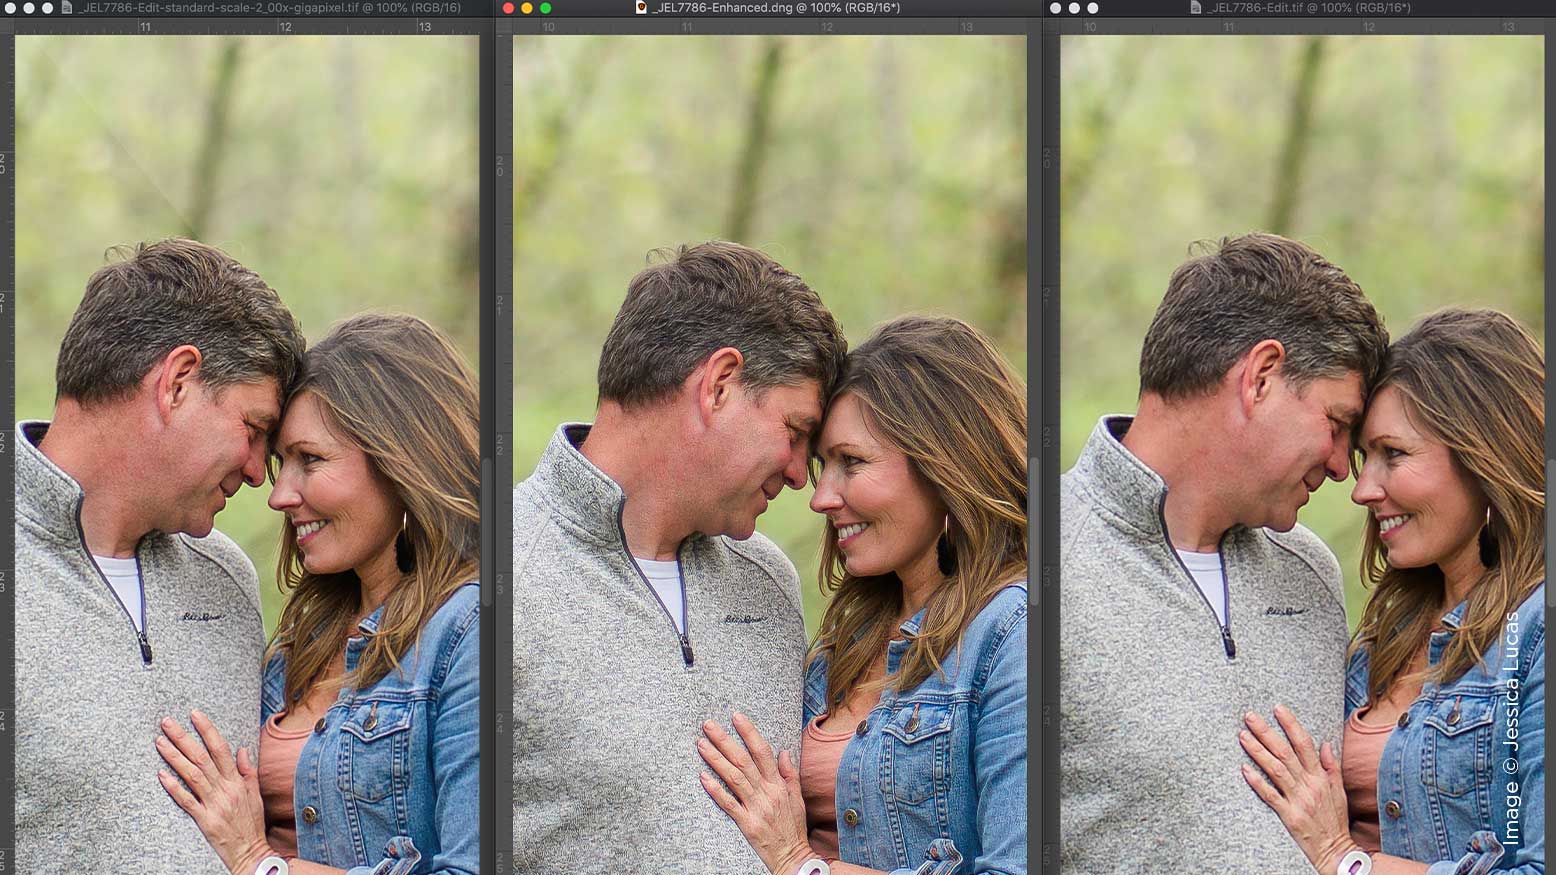
Adobe has finally brought the Super Resolution into Lightroom where we can explore this awesome tool right inside our favorite program. I couldn’t be happier that I don’t have to go into Camera Raw and Photoshop anymore to upscale. A lot of photographers have been ranting and raving over Topaz Gigapixel AI of which I want to see a side-by-side comparison. From what I’ve seen, Topaz is a clear winner, but it all comes down to whether Super Resolution is good enough. If it is, I don’t need to fork out more money for plug-ins. Let’s jump in to how to make our images Super Resolution and then we can compare with the alternatives.
How to Enhance Details with Super Resolution
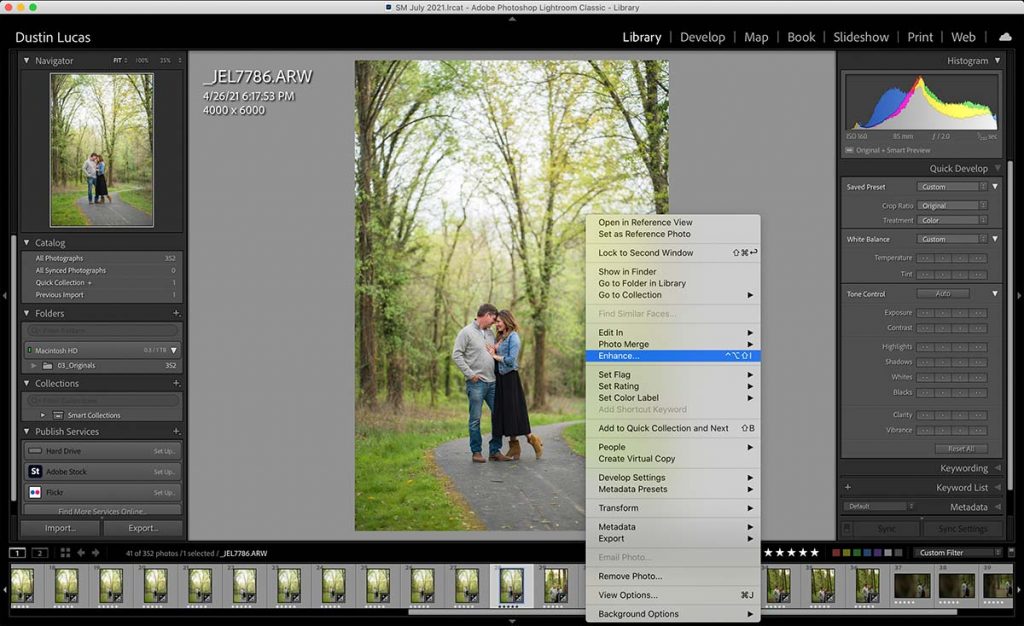
Making your images Super Resolution is easy to do and you can even batch multiple images at once. Simply right-click on the image(s) and select Enhance. You then have to check the Super Resolution box to initiate the preview to render. Typically your image is zoomed in where you can’t see the proper detail. You can click the magnifying glass and select the area you want to preview. Another useful option is to automatically stack your enhanced image on top of the original one. This is selected at default along with the estimated time to process the Super Resolution. Once you click Enhance a .dng file will be created, doubling your image’s resolution.
It’s really simple and quick to get your images into Super Resolution.


