Simple Outdoor Lighting Setups with Dauss Miller
I love the challenge of shooting on location with wildly varying Outdoor Lighting situations and environmental conditions between sets. It can be an exciting way to exercise blending ambient light and existing light sources with your speedlights or OCF systems and modifiers. Also, you can get comfortable understanding light sources and how to use and manipulate them to create the shots and mood you want. Don’t be afraid to use shadows. There’s a special dance that happens when you use shadows to your advantage too! No matter the scene, the situation or time of day, you can be in complete control. Today, I’m shooting with my Nikon D5 with a 24-70mm 2.8 and using my Profoto B10 Plus outfit—small and compact, but powerful enough just in case I have some bright sun poking through the clouds to play with.
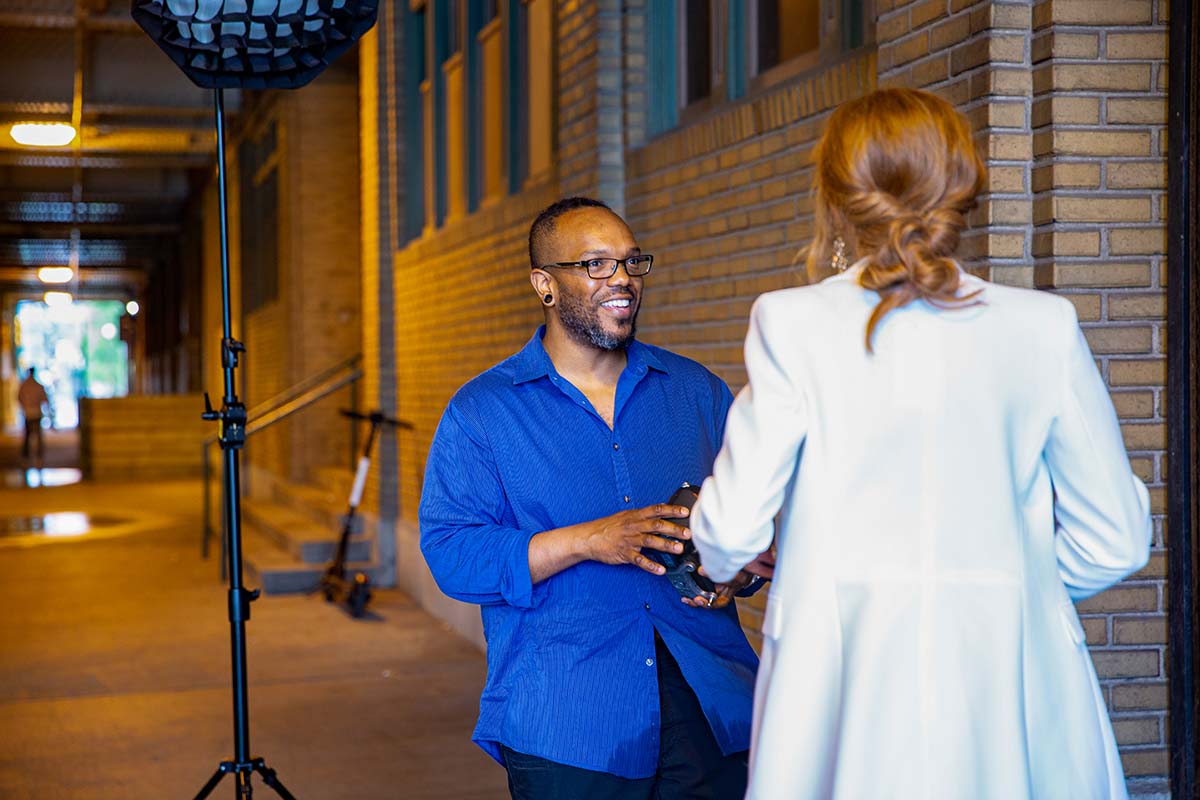
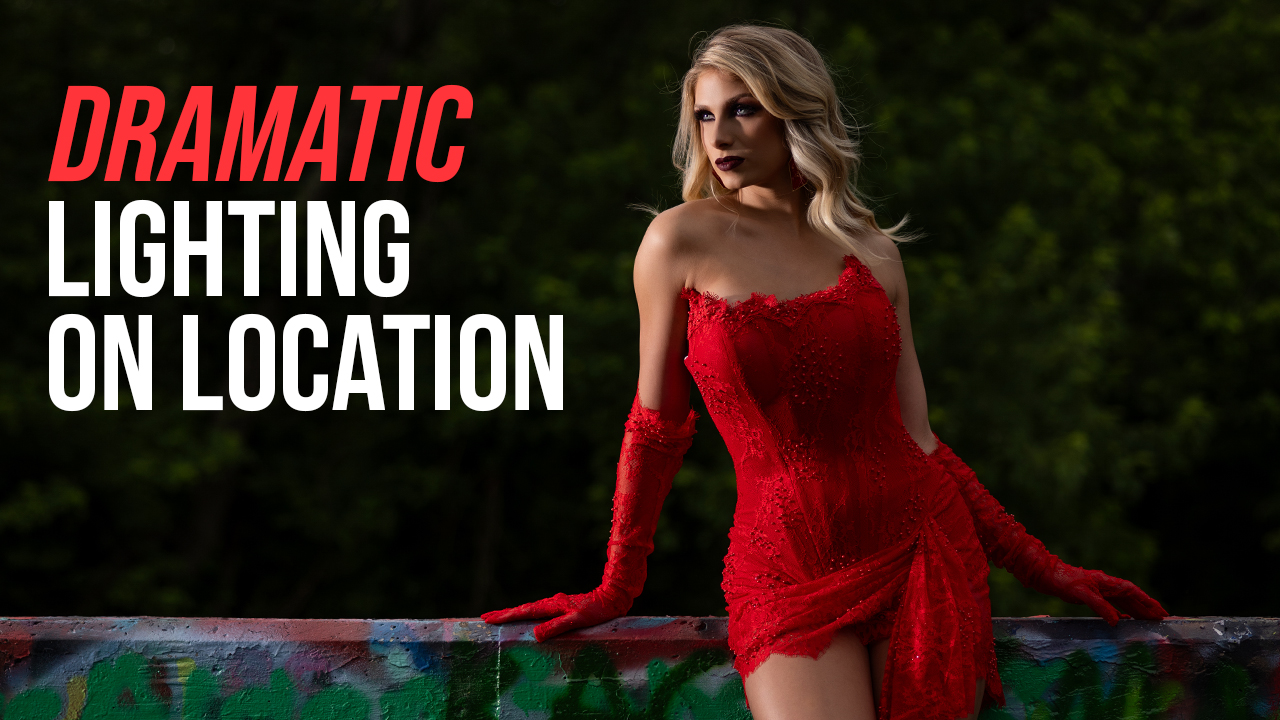
For this project, I set out to create a dramatic portrait story, envisioning low angles and full sun overpowered by key lights, with minimal modification to keep it simple. (I like to travel light whenever possible.) The Outdoor Lighting on shoot day has provided quite the contrast to my original vision so I quickly adjust the plan to accommodate for inclement weather and all other details we hope to keep dry. An old Union Station underpass location nearby comes to mind that I know will be dry-ish. It’s got great textures and shot opportunities all over. The trade-off? Huge, bright tungsten lights overhead casting a heavy orange glow, with bright natural light coming from each end of the tunnel. Challenge accepted!
In the first set, starting with a wide shot to set the scene, I’m choosing to position our model with her back moderately close to the natural light coming from the tunnel’s end to add interest and to create a soft rim to separate her from the background, while paying close attention to where the tungsten light falls on her. I want to position her just right to use that warm tungsten light to kiss her hair from behind to create a hair light situation. The color variation should also make for an interesting scenario, and hey, I haven’t added any lights yet!
Shooting a few frames without flash first helps in dialing in exposure as well as model placement to arrive at the desired final look. In this case, I want to incorporate much of the ambient light, so I expose for the scene as such. Pay close attention to how and where ambient light falls, regardless of the source. Everything looks good. Now, I add light! In this case, I’m using one gridded 2’ octobox camera left about 30 degrees, positioned high and angled down, as I want to illuminate our model’s face and accentuate her jawline with shadow while limiting the spread of light onto the rest of the scene. I direct our model to create movement toward my main light, illuminating the broad plane of her face and body.