ShootProof and Bay Photo Integration
Time is money! As an entrepreneur and like so many of us, a sole-proprietor, we know how true this is. My mindset has been to look for ways to streamline my workflow and save time wherever and however I can.
If you are using ShootProof like I am, they have a created an integration with Bay Photo that will surely save you time. If you are not using ShootProof, snap out of it! They have been making huge investments in the product and their support team is second to none. Recently, they have made several integrations which make your job that much easier. These integrations are at no additional cost to you.
DON’T HAVE SHOOTPROOF?? Don’t worry, we have an incredible offer for you below to get you started with them. Read to the bottom.
Check this out.
After an event, your images get posted online for your clients to see and share with their friends and family. Now, we practice IPS – In-Person Sales. Here, we show our clients their images for the first time and walk them through the sales process. Once that is over, we post the images online for any additional orders from their friends or family members. This strategy would also work if you have out of town clients as well. We use ShootProof combined with a Skype call to walk them through it all.
Step 1 Share your ShootProof Gallery with your client
Step 2 They place an order and you receive your notification
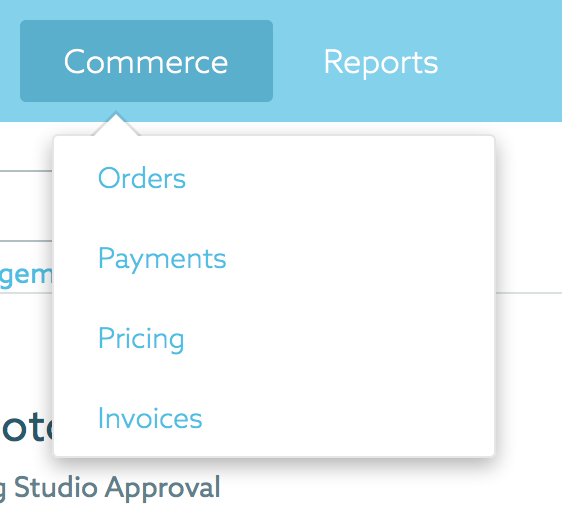
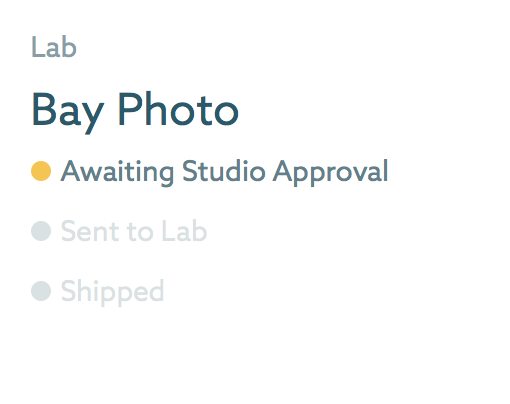
Step 3 Log into your ShootProof Account >> Go to the Commerce Tab >> Select Orders You will notice that the order shows a Status of “Awaiting Studio” this is because I will still review the order before sending it to the lab. You could also opt to send directly to the lab, but I still want the chance to review and alter this order if needed.
This is where you would normally waste your time printing the invoice, then logging into your ROES system to place your order. This is now an unnecessary step in your workflow. Even if its only 10min – that time adds up over the course of a year.
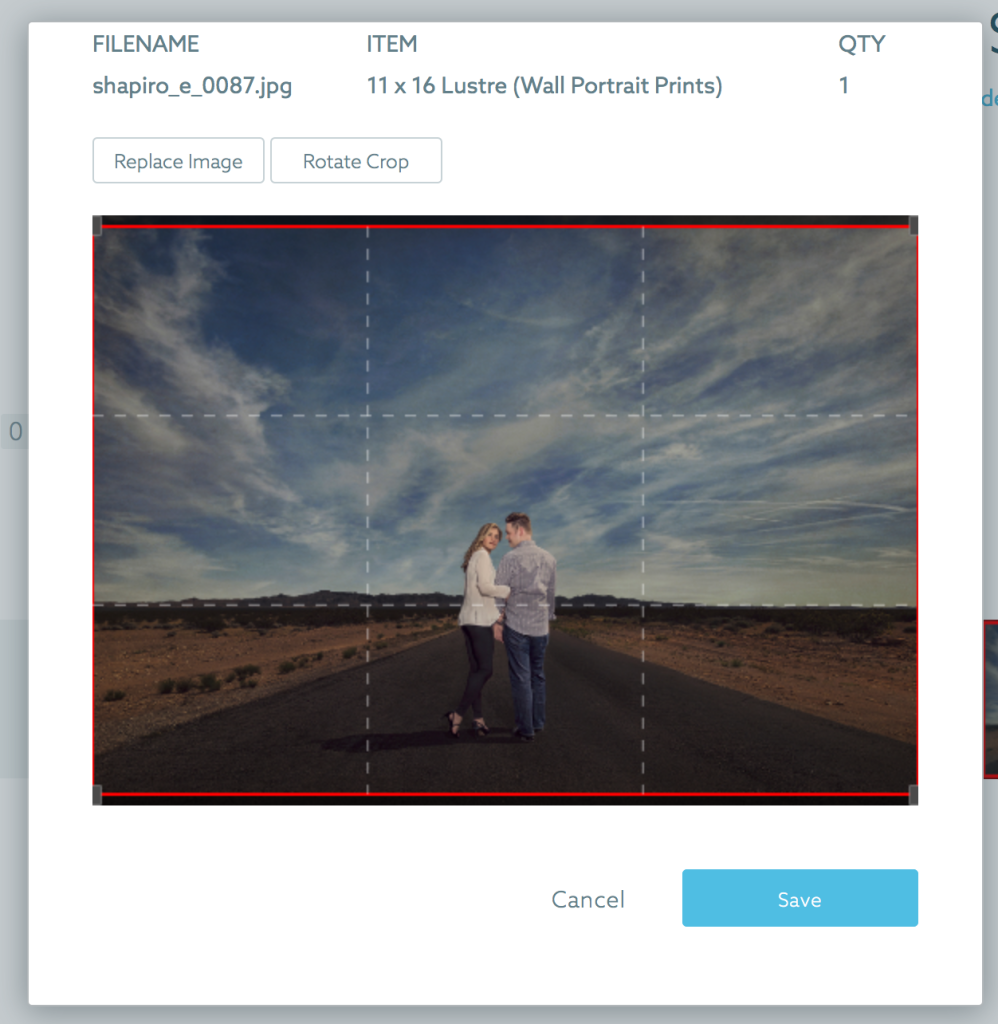
Step 4 Click on the order. Here you will see some of the details for the order, have the ability to adjust the images their cropping and start the final approval process.
Step 5 Click on the “Start Approval” button to begin the process of sending the order to the lab for fulfillment.
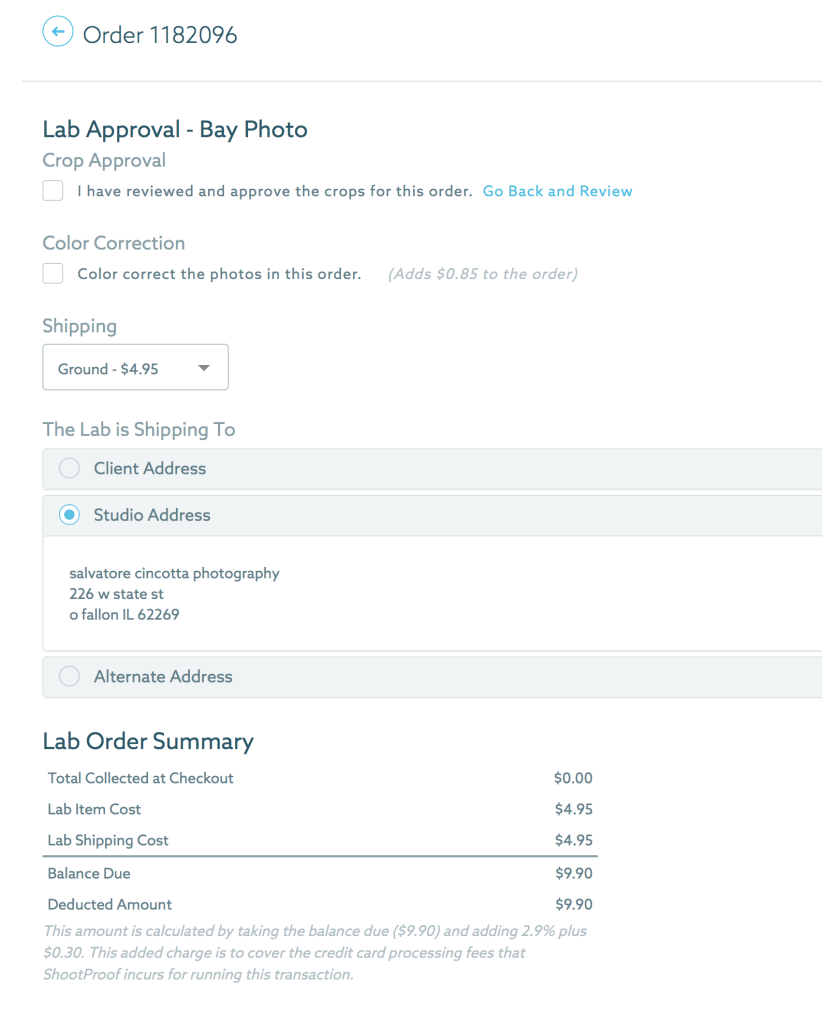
Step 6 Adjust final order details and submit final approvals. You have the option for color correction from the lab, you can ship the order to your studio or to directly to your client via white label packaging and to control shipping options.
It doesn’t get much easier to that. When it comes to fulfillment ShootProof and Bay Photo have truly made the process simple and will be guaranteed to save you time.
DONT HAVE SHOOTPROOF? Don’t worry. We have an incredible offer for you. 20% OFF yearly plan for new users. Use code SHUTTER2016. Click Here.


