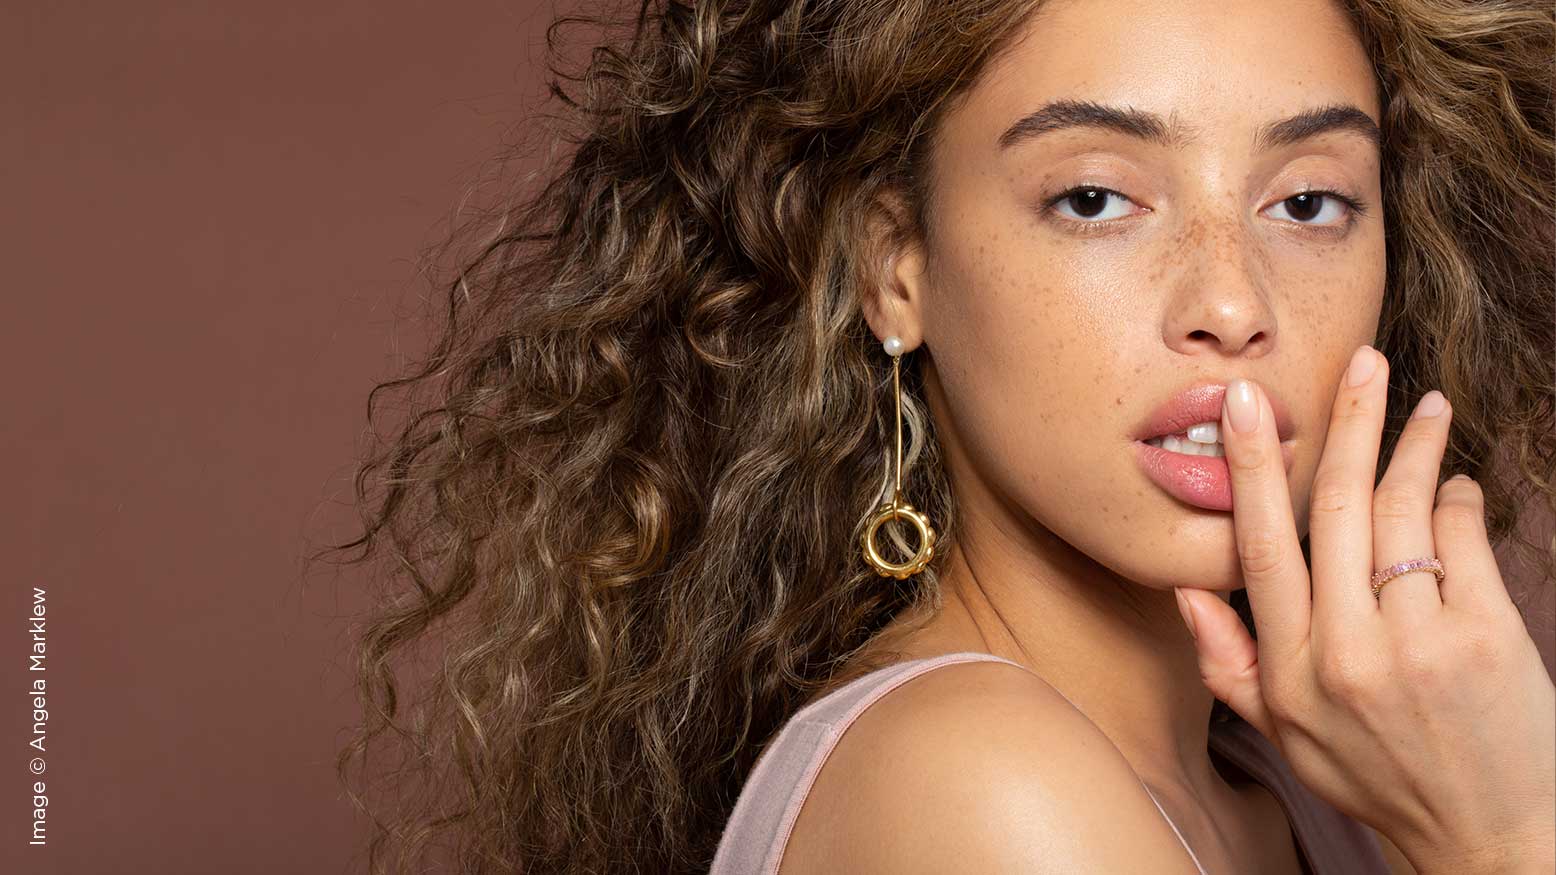
Retouching for Realistic and Natural-Looking Skin with Angela Marklew
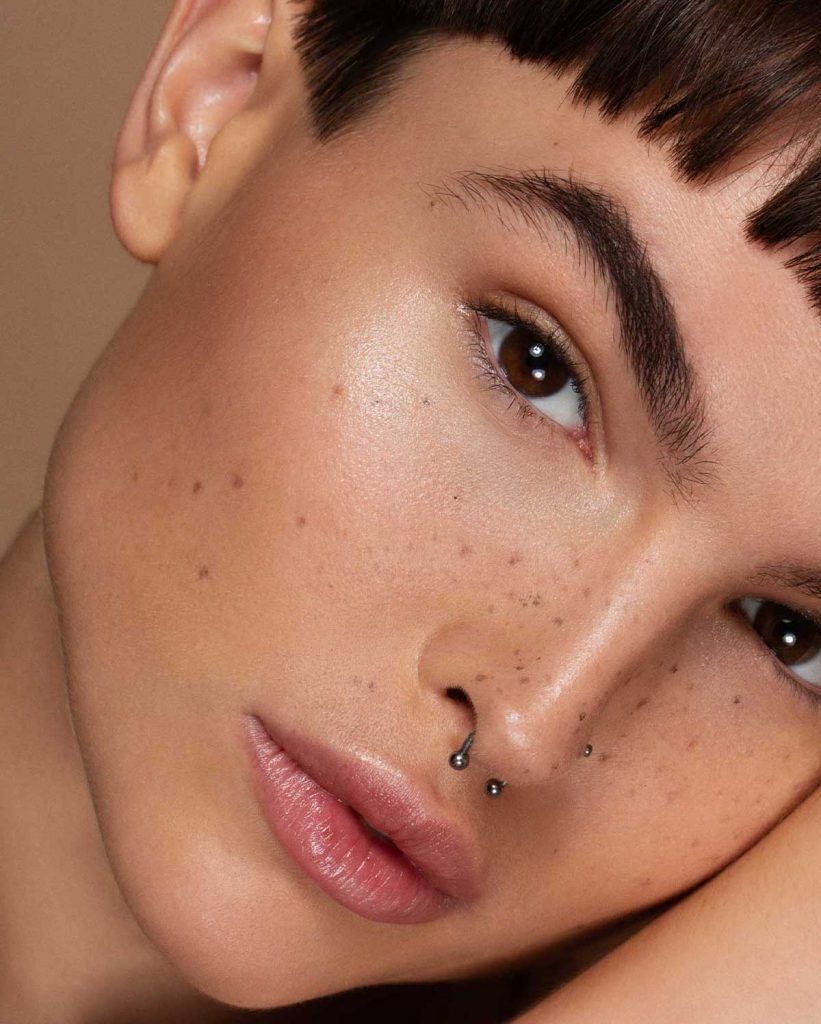
I recently tested with a retoucher who was looking to join my team. I gave him an image from a recent test shoot and when he sent back the results, I was a little shocked. He had removed all of the models’ beauty marks and freckles! When I asked him about it, he posited that he wanted to create “flawless” skin. I brought up the fact that I didn’t consider these things “flaws,” but rather attributes that made a person’s face unique and interesting.
The point is, different people have varying aesthetics when it comes to retouching. But at the end of the day, my goal is to celebrate my subject’s individual skin tones and textures, which brings me to my retouching process.
The first thing to remember is that everyone’s skin texture is different. Not only that, but the skin textures on different parts of the face are also different (for example, the skin under the eyes doesn’t have the same texture as the skin on the forehead). My goal is to keep the integrity of the subject’s skin (both its texture and natural attributes), while making it appear flawless. I’m successful when you look at the final image and don’t think about the retouching.
Step 1. Initial Adjustments
I do a basic color correction in Lightroom (or Capture One) before exporting to Photoshop, which is where the real work begins. My first step is always Liquify. I mainly use this to give the hair a boost, as well as make minor adjustments to the eyes/catchlights, lip line, etc. This is one of those tools where you definitely need to use restraint as a little goes a long way. The end goal of this step is to make it look like you haven’t done anything at all.