Raw Workflow for Videographers with Rob Adams
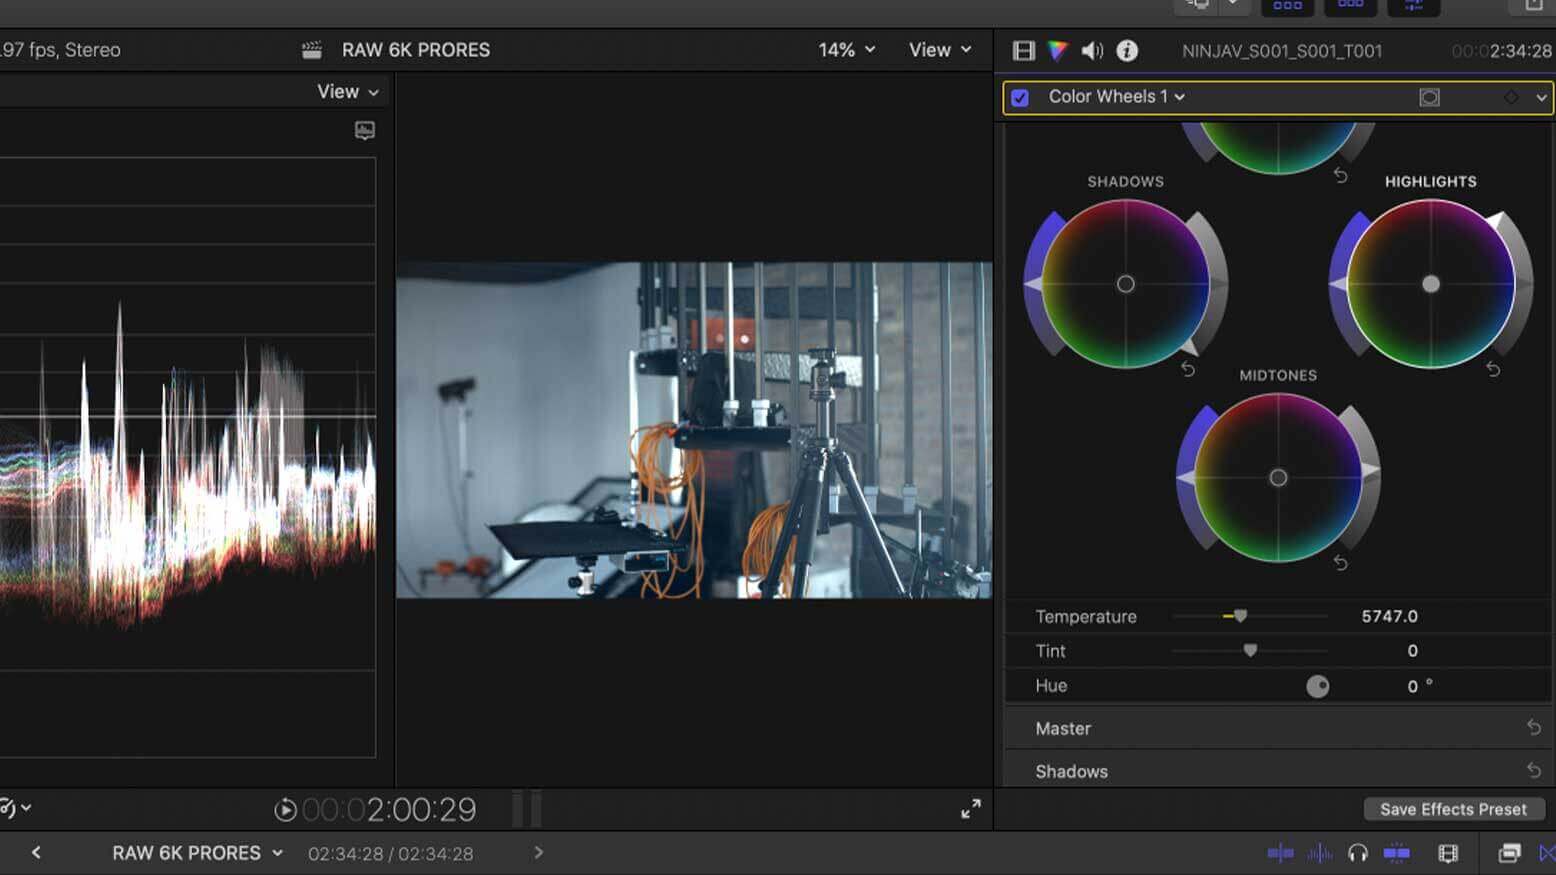
As far back as I can remember in my video production career, I had been jealous of the dynamic range and pure flexibility that photographers had working with RAW digital image files. They could seemingly point and shoot without regard to in-camera exposure and simply fix it in post as long as focus was correct. Until just recently, us videographers dreamt of having the ability to recover blown-out highlights or bring up crushed blacks without degrading an image—it seemed like a luxury reserved for celluloid film processing, an expensive and unrealistic method of making short videos. Over the last few years, RAW video formats have become more commonplace in the high-end digital cinema camera workspace. Now they’re even becoming accessible to the prosumer video market and even useful in wedding and event videography workflows. In this article, I’ll walk you through a simple but powerful RAW video workflow using Apple ProRes RAW and show you the versatility and latitude provided by unbridled exposure flexibility and dynamic range.
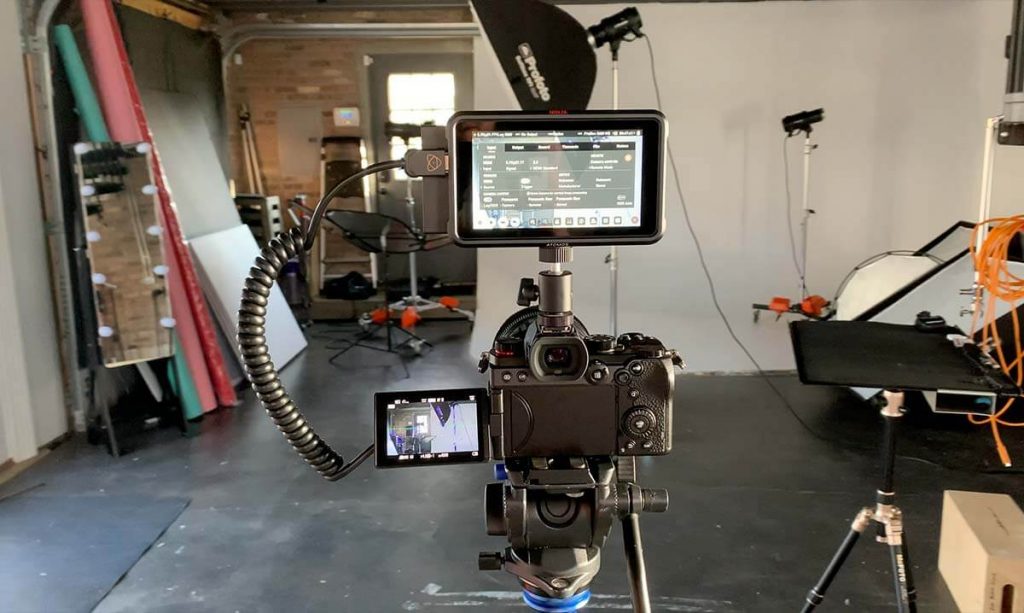
You will not need to spend tens of thousands of dollars to make use of RAW video in your workflow. A few smart purchases will get you there. We start off by using a very affordable mirrorless camera that has been recently endowed with the ability to output raw, full-frame sensor data over HDMI to an external recorder in the HDR (high-dynamic range) REC.2020 color space. For just under $2,000, you can have the Panasonic LUMIX S5 camera and for another $600 more, the Atomos Ninja V external video recorder that will capture the raw data. Using a high quality HDMI 2.0 cable you can transmit clean, RAW video in stunning 5.9K resolution (5888 x 3312) to a blazing fast solid-state drive.


