
Ready for a quick and easy off-camera flash set up? Off-Camera Flash can be a powerful tool in your photography lighting arsenal. In this quick and easy lighting tutorial, I will break it down for you step-by-step on how to get to this final look using one flash. You will see what a photograph looks like with no flash in the environment and what it looks like shooting with just a wide open light and airy look. I think using Flash in these scenarios really gives a much stronger and more professional looking portrait. Give it a try to up your portrait photography game. Let’s learn how to set up off-camera flash quickly and easily.
Equipment Used:
Camera: Canon EOS R5
Lens: Canon RF 28-70mm F2
Light: Wescott FJ80II
Team:
Photographer: Sal Cincotta
Model: Heather
Hair & Makeup: Brandi Patton, ReFine Beauty
What’s up, everyone? My name is Sal Cincotta. Today, I’m going to show you how to quickly and easily get set up with off-camera flash. I know those of you who are getting started with flash and maybe even some advanced users tend to overcomplicate things, tend to overthink things, but I promise you, you can get set up quickly and easily. First and foremost, if you’re a natural light photographer, this is something that you probably should watch, right? Because, look, here’s the reality. And on this I’m using a Canon EOS R5, and a 28-70 lens. If I shoot this scene with just available light here, here’s what’s going to end up happening. Even if you overexpose it, and you’re going to see this on your screen, and what’s going to end up happening is her eyes look like raccoon eyes, nothing’s popping. Her eyes look dead. There’s no light in it. And so it’s not very flattering.
Settings: f/2 @ 1/80, ISO 200
So what do you do next? Well, what most photographers will do is they’ll start overexposing this. So let’s overexpose this. So I’m overexposing it by almost two stops. Maybe it’s too much. We’ll see. Two stops is too much. So let’s go down to just one stop overexposed. Now what’s happening here is this is what a high-key natural light photographer would take.
Again, I’m not throwing shade at you. Literally. That image, it doesn’t really pop. It’s easy. It’s the simplest thing to do, and what you see is what you get. There’s a better way and there’s a way to create a very unique look for your studio. What I’m going to do here is same camera, same lens, and I want you to kind of pay attention to what I’m doing here.
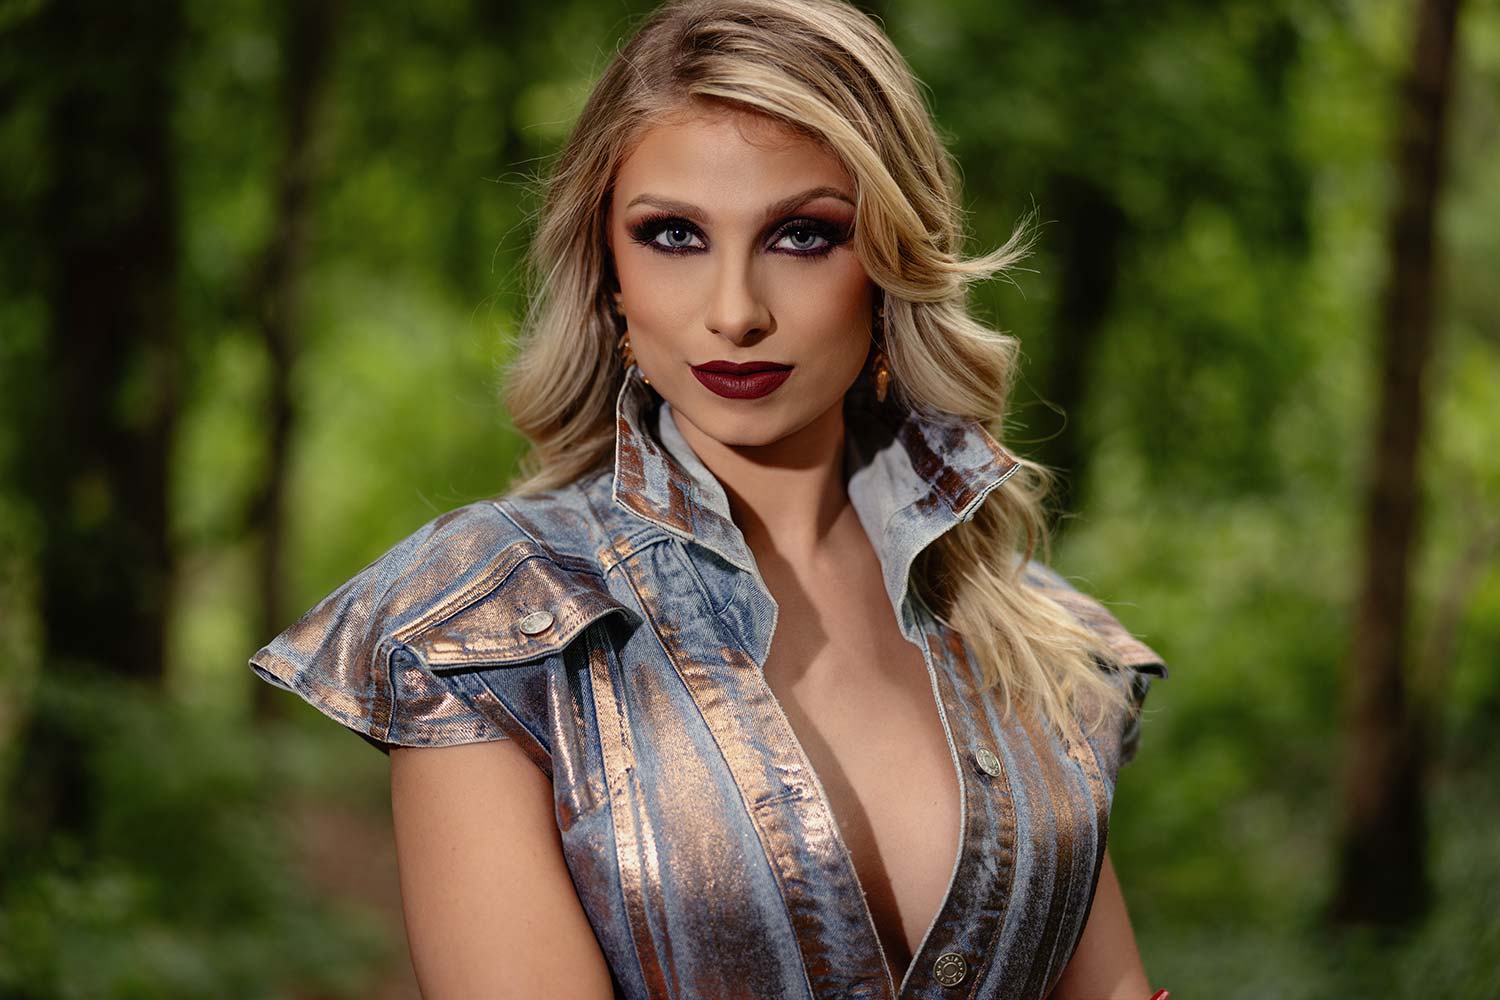
I’m going to take this shot and I’m going to underexpose it by one stop. And just so you know, I’m in aperture priority. If you’re in manual mode, that’s fine too. But what I’m doing here is I want to make sure all this greenery and everything looks deep, lush, rich, which you will not get by overexposing the shot. So I’ve taken that one shot, the greenery in here, everything looks great. But of course, if we zoom in and look at her eyes, they are just dark black marbles and that’s not what we’re looking for. What I’m using here is a brand new Westcott FJ80 II. A lot of improvements with this. It’s much better quality, better build than V1.
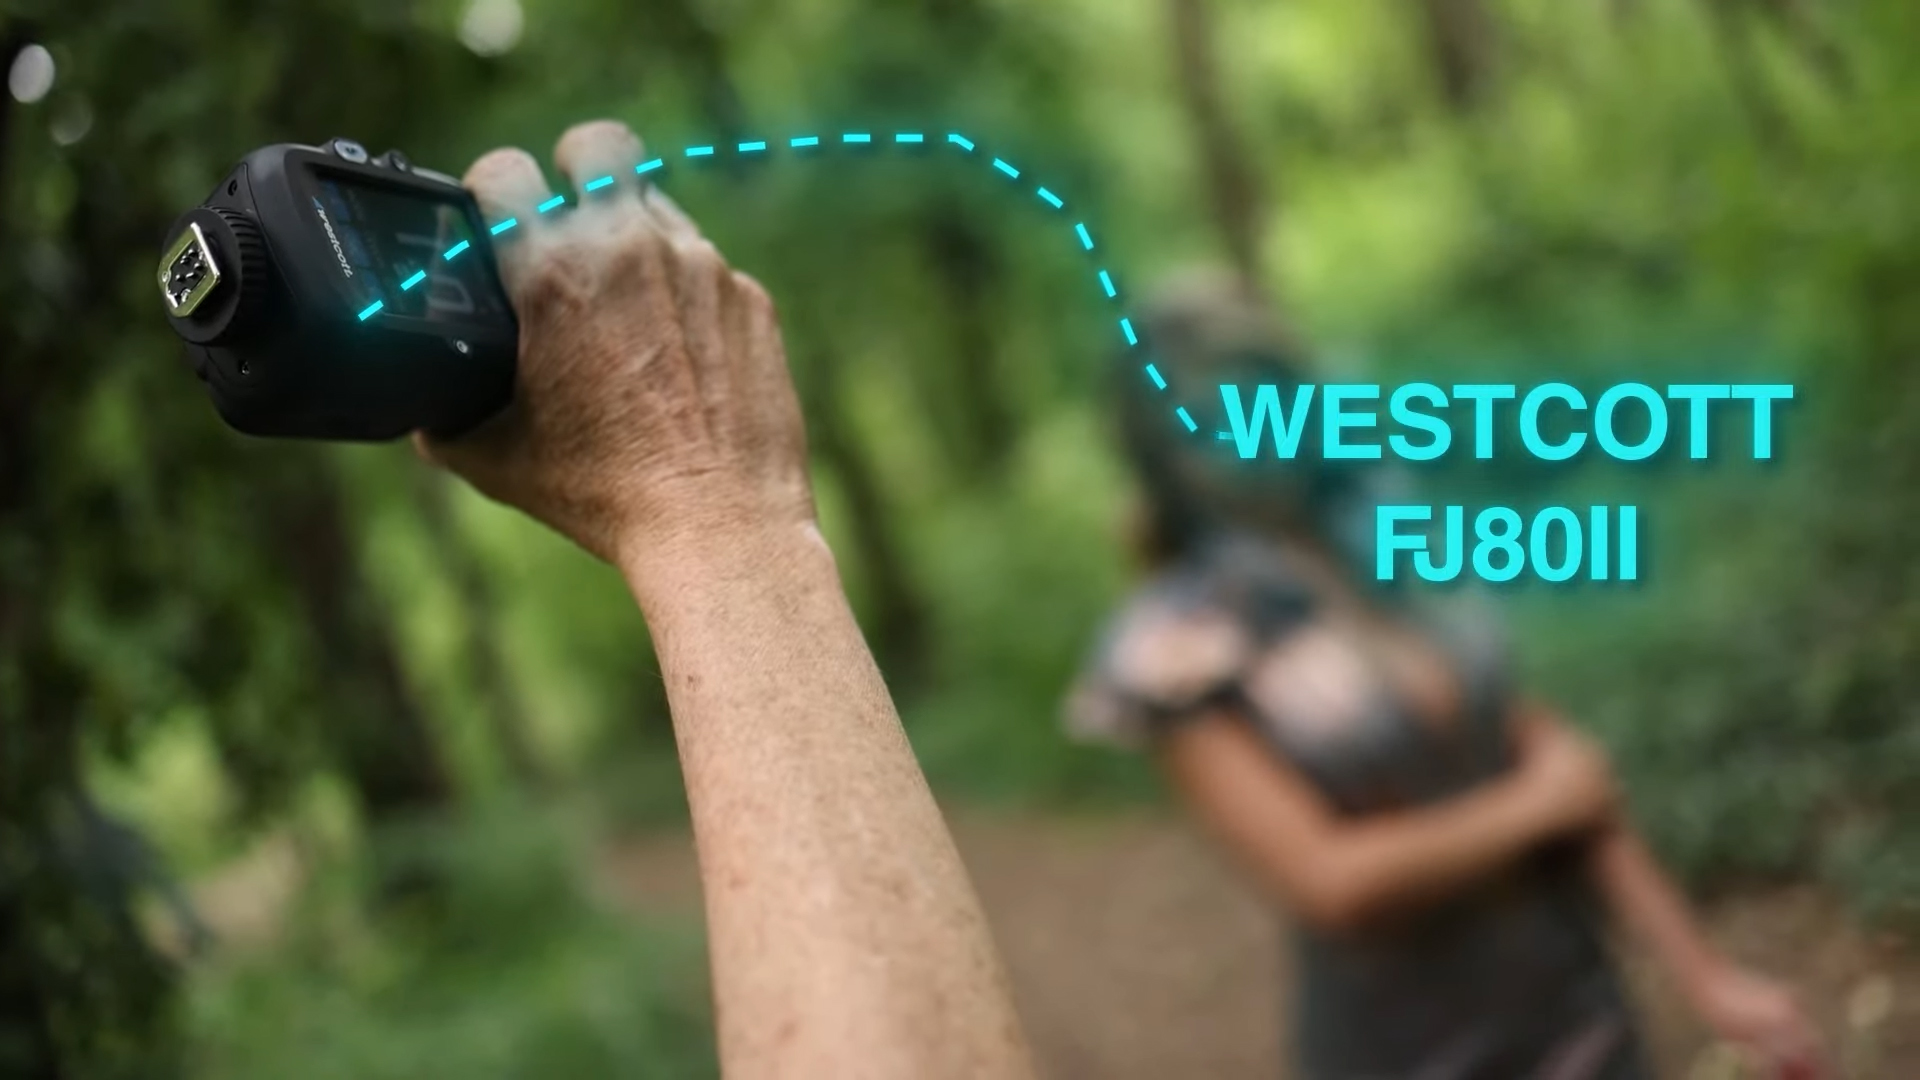
So if you’re thinking of whether you upgrade or move over to this, definitely worth it. What I will tell you, you’re going to get 500 full power flashes out of this with the recycle time, this is what’s important, between a half second and one and a half second. At full power, one and a half second. We’re not using this at full power today. So we’re going to see that quarter second, half second recycle time. It’s going to be very, very quick. But the most important part in any of this, I already know, those of you watching will be like, “Well, I use this brand, I use that brand.” Congratulations on whatever brand you’re using. What you should care about is color.
Let me tell you something here. Flashes, as they’re recycling and getting reused, the color temperature, there’s a variant to that and that should be important to you. If you’ve ever noticed when you’re sitting there editing your pictures, going from image to image and there seems like there’s a slight color shift because of the flash, Westcott has invested in making sure that every flash is within a variance, a very subtle variance. So you know you’re getting 5500 Kelvin, and as you go into post-production, that’s going to help you get every image looking the same as far as color’s concerned. And that should matter to you.
So now what I’m doing is I’ve got this set in manual mode, power of 1, and everything else is what I just showed you. So within two shots, I’m going to get dialed in here. So I usually elevate this light, put it a little higher. I want it firing down at her. So a little trick here for your assistants, just so you know, right,
because you could already see mom’s lights drift into the ground. So what I teach everybody, hold this, is use your finger and your finger will help you point that light where it needs to go.
So it might feel a little weird doing it that way, but it will help your assistants have a feel so that… You ever have those assistants where they’re lighting and then it’s drifting further and further towards the ground?
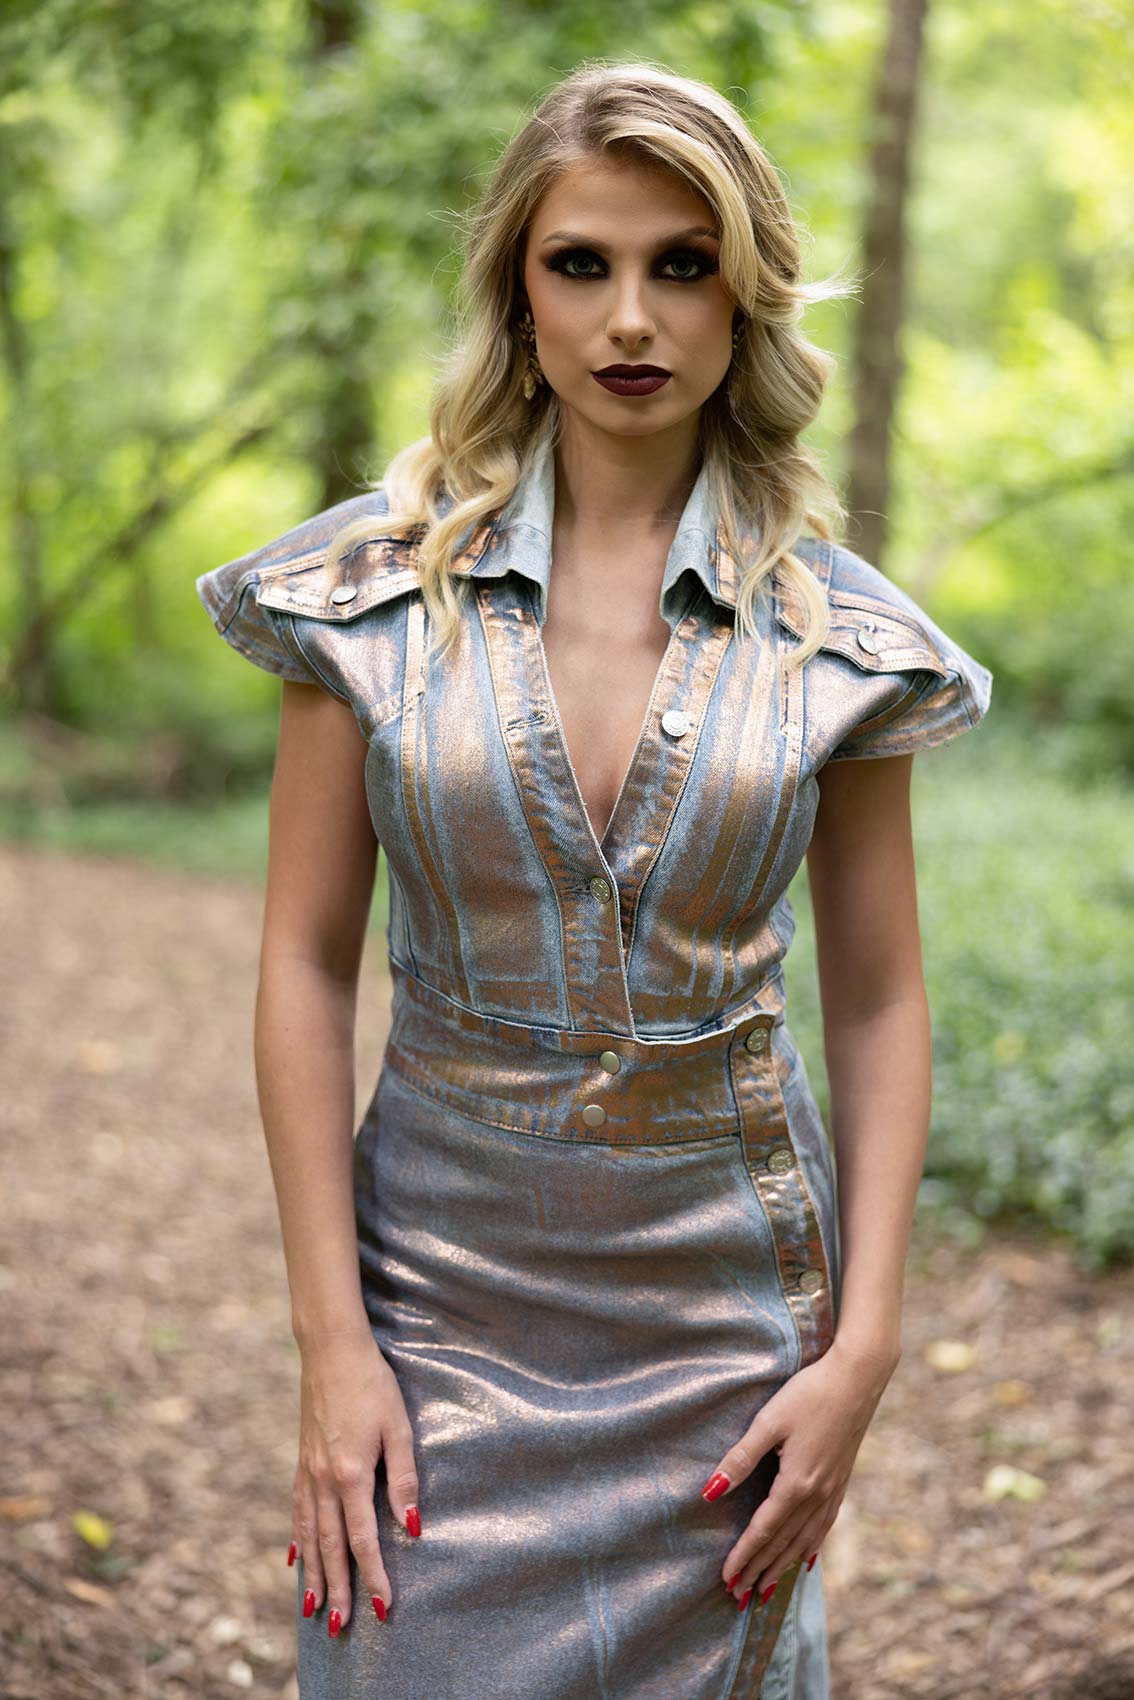
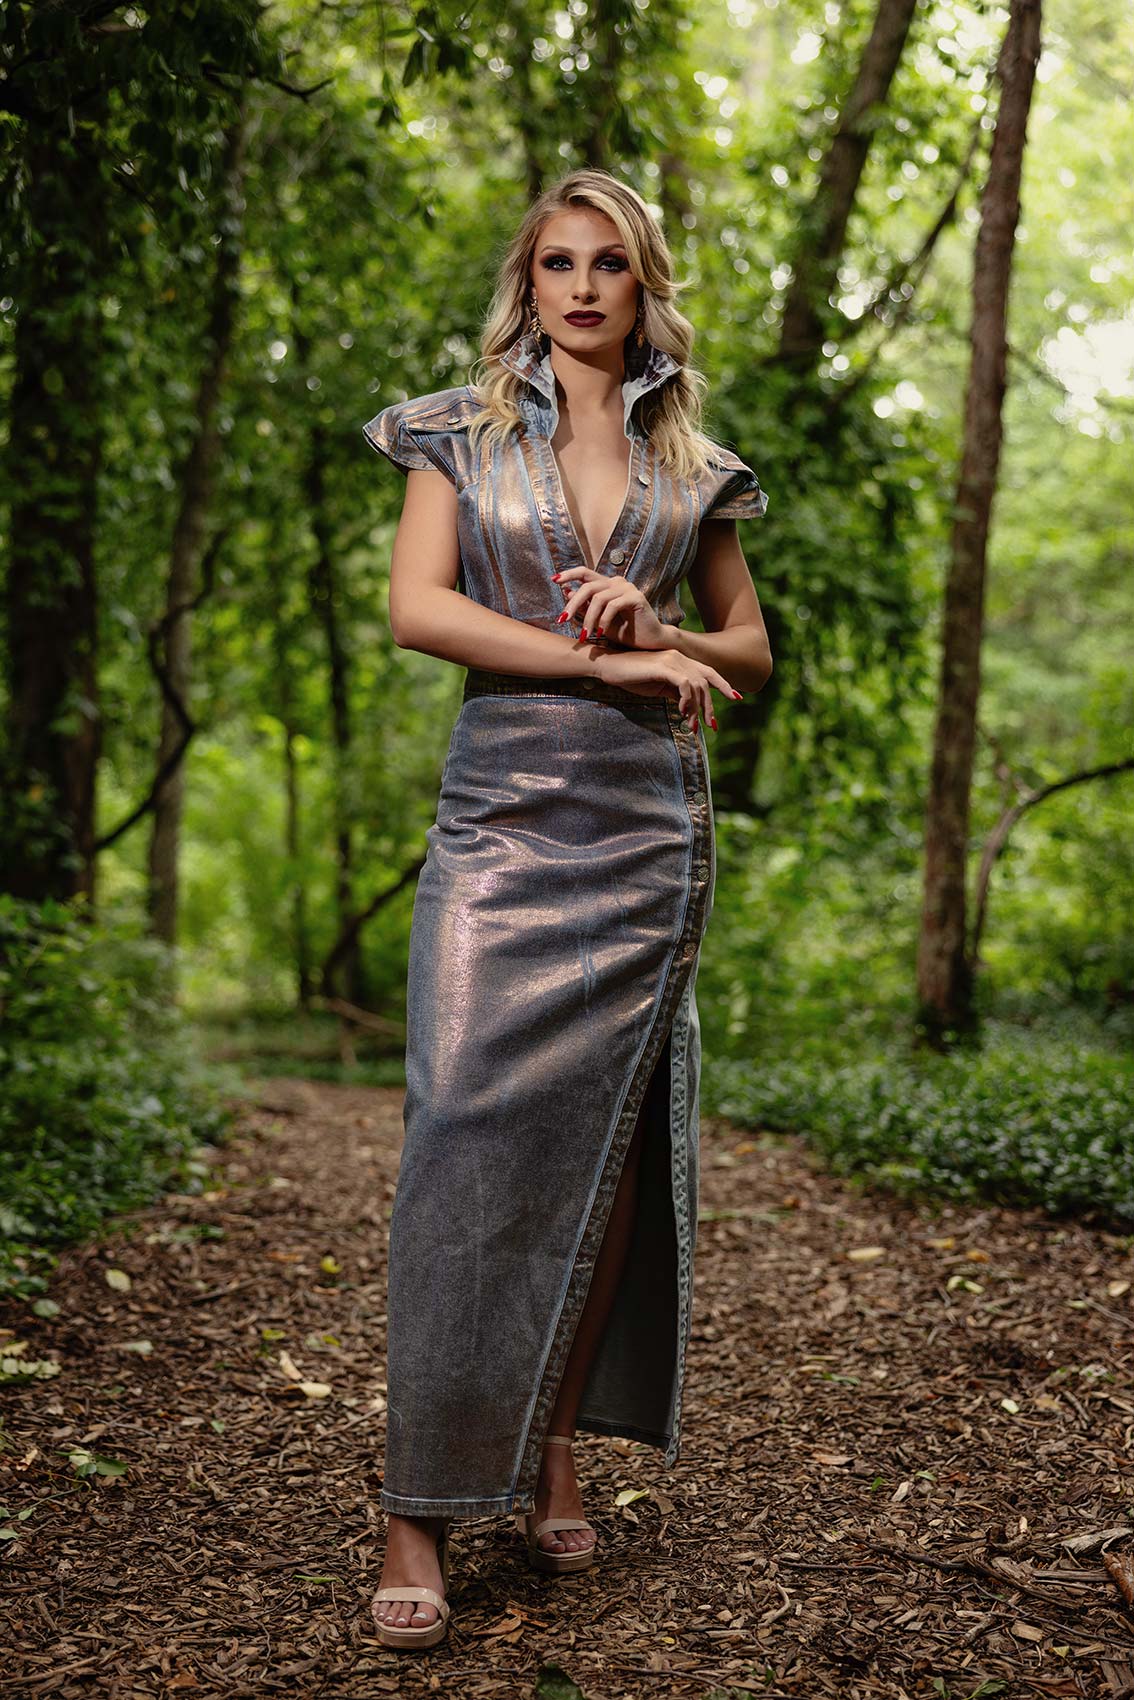
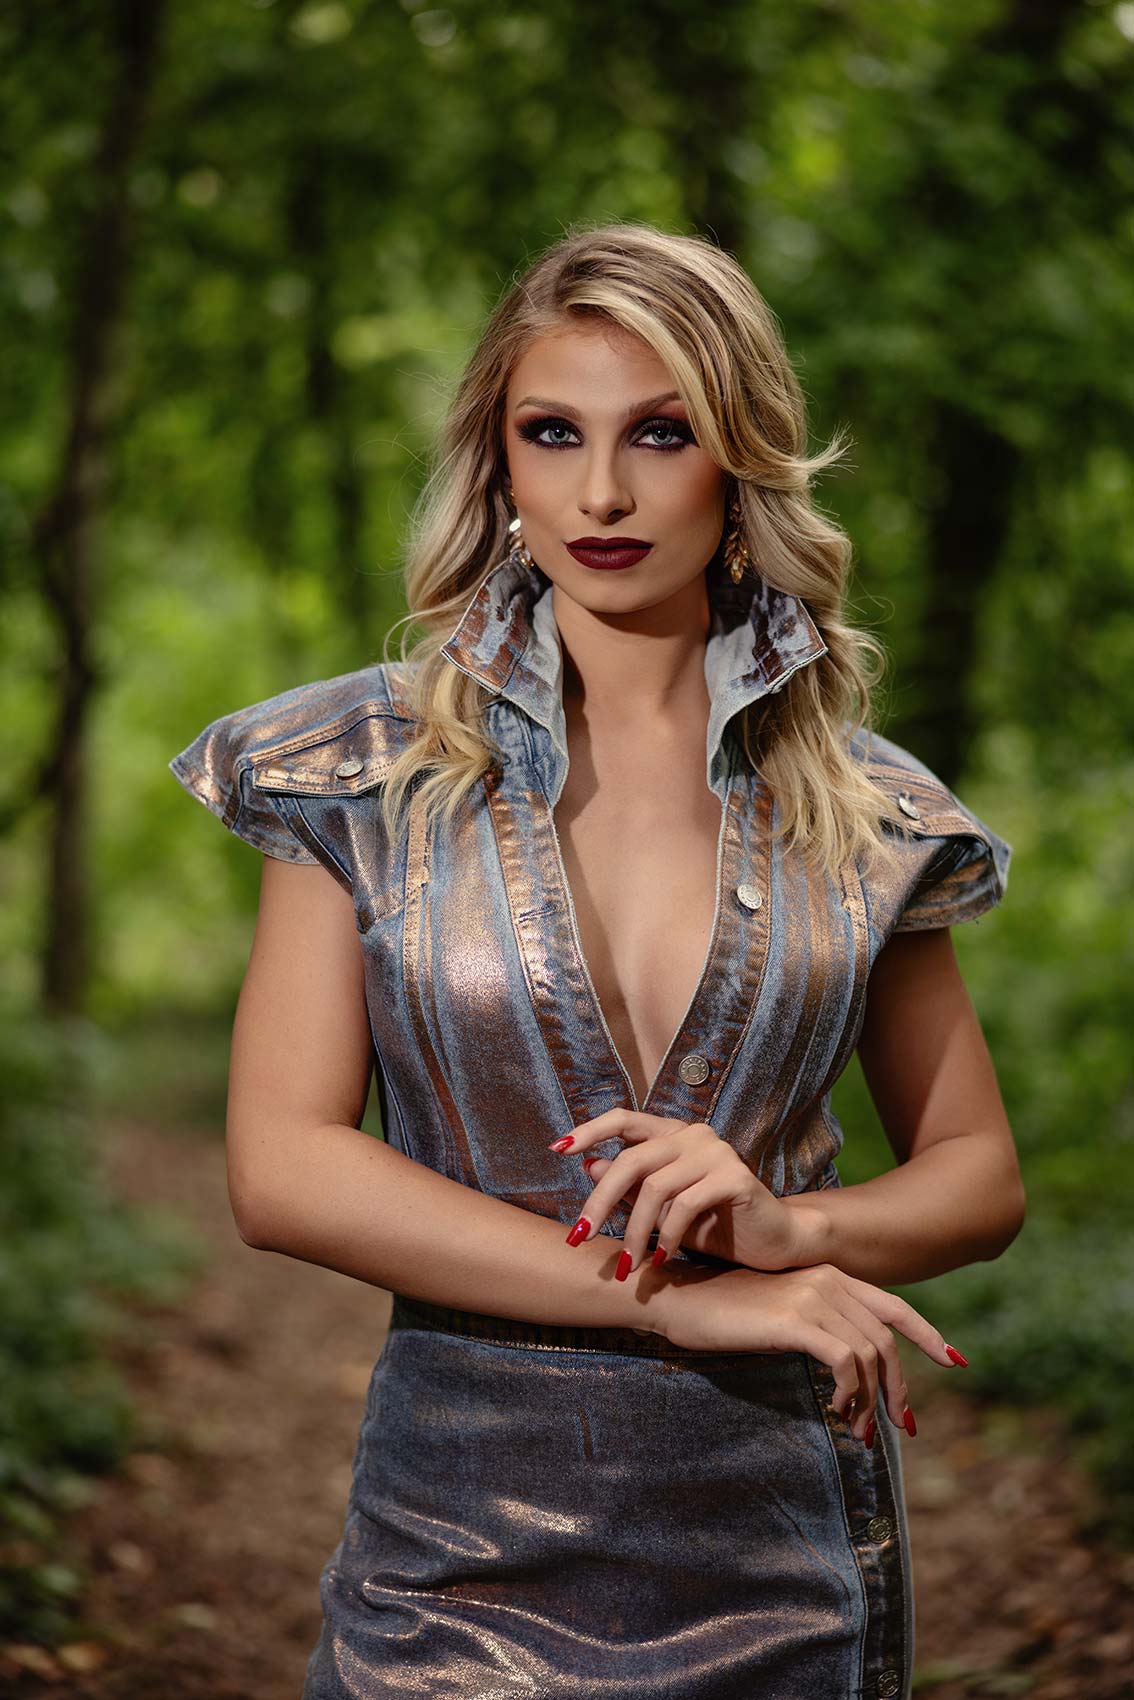
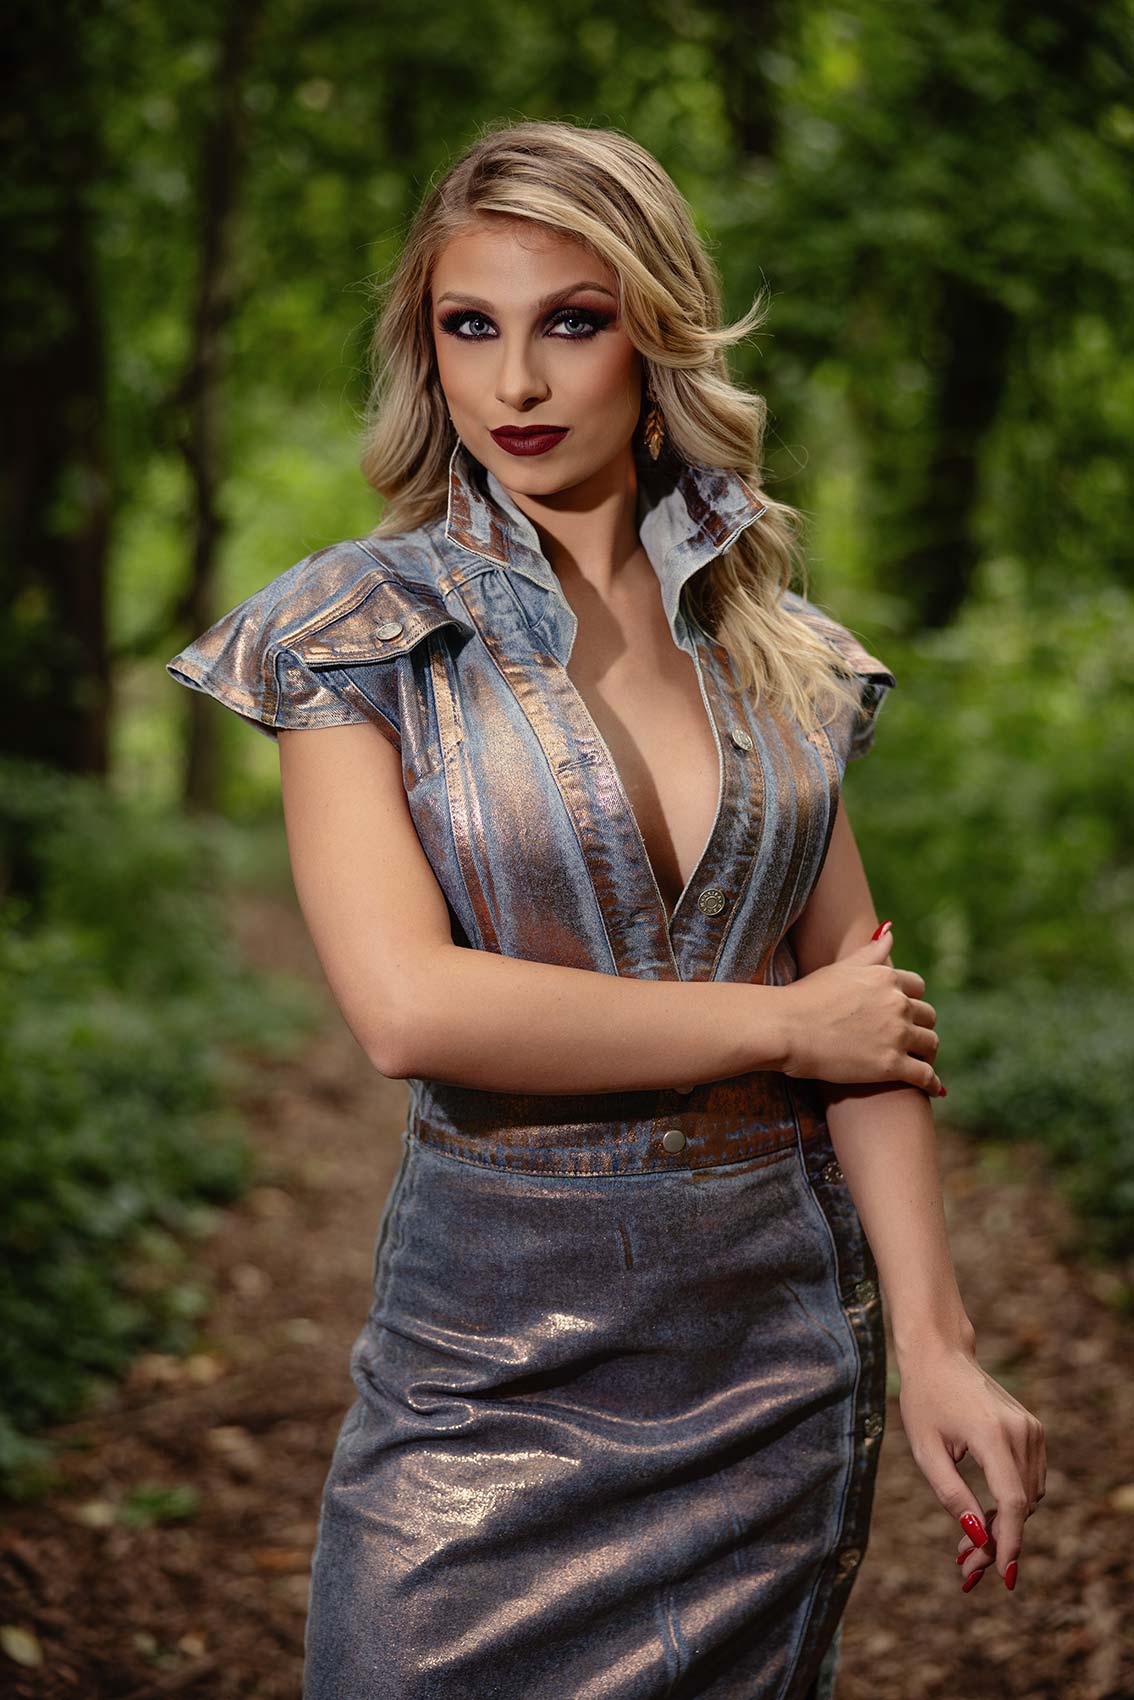
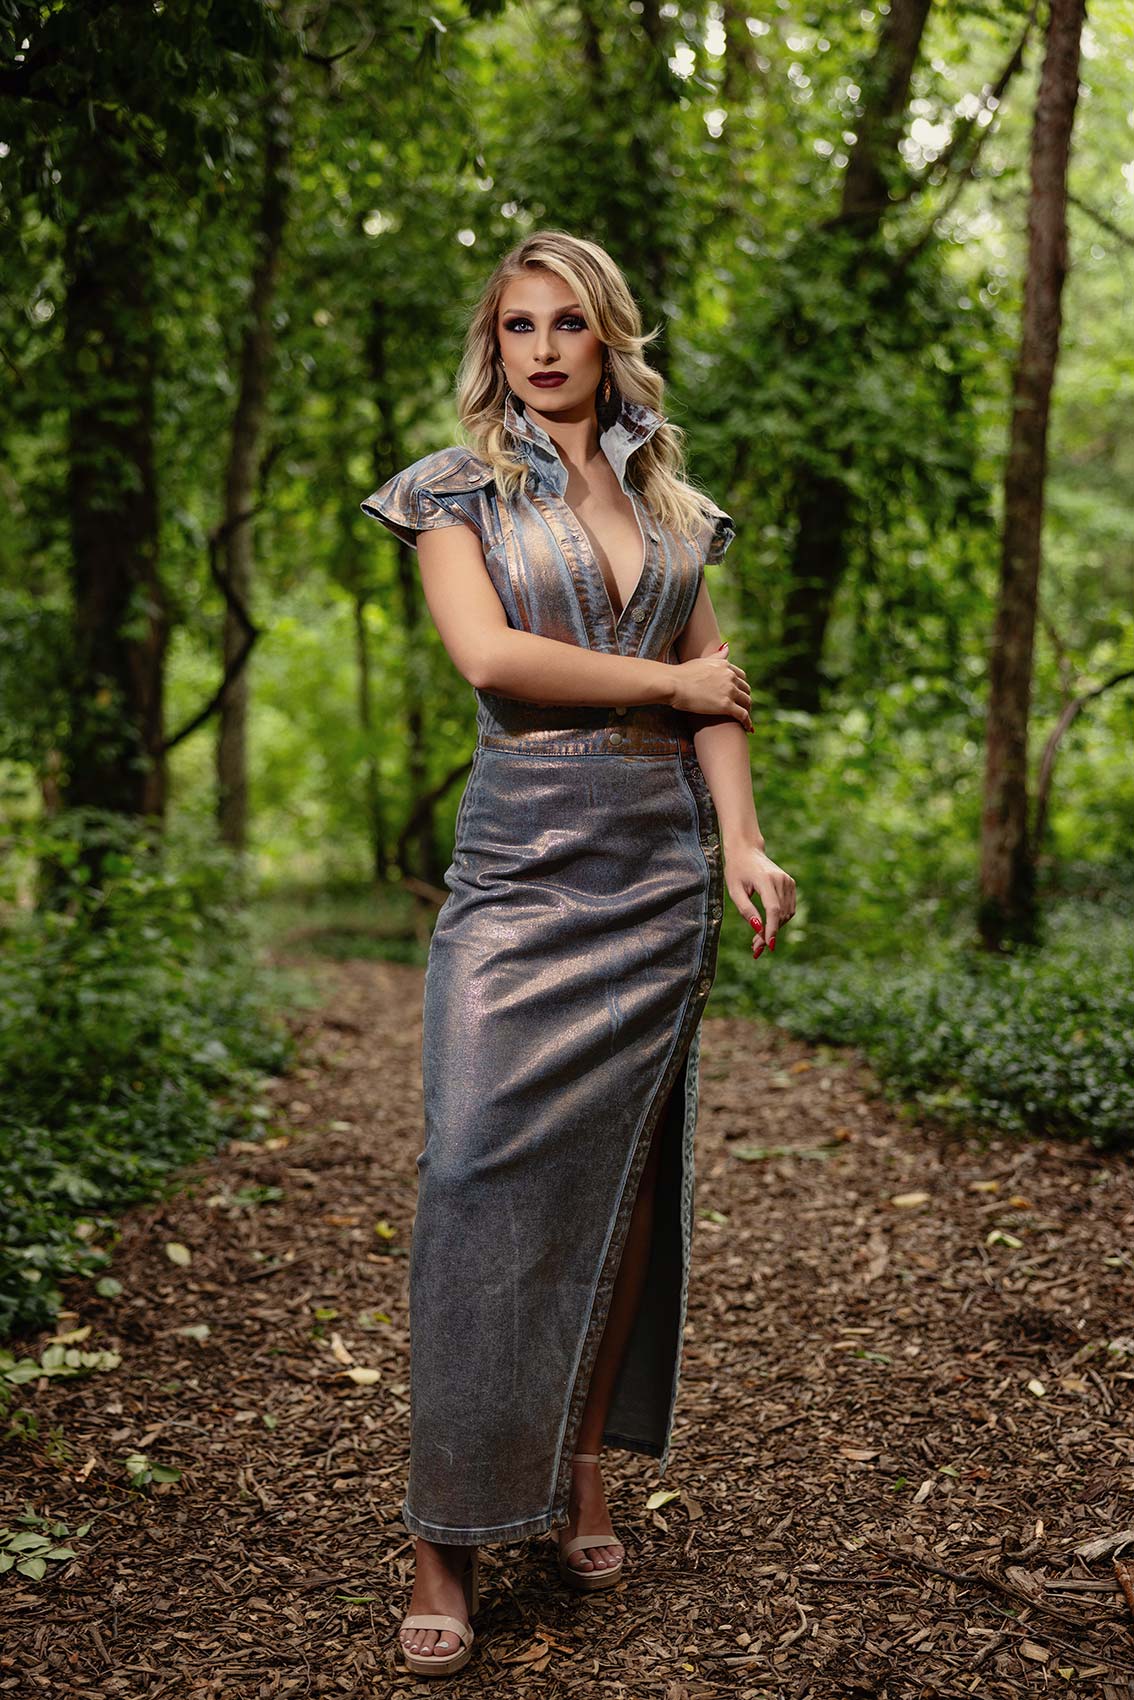
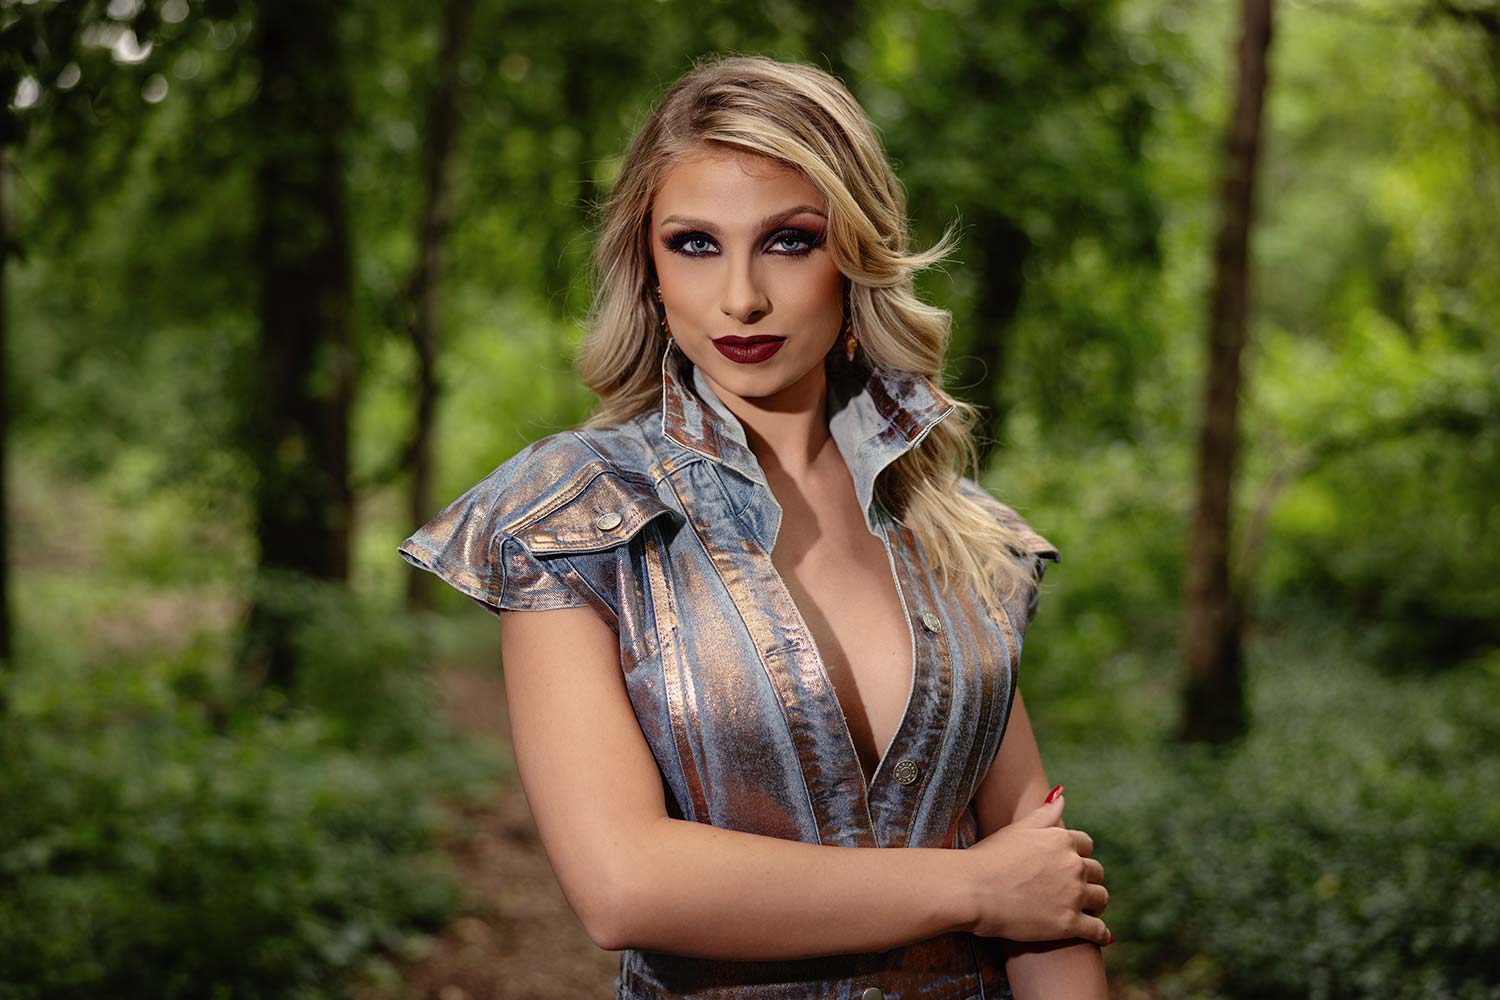
I want this coming from just slightly off camera right there. All right, Heather, here we go. And now I should be somewhat dialed in. So my camera, I’m underexposed one stop. I’m shooting this at F/2 and now I’ve got this flash at a power of 1. So let’s see what this looks like here. And now she is immediately popping off this background. In just two frames on it looks absolutely incredible here. And she’s popping off that background. And I’m looking at it. She’s a little bright. So I’m already at a power of 1. So what I’m going to do here is adjust my ISO, having that power. And now I really like the way this is looking.

Settings: f/2 @ 1/100, ISO 100
Now, one of the things I tell people, whoever’s helping me, is follow the nose. So wherever your subject starts looking. If Heather looks over here, we got to follow the nose with the light. We don’t want broad light here. If Heather starts looking over this way, that light’s going to drift over and follow the nose with her. But we’re going to keep her right at camera here.
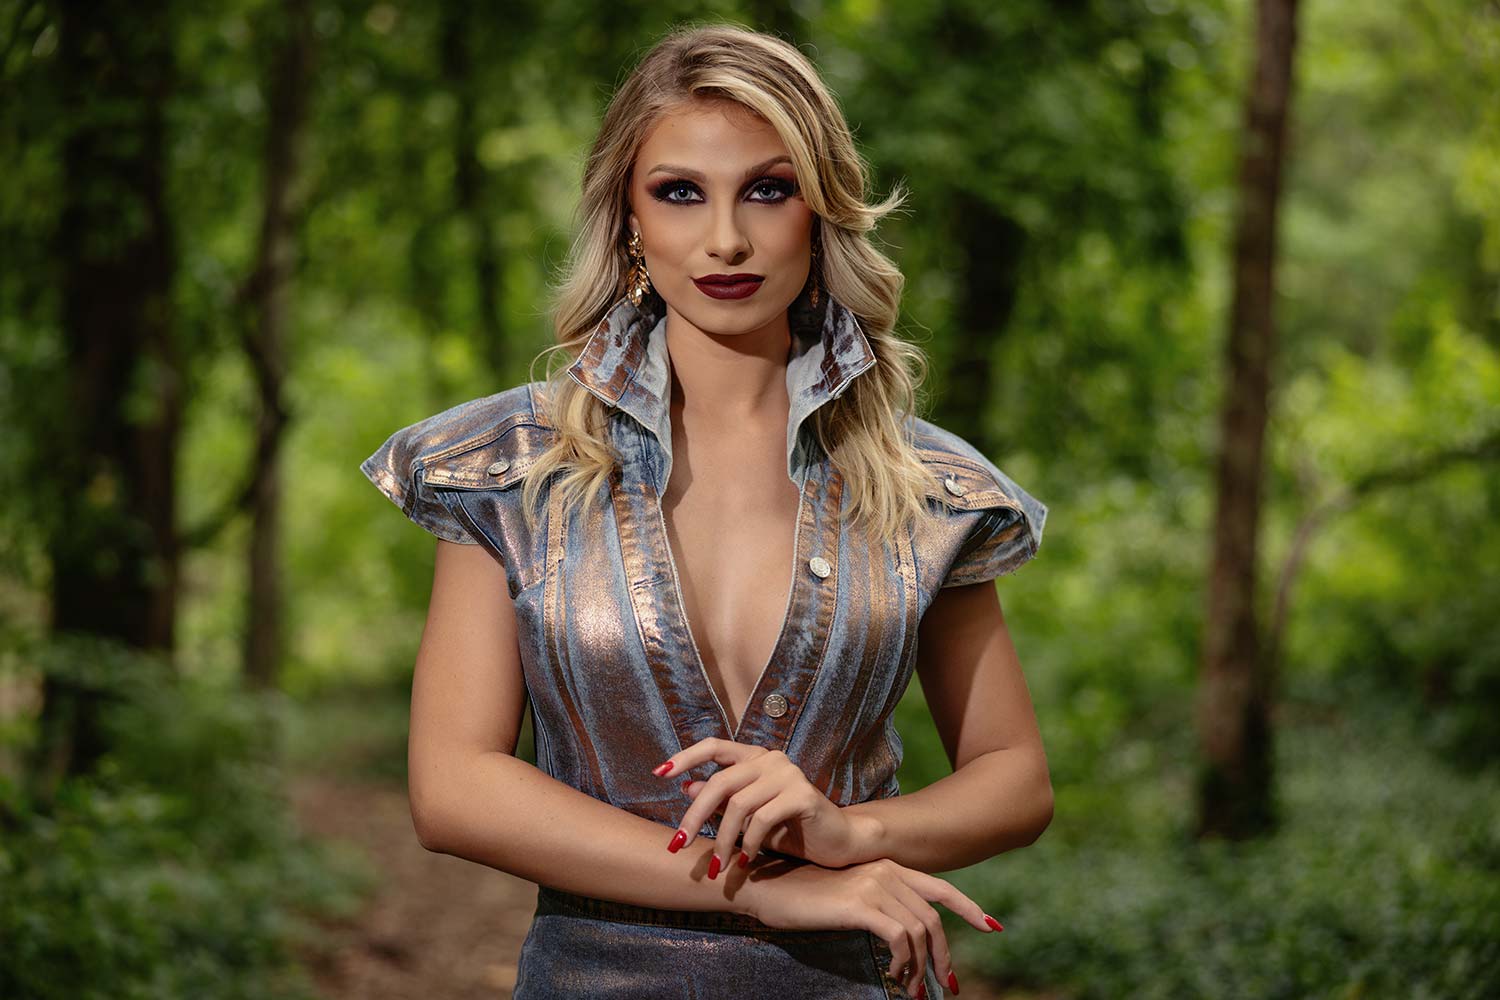
Settings: f/2 @ 1/100, ISO 100
Settings: f/2 @ 1/100, ISO 100
Settings: f/2 @ 1/100, ISO 100
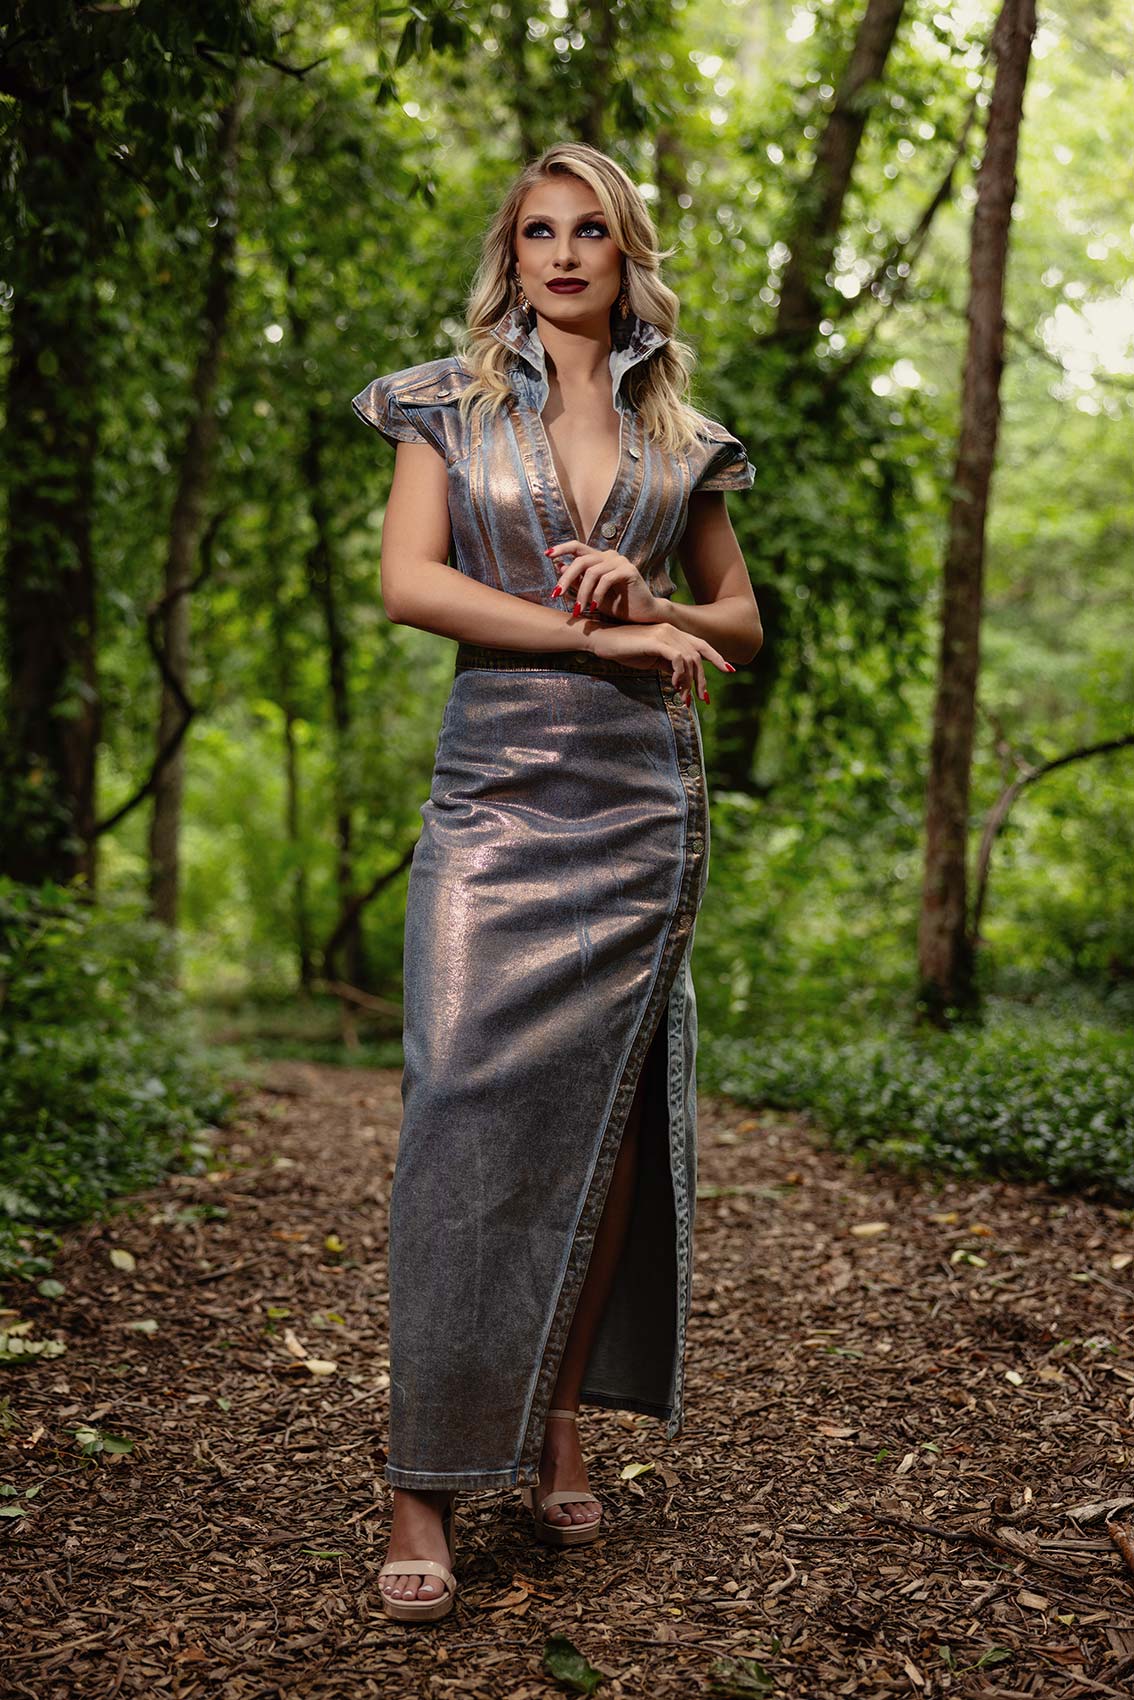
Settings: f/2 @ 1/100, ISO 100
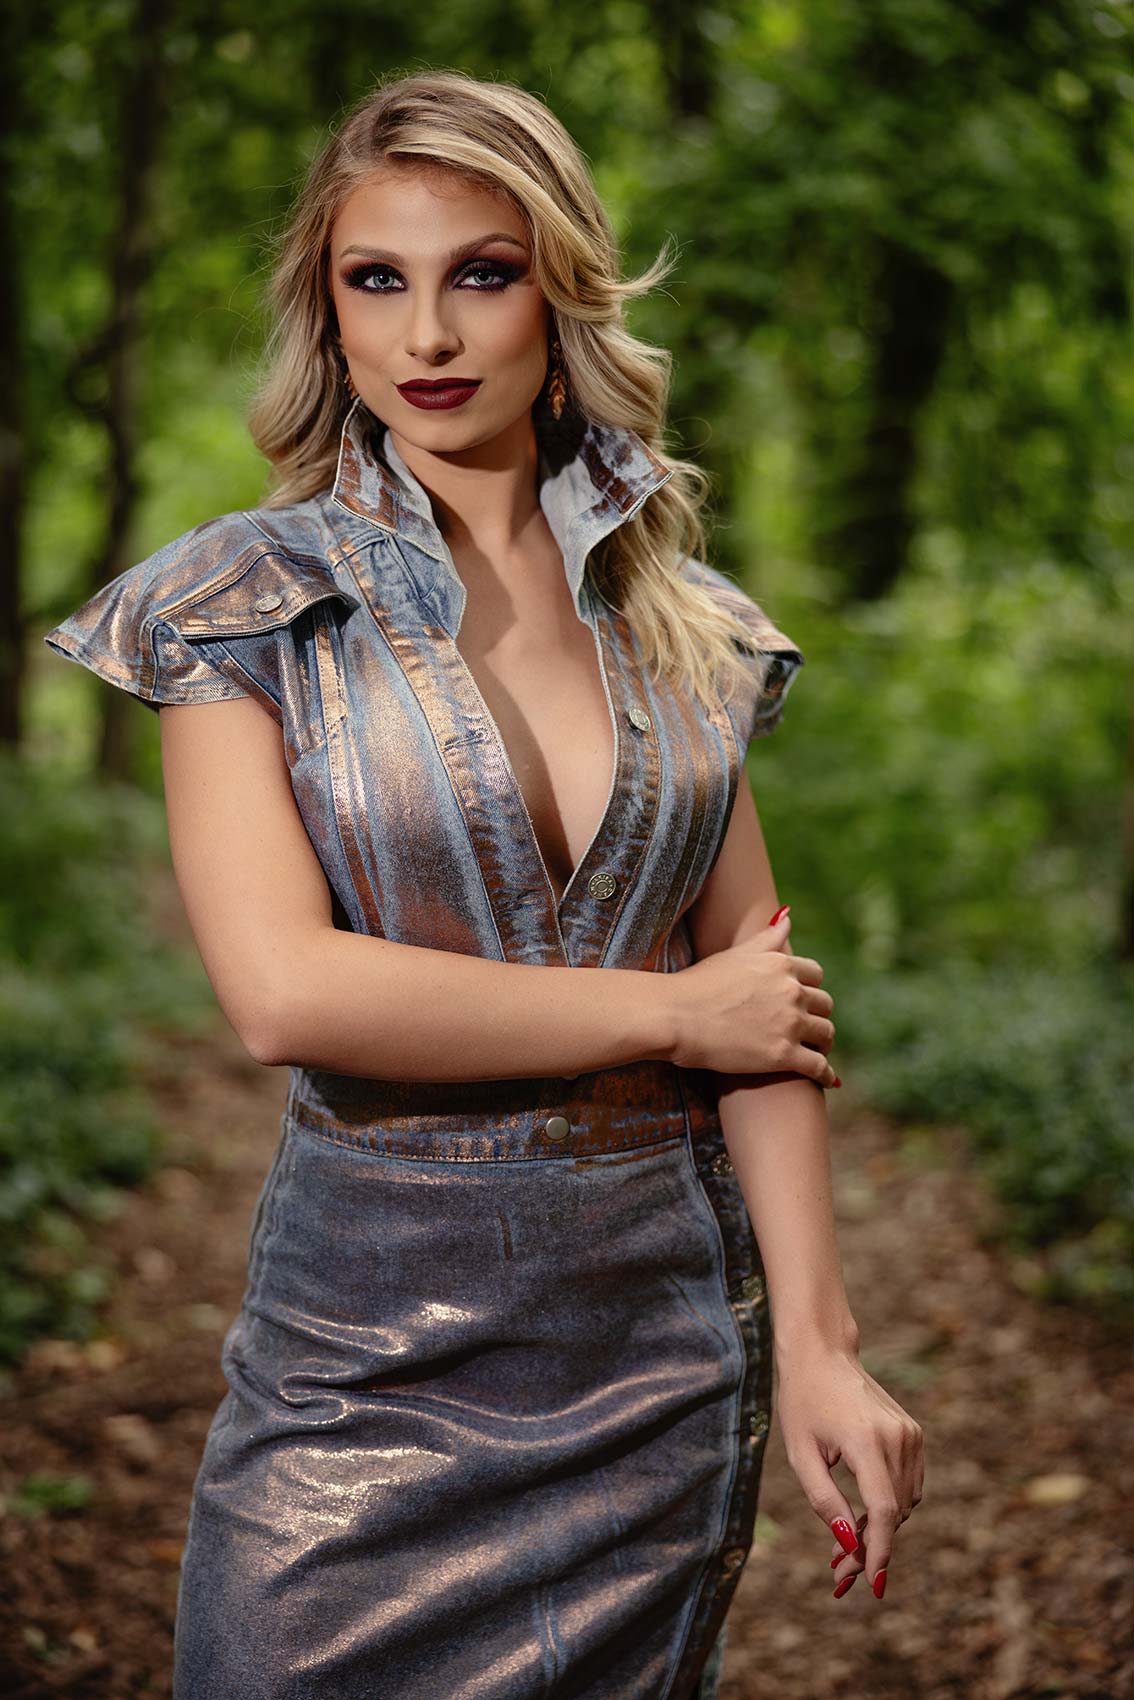
Settings: f/2 @ 1/100, ISO 100
Settings: f/2 @ 1/100, ISO 100
Settings: f/2 @ 1/100, ISO 100
Settings: f/2 @ 1/100, ISO 100
Settings: f/2 @ 1/100, ISO 100
All right, everybody, that is a wrap. Hopefully we’ve made this look easy because it is. And so it will take you out of just shooting available light and really give you control of lighting. So let’s just kind of recap it.
First thing you’re going to do is use your camera to get exposure of the scene. We want to underexpose just a little so we don’t lose all that background detail.
Second thing you’re going to do is use flash to fill. In this case we use the FJ80. You want something that’s going to recycle quickly and most importantly, has the right color temperature or is going to maintain that consistency. If it doesn’t, you’re going to have a nightmare in post-production as you move from image to image.
And then of course, season to taste. You want it to be more dramatic, flash the power up a little bit higher, underexpose a little bit more, move the flash closer or further away. But that’s the part of being an artist, right, that it’s all about. So have fun with it. Heather, let’s give it up for her in the comments. She did a great job. All right, so we’ll see you in the next video.


