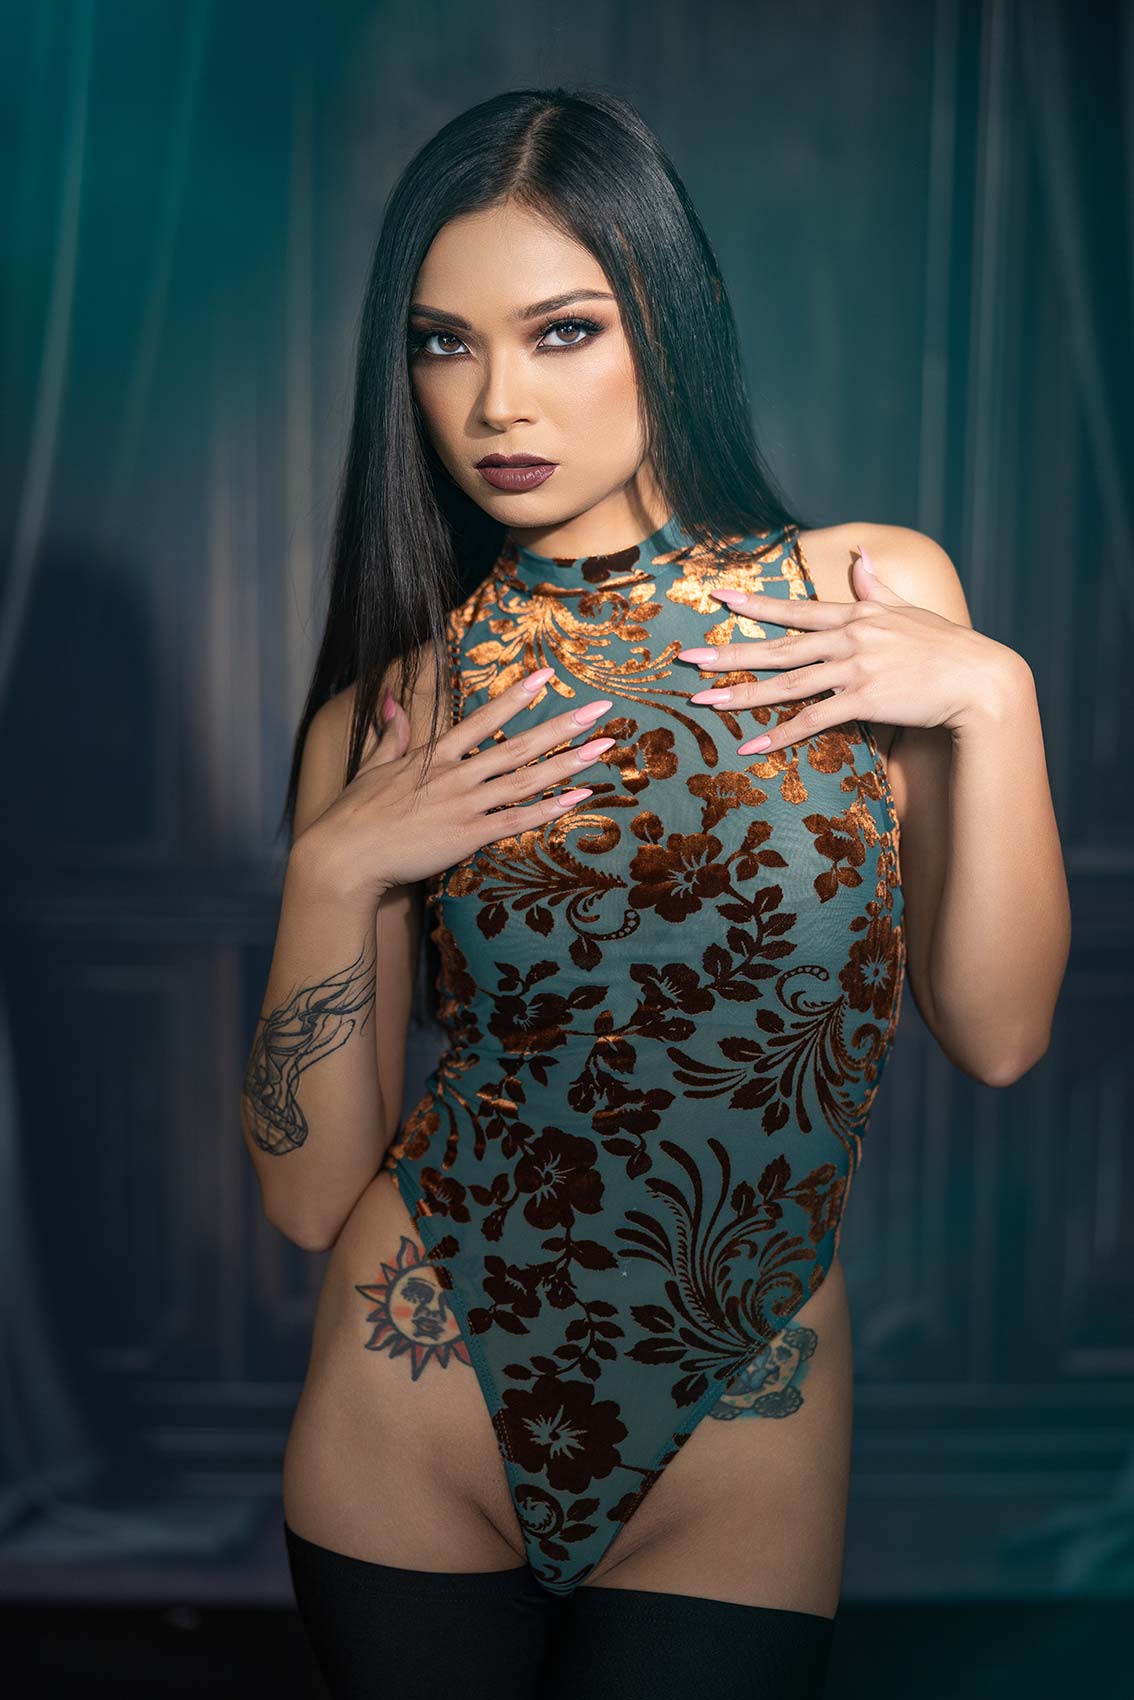
Beauty lighting for your photography doesn’t need to be complicated. All too often photographers tend to over-complicate their lighting. In this tutorial, I show you how to get quick and easy beauty lighting using the Nanlite PavoTube II 30X and other setups for gorgeous beauty portraits. Let’s get to it.
Equipment Used:
Camera: Canon EOS R5
Lens: Canon RF 28-70mm F2 L USM
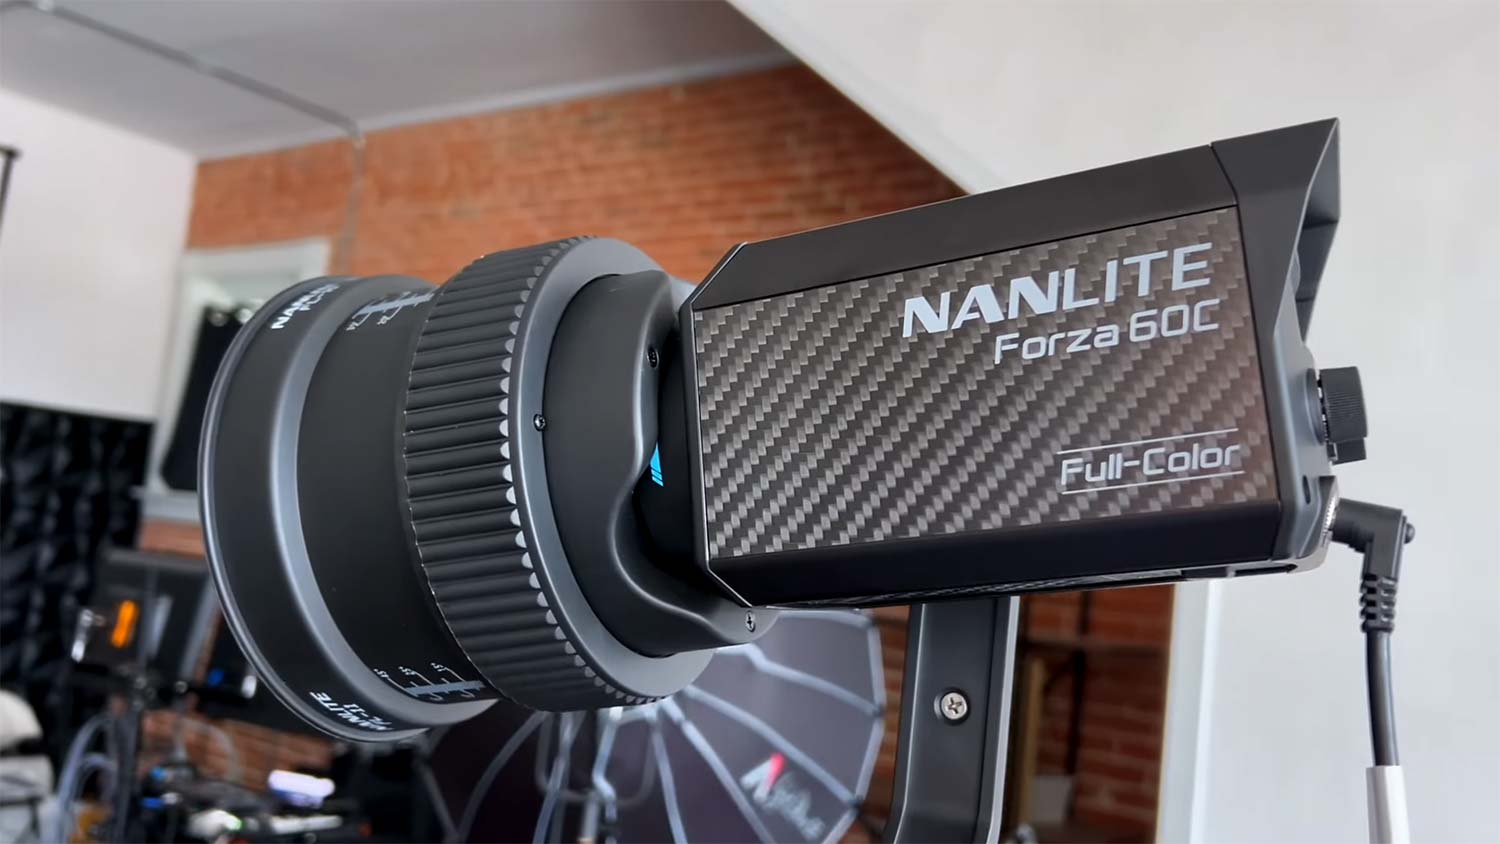
Light: PavoTube II 30X, Forza 60C, Fresnel Lens
Team:
Photographer: Sal Cincotta
Model: Kristina Lin, Brii Zee
Hair & Makeup: Brandi Patton, ReFine Beauty
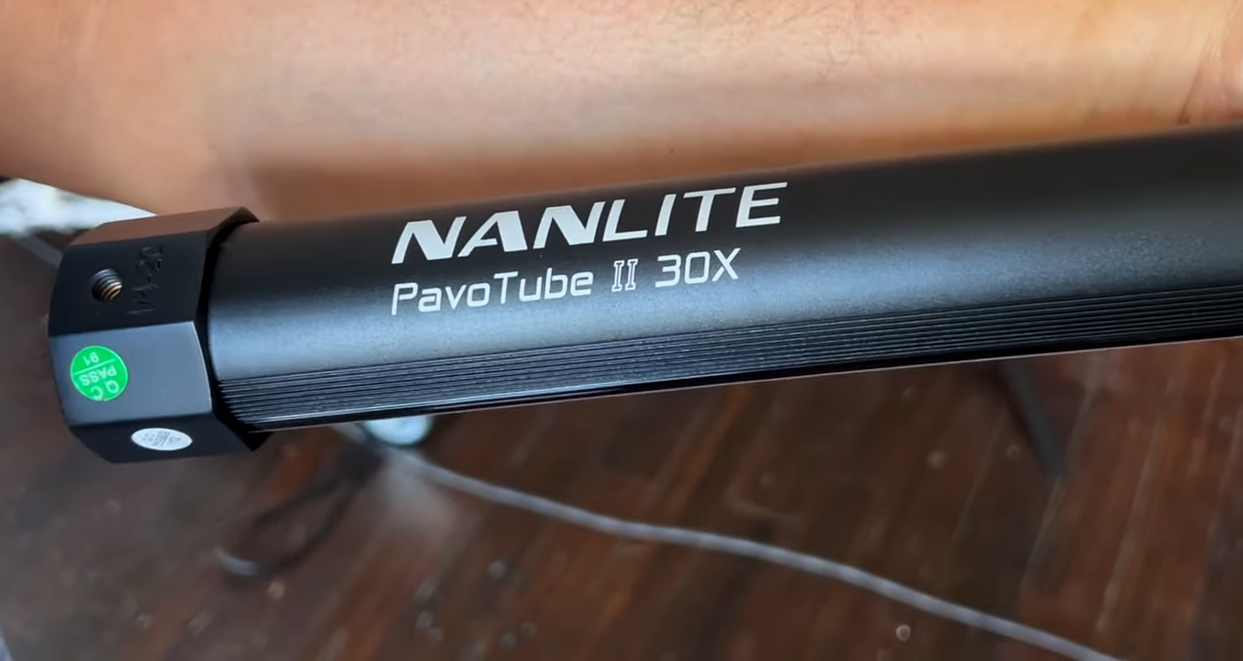
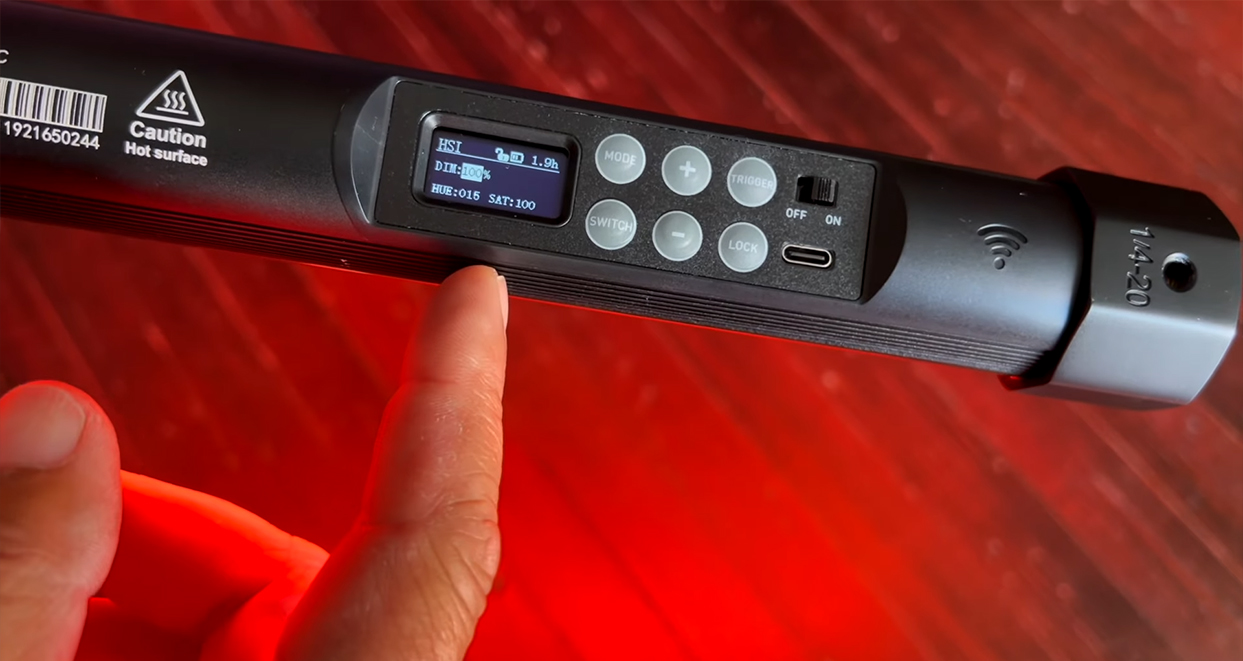
What’s up everyone? My name is Sal Cincotta. Today, we are on set, and I’m going to show you some quick and easy beauty lighting using continuous light. We have four of these Nanlite PavoTubes with us today. These are the PavoTube II 30Xs. You can buy them individually, or you can get them in a kit of four. I’ve got a kit of four, and the reason I really like these is, first, they are battery-operated, so we have no cords here. The other reason is that I can operate them with a cord if needed. They are not only full-color from 5,500K to 3,200K, so you’ve got tungsten and daylight balance, but they also have RGB. This gives us the ability to create a moodier portrait.
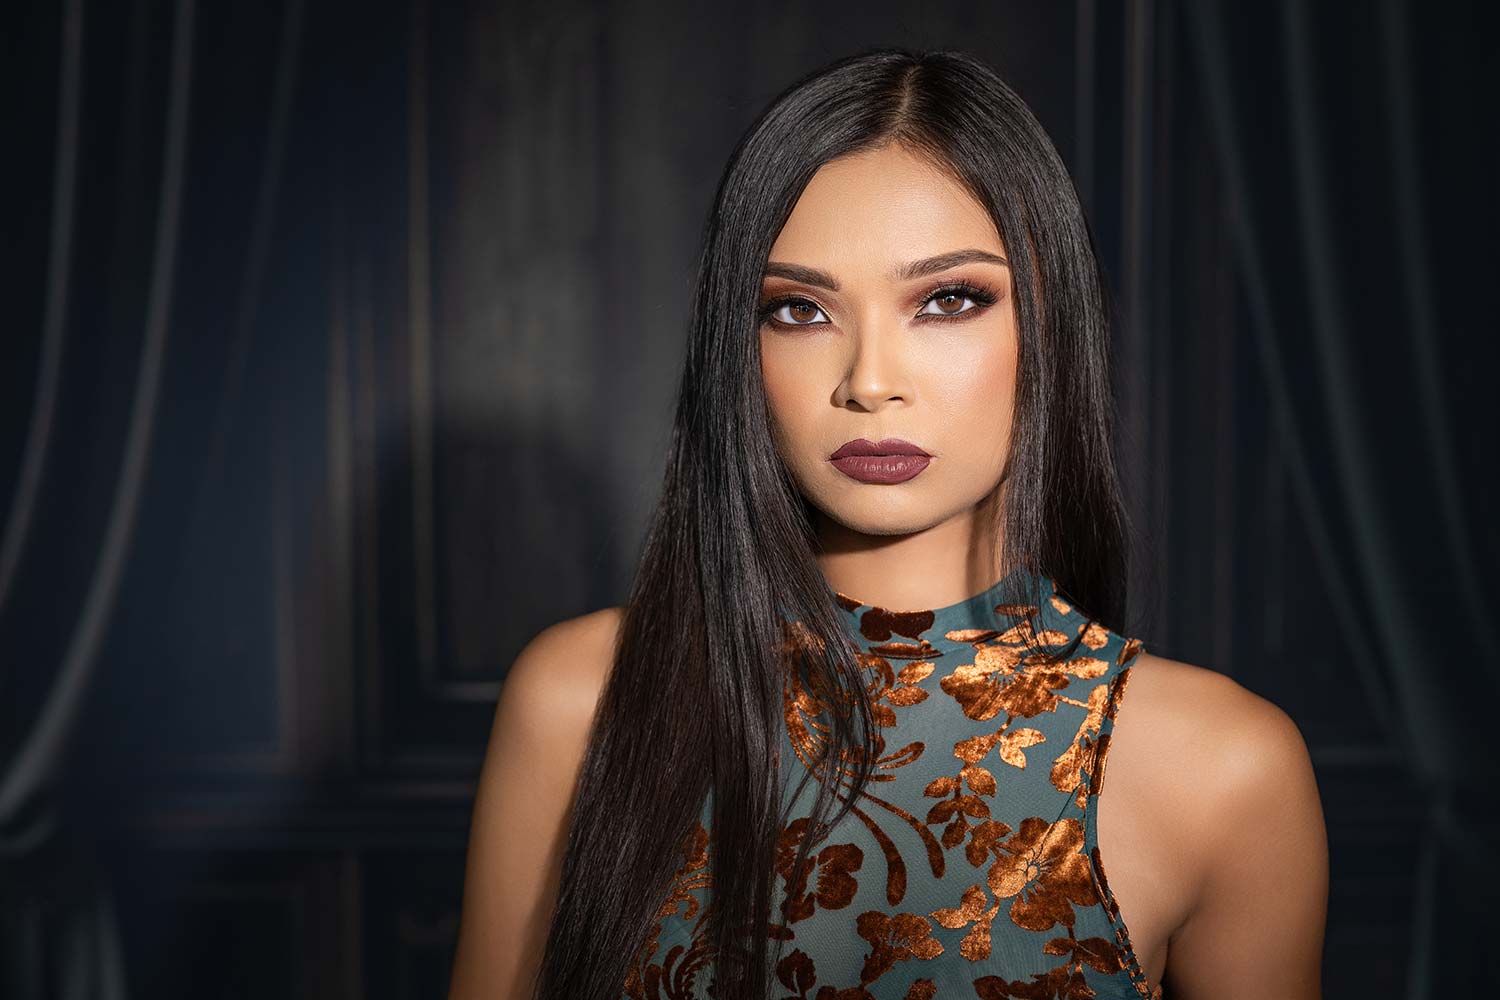
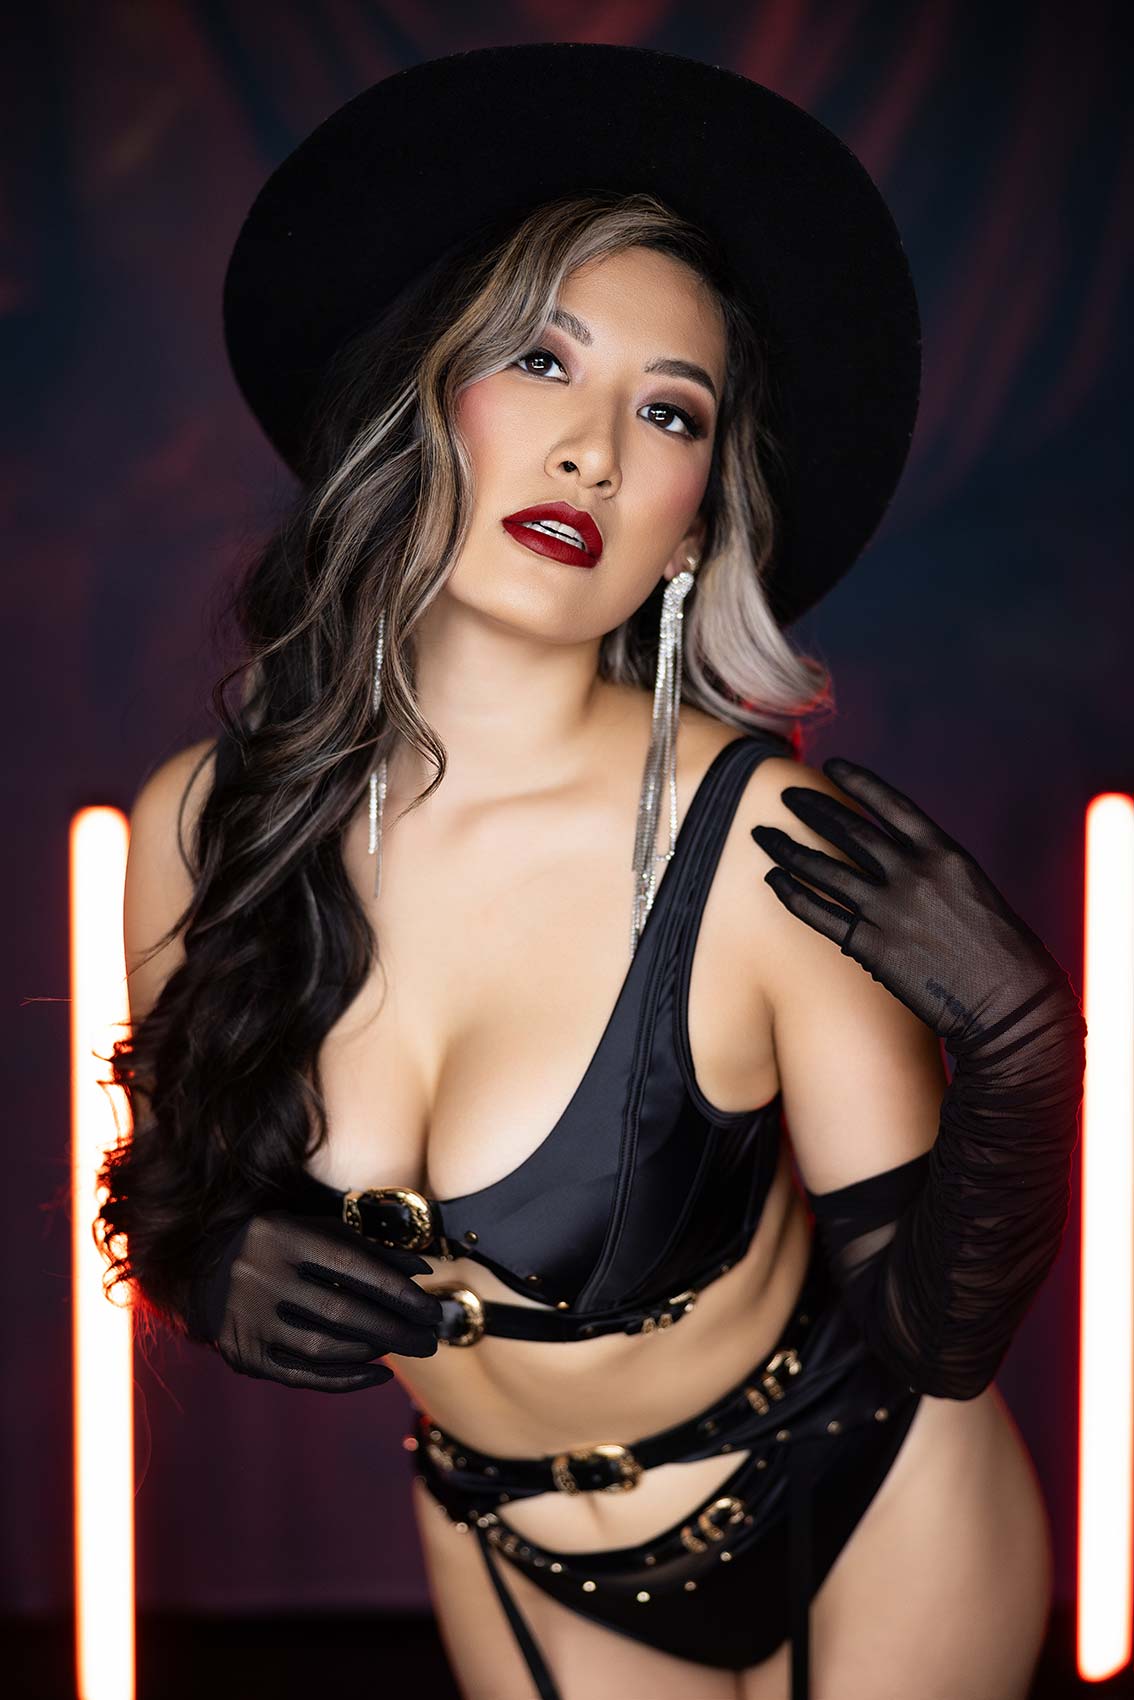
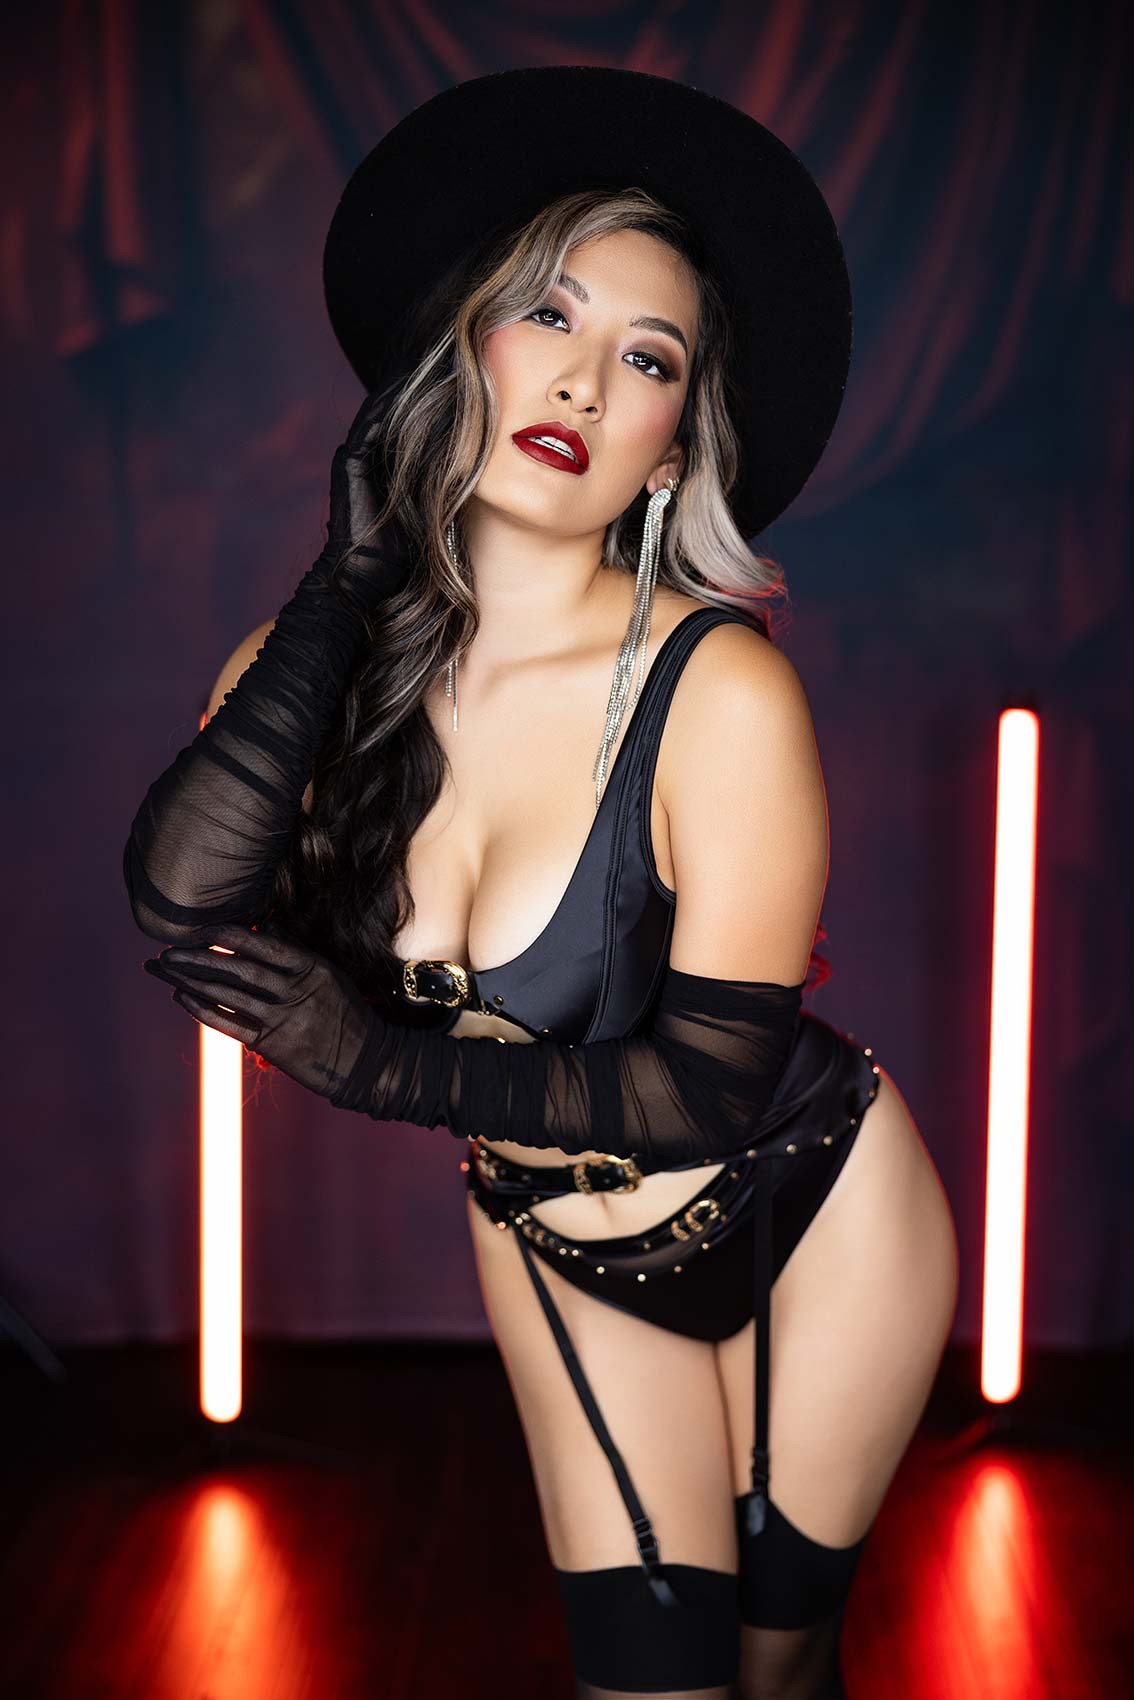
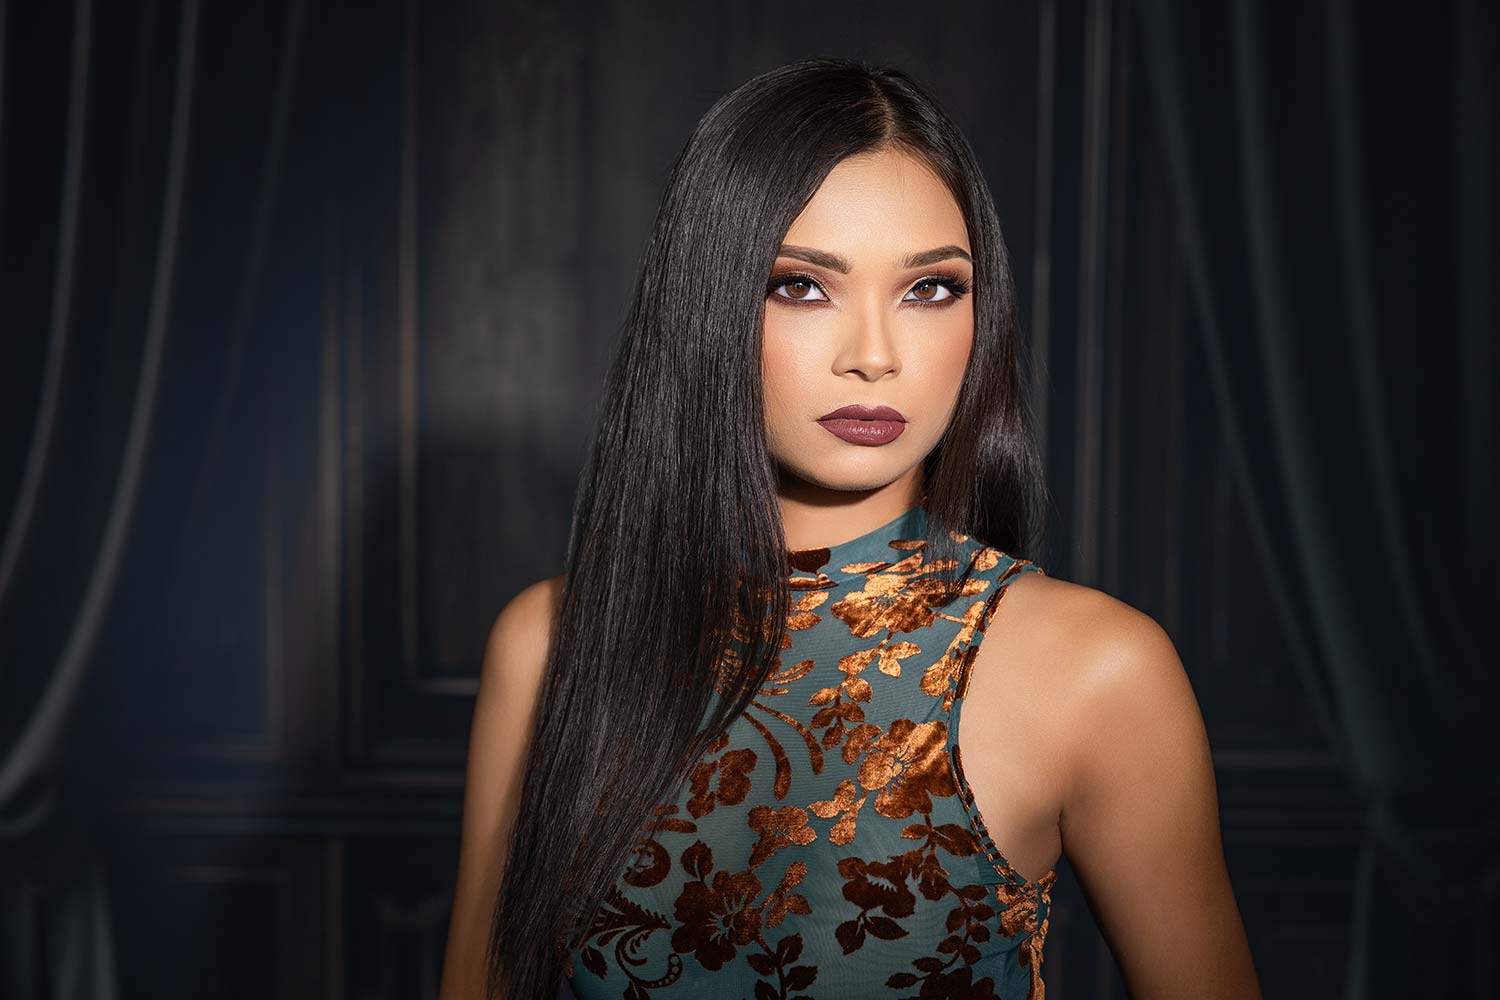
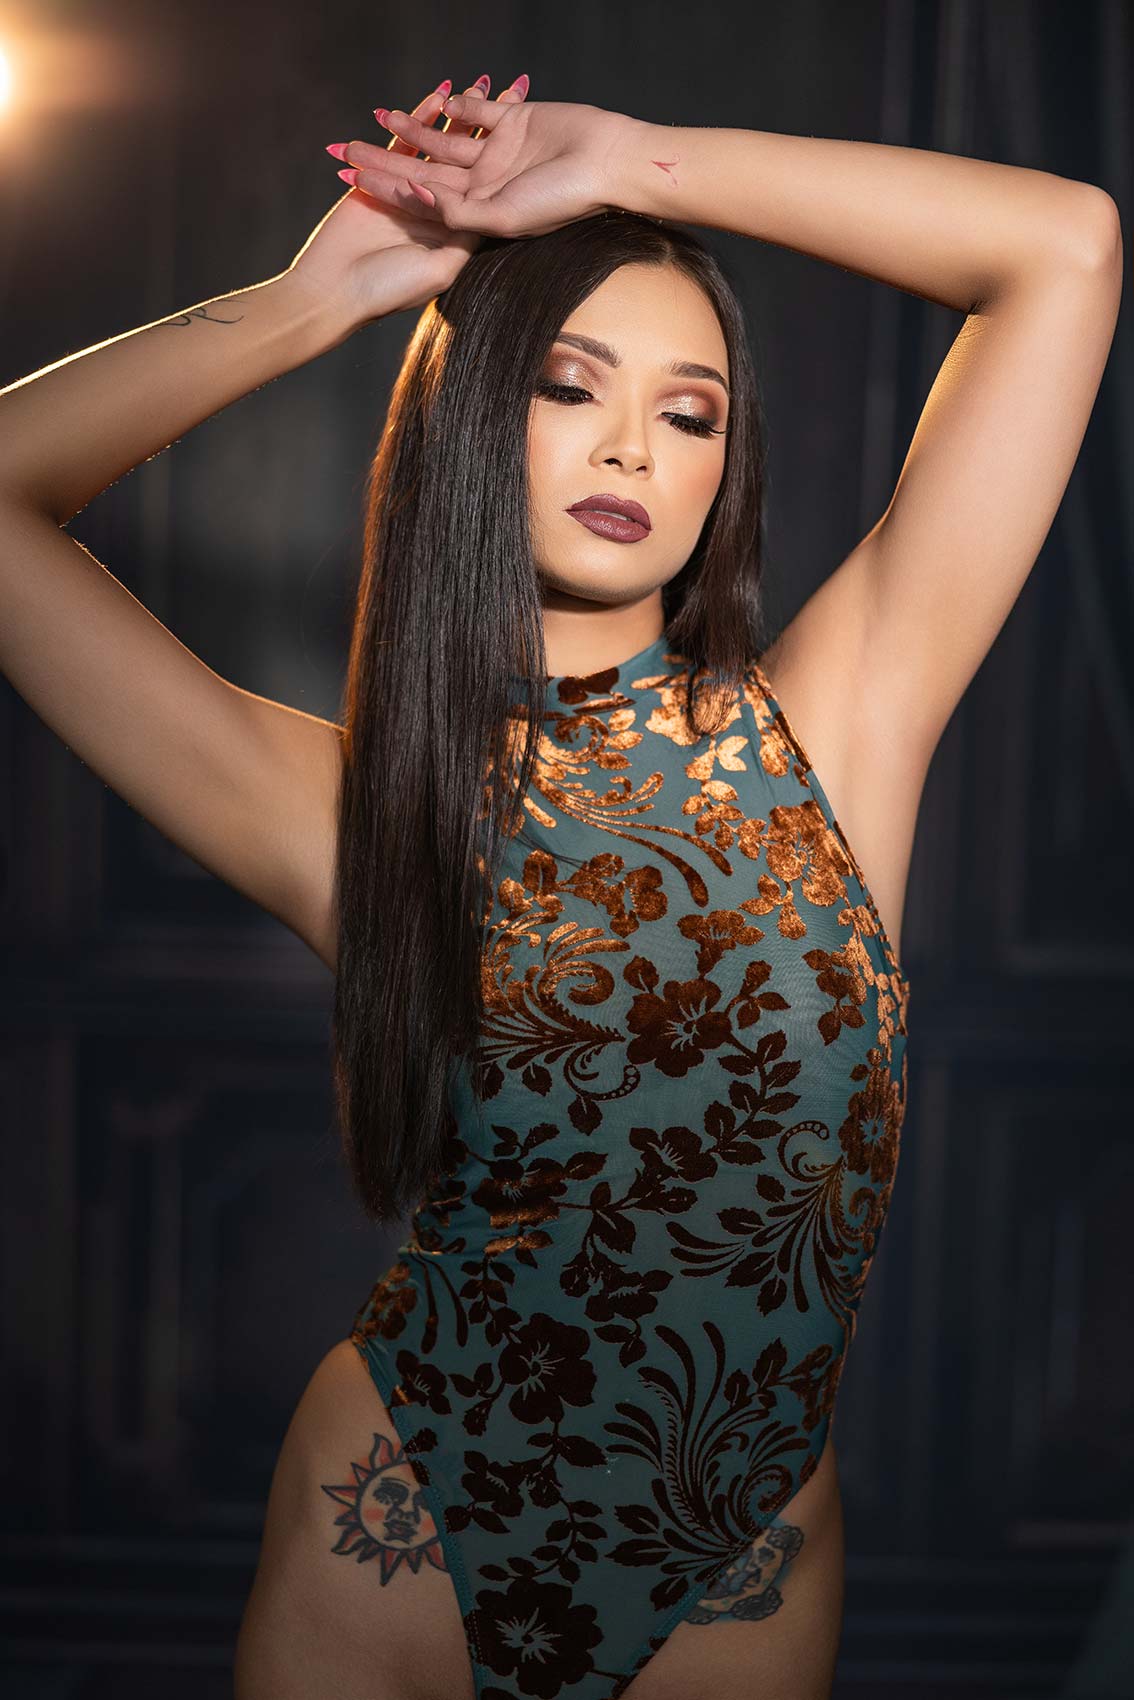
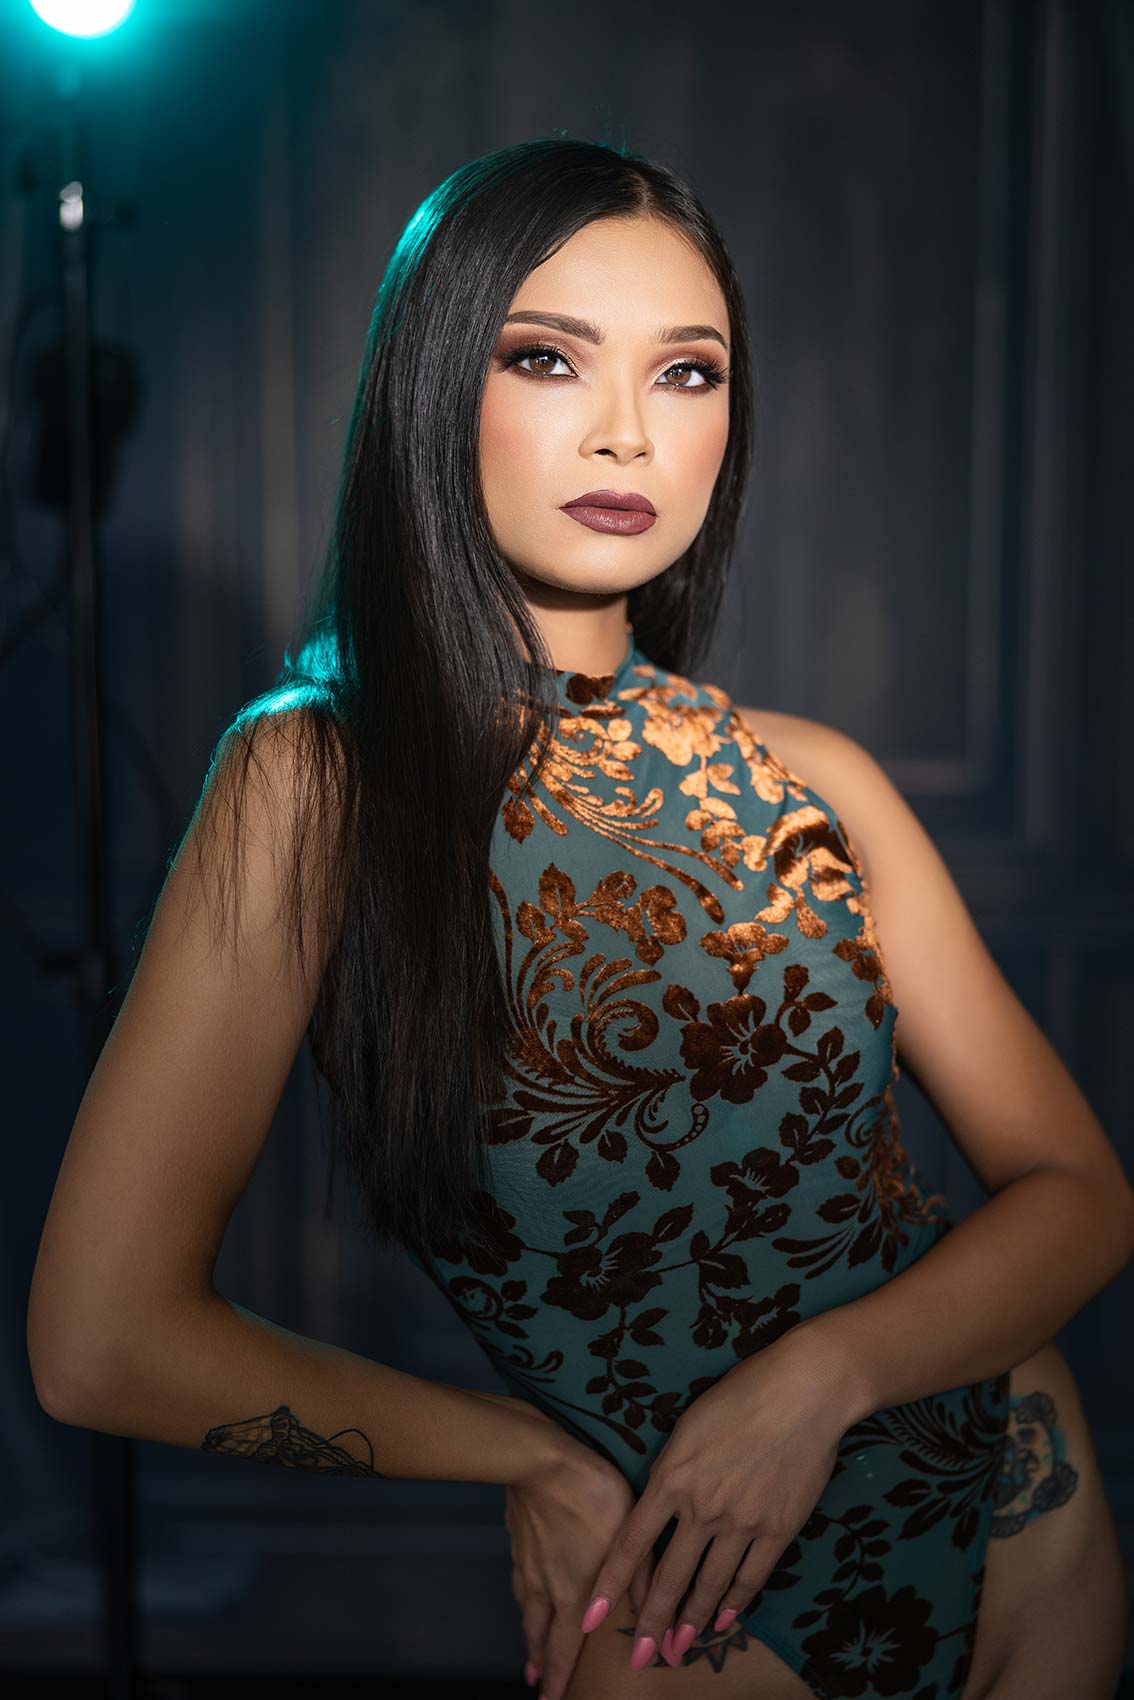
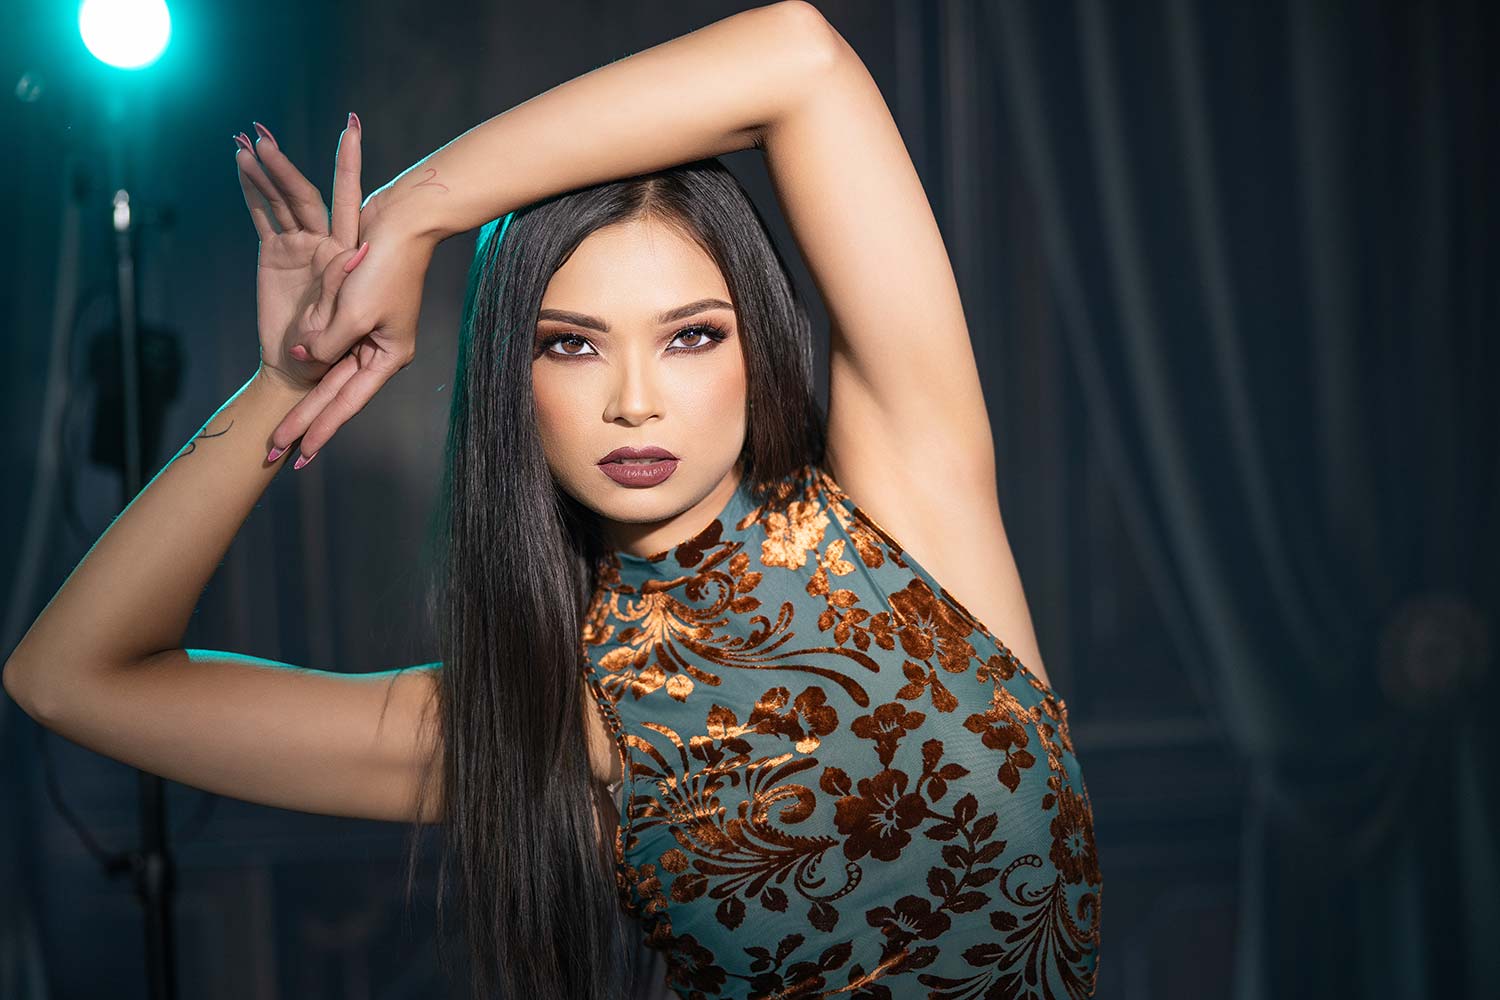
Let me show you how I’m going to use these. They come with adapters so that we can set them up, and we’re going to use them for some really interesting catchlights. They just snap into place on any light stand, and these will be set at 5,500K. We have the beautiful Kristina in front of us. She’s ready for action. I’m going to set up two of these, and then I’m going to use the other ones to create a color wash on the background. I’ll position this as my lower light and just twist it a bit so it’s firing up at her. Now, we’re going to get light coming in from both the bottom and the top, creating more of a clamshell-style lighting. This setup is really good for headshots and beauty work. We don’t want hard shadows; we want softer light.
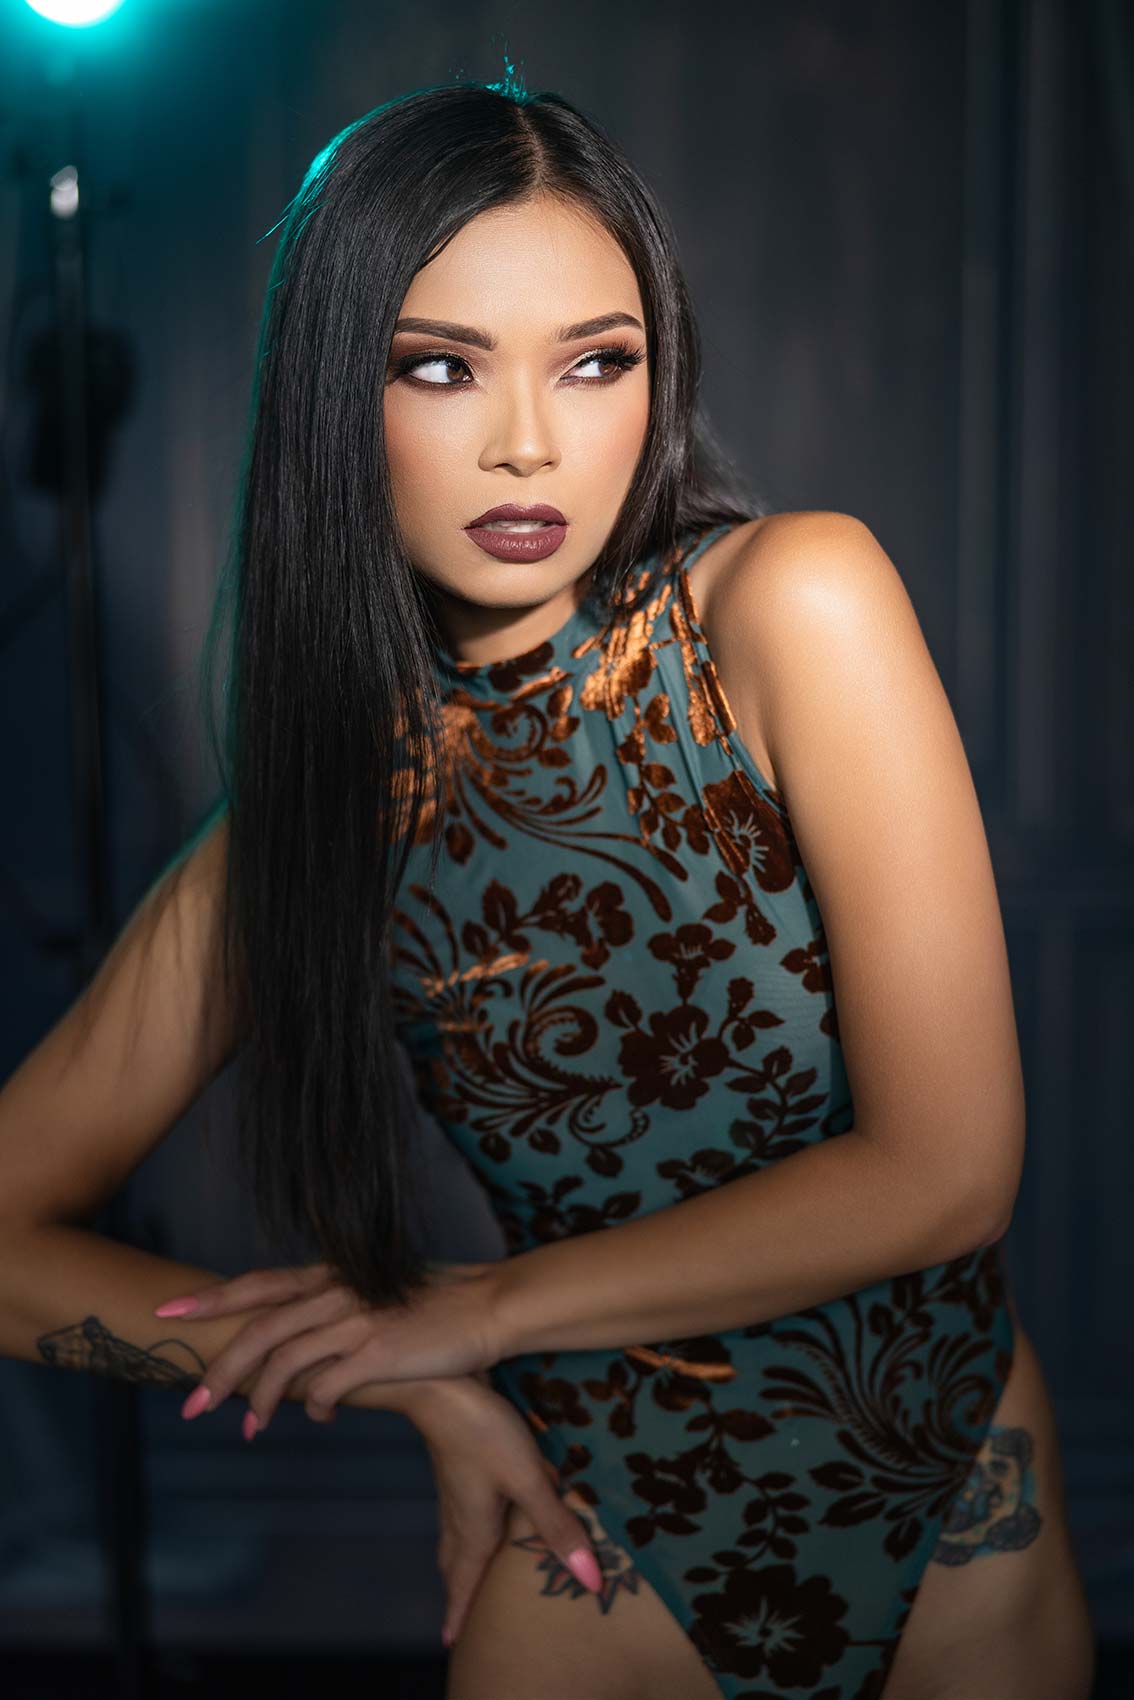
We’re going to put this one here. Then, we’re going to place this one a little higher and tilt it down, which will really show in the catchlights. It’s going to be very unique. Now, if you look at her eyes, you can see it’s a really nice, even light. I’ll just focus on some details here. We can see the jawline definition, which is what we want. We don’t want too much light under her chin, but we do want the jawline to show some shadow, while the rest of her face is evenly lit.
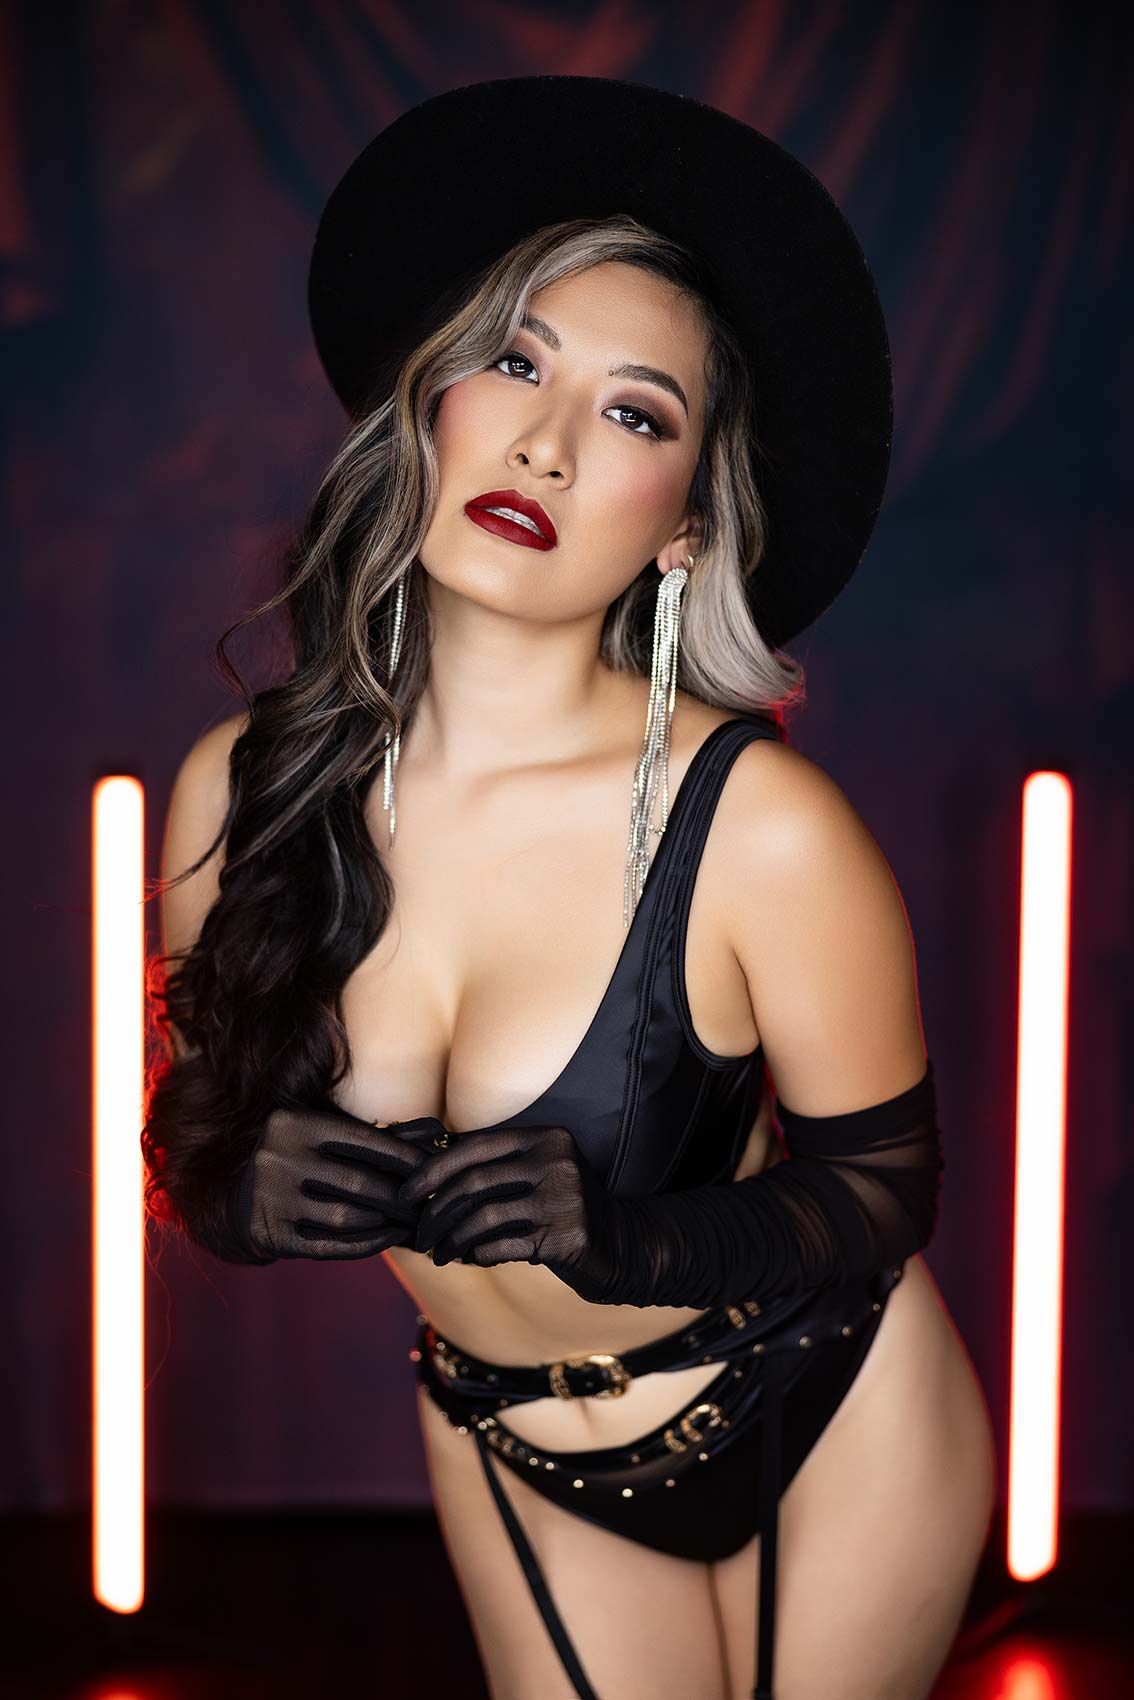
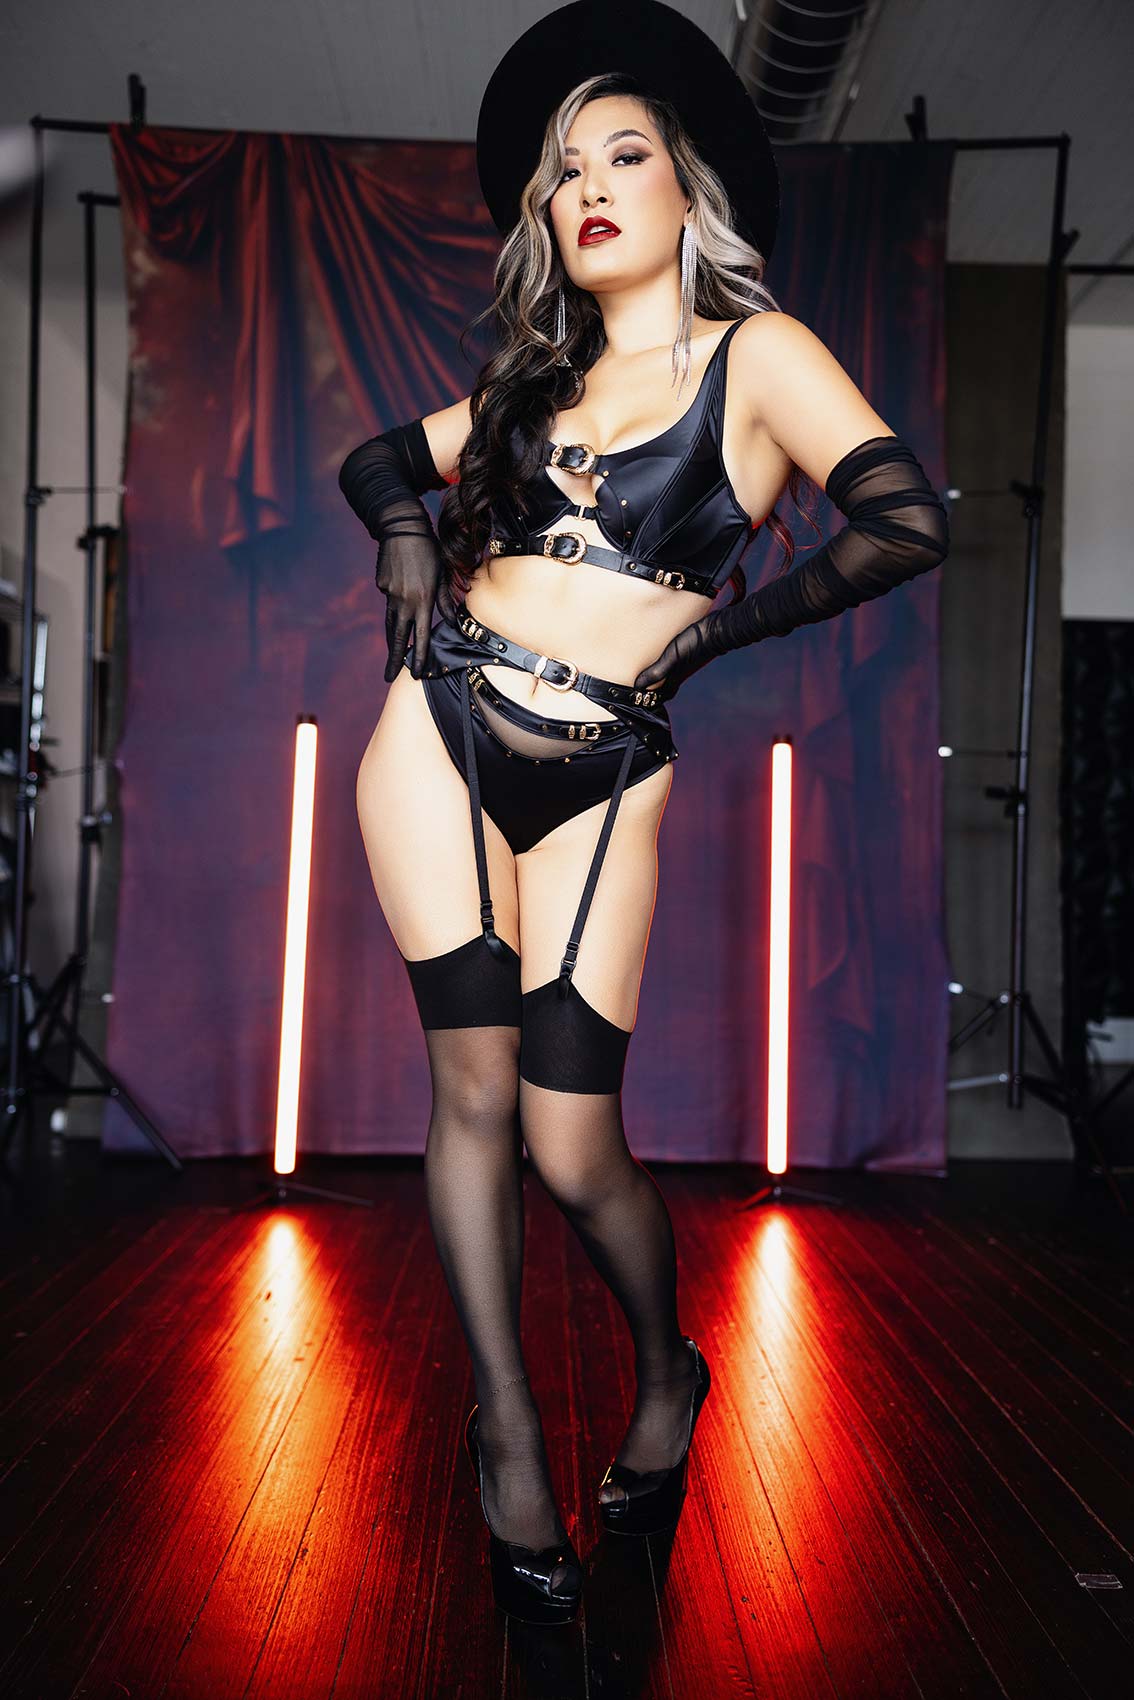
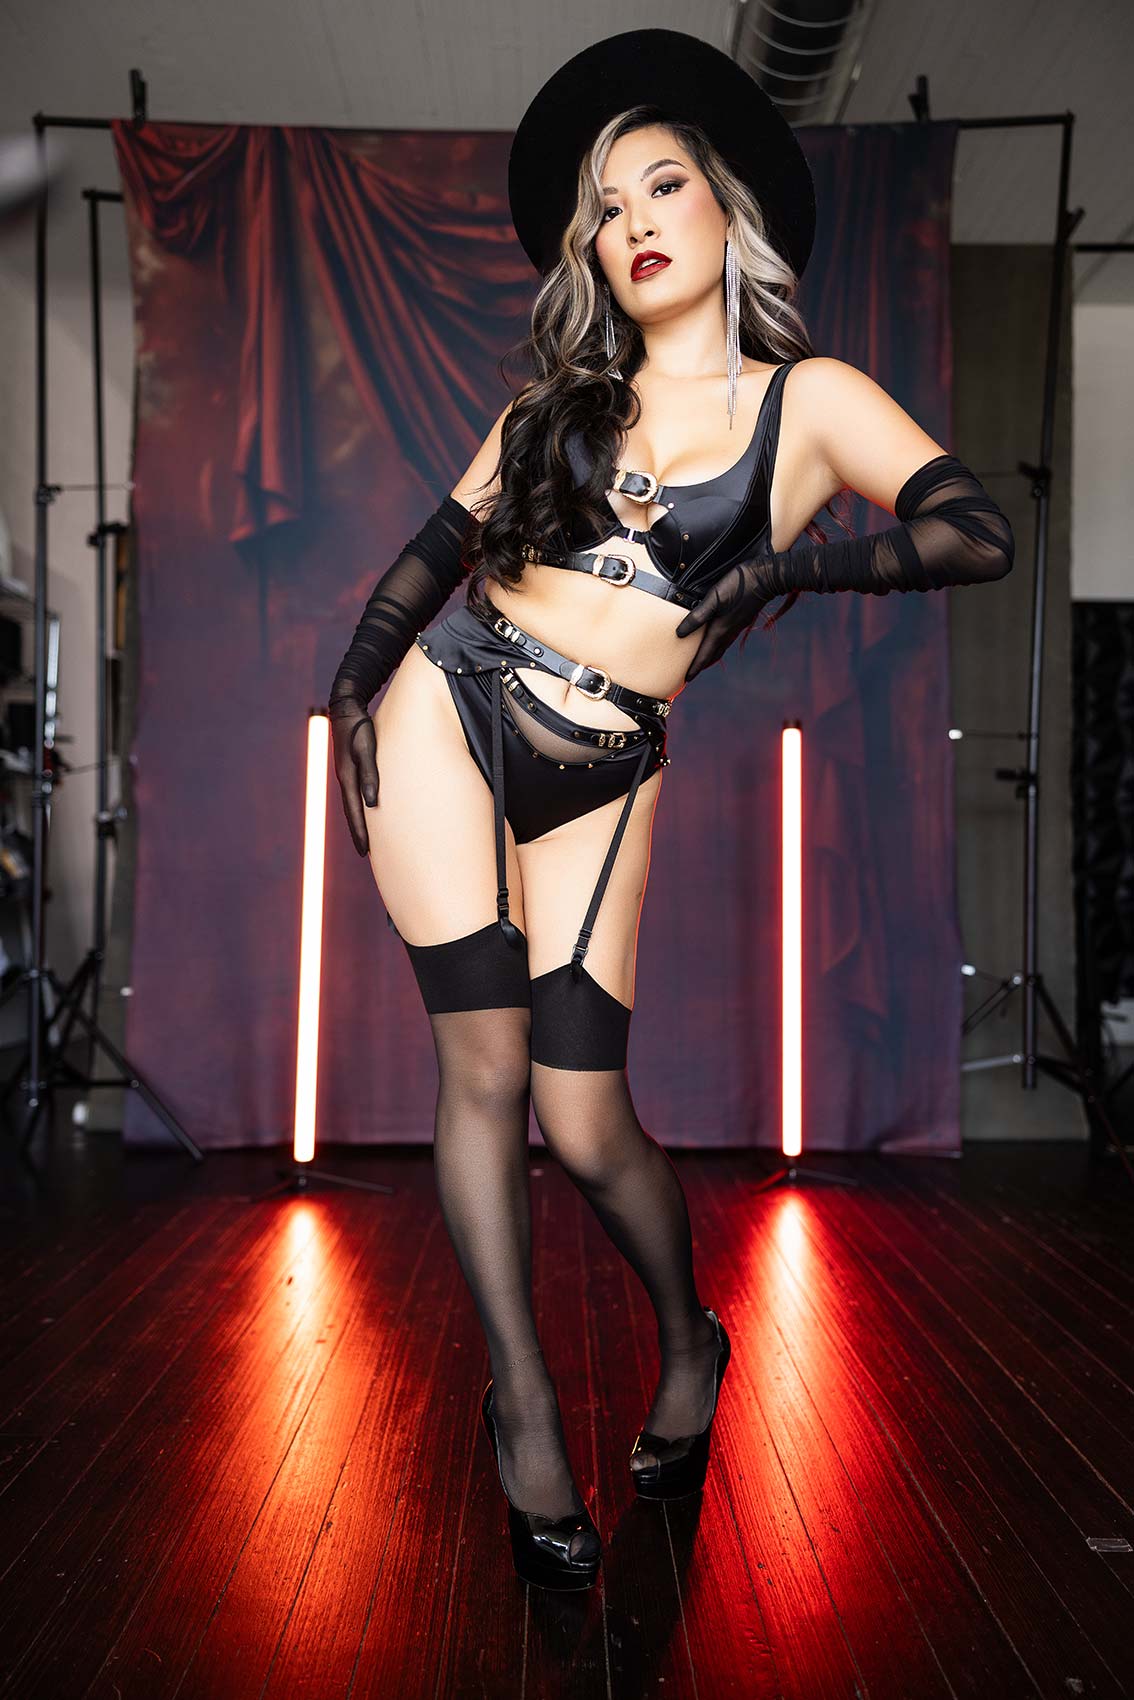
Now, what I want to do is use this background from Intuition Backgrounds. I’ll put a link up on the screen along with the backdrop name, Scarlet. I love this kind of drapery look for beauty work. What I’m going to do next is switch the lights to red mode. I’m going to place one of them around her to create an edge light. Then, I’ll use the other one to throw a bit of a red wash on the background. Let’s do this—it’s going to look pretty cool, actually. I’m going to put the lights in the frame, so as we take the picture, you’ll see the lights in the shot, and you’ll get the edge light. I’m going to make sure I get a headshot of her, and you can see the catchlights in her eyes are just beautiful. We’ve got this nice red behind her, which really adds to the shot.
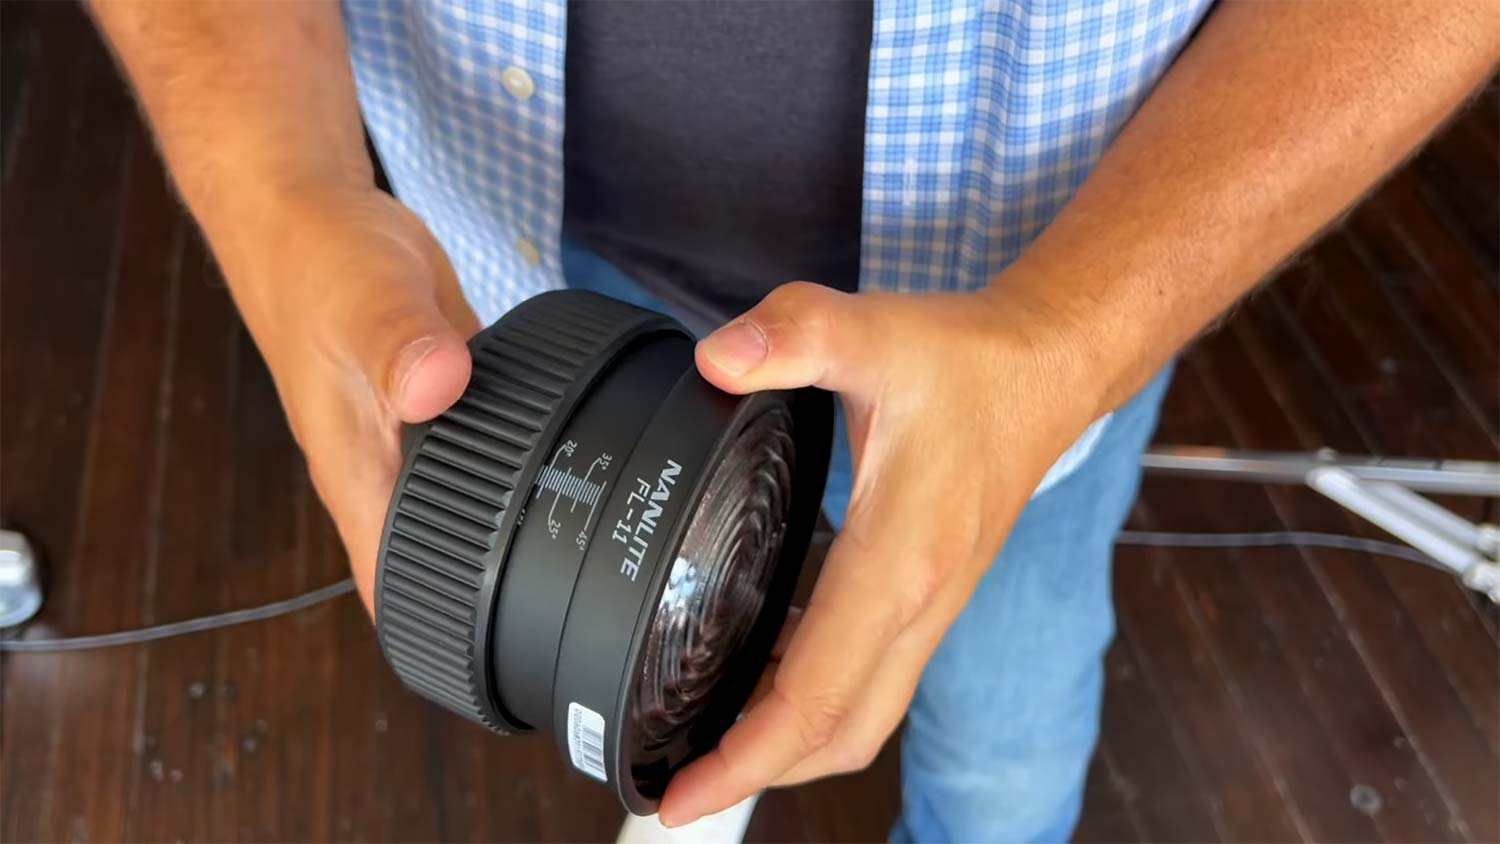
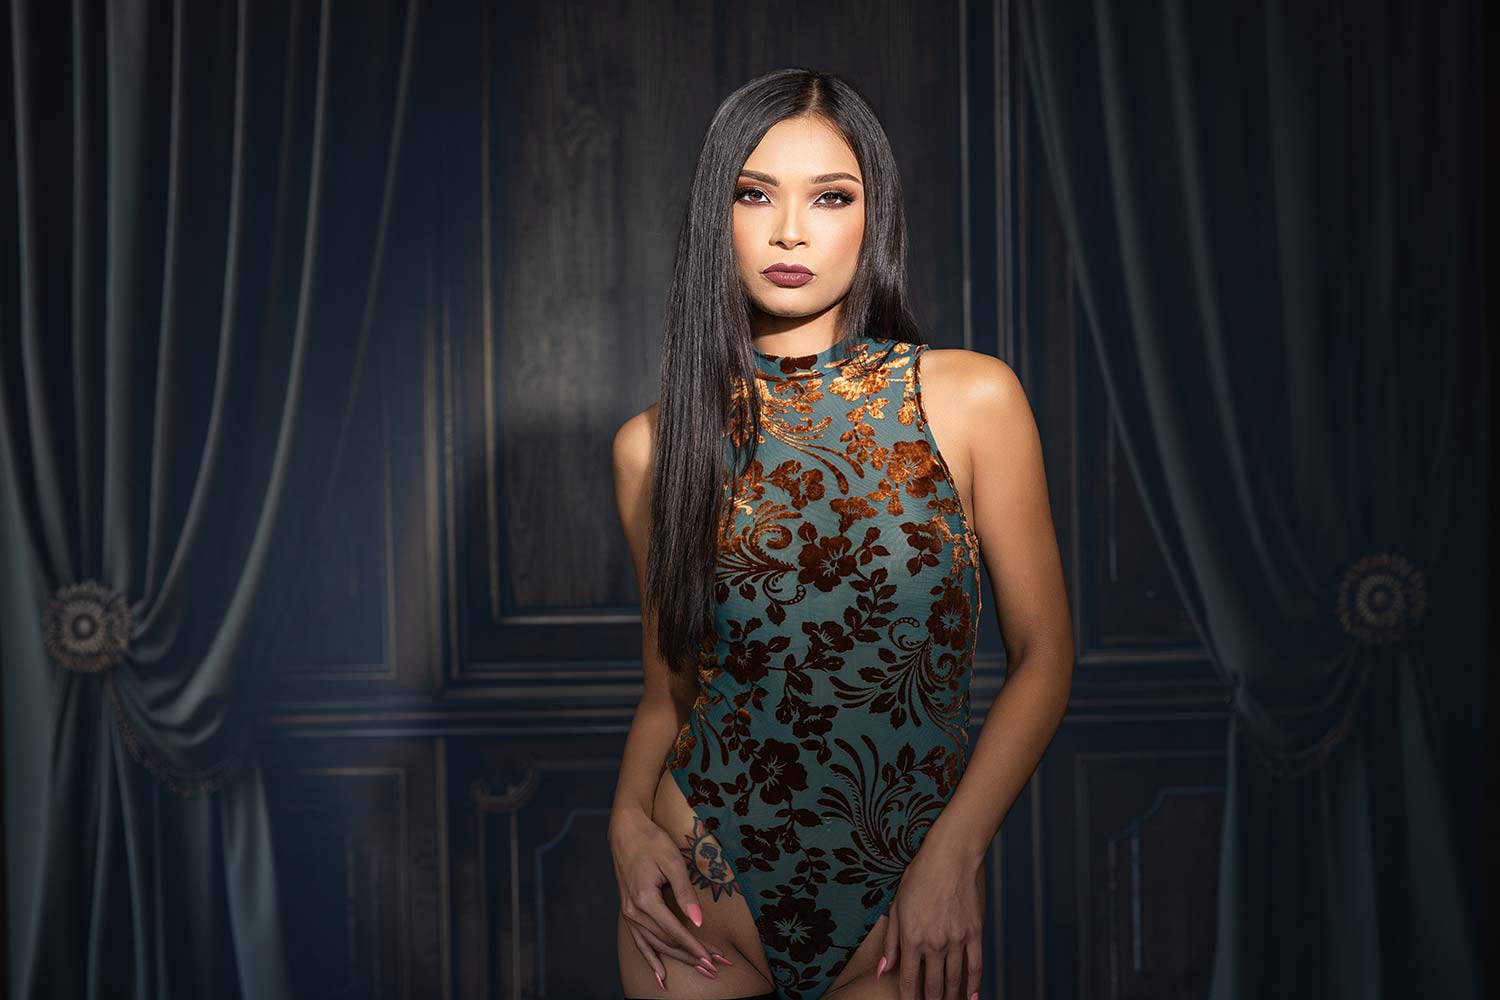
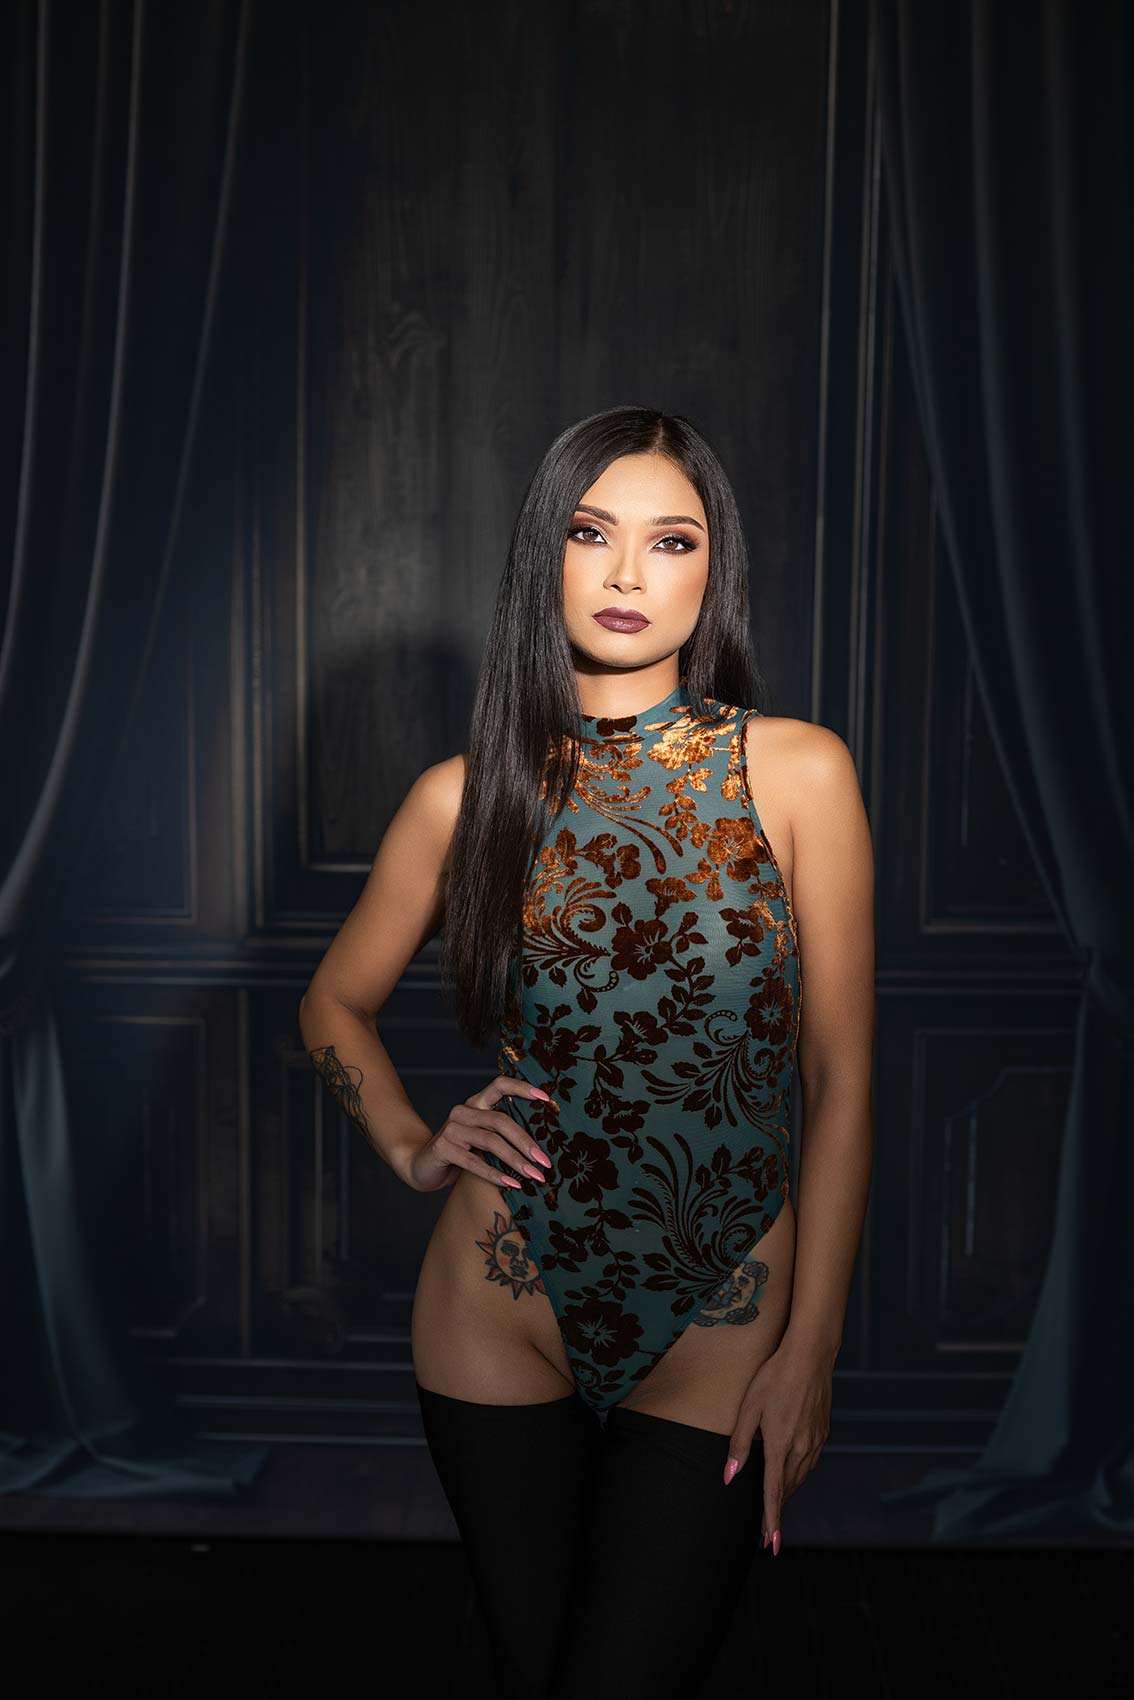
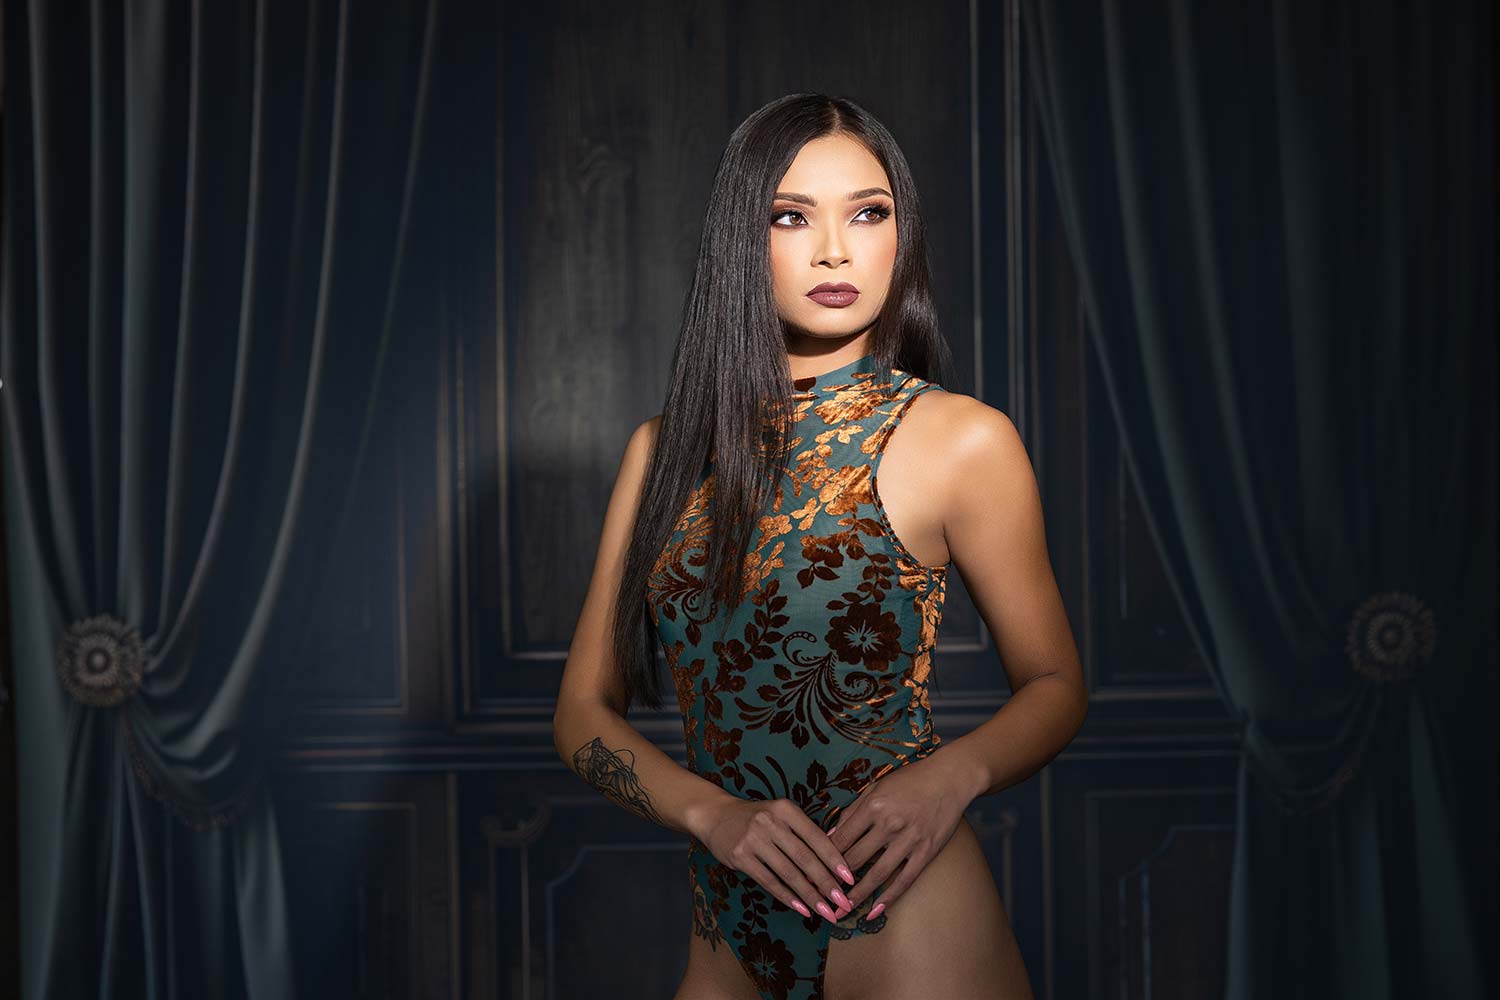
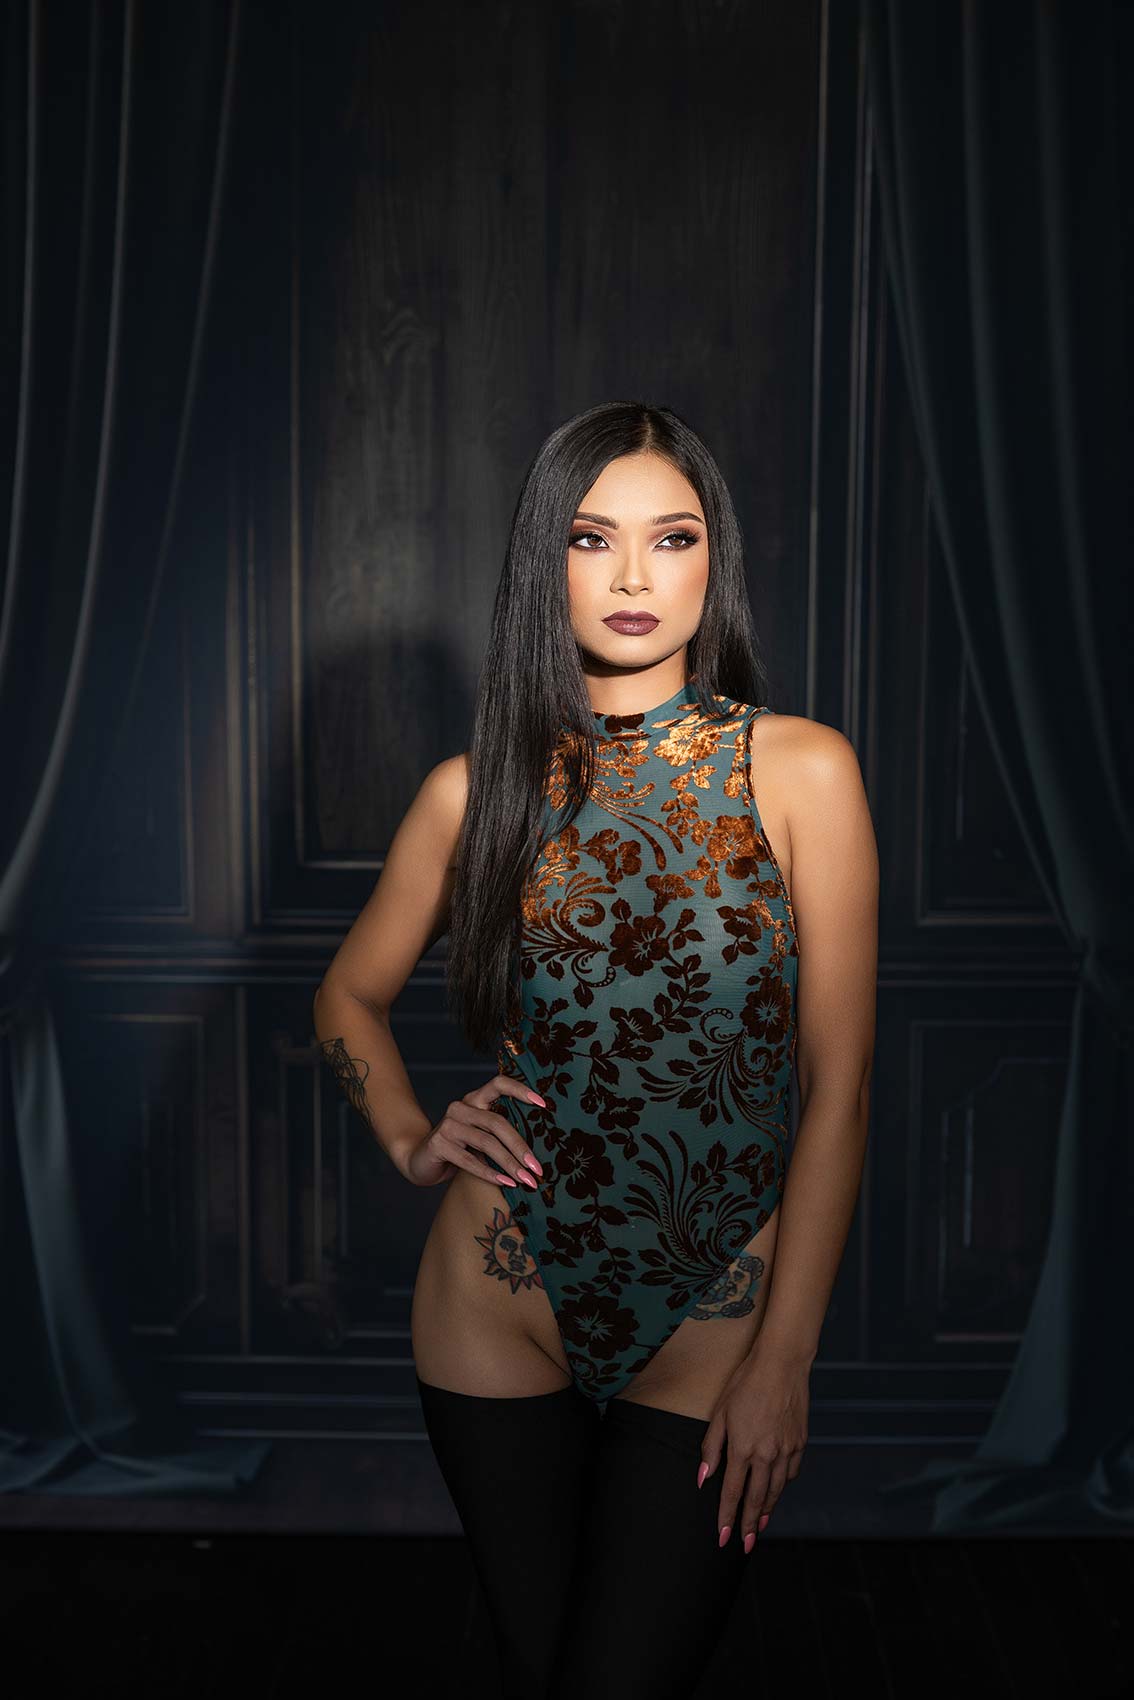
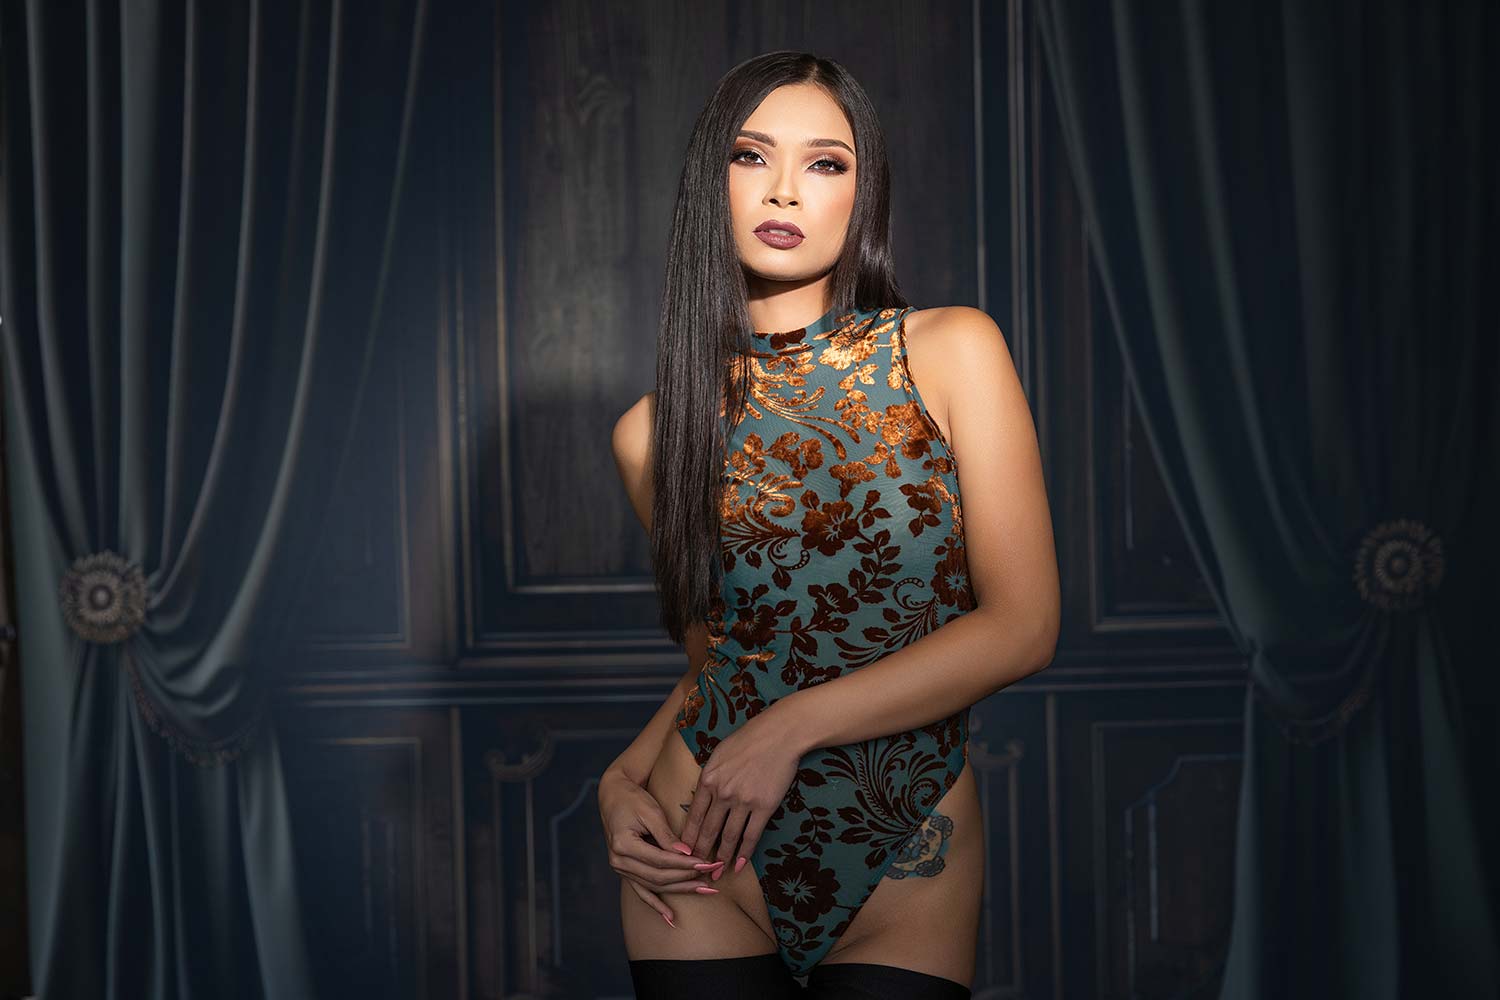
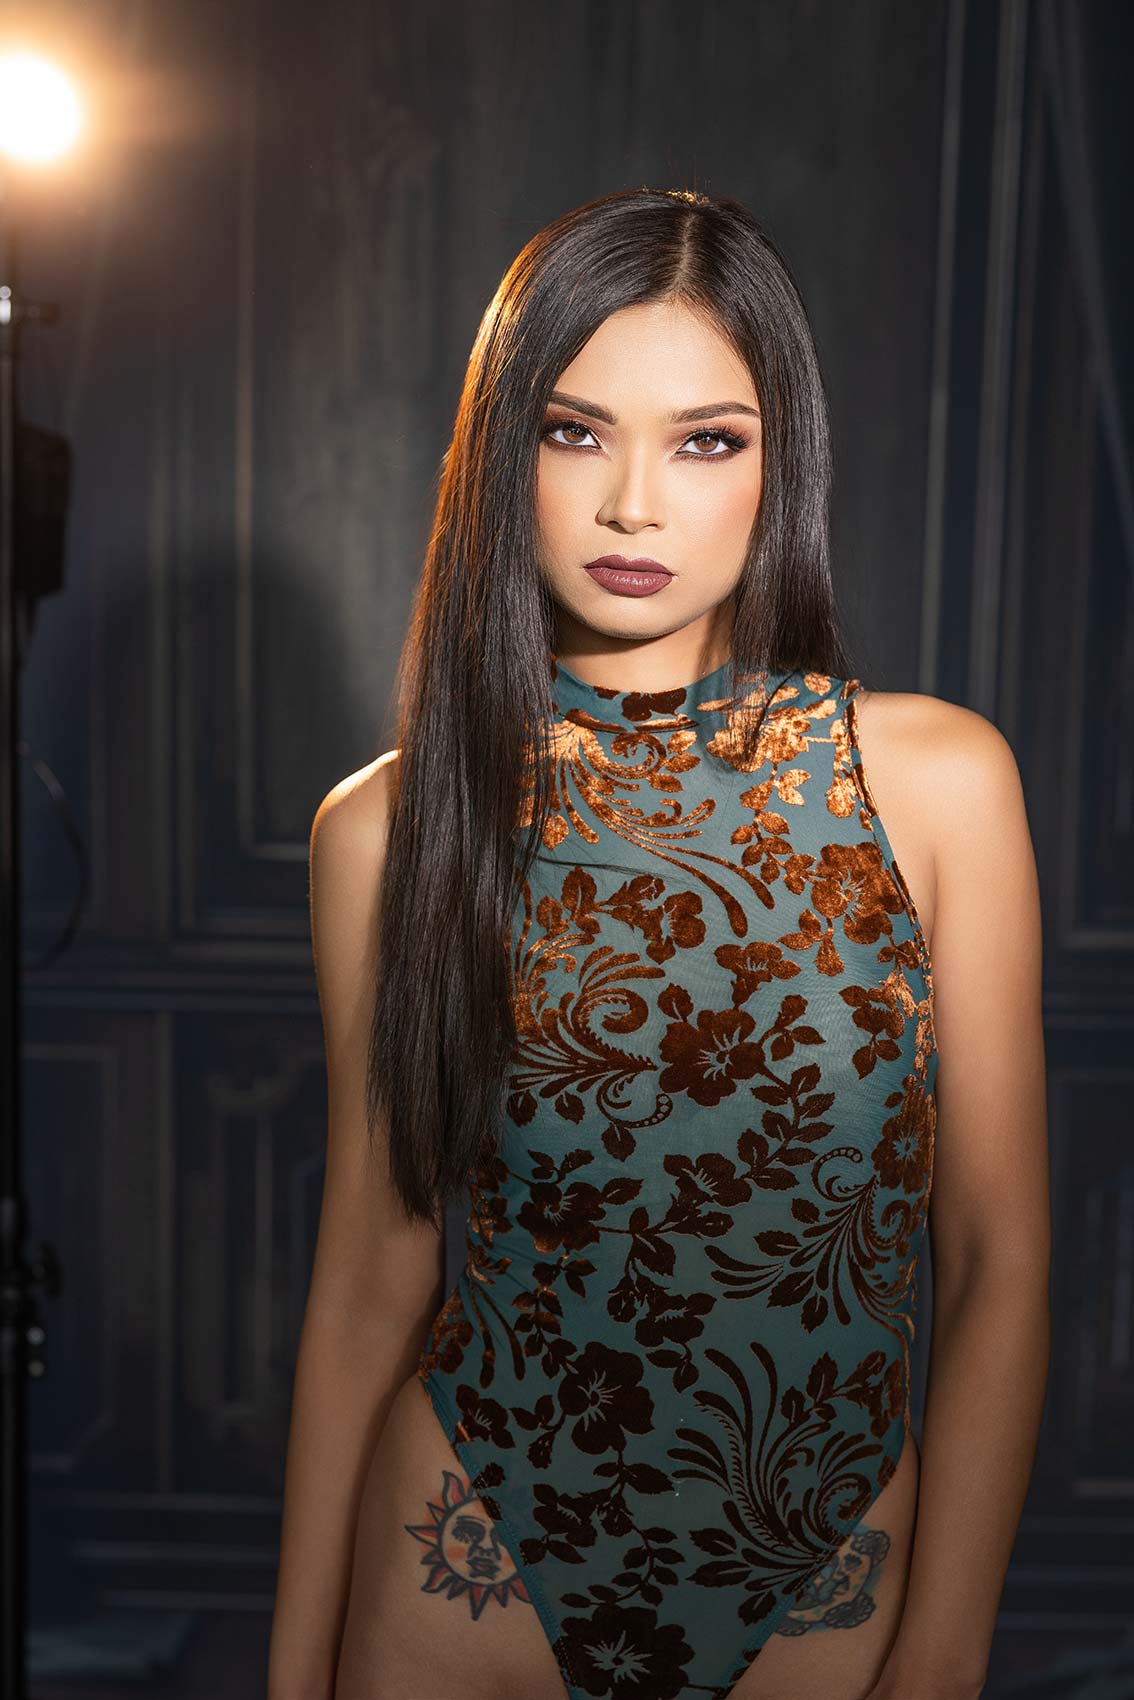
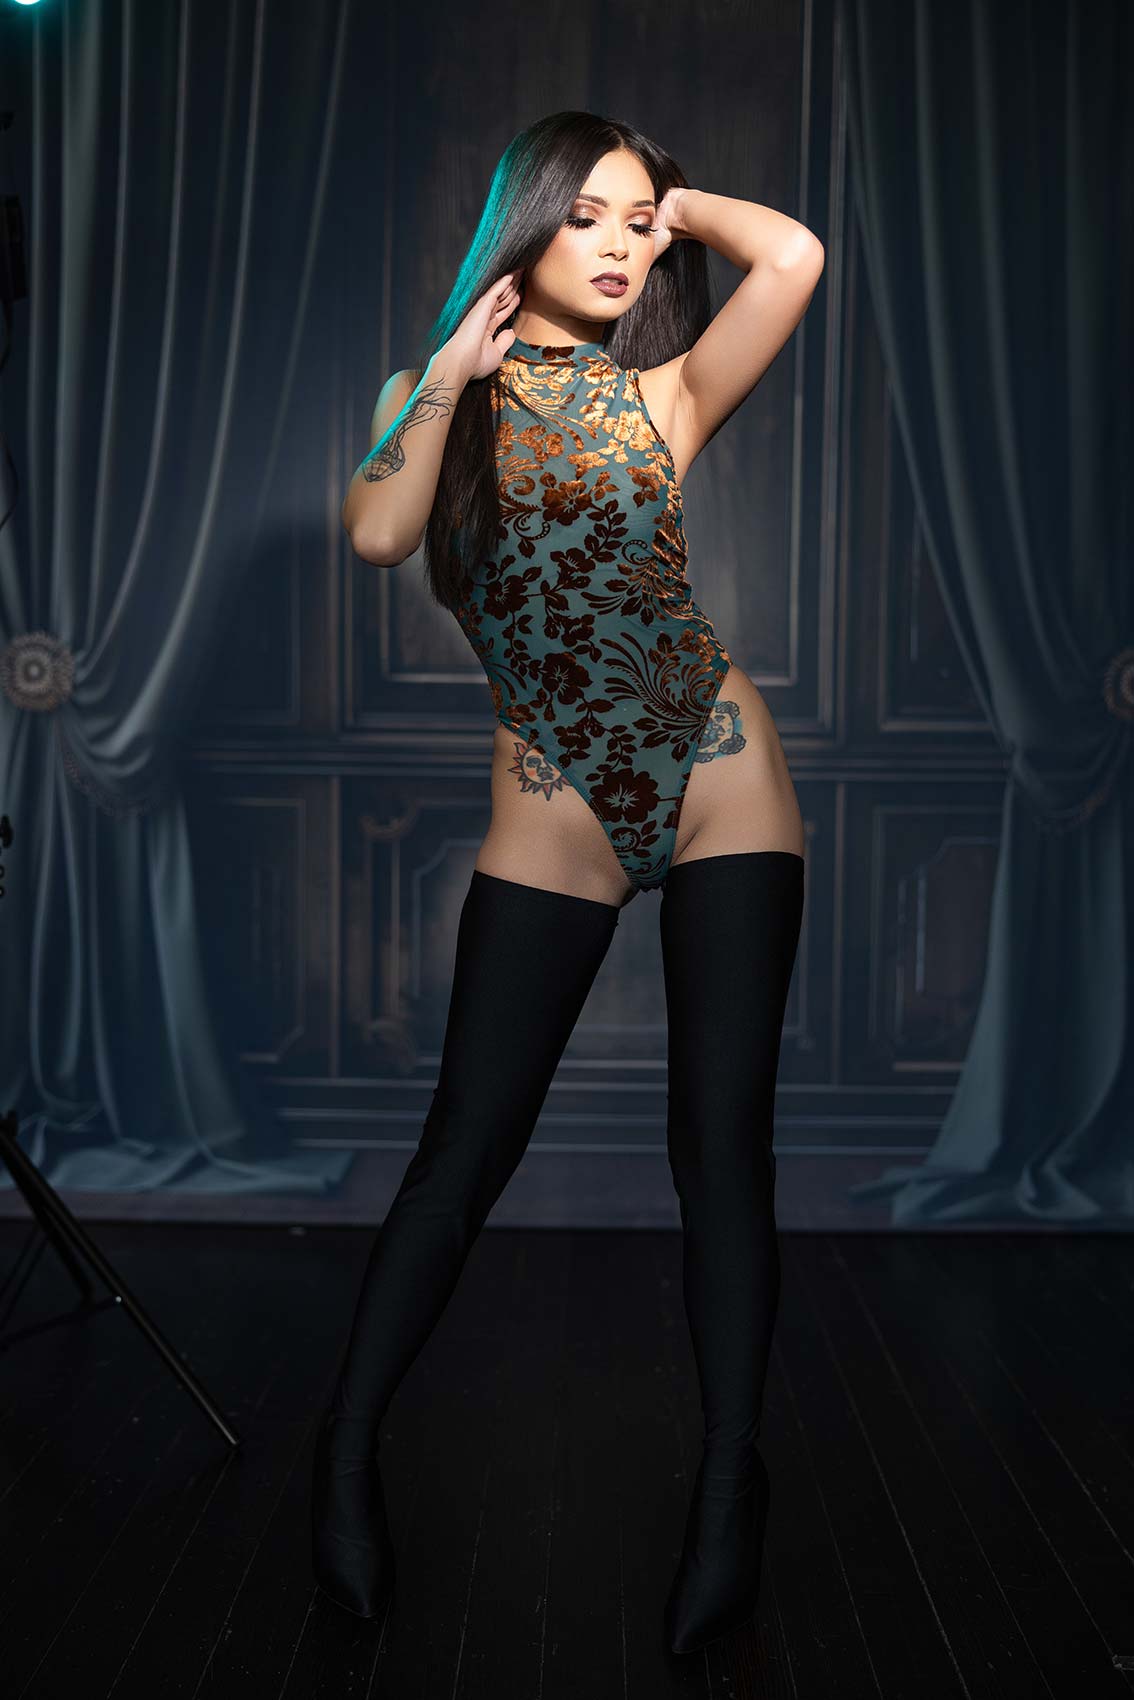
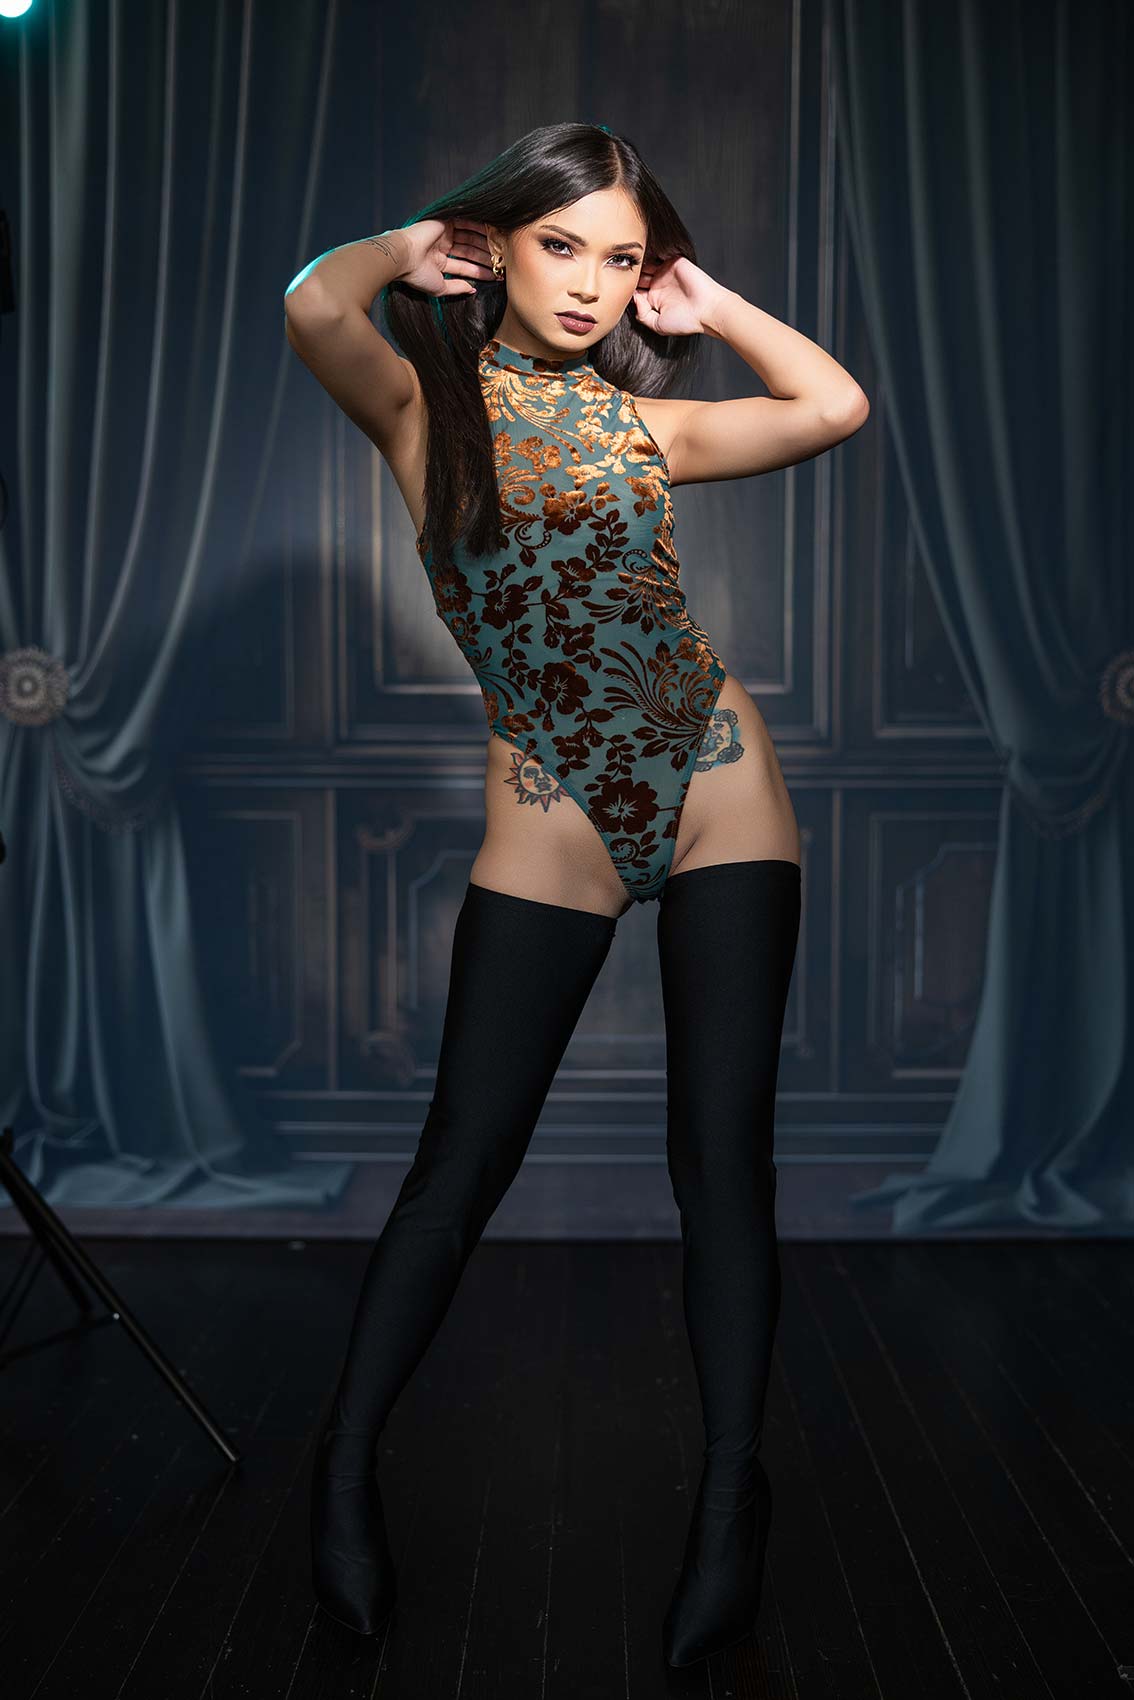
We’ve got another setup for you that I want to show you. This one is a single light setup—super easy to set up. This is the Forza 60C. It’s full-color, and we can run it at 5,500K for daylight balance, tungsten, or use full RGB. We’ve added a Fresnel lens to it. With the Fresnel, we can adjust between 10 degrees and 45 degrees for a wider beam.
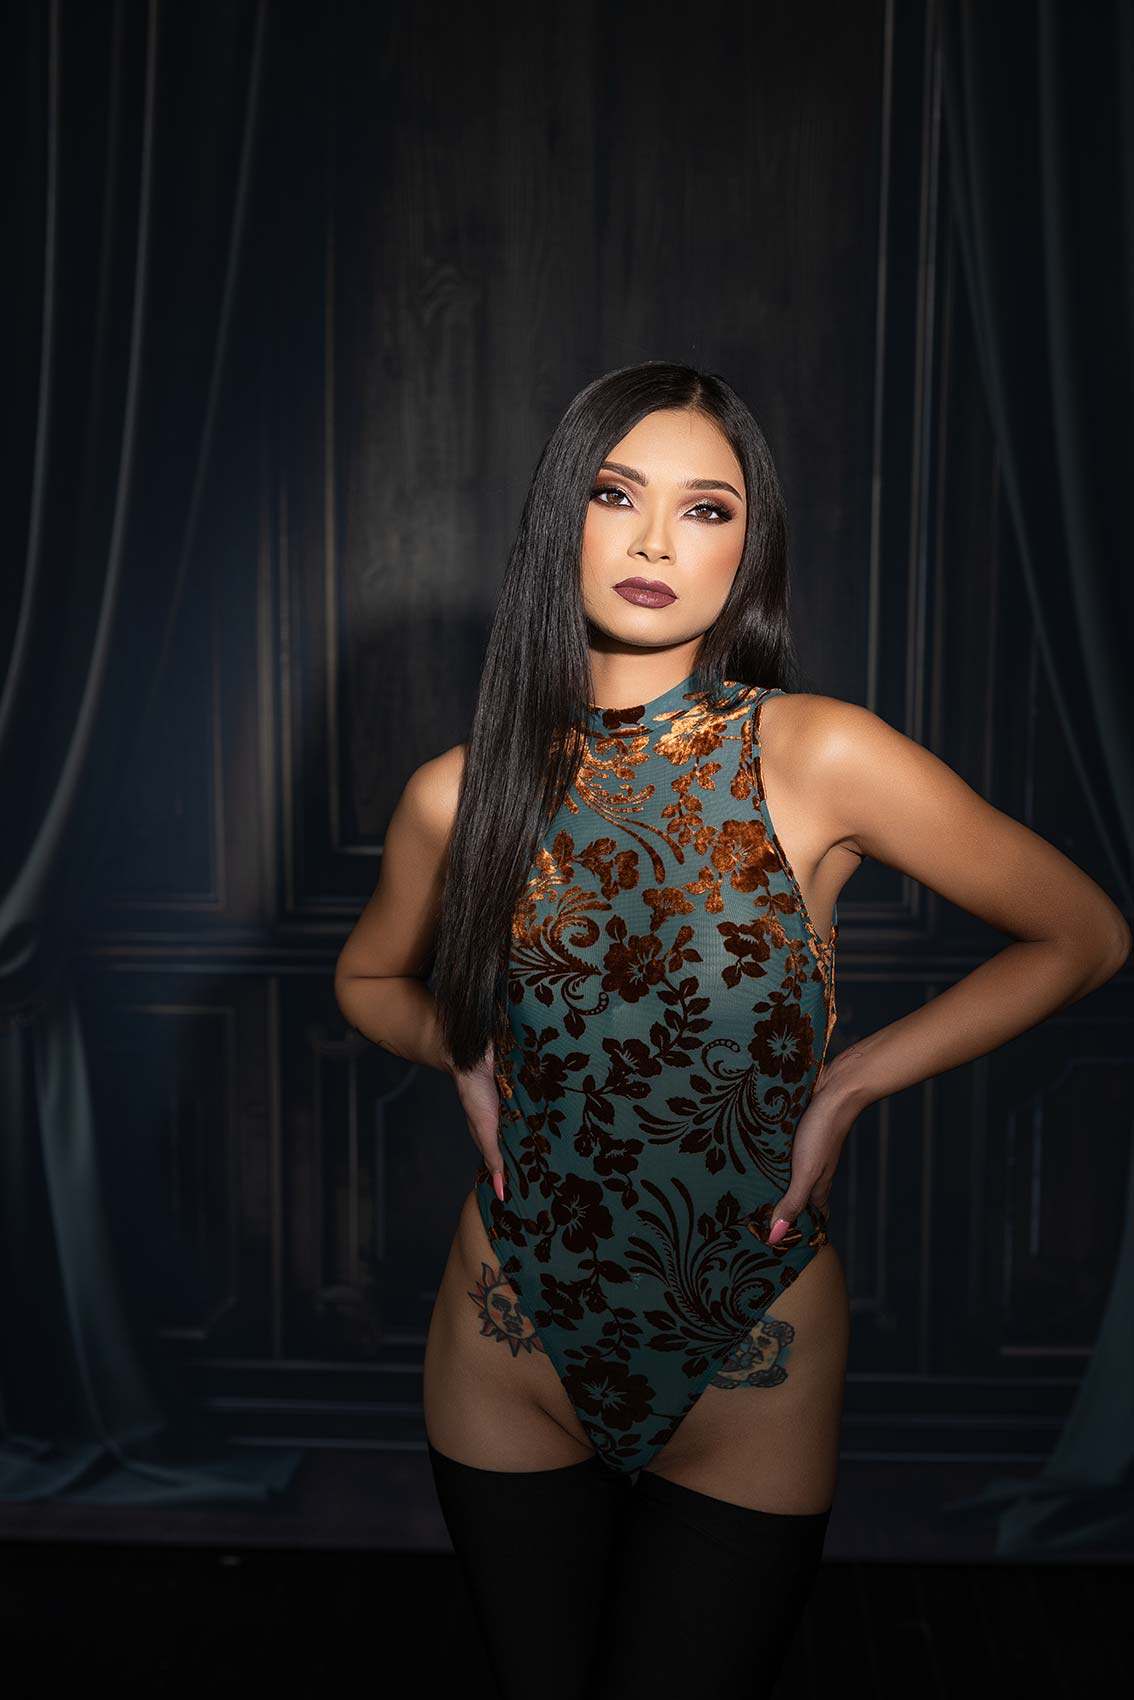
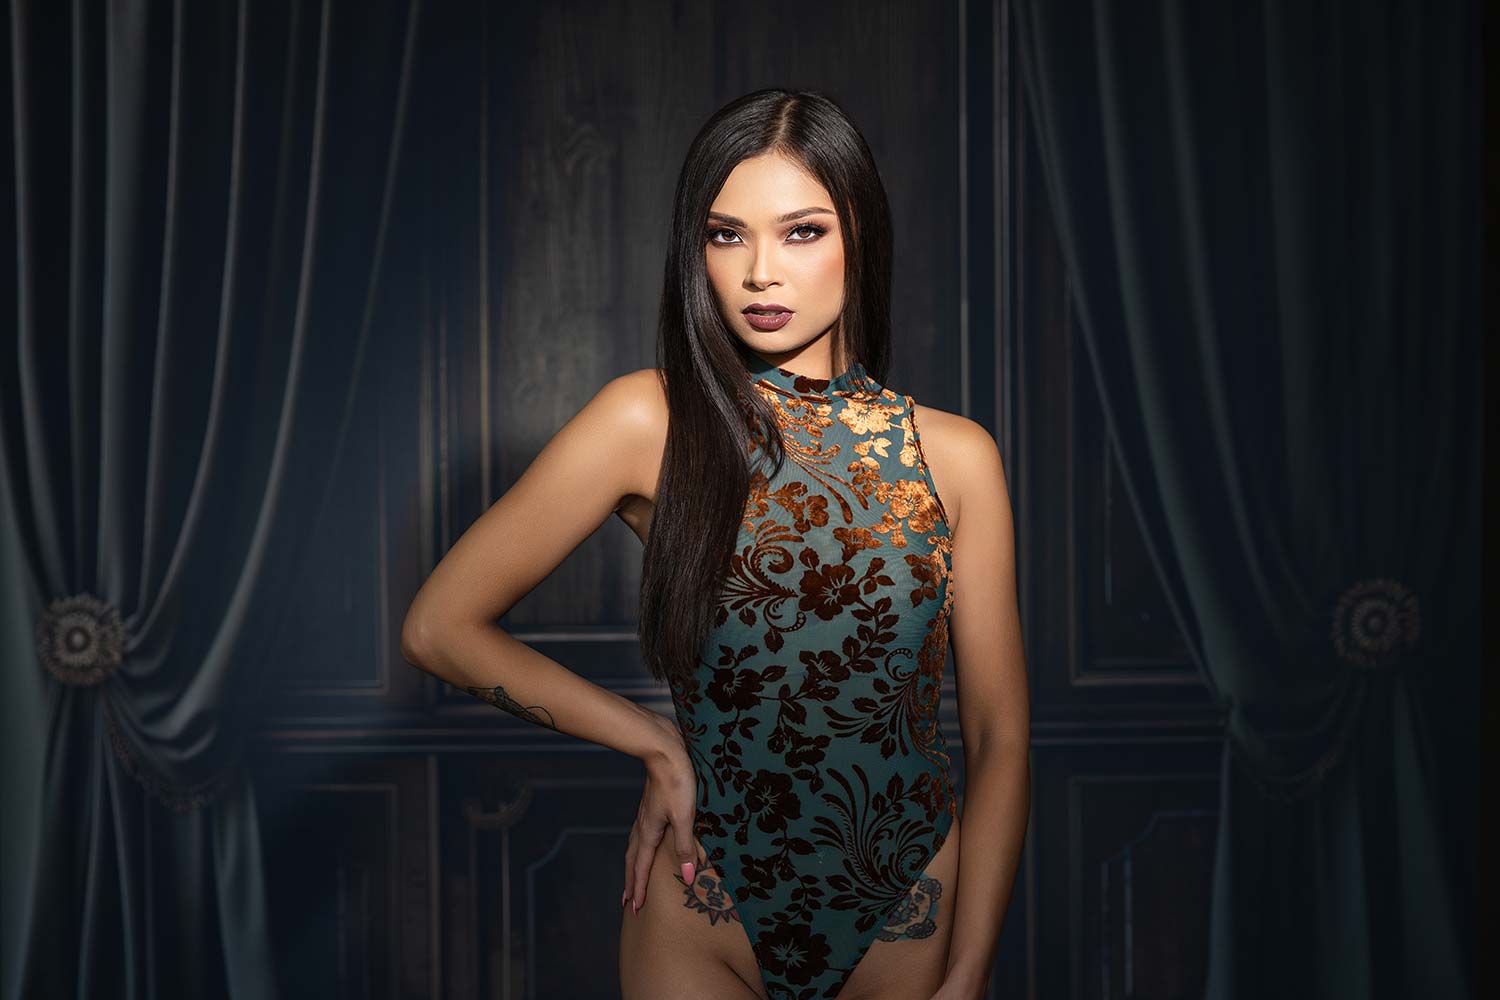
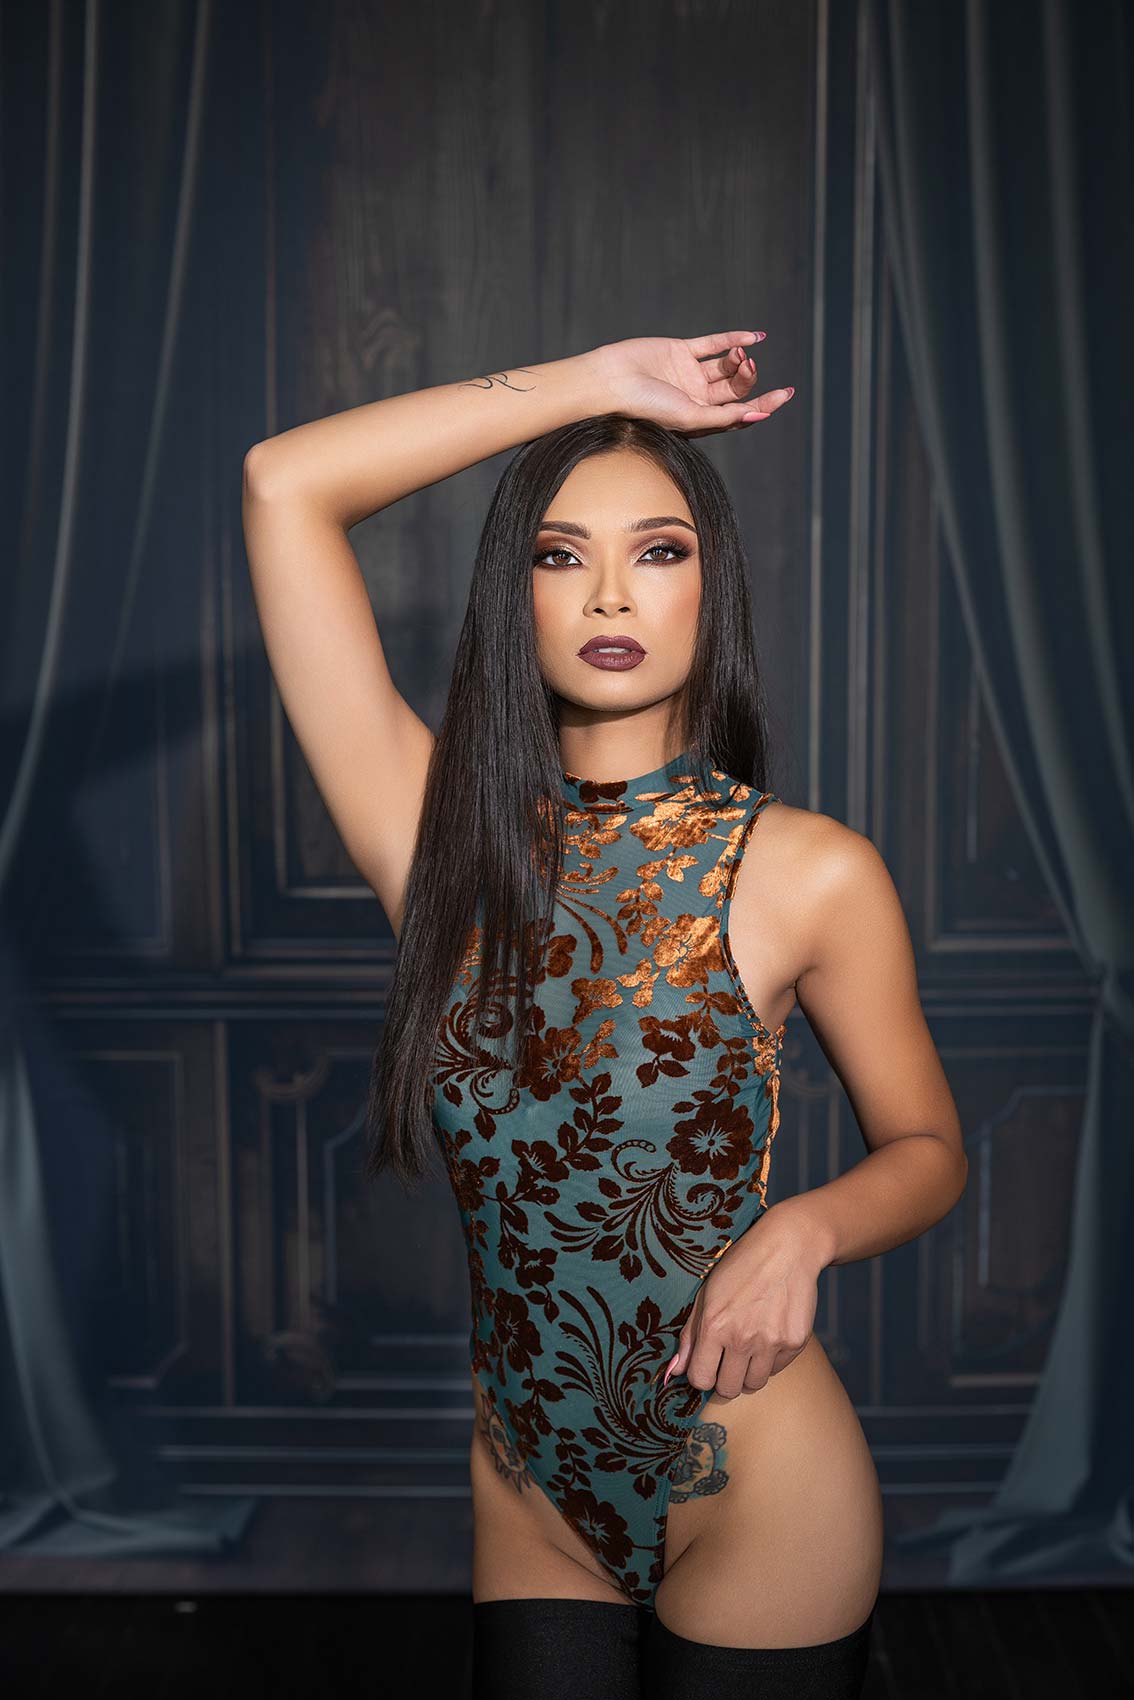
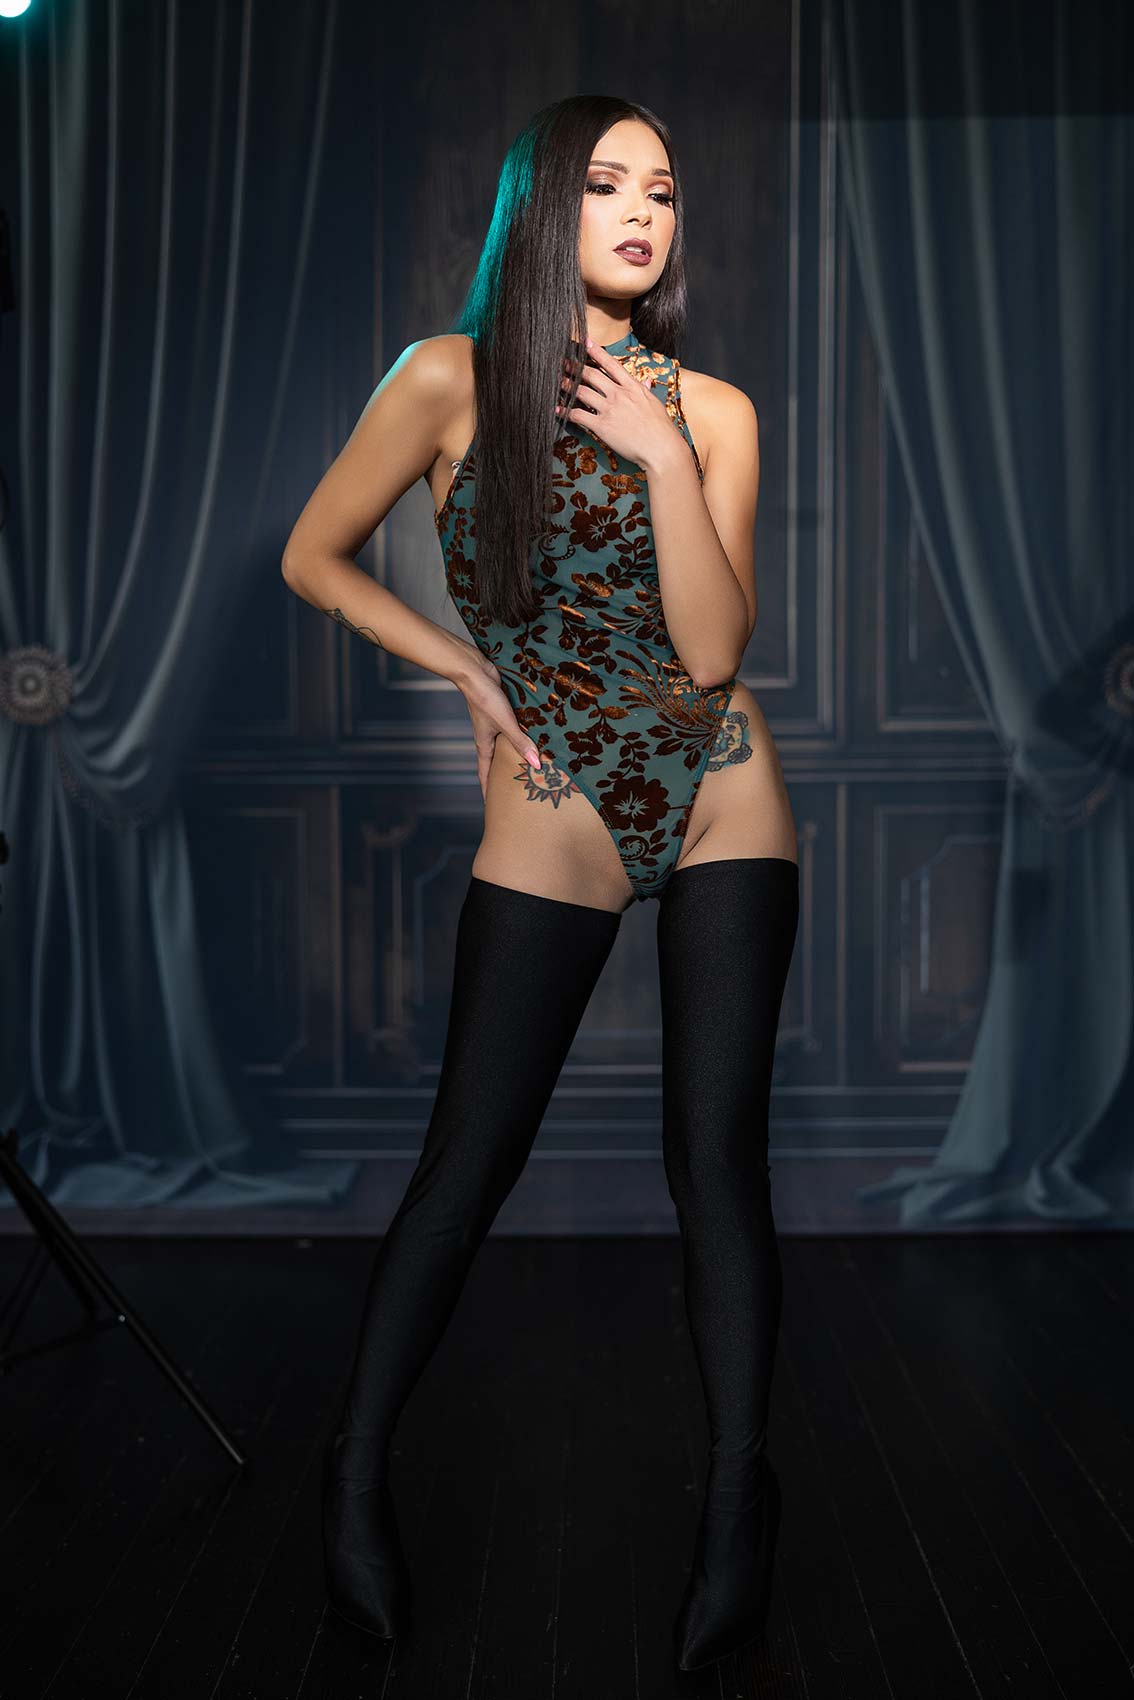
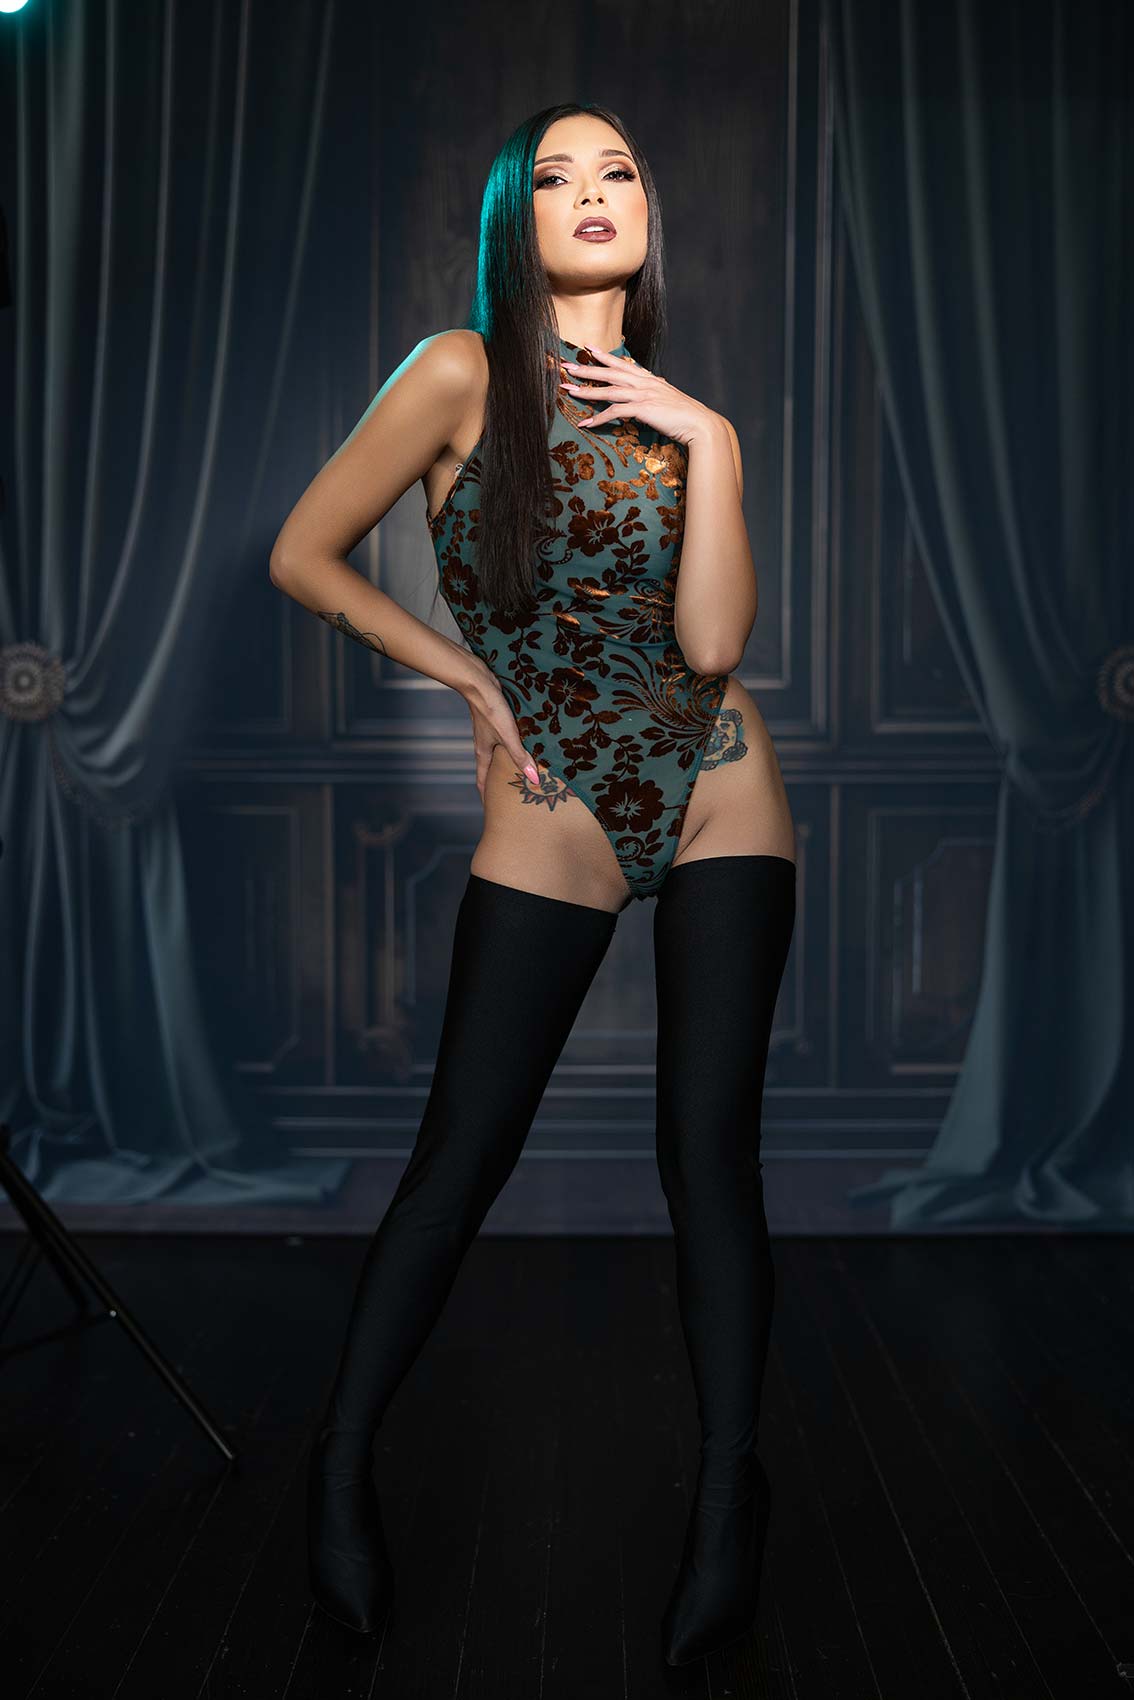
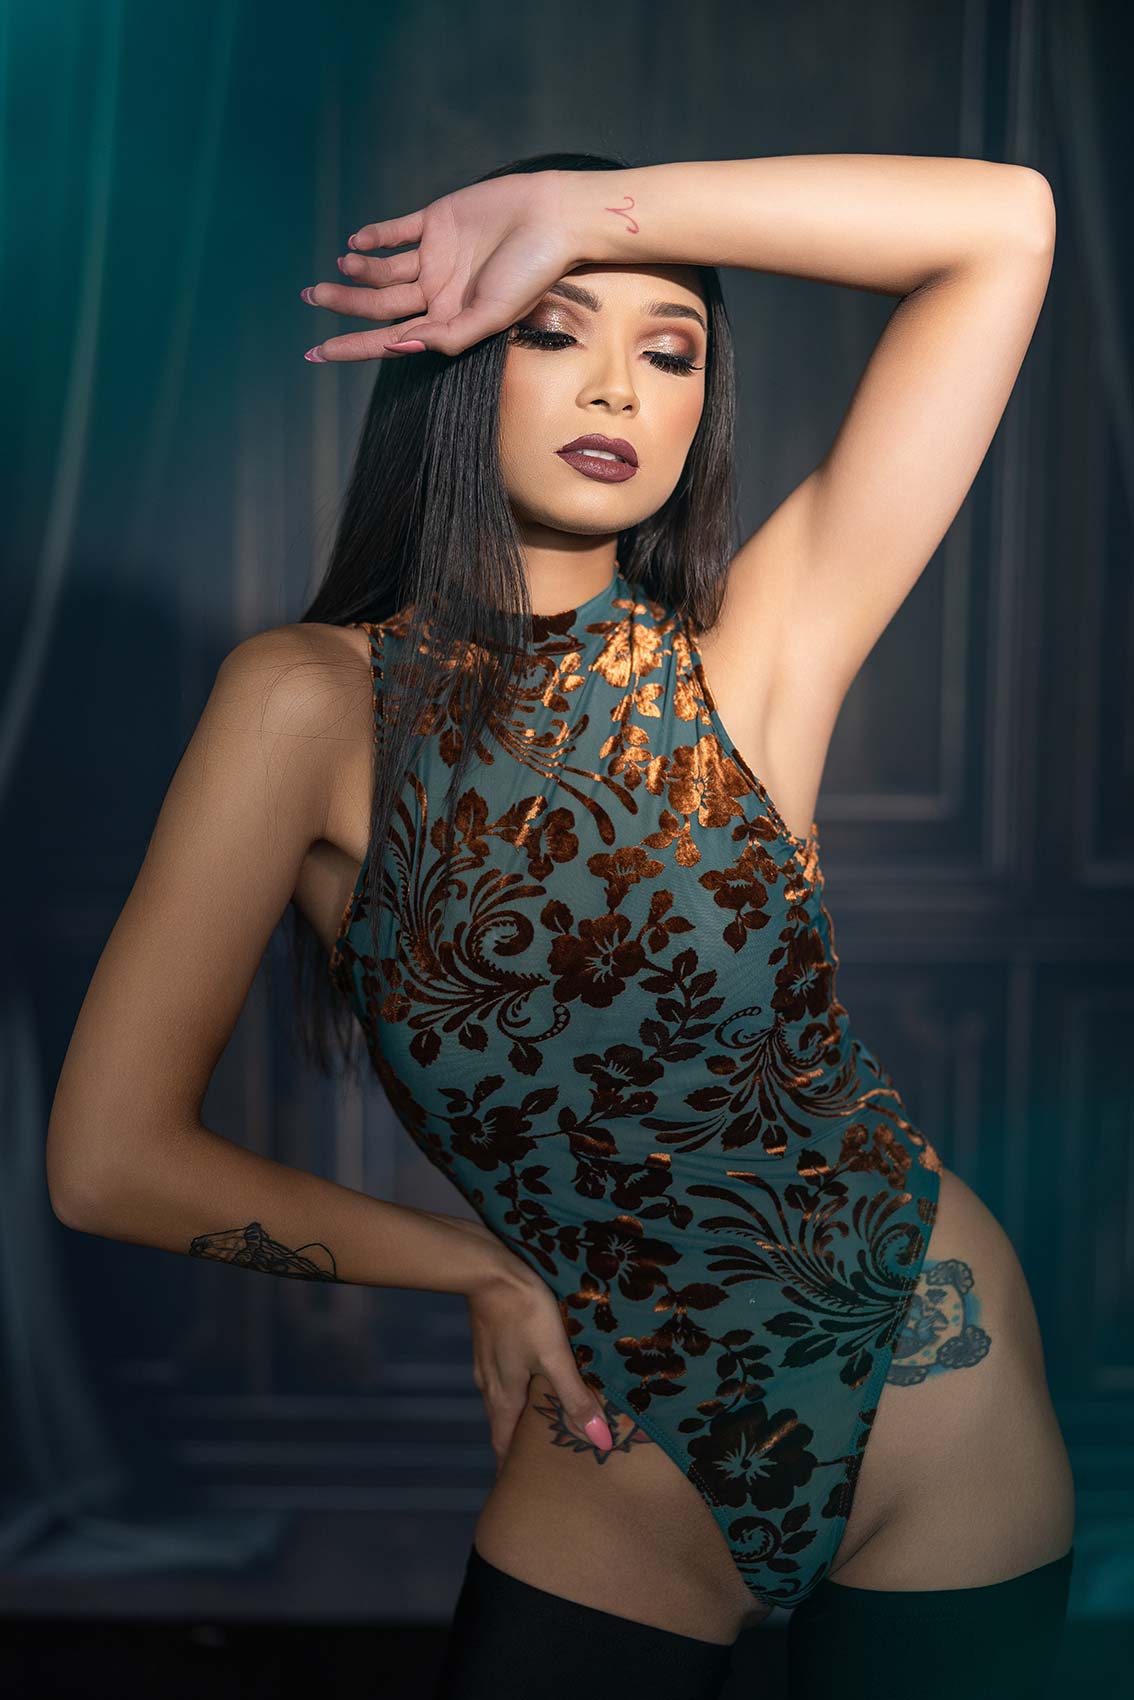
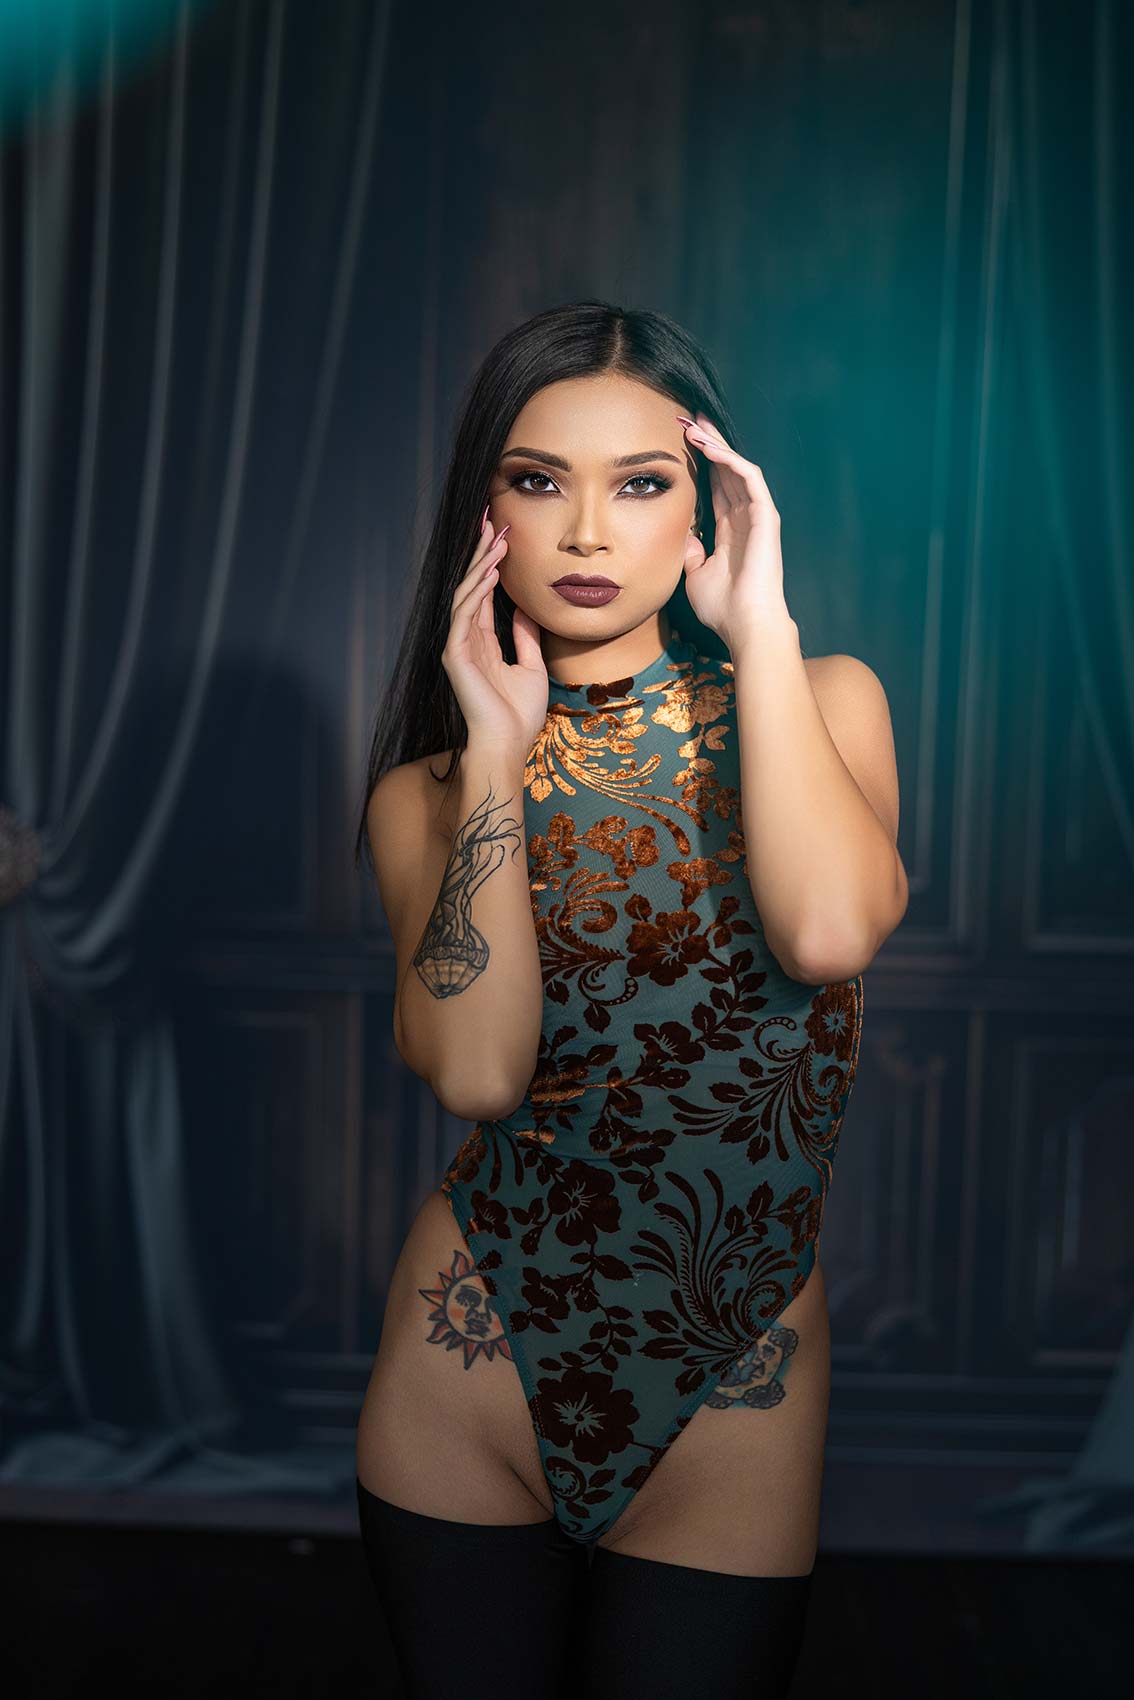
We’ll take it both ways, but I’m going to start at 10 degrees because I want a really narrow beam on her, hitting just her face up to her chest and maybe creating a nice shadow on the background as well. This background is from Intuition Backgrounds and is part of the new boudoir line, so I’ll include a link for you as well for Olivewood.
Let’s do this. Now, it’s not at 100%—it’s only at 70% power. Beautiful! I love the way this background is framing her.
Now, you can see where this light is stopping, right around her chest and shoulders, so I can come in a little tighter.
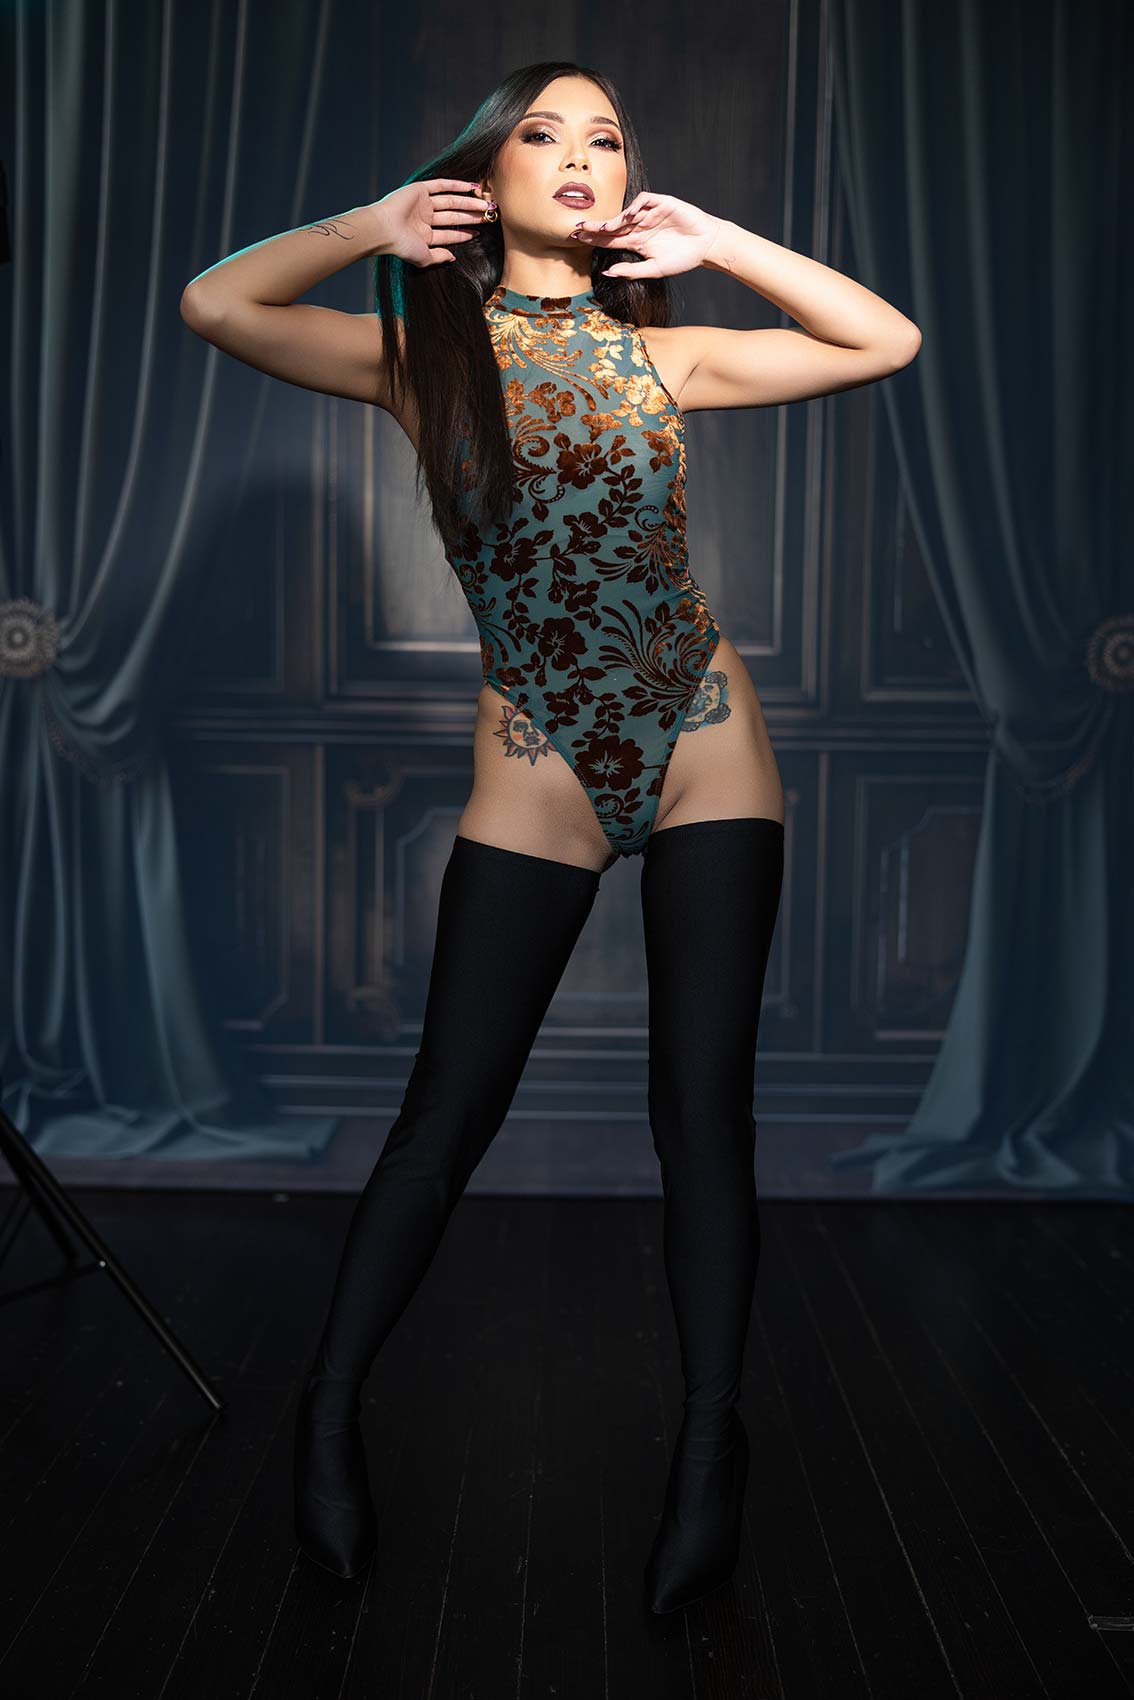
It’s zoomed in to about 10 degrees. I want to make this wider now, and you’ll start seeing it hit almost down to the top of her boots. If I’m being honest, I’m not sure I like this look. Let me shoot it and see what it looks like. It’s definitely a different look, but I really do like that old Hollywood look here. I’m sure you guys will agree when you see it. She’s evenly lit across her body. Don’t get me wrong—it’s a good look and good light. But that narrow beam really sets more of a mood and tone.
I want to try one more thing: I’m going to go back to setting this at 10 degrees. Look, if you’re a photographer doing beauty work, you want lighting to be quick and easy. You don’t want to be constantly messing with your gear while working with clients. If you’re using strobe, you’re not moving this fast. This is why I like continuous light.
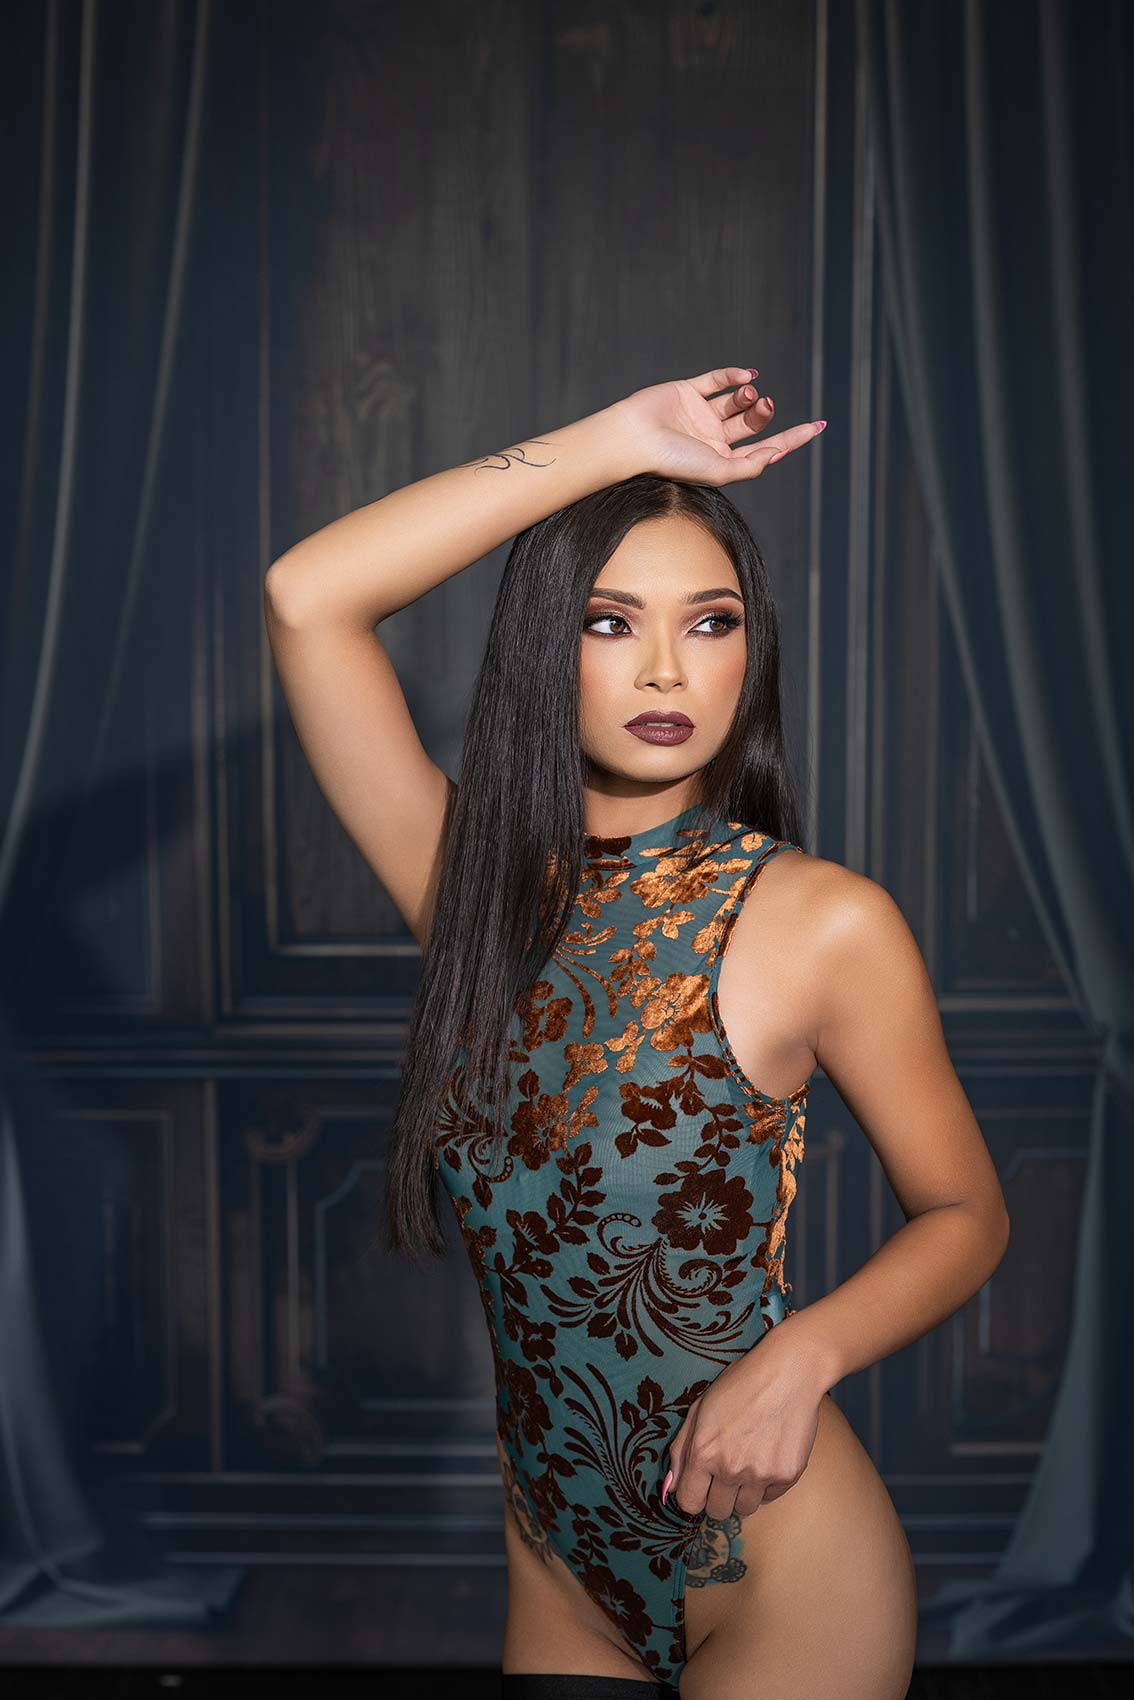
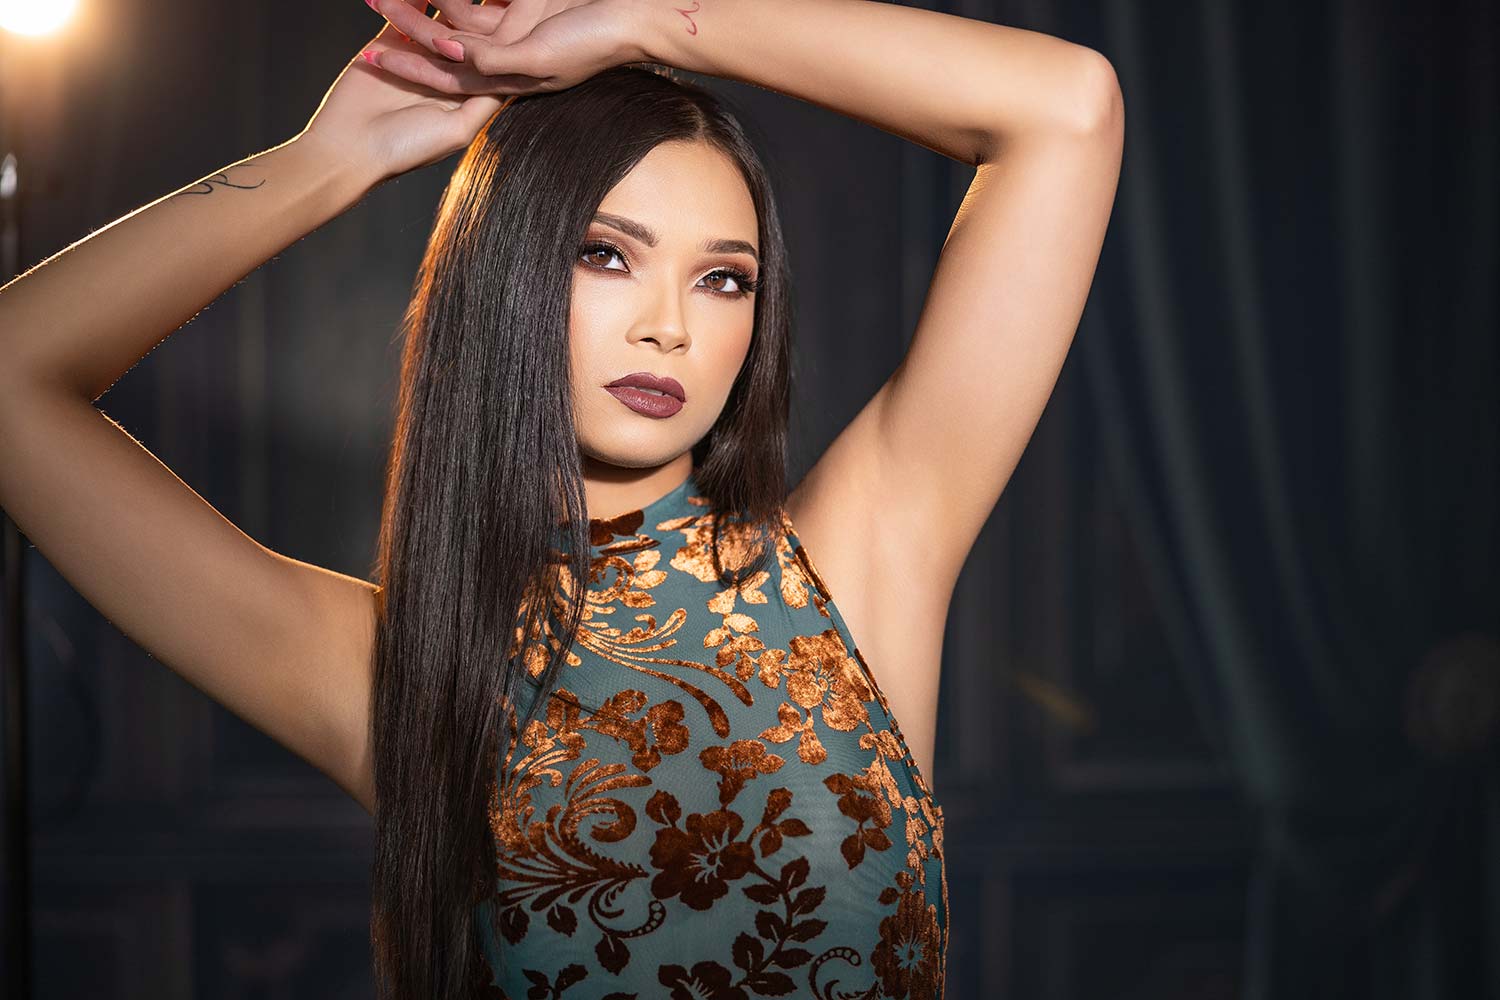
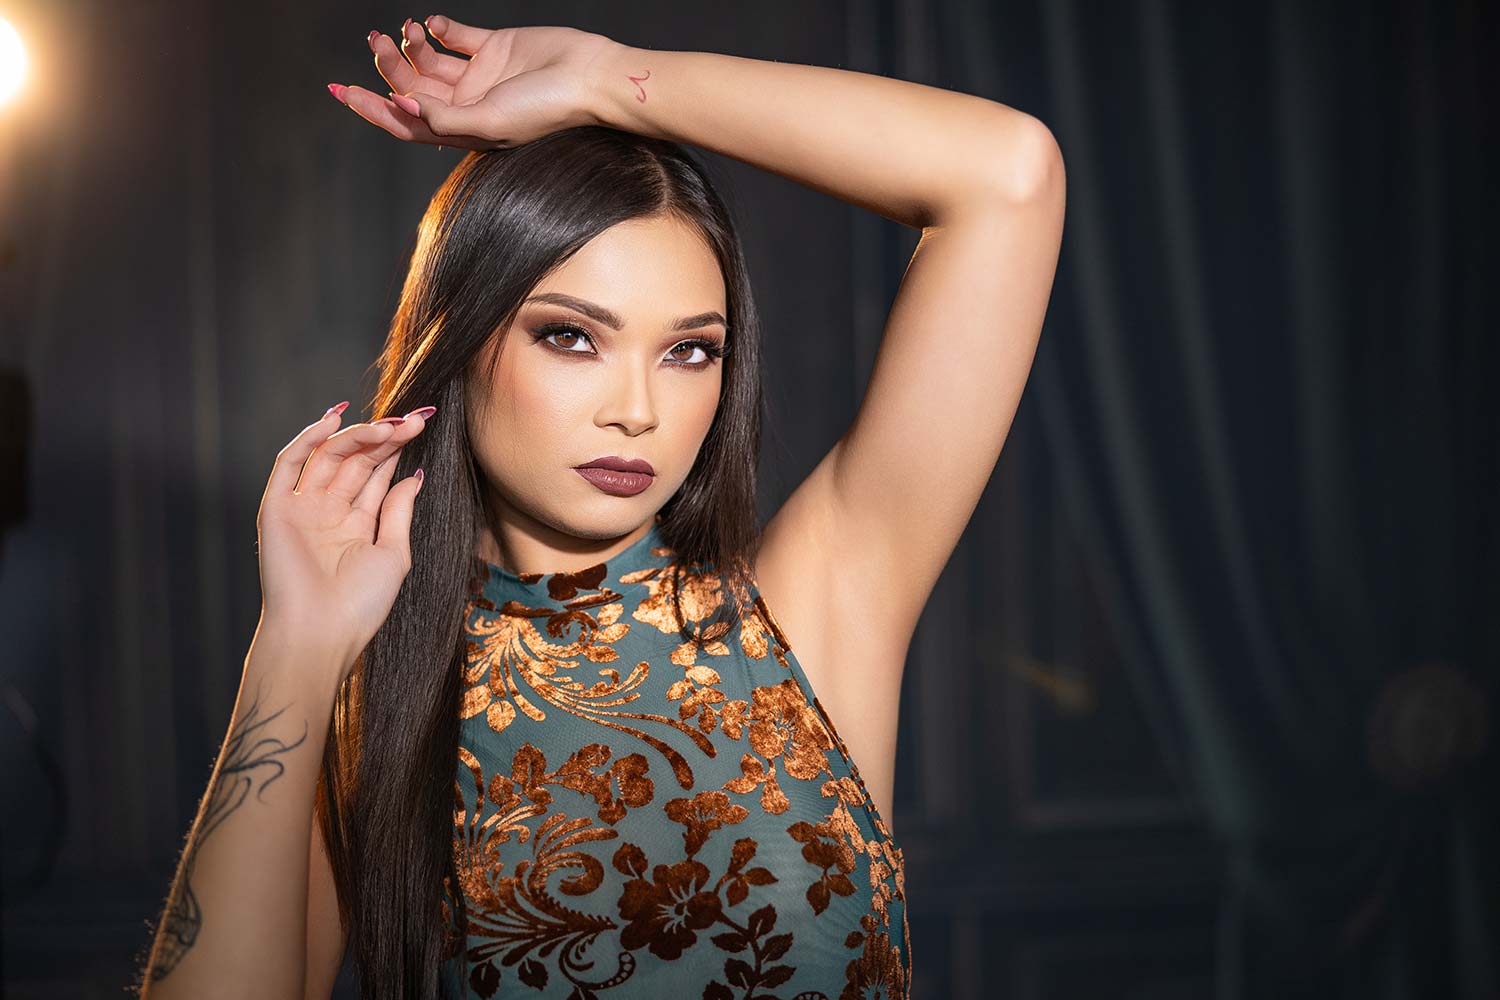
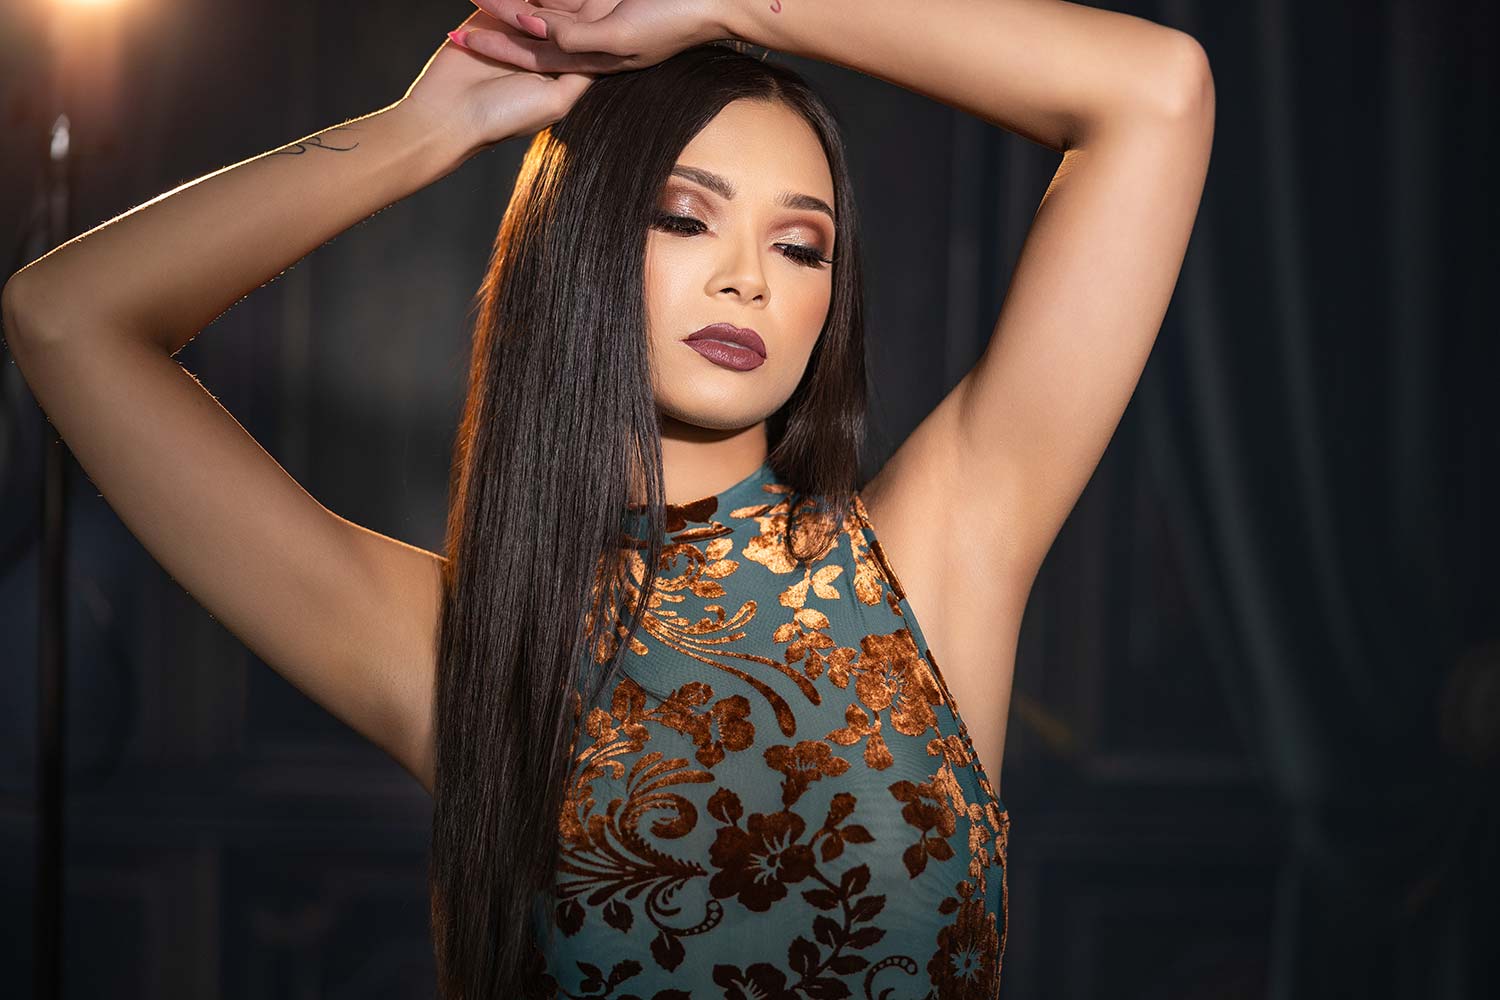
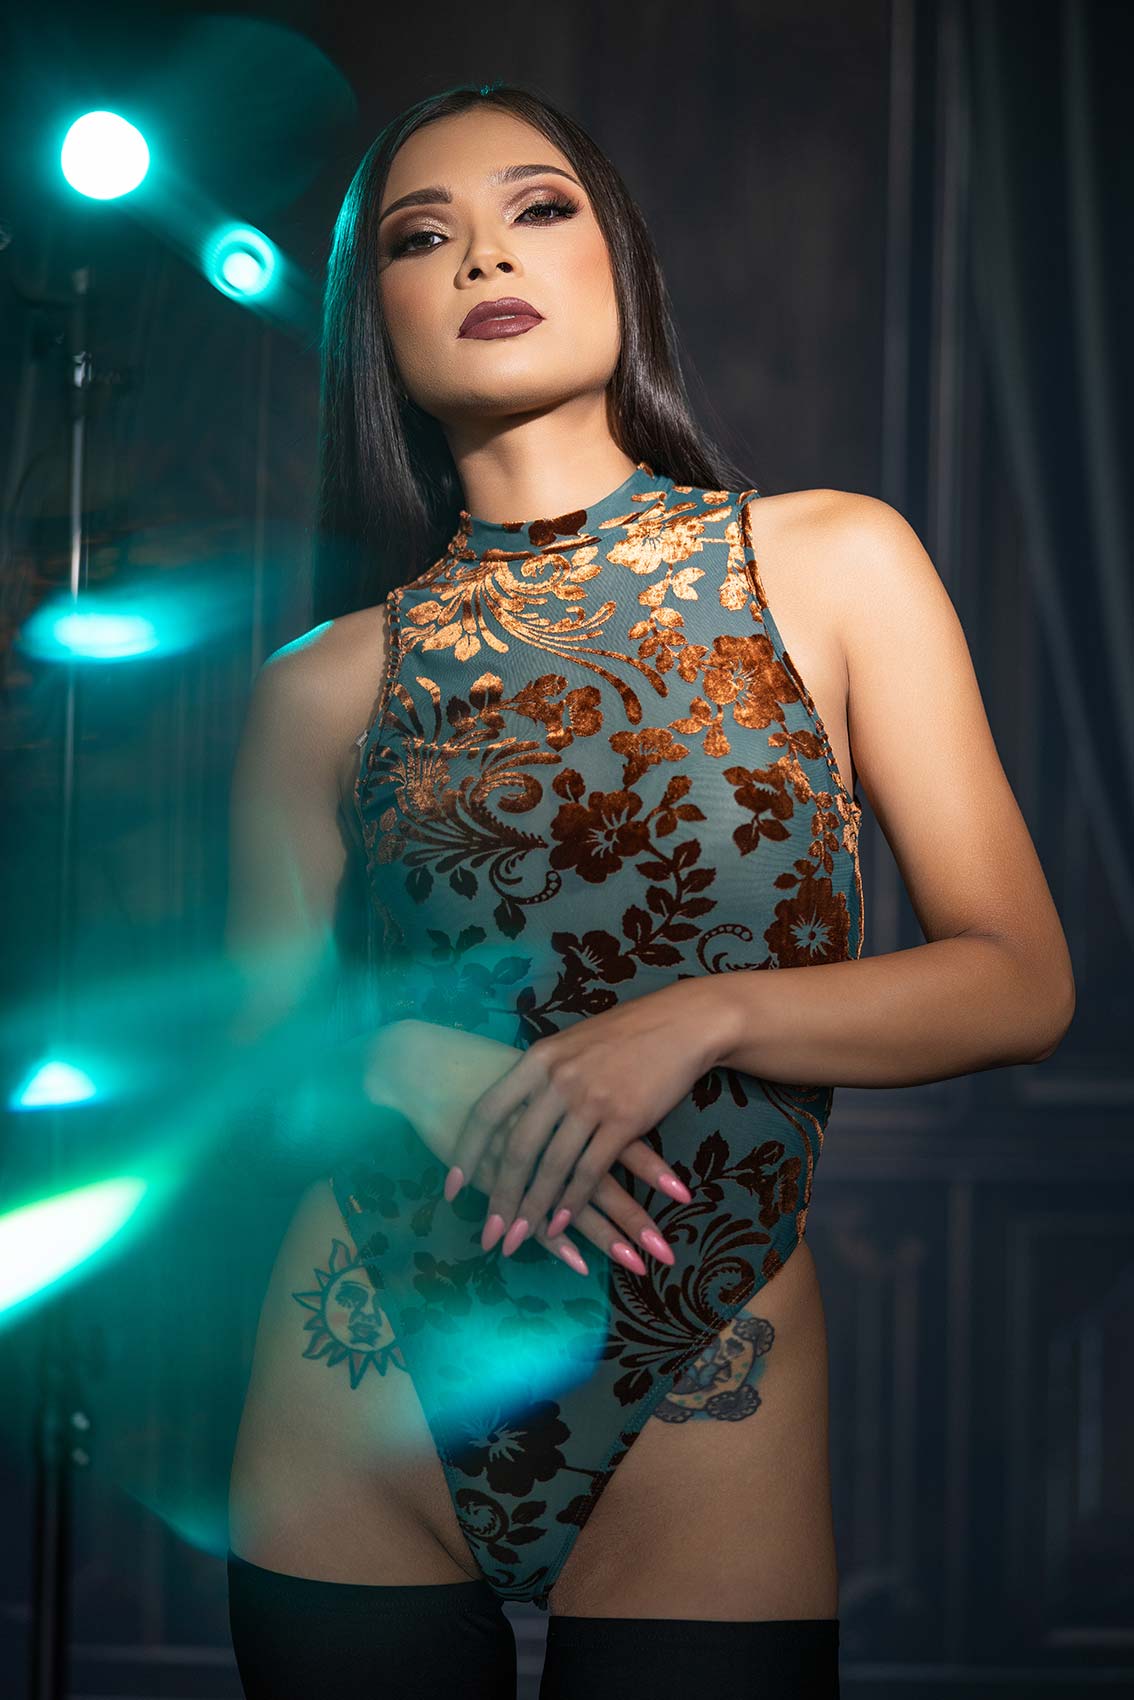
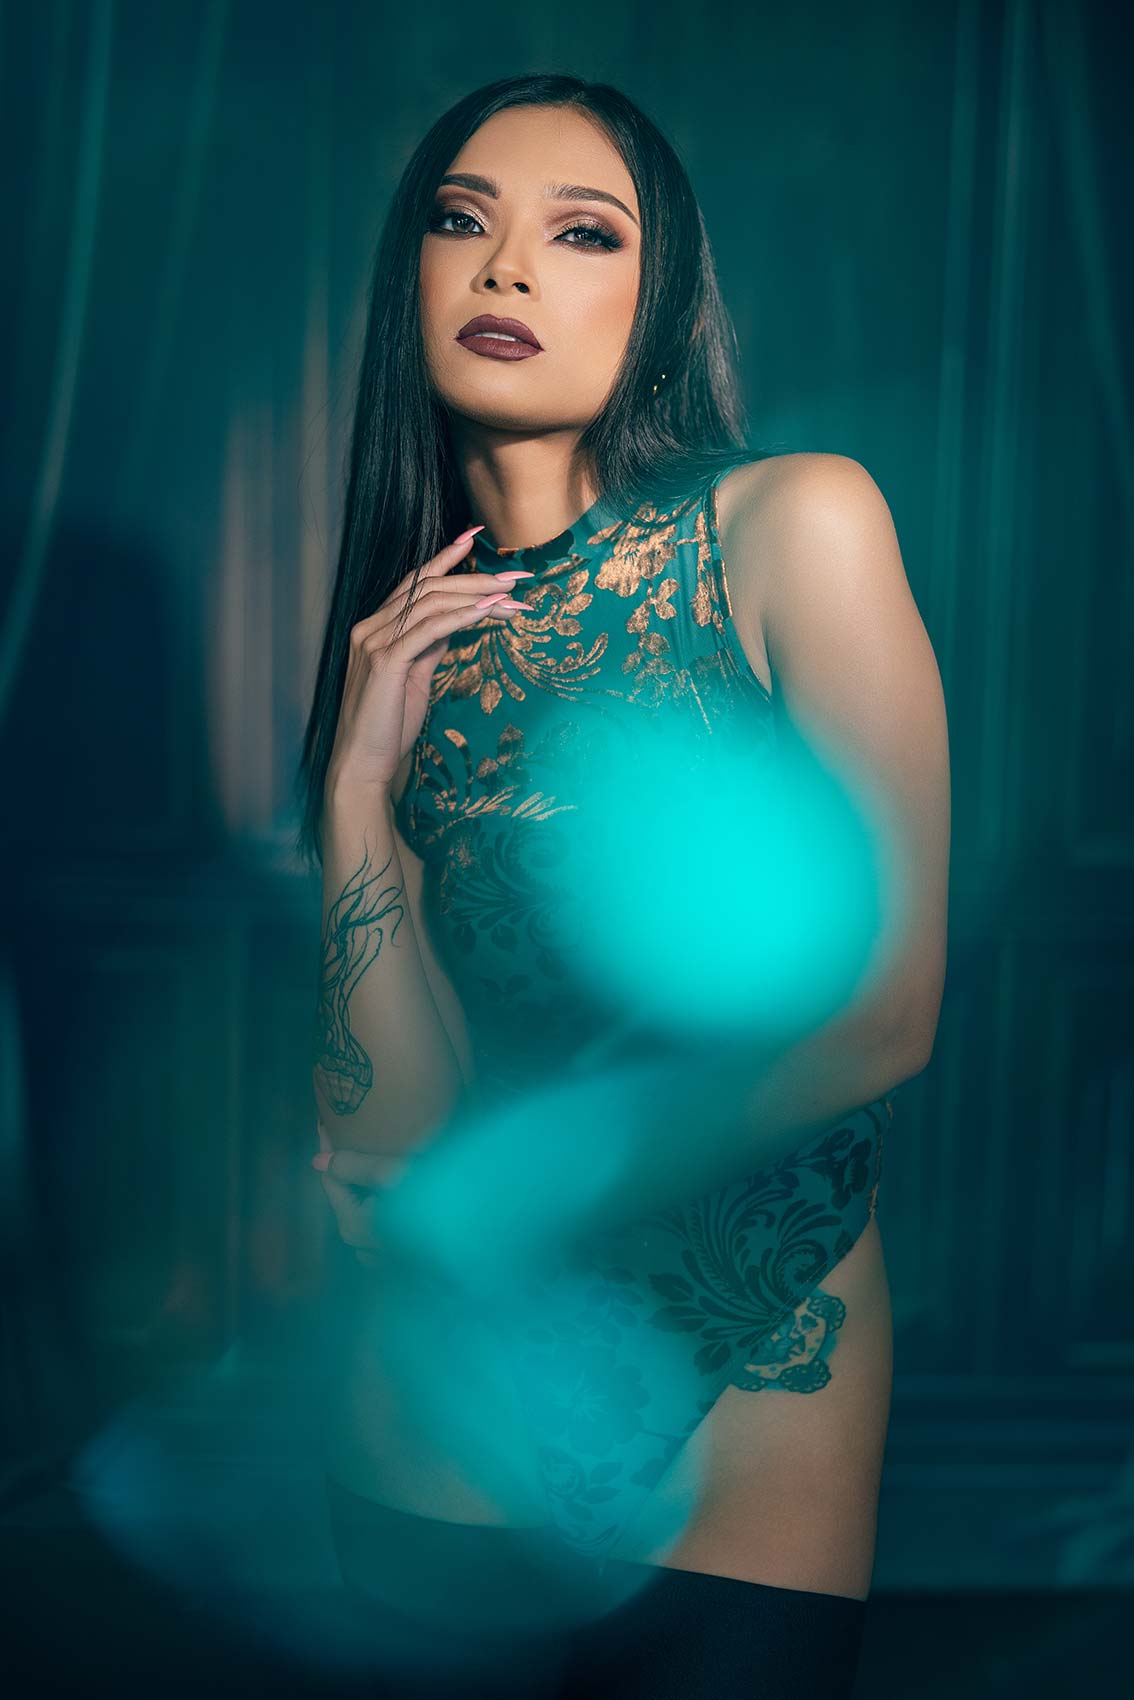
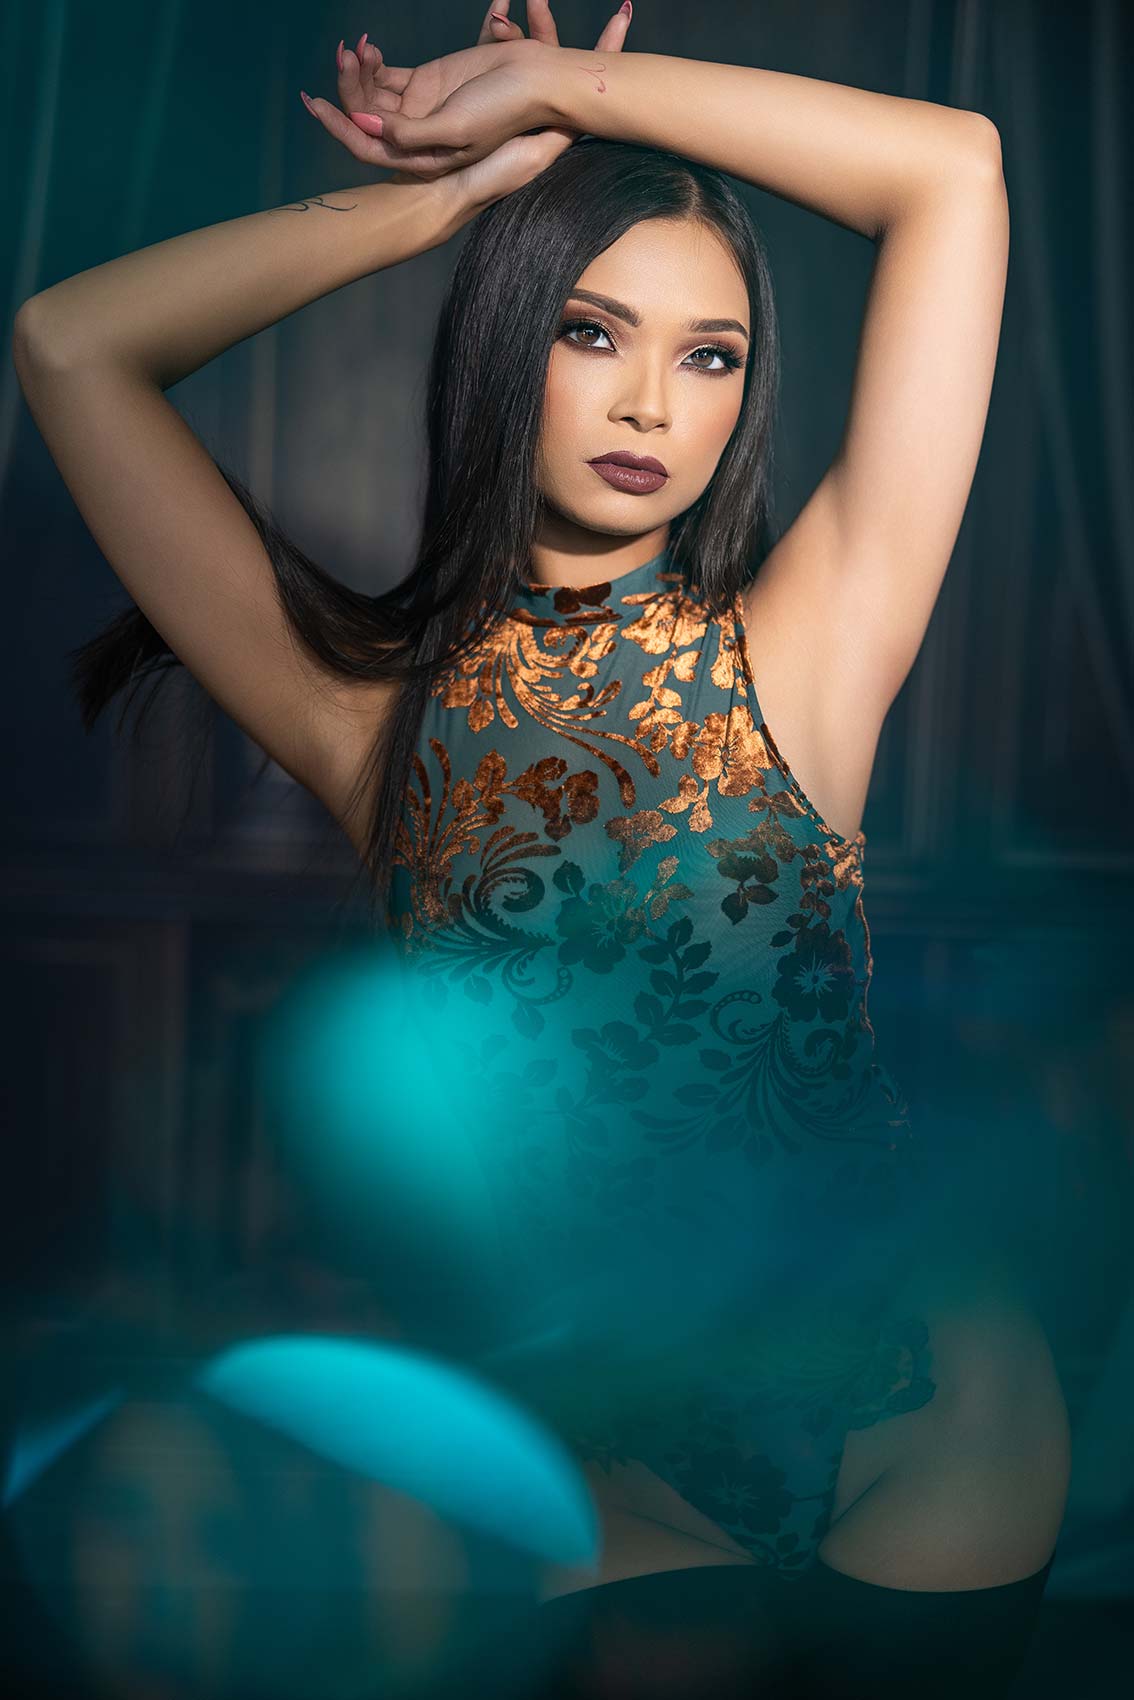
What I want to do now is use a second light to add a little bit of color. This is a favorite look of mine. I’m going to take two different shots here. For this, I’ve set the color temperature at 3,200K and dialed down the power to roughly 50%. She’ll be lit at 5,500K on the front and the other light will give us a nice warm glow. I’ll show you two ways I would use this. I do like the effect of adding a bit of flare into the camera. I wouldn’t say it’s a signature look, but I really enjoy it. Let’s get this shot with that spotlight now.
And so, now we’re getting a bit of that flare in the corner, which makes it a little more interesting. But we can do one more thing with it. Again, notice how quickly and easily I’m moving with these lights. These are the Nanlite Forza 60C, the full-color versions. You want that. With the full color, I can change this and get a color throw. Since she’s wearing green and brown, red doesn’t really make sense. I’ll work through this to see which color will look good.
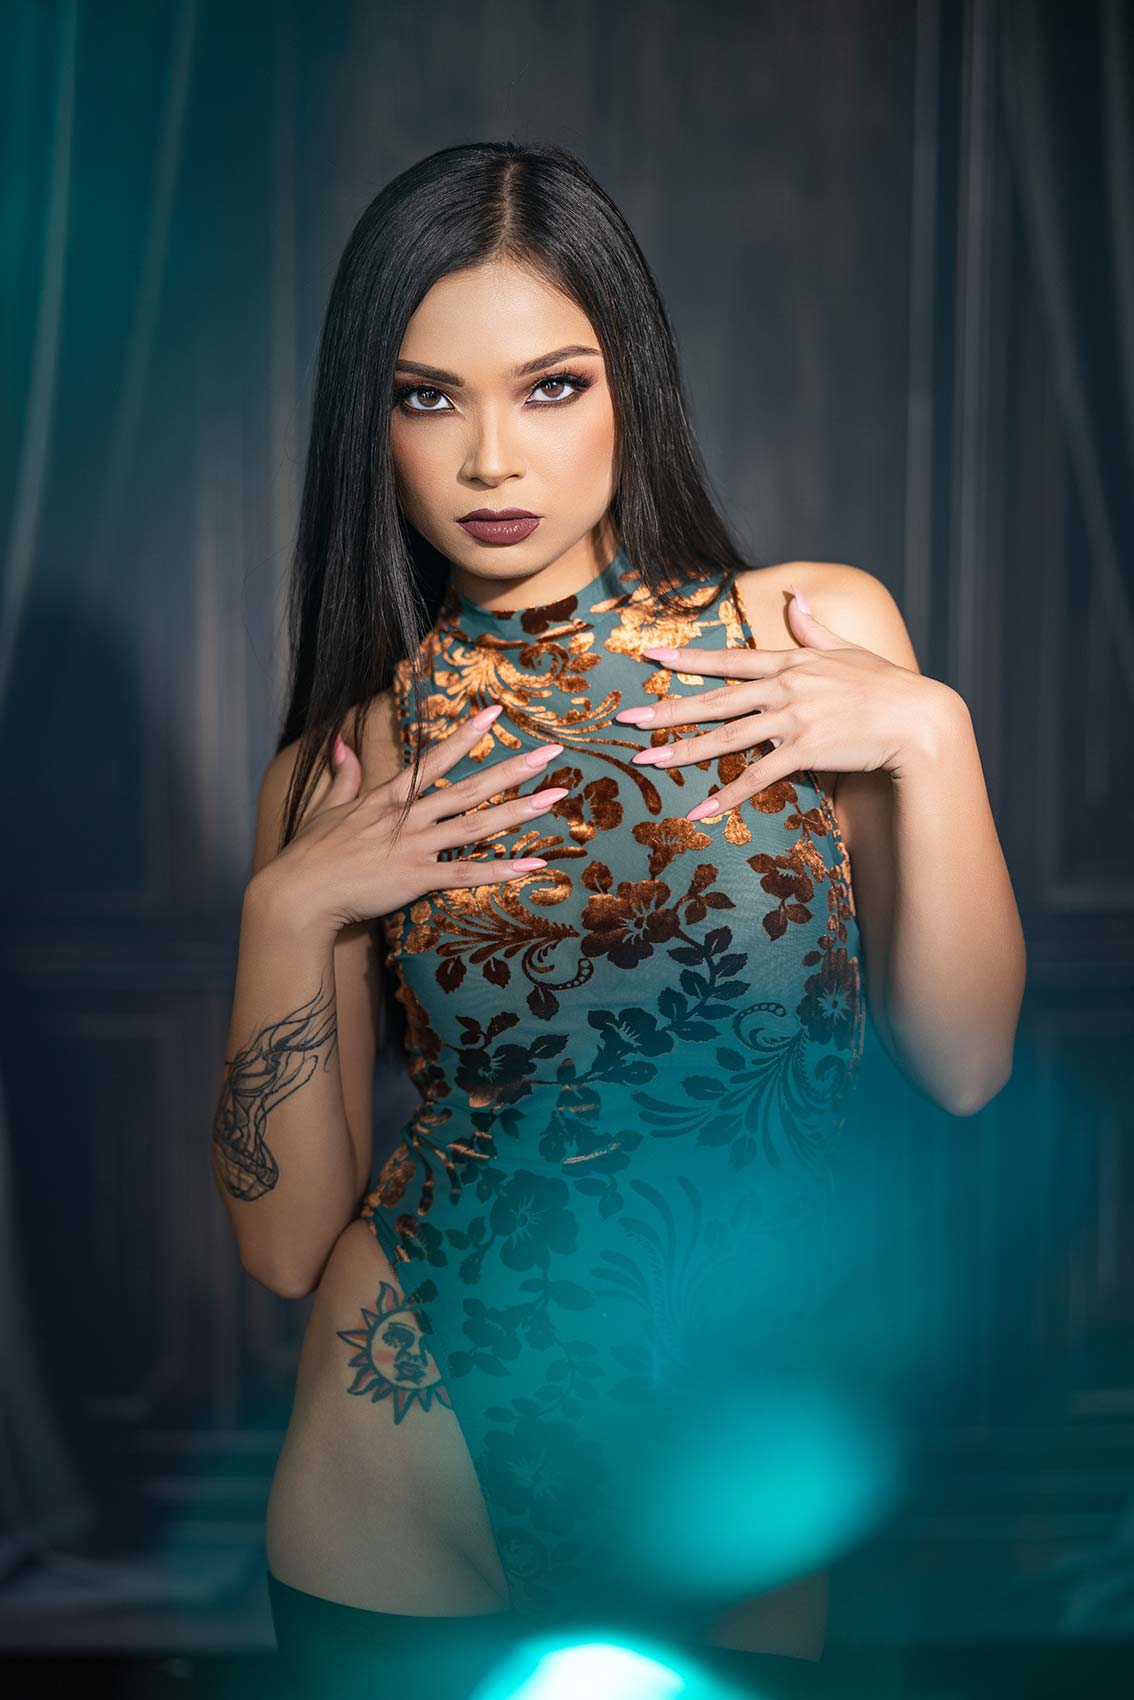
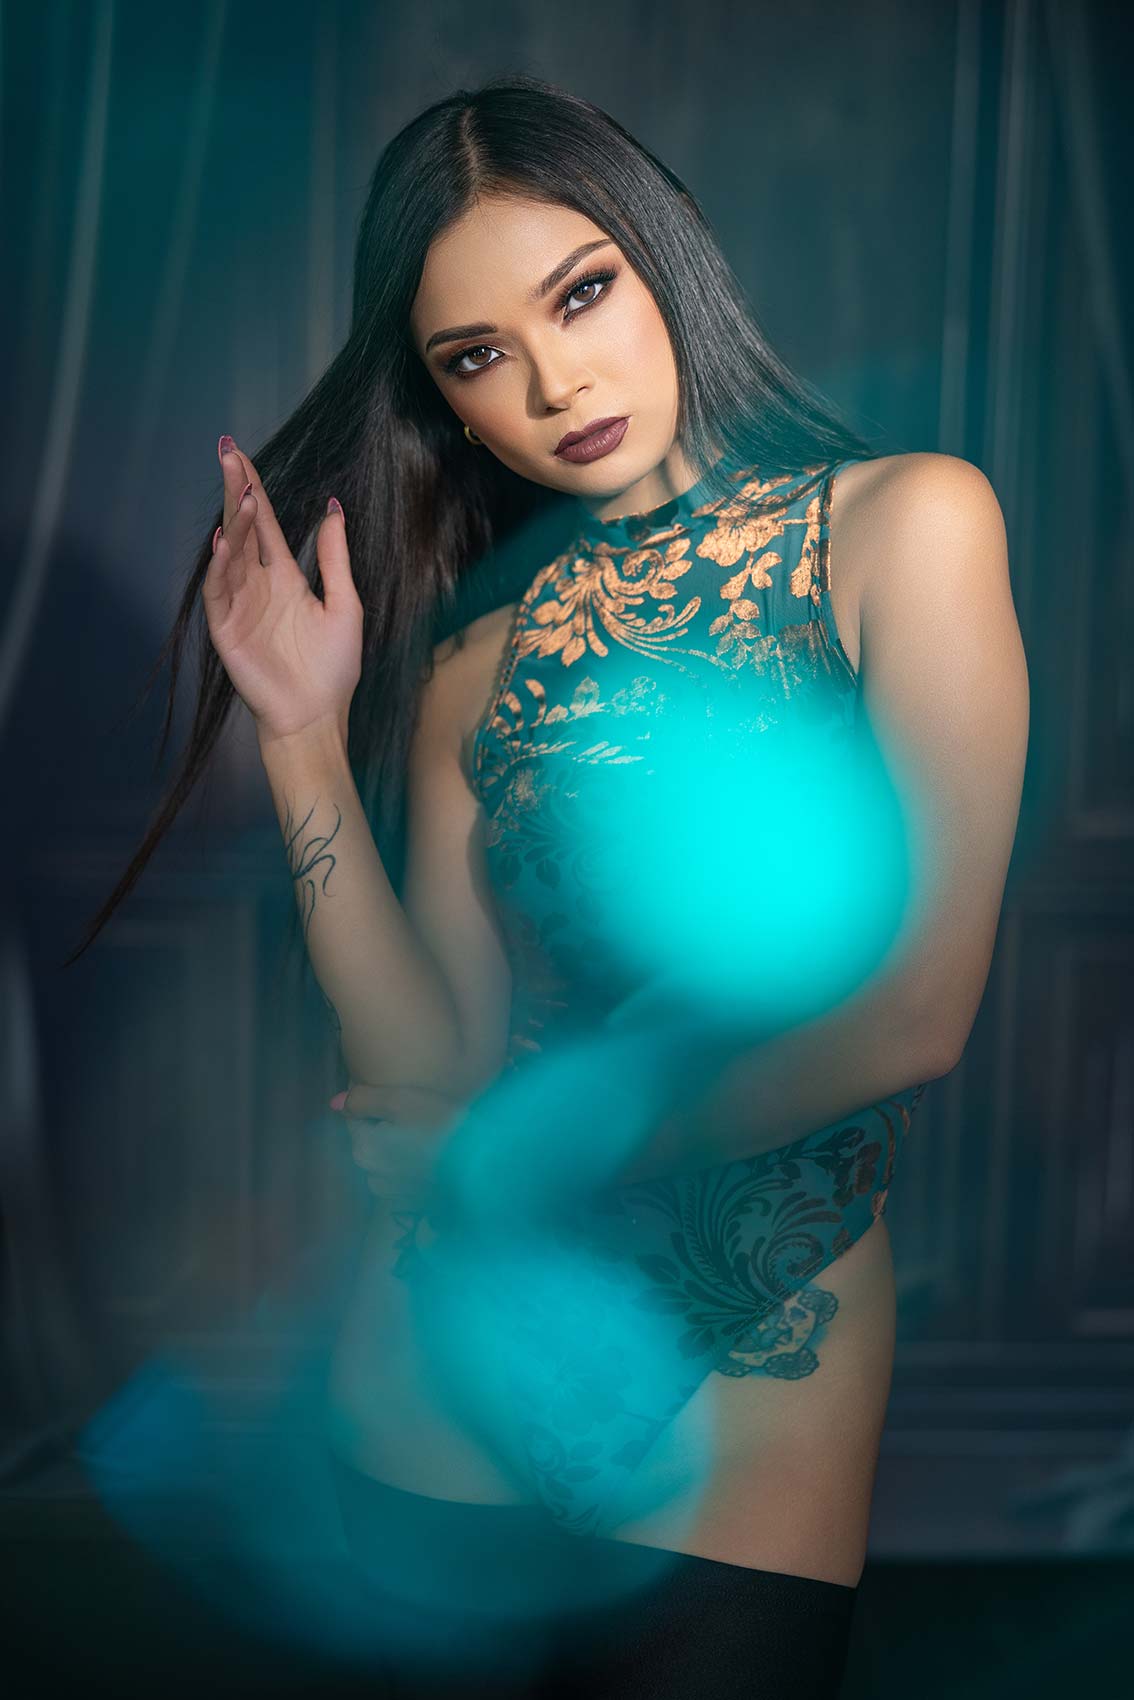
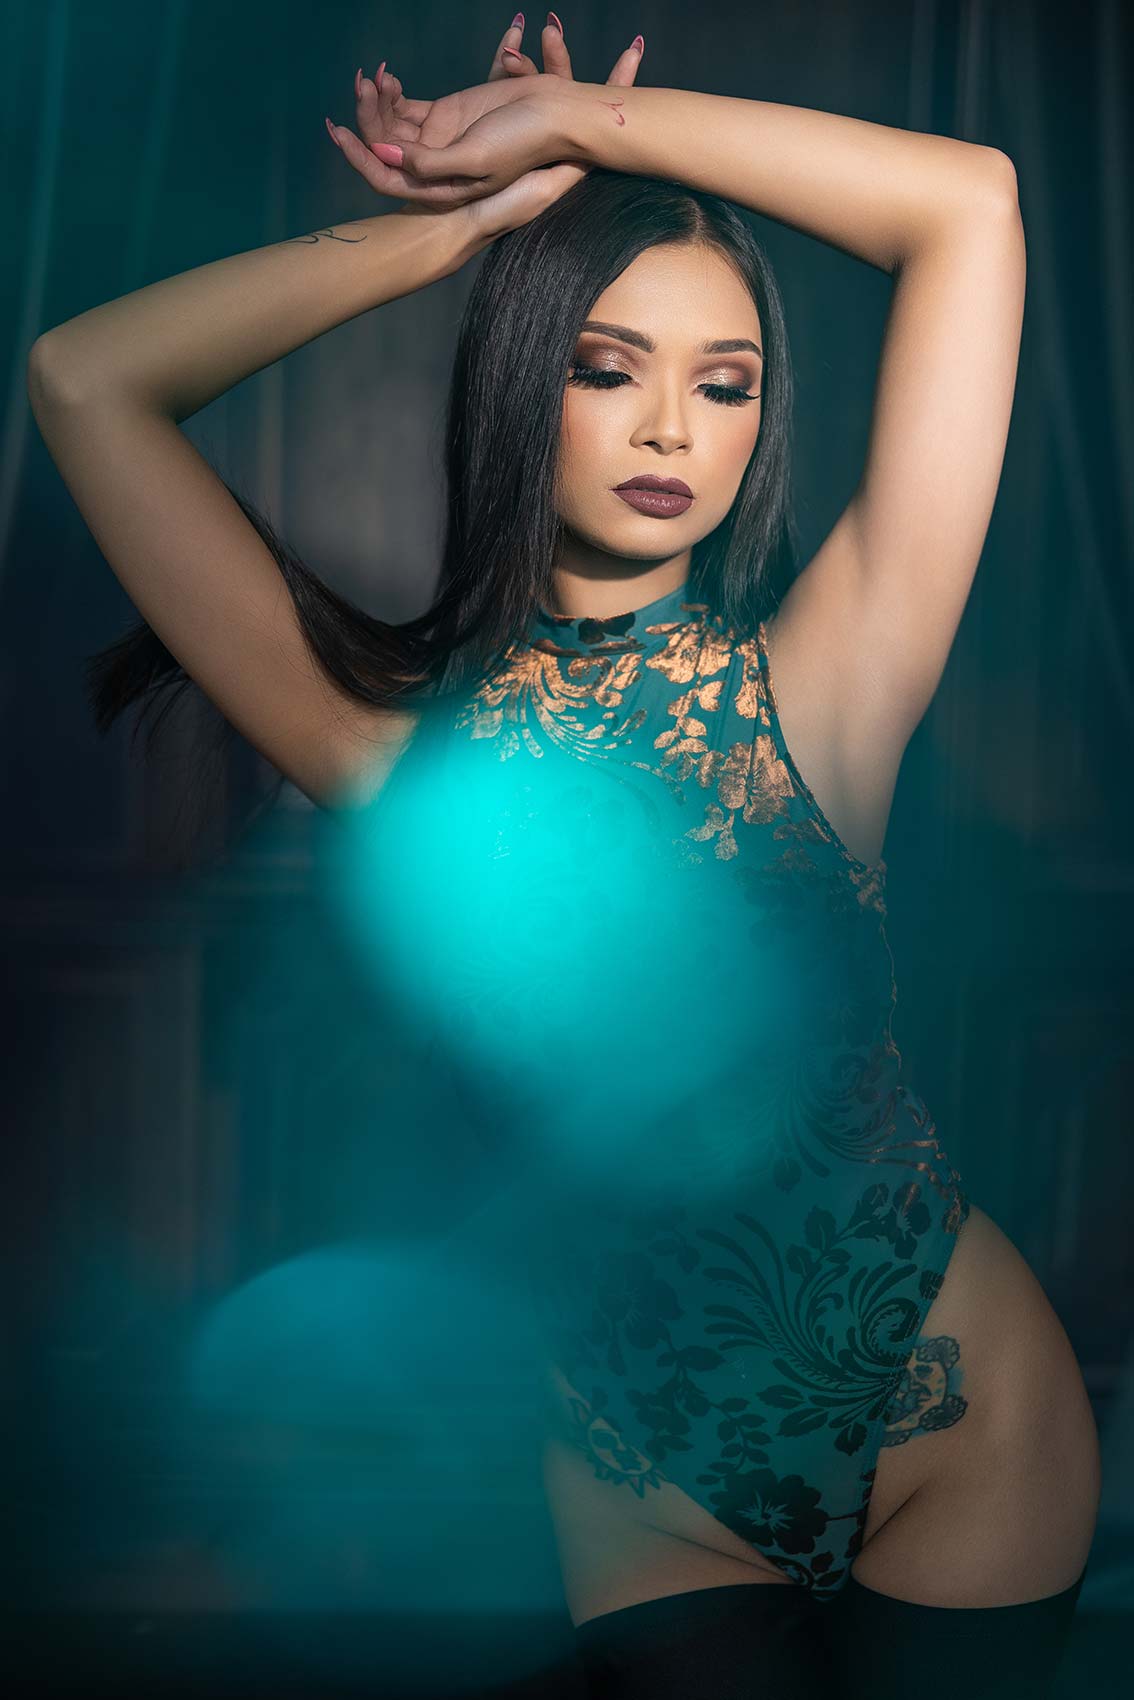
Now, we’ve got a bit of a tealish-blue light that we can shine on her. We can adjust it a little more to the side to get some edge light on her, adding some edge light to her hair. I’ll take two different shots: one with some full-body shots, and then I’ll put the light in the corner again to get some flare. This is why I like this little spotlight—it just feels very stagey.
Now, I’m going to take this same light and I want that flare in the camera, which will make things a bit more interesting.
All right. The last thing I want to do is take that same light and color and fire it directly into the lens. It gives a color wash. You can do similar effects in Photoshop, but it often looks artificial. This will give it a very unique look and feel. I’m just cheating this in the left-hand corner. Now, I’ve also got this little crystal in my pocket—you can get these anywhere. I’m going to use the same light and place the crystal here, adding a bit of texture. It creates a light leak effect on the lens. It’s just something different to mix it up for your clients that you can’t easily do in Photoshop.
All right, and that is a wrap. Hopefully, you guys enjoyed it. Let me know which one was your favorite. We’ll see you in the next video.

