Post-Production Tips: Artmaking Through Digital Photo Editing with David Byrd
I’ve often said that digital photo editing is the other half of the equation to artmaking through photography. Yes, the pure art of photography is incredibly important to learn and master; however, the images you capture can be taken further with your imagination, creativity, and a program like Photoshop.
Using Photoshop or Lightroom to augment your images into art is the primary goal, but we’ve all needed to rely upon digital image editing software to rescue an image, repair our mistakes or even make up for the gear and options we lack with photography.
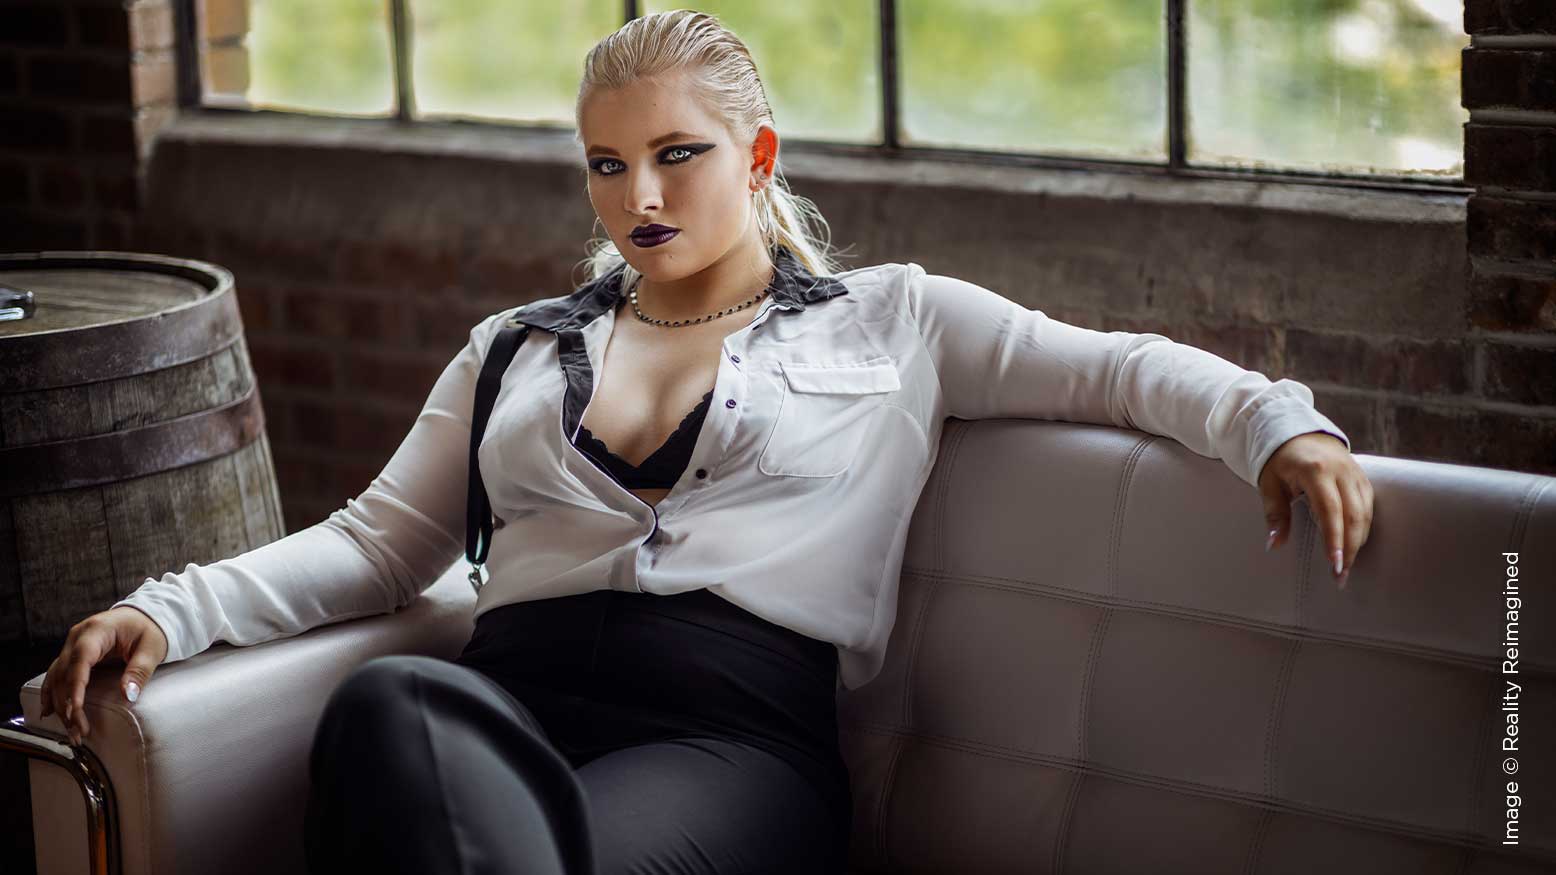
I want to take you through two image examples demonstrating the process to rescue, repair and augment a basic out-of-camera image into the final pieces of art you see before you.
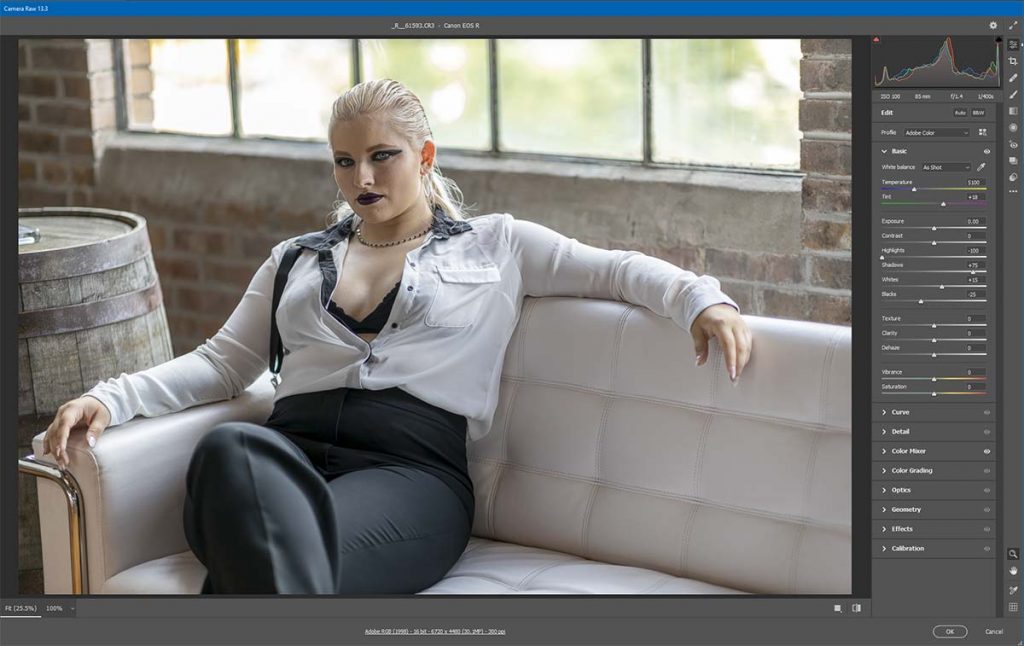
In this first image featuring Madison Rieck, I was relying upon the natural light coming in from the windows to be my main source of light. At first, I experimented with using a strobe to fill in the shadows and a reflector, but something was just “lost” from that natural light feeling to this sensual scene by using more than one light source. So, I made the choice to rely upon Photoshop and digital photo editing to bring this foundation to art.
Raw Processing and Building to the Rescue
Let’s begin experimenting with the main sliders under the Basic tab in Adobe Camera Raw and see what we can work with. Each of the controls found here deal with light values of the image in some shape or form. Exposure is a global adjustment that will affect the light and shadows at the same time. Contrast does the same thing, in a different way. The rest of the controls all deal with the light and darks independently and give you greater control over each.


