
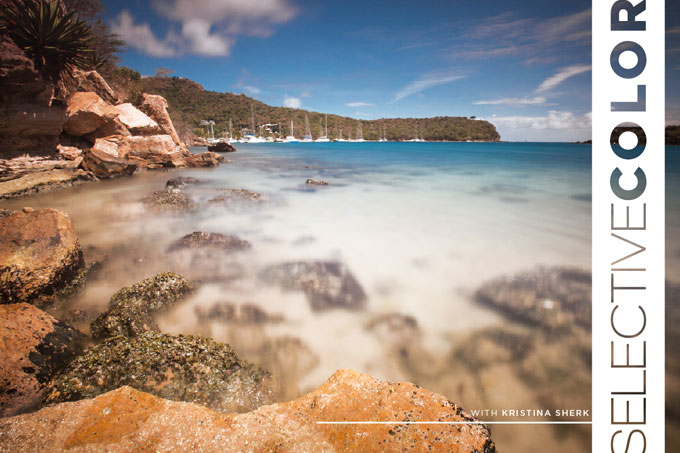
Photoshop Tutorials Selective Color
Don’t let the title of the article scare you. It’s not about desaturating an entire image and leaving only one thing (ahem: the bouquet, apple, baby’s hat) in color. Contrary to common belief, that’s not the main use of the Selective Color adjustment tool in Adobe PhotoShop’s CS6. Now before you move on to the next article, give me a minute to convince you to keep reading.
This tool will save you time. If you learn to use it right, you’ll find countless scenarios in which it will prove indispensable. I’m going to show you just a few of its capabilities.
First a little background on the tool. It was originally used to help printers run their presses. Since most printing is done in the CMYK color space, there were times when one of the colors (or channels) needed to be tweaked slightly. Using this tool,
the printers could go into the image and affect a specific hue by either adding or subtracting colors from it.
This tool isolates the colors in your image and divides them into reds, yellows, greens, blues, and magentas. It also divides your light and dark tones into three groups: highlights, midtones, and shadows. Then it allows you to tweak the CMYK (cyan, magenta, yellow, and black) values within each of those colors, wherever they appear in your image.


