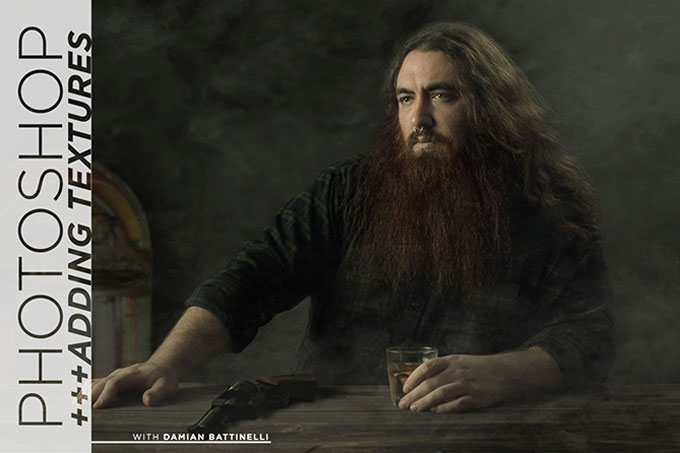
photoshop tutorial textures
Rusty metal, cracked paint, and smoke used as texture overlays can add an artistic feel to images. I’ll show you how with a few simple steps in PhotoShop, you can take an image from zero to hero with the right texture. I’ll also walk you through a trick that allows you to keep the texture off your subject’s skin without erasing it.
I photograph different textures when I stumble upon them around my home, neighborhood, and while on vacation, and save them for later use. I have a ton, and have so much fun using them. Sometimes I even set out on texture-seeking excursions. I keep a folder labeled Texture and break it down into subfolders: Cracks, Wood, Rust, etc.
COLOR TONES
One of the most important things to keep in mind while using texture overlays is that they usually have plenty of color tones. If you’re using a shot of a green cracked wall, for example, the green affects the color of your image. You need to decide if that will help or hurt your image, but this can be decided in PhotoShop. Sometimes the color from the textured image adds an appealing look after it’s applied. On the other hand, if you’re looking only for the actual texture without any color effect, you need to convert the texture to black and white. I keep the original color versions in my library, and convert them as needed.


This Post Has 5 Comments
Hi,
Thanks for tutorials
What is the texture in this case (dark green effect)…?
Alec
Hi,
Thanks for tutorials
What is the texture in this case (dark green effect)…?
Alec
I would like to see the tutorial.
just log in and watch it… couldnt be easier. 🙂
Thank you for this.