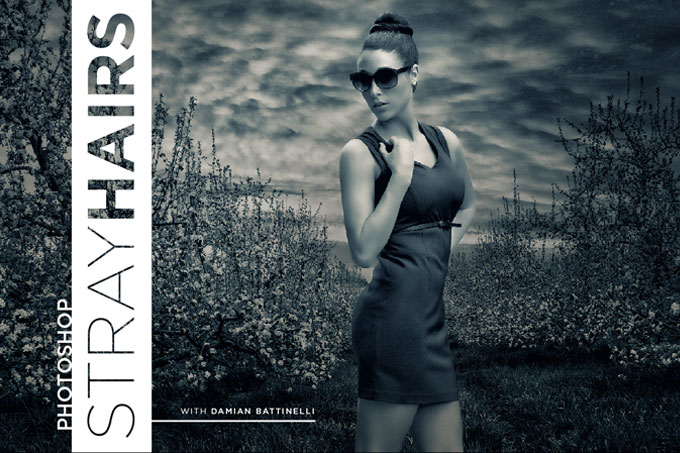
Photoshop Tutorial Remove stray hair

Not all of us have stylists on hand for all our photo shoots. Fixing stray hairs in PhotoShop can be a messy task, but mastering a few techniques can help alleviate some of the mess.
Before you go after those stray hairs, take stock of the situation. What is the hairstyle supposed to look like? Is it a loose style that would look great blowing in the wind? Is it a tight, smooth style doused in hairspray? A mixture of both? The next thing to look at is the background. From a solid color, to textured, to outdoor shots, recognizing these will help you determine which PhotoShop tools will work best for the job.
I use four PhotoShop tools: Patch Tool, Spot Healing Brush Tool, Brush Tool and the Clone Stamp Tool.
I use them in combination with a Wacom Intuos Pro tablet. I edited for many years without one, and I’m kicking myself for not getting one sooner. With a Wacom you can use your brushes to their full potential, and also edit with precision. Using the ExpressKeys and Touch Ring allows you to use the tablet without your keyboard. There are lots of ways to tackle stray hairs, but I’m going to teach you my own method.


