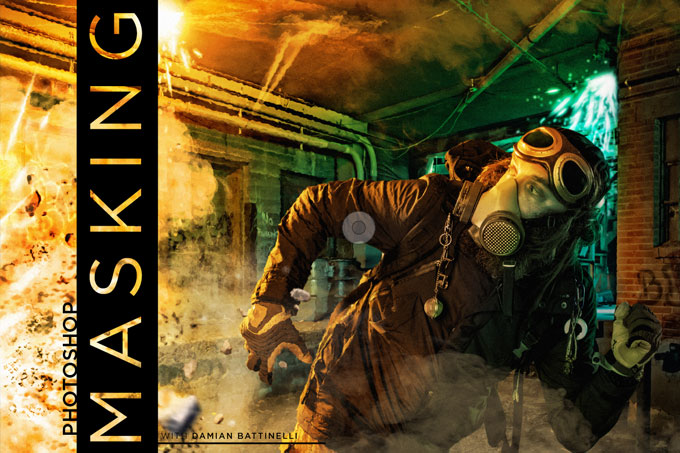
Photoshop Masking Tutorial
Remember that time you worked on that one image in PhotoShop for hours and hours, eventually erased too much, and then went as far back as your history would allow, and you had to start all over again because you just couldn’t go back far enough, exceeding the limits of the Eraser tool? Oh, it hasn’t happened yet? Well, it will! The Eraser can ruin your image by destroying pixels without allowing you to save your changes and fix them later. A layer mask offers a nondestructive option.
HOW IT WORKS
Think of a layer mask as a potential window to the layer below it. To add a layer mask to your background layer, you make
a copy or convert the background layer to a smart object by right-clicking over it and choosing Convert to Smart Object. You’ll notice an icon at the bottom of your layers panel that looks like a square with a white circle in it. Click that icon to add a mask. The mask appears white, but does not hide the layer it’s on.
Want to read this article? Log in and launch this free photography training magazine // November 2013 issue.


