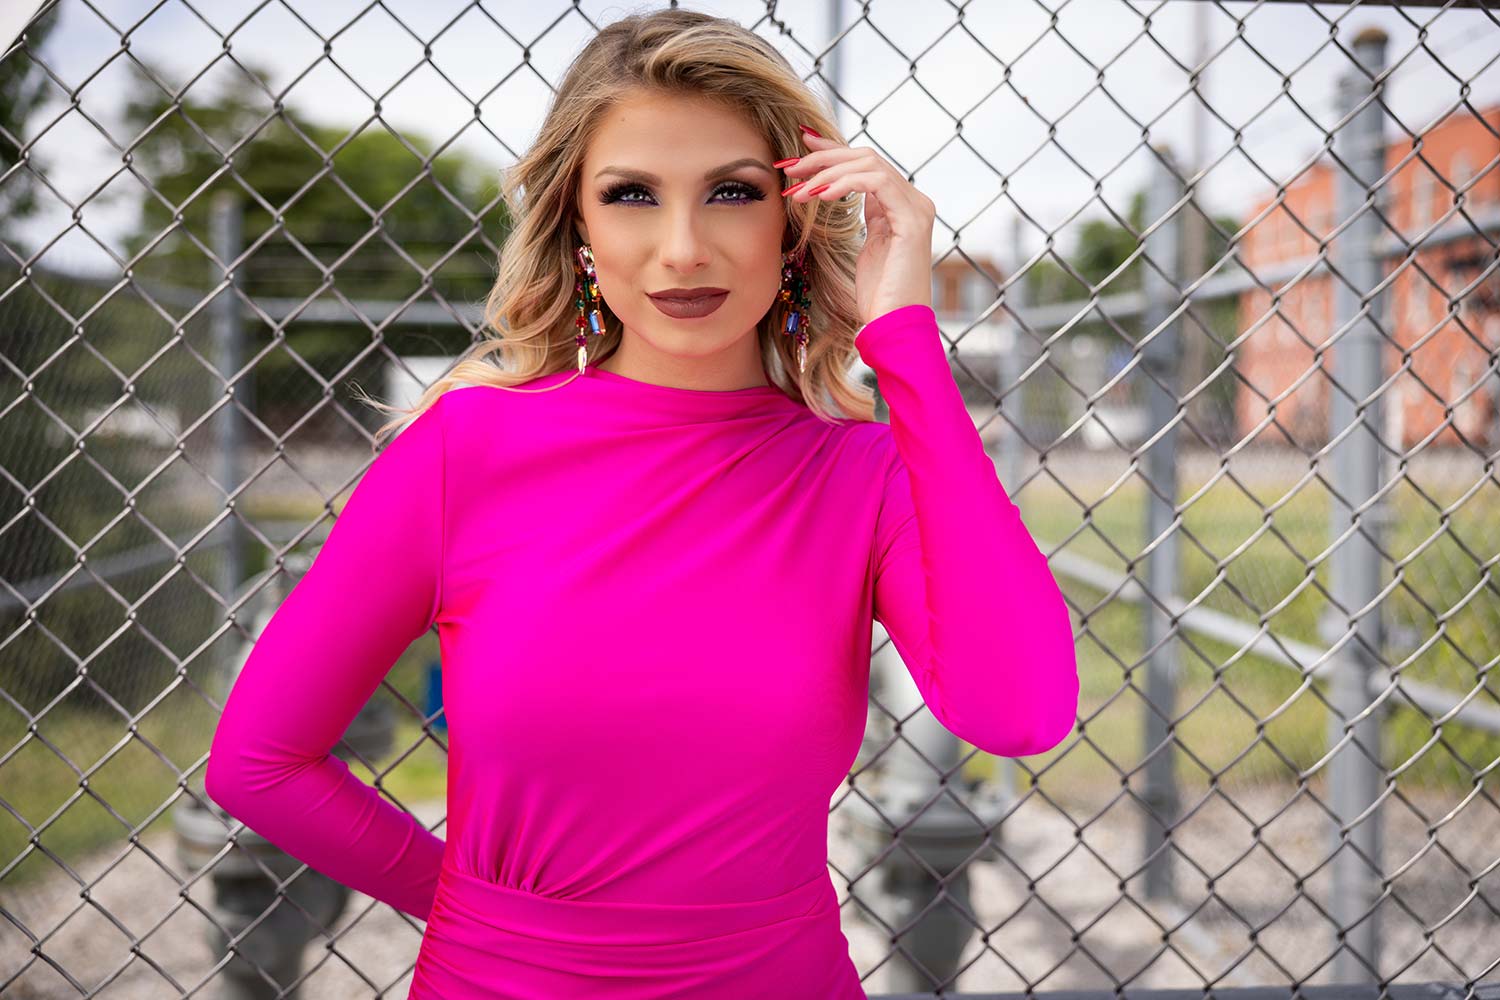
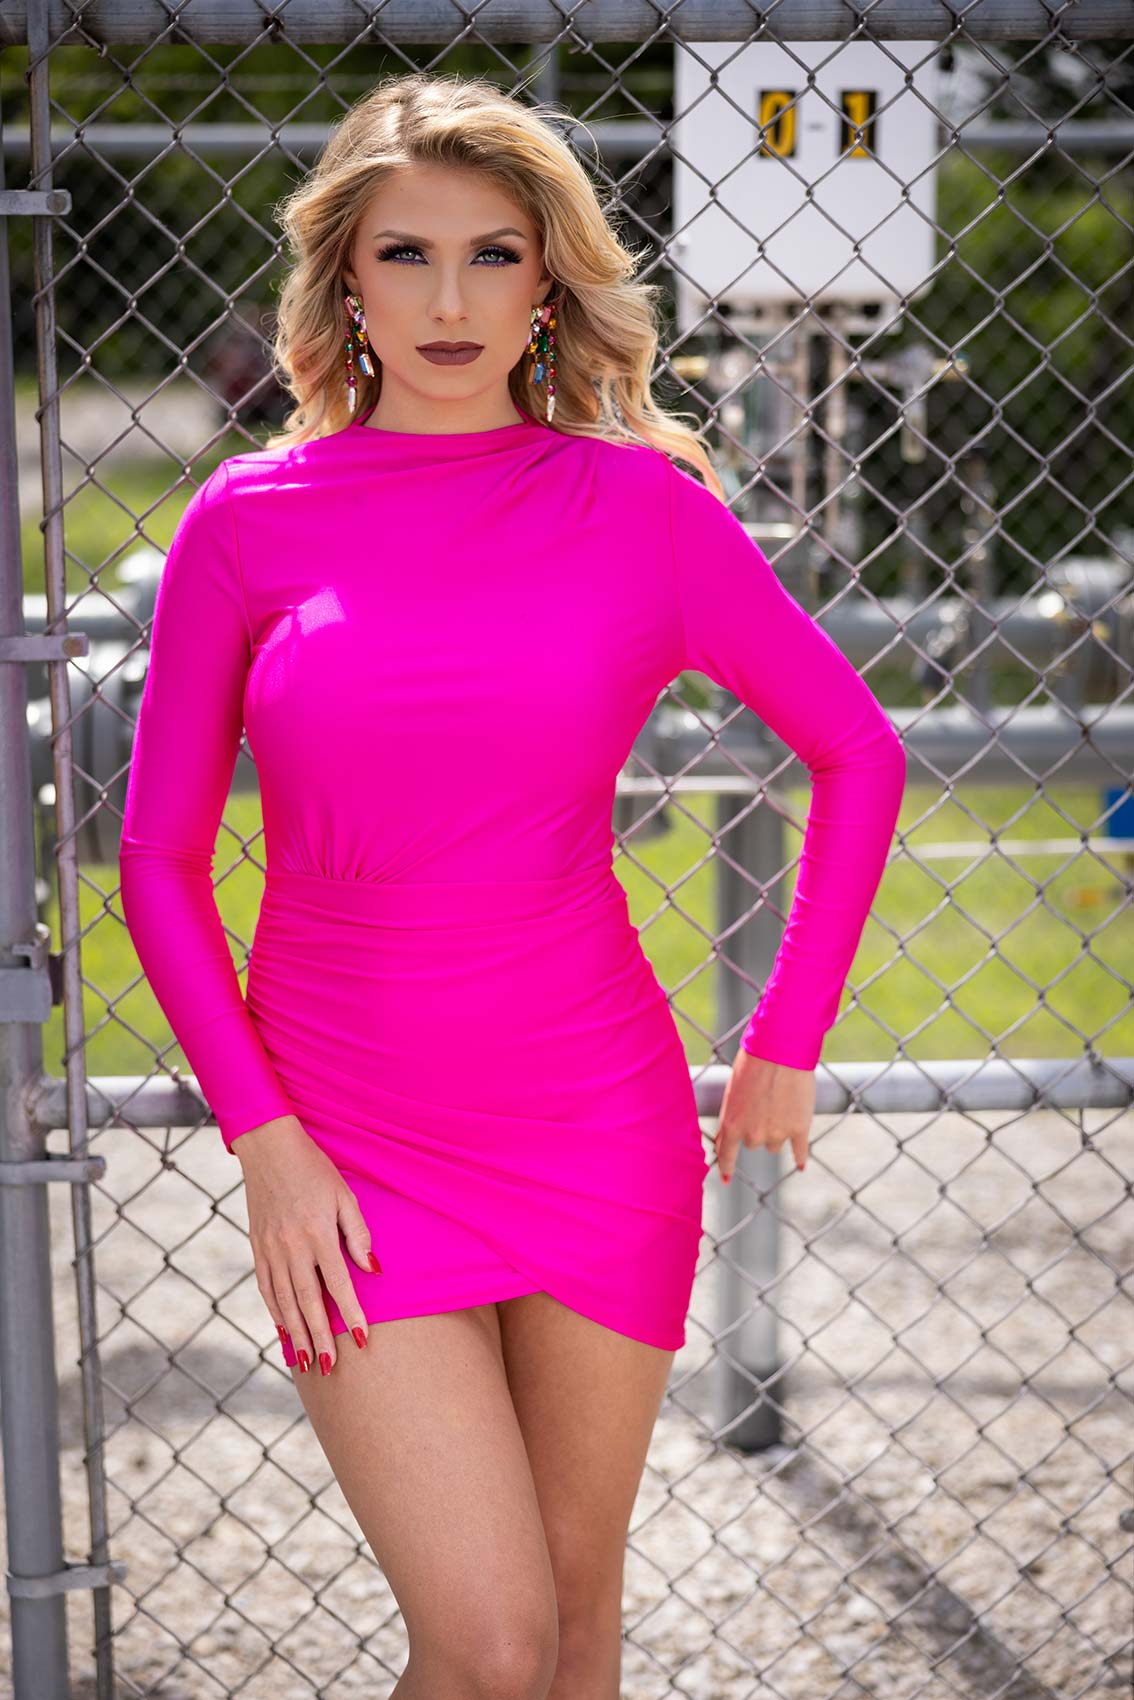
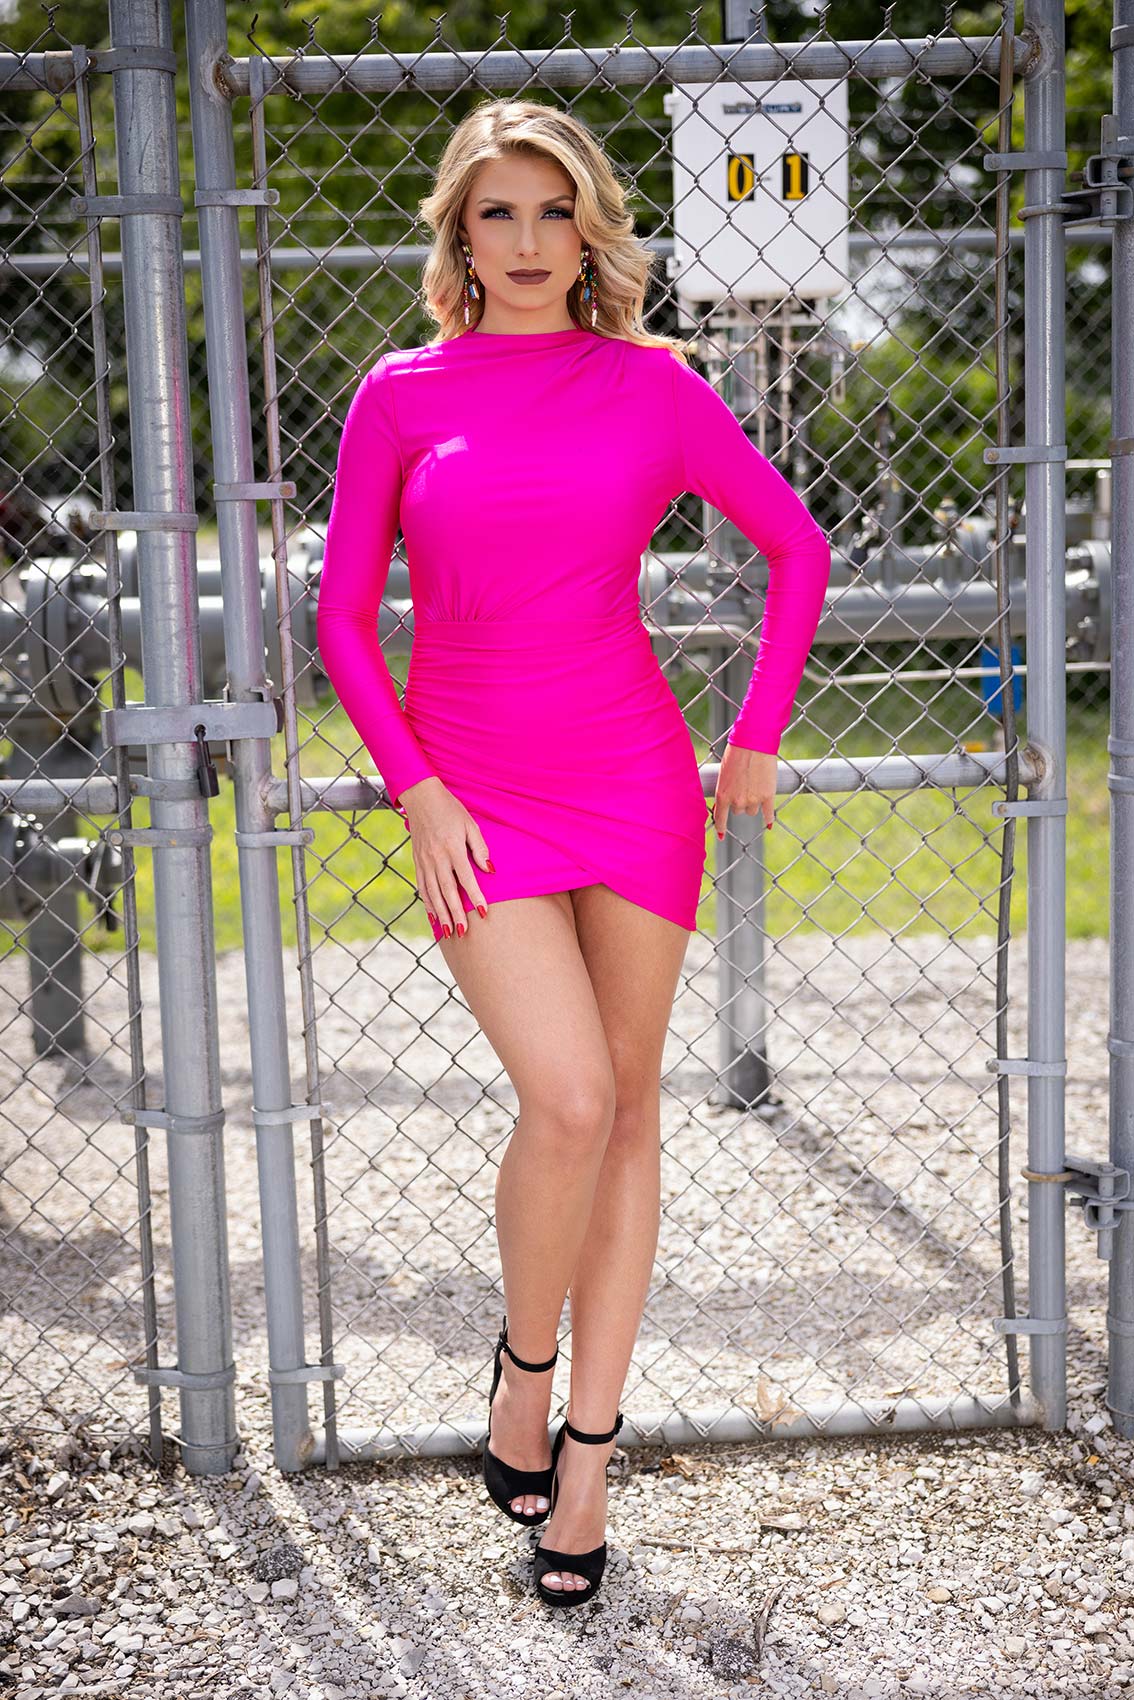
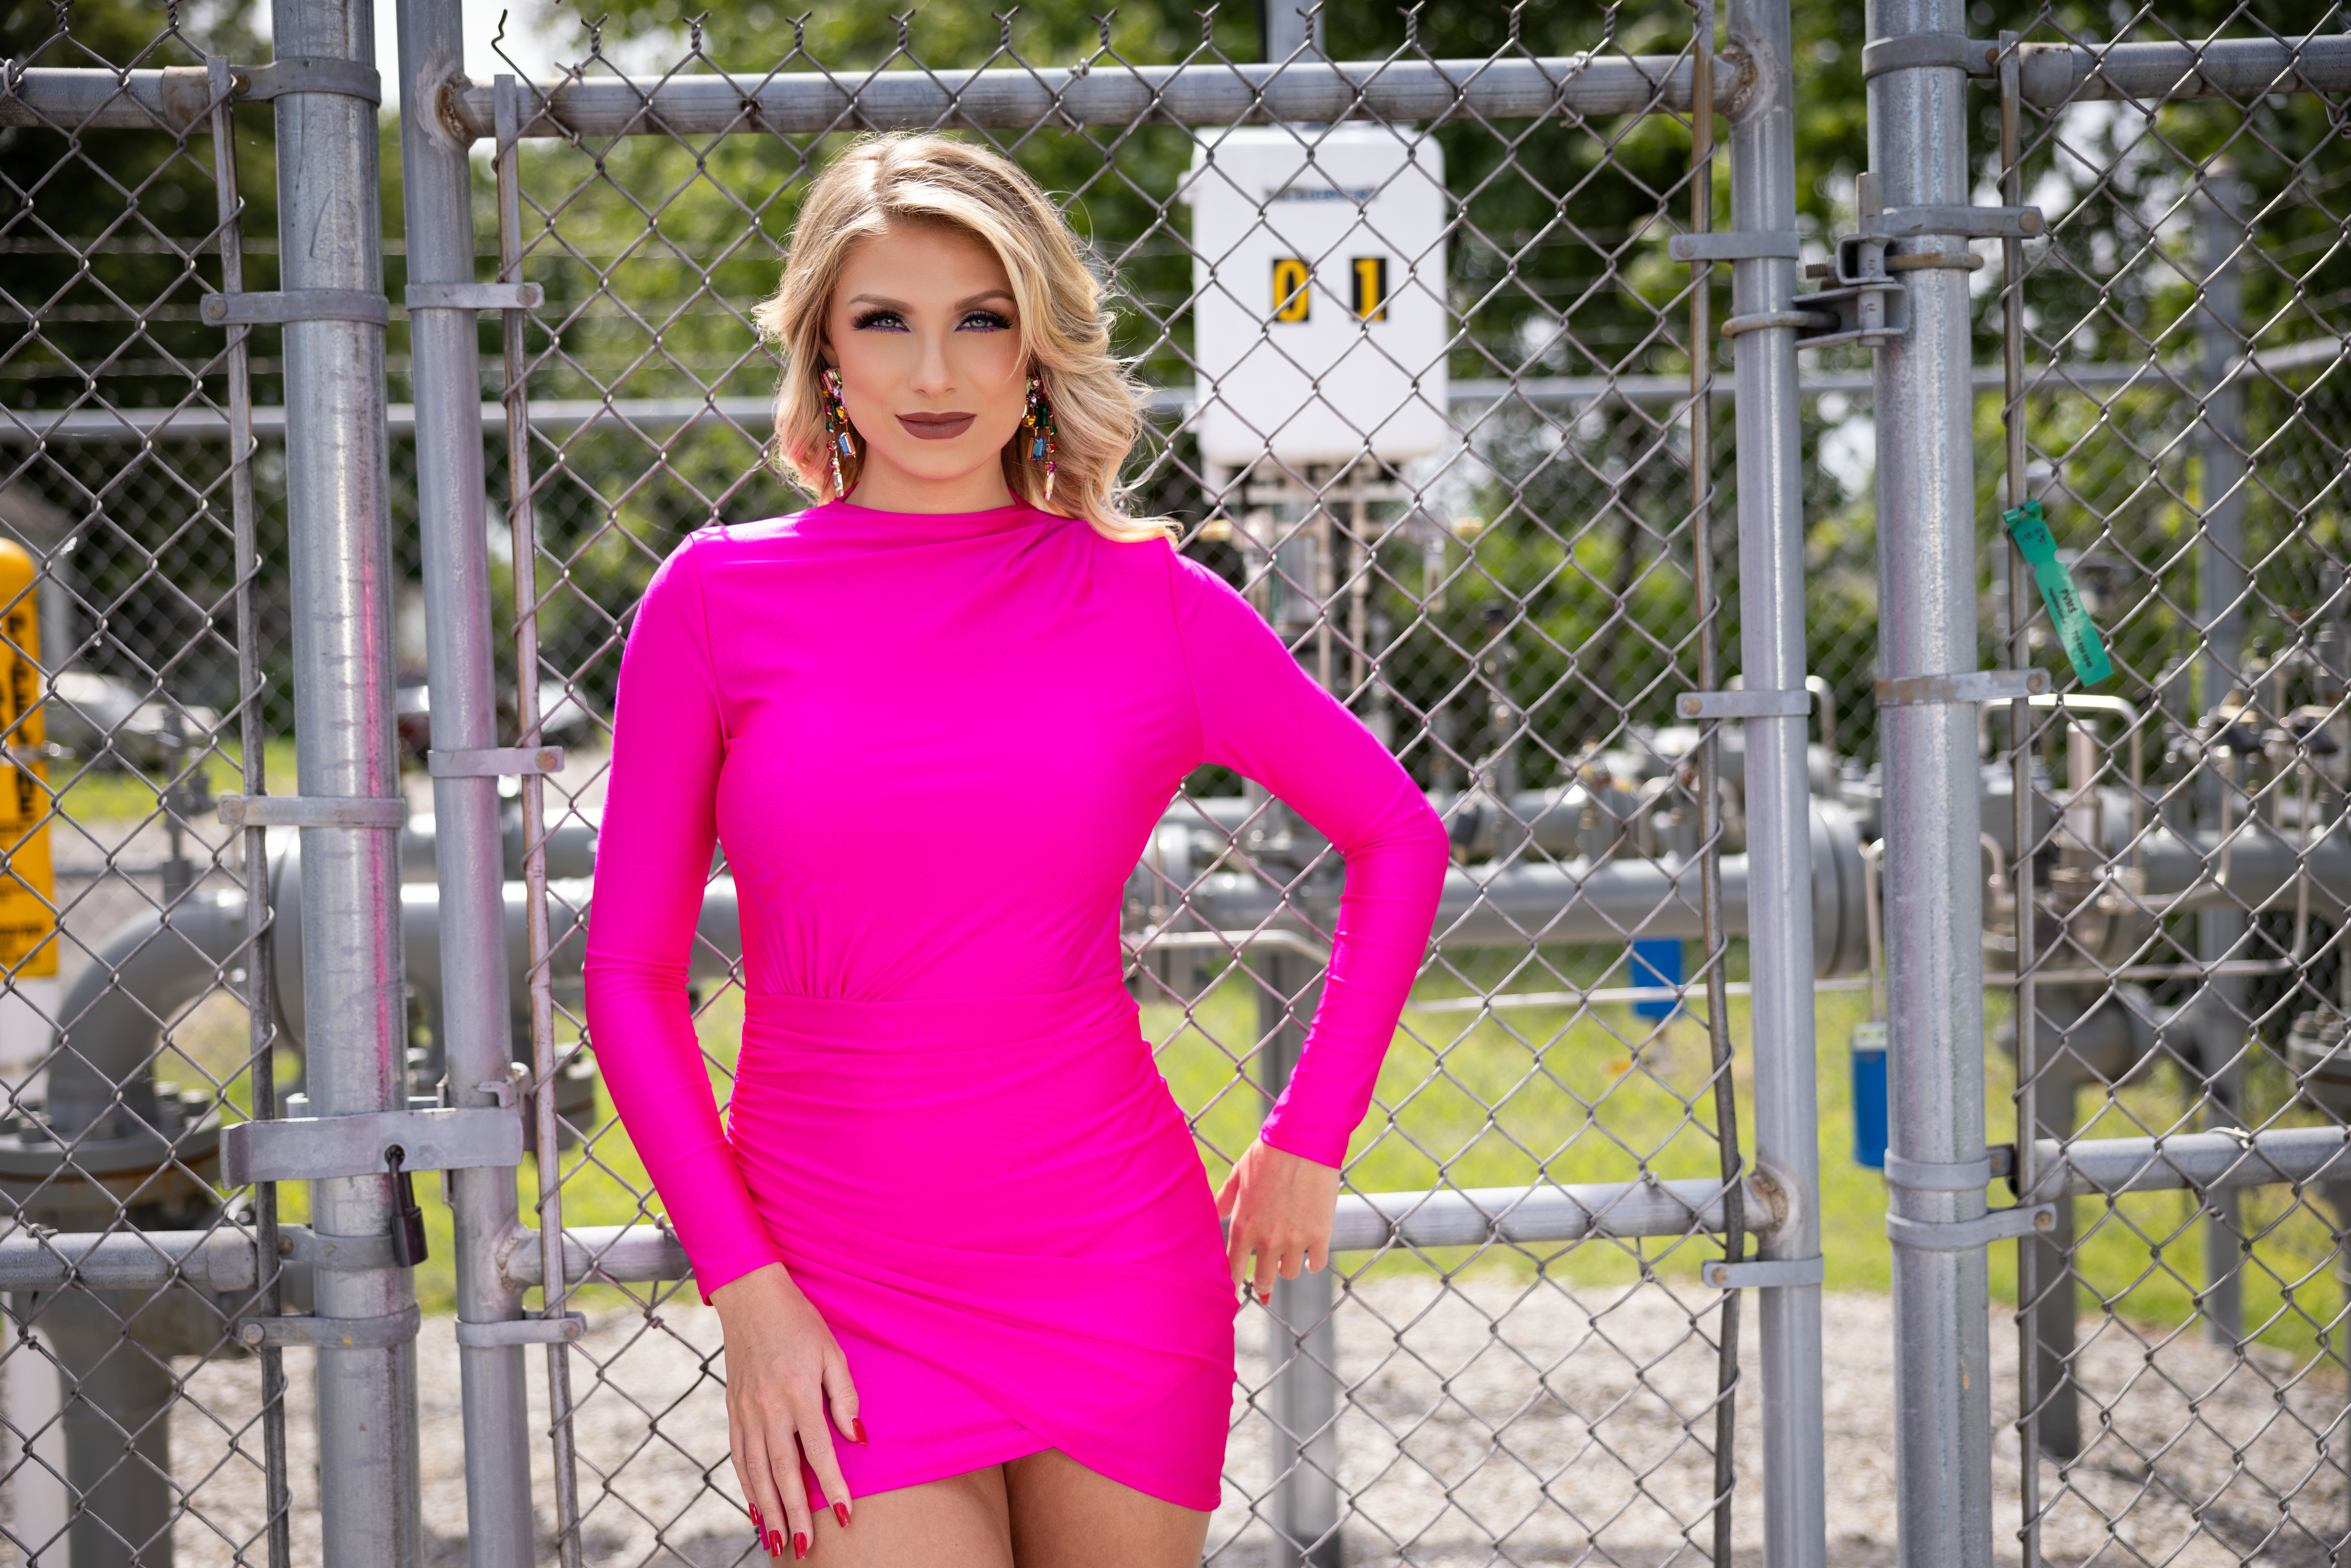
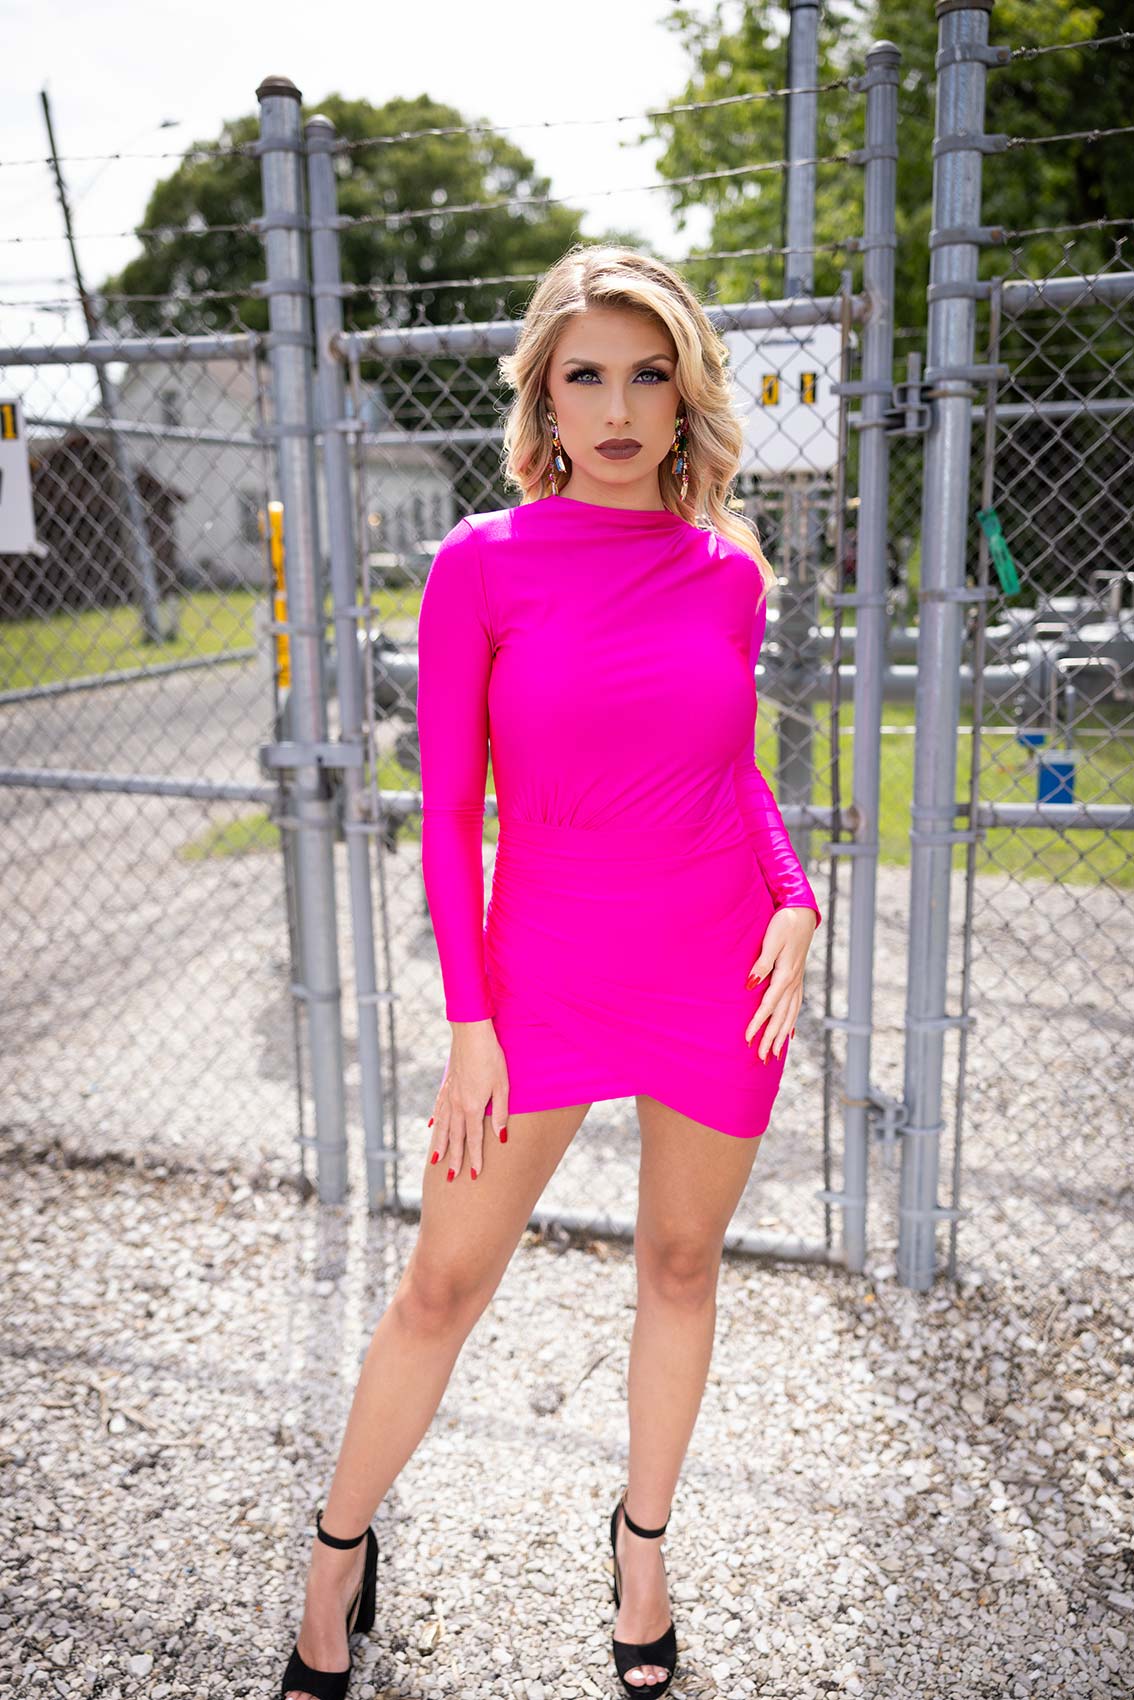
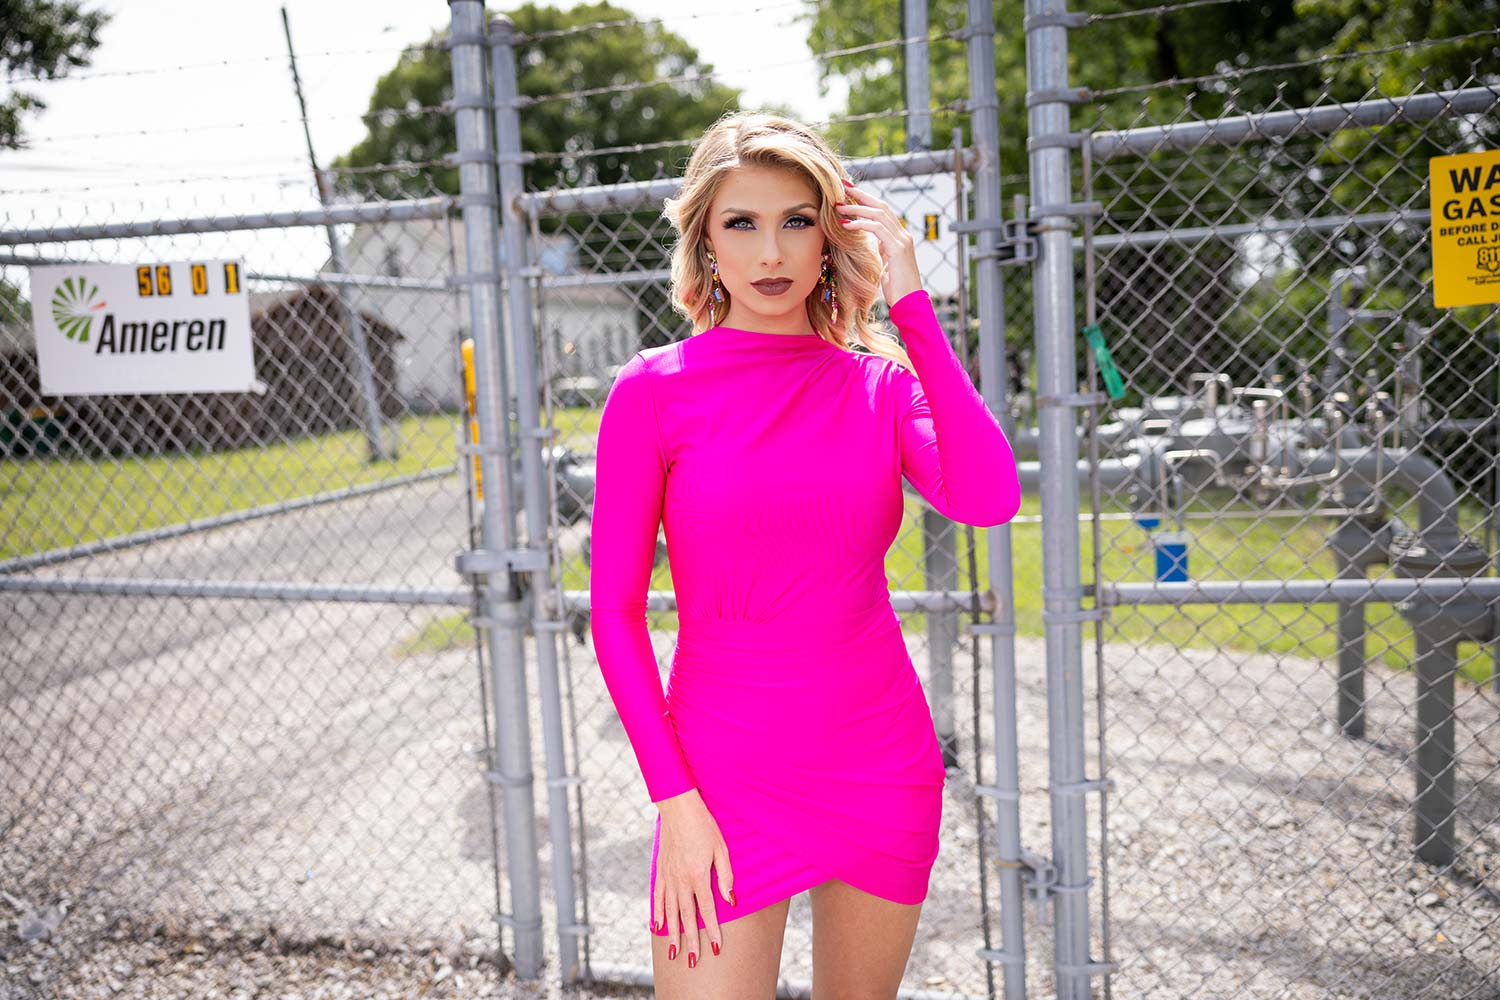
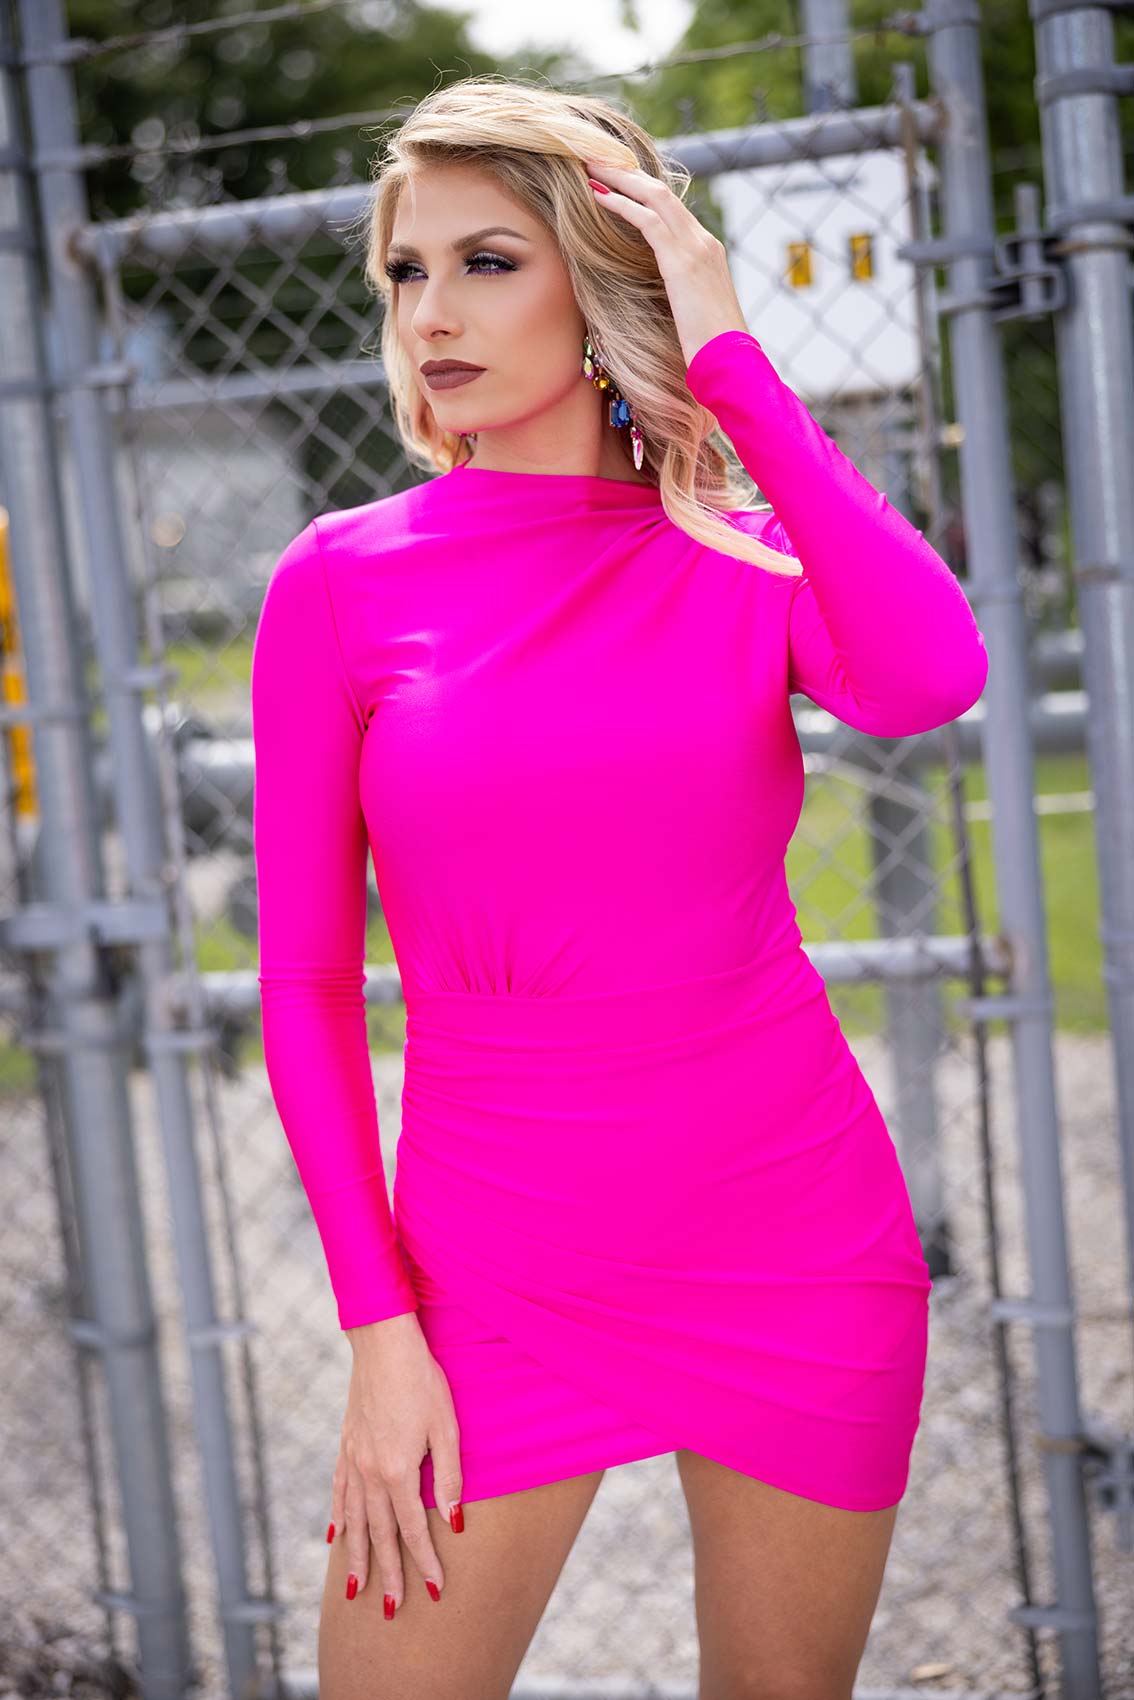
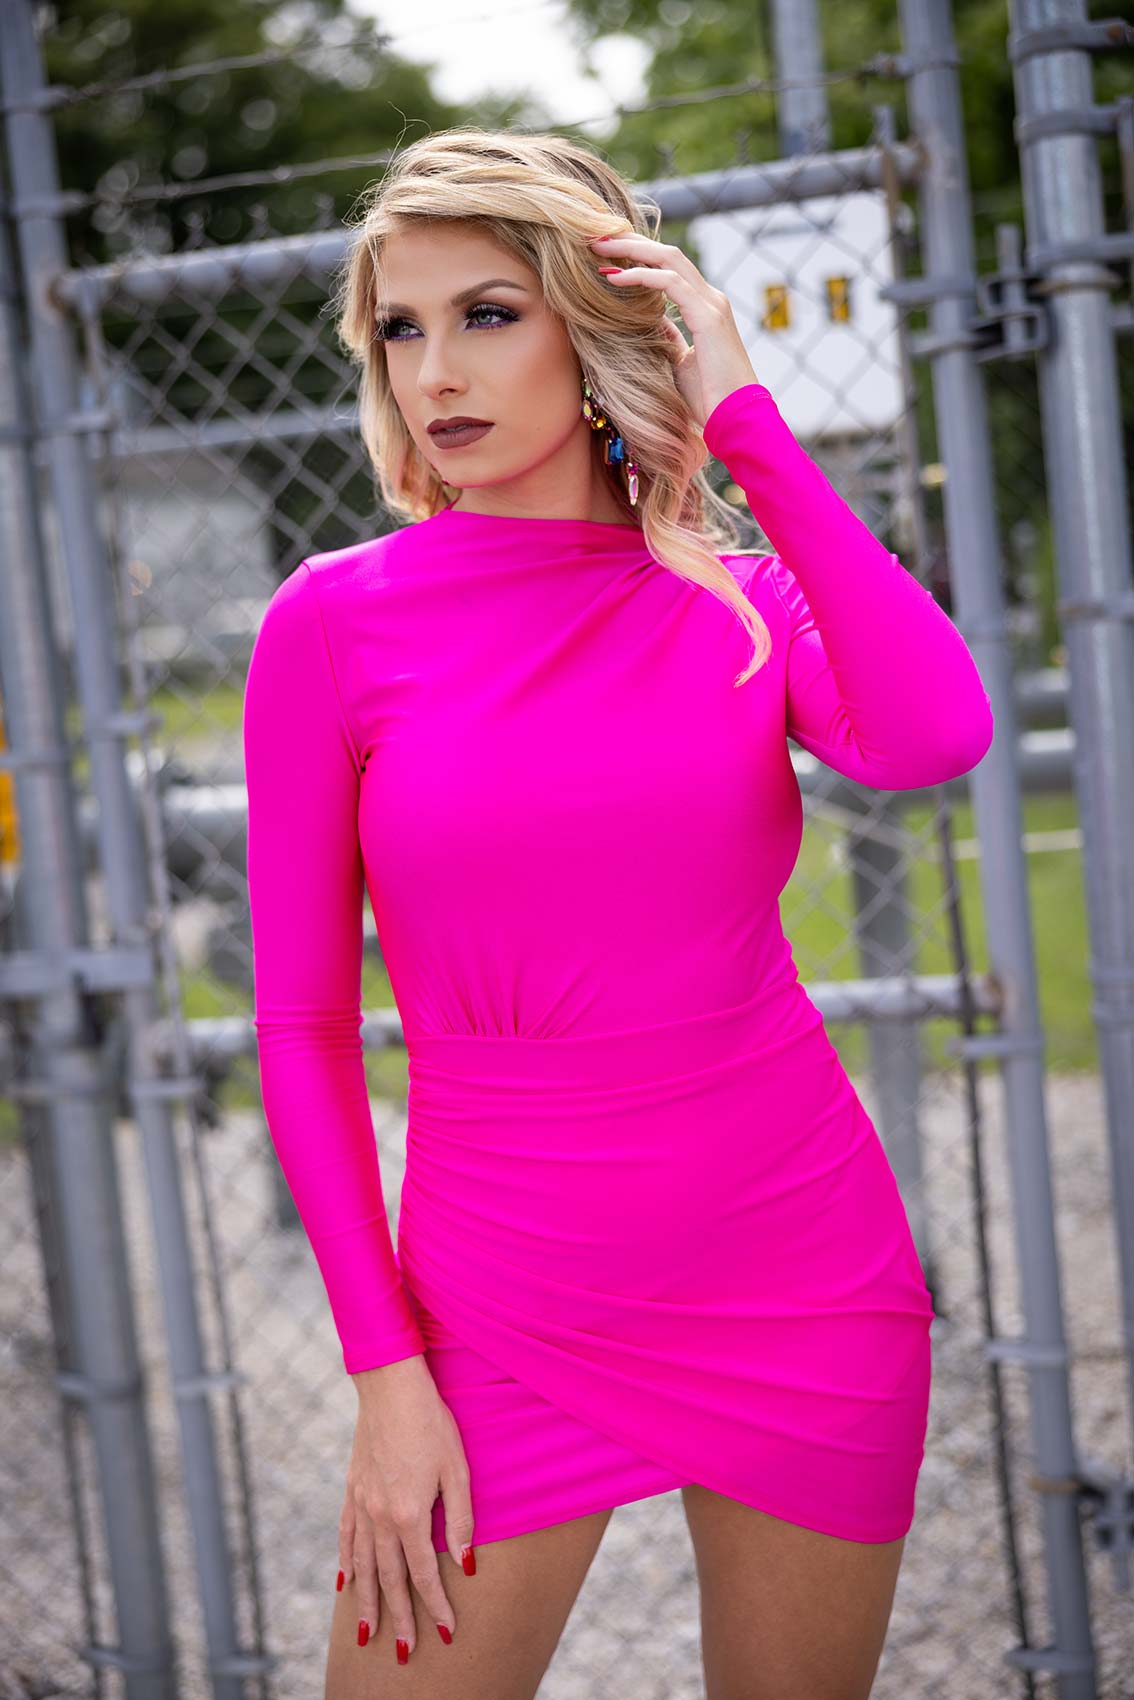
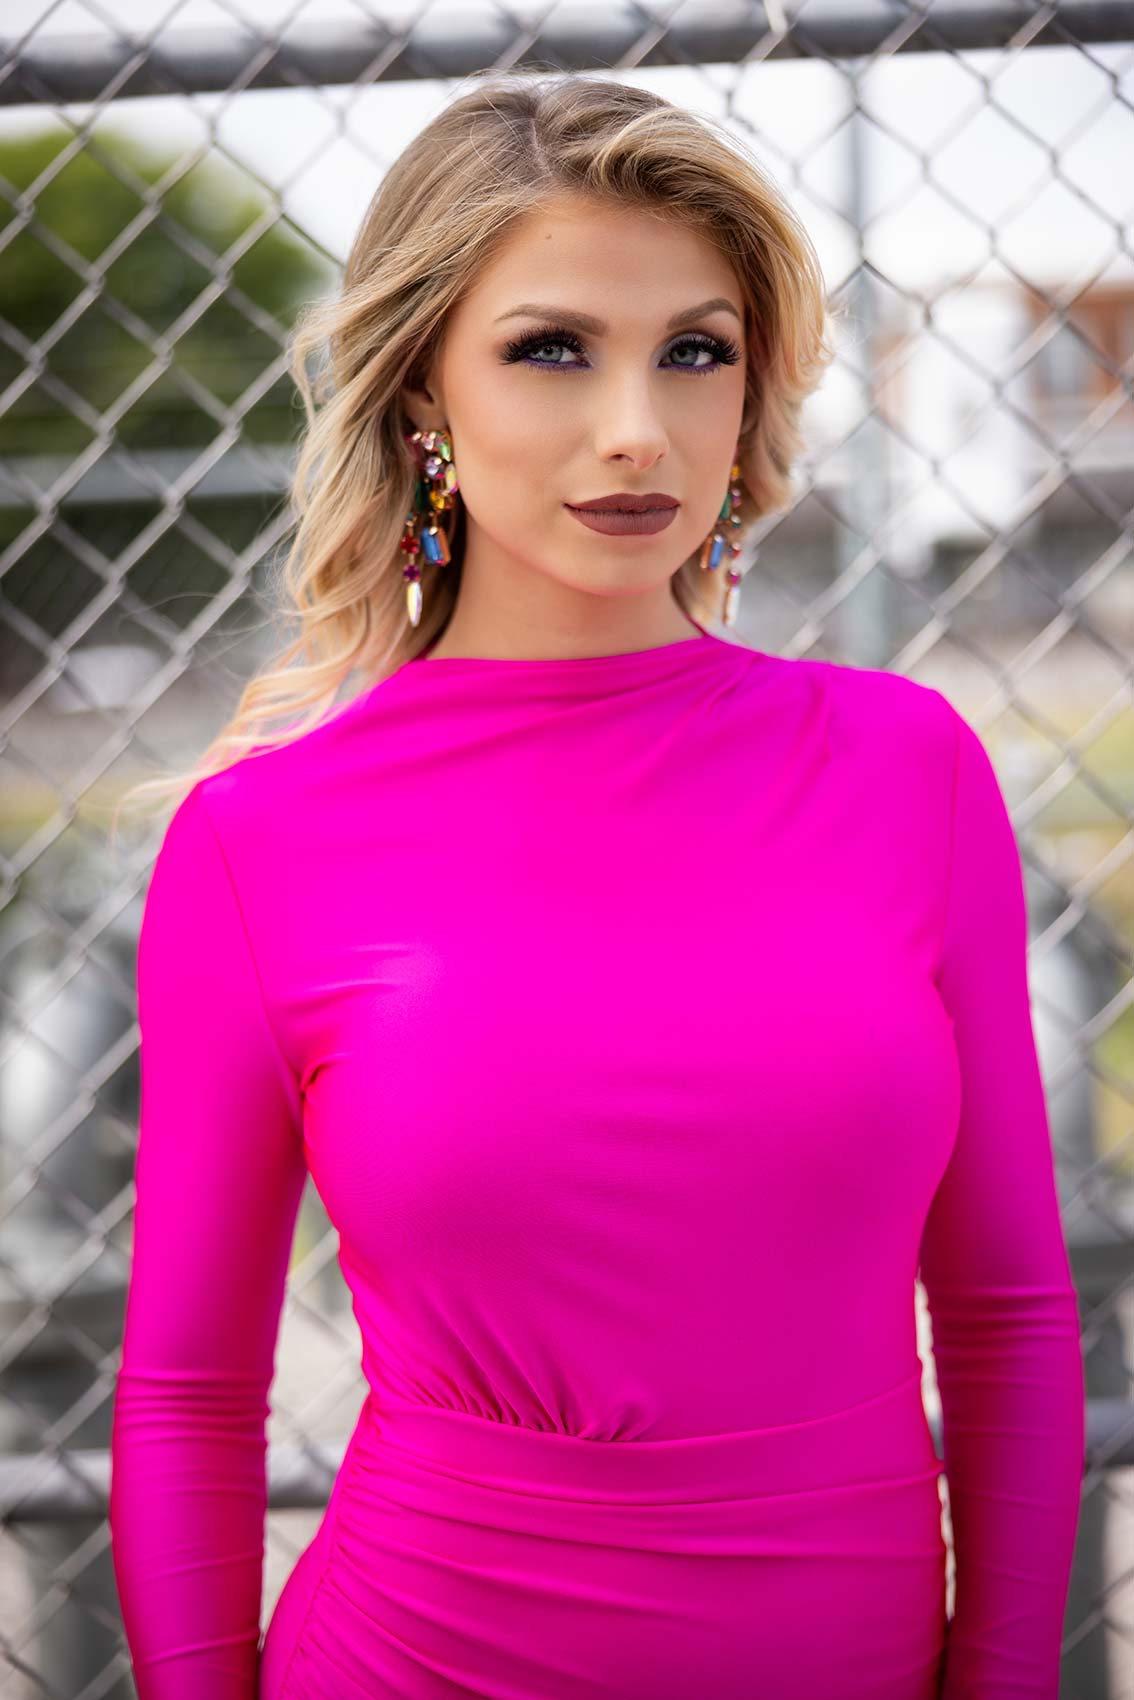
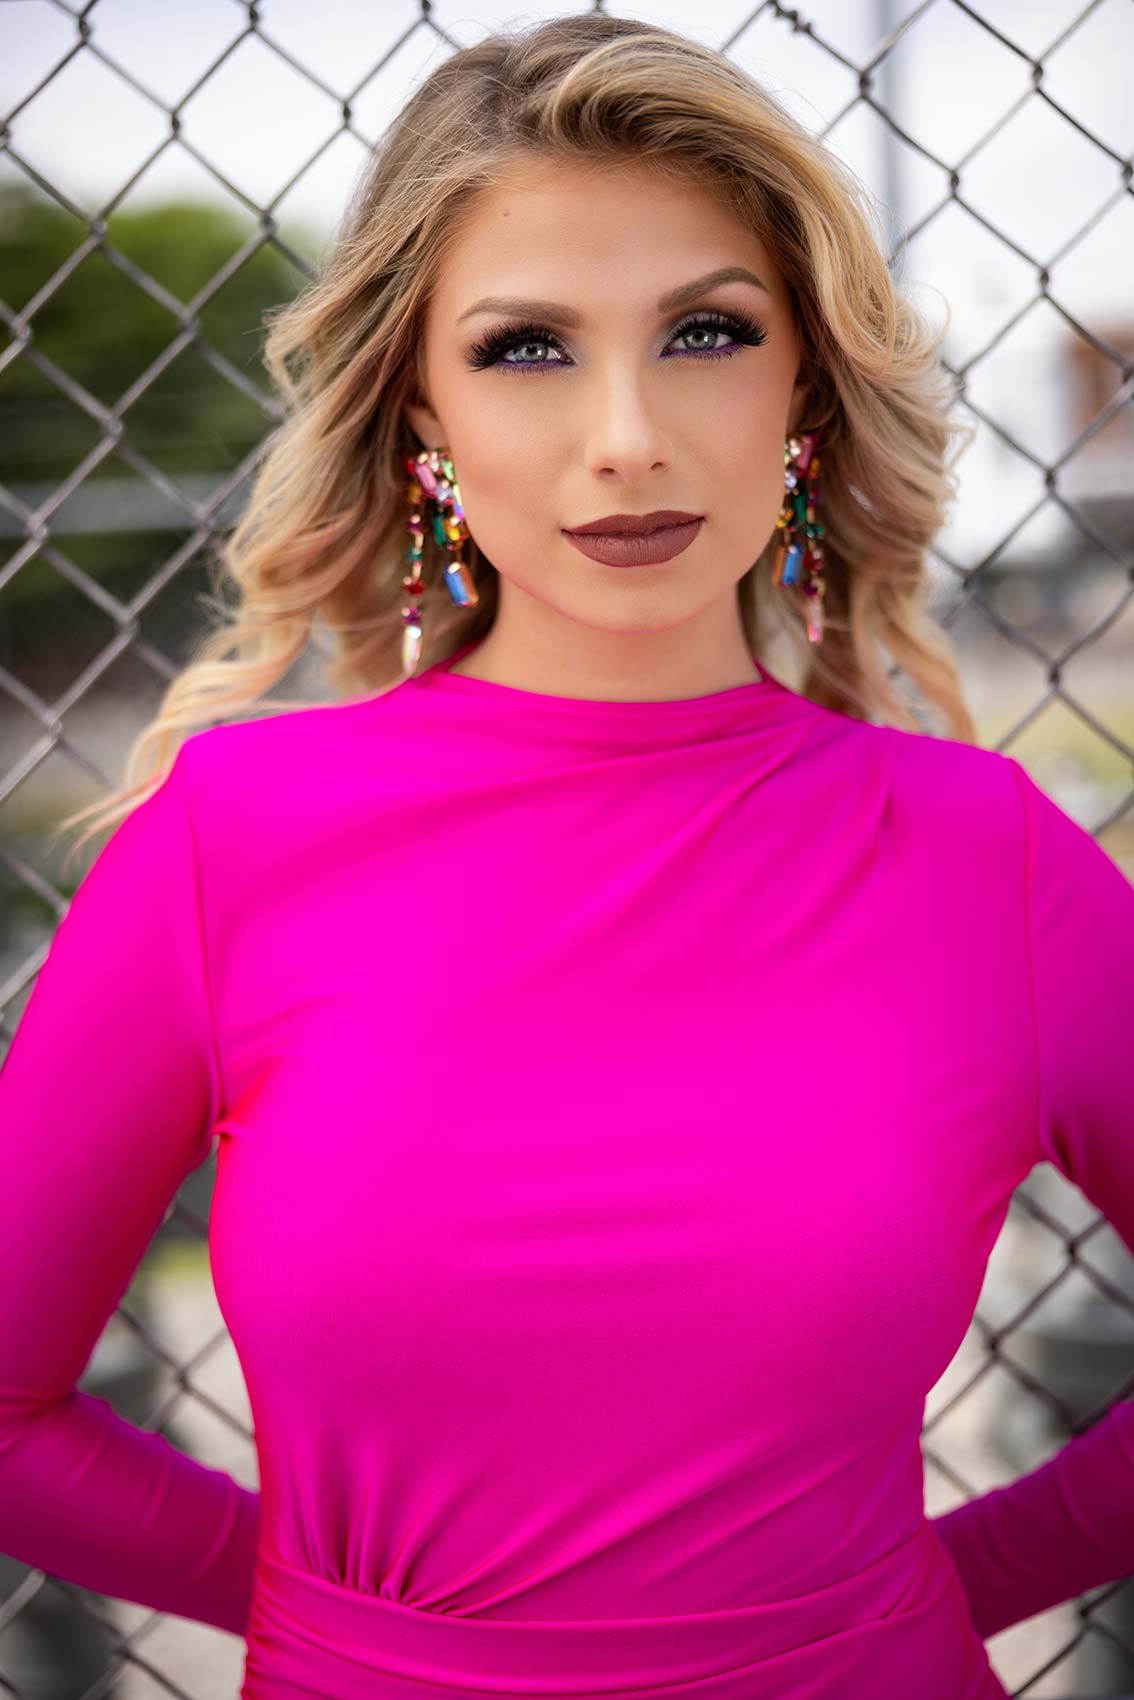
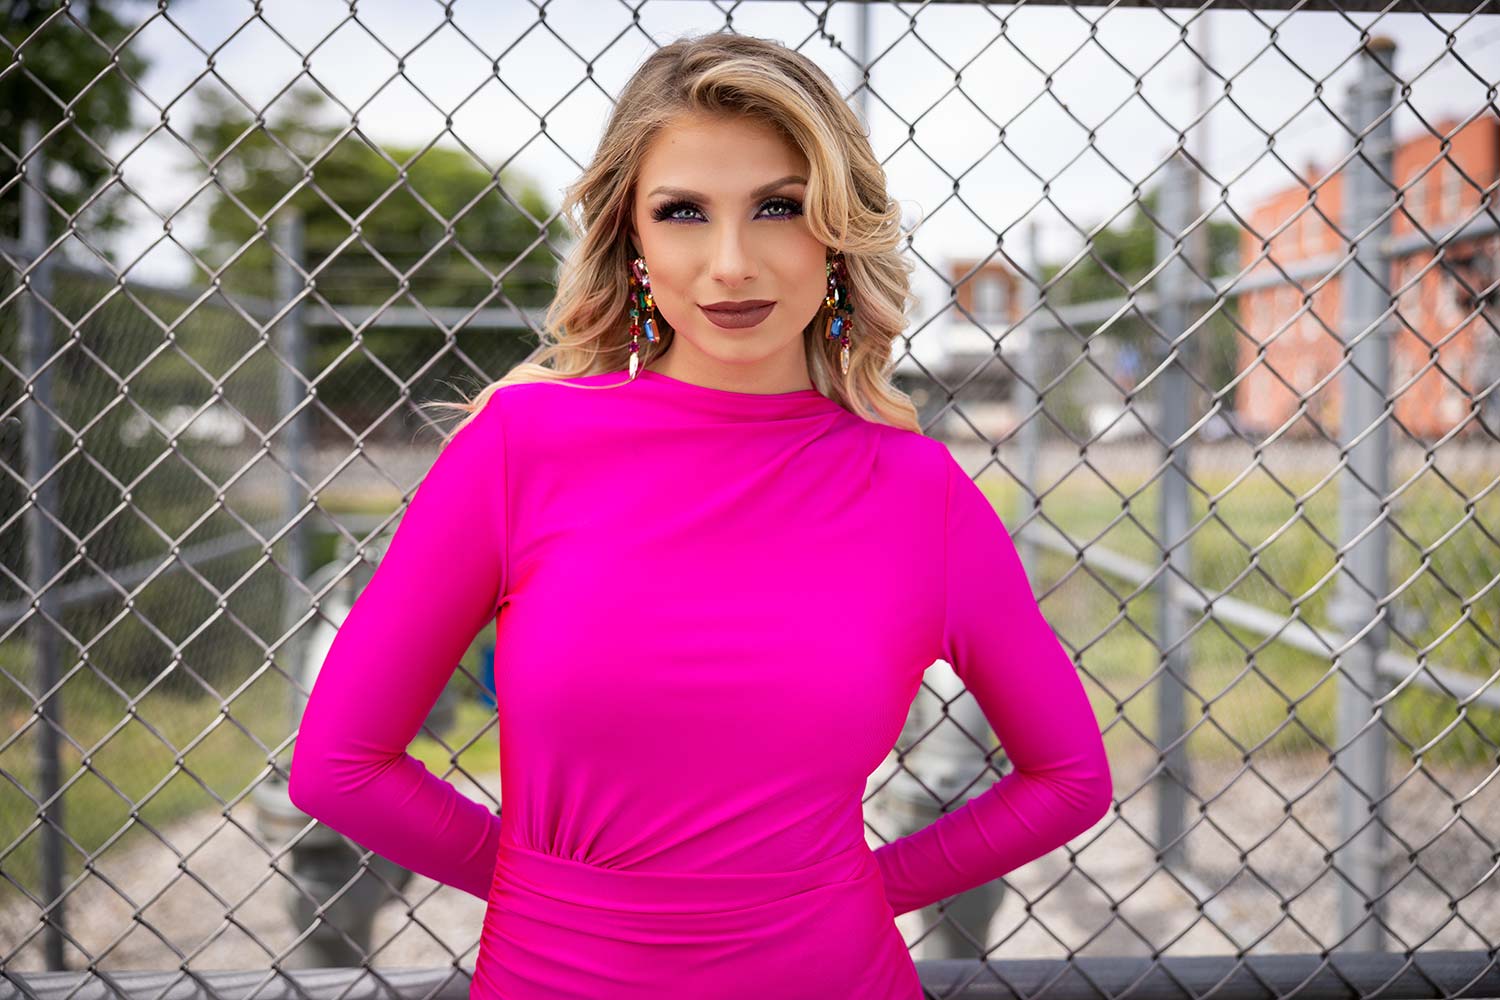
Harsh sunlight? No problem. You can create stunning portraits with nothing more than a reflector and clever use of blocking techniques. In this photography lighting tutorial, we use the Westcott Fusion which gives us several variations for lighting control. Natural light photography doesn’t have to be flat and boring. Using a reflector can add dimension and that pop of life into your subjects eyes. If you have ever wondered how to use a reflector for outdoor photography – this video is for you.
Equipment Used:
Camera: Canon EOS R5
Lens: Canon RF 28-70mm F2
Light: Wescott Fusion
Team:
Photographer: Sal Cincotta
Model: Heather
Hair & Makeup: Brandi Patton, ReFine Beauty
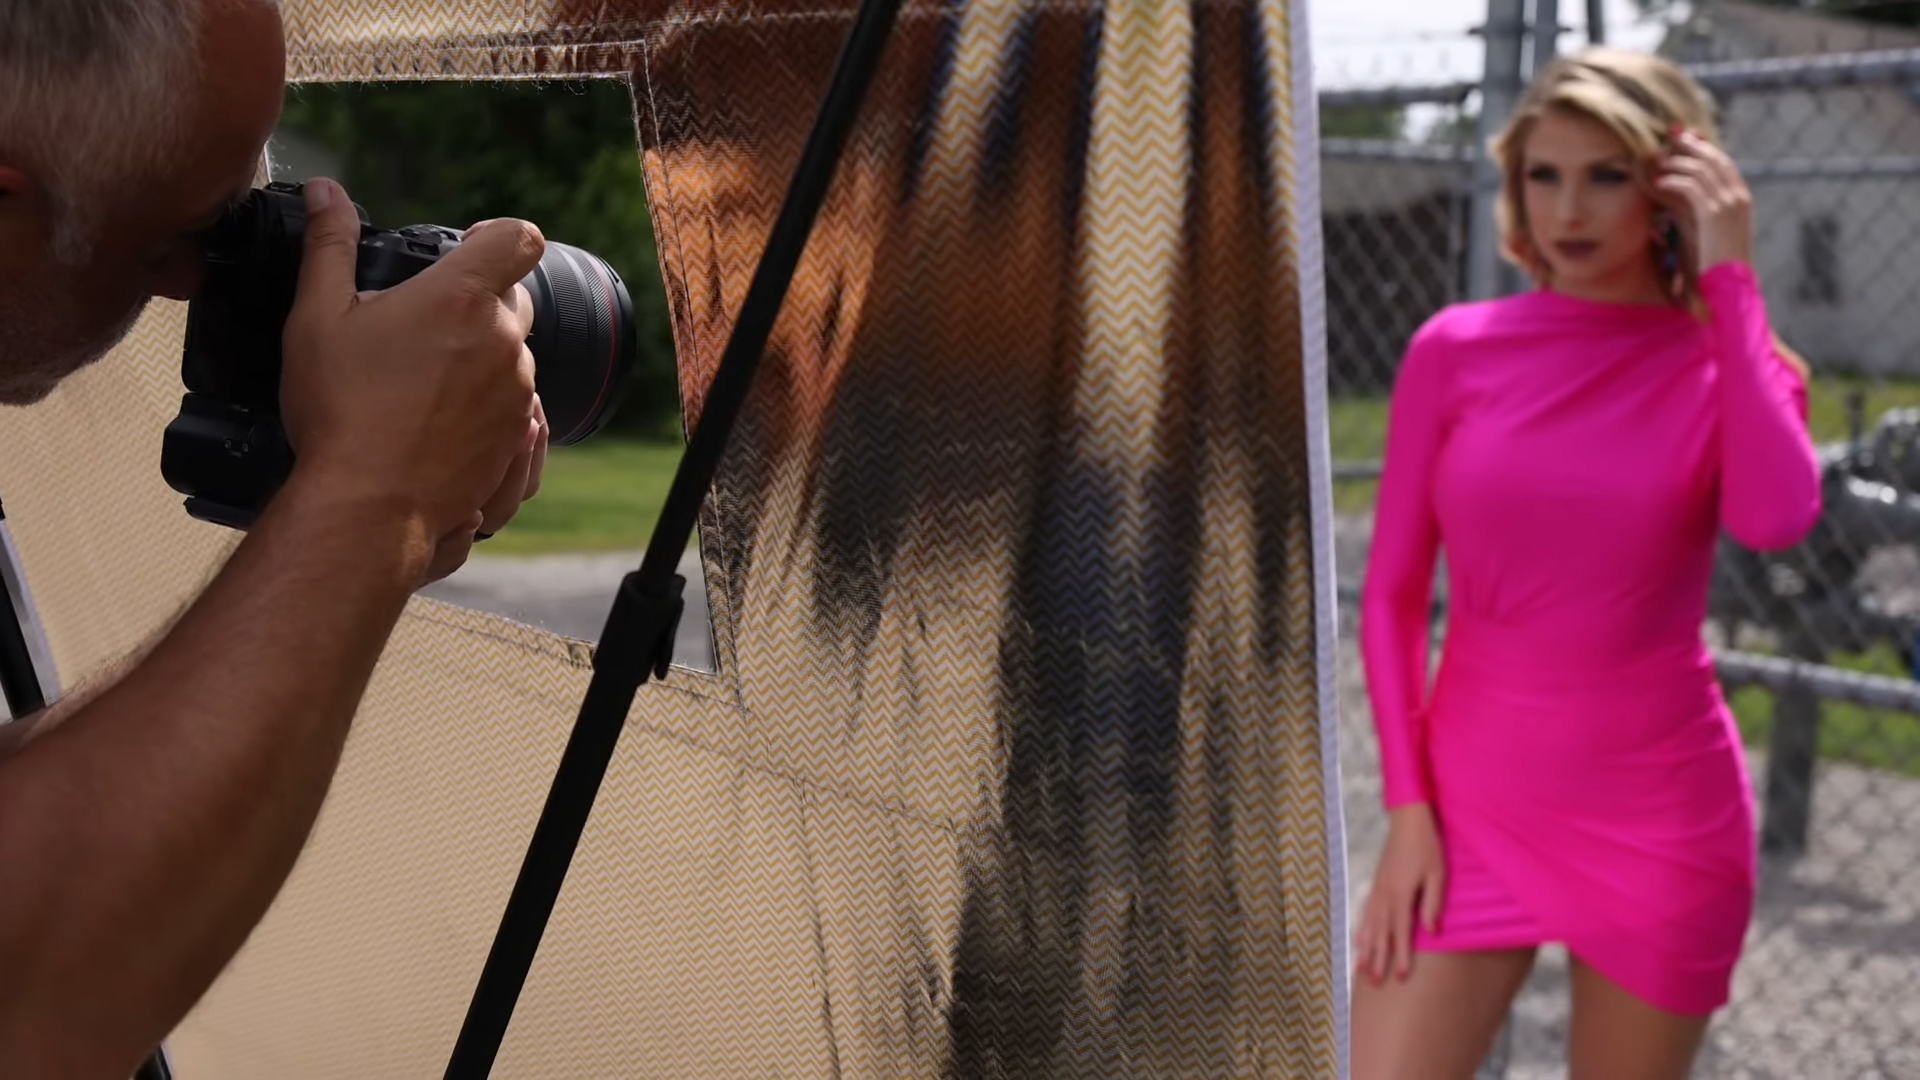
What’s up everyone? My name is Sal Cincotta. Today we’re on location outside my studio. It’s an overcast, hazy kind of day, but as you can see, lighting is not looking pleasing. I don’t want to have studio strobes with me. I don’t want to have to worry about getting light dialed in or changing as the sun’s coming in and out of the clouds, so we’re going to use a reflector today for our main light source and we’re going to be able to move quickly and easily to get some really killer portraits. So let’s get to it.
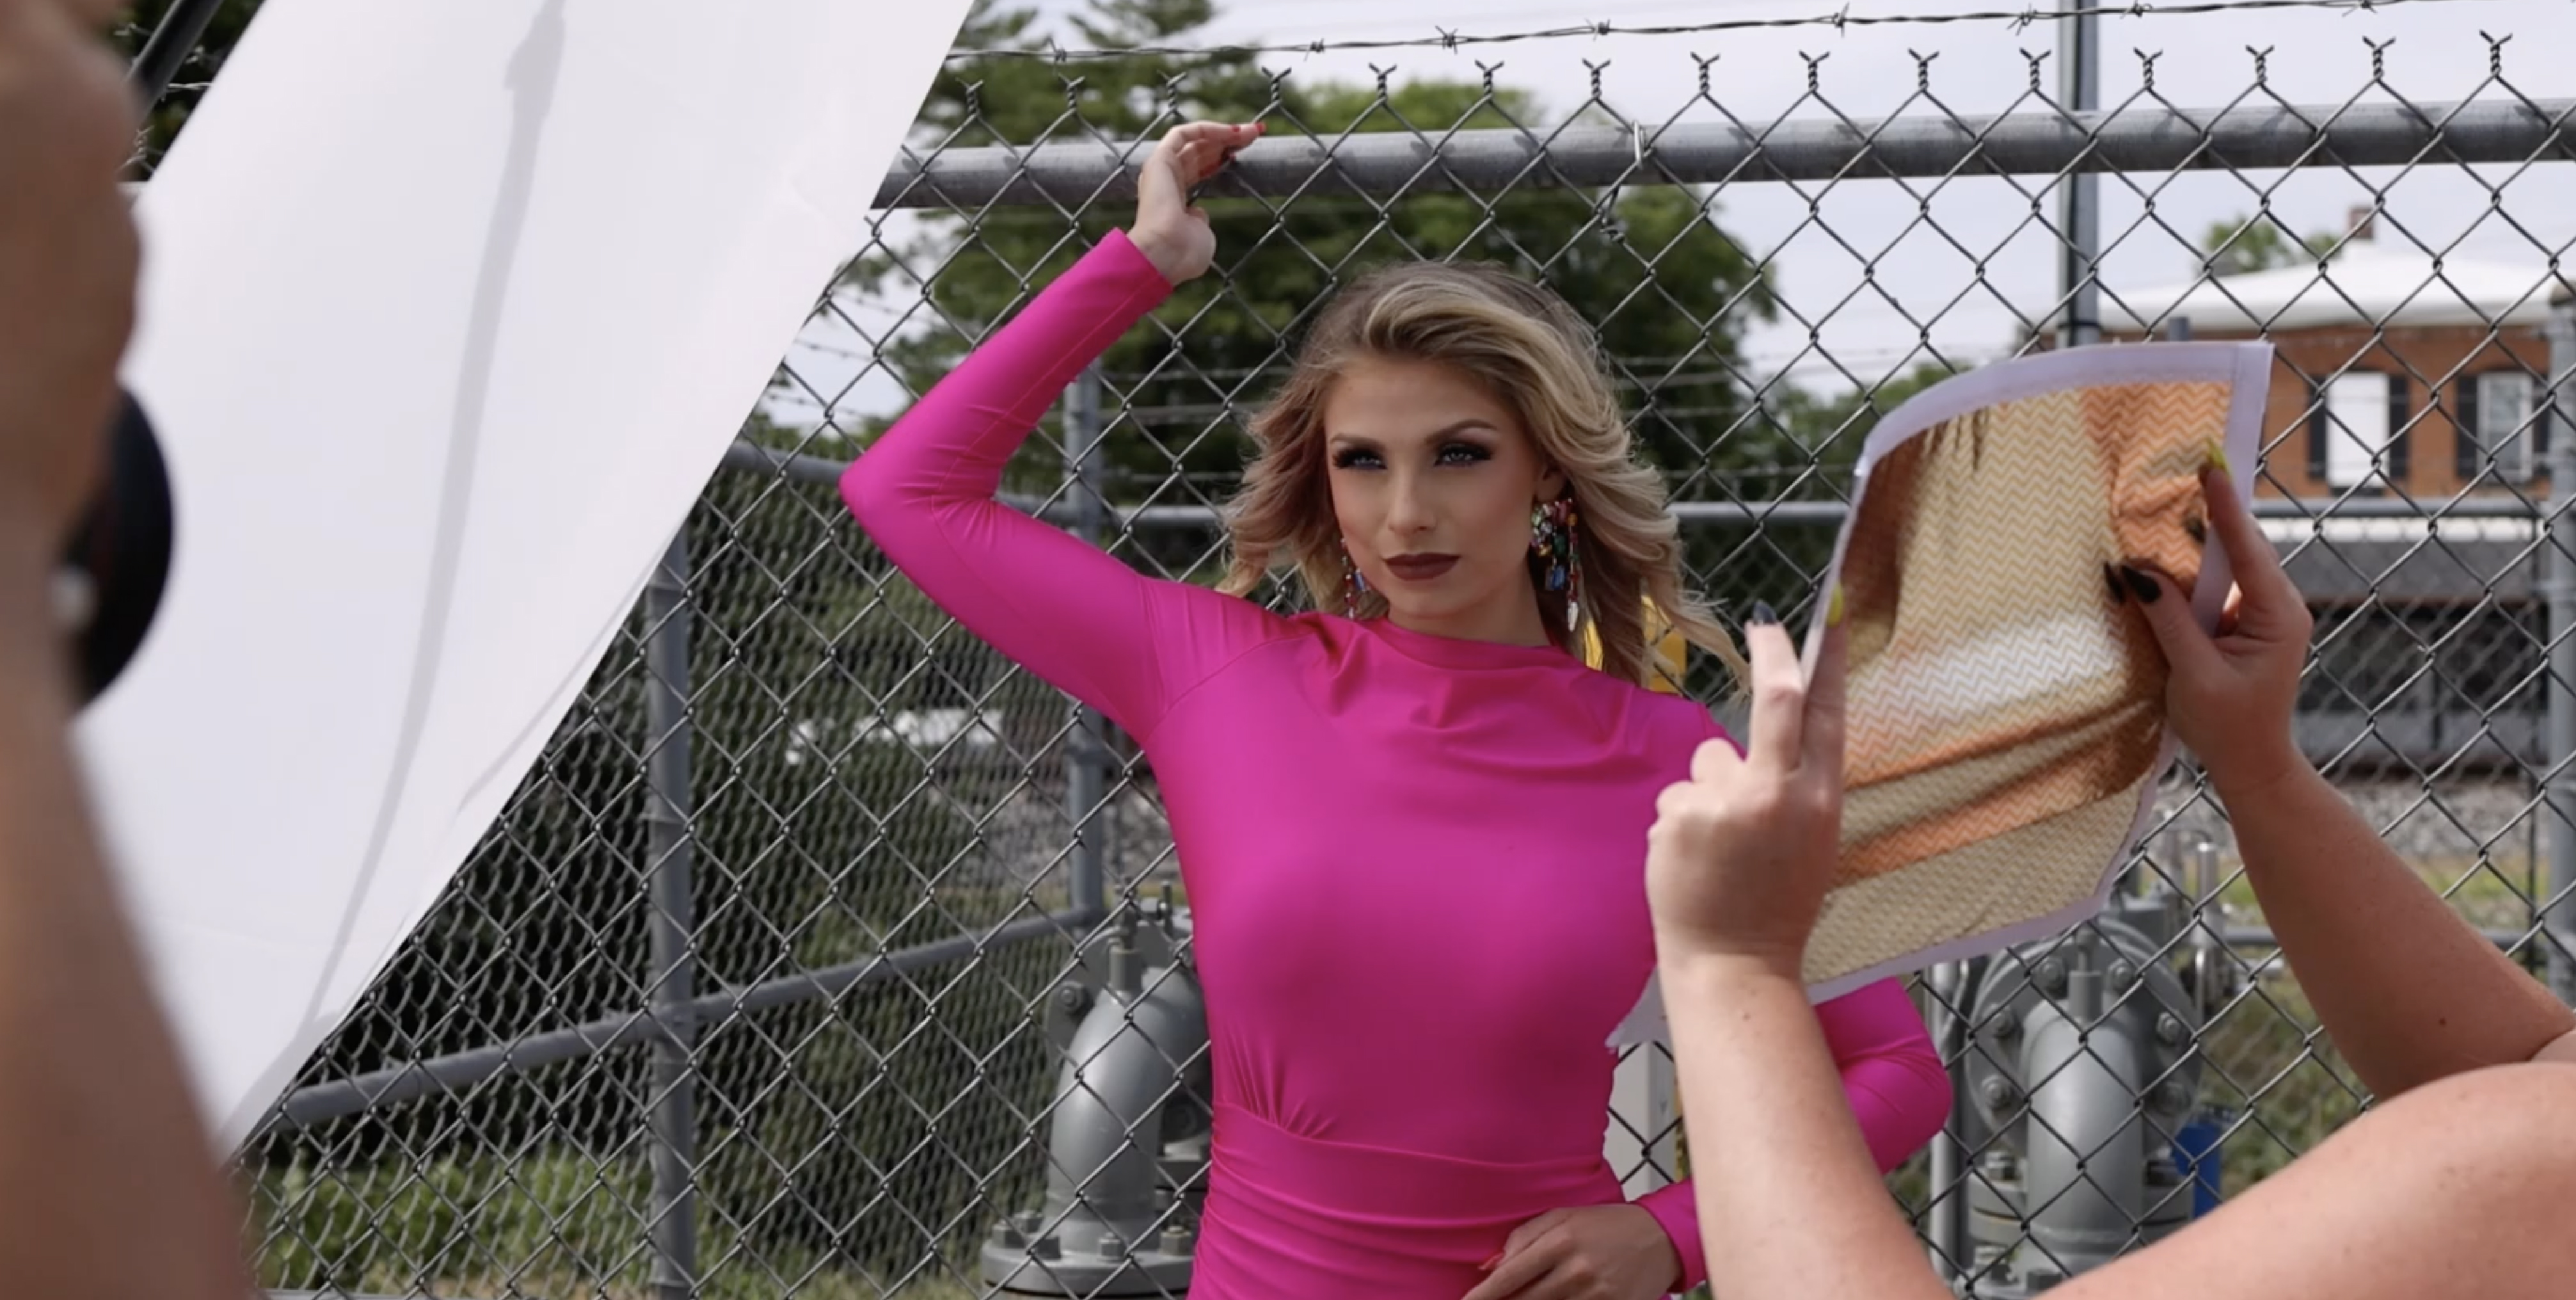
All right, so for this we’re using the fusion, jointly created by myself, of course, and Westcott. What I was looking for was something that would give a little bit more coverage for full body when you’re out in the field, versus a circular reflector. I needed something that would be able to stand somewhat on its own.
Now a lot of people have asked questions about wind and the fusion. It’s a windy day out. Like any reflector, even a round one, will take off with your assistant connected to it. So this is no different as well. I’d say we’re at 10 plus mile an hour wind. I’m setting this up by myself and it’s got stakes, so if it gets super windy, we’d be able to put stakes in the ground. I want to get rid of this bad light. So, even if it was hard light—direct sun, meaning no clouds, no overcast, no diffusion—I would always turn my subject so the sun is behind them, giving them a nice edge light. Then I’d use a reflector to fill.
So from that perspective, you can use any reflector you want, but that’s how you’re going to fill back in so that they have even light. What you don’t want to do is have light coming in from one direction, where one side of their face is bright and the other side is dark. A reflector or strobe is going to be very difficult to fill all that in. So always put the light behind your subject and then fill with flash or reflector. Of course, today we’re using a reflector.
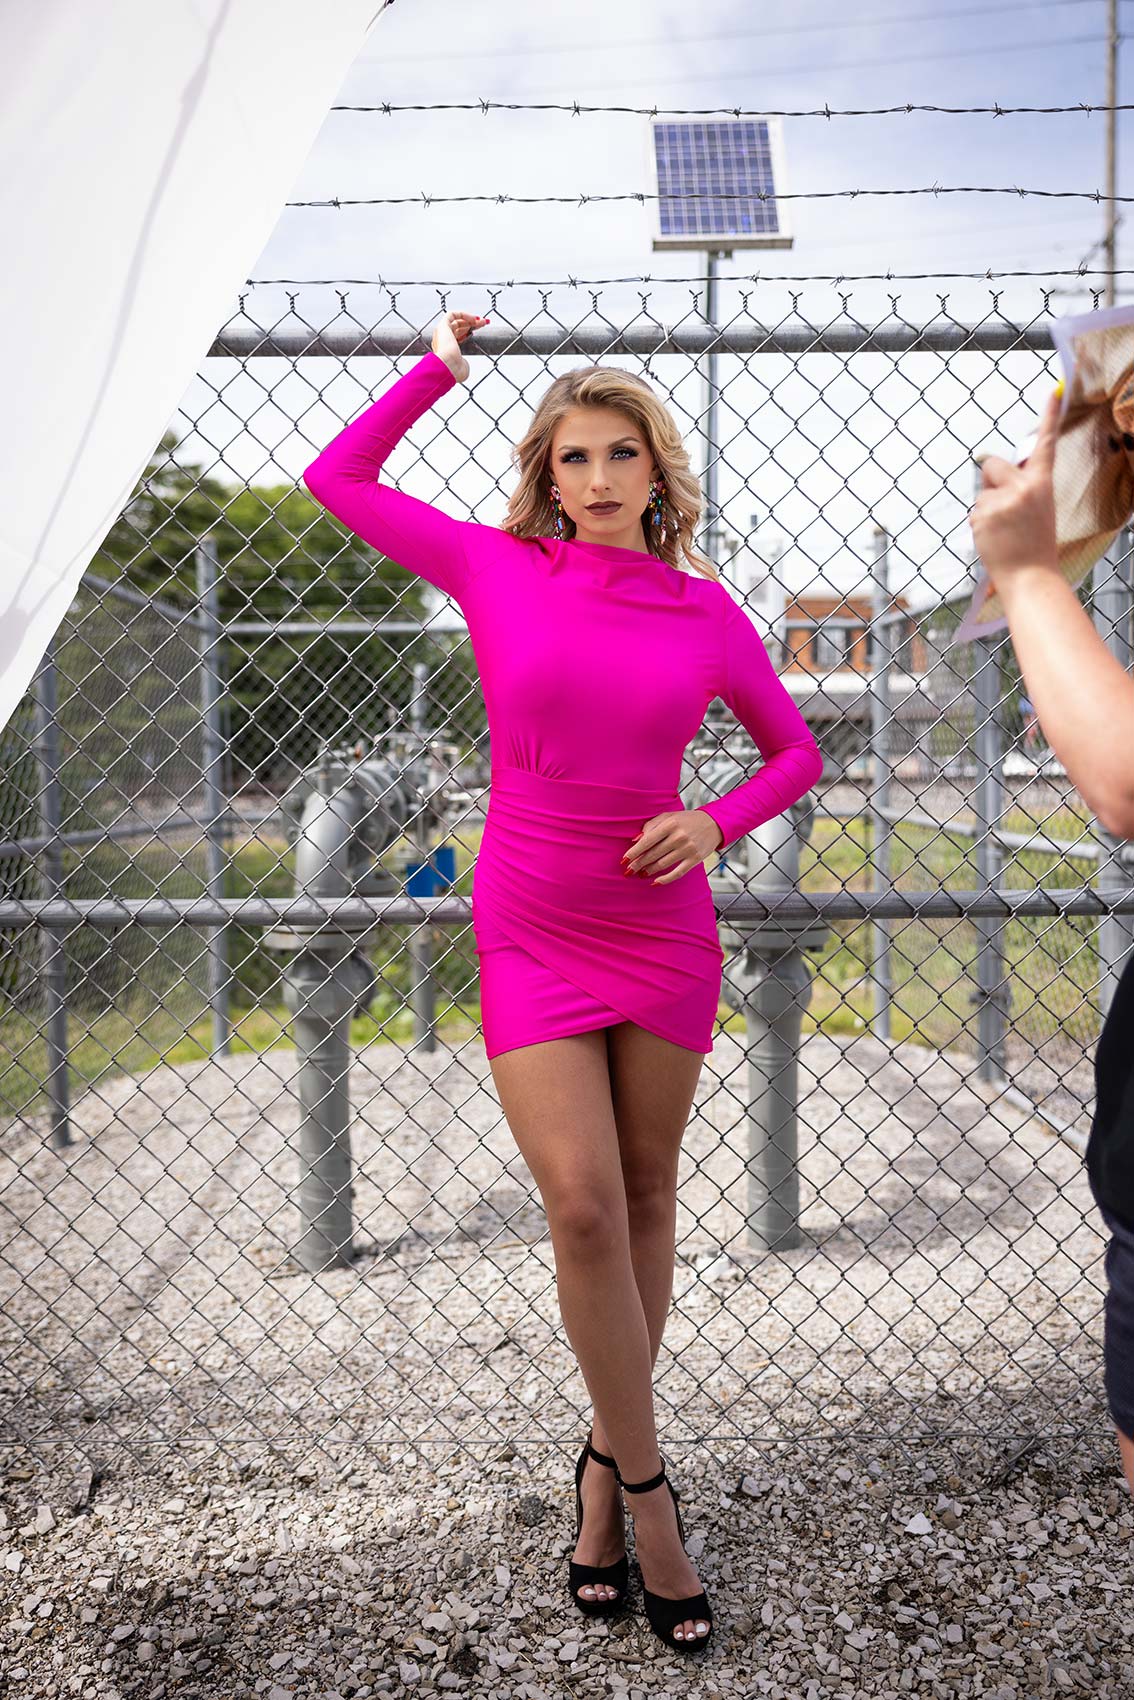
All right, so the wind is picking up a little bit, I’m going to put a stake on the bottom. We’ve got a stake in the ground, and we are tightening this up. It’s giving us some really good light on her, and that stake’s in a holder. I’m glad it’s windy. This way, you can get a sense of what that stake is going to do.
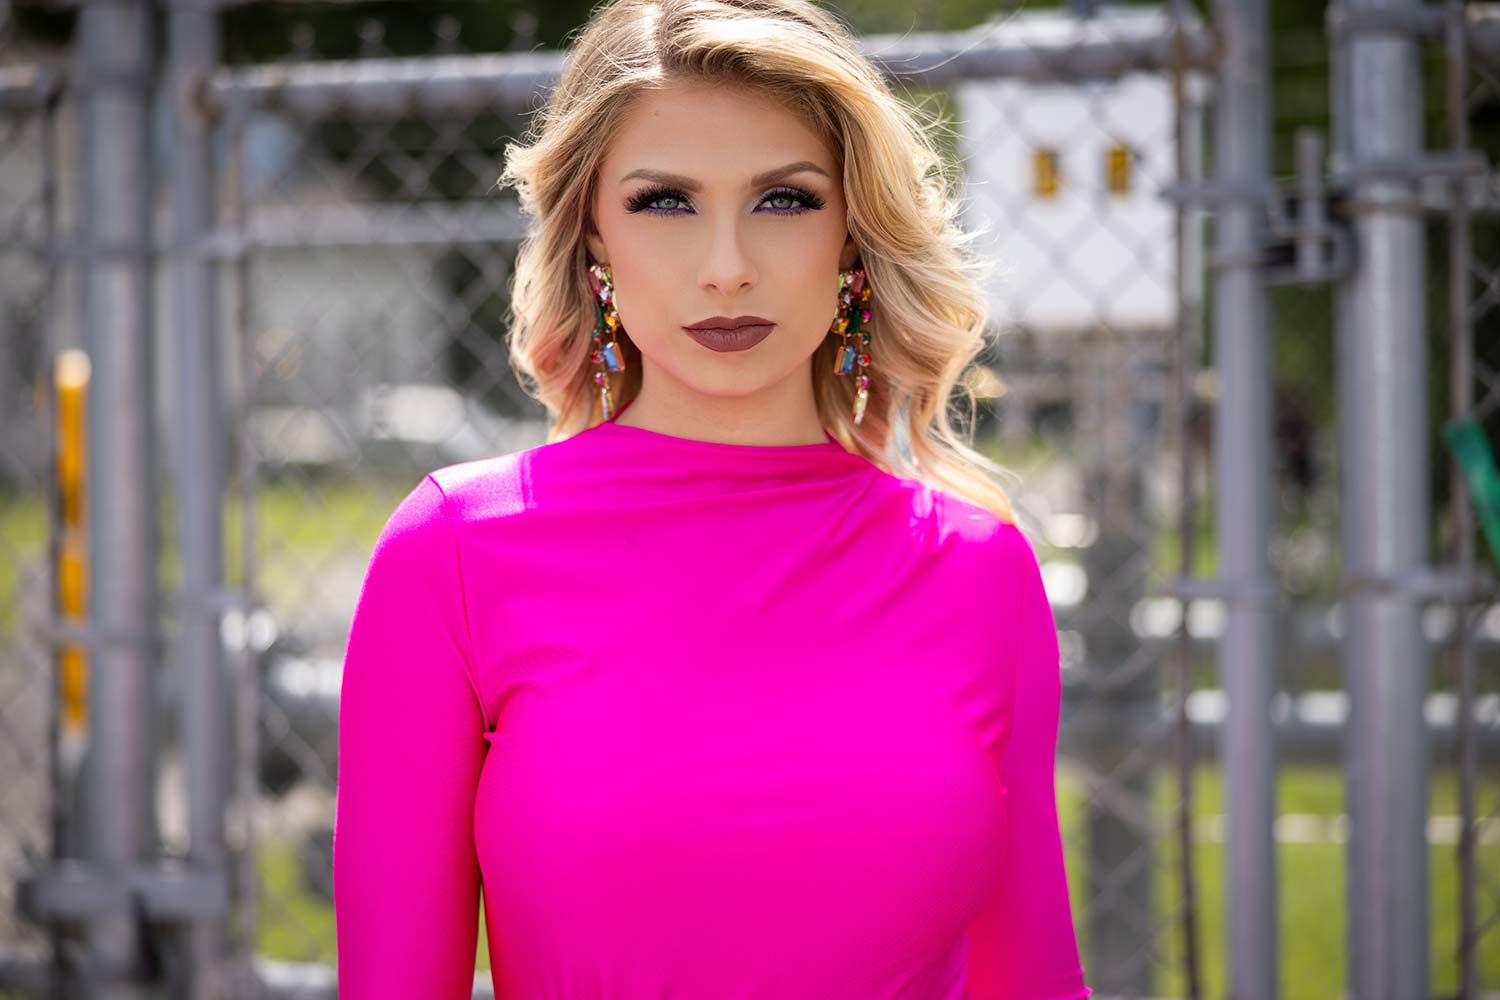
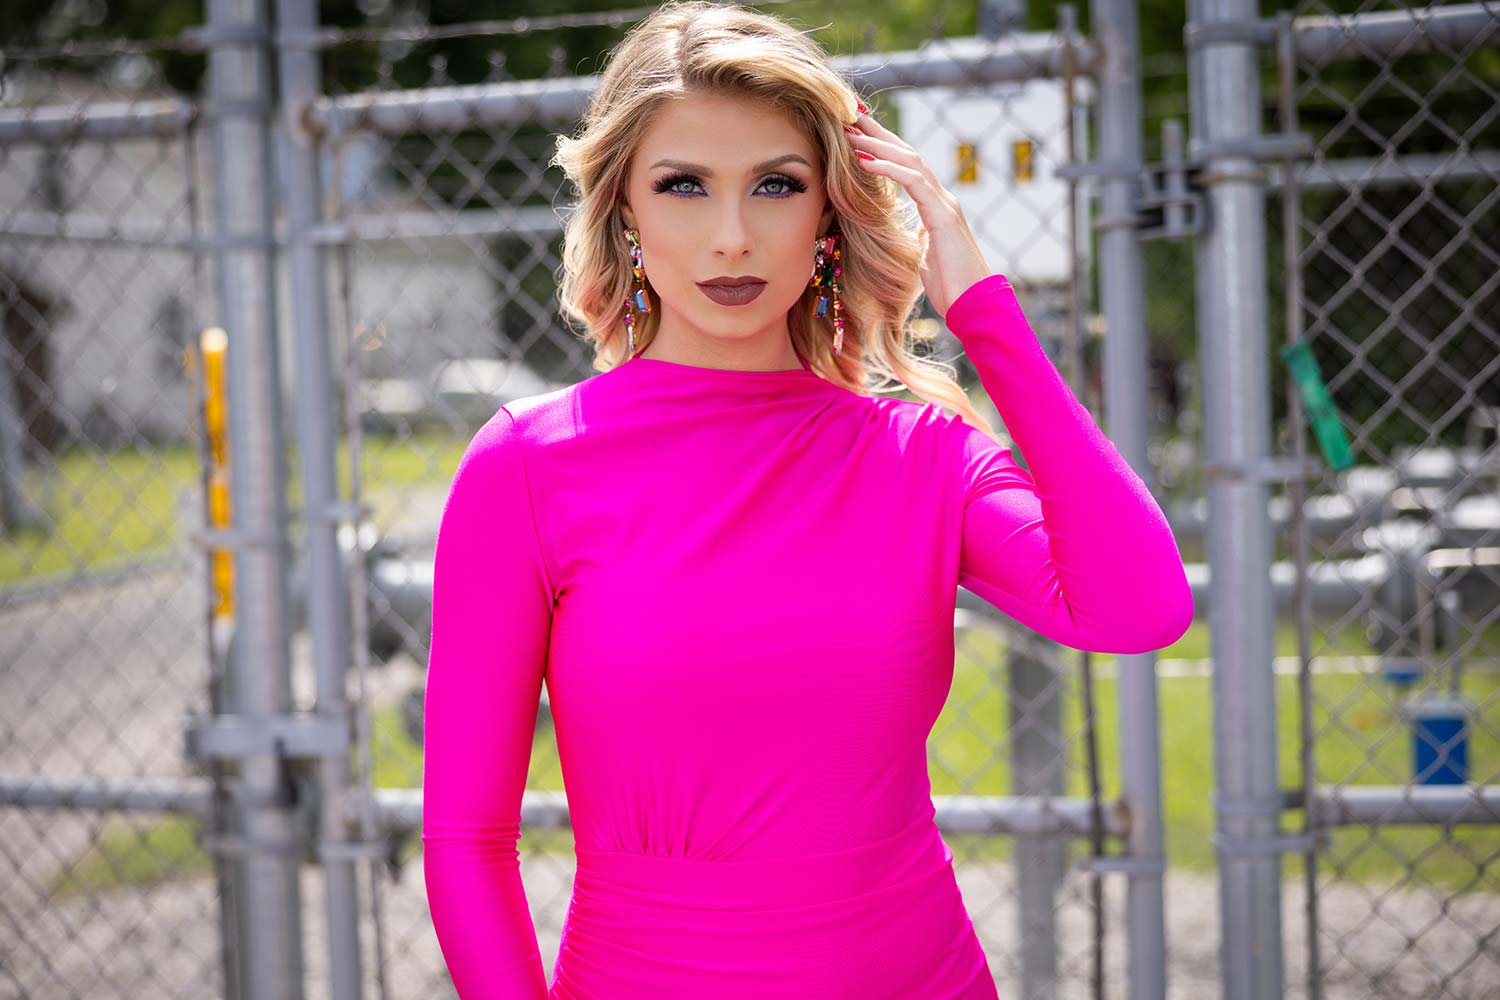
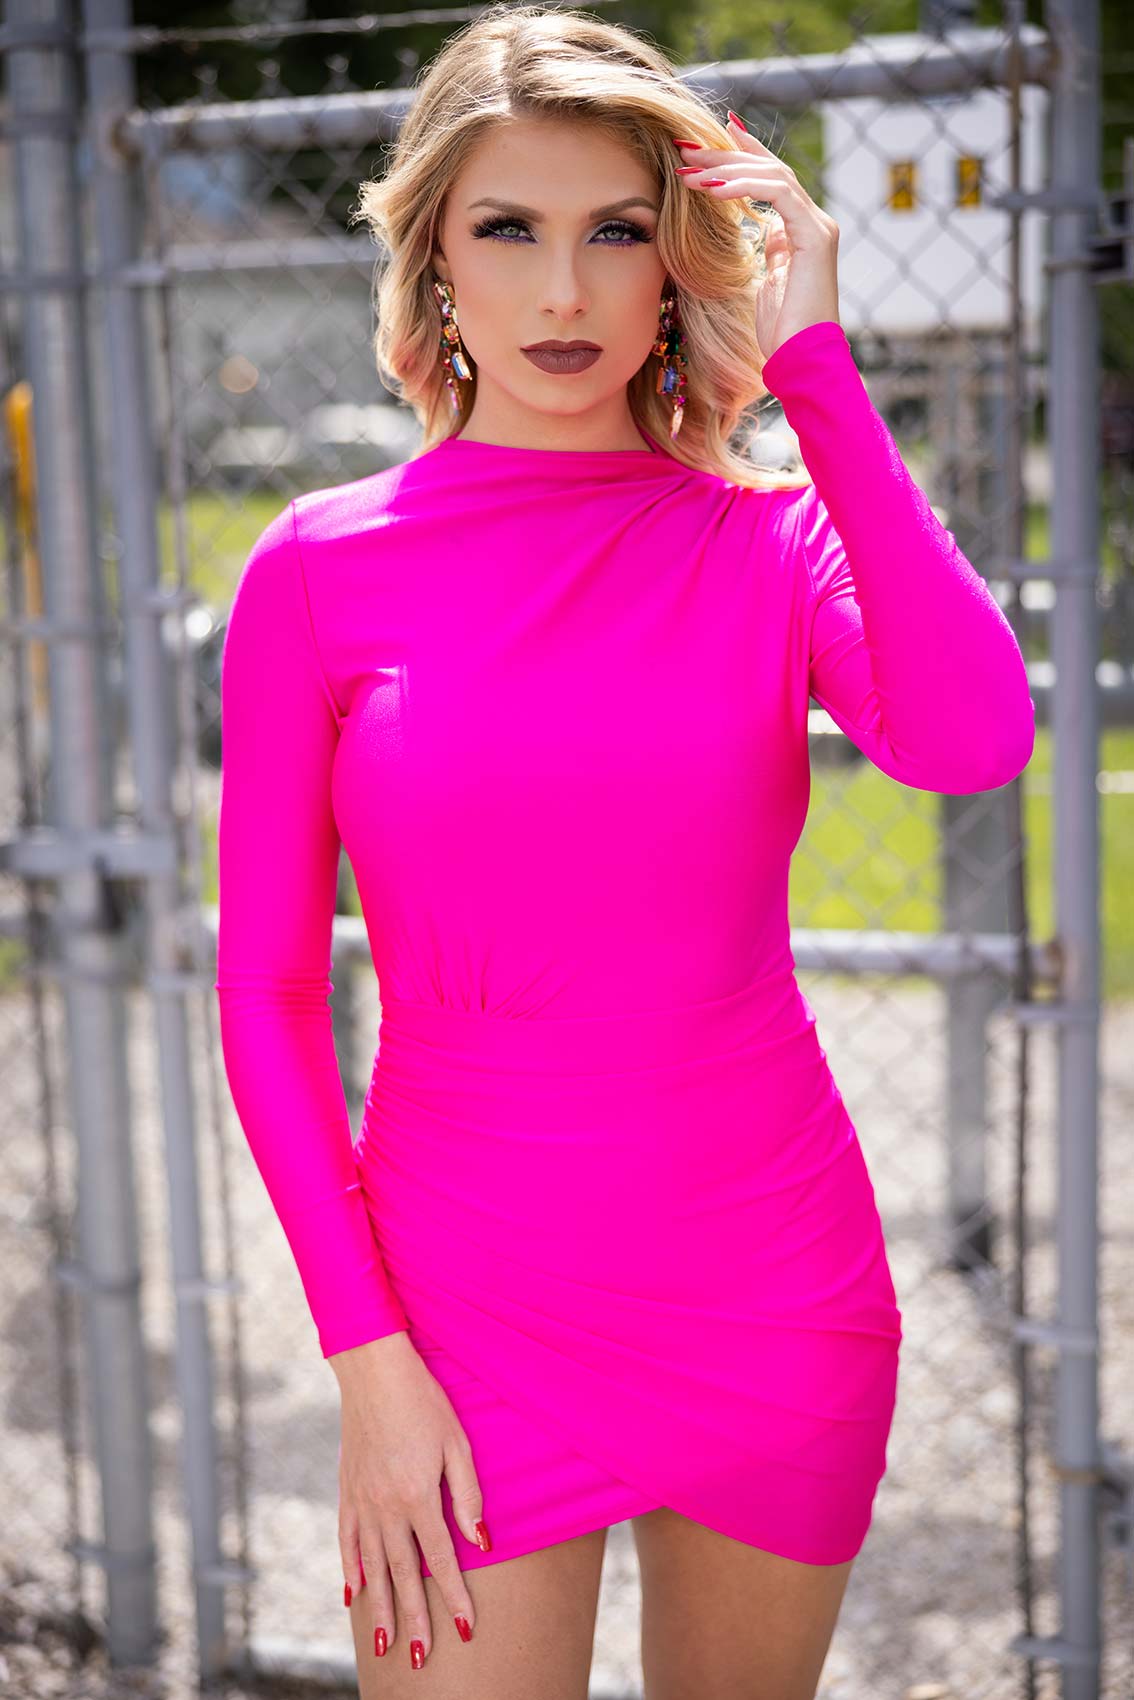
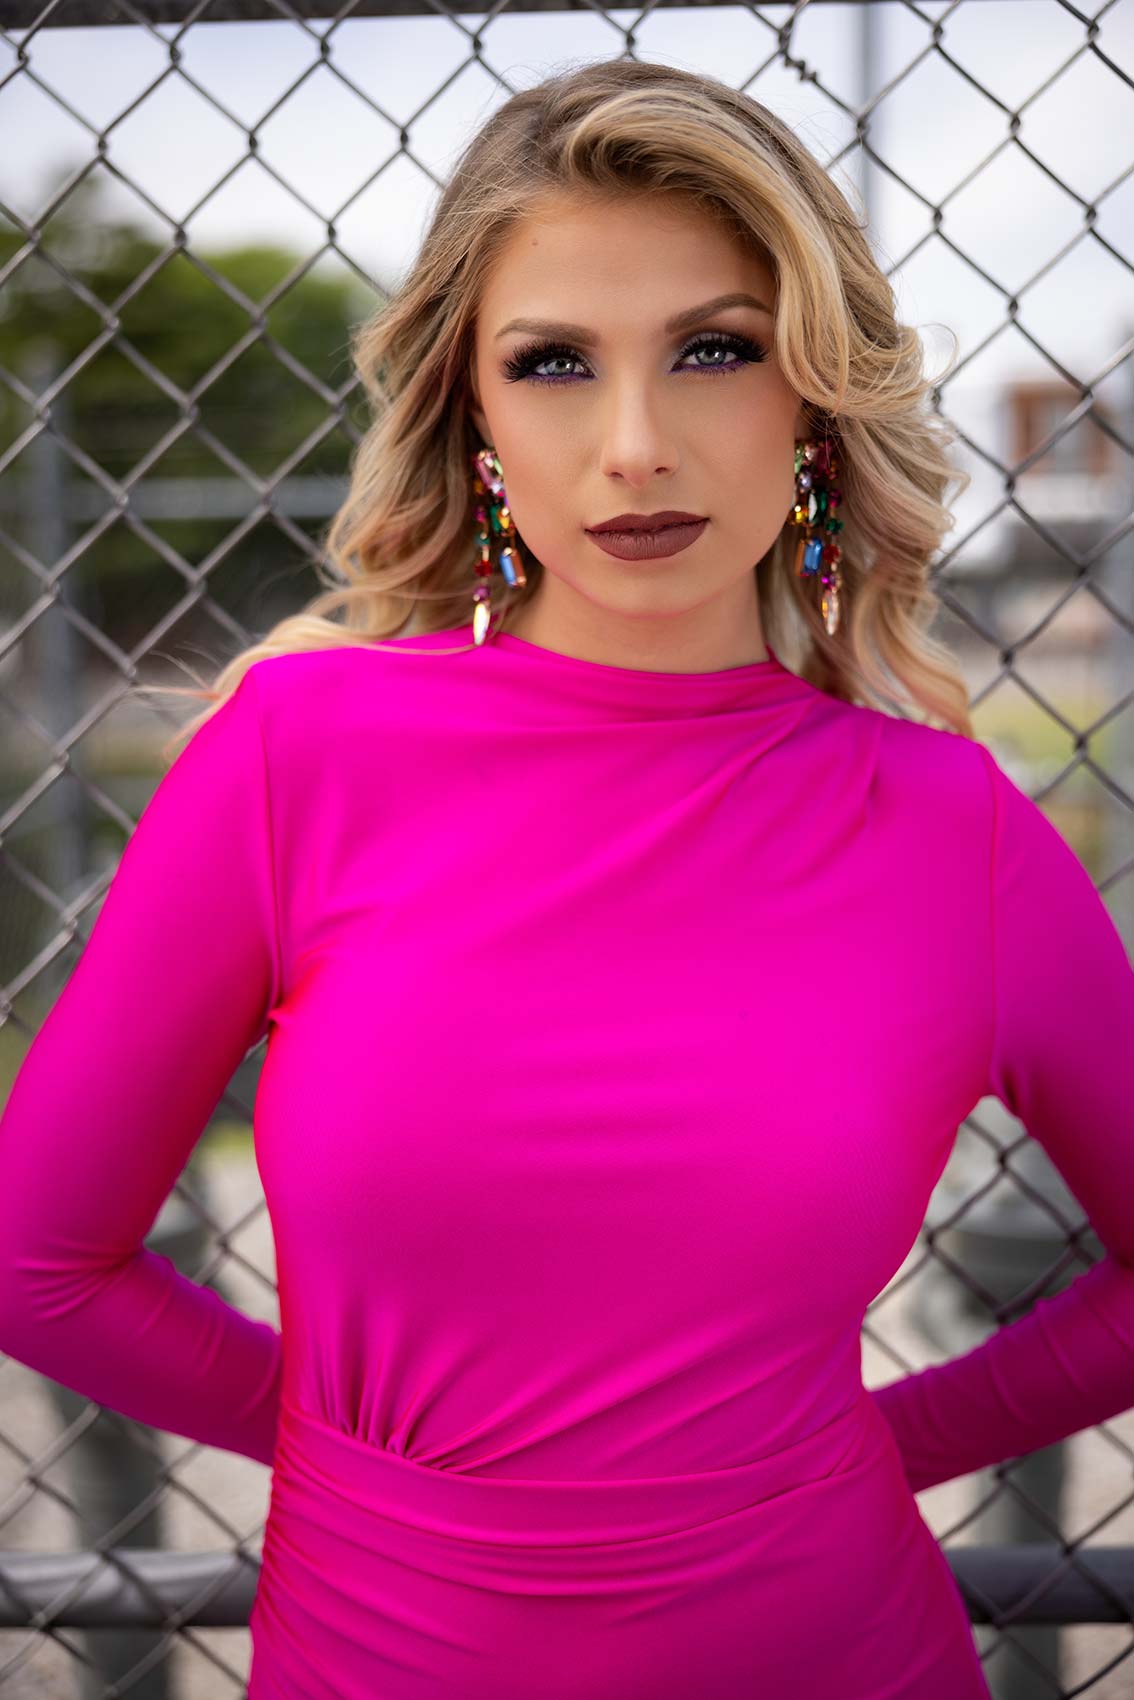
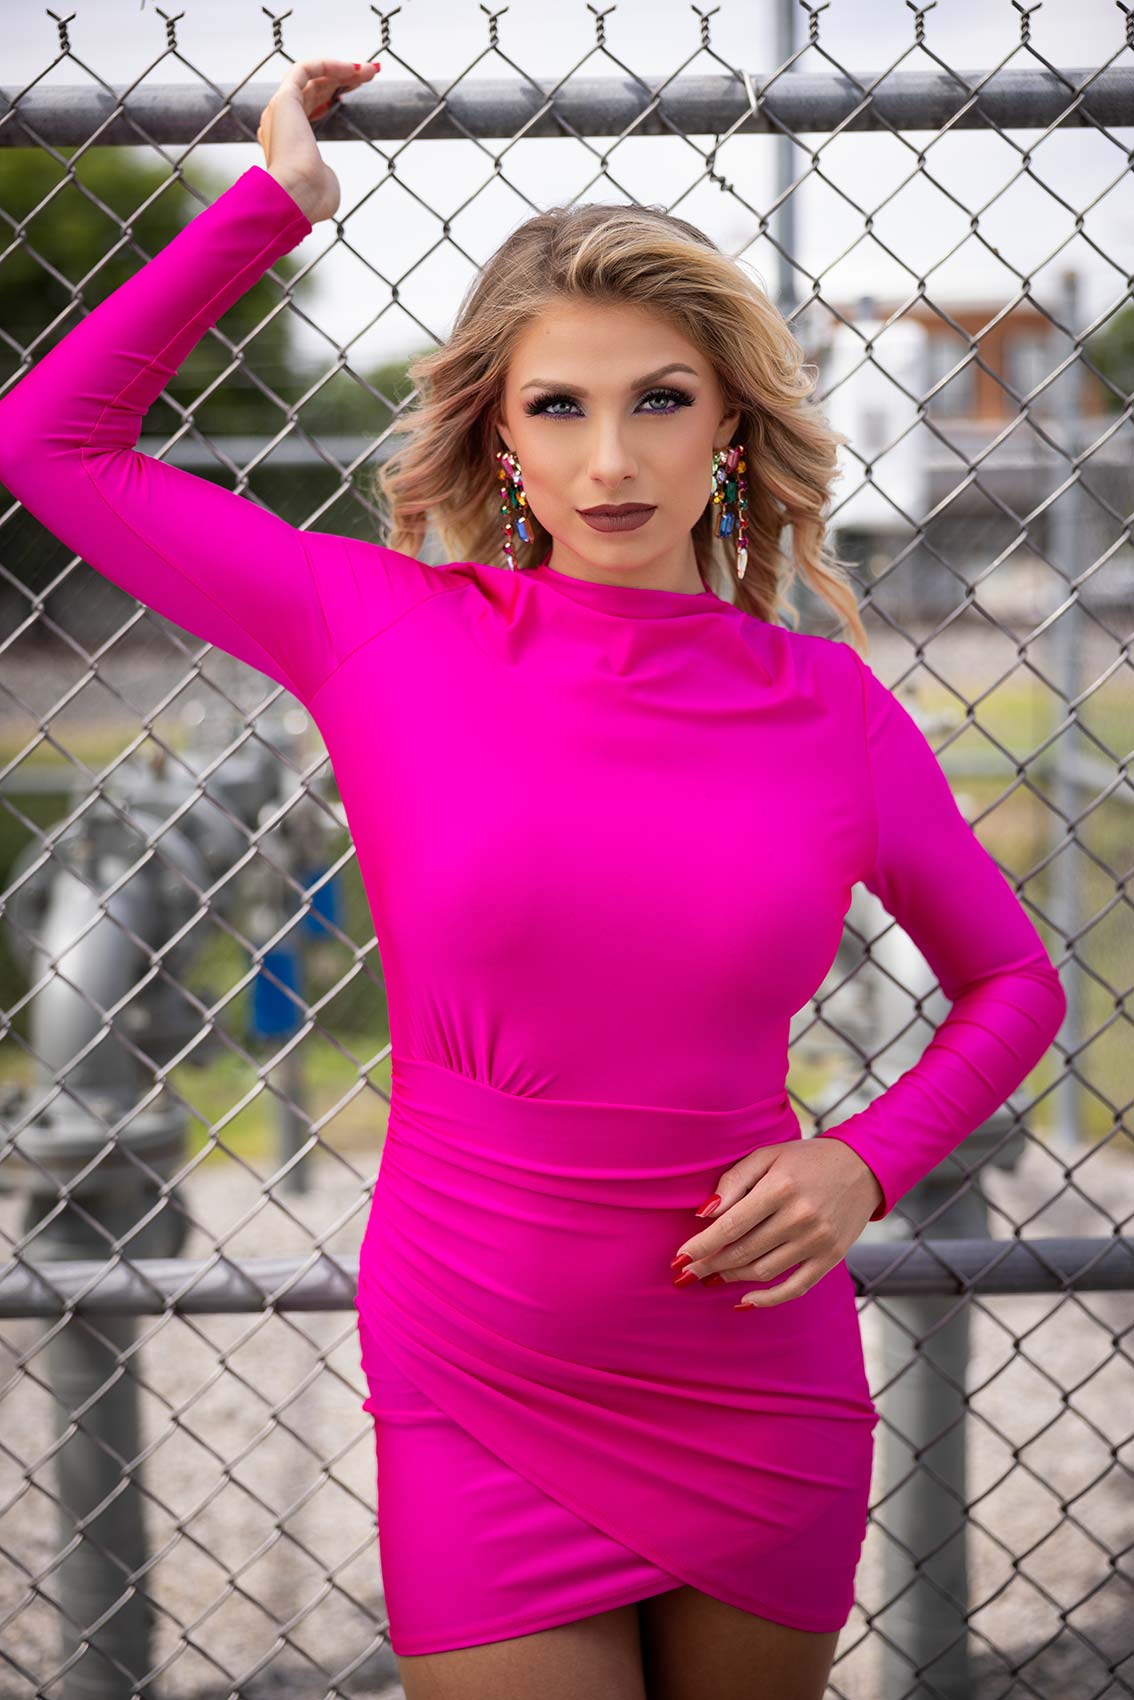
So we are getting some incredibly good light on her, and I love this environment. You can really see those catchlights.
We’re shooting with the light a little bit directional off to the side of her, but now I really like that it’s got this peekaboo in the fusion right through here. I didn’t name it ‘peekaboo,’ but it plays well. So we’ll use the peekaboo here.
And again, it’s a windy day. You see this moving, and you see the stake holding it in the ground. So it couldn’t be a better testament to the design here. Yeah, it’s going to move a little bit on you, but that’s the point of the stake, right? That it’s going to hold it down for you.
All right, so what we’re doing now is we’ve converted it into a scrim. It is windy out, and it’s grabbing it again. That is natural; it’s going to happen. I will tell you, this is easier to control than a five-in-one reflector from a scrim perspective, just because of the leverage you have with the way you’re holding it. So now I want to shoot with this and get diffused soft light. Let’s see what that looks like.
First, let’s take a look at this reflected light. Let’s see what you’re looking like here. So we’re jimmy-rigging this a little bit, using this square as a reflector to push light into her eyes, and it’s making a huge difference.
All right, everybody, that’s a wrap. Now, we probably didn’t choose the best day to come outside with a reflector, but as you can see, you can still do it, get great images, and work quickly and easily to make some magic. So don’t overcomplicate your lighting; sometimes all you need is a reflector, a scrim, and you can make some killer shots. We’ll see you in the next video.

