One Light Magic with Michael Corsentino
Want more information on this article? Get access to video content and additional supporting images. Launch the June issue of the magazine by logging in or signing up for a free account by clicking here. Shutter Magazine is the industry’s leading professional photography magazine.
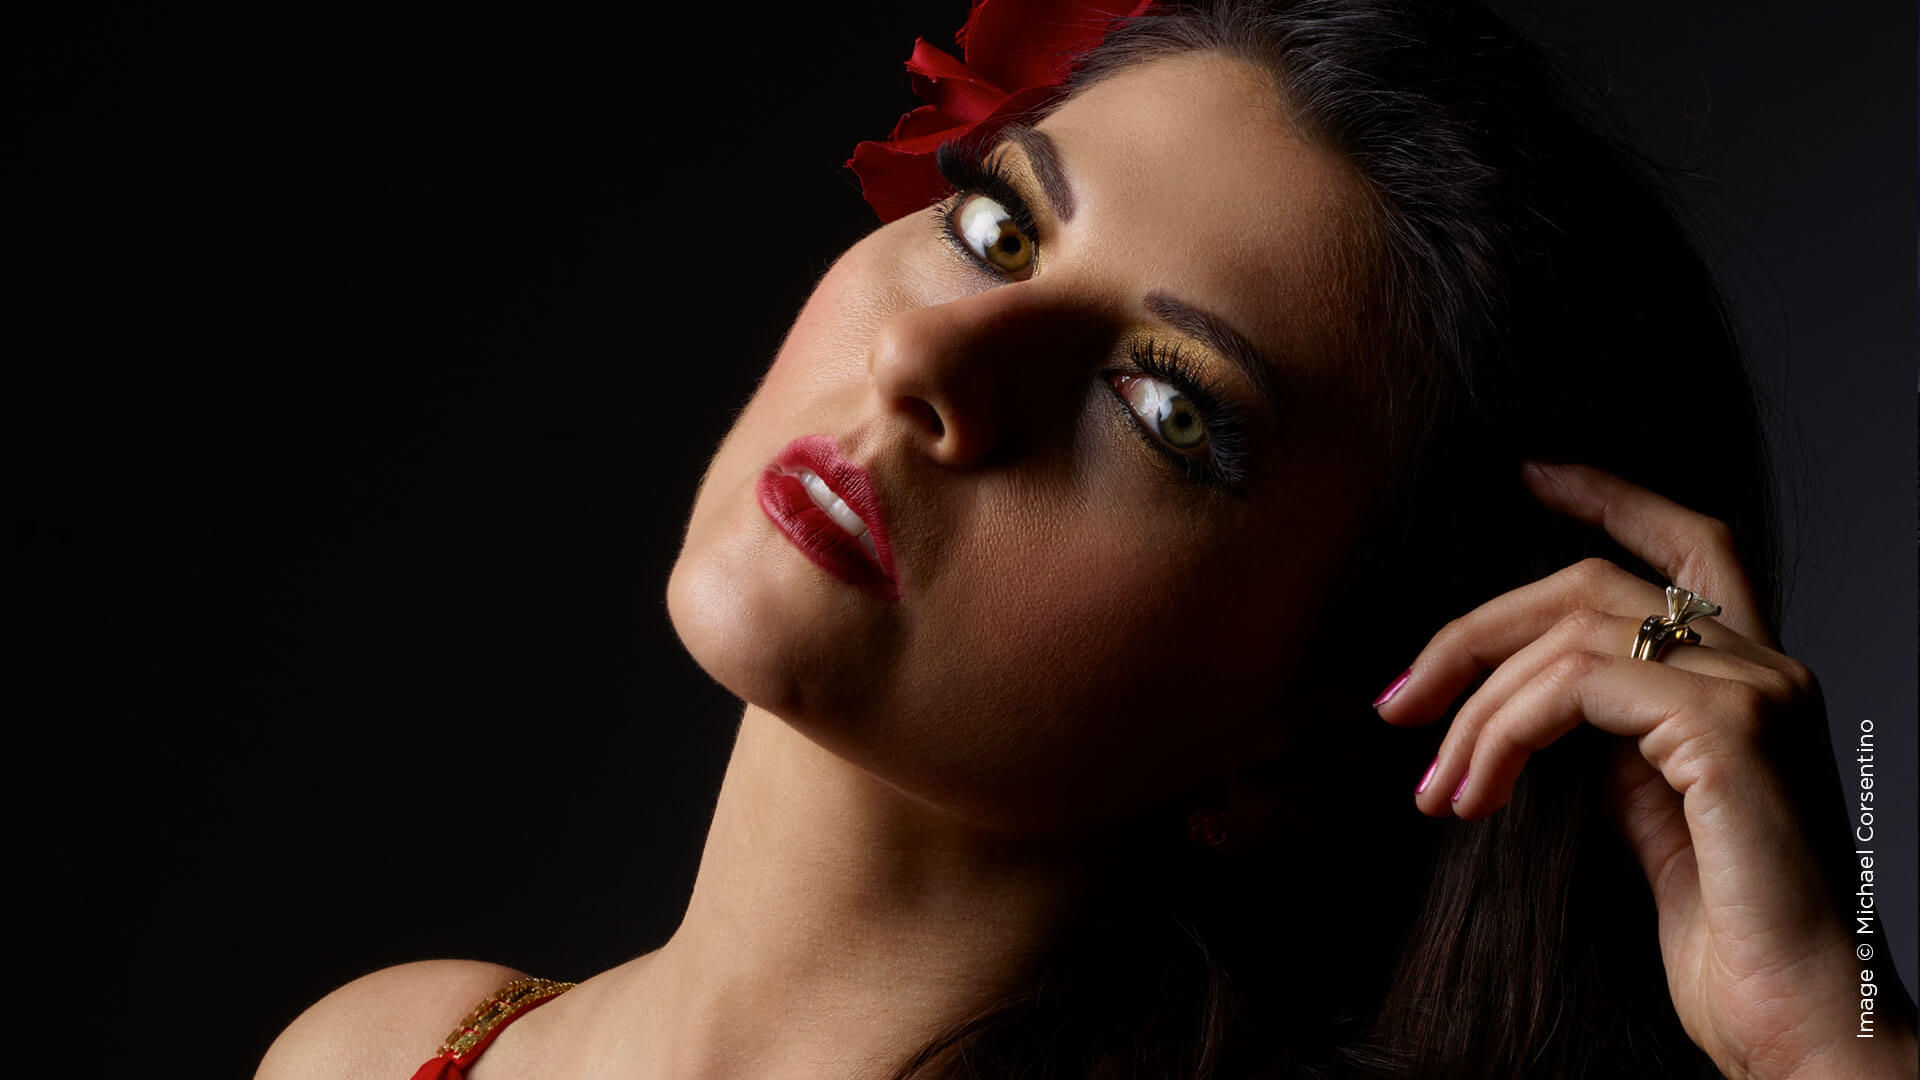
This month I use the test images from my One Light Magic class I taught at ShutterFest 2017 to show you how to get the most juice out of one light. Each was produced using only one light and a range of modifiers. This was one of my most popular classes, especially among beginners, since most of us start with one light.
Whether you’re using one light or six, strobes or speedlights, the same basic principles apply. Before we dive into the sample images and the modifiers used to achieve them, we need to talk about the four basic principles of light: quantity, quality, direction and distance. Let’s look at each.
Quantity of Light: This is the volume of artificial light you contribute to the exposure. If you want more artificial light, what do you do? Turn up the power on your strobe. What if you want less artificial light? Turn down the power on your strobe. It’s really that simple. You can either control the strobe’s power setting manually like I do, or, if you’re shooting TTL, simply use your camera’s flash exposure compensation adjustment settings, typically +/–2 to +/–3 stops depending on make and model, to find your lighting sweet spot. That’s quantity of light in a nutshell.
Quality of Light: This is determined in large part by the modifier, and is often described with terms like soft light, hard light and specular light. Soft light creates gradual transitions between shadows and highlights. The basic rule of thumb is the larger the modifier and the closer it’s placed to your subject, the softer the light. Feathering the light, a technique used to further accentuate soft light, is another useful method. Here, the subject is placed slightly behind the modifier and illuminated entirely by its falloff rather than the harsher center hot spot.
When it comes to hard light, opposites apply. Here, the transitions between shadows and highlights should be rapid and crisp. Modifiers are typically small and placed farther away from the subject. The smaller the modifier and the farther away it is from your subject, the harder the light.
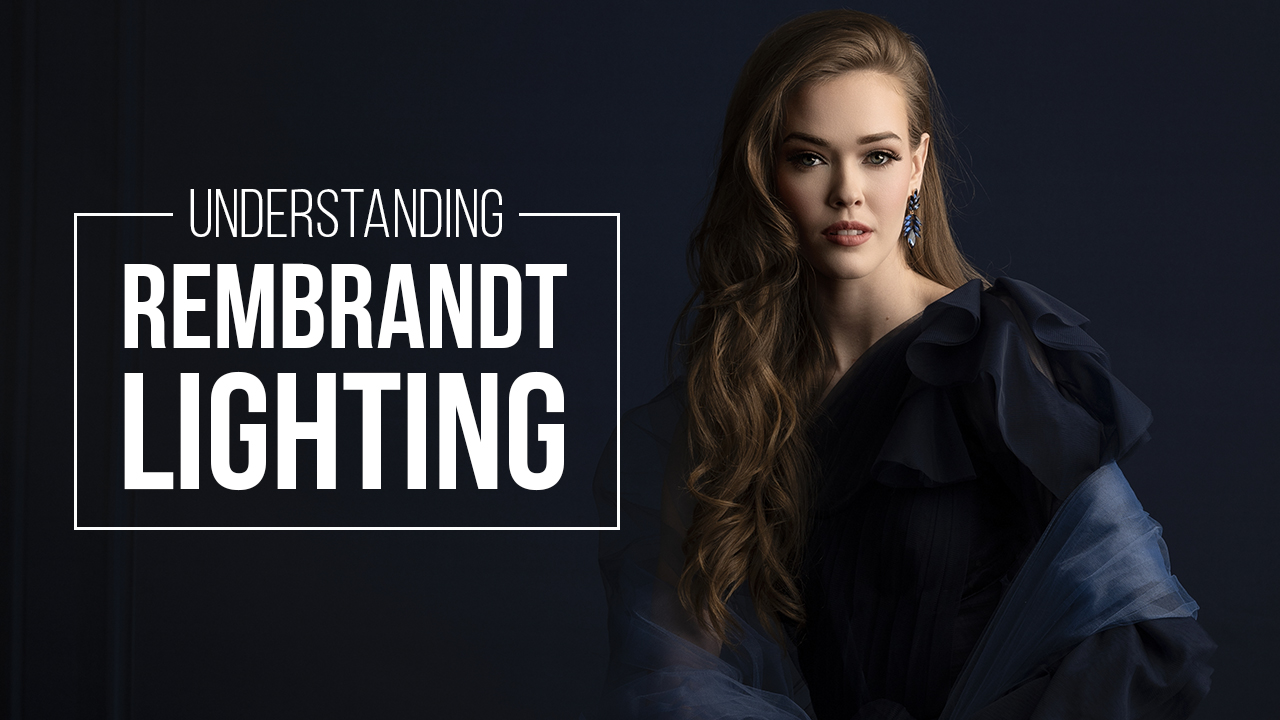
Direction of Light: This is the angle of light in relationship to your subject. Photography is light and shadow, so don’t be afraid of shadows. They create a sense of dimension, volume, shape and drama. Imagine your subject in the center of a large clock, facing the 12 o’clock position. You, your camera and your light are also positioned at 12 o’clock, facing them. As you move the position of your light left or right around the clock’s circumference, you begin to introduce shadow to the lighting pattern created on your subject. The farther to the side you place your light along the arc of that clock face, the more shadow you introduce. Starting at the 12 o’clock position, you get butterfly/Paramount light. Moving left or right 45 degrees, you’re positioned for Rembrandt and loop lighting. Farther to the side to the 3 o’clock or 9 o’clock position, you’re where you need to be for split light. Beyond that is where rim lights are positioned, typically somewhere between 1 to 2 o’clock or 10 to 11 o’clock. I’m providing two clock positions because, if you imagine a dividing line separating the right and left half of the clock face, they each work exactly the same way, producing the same effects. They can be used alone or combined to create more layered lighting.
Distance of Light: This is the distance of the light source from the subject. Distance plays a key role in hard and soft light. The sun is a massive light source, but it’s 93 million miles away. Without cloud cover to broaden and soften it, it’s a point light source. This is why the sun isn’t always dependable. The perceived size of a given light source in relationship to the subject is also relevant here. The perceived size (and effect) of a 2×2 softbox placed 15 feet from a subject is large. Take that same 2×2 softbox and place it 10 feet from the subject, and its perceived size becomes very small. This is important because, as we’ve learned with quality of light, size matters, both real and perceived.
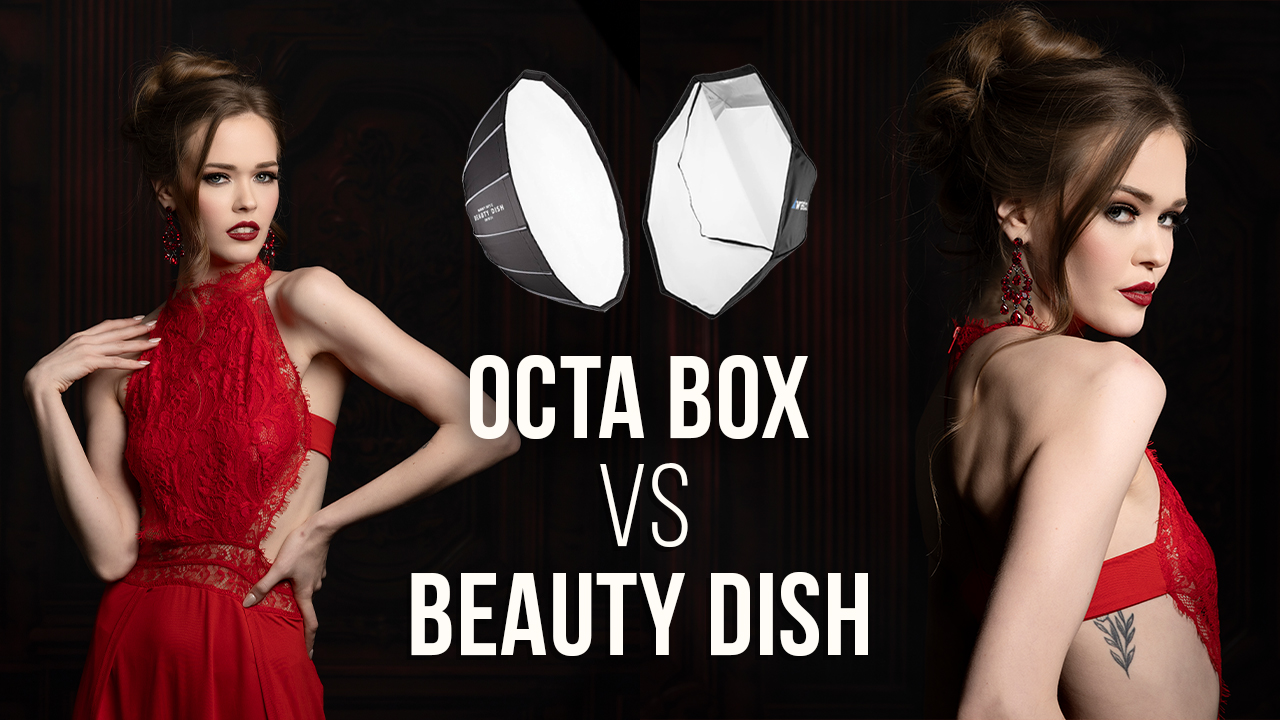
For the class, I highlighted three of the light modifiers I find most useful for a wide range of work: Mola Demi Beauty Dish, Elinchrom 74-inch Litemotiv Indirect Octa and Elinchrom 39-inch Deep Octa, along with their respective diffusion panels. I also showed examples of how useful grids can be for those working in tight spaces.
I’d love to hear from you. Hit me up on the ShutterFest Facebook page with your questions.
Want more information on this article? Get access to video content and additional supporting images. Launch the June issue of the magazine by logging in or signing up for a free account by clicking here. Shutter Magazine is the industry’s leading professional photography magazine.