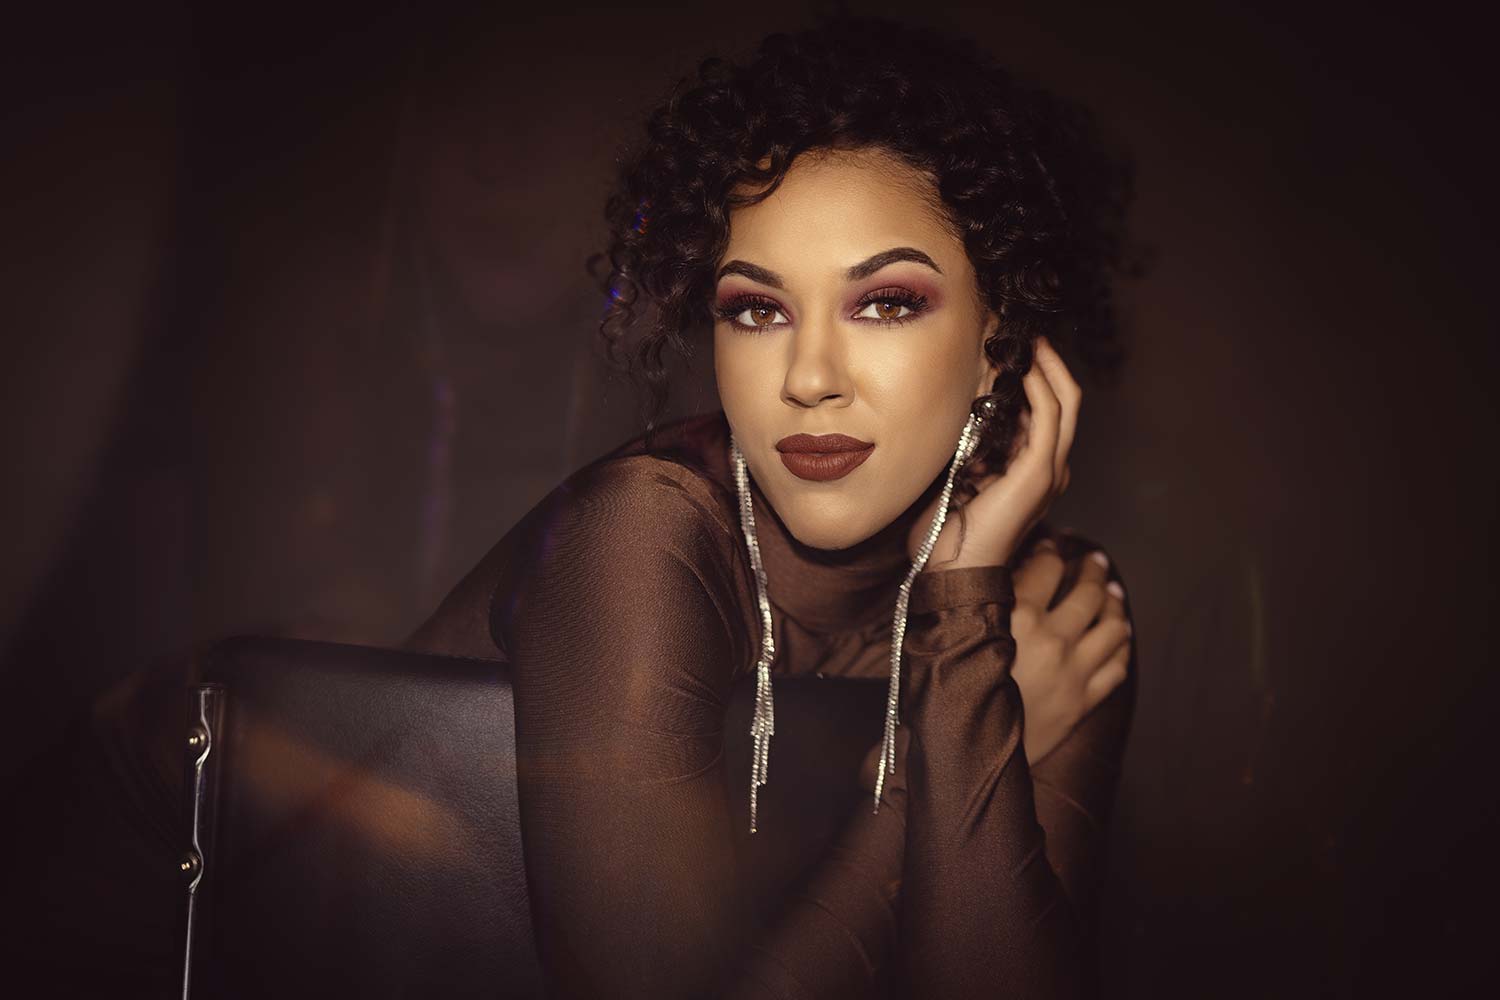
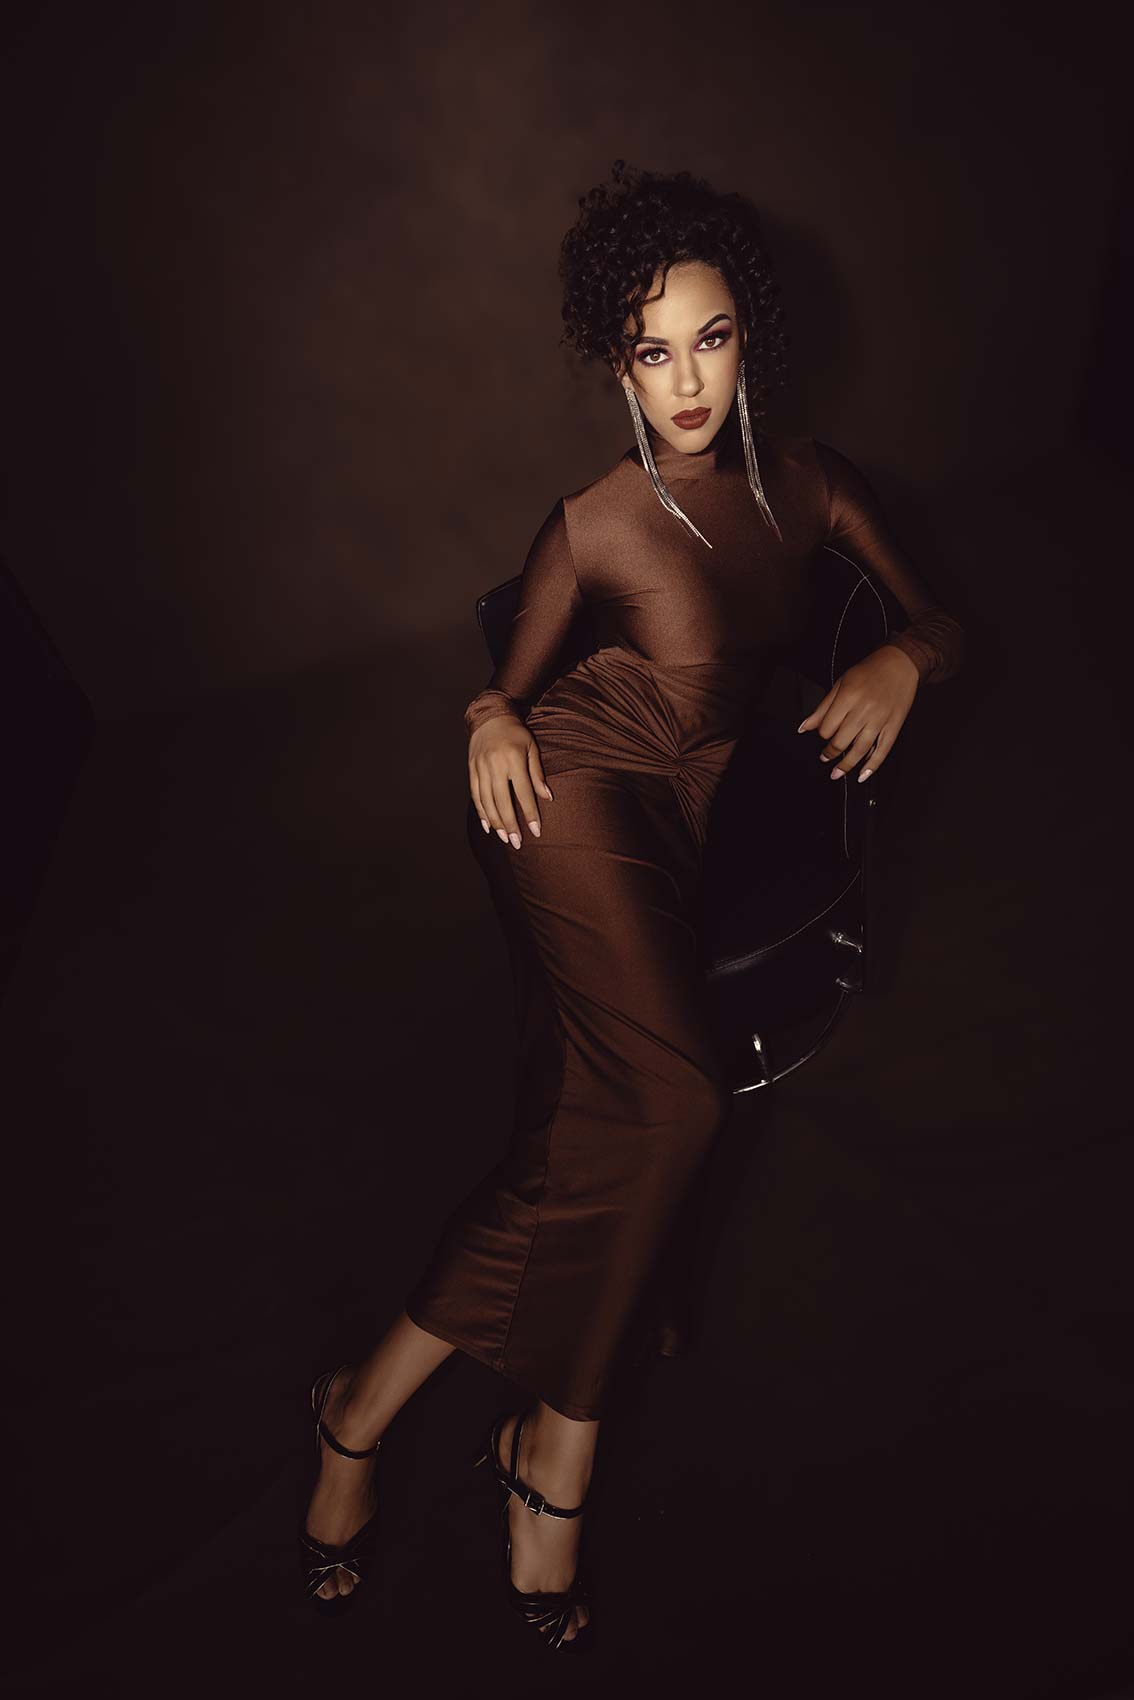
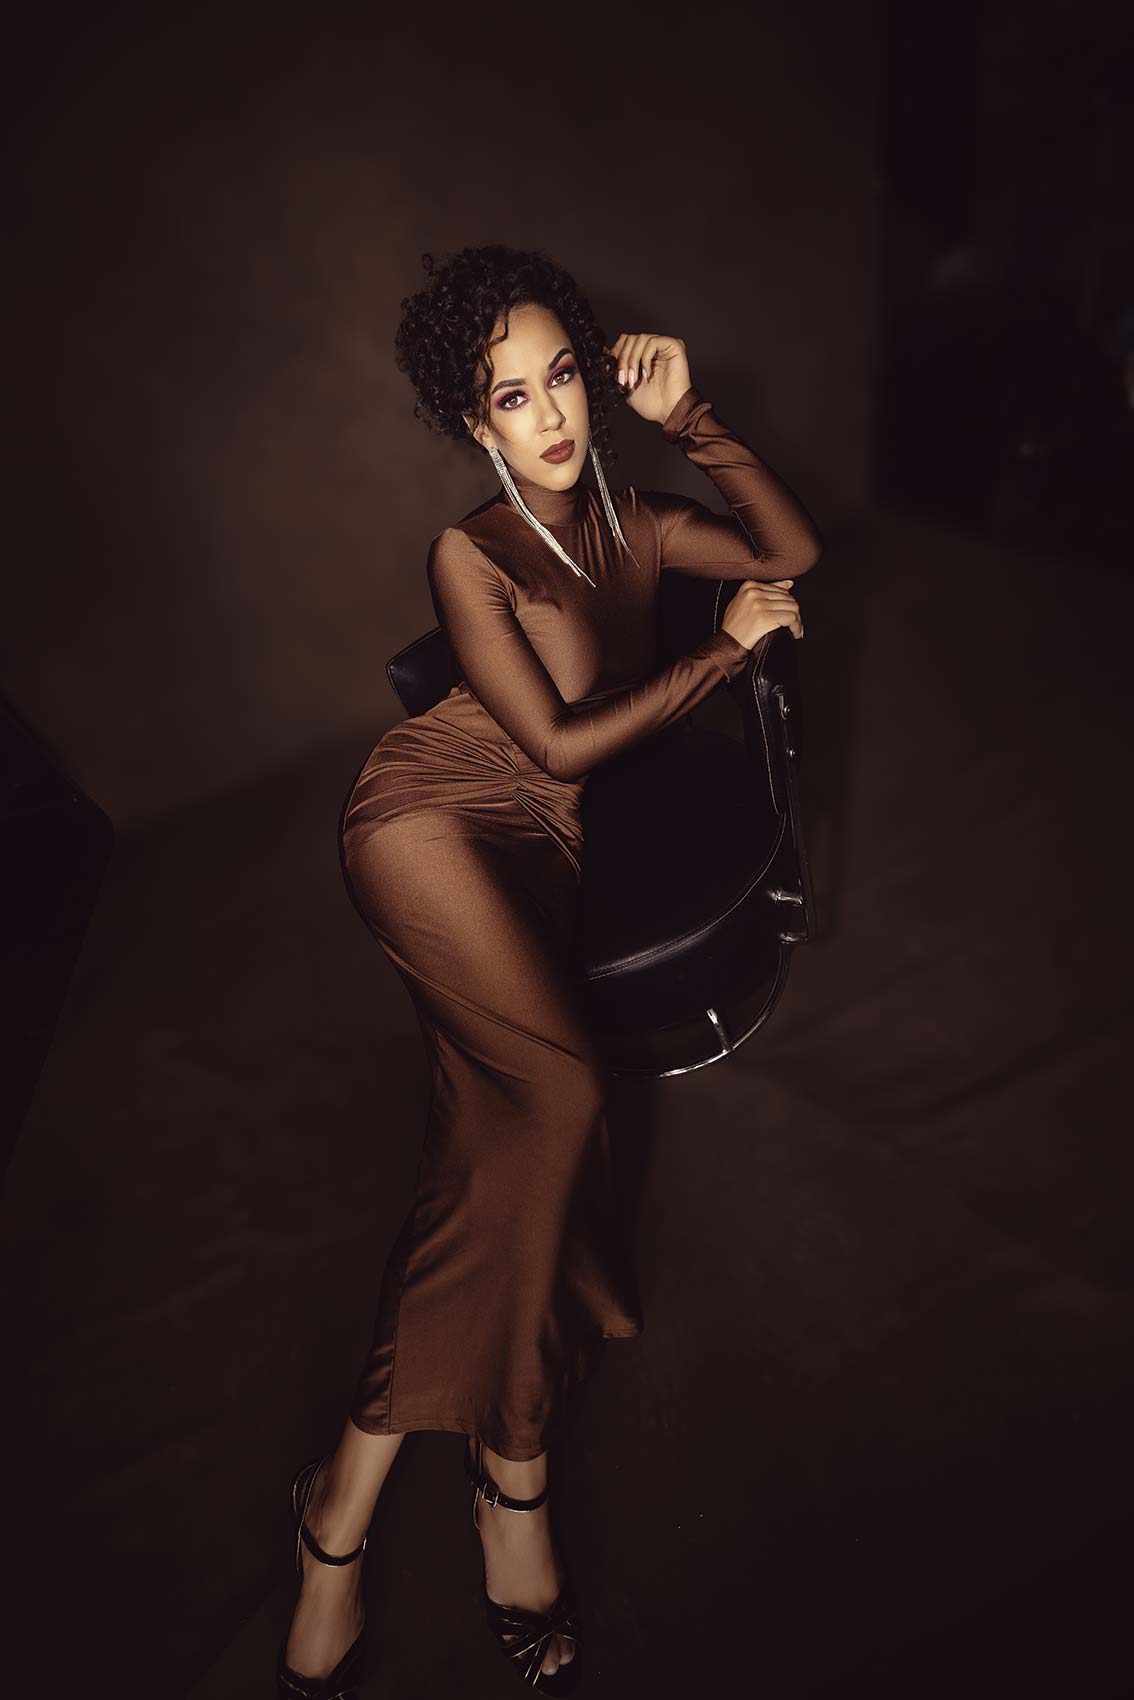
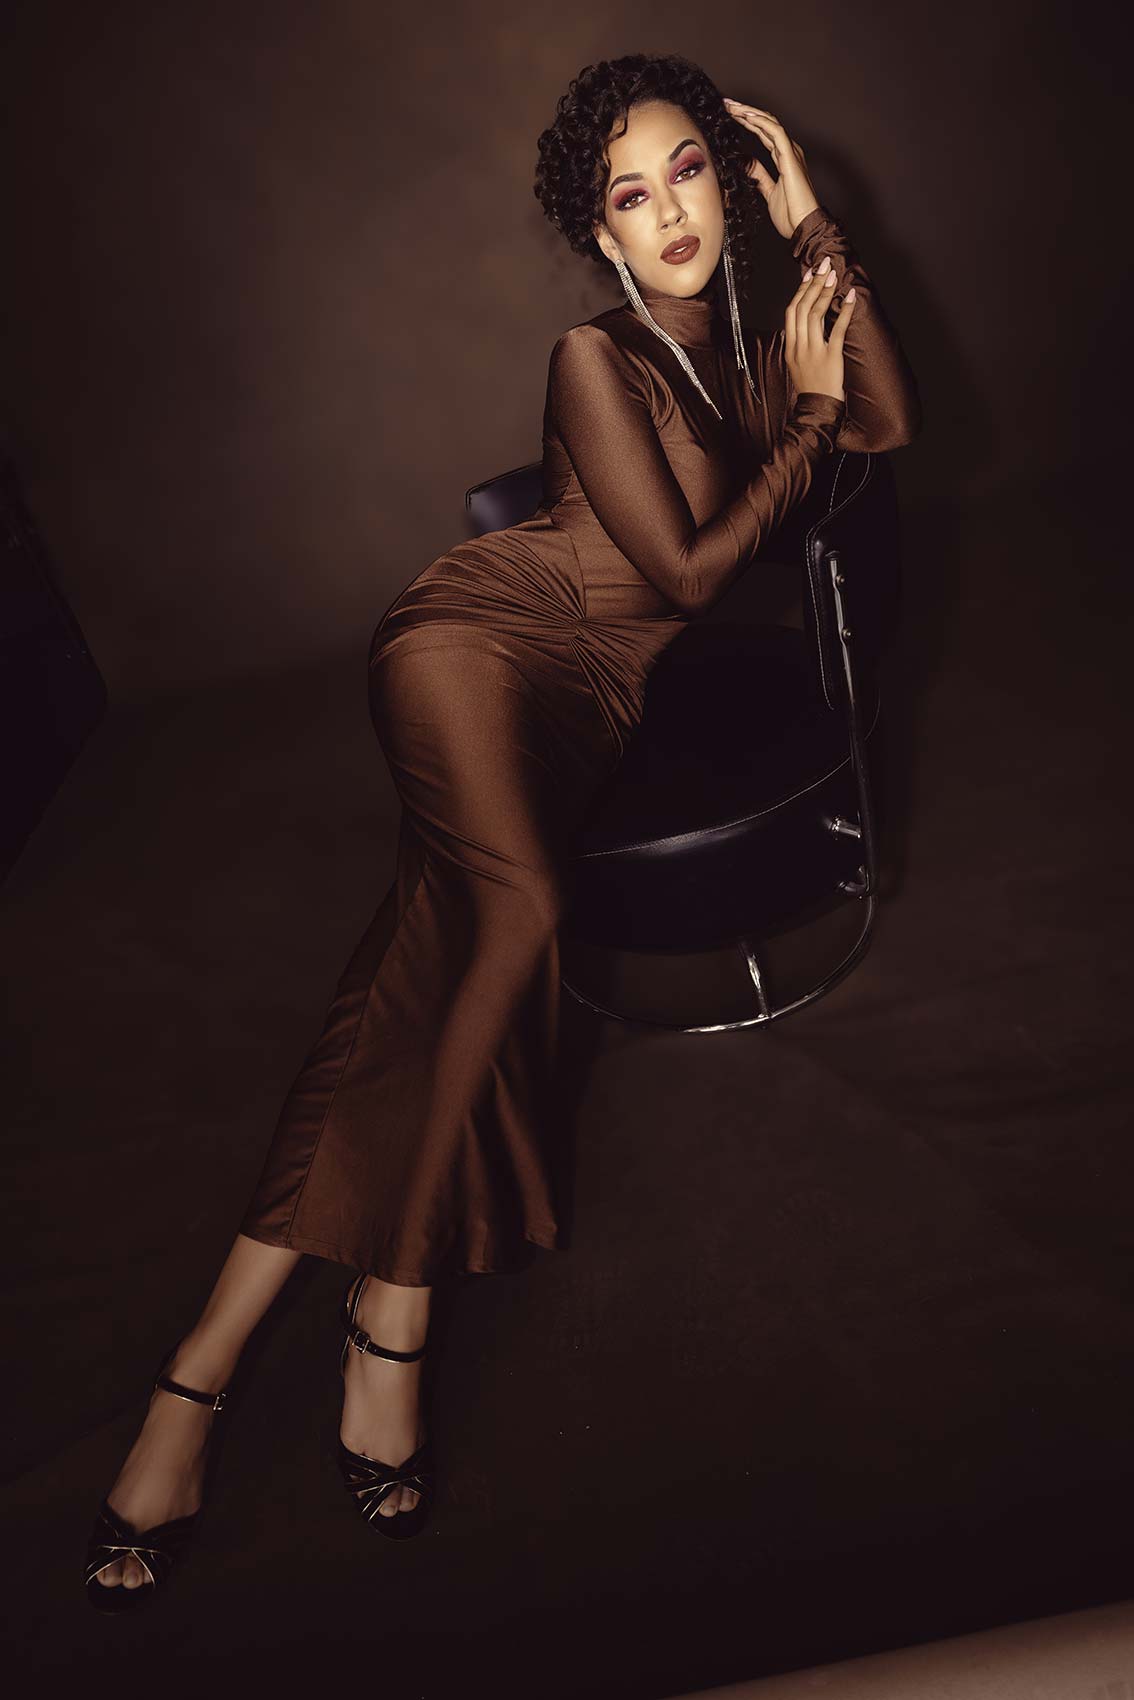
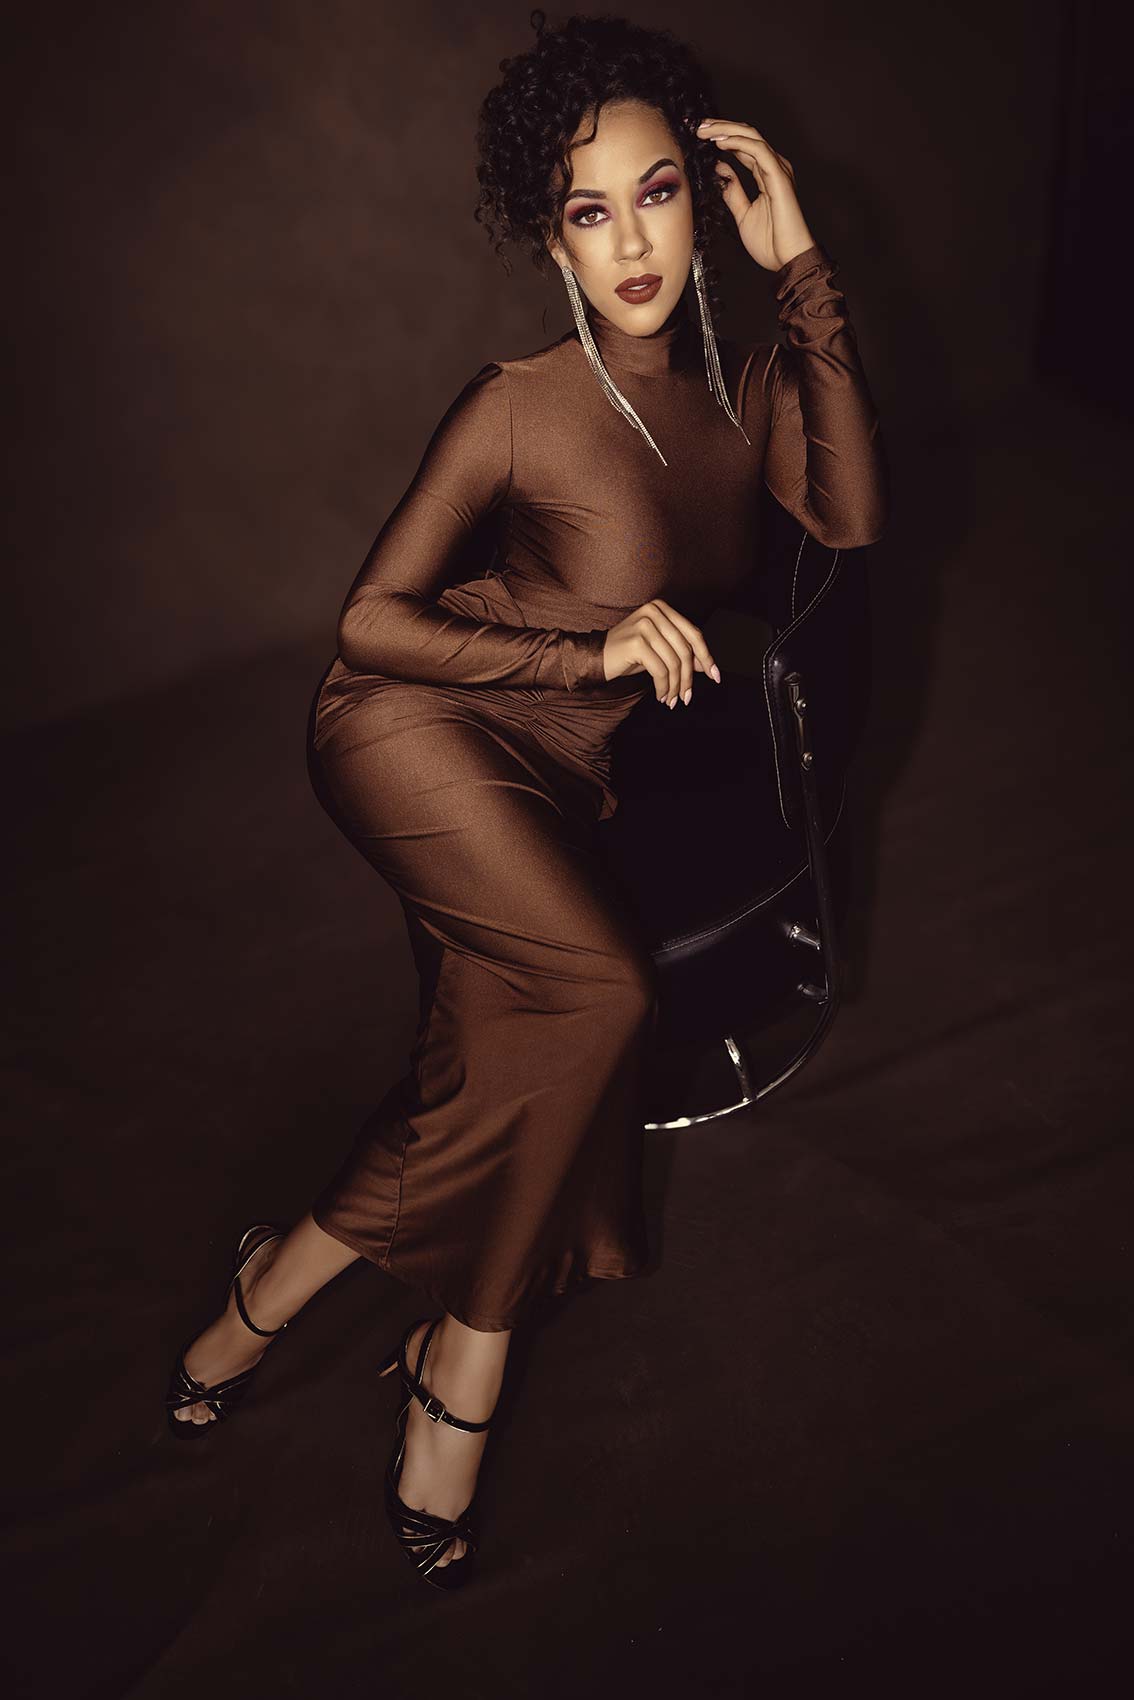
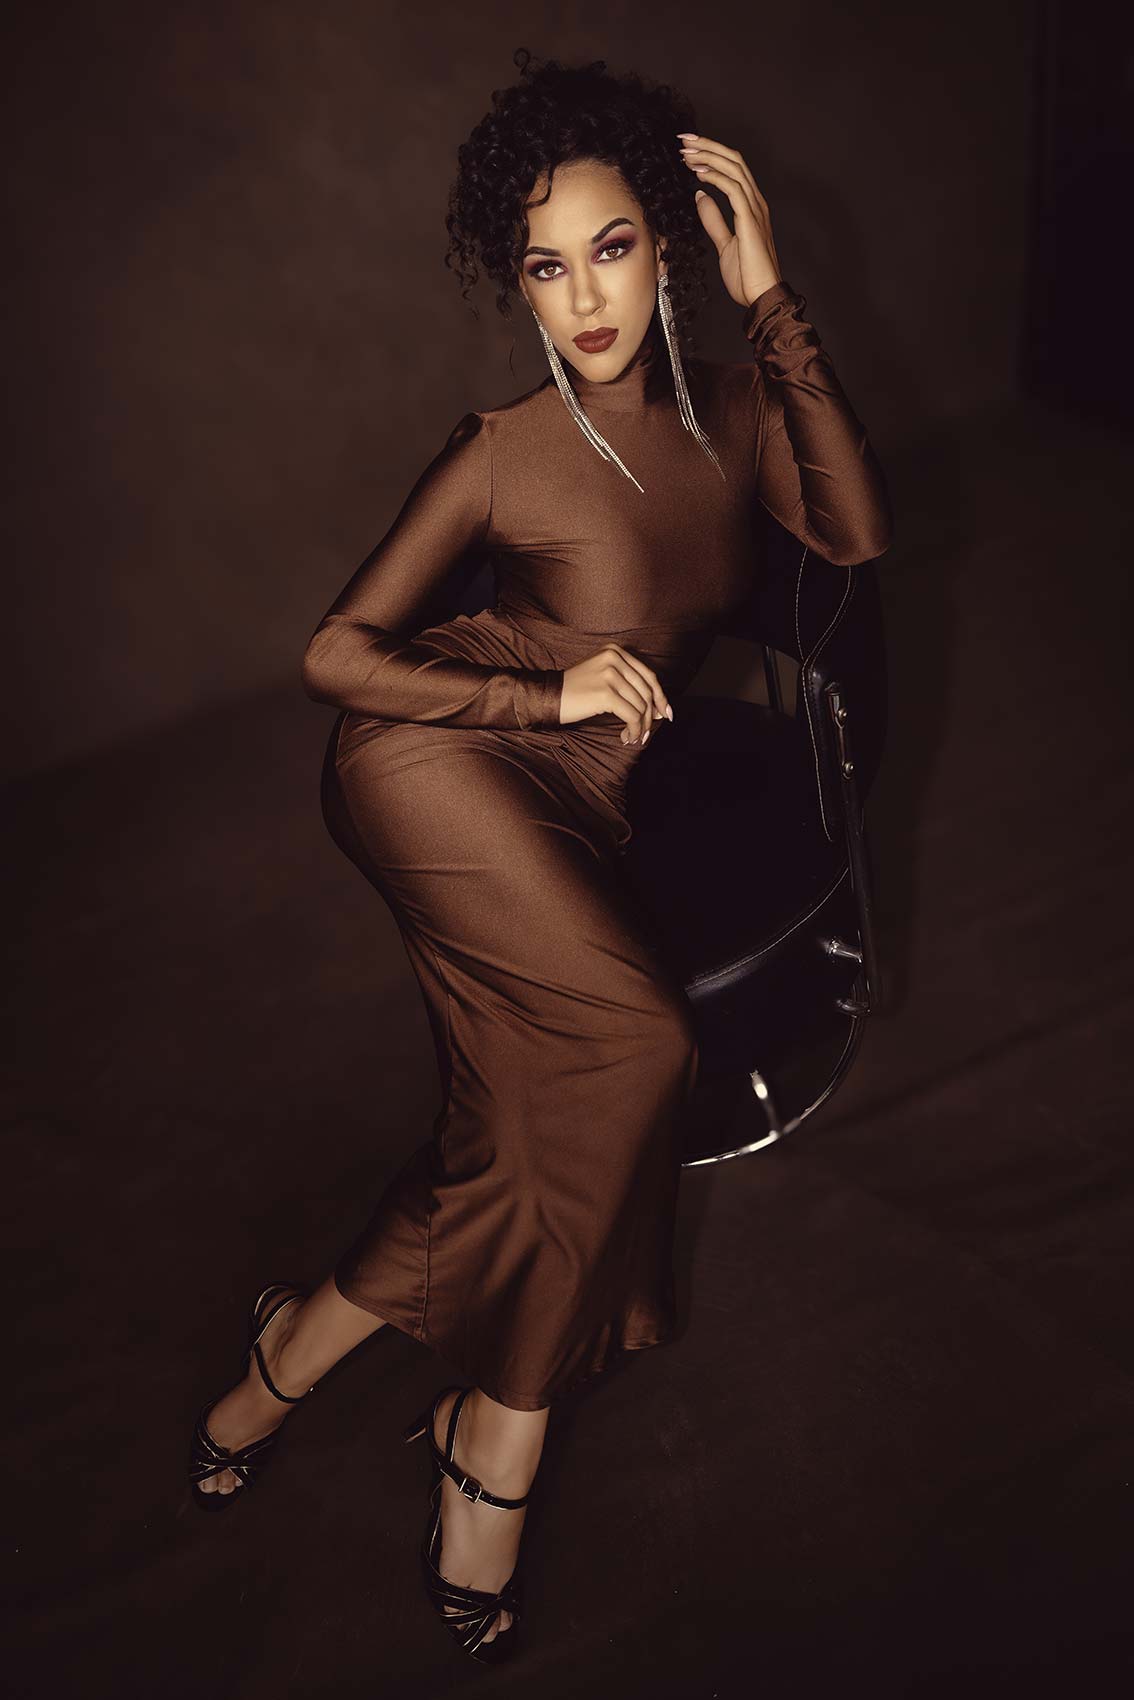
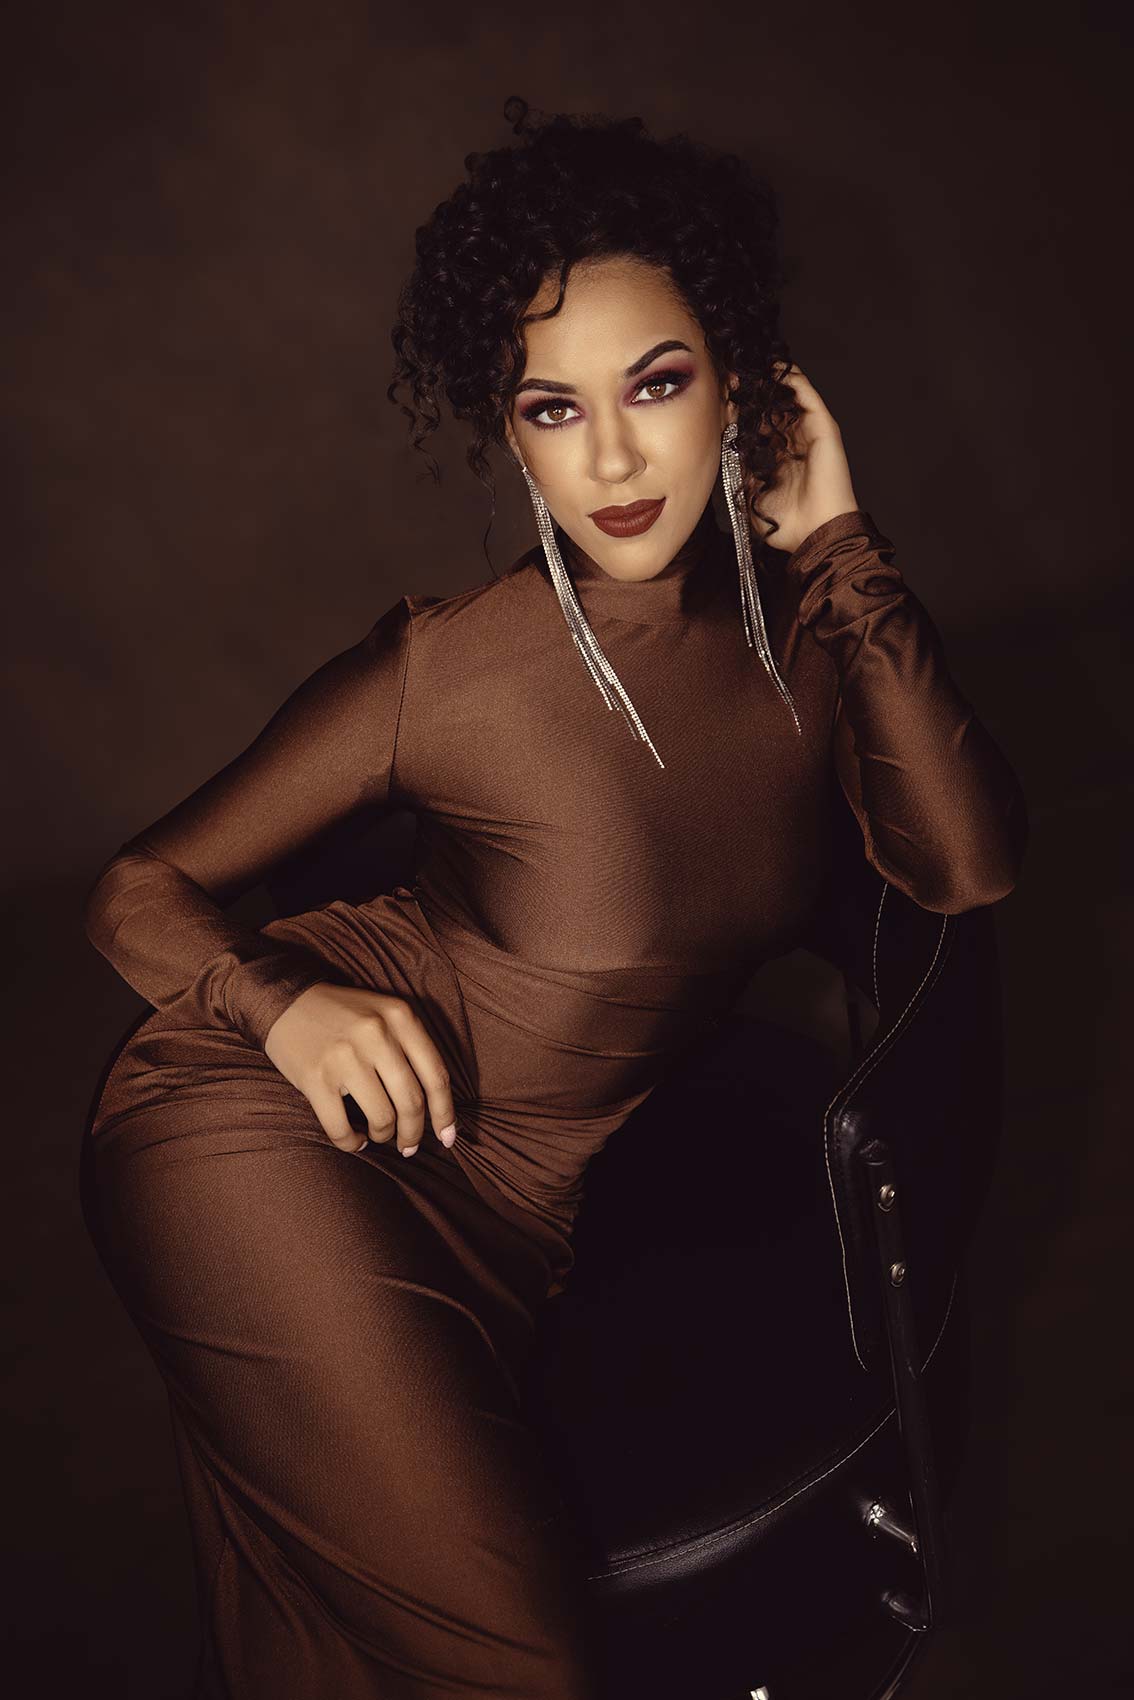
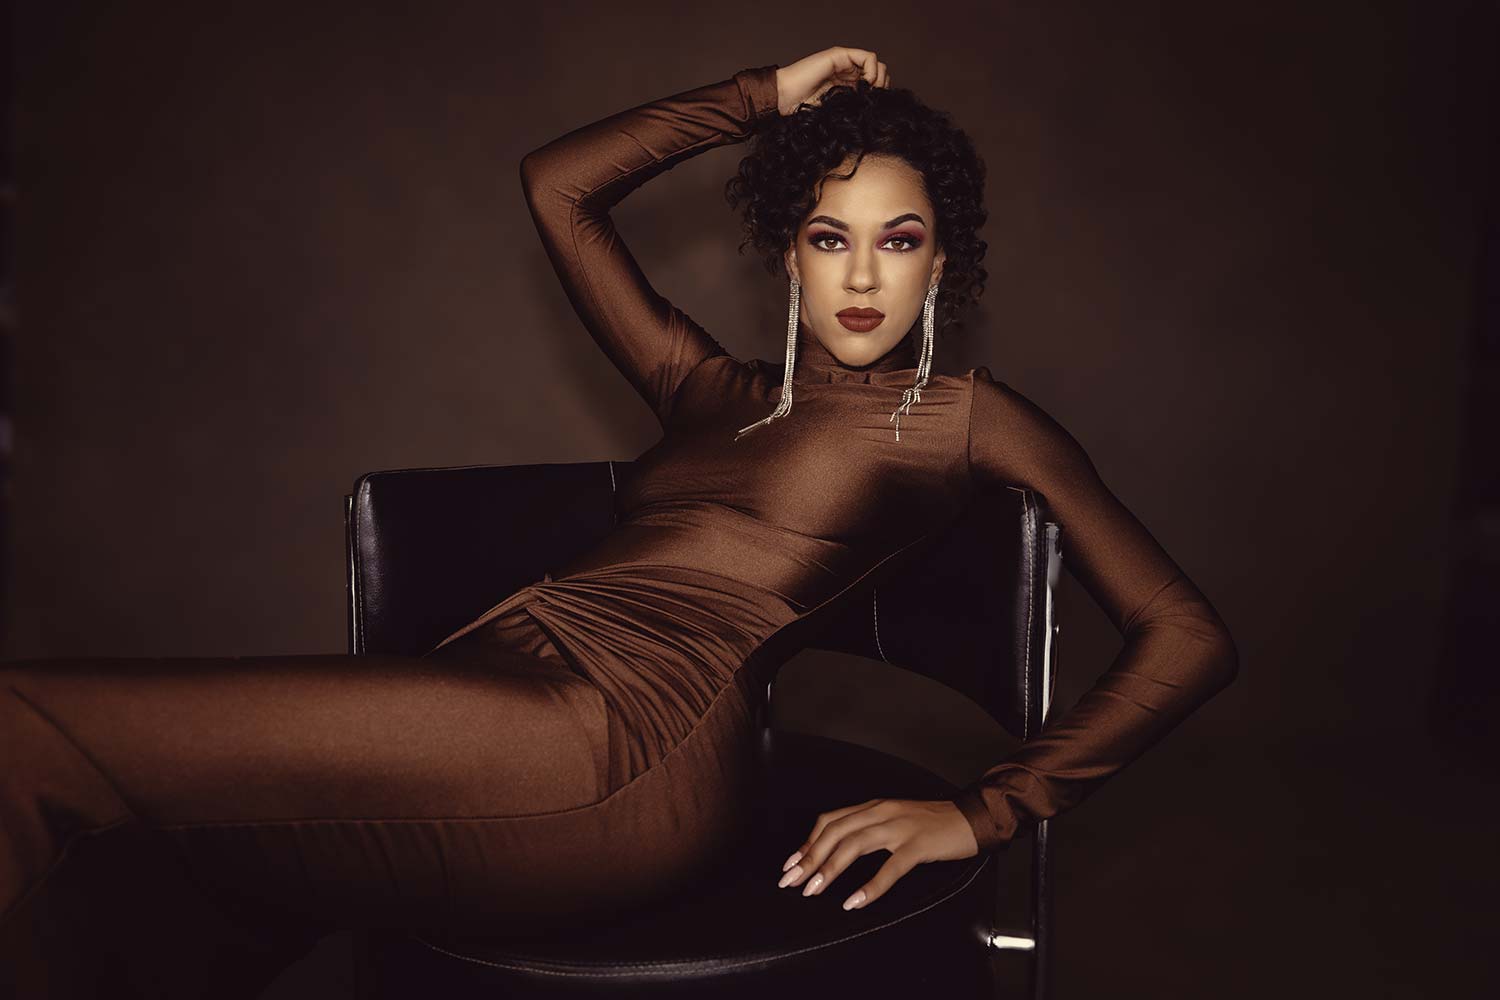
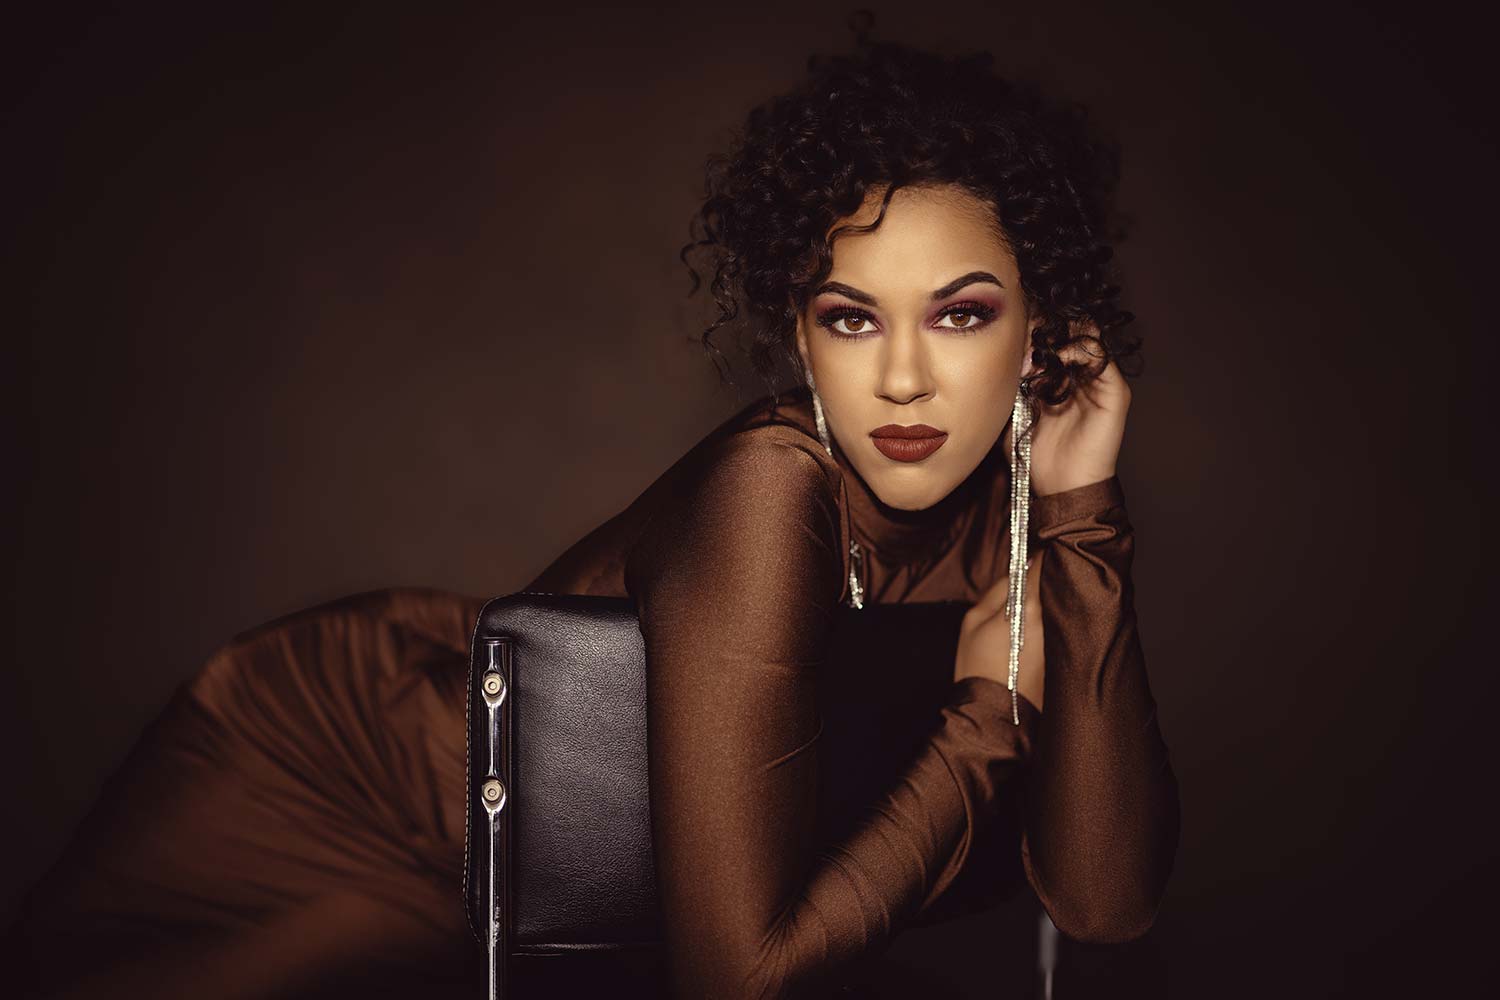
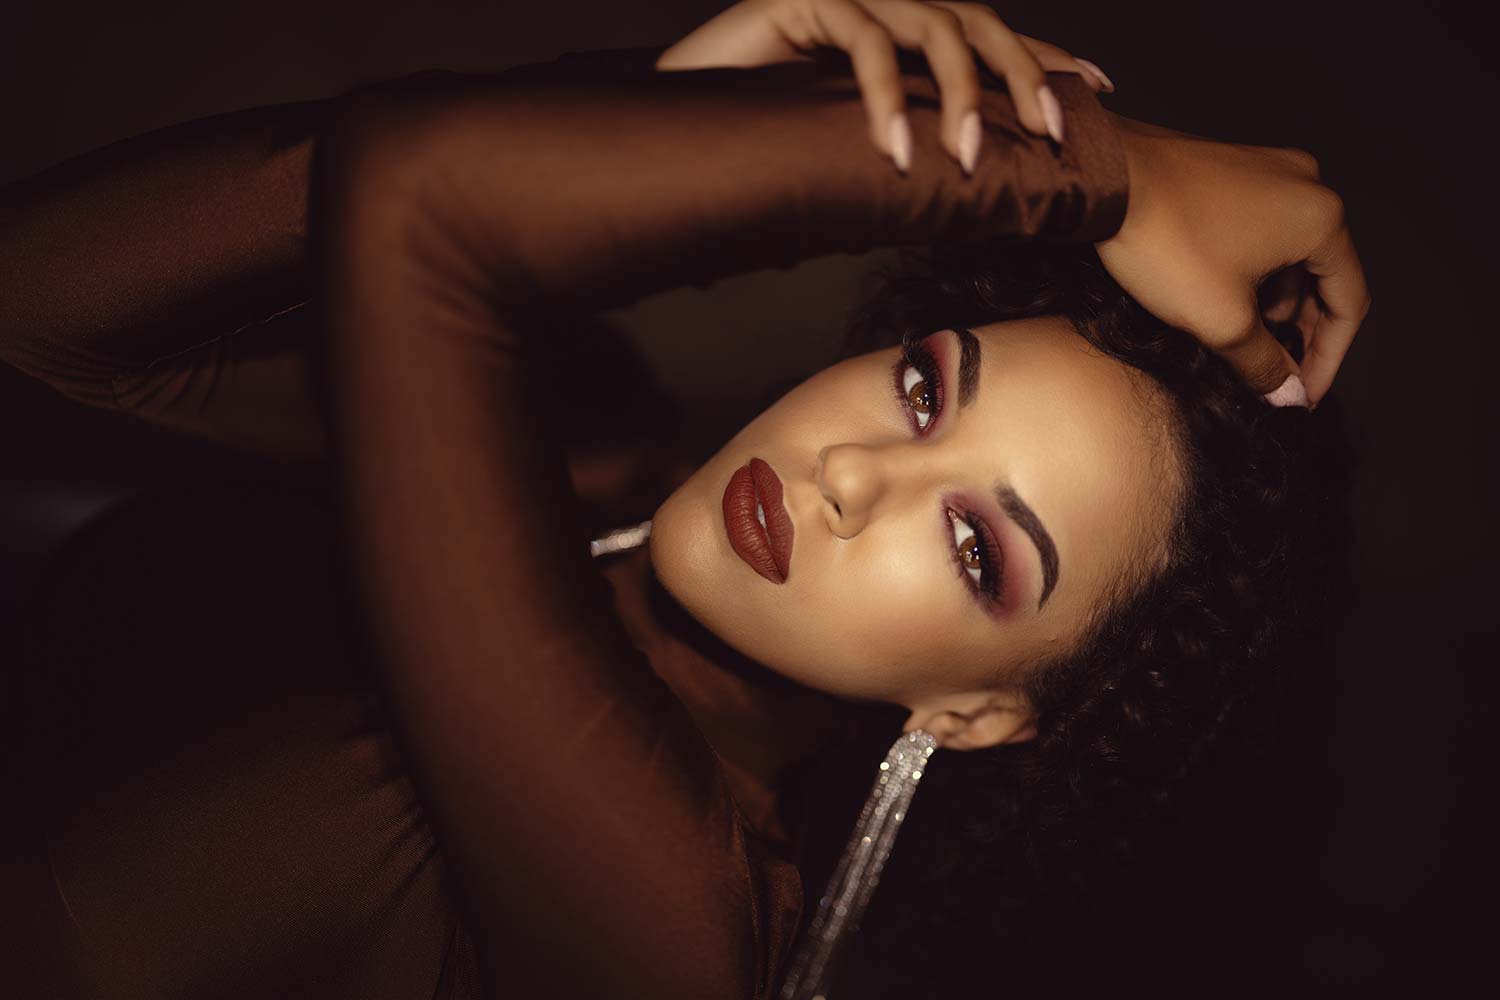
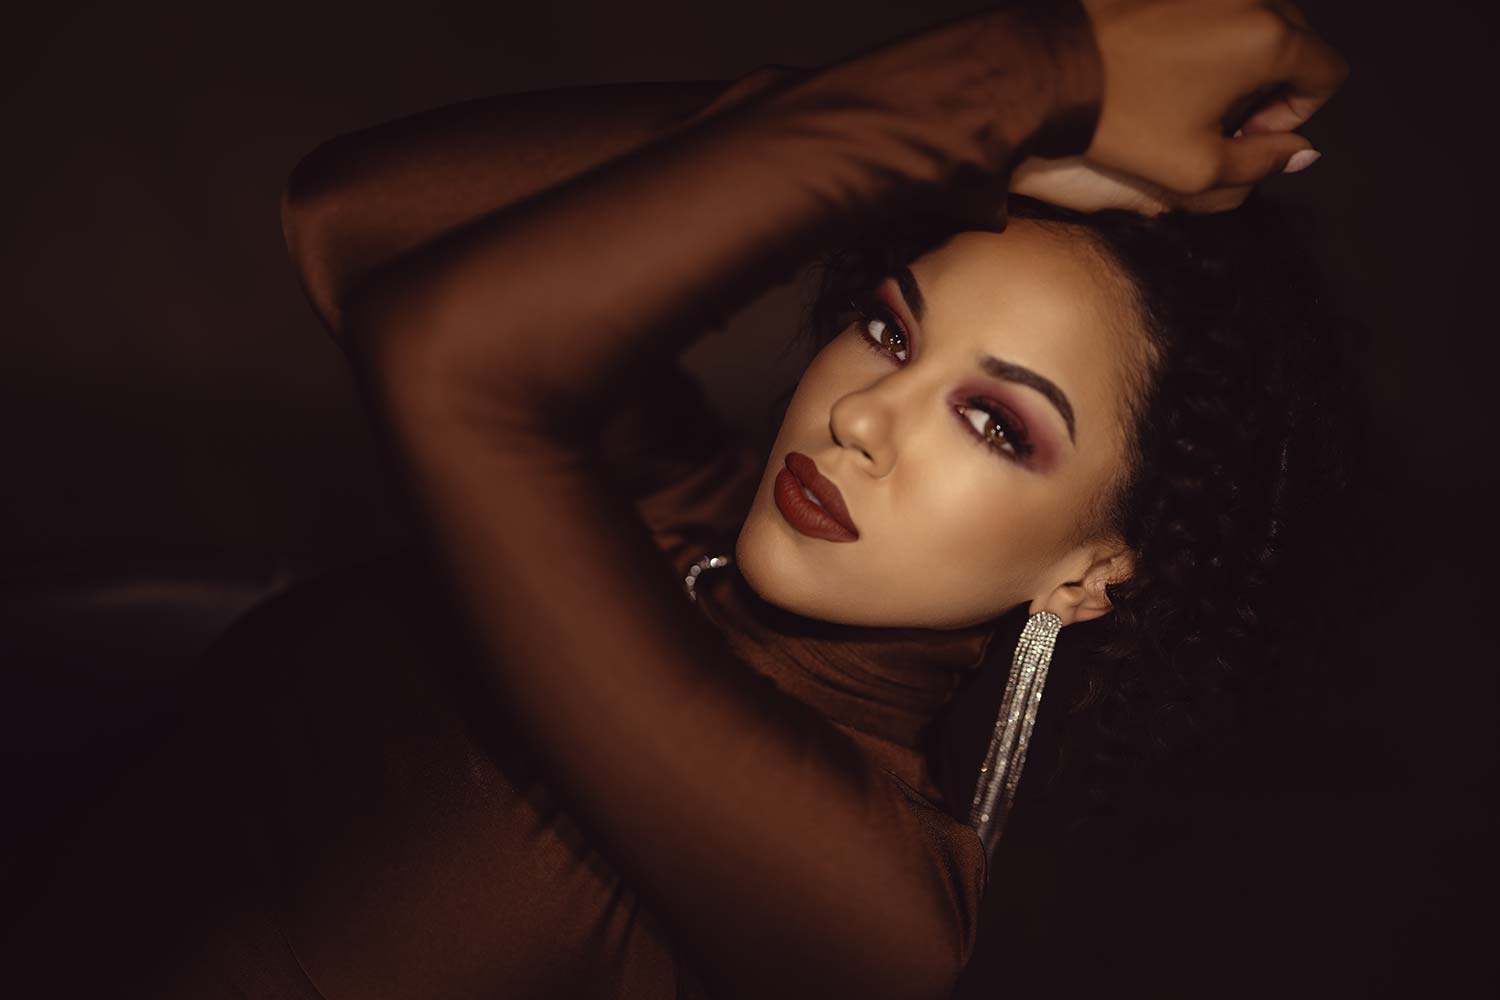
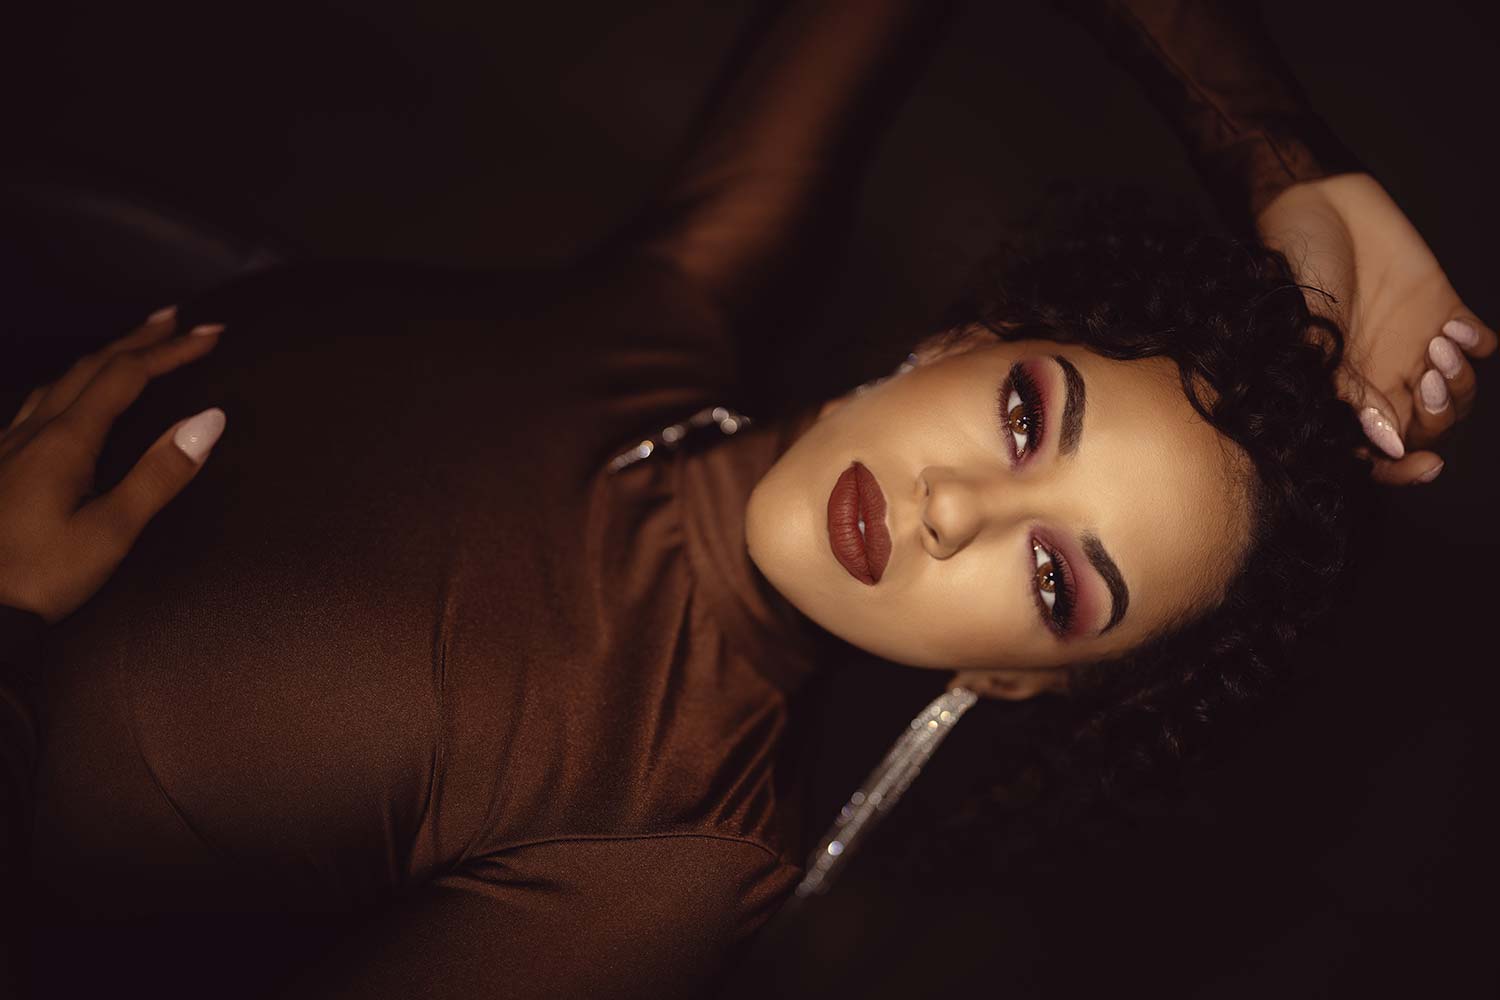
Have you tried using on-camera flash for your studio portraits? As a professional photographer, I’ve always been taught to take the flash off camera to create more directional light. In this video of on camera direct flash tutorial for lighting, I will show you how to work quickly and easily using on-camera flash to create some very unique and interesting portraits.
Equipment Used:
Camera: Canon EOS R5
Lens: Canon RF 15-35mm F2.8 L IS USM
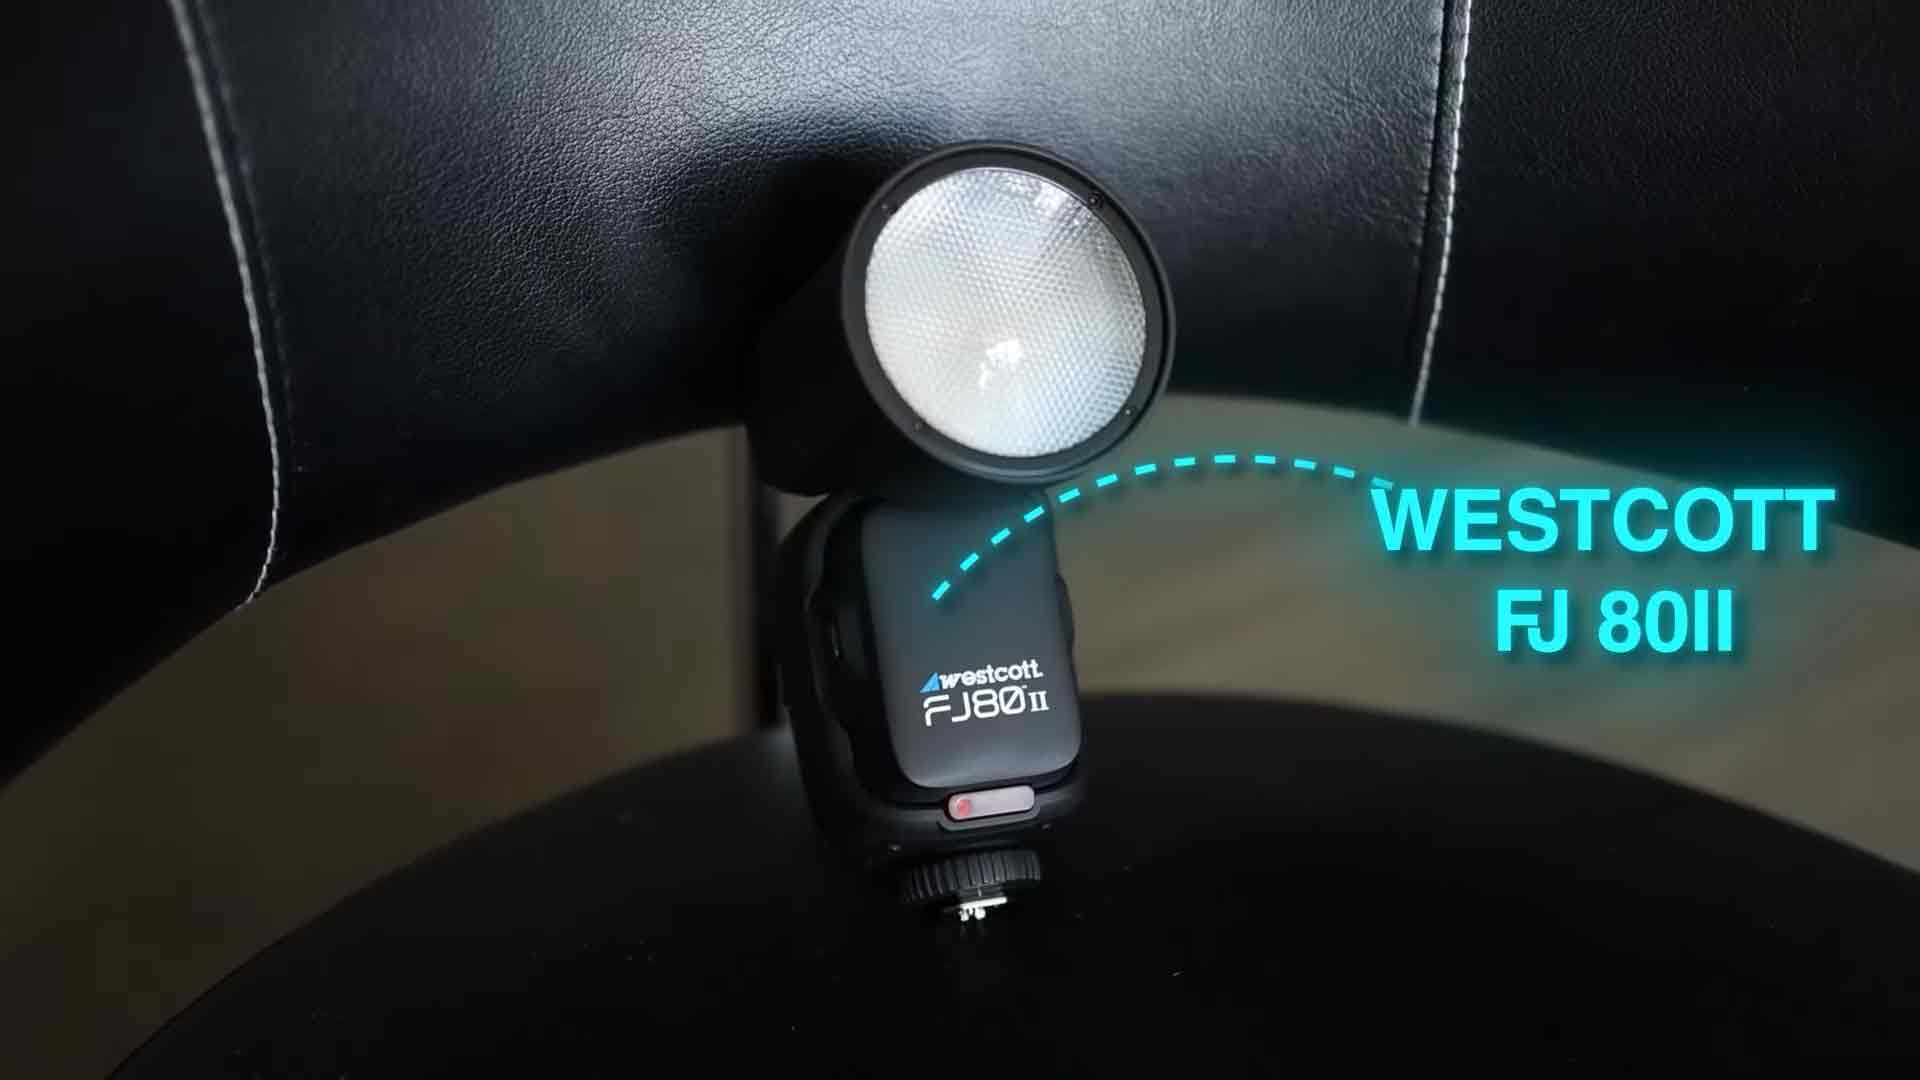
Light: Wescott FJ80II
Team:
Photographer: Sal Cincotta
Model: Alonna
Hair & Makeup: Brandi Patton, ReFine Beauty
All right, everybody. Ready to get that direct on-camera flash look and feel for your portraits? Let’s get to it.
What’s up, everyone? My name is Sal Cincotta. Welcome back to the channel. And if you had ever told me not only am I making this video, but actually enjoying the images that came out of it, I would’ve called you nuts. Here’s why. If you have been trained by anyone at all, we have always been trained to take this flash off-camera so that we can get a more pleasing look and feel to our portraits. Directional light, creating shadows, controlling where those shadows are. We’ve always been trained to take this off-camera.
Well, unless you’ve been living under a rock, this is now become quite the aesthetic that’s out there. Did I use that word right, Gen Z’ers? We don’t know because you’re probably not watching my channel. Let’s continue.
You’ve seen it, and by the way, it’s not new. It’s very editorial, it’s very fashion. You’ve seen it on SNL used to do it all the time, but when they would have those outtakes or pictures that they show on the breaks. It’s not necessarily new. What I would say is new is a consumer’s acceptance of that look and feel. That’s probably what’s new.
In this video, we’re going to get started. I’m going to show you how to do it in a quick and easy way and get a really cool look. You can use this for in your portraits, you can use it for boudoir. Those are two areas I’d recommend it. It looked great for wedding portraits of the bridal party. I think it’s a really cool look. Let’s get to it.
First up, gear. What am I using here? We’re using the brand new Westcott FJ80 IIs. These are super cool. This is my first shoot with them and I already think they did an incredible job. First of all, just look and feel of it. A little ASMR for you right there. The construction quality I would say is significantly better. New battery, new head. The display is pretty similar, so nothing’s really changed there, but so far we’re just starting out with it. That’s what we’re going to be using on camera. Really like the round head as well to get this look. I don’t want this horizontal rectangle. That round head is going to give us what we’re looking for, natural vignette, if you will.
On camera though, we are using the Canon EOS R5 and the 15-35 lens. Again, this is the decision I’m making because I want to skew the portrait and elongate her body and really add to that kind of fashion portrait, editorial style look and feel. Now, here’s where things get tricky for everybody. You are seeing on that camera how bright our studio is. How do you get this flash to look like? We’re in a dark room. It starts with the camera first. Before we even put a flash on camera, this is the part I want you paying attention to before we get going here. I’m in aperture priority. ISO is low. I’m at F/4.
But here’s the key. I’m using exposure compensation to underexpose about a stop and a half, two stops. What I’m going to do is take a picture here with no flash just so you can see what this is going to look like. It’s dark, the background’s dark. If I go to two stops under, now it’s really, really dark. And that’s what I want the background to look like. I don’t want that background going completely black, but now I’ve gotten rid of a majority of the ambient light in the room.
Now the flash we’re going to use to expose our subject. Notice how I did that without having my flash on. I think it’s really important that you get the camera and the ambient in the room to look the way you want before you start tinkering with flash. Same thing on the flash. We’re in manual mode. I’ve got a power setting of five. That’s just where I’m starting at. And now I’m going to take a test shot. Let’s see what we’re looking at here. Looking at all my settings.
I’m at one 60th of a second, so I’m probably going to go to ISO 100. Let’s see what that looks like. It’s not bad, but it’s a little bright. I’m just going to bring the light down one stop and we should be off to the races. Now, within two shots here, it’s looking badass. We’re ready to go. Now keep in mind your flash power because we’re in manual mode, if I get closer to her, further away from her, I’m going to have to adjust that as I’m moving. Just keep that in mind.
The other thing you can do is you can put the flash in TTL, allowing the camera’s metering system to determine power. It’s really up to you how you want to control this. Let me take a shot in TTL, just to give you a sense here. I’m in TTL on the flash and just watching where this flash head is. What I don’t want to do is have the head straight and then as I tilt my camera, it’s pointing down at the ground. I’ve got to move that because we want that natural vignette to be around her face.
What that’s going to allow me to do is if I come back here as well, it’s going to give us that same flash power and it looks really good. Enough said, let’s get to it and start making some cool images.
And what’s happening is the recycle time on this, because we’re not using that much power on this, we’re able to move really, really quickly.
Let’s do something else. What’s happening is we’re getting too wide.
All right, everybody, that is a wrap. Hopefully we’ve inspired you to try something I’ve never thought I’d be doing in my career, putting that flash on camera and doing cool stuff. Check out Alonna. Her handle’s down in the comment. She did a great job. Welcome to the channel. All right, we’ll see you in the next video.

