See the difference just one light can make. In this video, I’m comparing the results of off-camera flash vs natural light by shooting some fashion portraits. First, I’m going to shoot the scene in natural light. Next, I’ll add in a Profoto A2 for just a kiss of fill light. And finally, I’ll show you how to make the scene dark and dramatic with a Profoto B10+.
Equipment Used:
Camera: Canon EOS R5
Lens: Canon RF 28-70mm F2 L USM
Light: Natural Light, Profoto A2 & Profoto B10+
Team:
Photographer: Sal Cincotta
Model: Alissa Cincotta
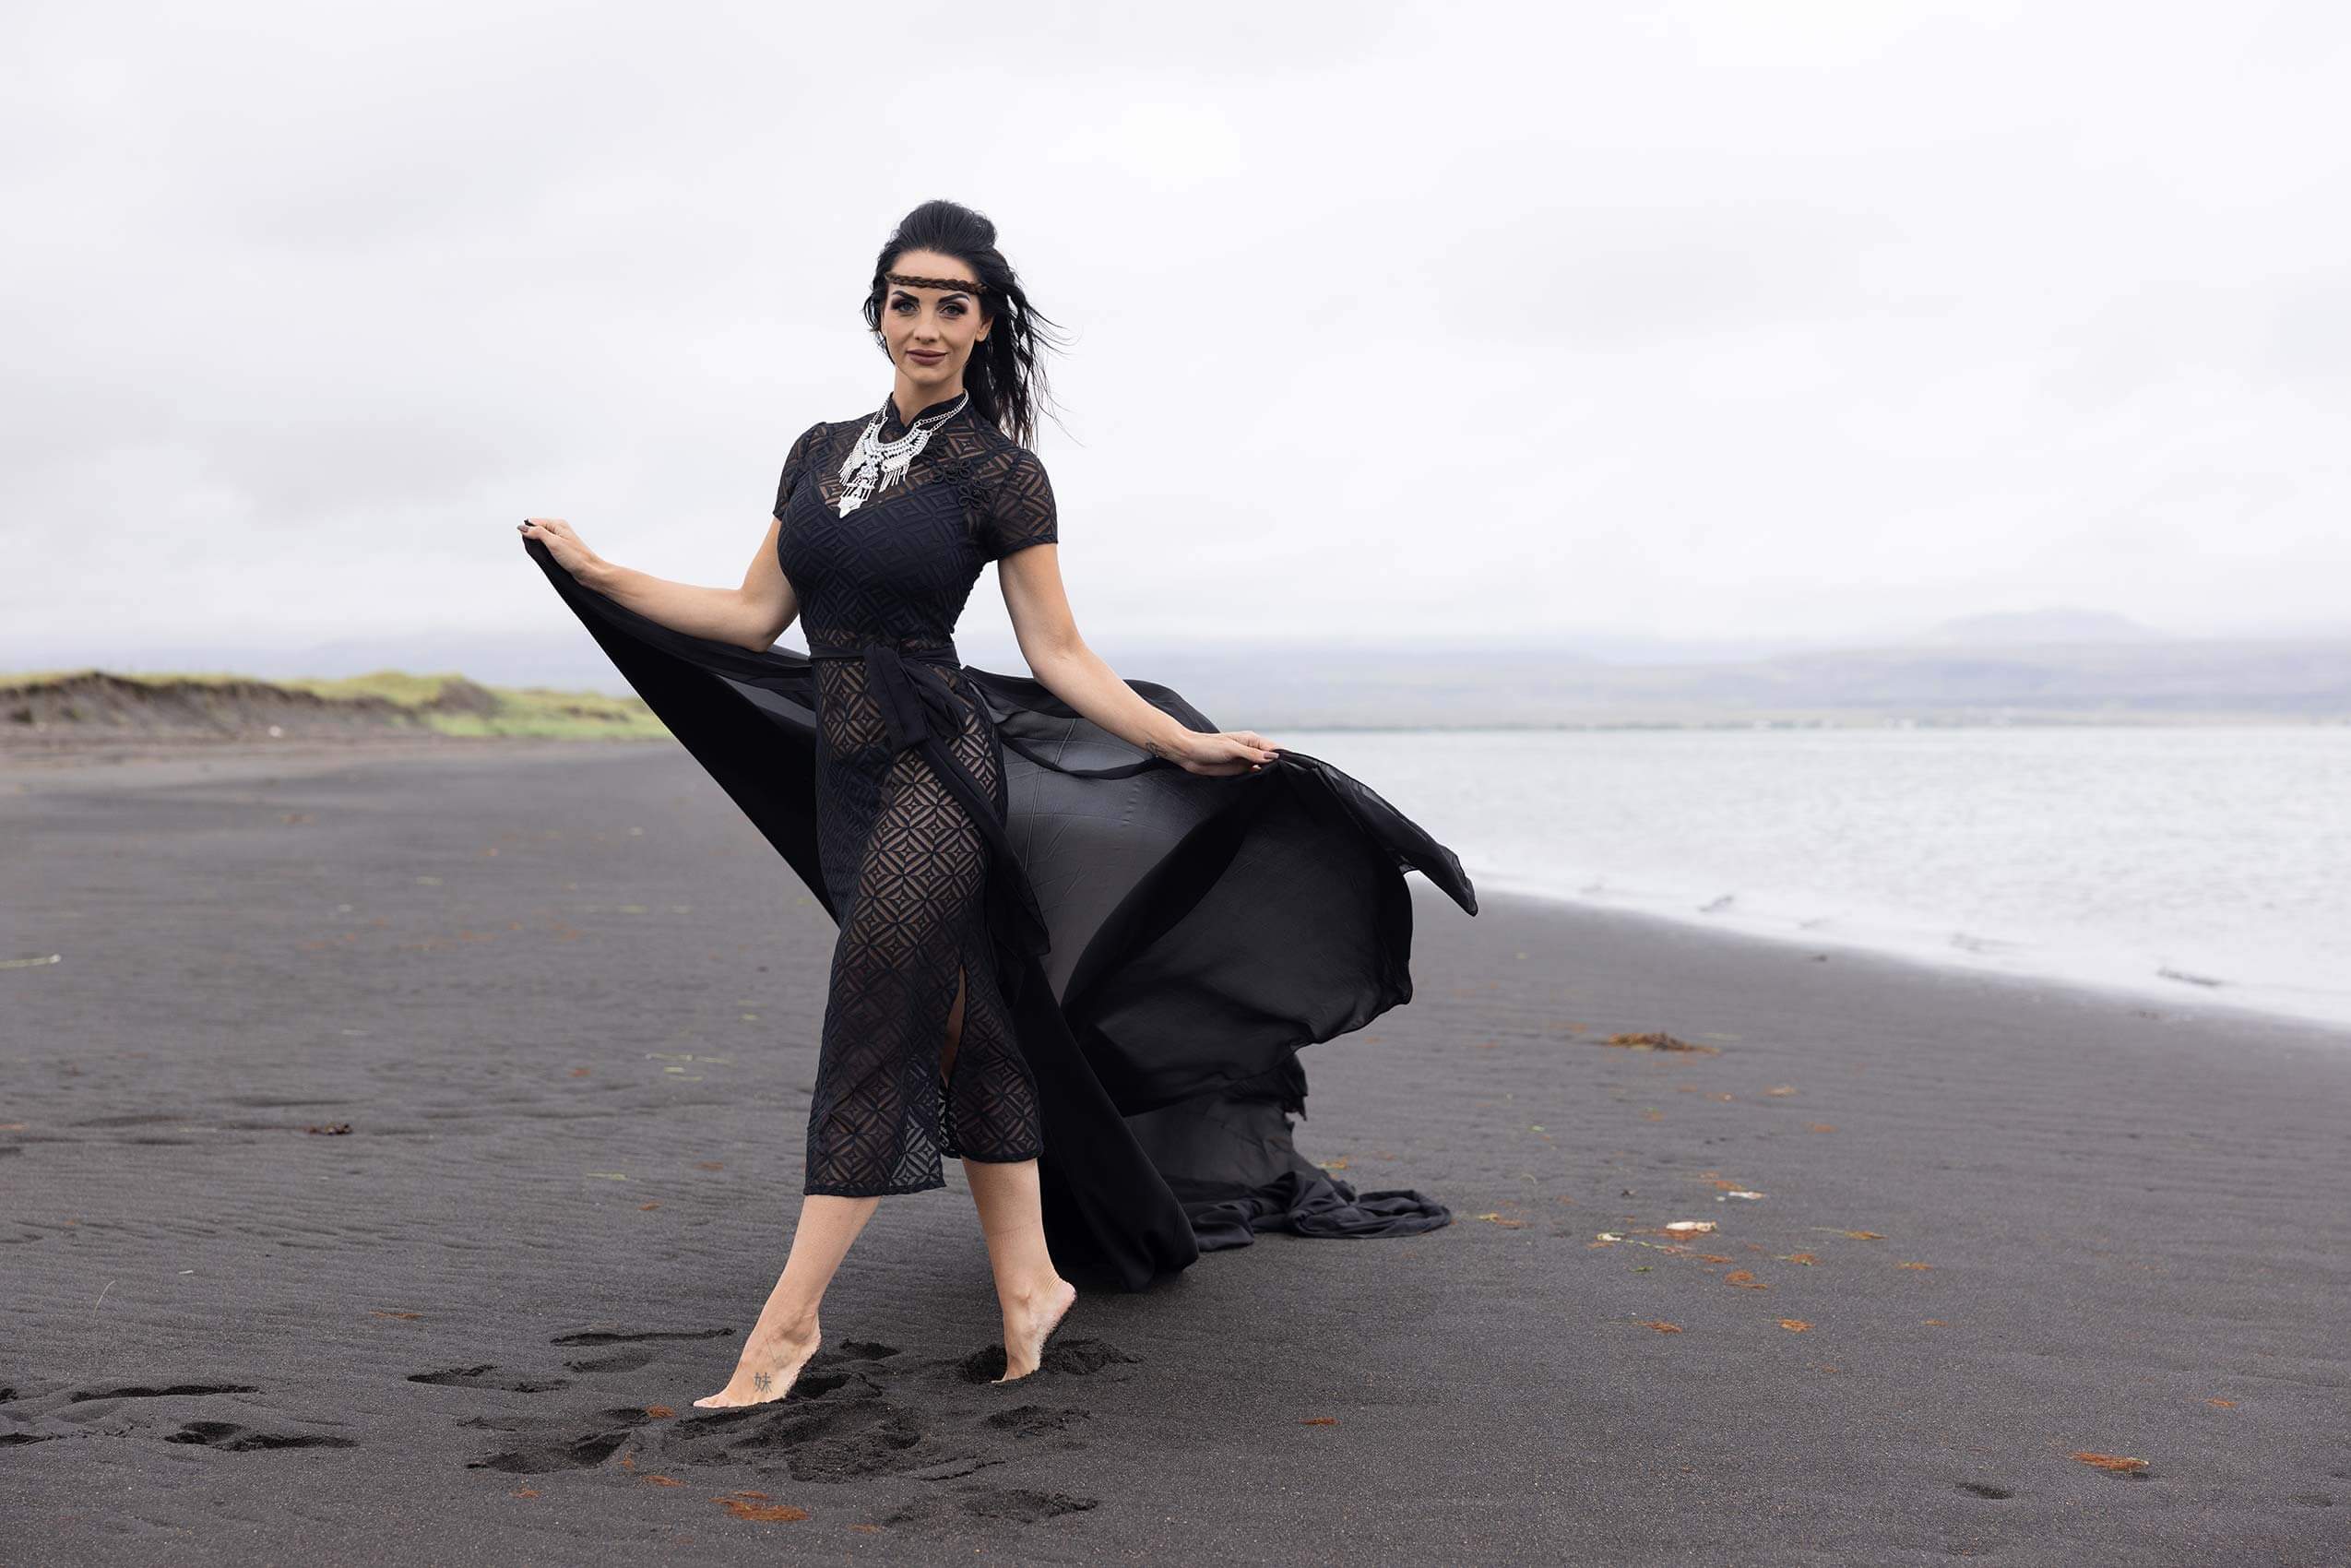
Look #1: Natural Light
When I photographed Alissa using only natural light, I had to overexpose the shot just a little so that I didn’t get any shadows in under her eyes.
The pros: soft look & feel that was perfect for the scene. The cons: the highlights and the sky were blown out. Some of that I can recover in post-production of course, but it might not be as appealing of an image depending on your (or your clients’) preference.
Settings: f/4 @ 1/1,250, ISO 200
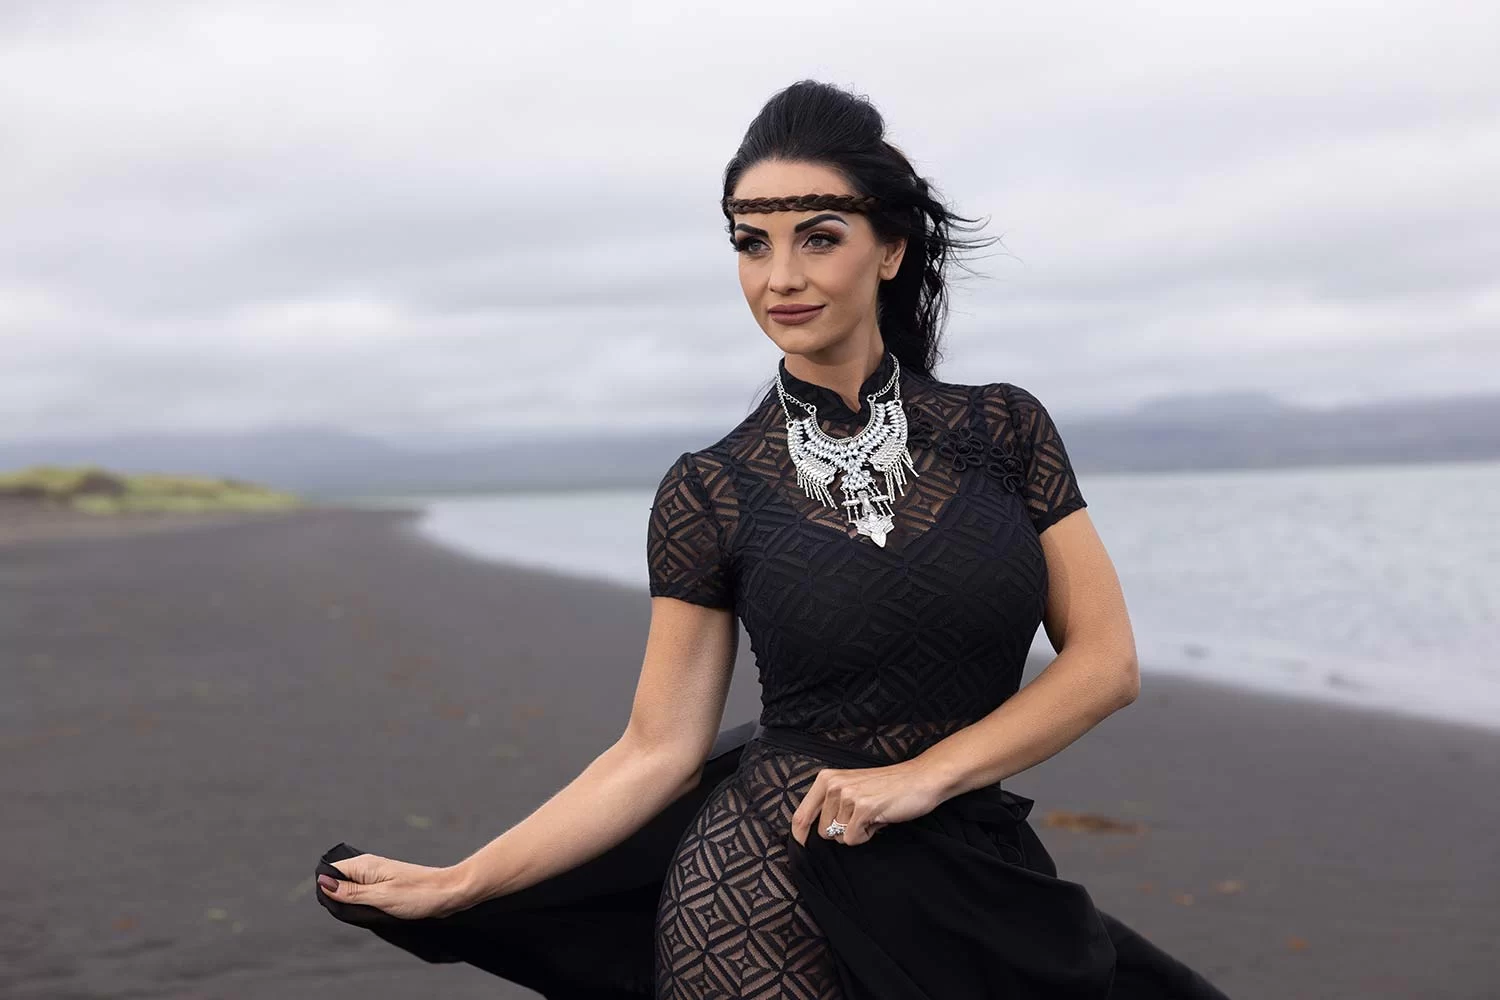
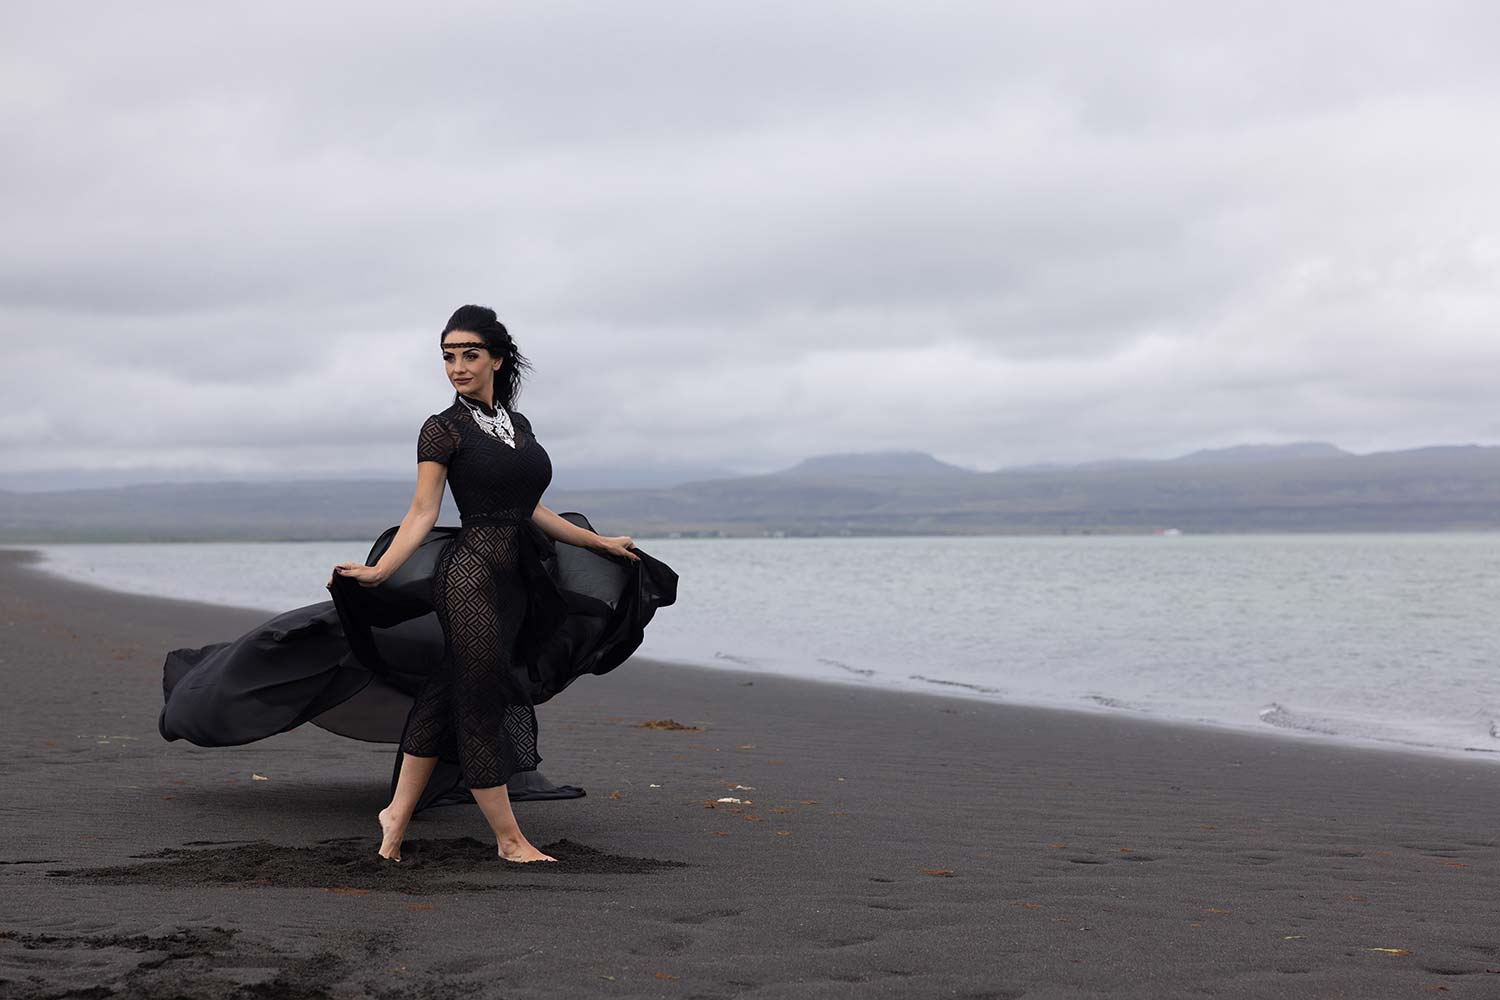
Look #2: Off-Camera Flash - Profoto A2
For the next look, I wanted to add back a little bit of life and sparkle to Alissa’s eyes. Enter the Profoto A2, the perfect light for adding that little extra something. I also put a dome diffuser on the light to further soften it.
Even though the light was soft, it still made a noticeable difference, as you can see in the final images below. Because of the additional light, I no longer had to overexpose and blow out the sky. And the shadows under the eyes were gone.
Overall, the A2 created a really balanced image that still has a natural look & feel.
Settings: f/4 @ 1/2,500, ISO 200
Settings: f/4 @ 1/2,500, ISO 200
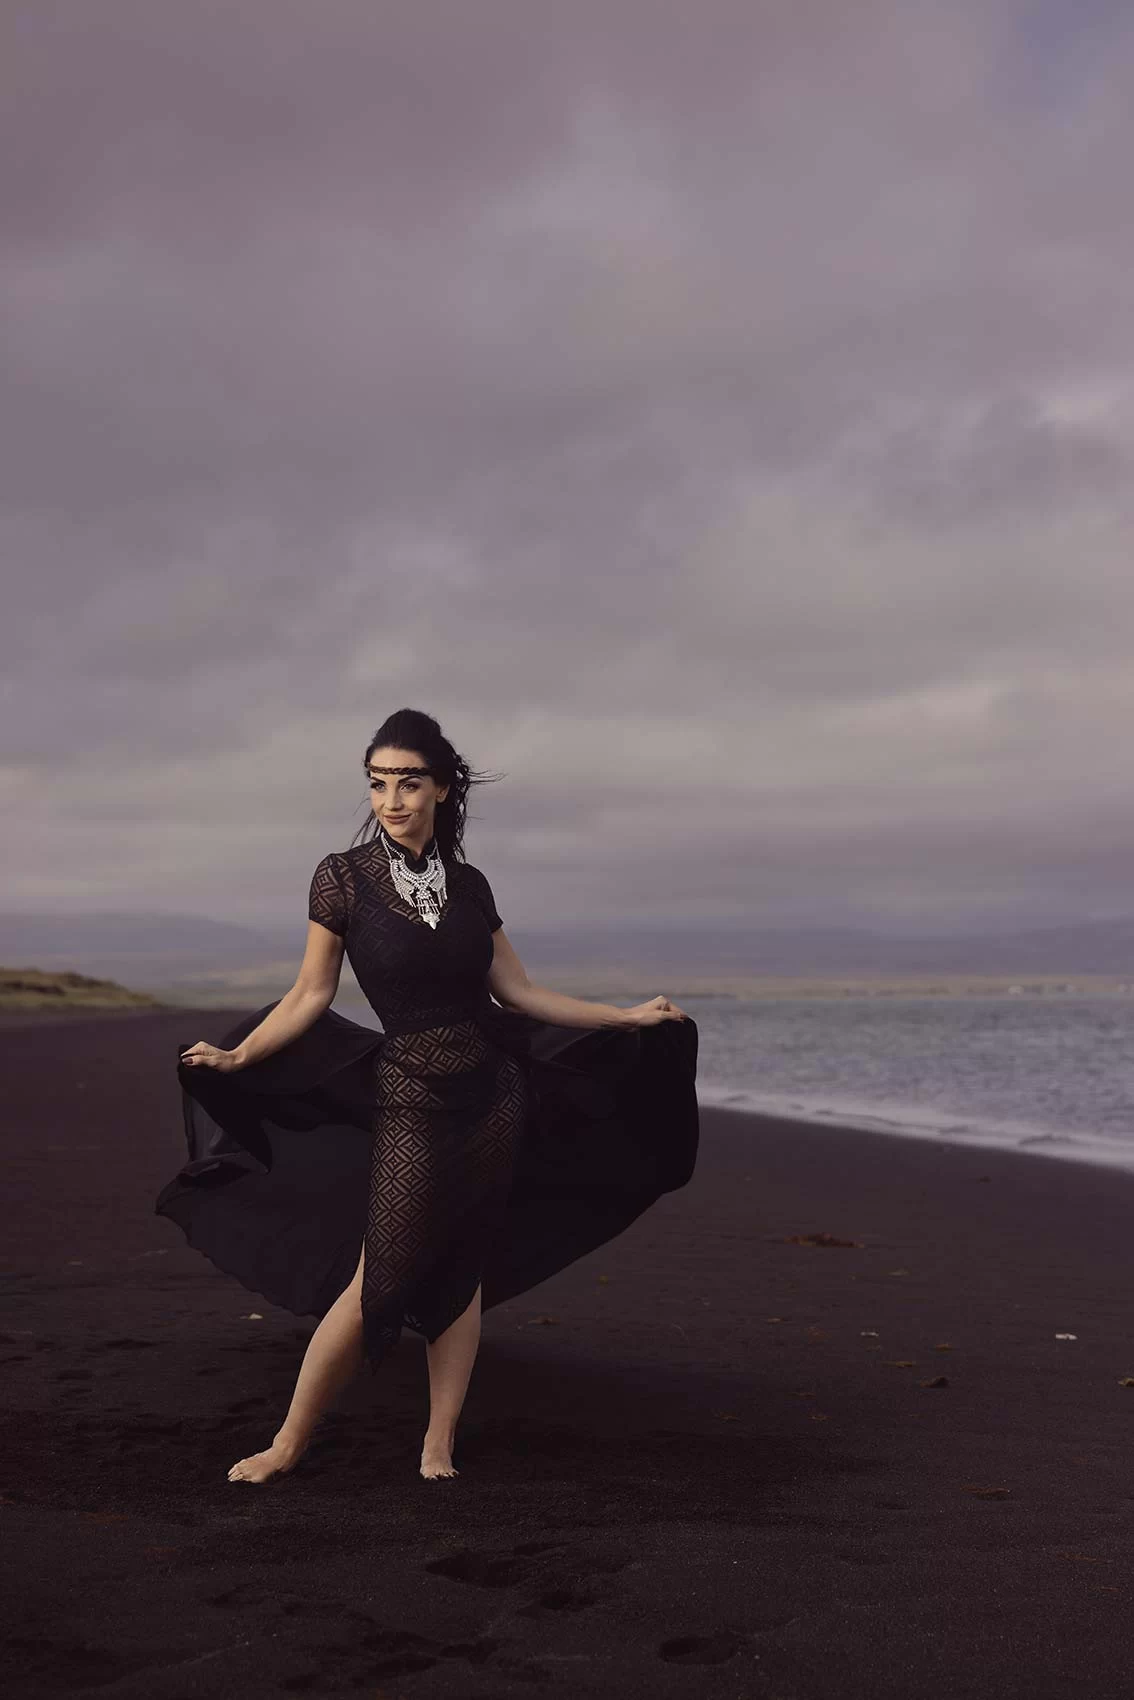
Look #3: Off-Camera Flash - Profoto B10+
Finally, I wanted to create a dark & dramatic – but still soft – image. For this, I needed to use the Profoto B10+ off-camera flash with a 3′ Octa Softbox. The light made the sky super dark and dramatic, a completely different and unique look from the first two lighting setups.
Pro Tip
Get the most natural look when you’re using a large off-camera light by tilting it back to feather the light, so that the only the edge of it hits your subject. If you tilt the light down and towards the ground, the light will be harsher and you’ll get a lot of light spill on the ground, a telltale sign of off-camera flash being used.
Settings: f/4 @ 1/4,000, ISO 100
Off-camera flash vs natural light: which is your favorite?
Let us know in the comments which lighting look you liked best!


