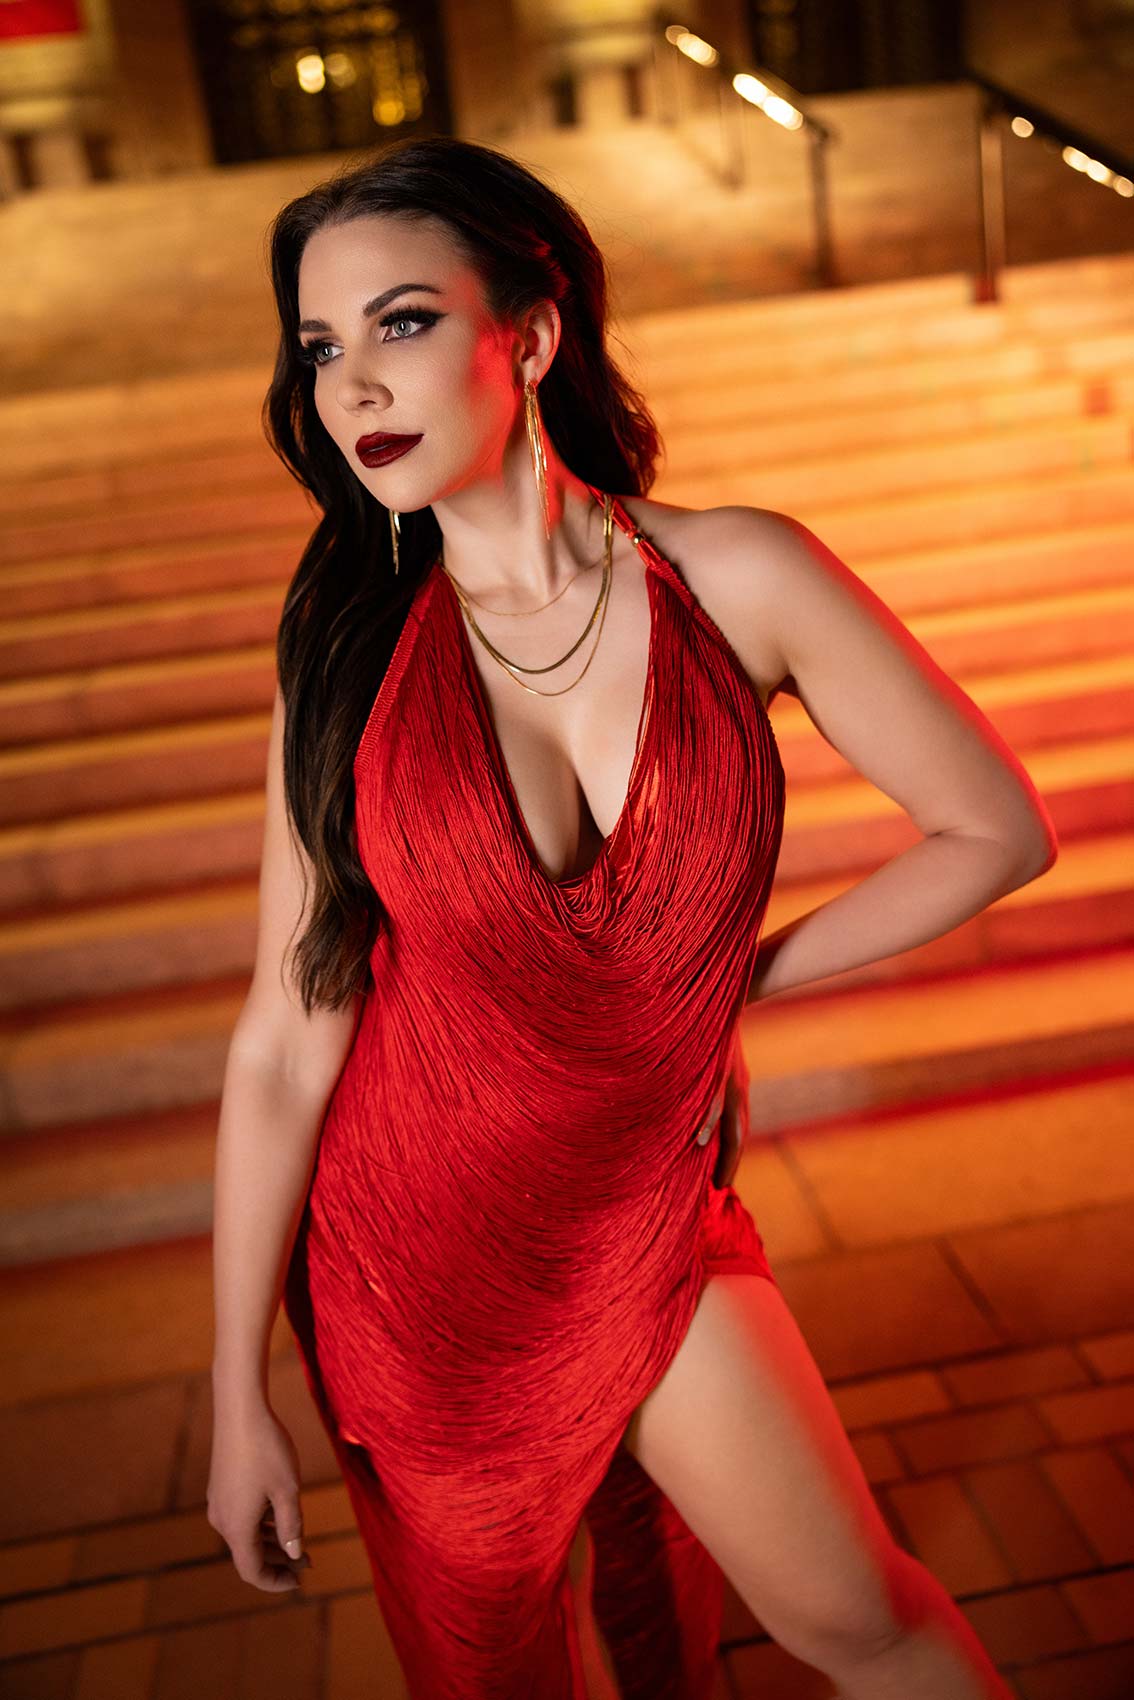
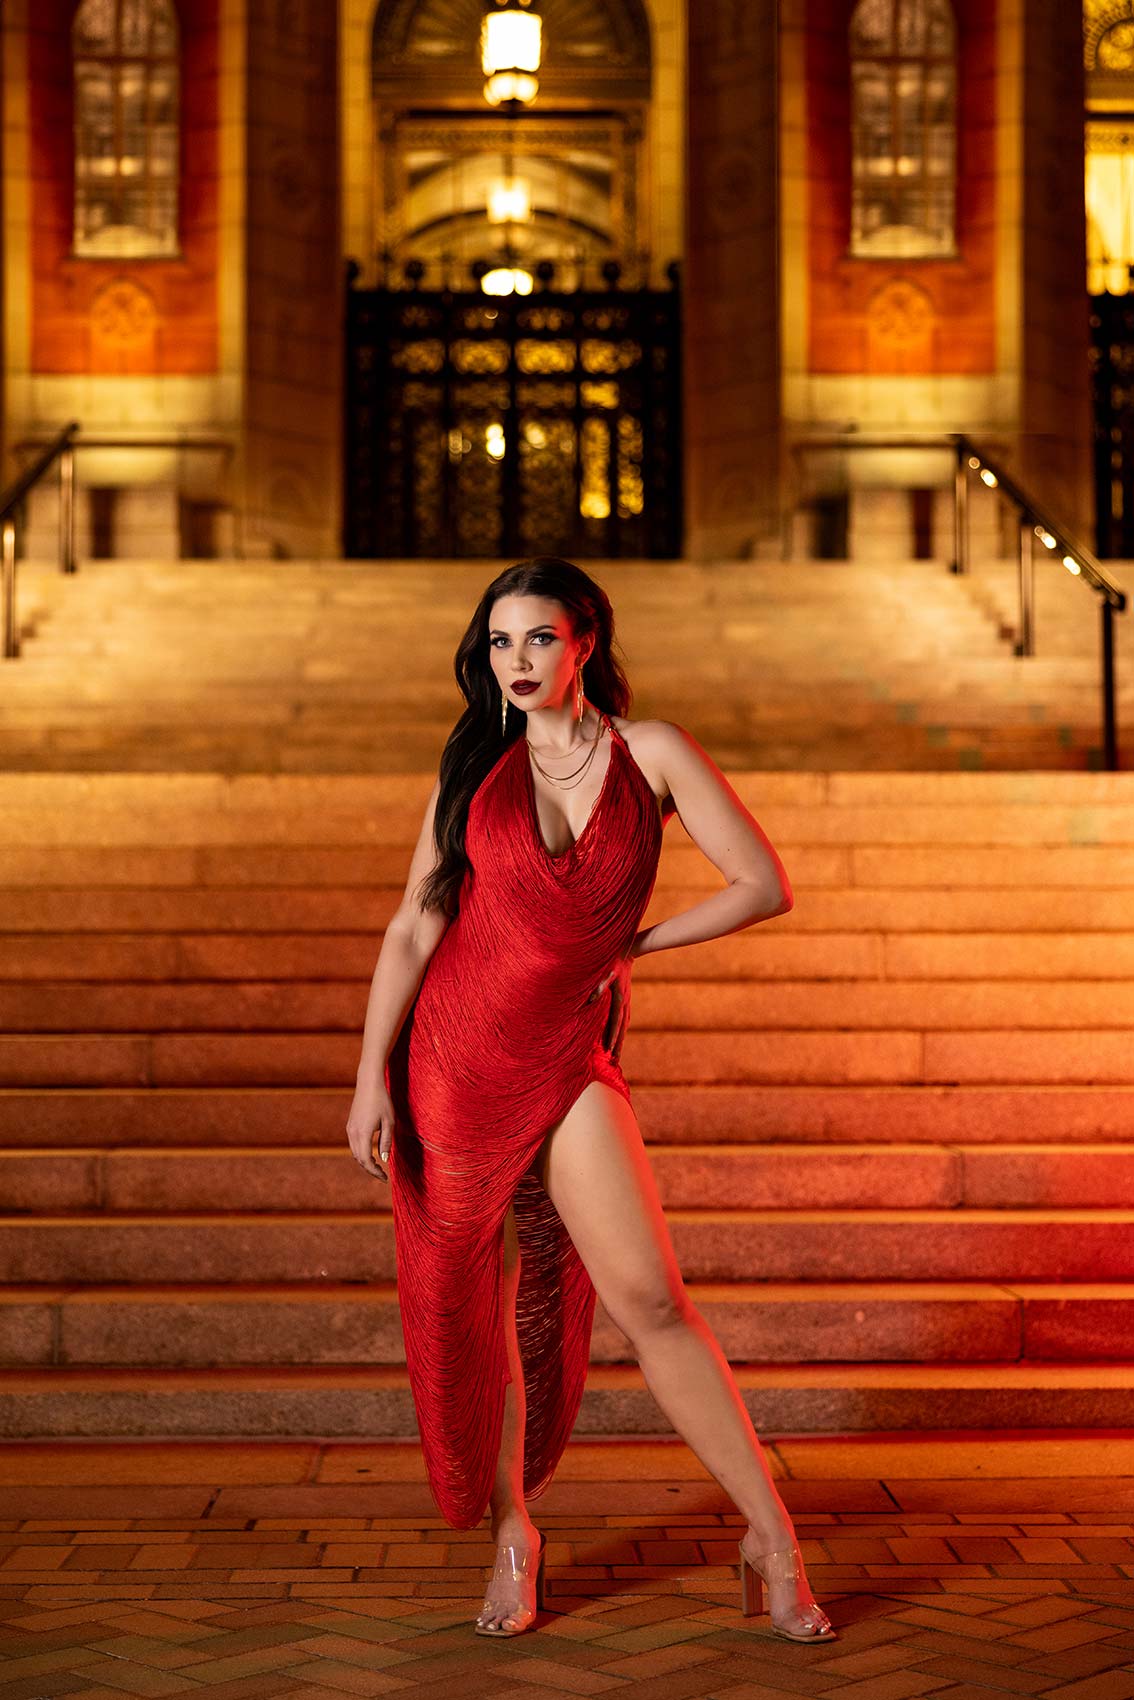
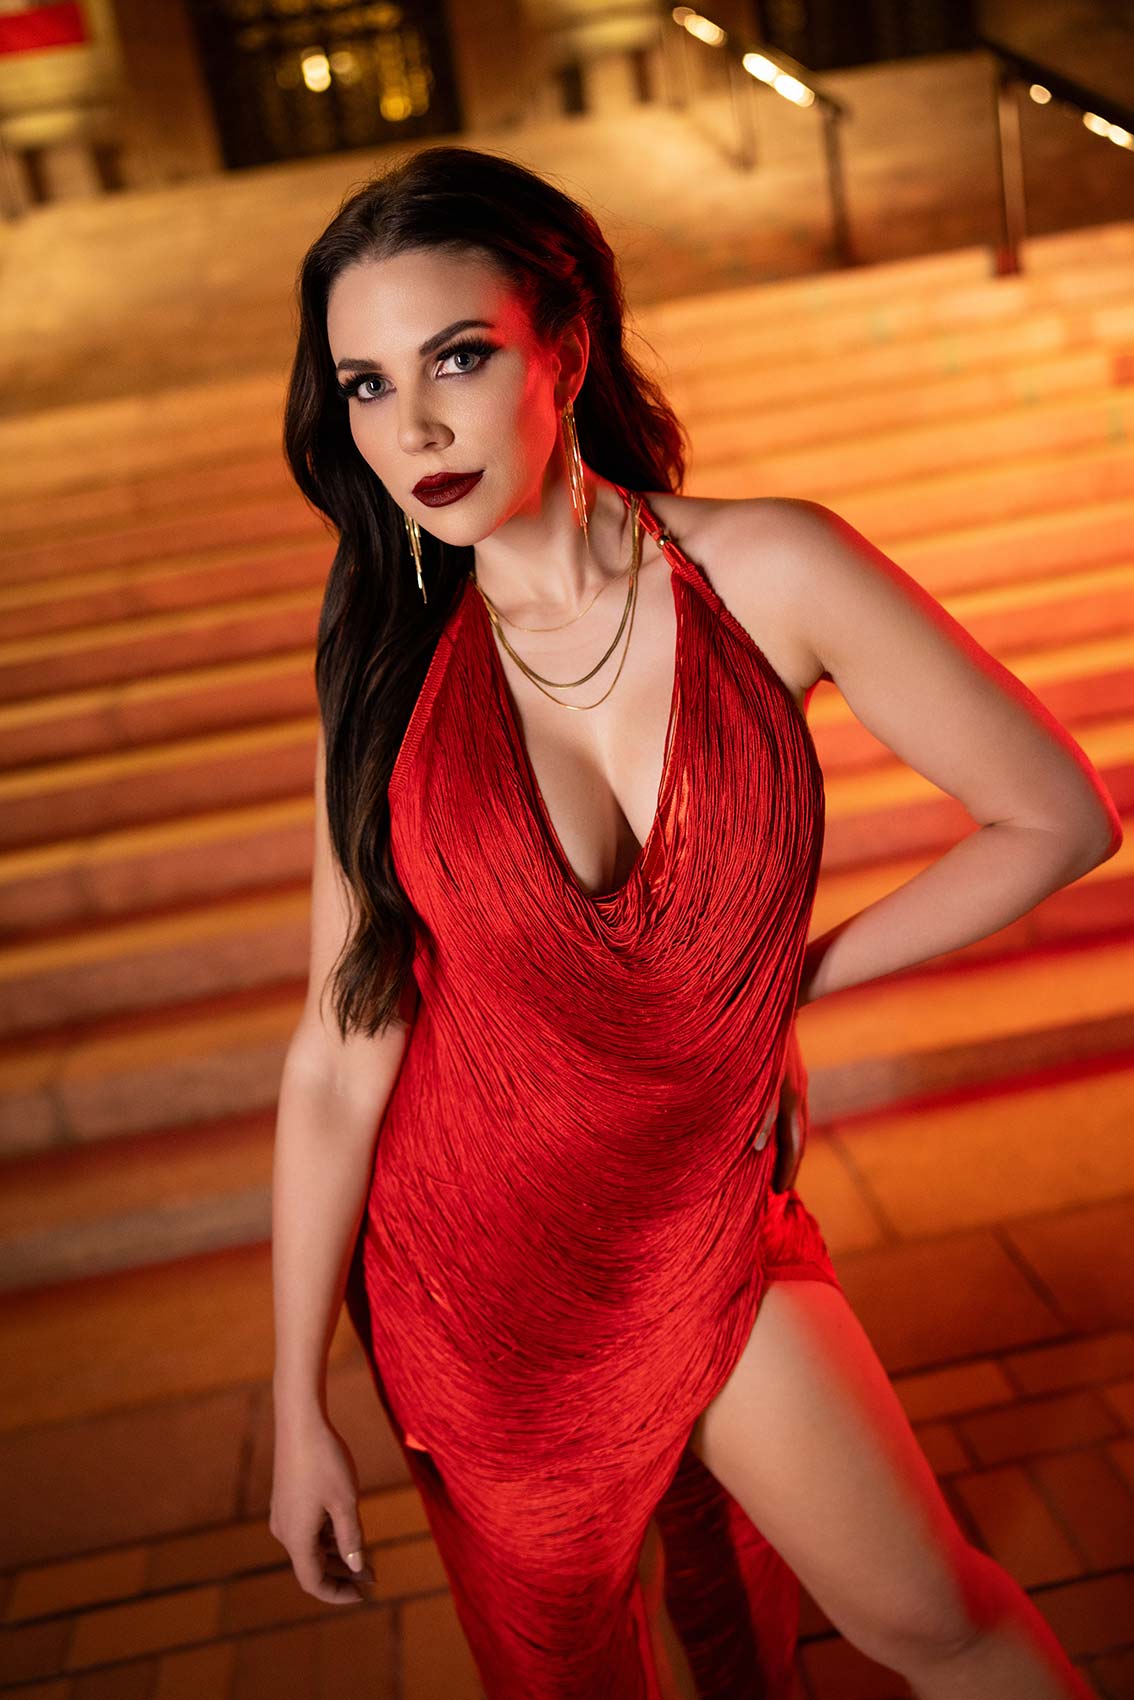
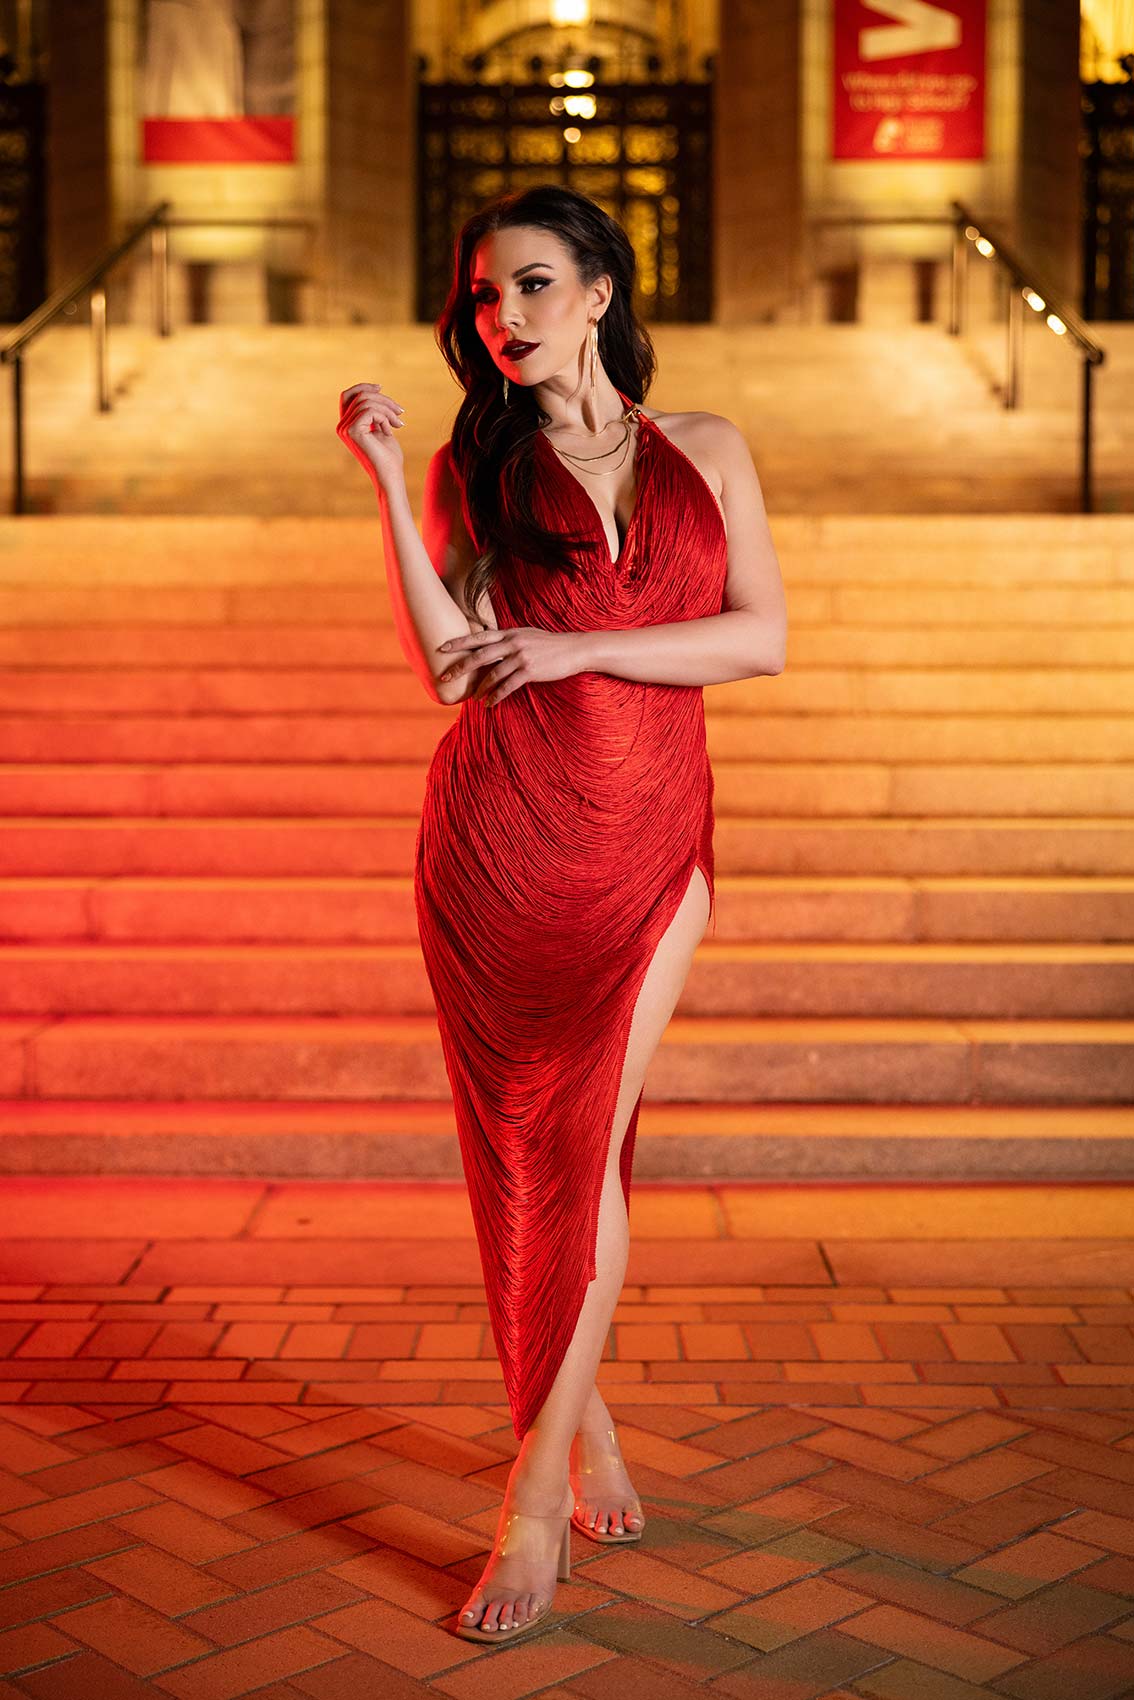
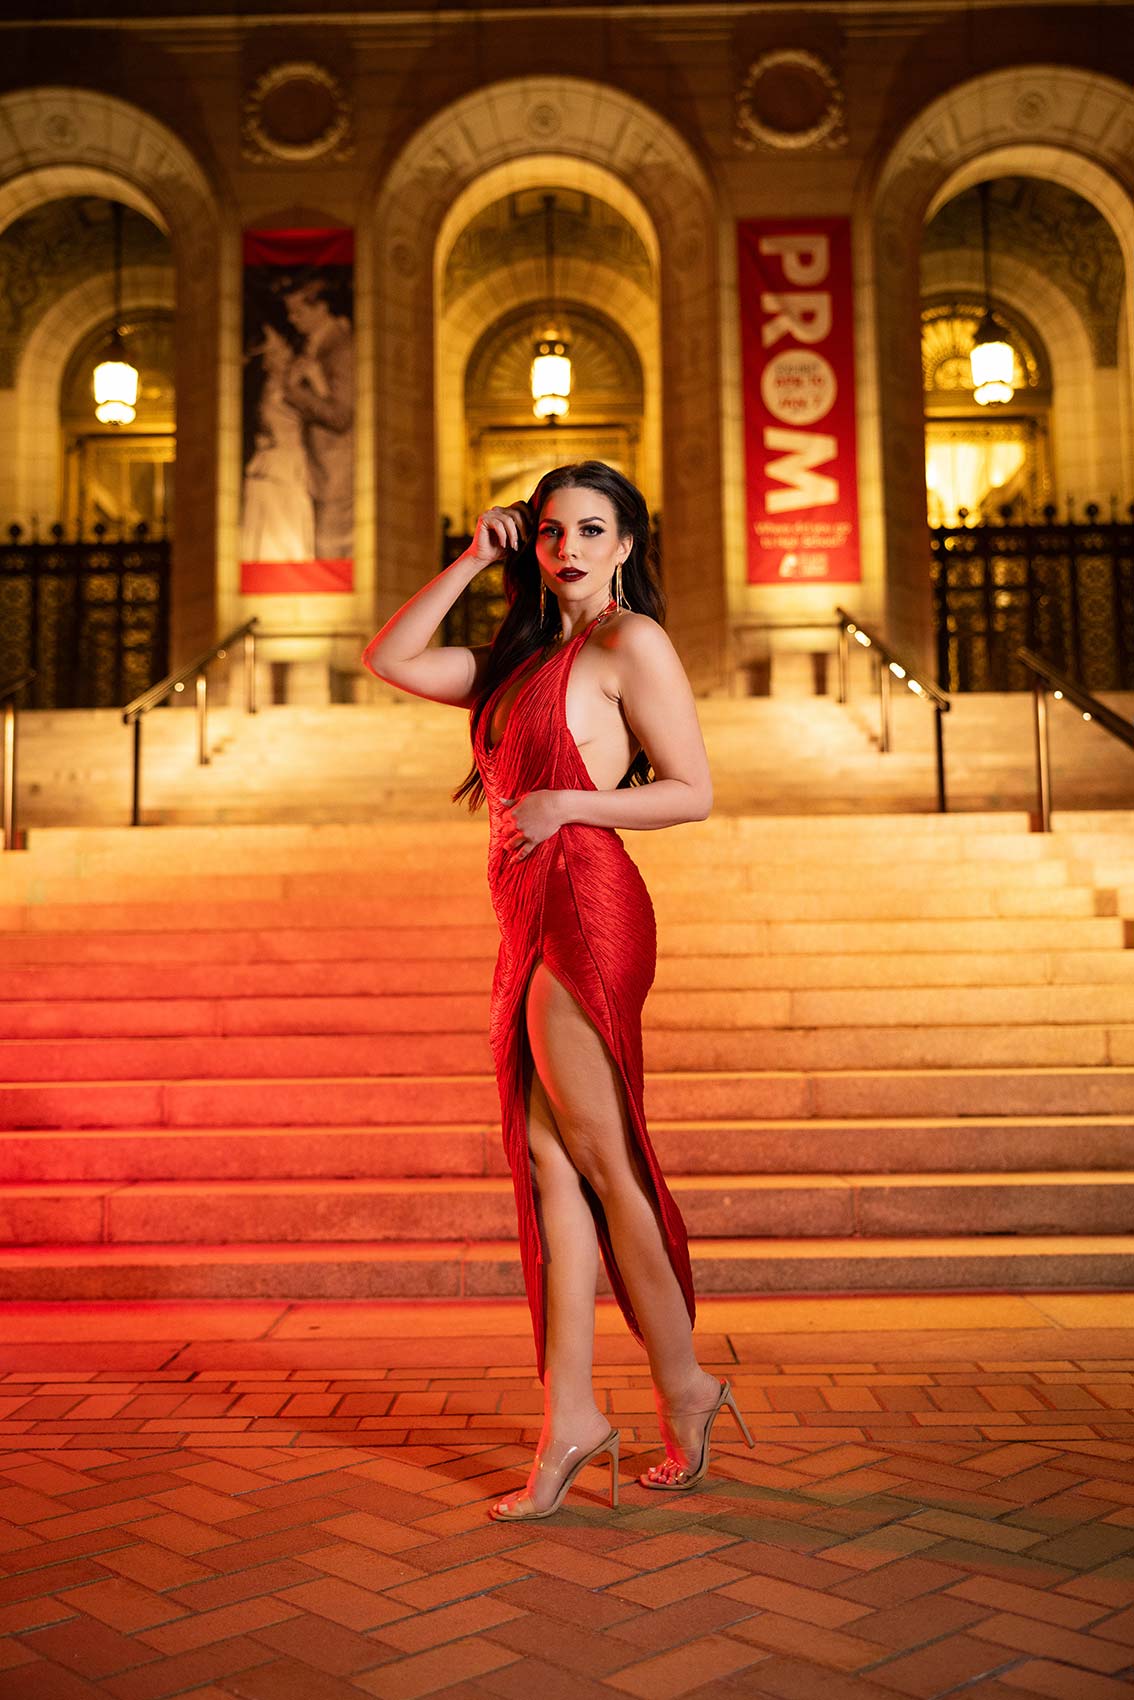
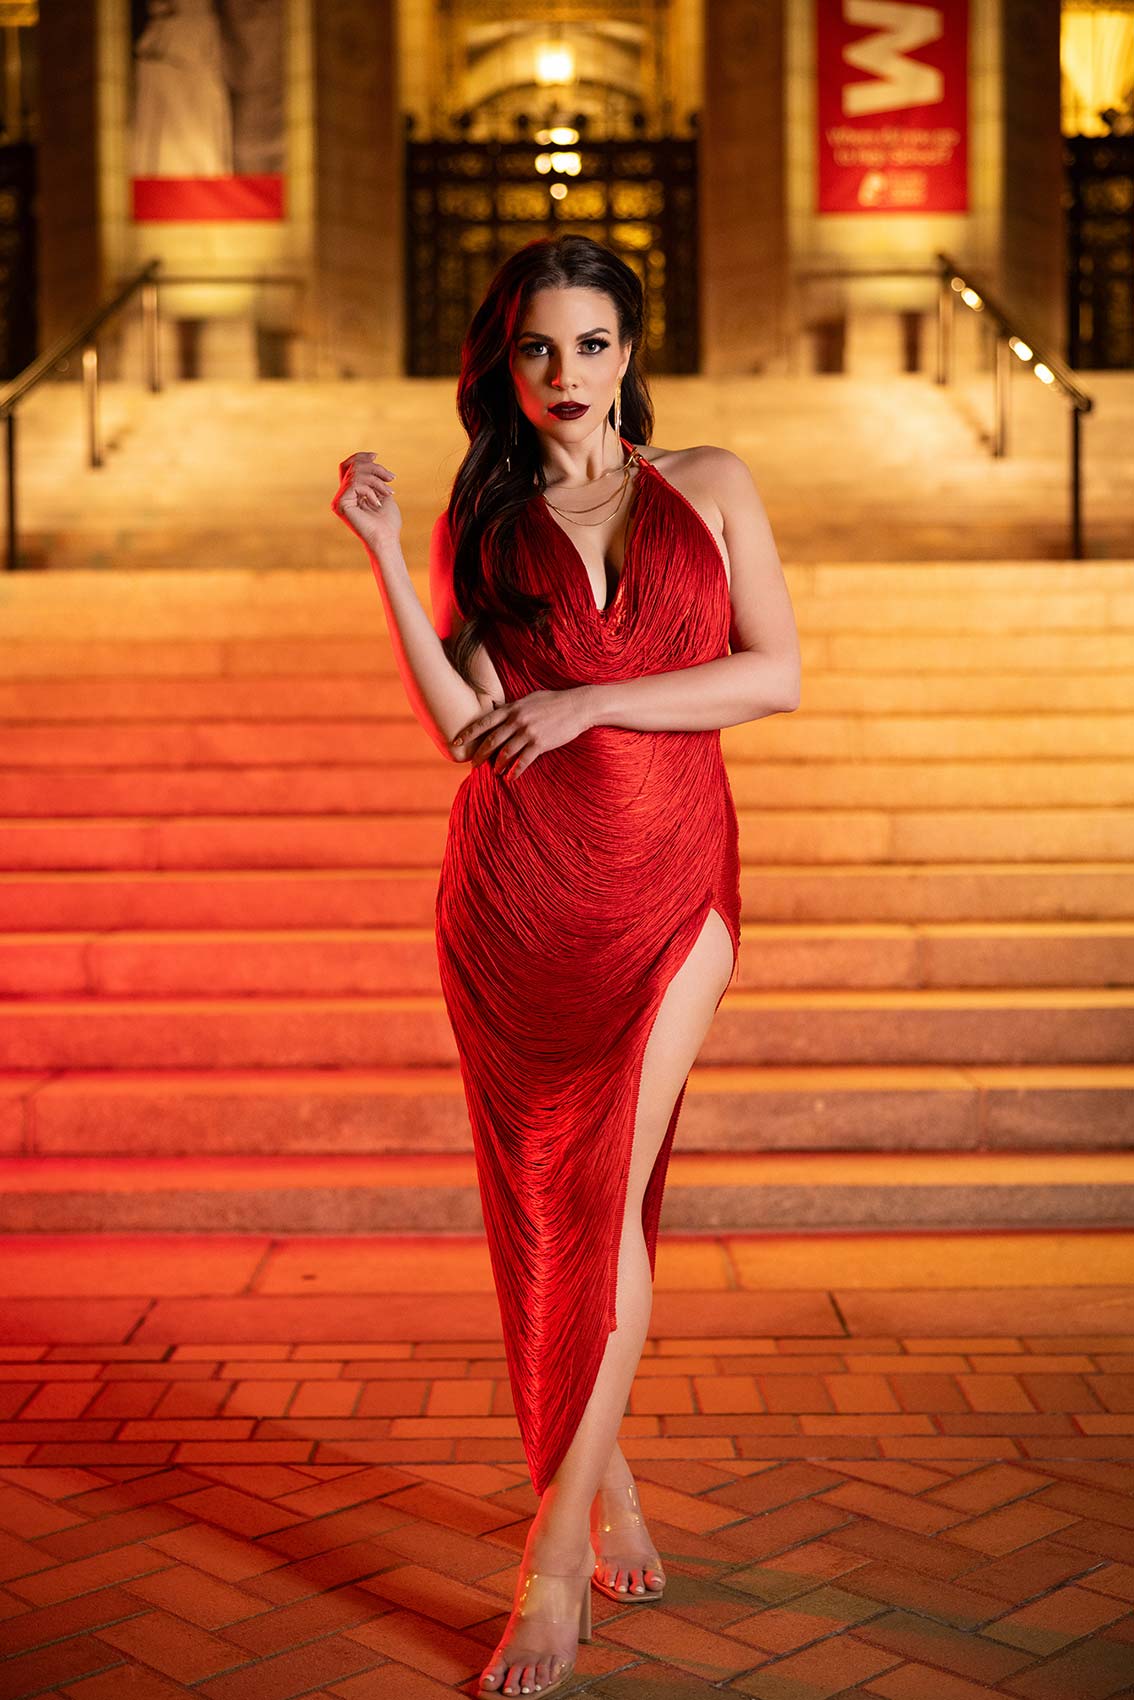
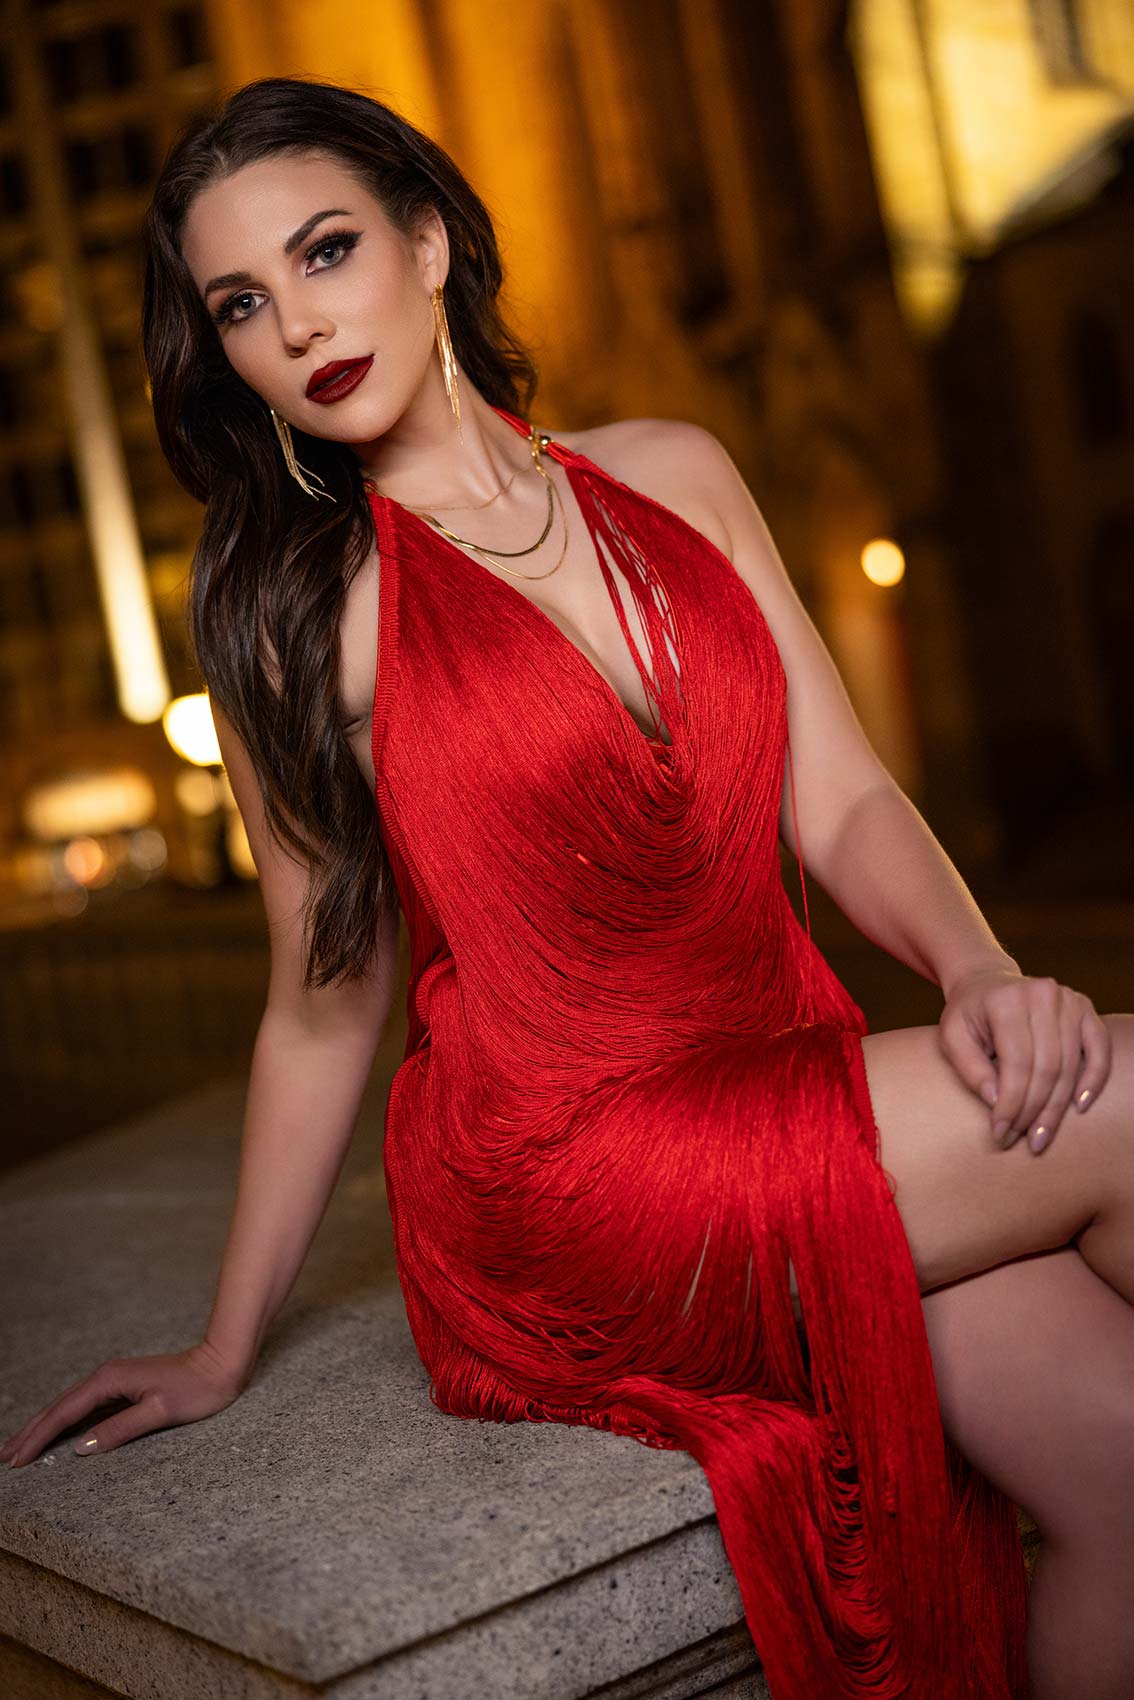
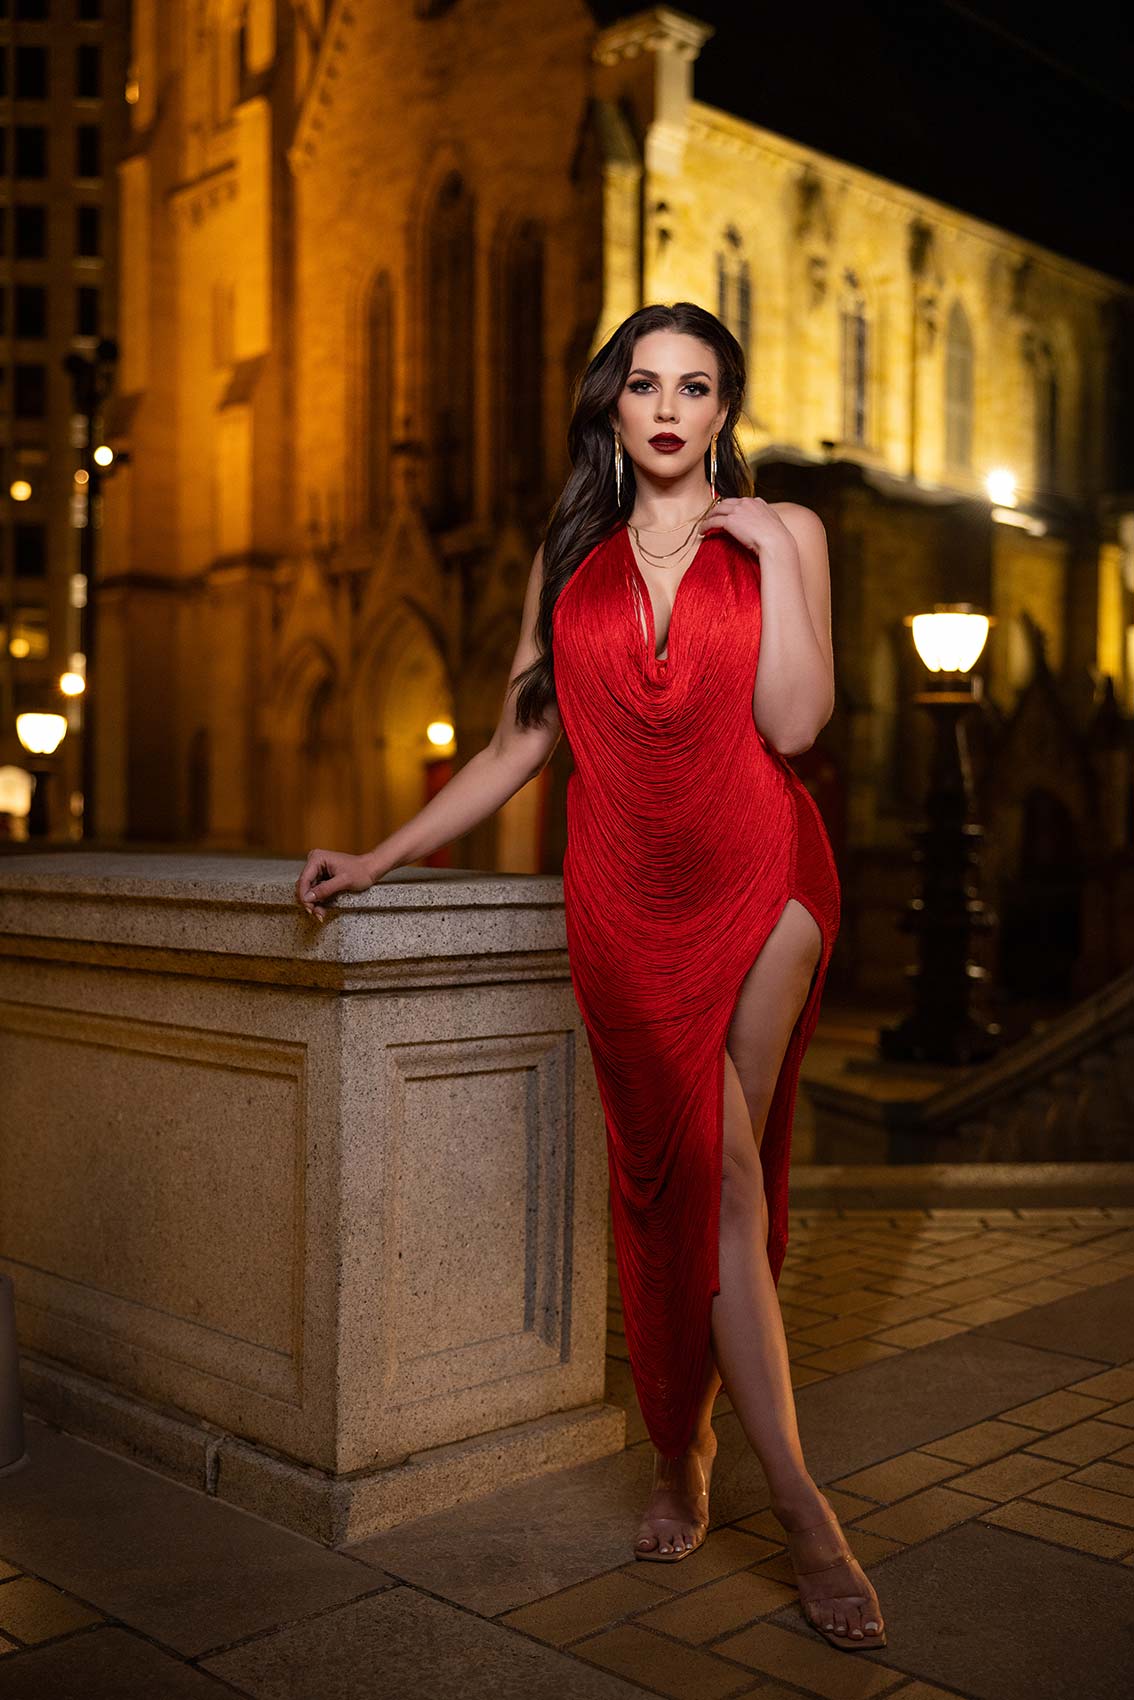
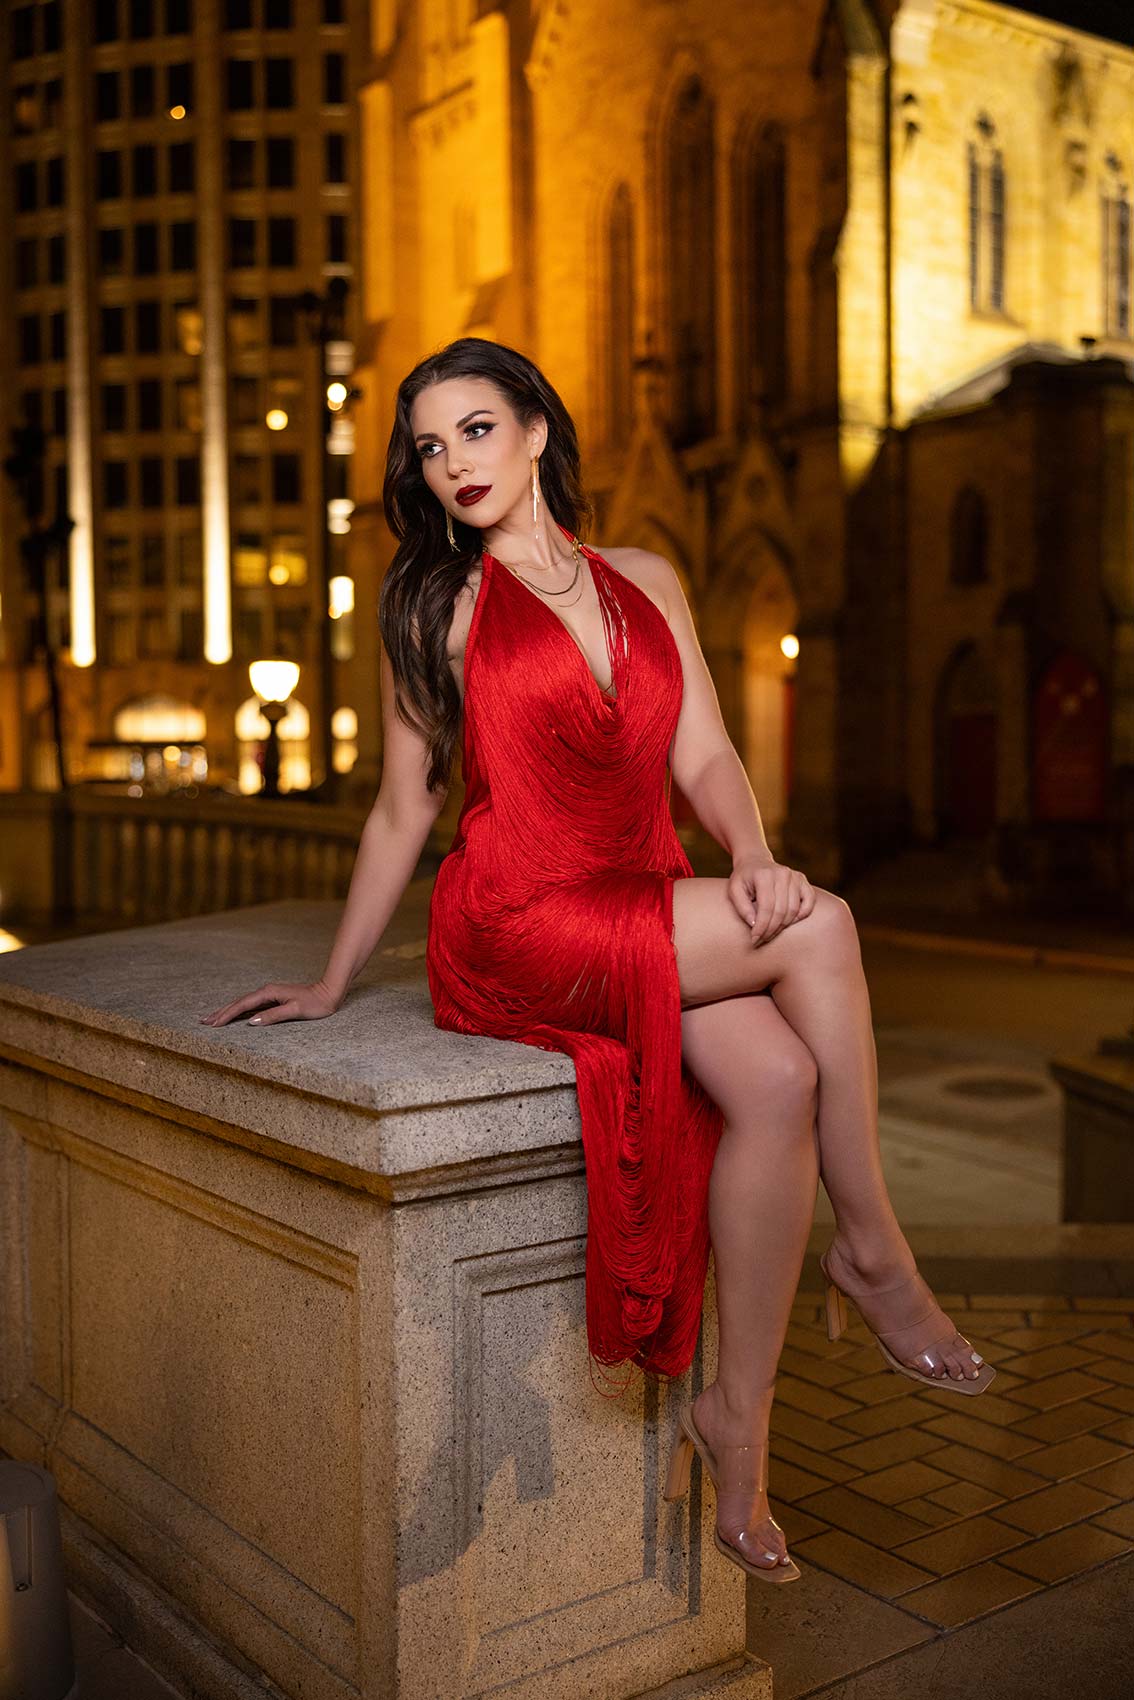
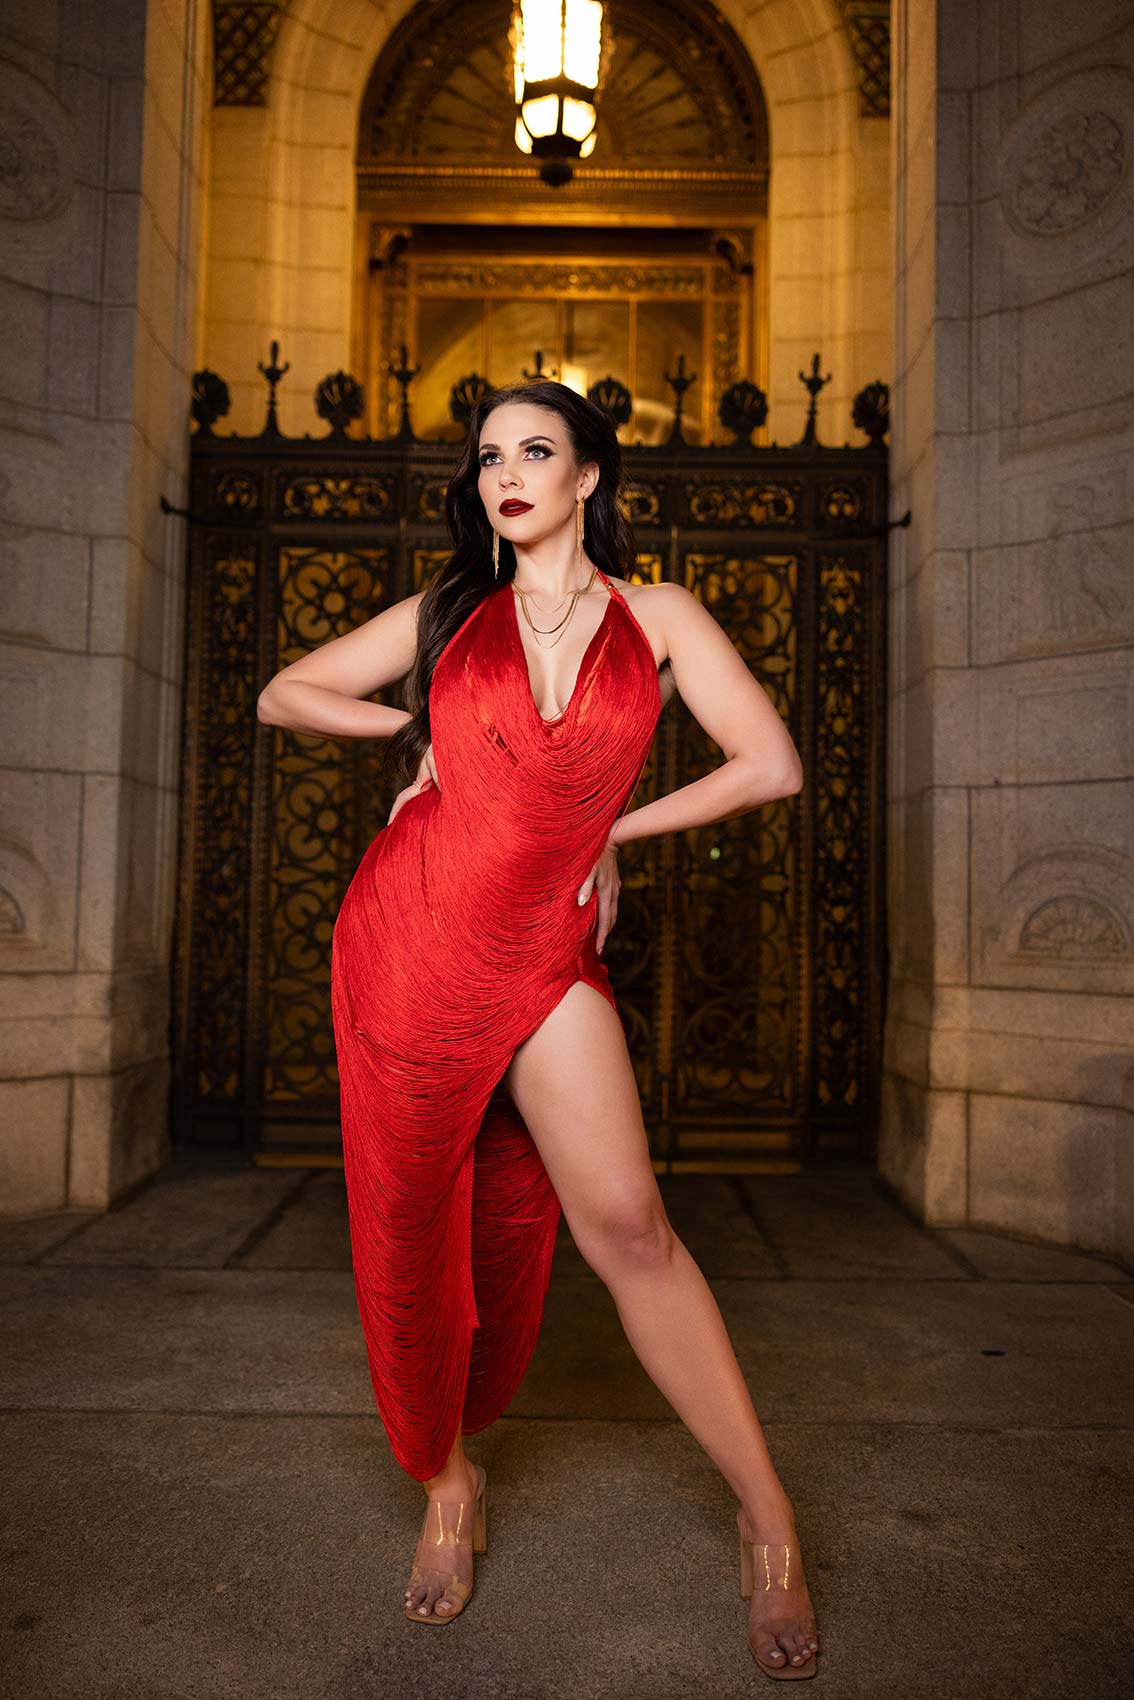
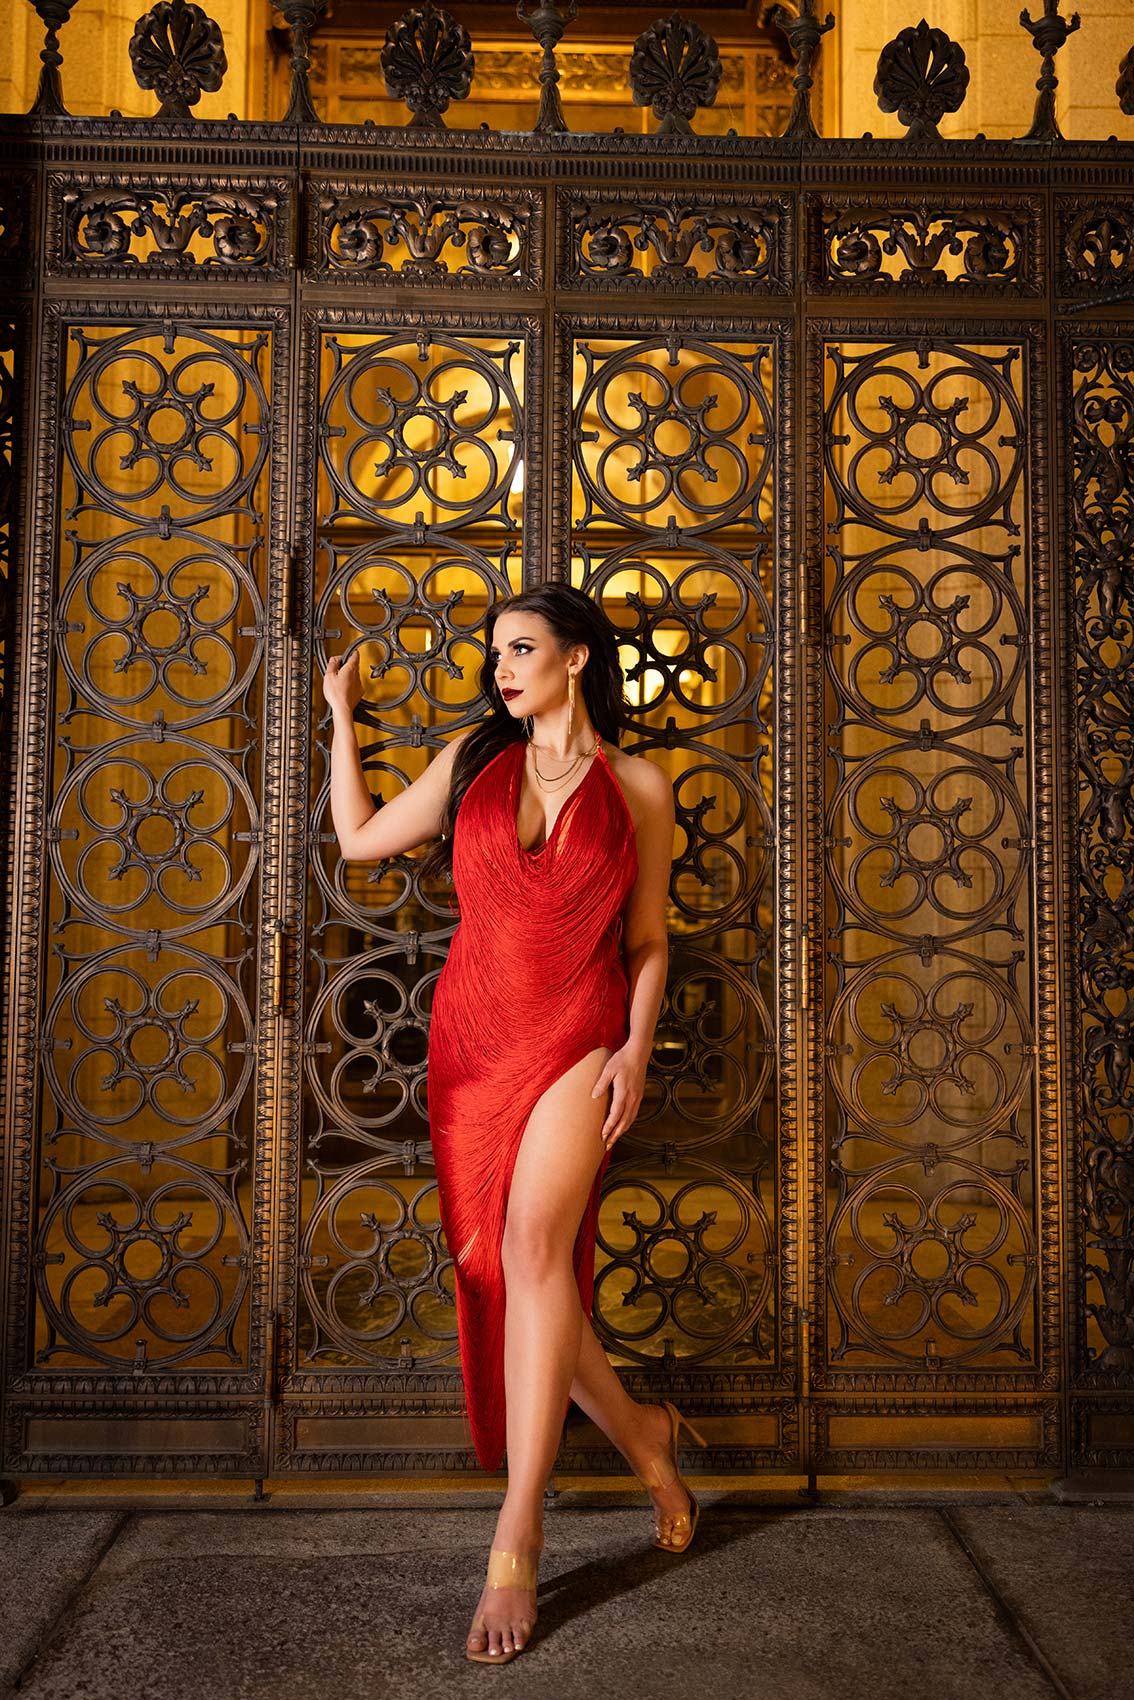
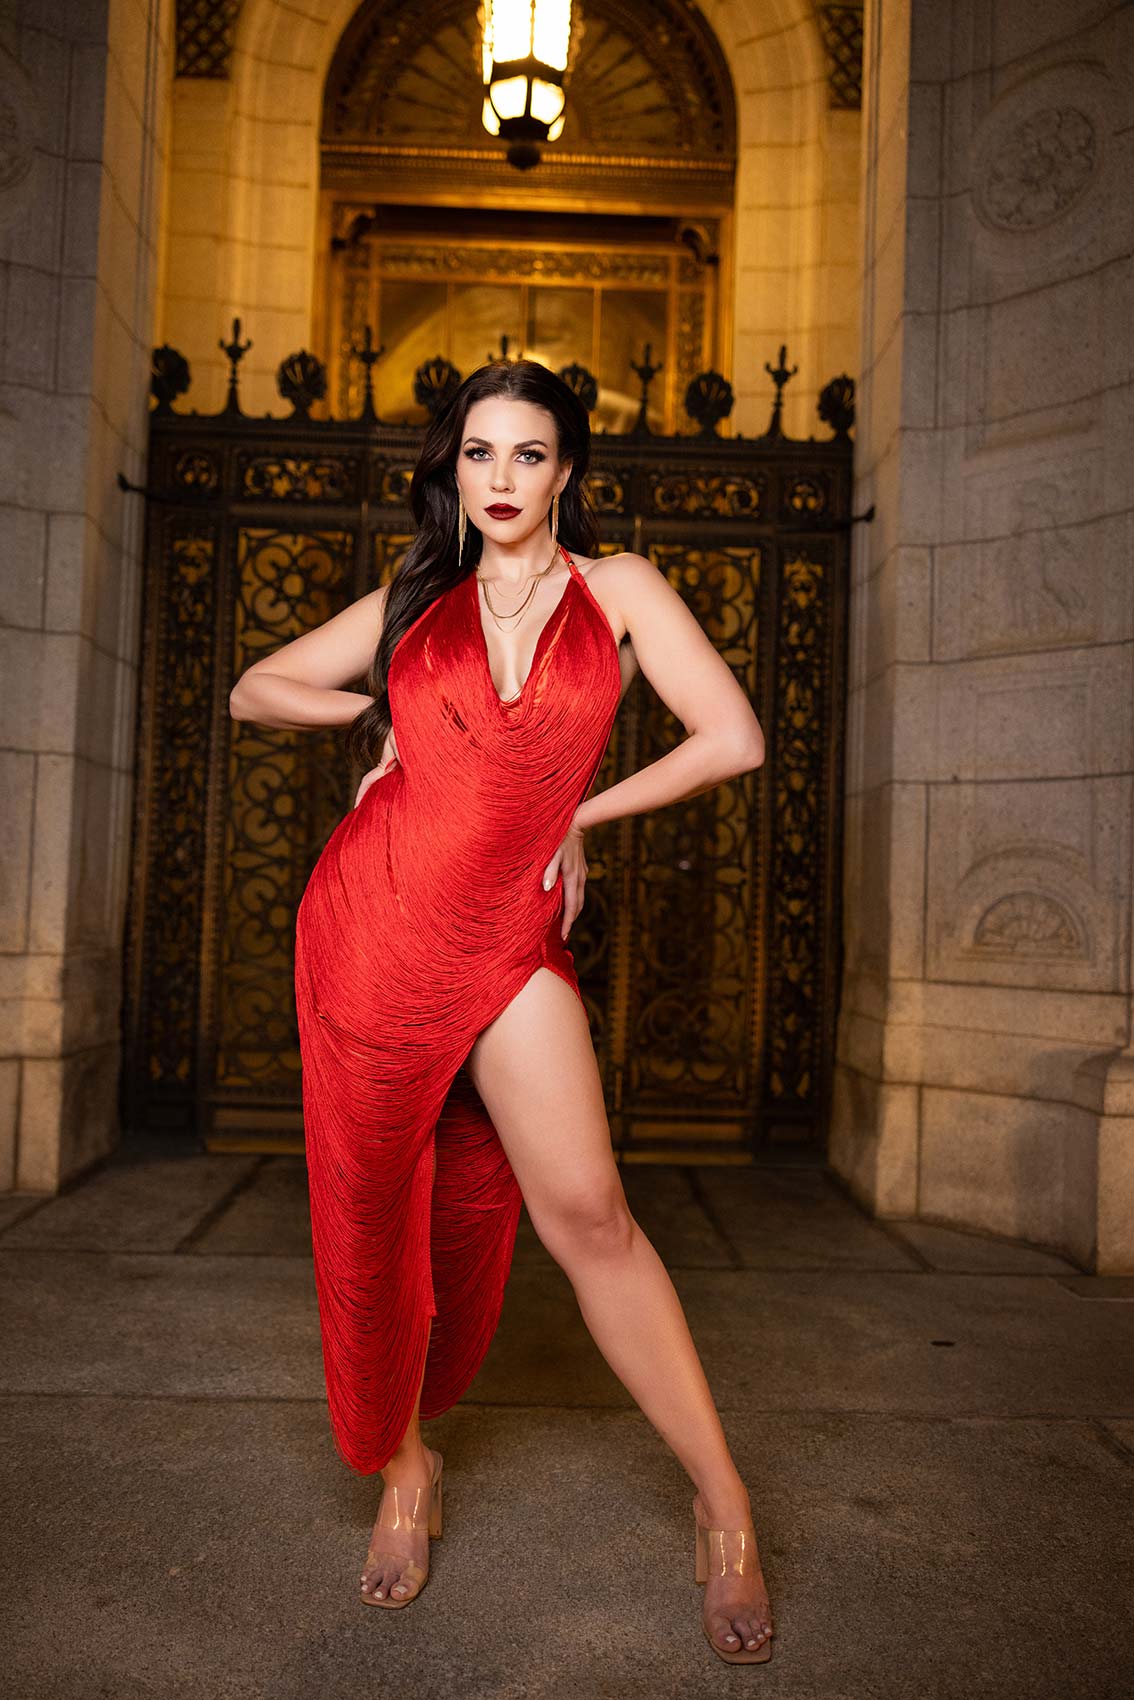
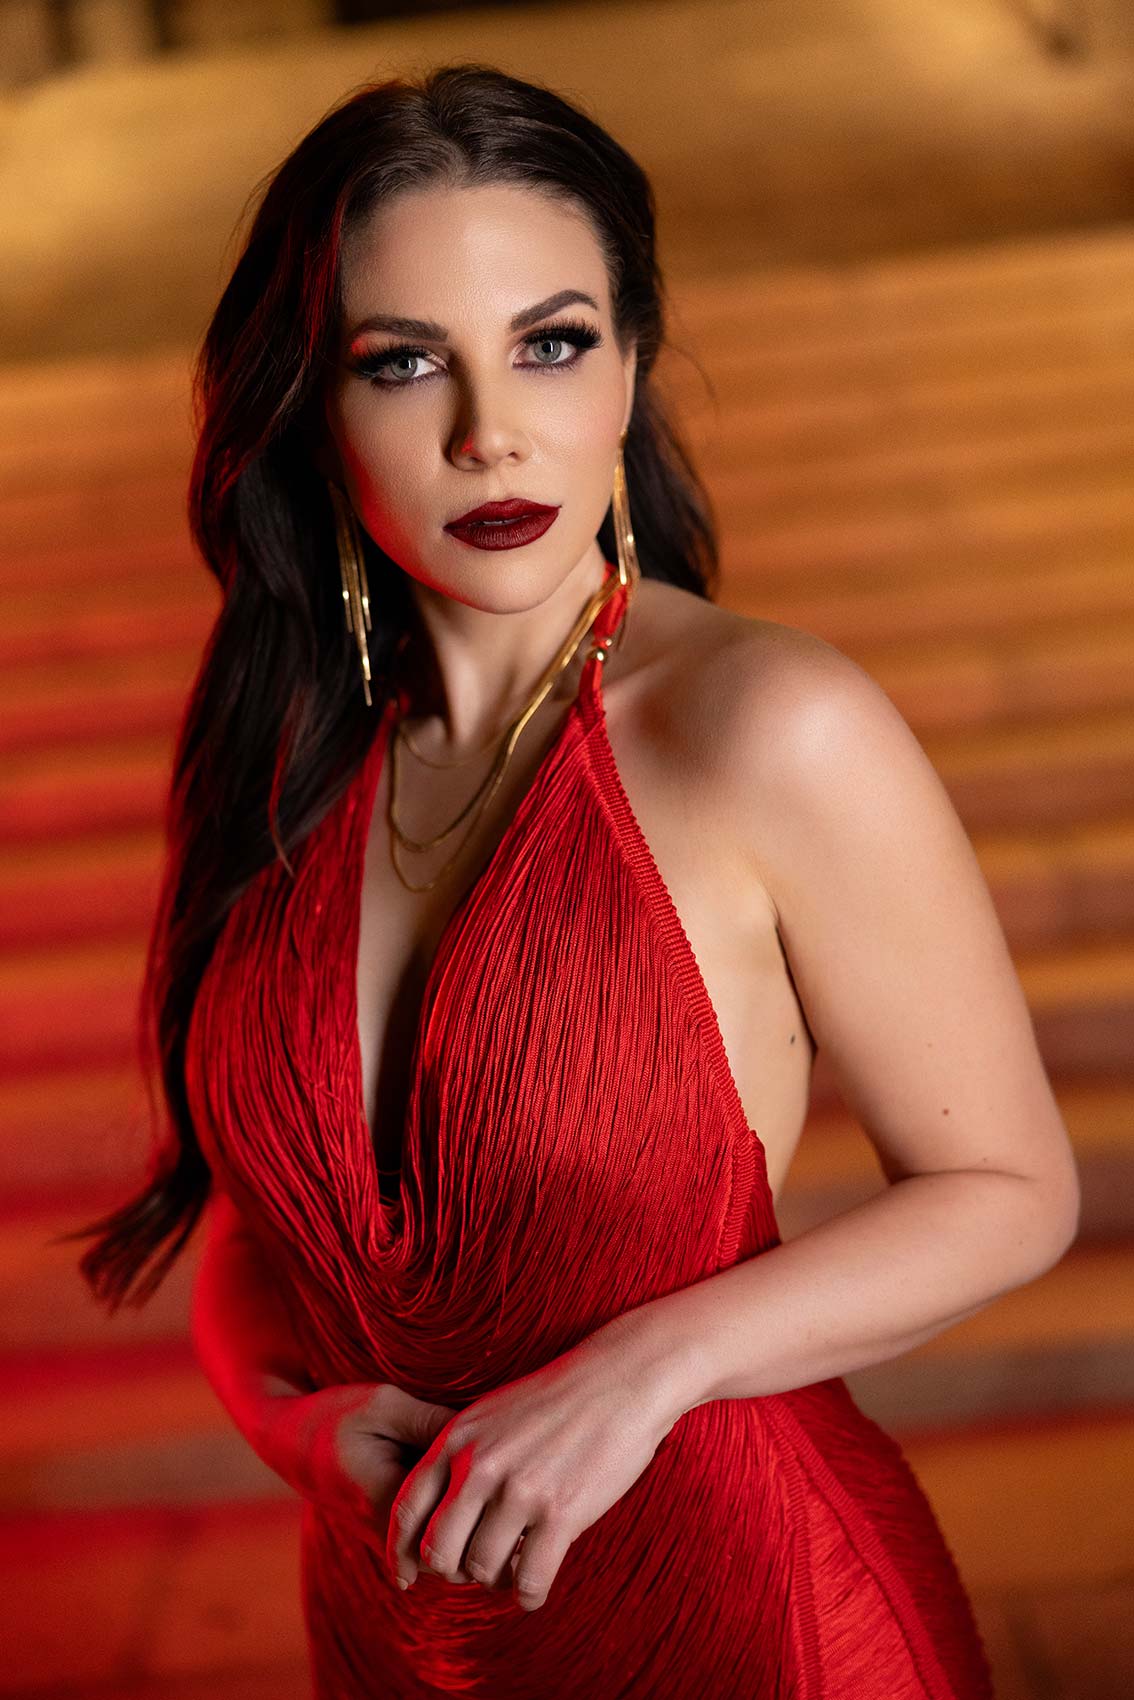
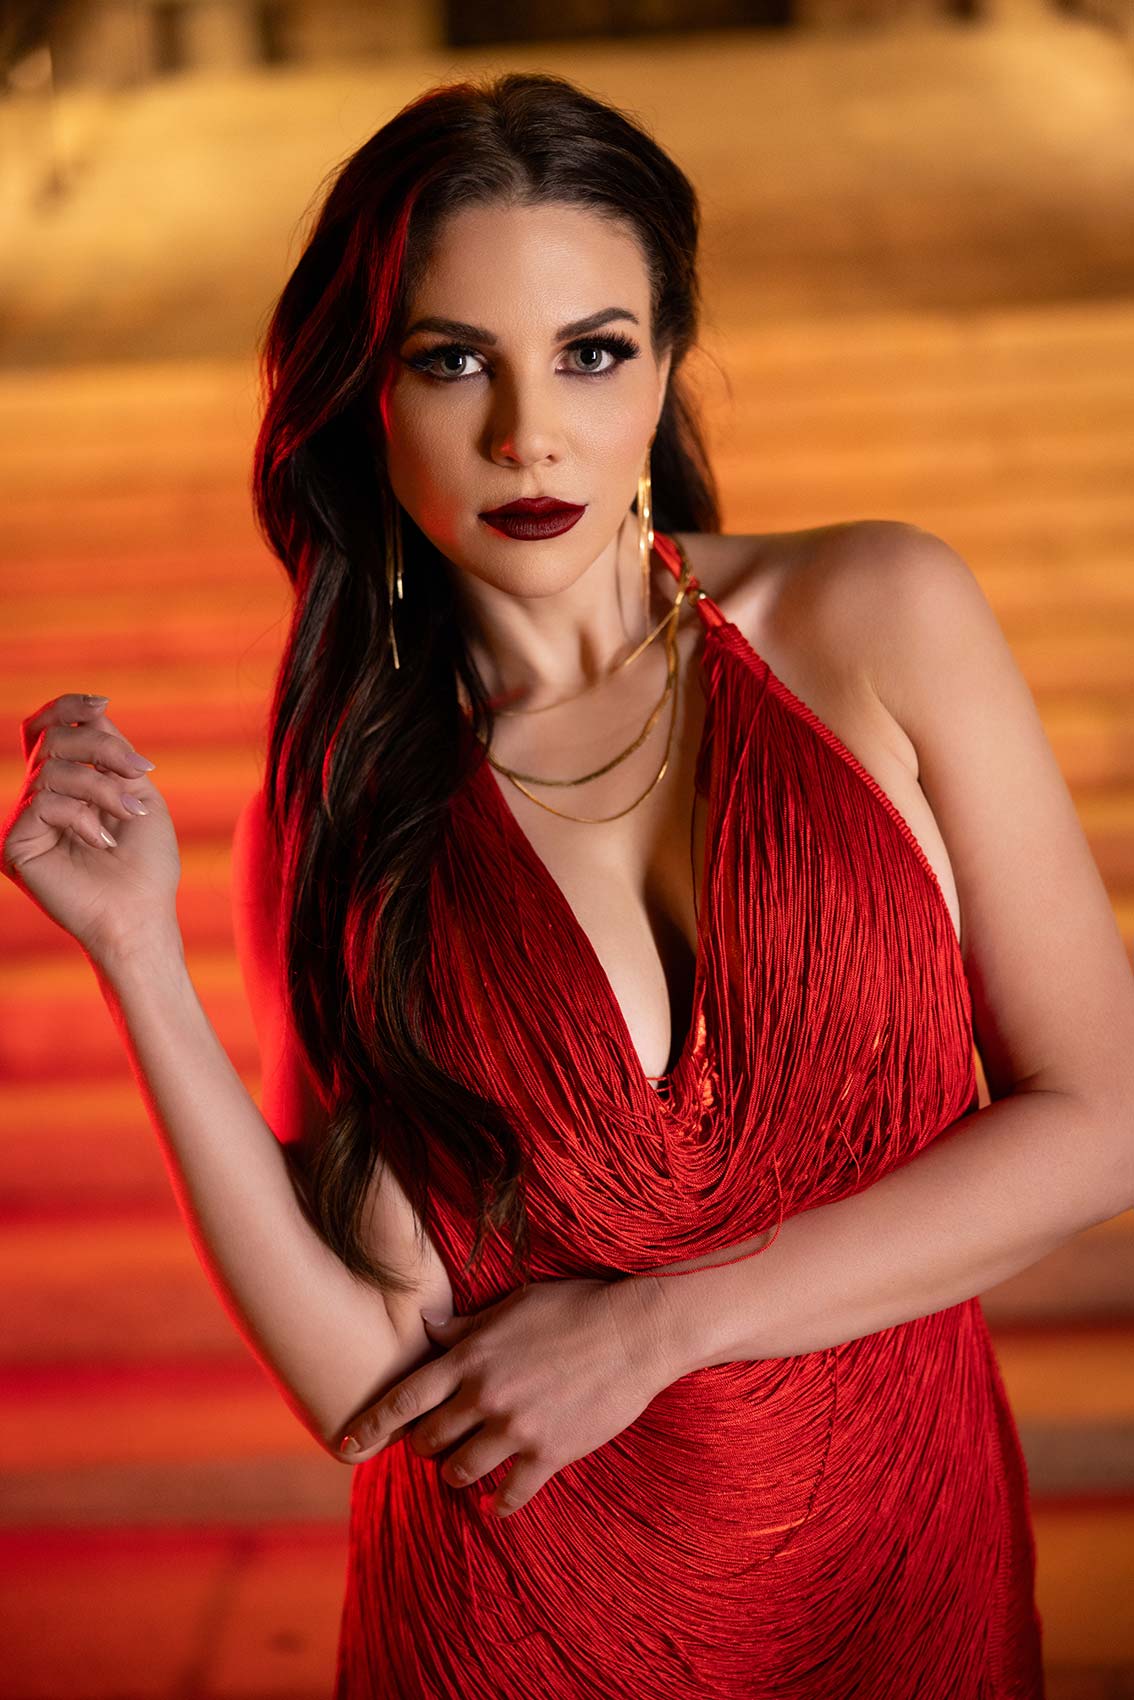
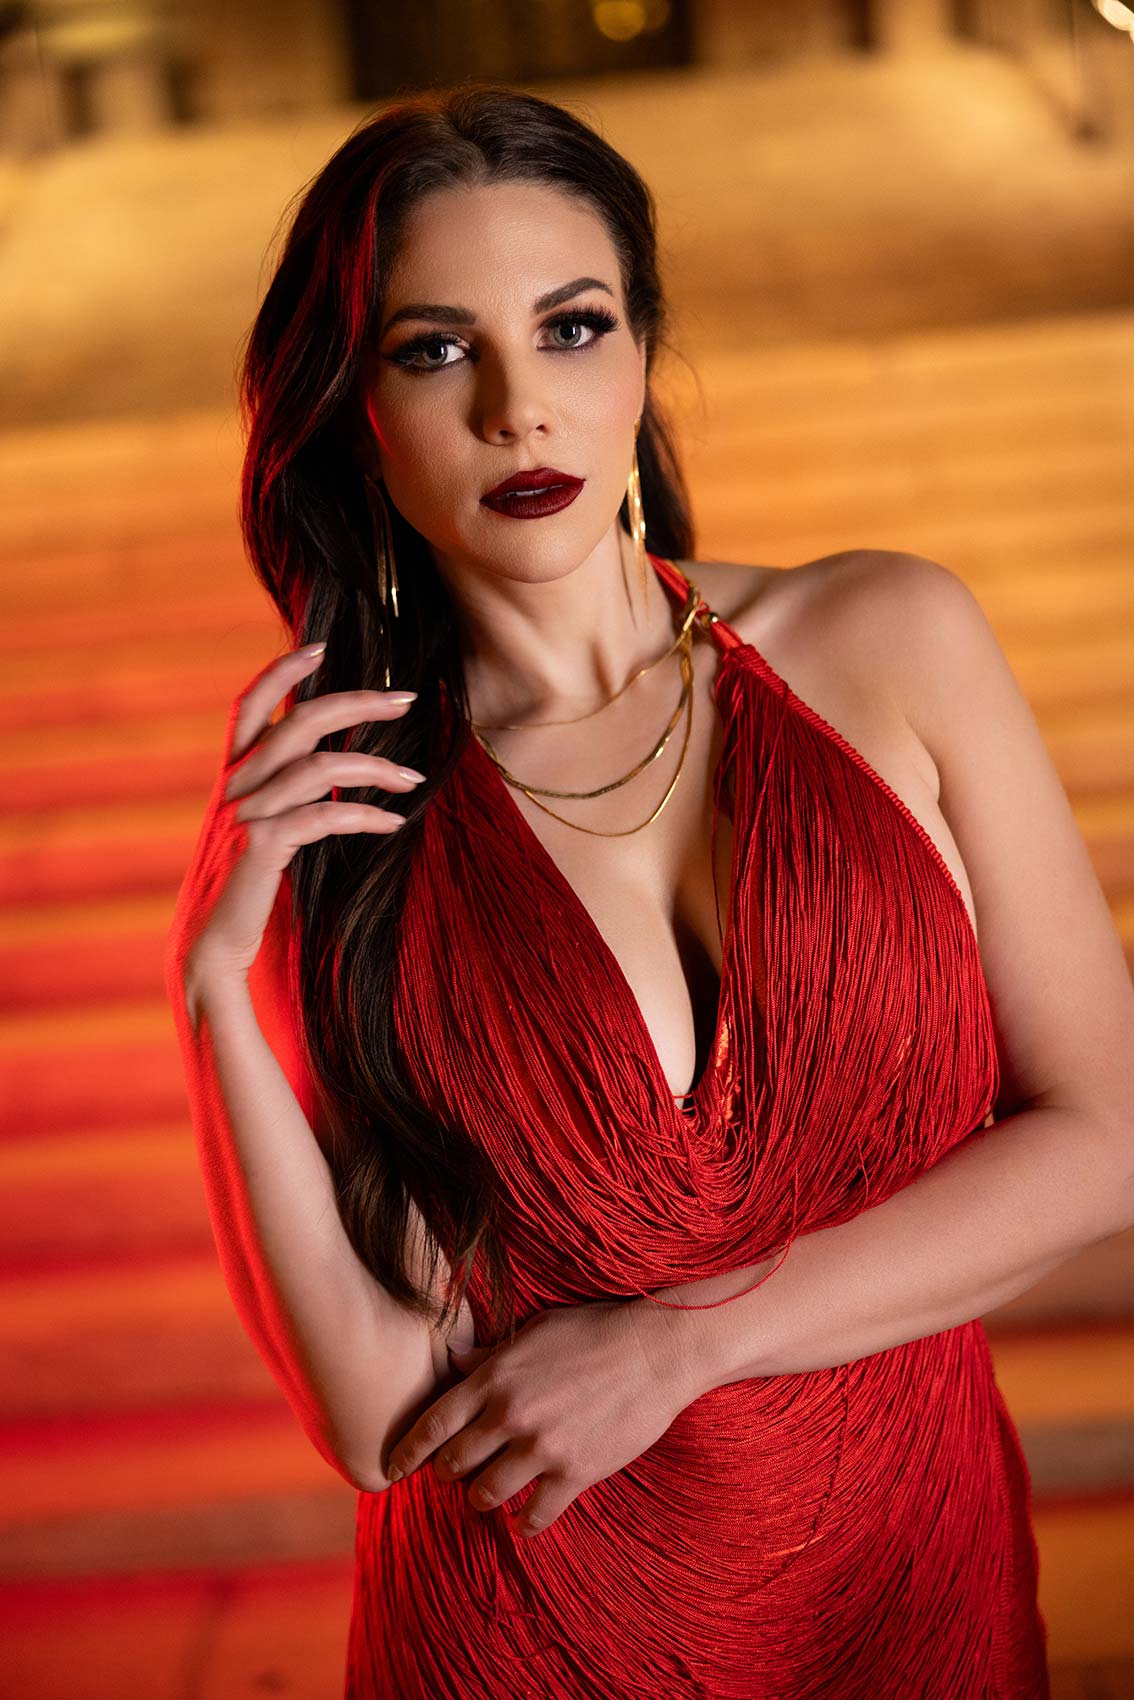
Have you ever shot at night? It’s an incredibly fun way to create portraits. For this portrait photoshoot, we used the Nanlite PavoTube II 30x. In fact, as you will see in the behind the scenes video, we used 2 of these continuous lights. We had one light in RED and one daylight balanced. As a portrait photographer, I can tell you how important it is to explore different lighting options for your photography. These lights are easy to set up and with continuous lights. What you see is what you get.
Equipment Used:
Camera: Canon EOS R5
Lens: Canon RF28-70 f2.0
Light: Nanlite PavoTube II 30x
Team:
Photographer: Sal Cincotta
Model: Lauren Middleton
Hair & Makeup: Brandi Patton, ReFine Beauty
Ready to do some night portraits with continuous light? Let’s get to it. What’s up everyone? My name is Sal Cincotta, and I’m here once again with the always smiling, Lauren Smiles.
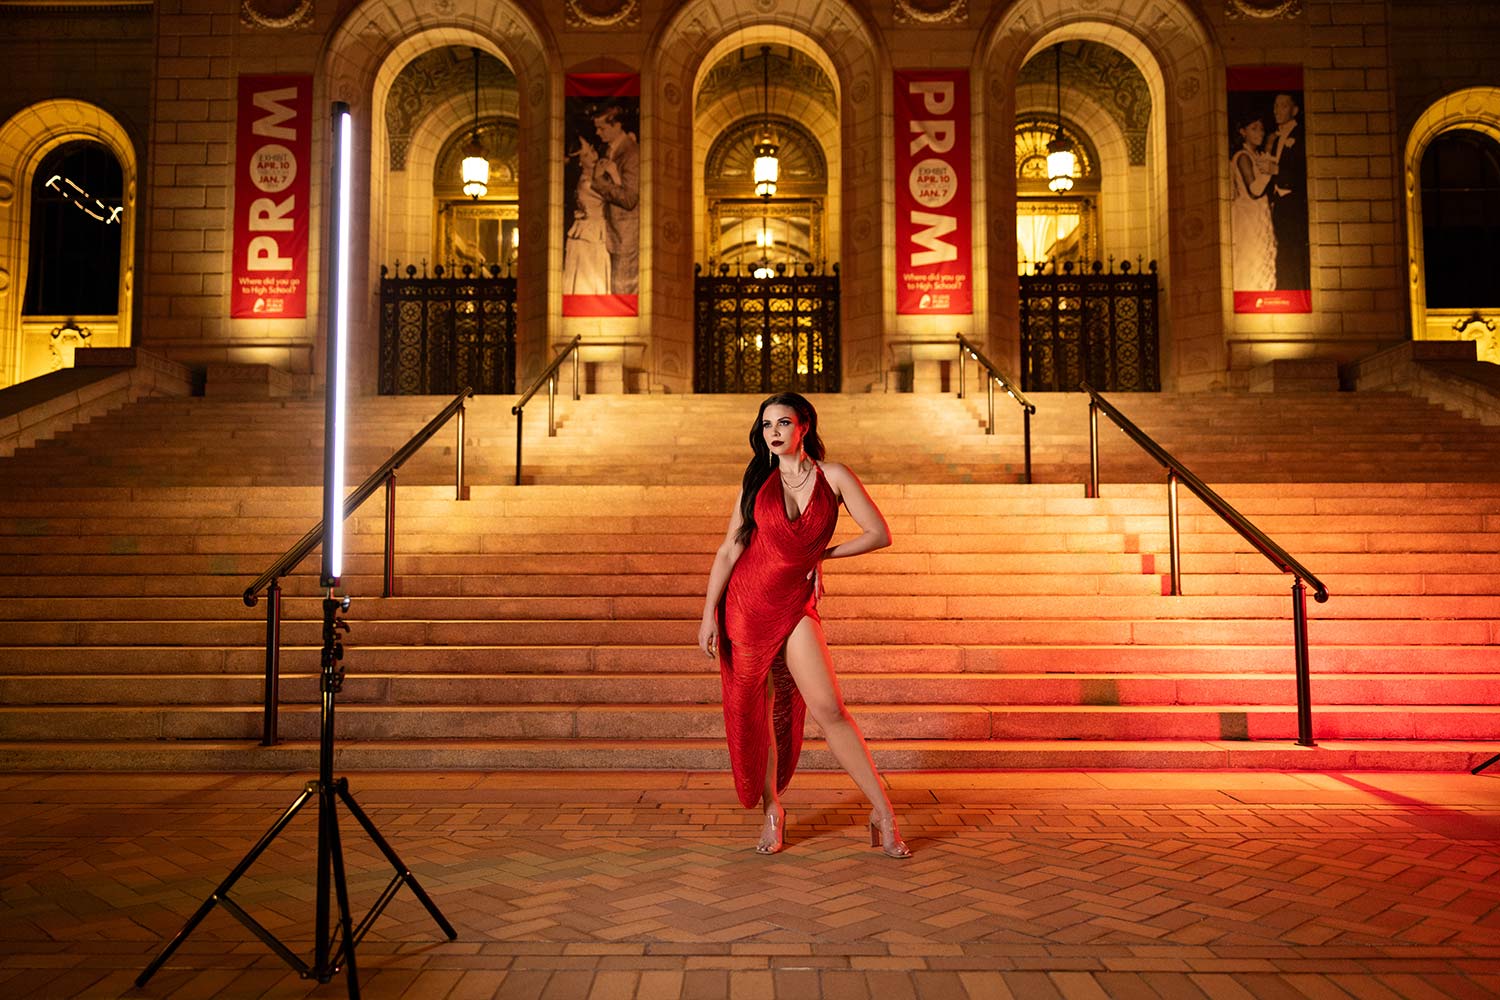
Settings: f/2 @ 1/100, ISO 1600
Let’s get started. So, we are gonna do some night portraits here. We are in front of the St. Louis library. It’s a beautiful building. We are here in front of it, we have the NanLite PavoTube II 30X that we are using. We’re gonna use two of them. These are incredible light sources, really easy to work with and move. Now, you might be thinking, why do I wanna do night portraits? You know, and use continuous light, because quite frankly, what you see is what you get. And that’s gonna make these portraits super easy to get through. It’s the light we’re using to illuminate me and Lauren right now, and I want the ambient in that background. So, I really do want the yellow light from the library, and that’s one of the reasons I’m using continuous light. I don’t want to fire strobe and lose light and have light leak everywhere. So, I want to really control. We’re in downtown St. Louis, everybody. So, there’s going on. We’re also gonna use a red Pavo tube for edge light and might use it on and off, just depending on what it’s looking like.
So, for these lights, they are a company name is Nanlite, but we have changed the name. We call them nannies. So, from here to four, they’ll be known as nannies. You’re welcome, Nanlite. All right, let’s get to it.
Alright everybody, hope you learned a little something. Let us know in the comments which one’s your favorite. But again, I can’t stress how practical lights like this are to work on photo shoots. You get to move fast, have fun, and really be in and out of location super quick. So, hope you enjoyed it. We’ll see you in the next video.

