Newborn Photography | 6 Tips for Choosing Props with Ana Brandt
Newborn photography continues to grow each year, and with this growth brings props that can transform your sessions and creativity. I love finding new, unique props and my clients appreciate the many artistic ways I use them. I do my best to adjust the prop each time so not every image looks the same.
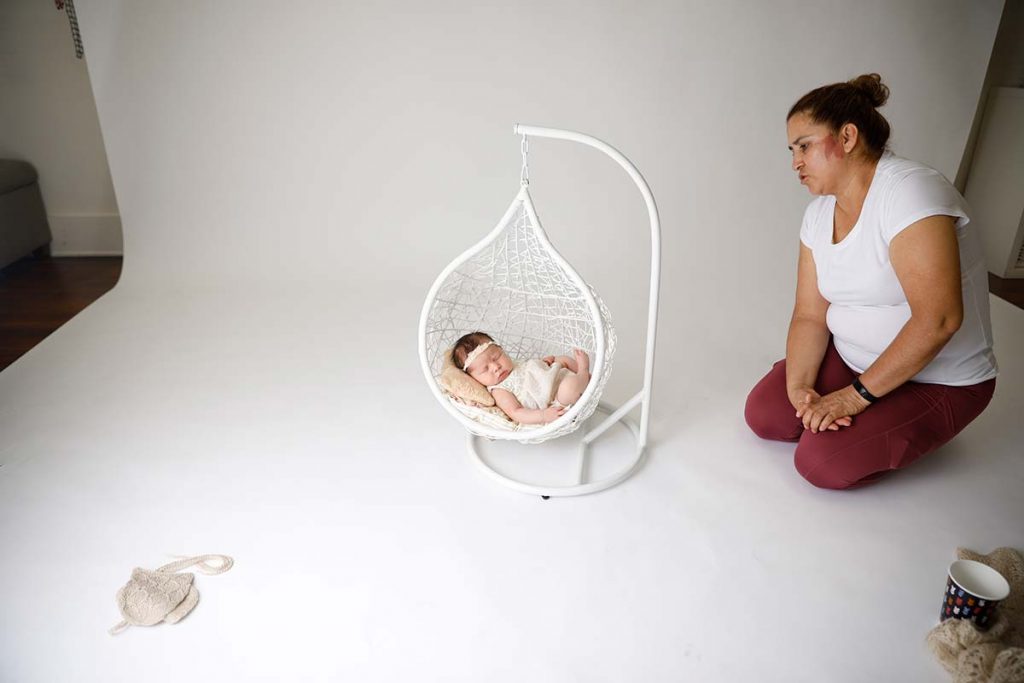
In my opinion, Choosing Props require assistance. Props can be unstable, wobbly, uncertain, and quite often require a spotter very close by. It is impossible to spot a baby on a prop and capture an image with ease and certainty. I work with an assistant every day and I believe this is invaluable and necessary for my business.
Buying props that are the right size for newborns can be tricky. You want to make sure the prop is not too small or too big—it has to be just right.
1. Check the length of the prop to make sure a baby will fit.
You can see in the photos that one way to make sure a baby will fit is to curl up your hand and see if your arm fits wrist to elbow. Most babies are curled up when they are in a prop, and quite often a baby will measure the same as your arm.
2. Check the depth.
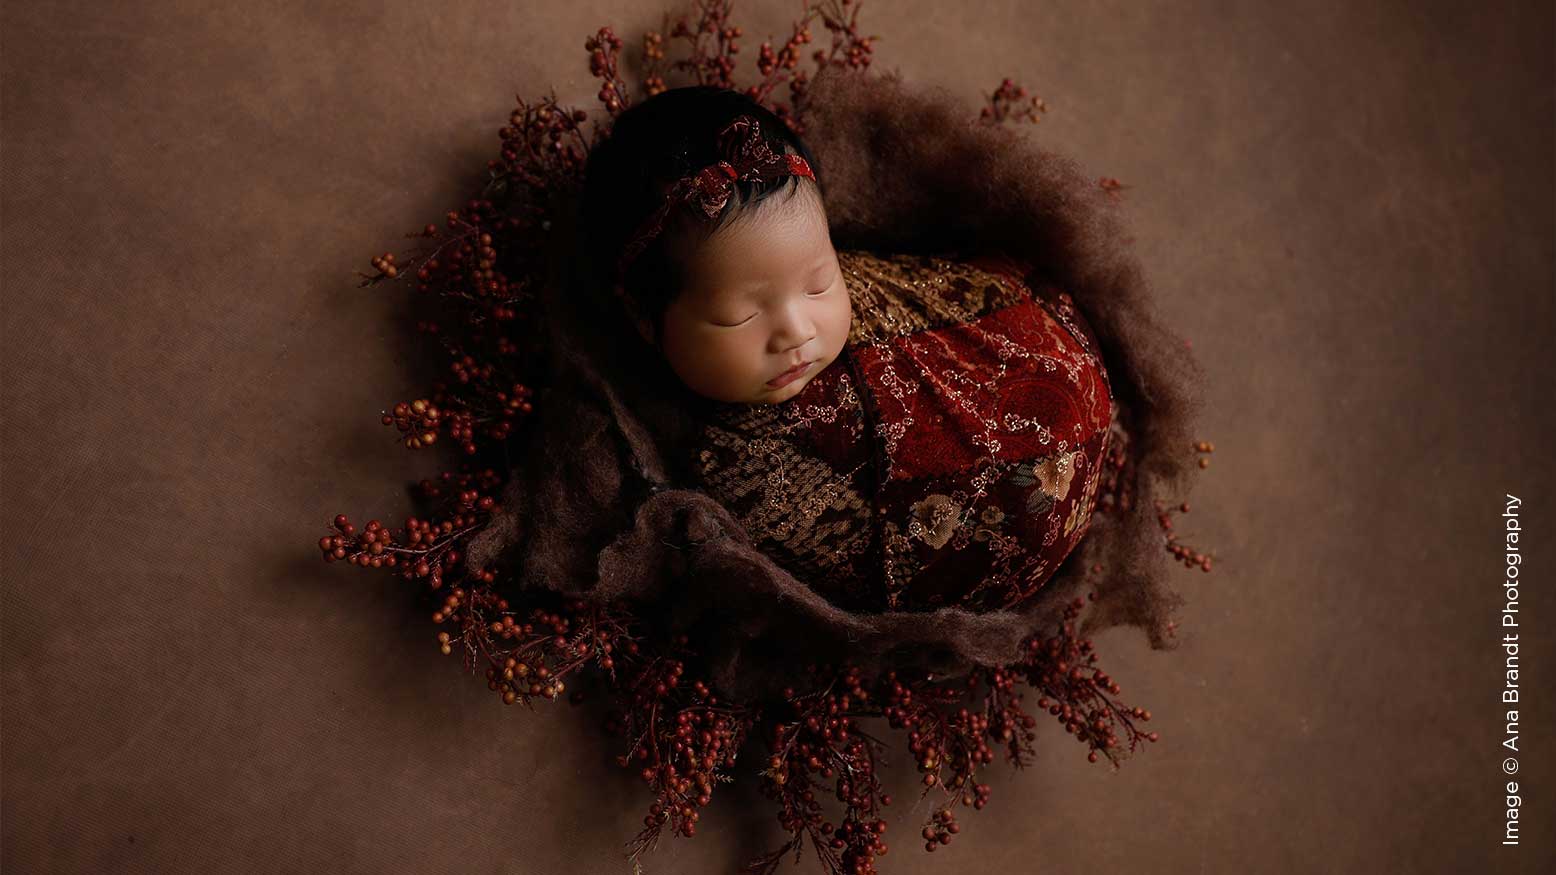
Usually I like a good 4 to 5 inches deep for bowls so that you can curl babies inside as well as have posers underneath the baby for support.
3. Safety check for sharp edges.
Run your fingers around the prop and make sure there are no sharp edges, nails or other objects that could hurt a baby. You don’t want nails, wires or anything else sticking out of the prop. Always have a soft poser or support between the prop and the baby so they are not resting on hard surfaces.