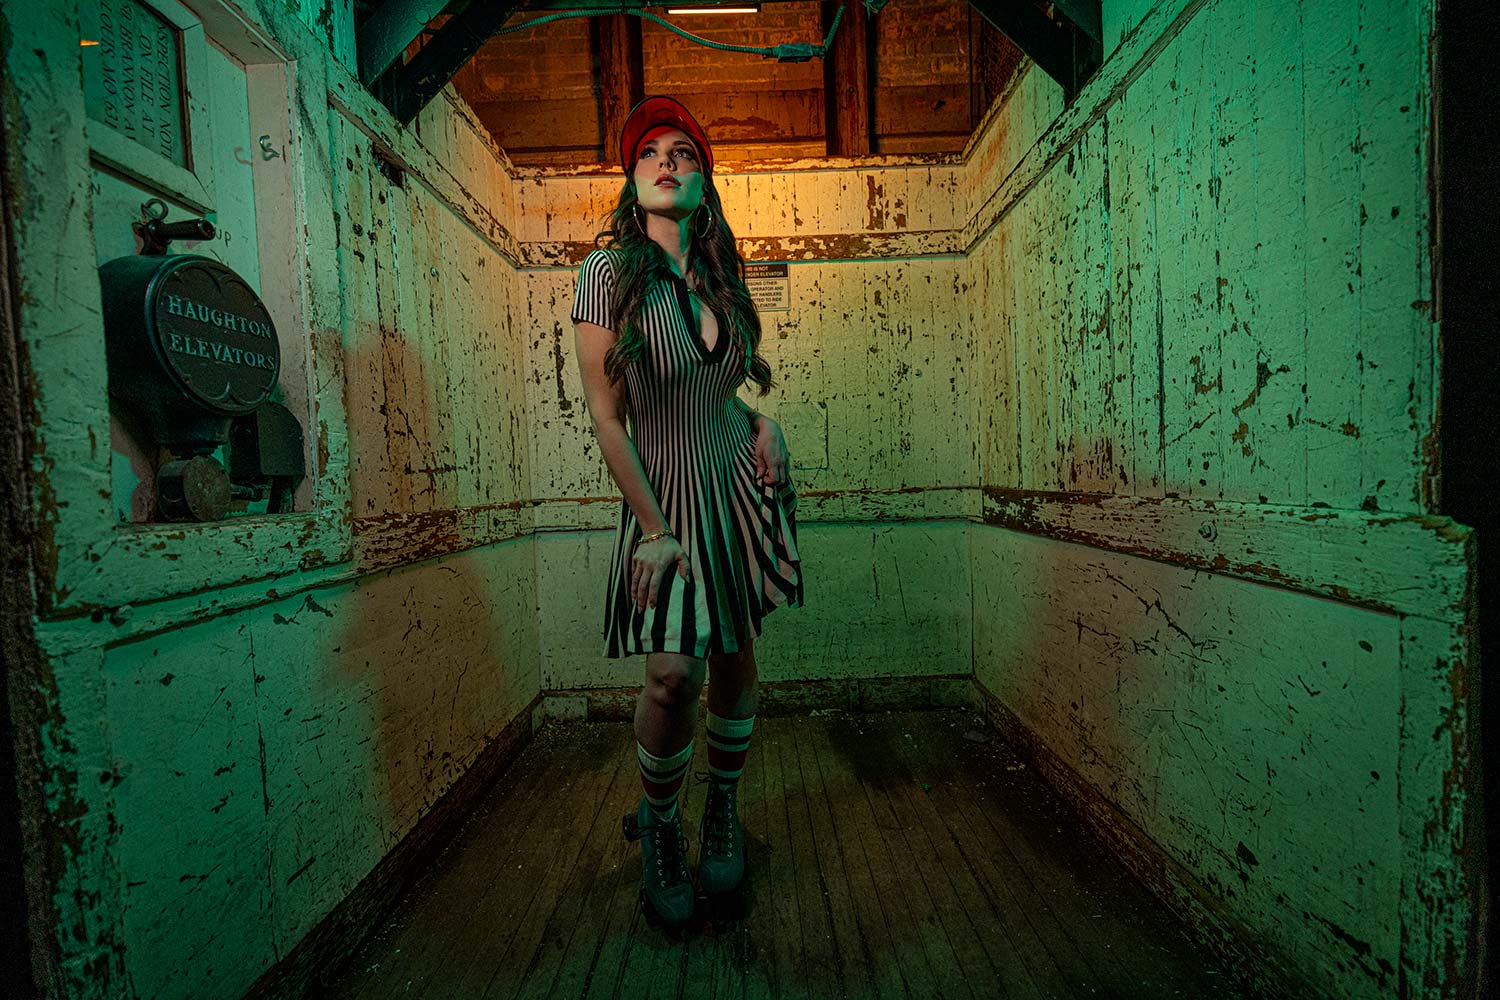
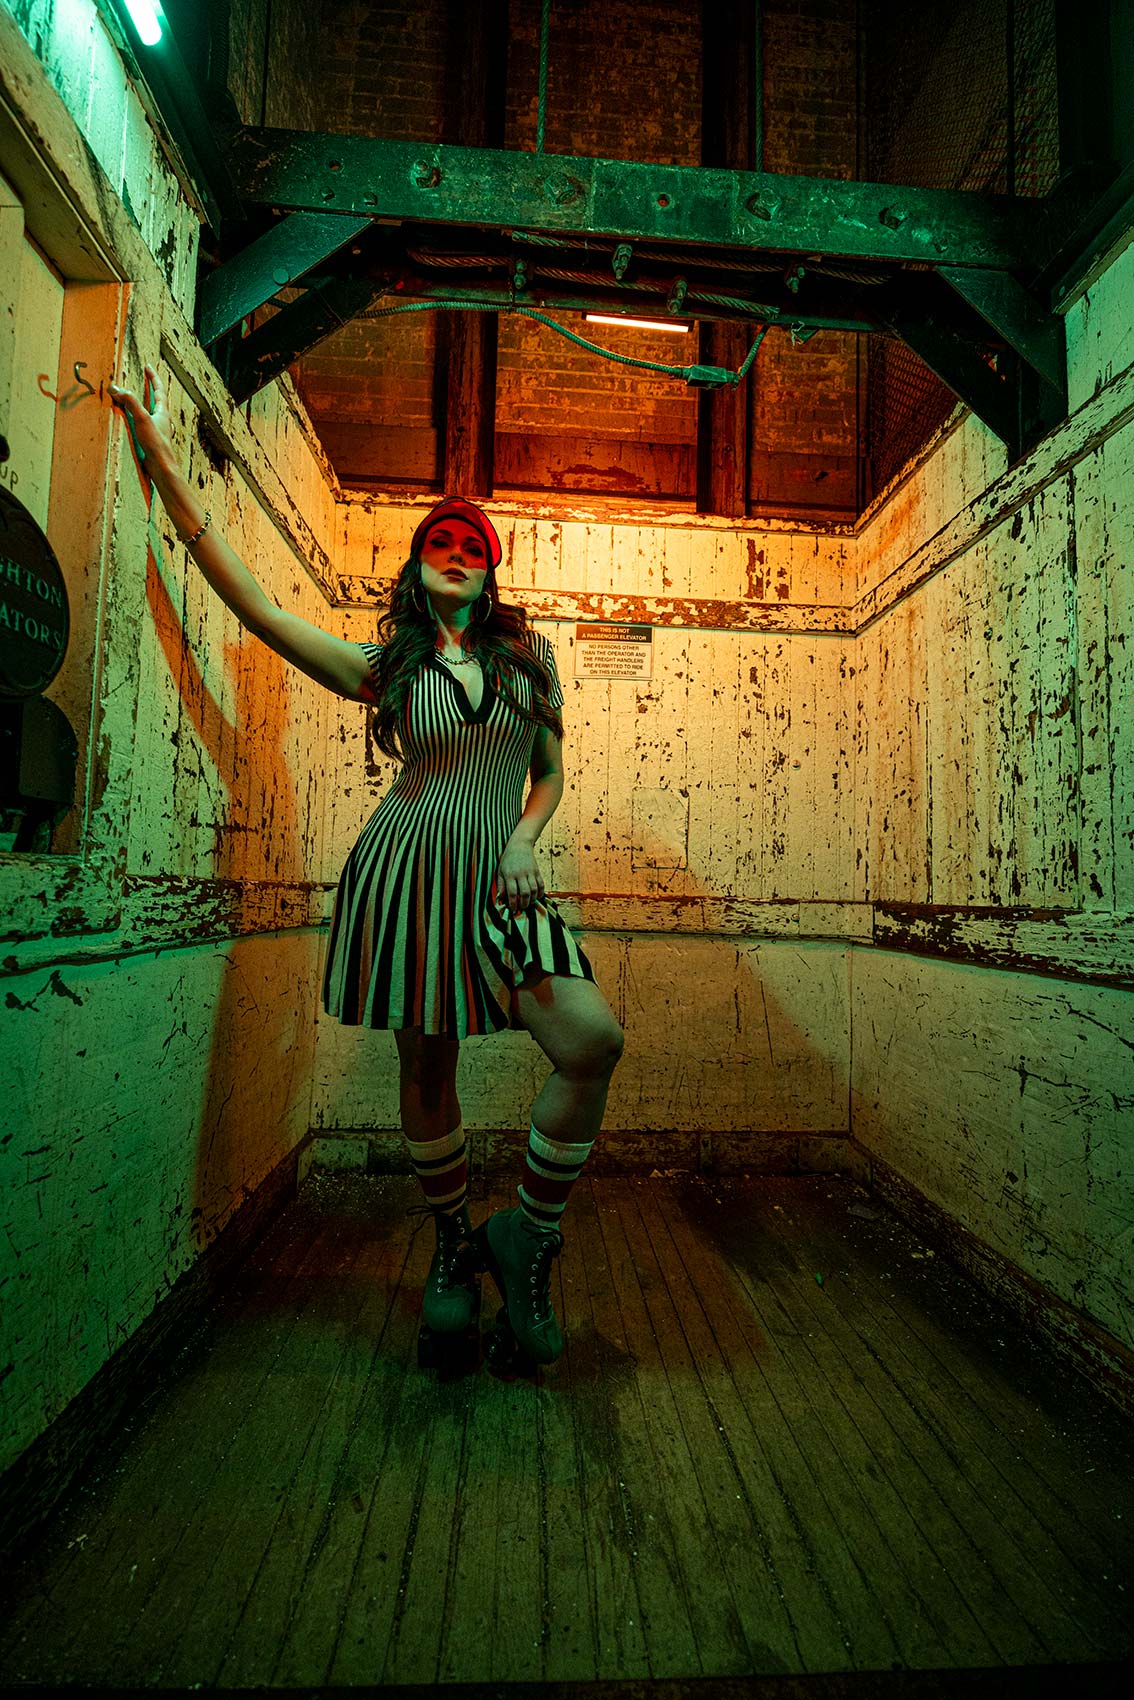
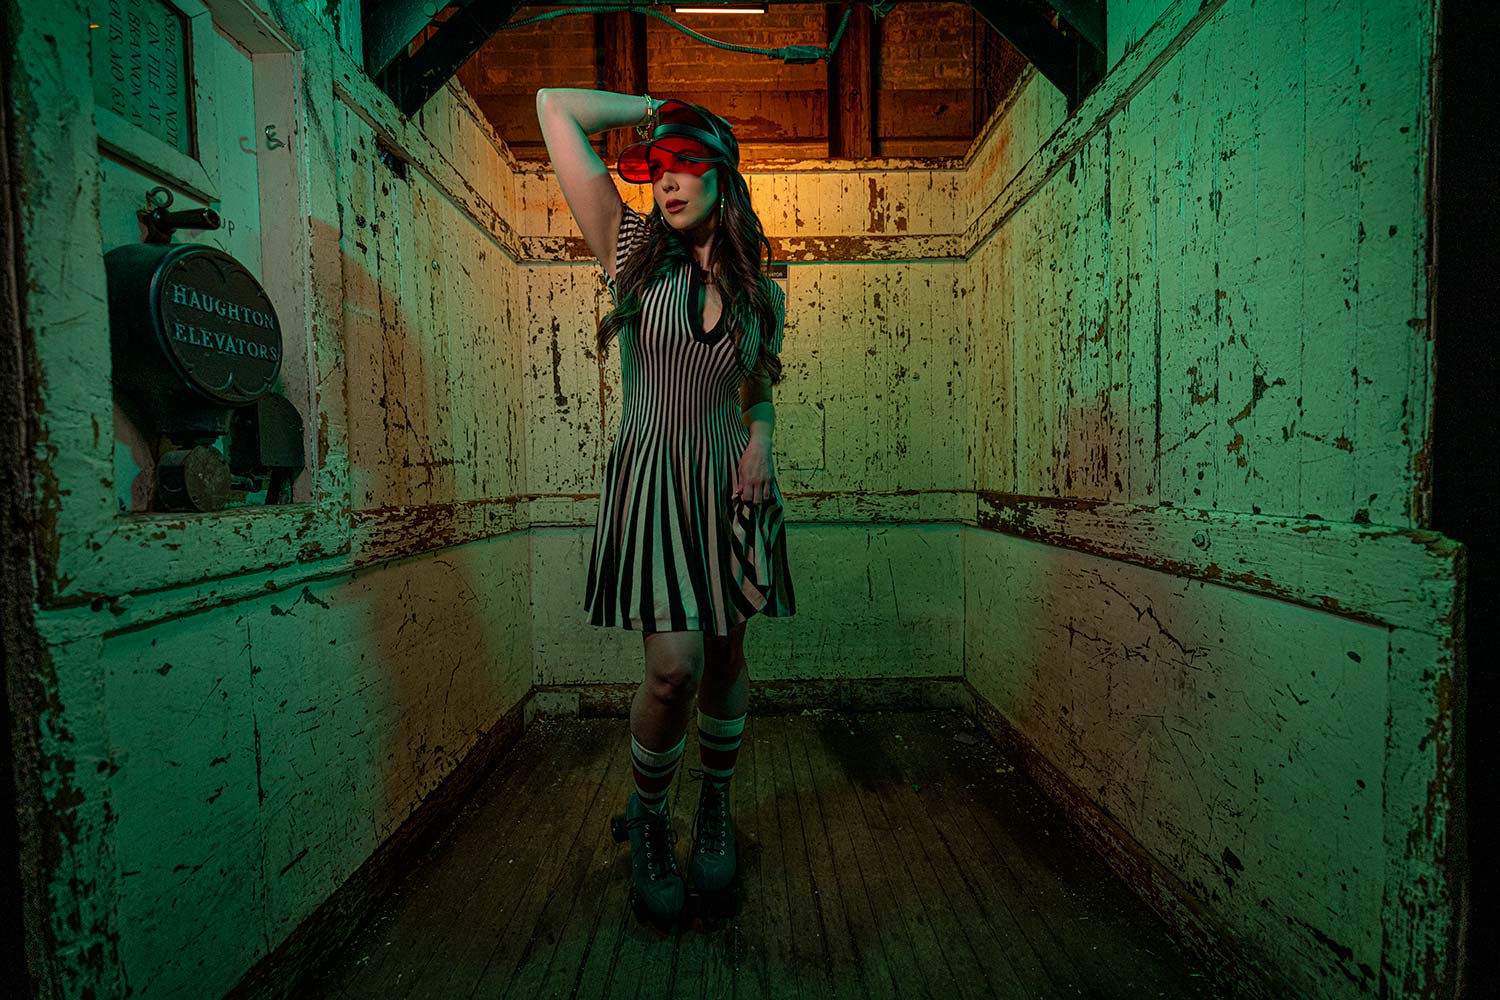
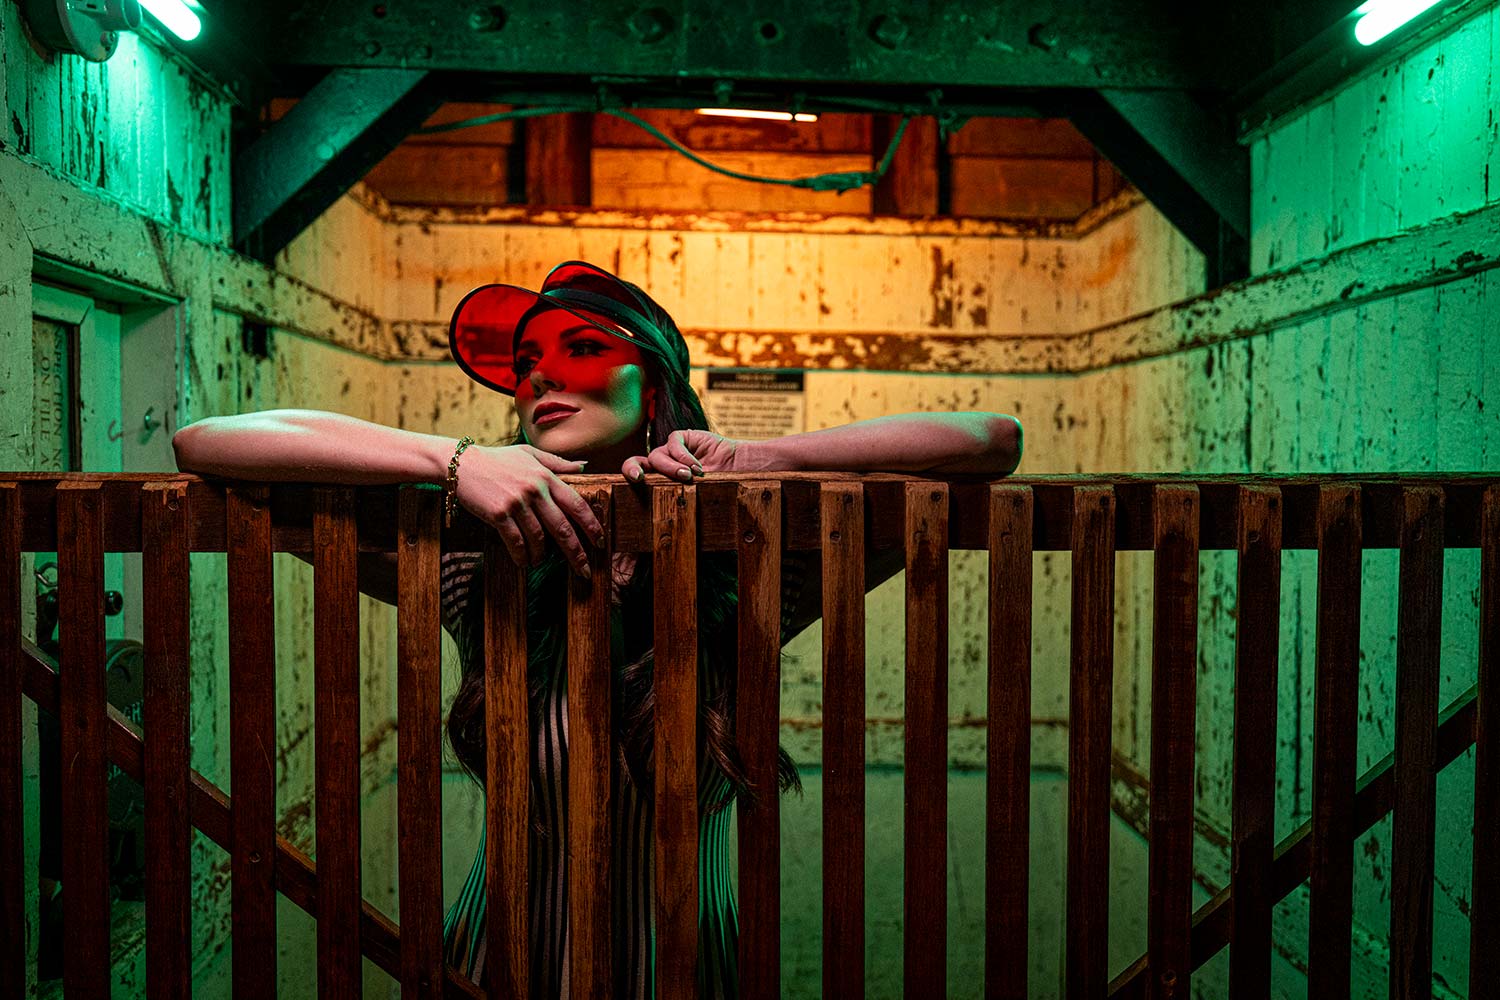
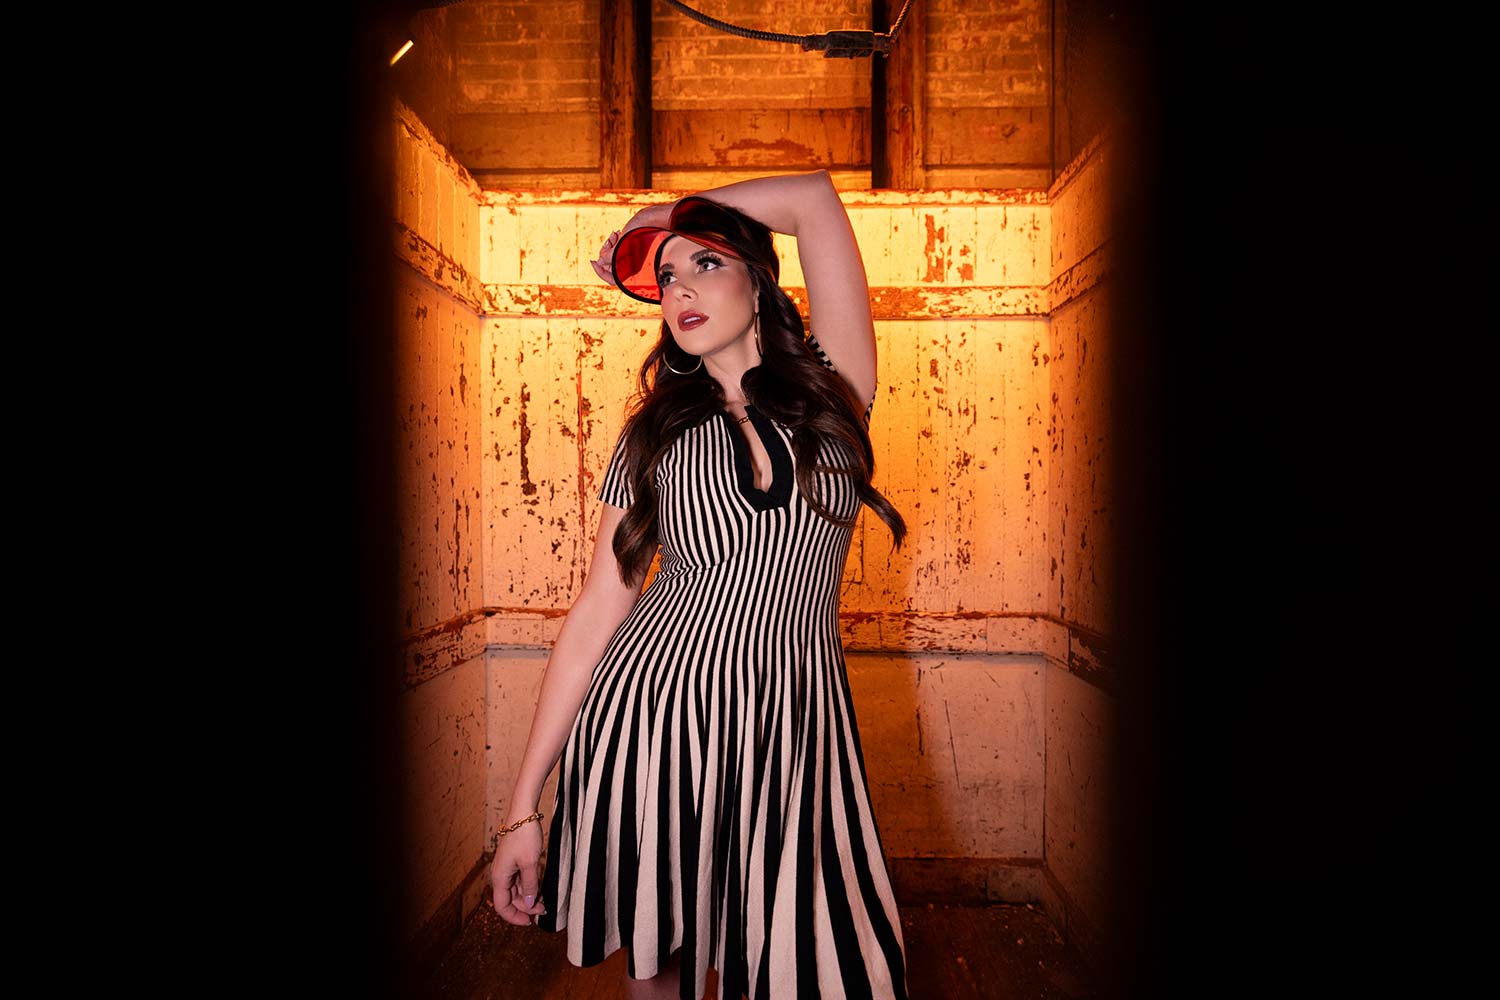
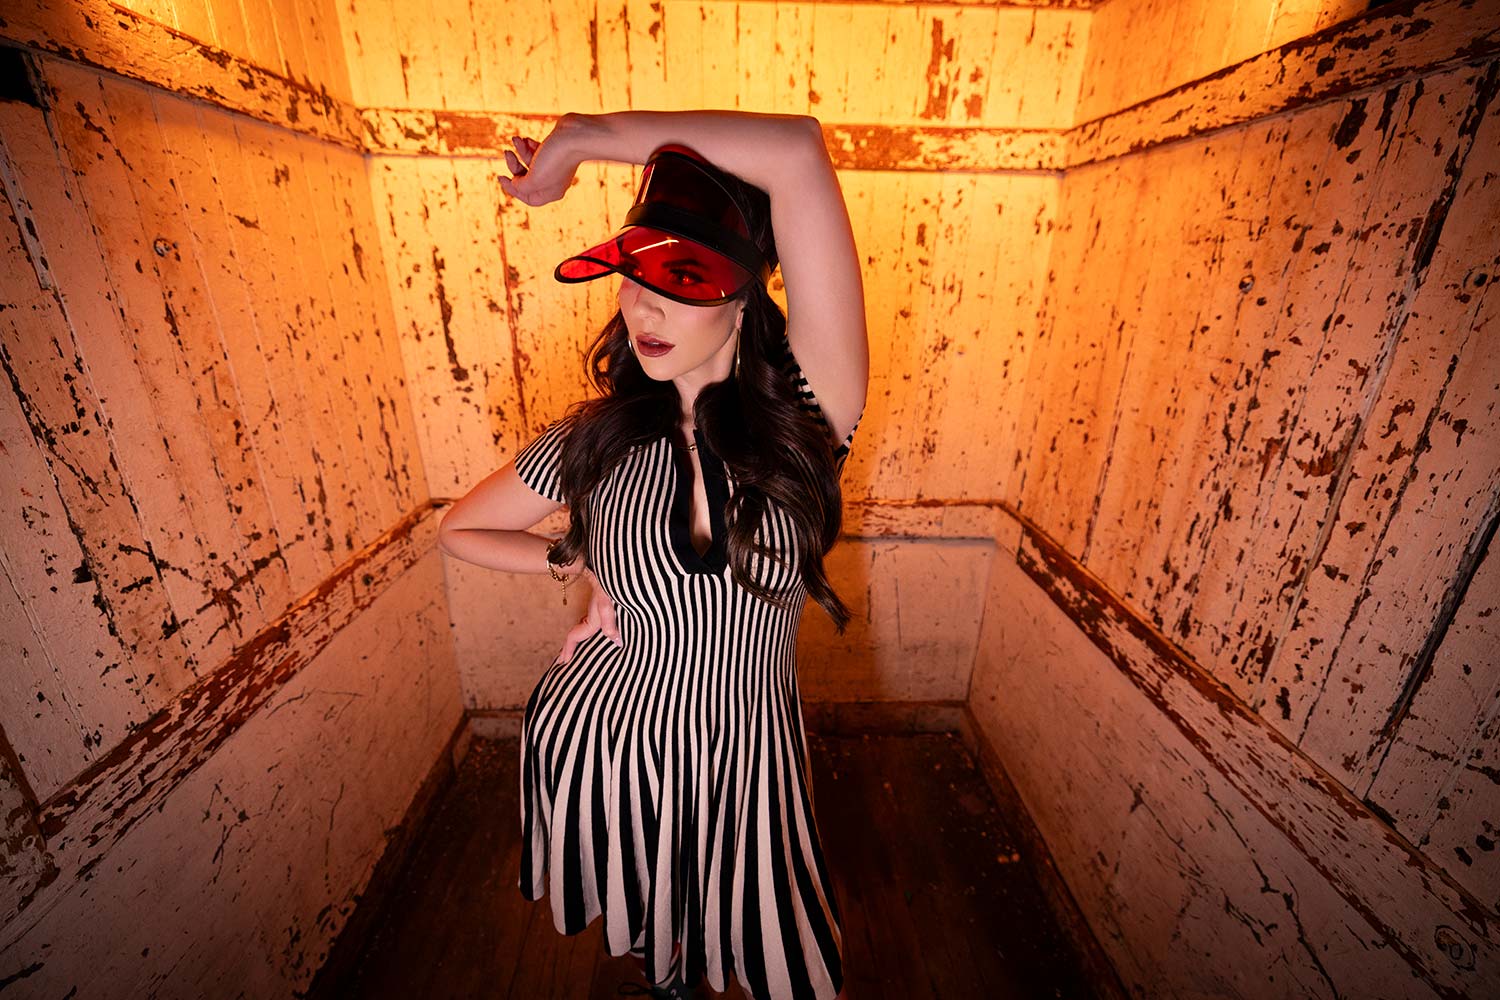
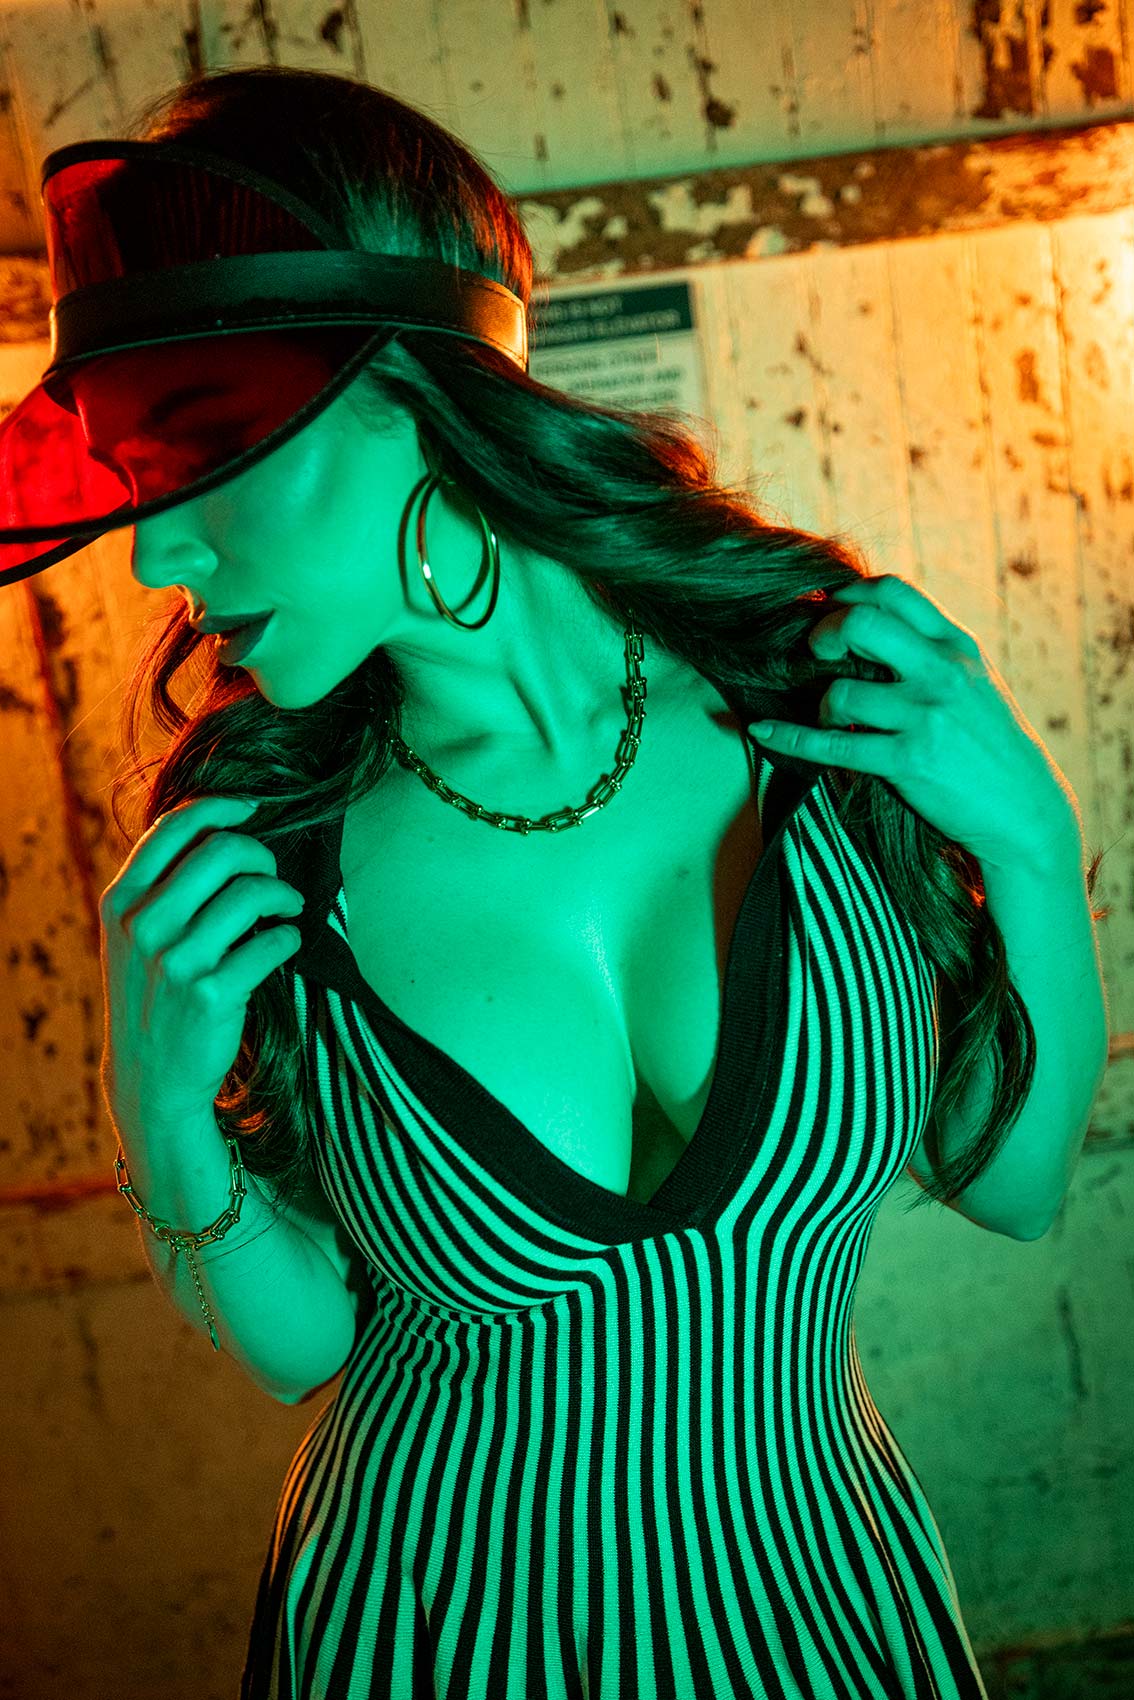
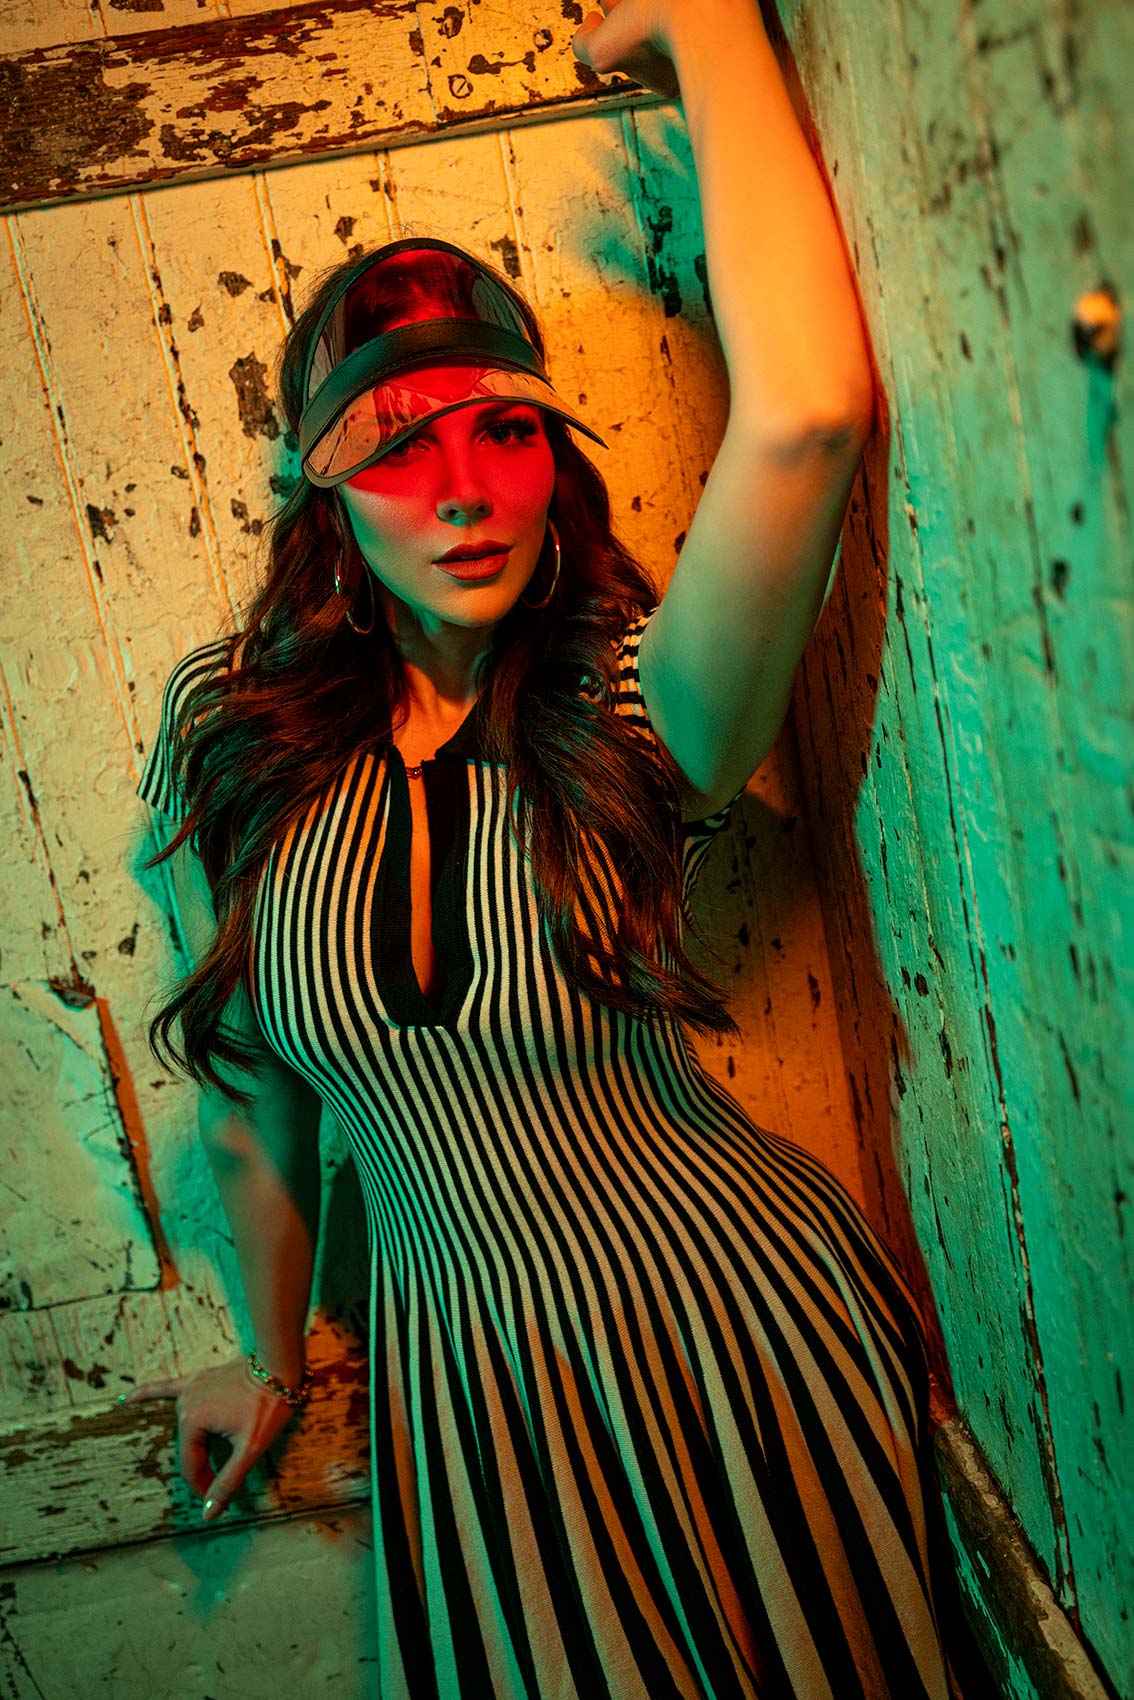
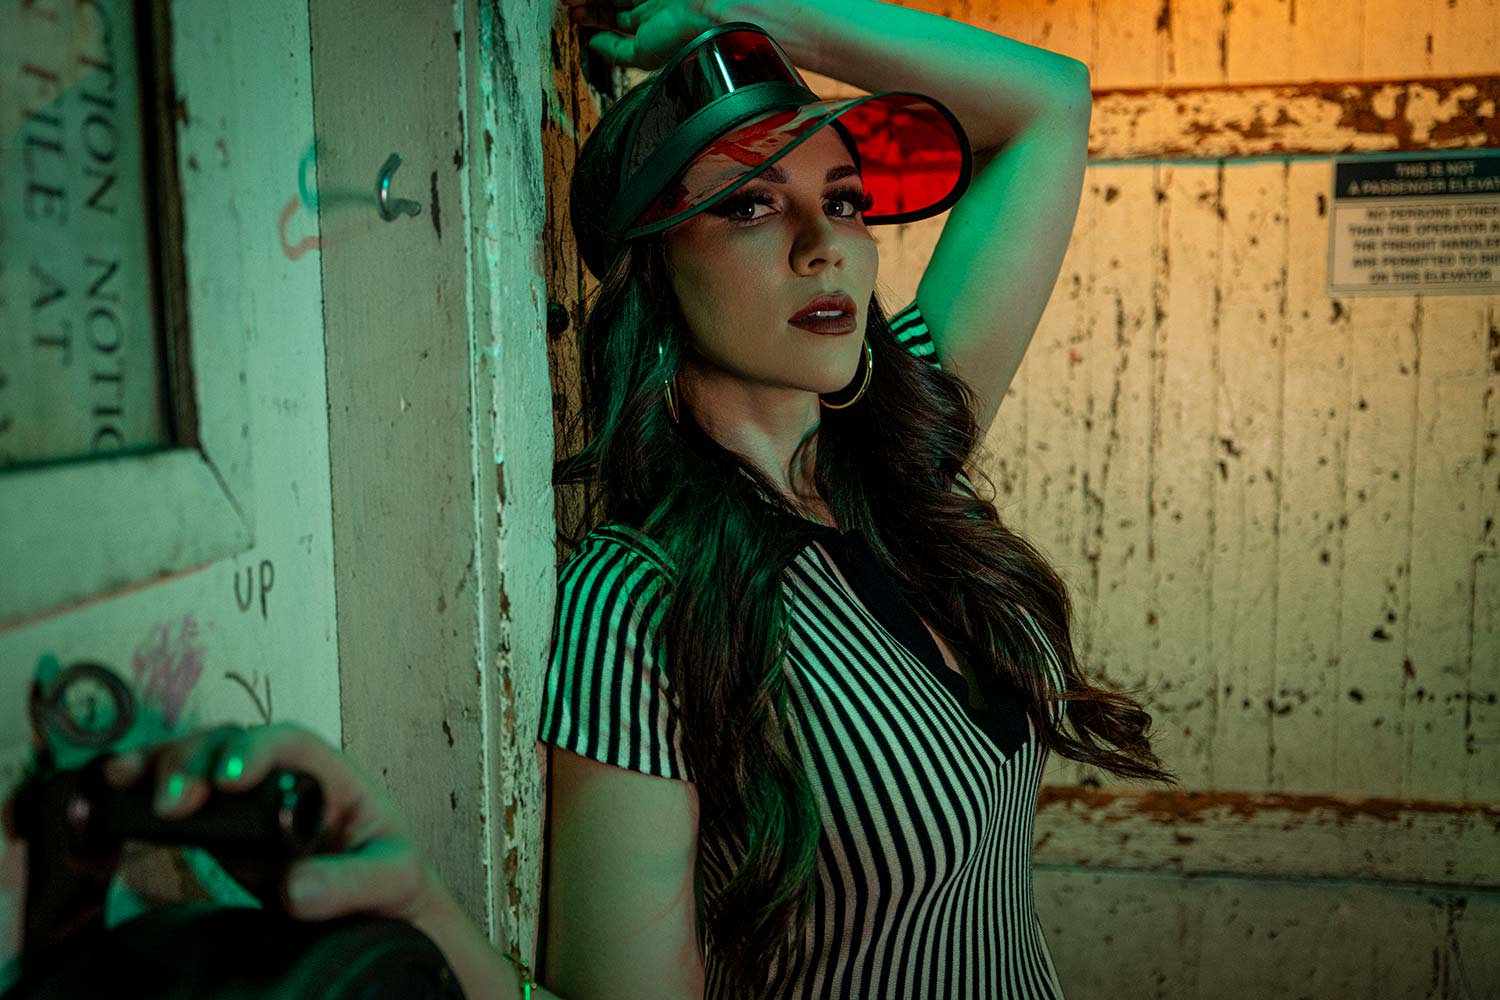
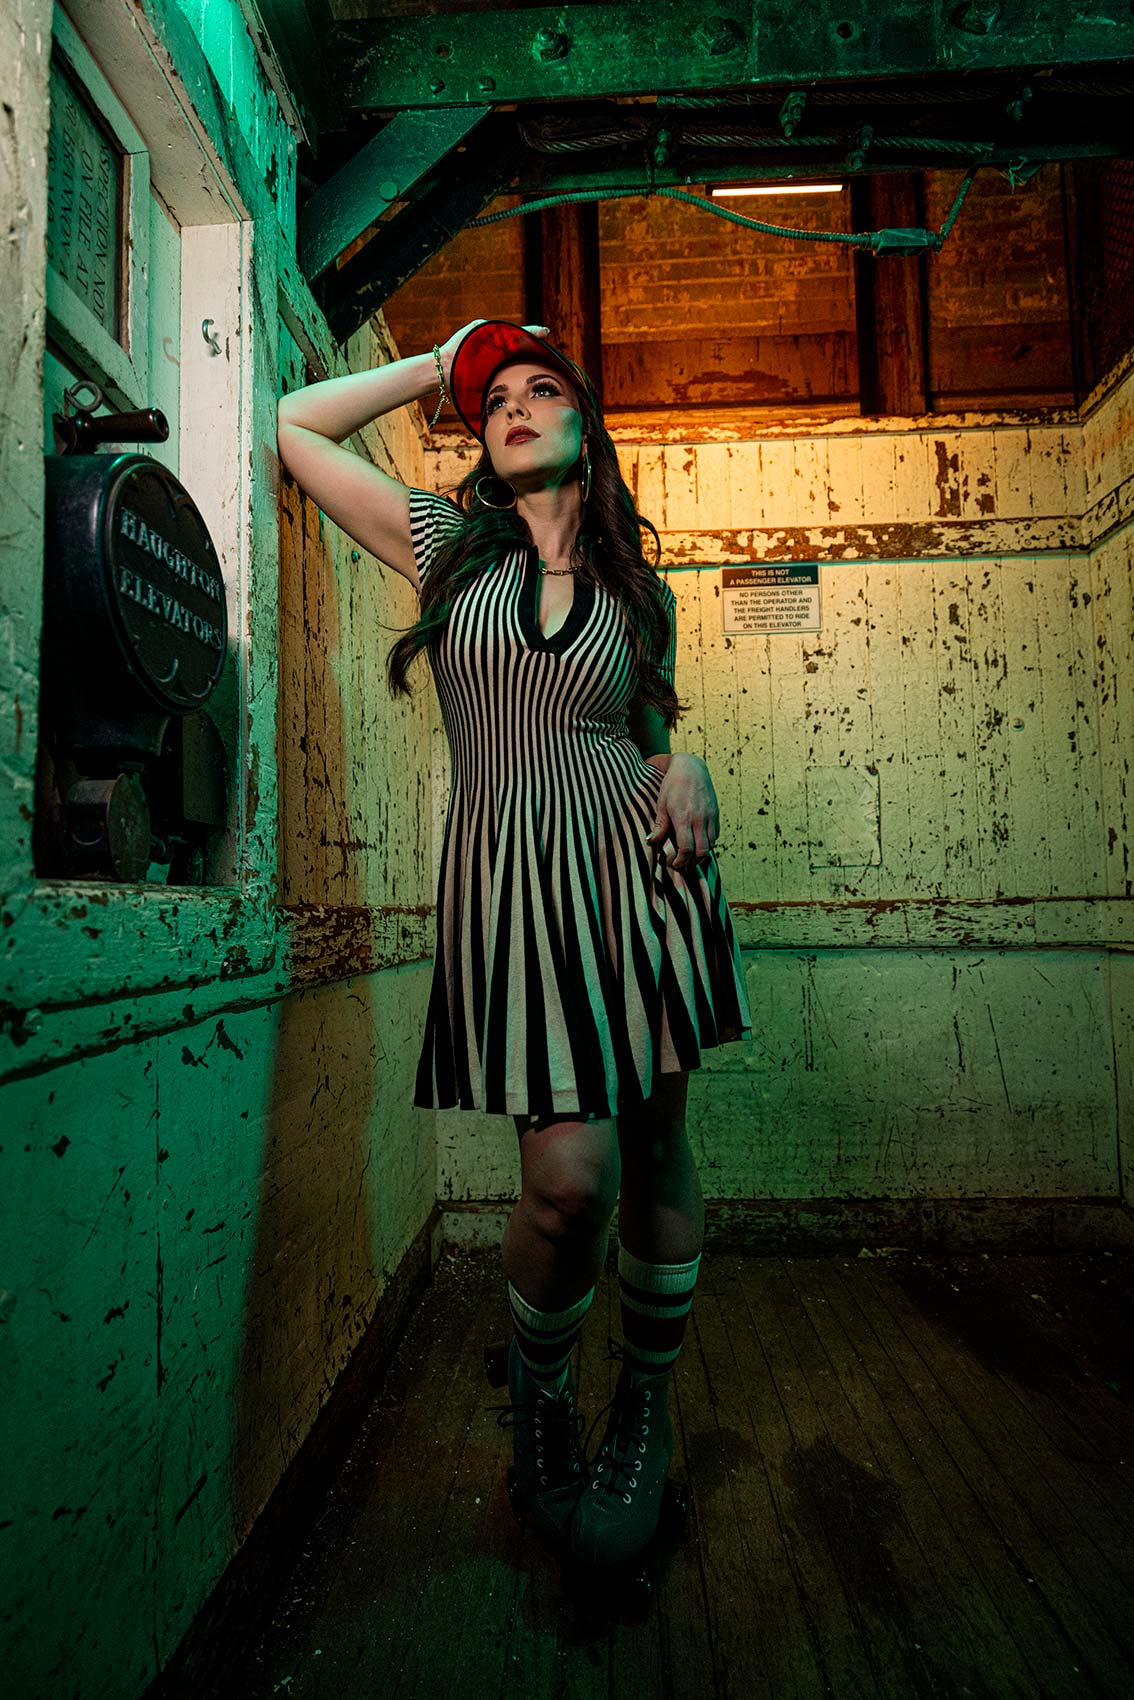
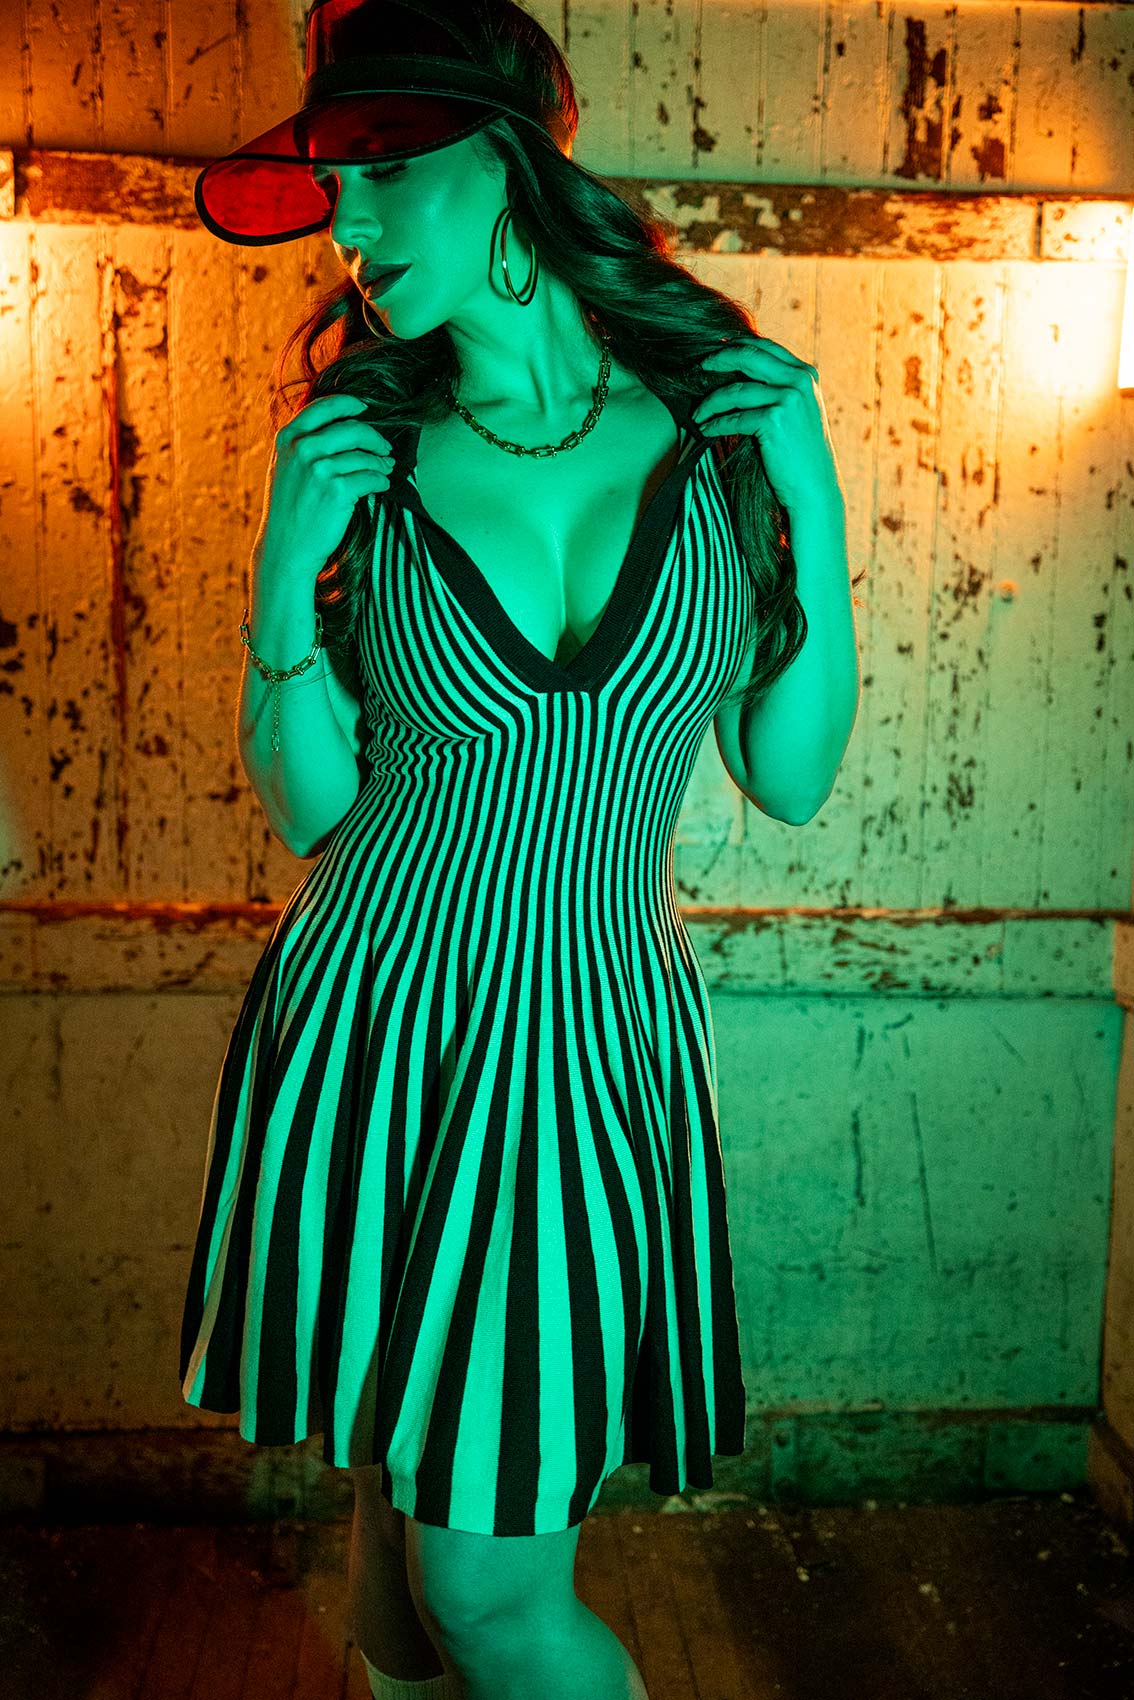
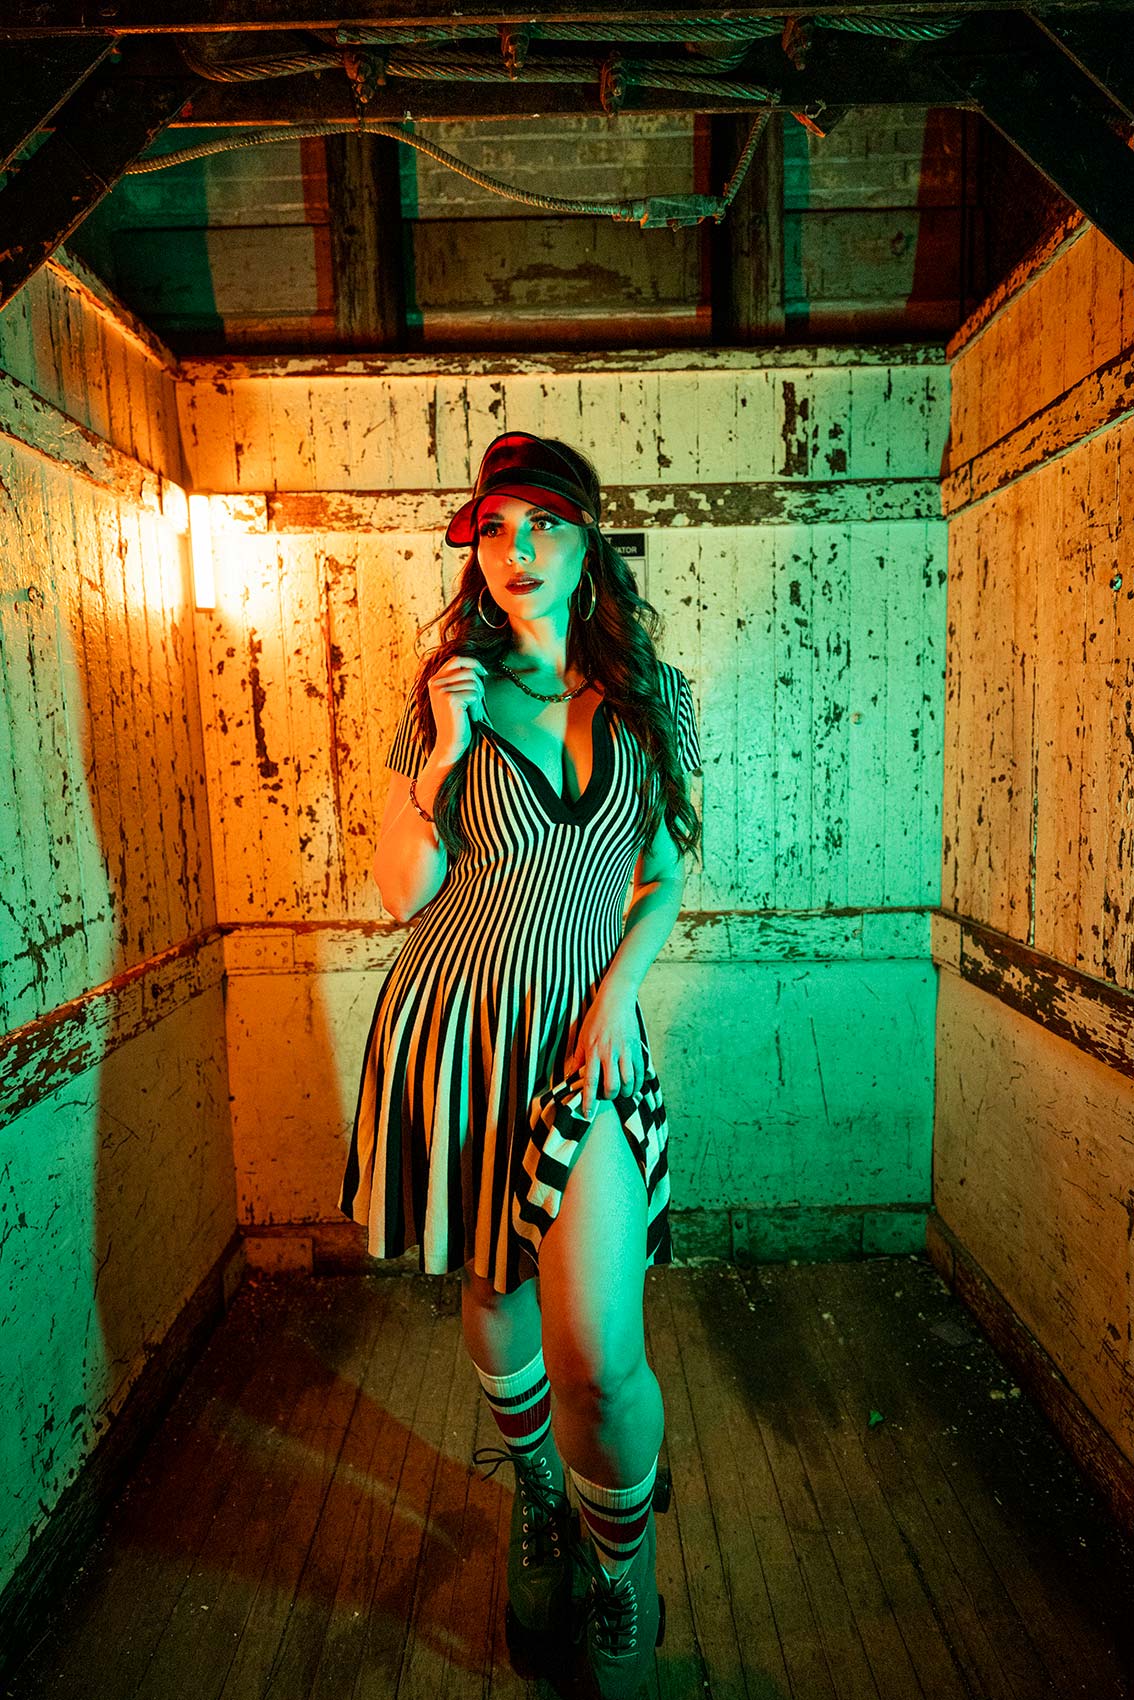
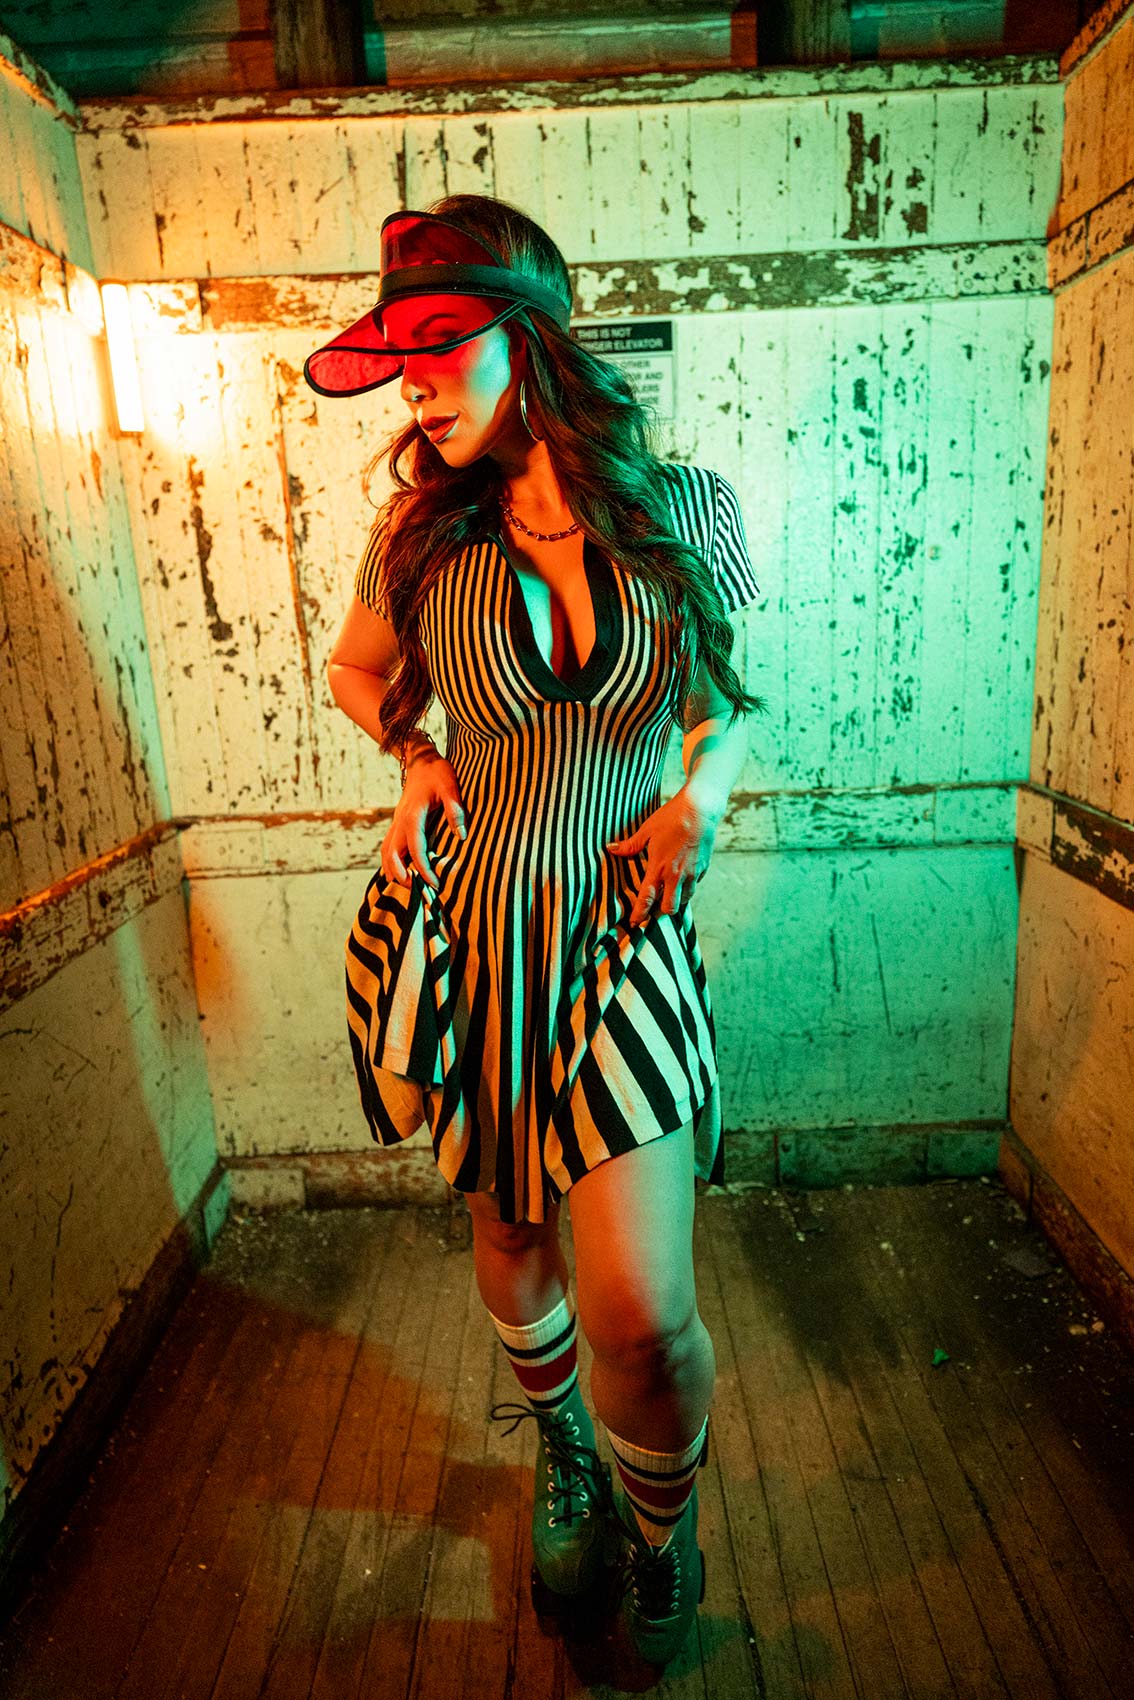
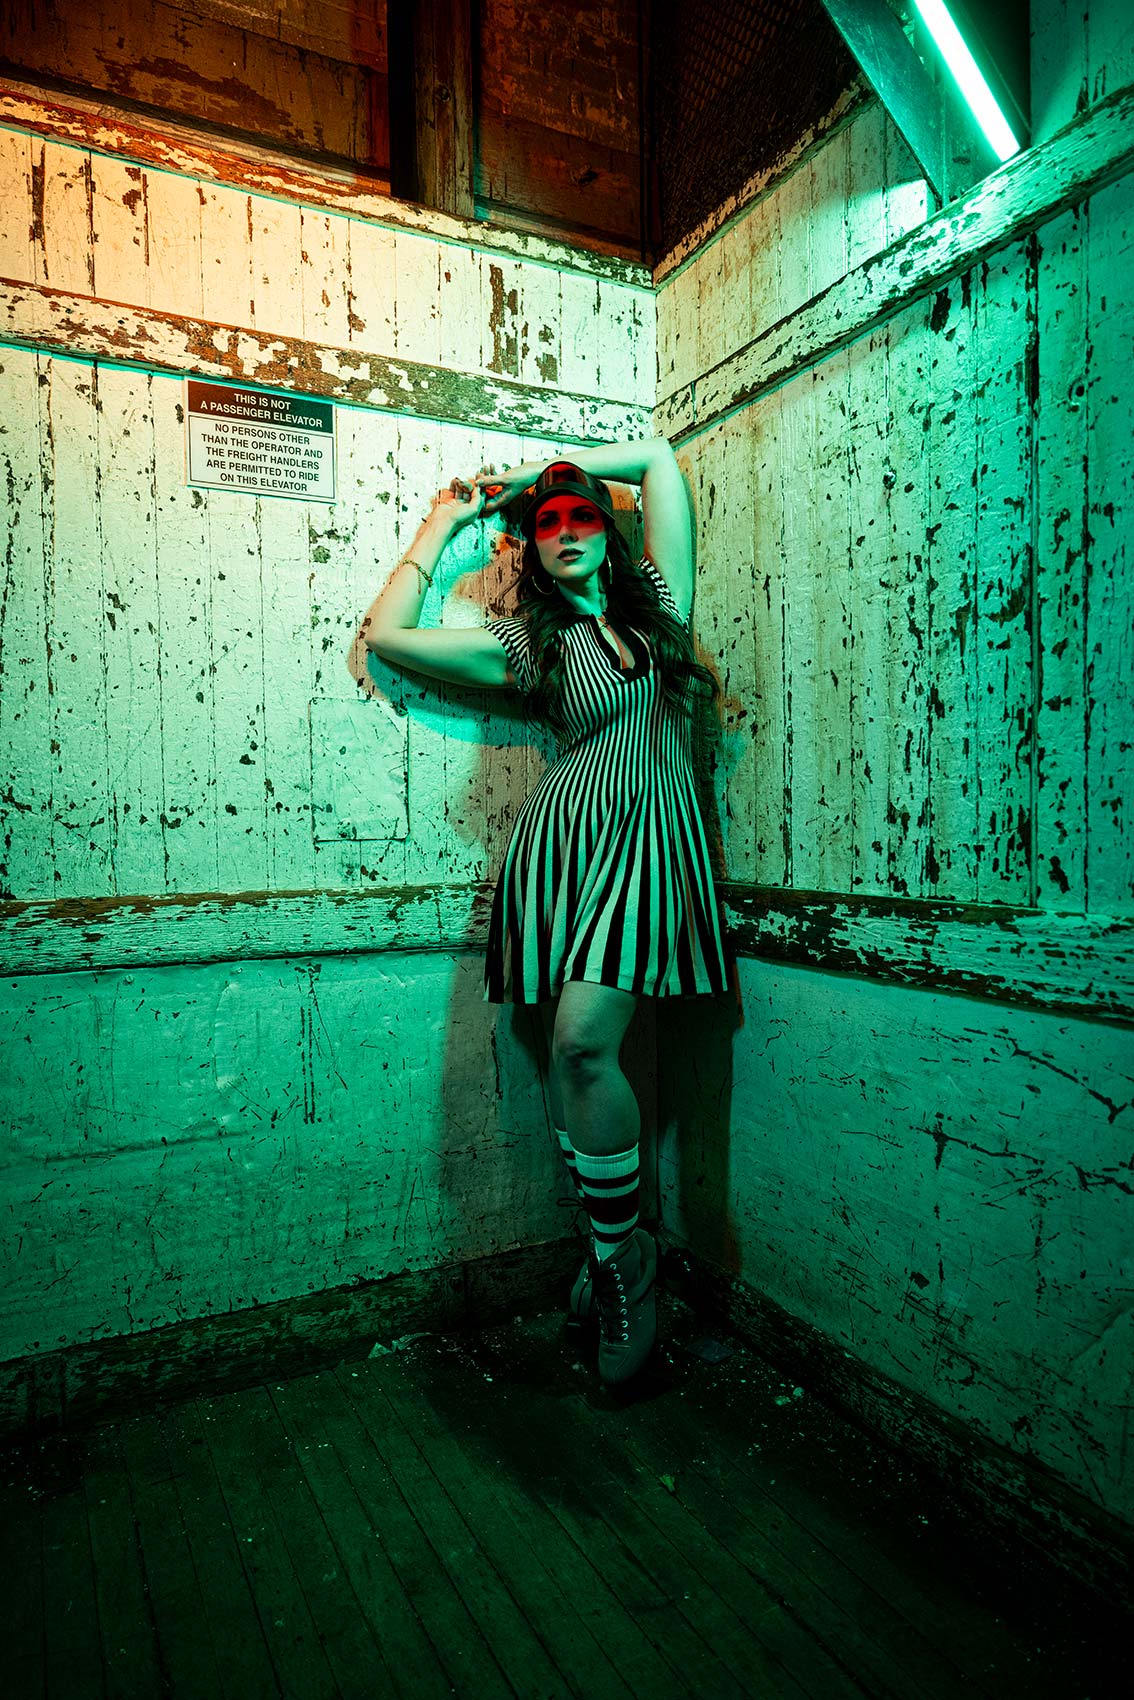
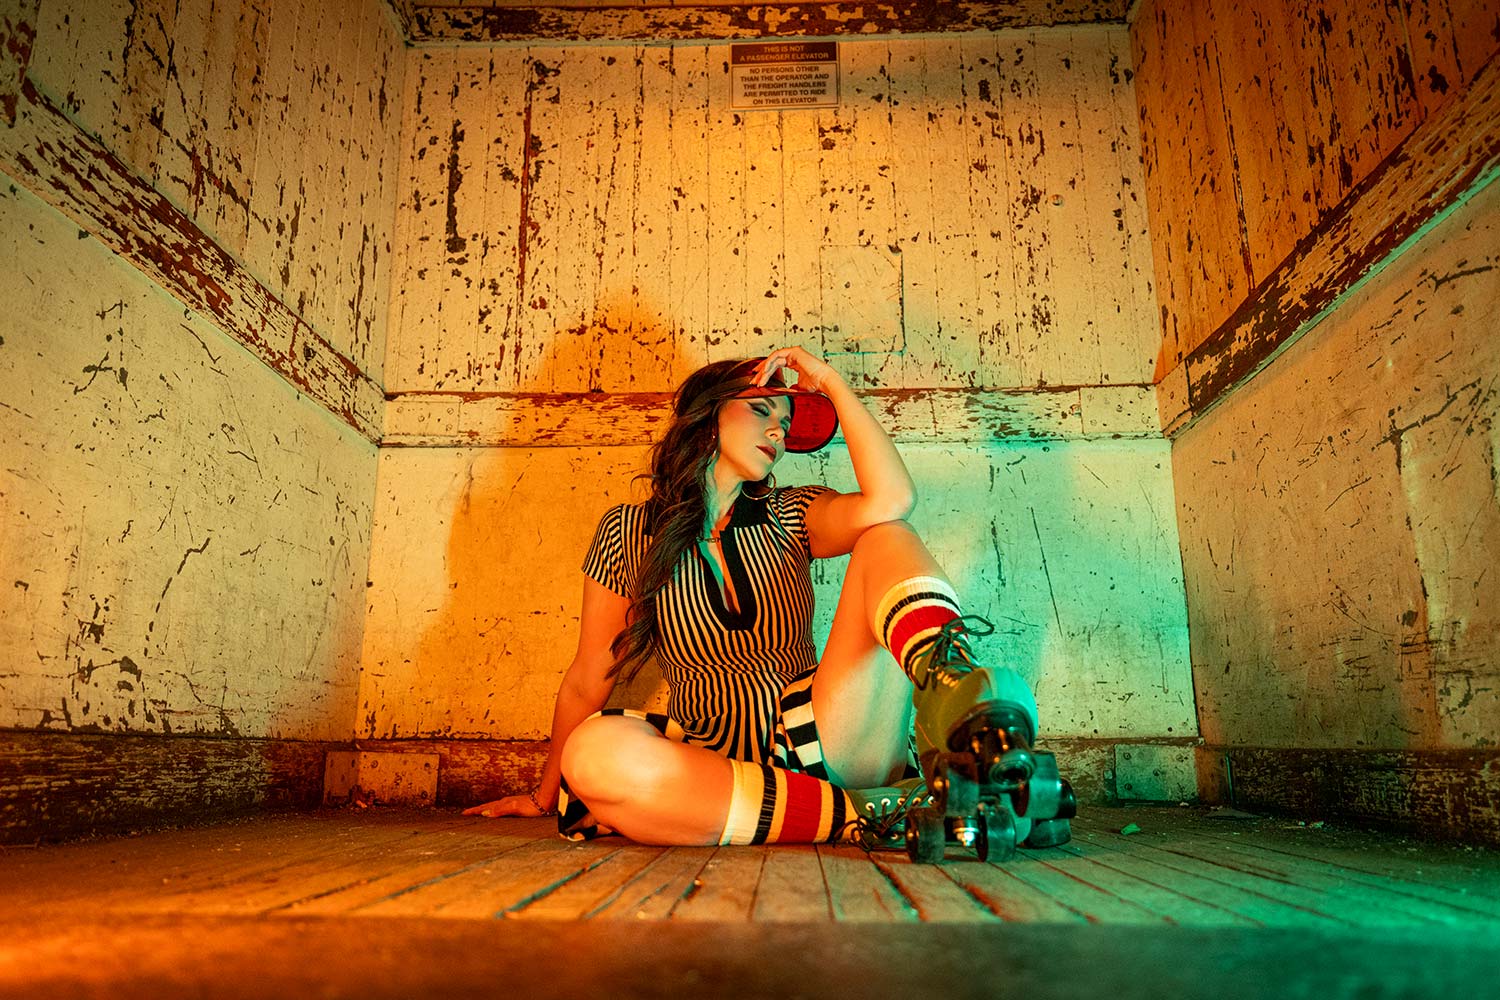
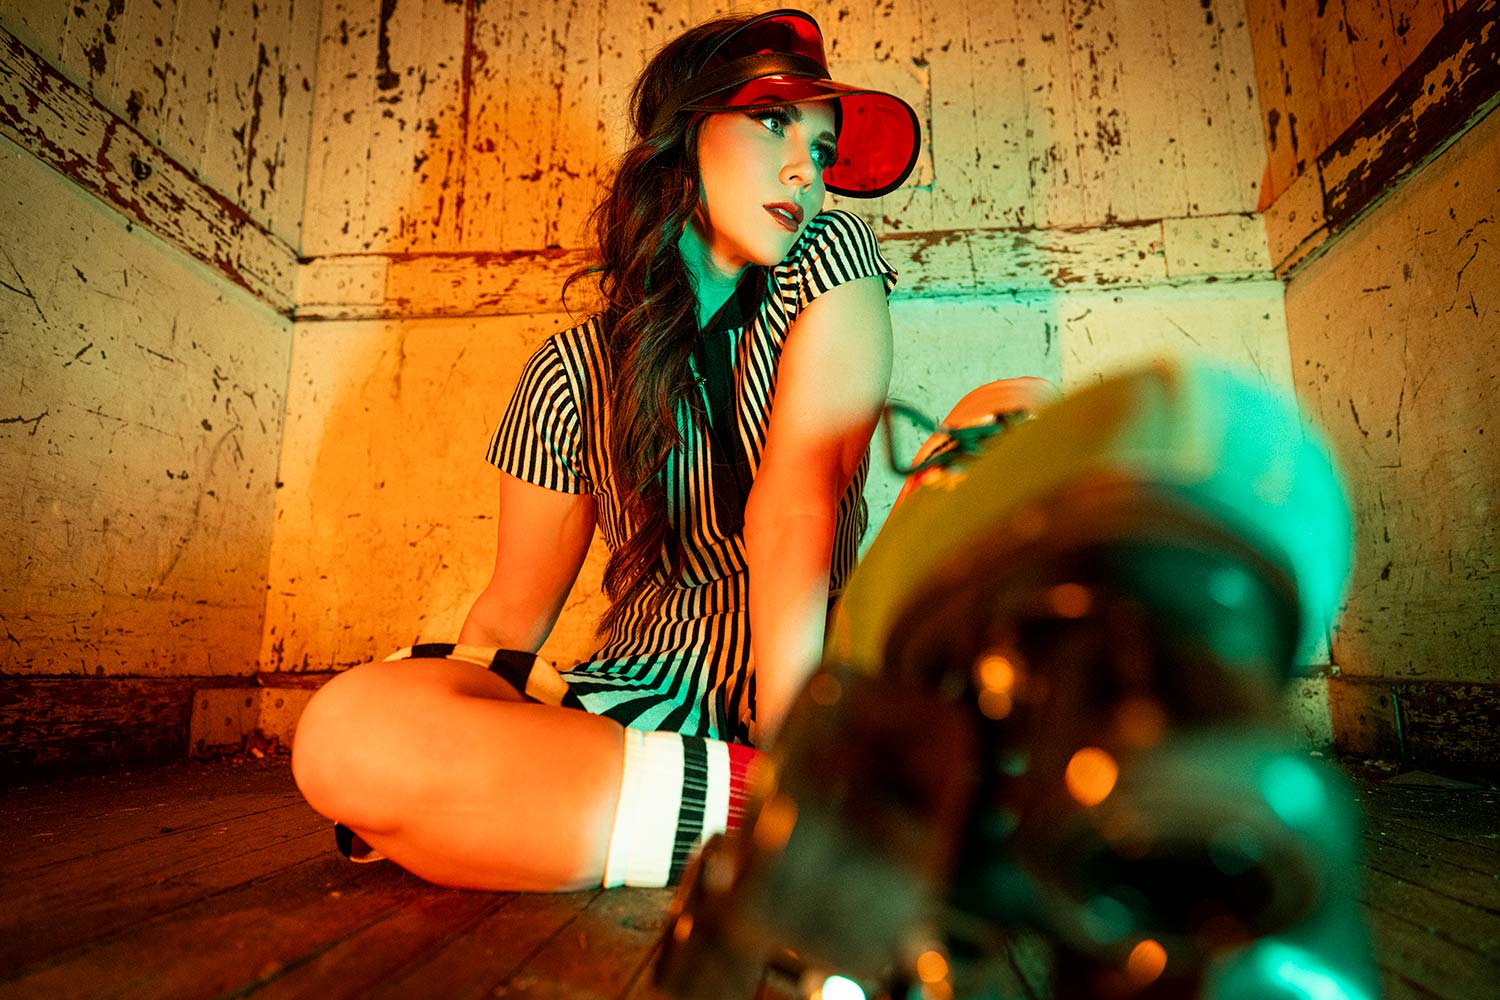
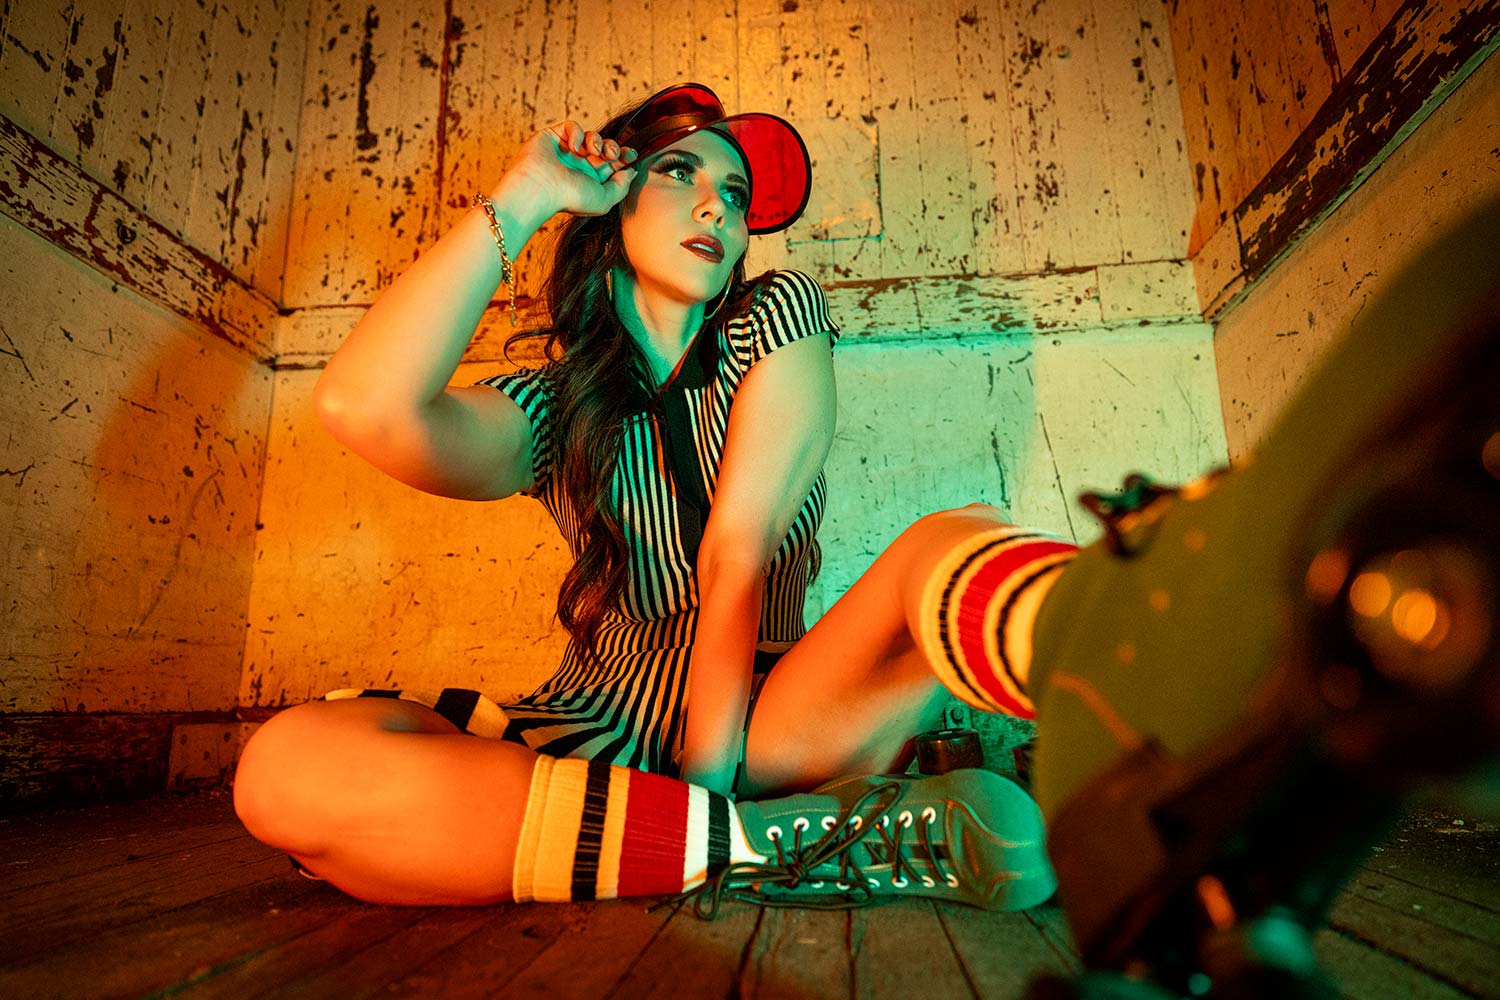
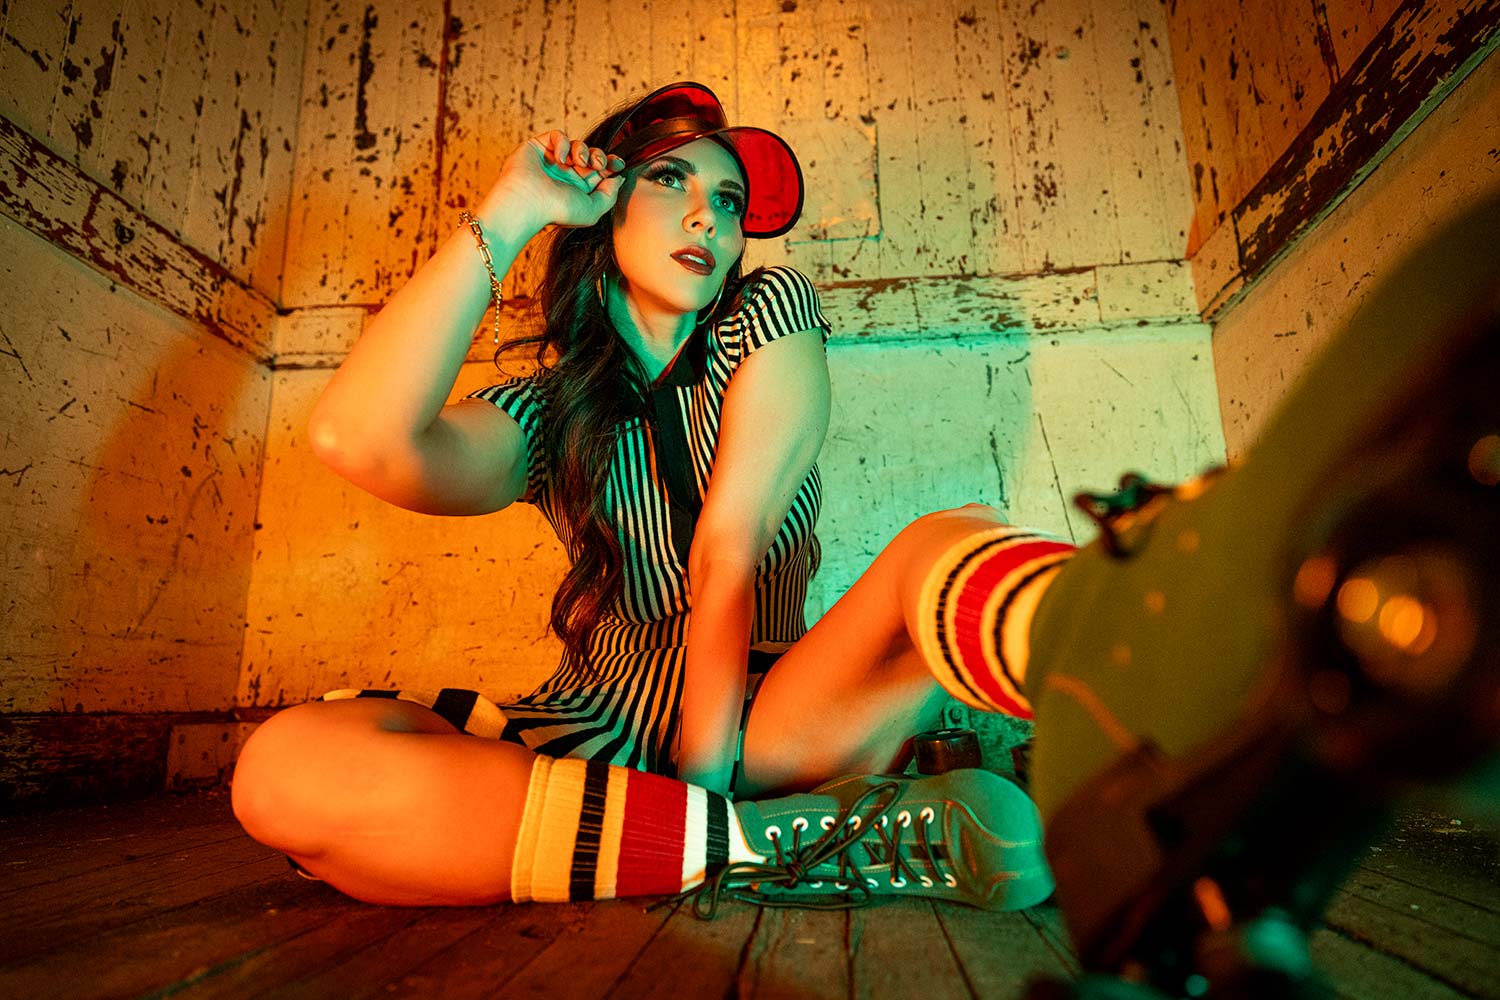
Check out this how-to lighting tutorial for photographers using LED continuous lighting setups. The Nanlite Pavo Tubes are cost effective and magnetic as you will see in this portrait lighting video.
Equipment Used:
Camera: Canon EOS R5
Lens: Canon RF15-35 f2.8
Light: Nanlite PavoTube II 6C
Team:
Photographer: Sal Cincotta
Model: Lauren Middleton
Hair & Makeup: Brandi Patton, ReFine Beauty
Ready to create some moody portraits using the Nanlite PavoTubes? Let’s get to it. What’s up, everyone? My name is Sal Cincotta, and today I am here with the fan favorite Lauren Smiles.
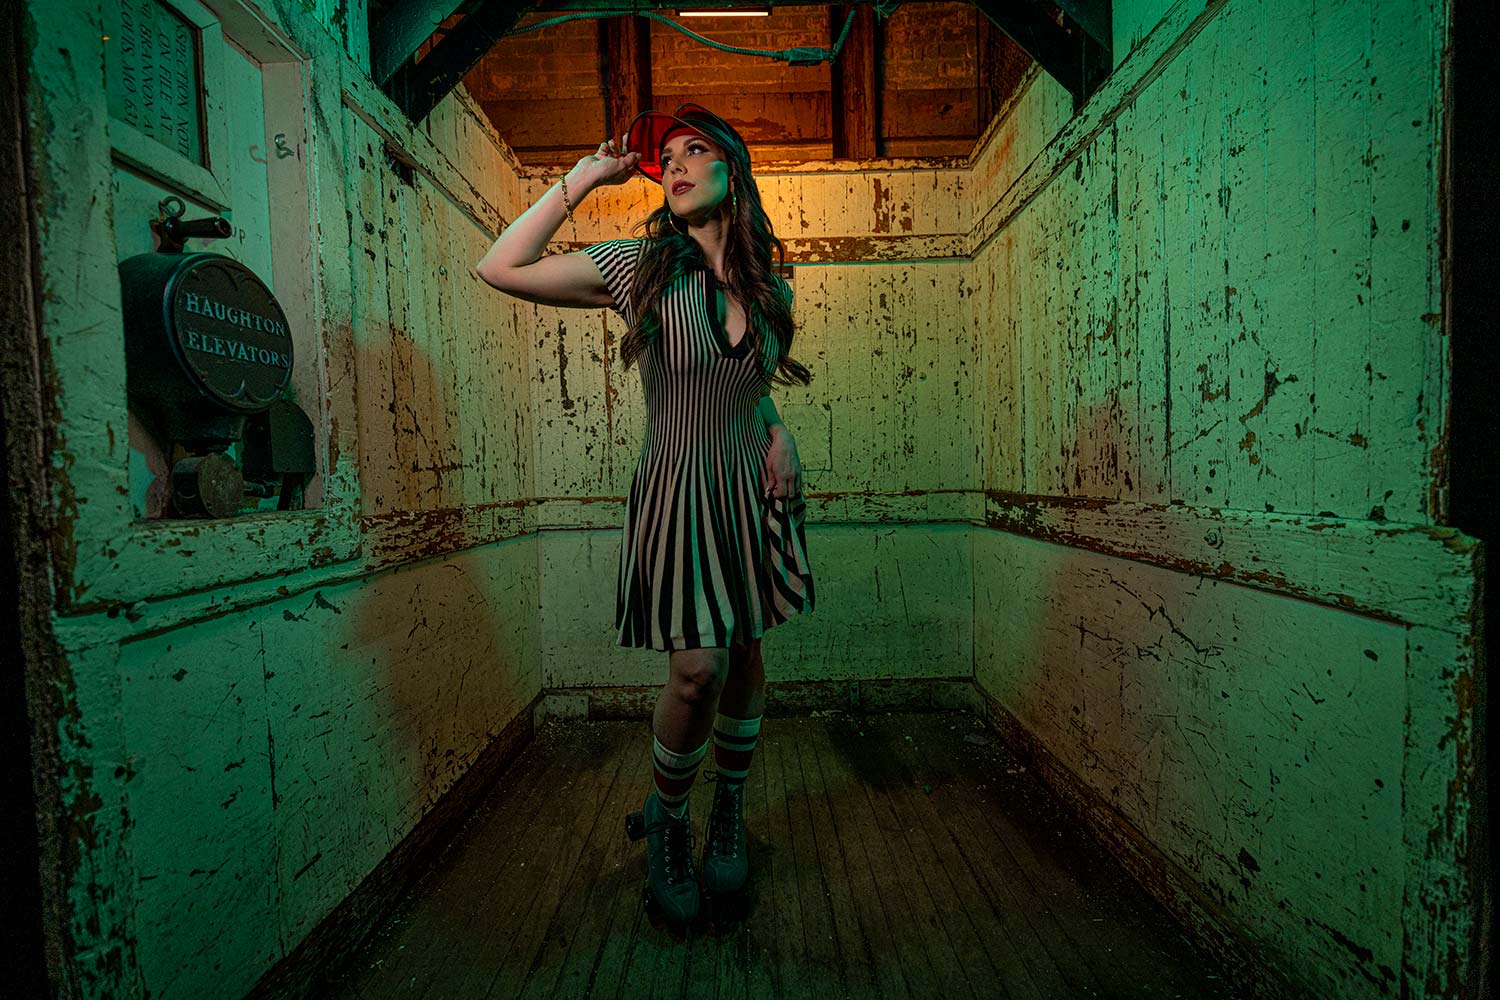
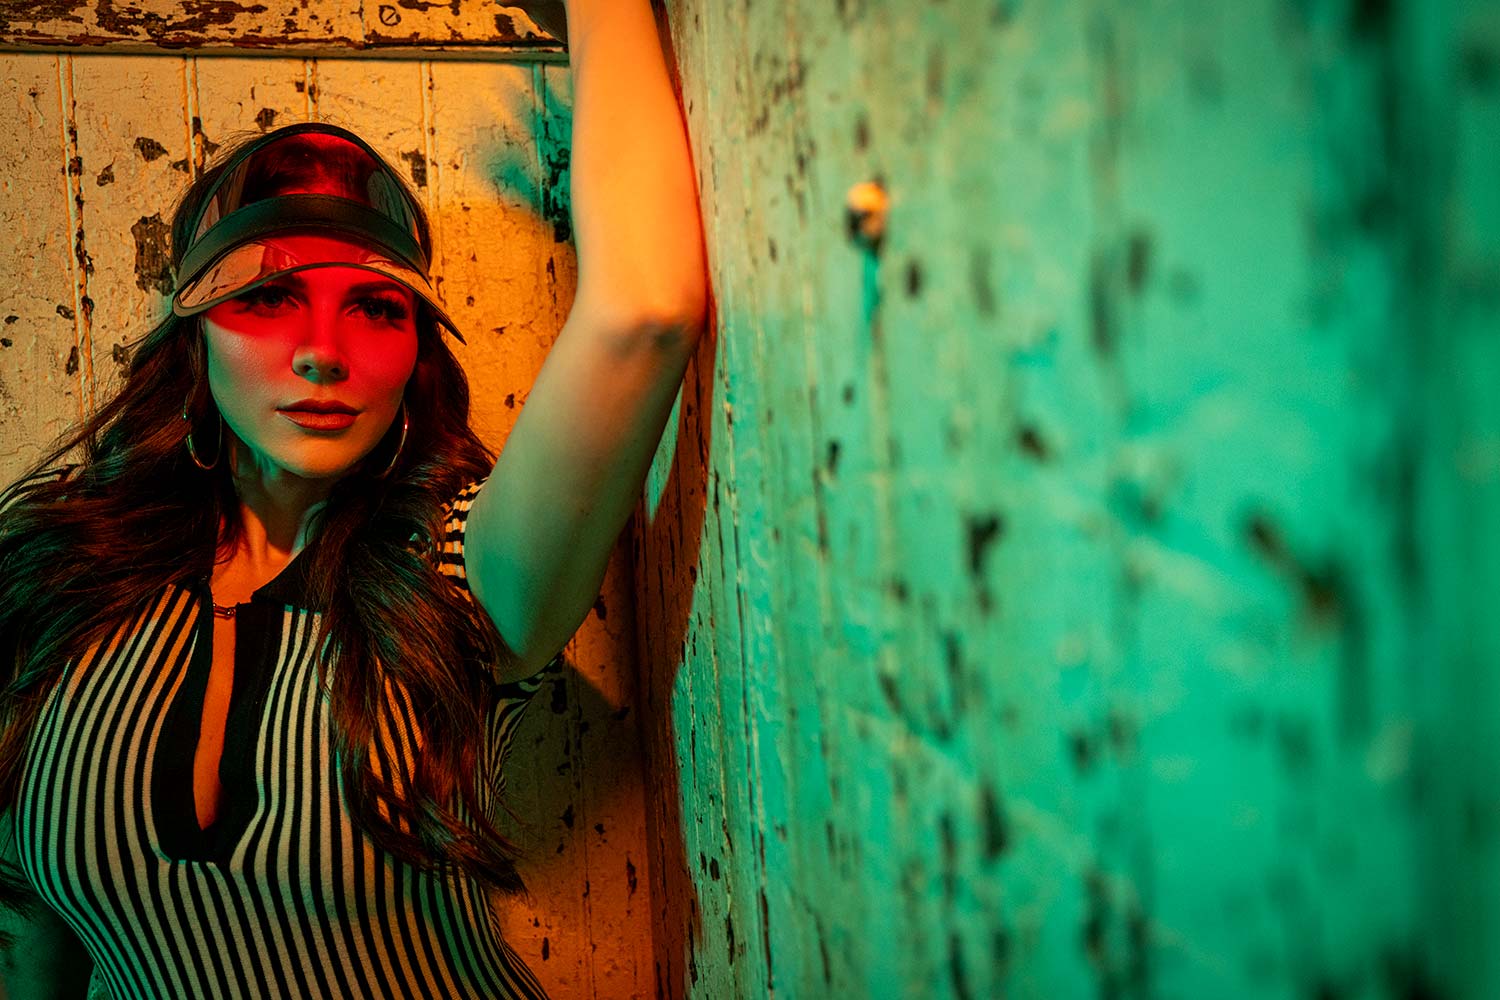
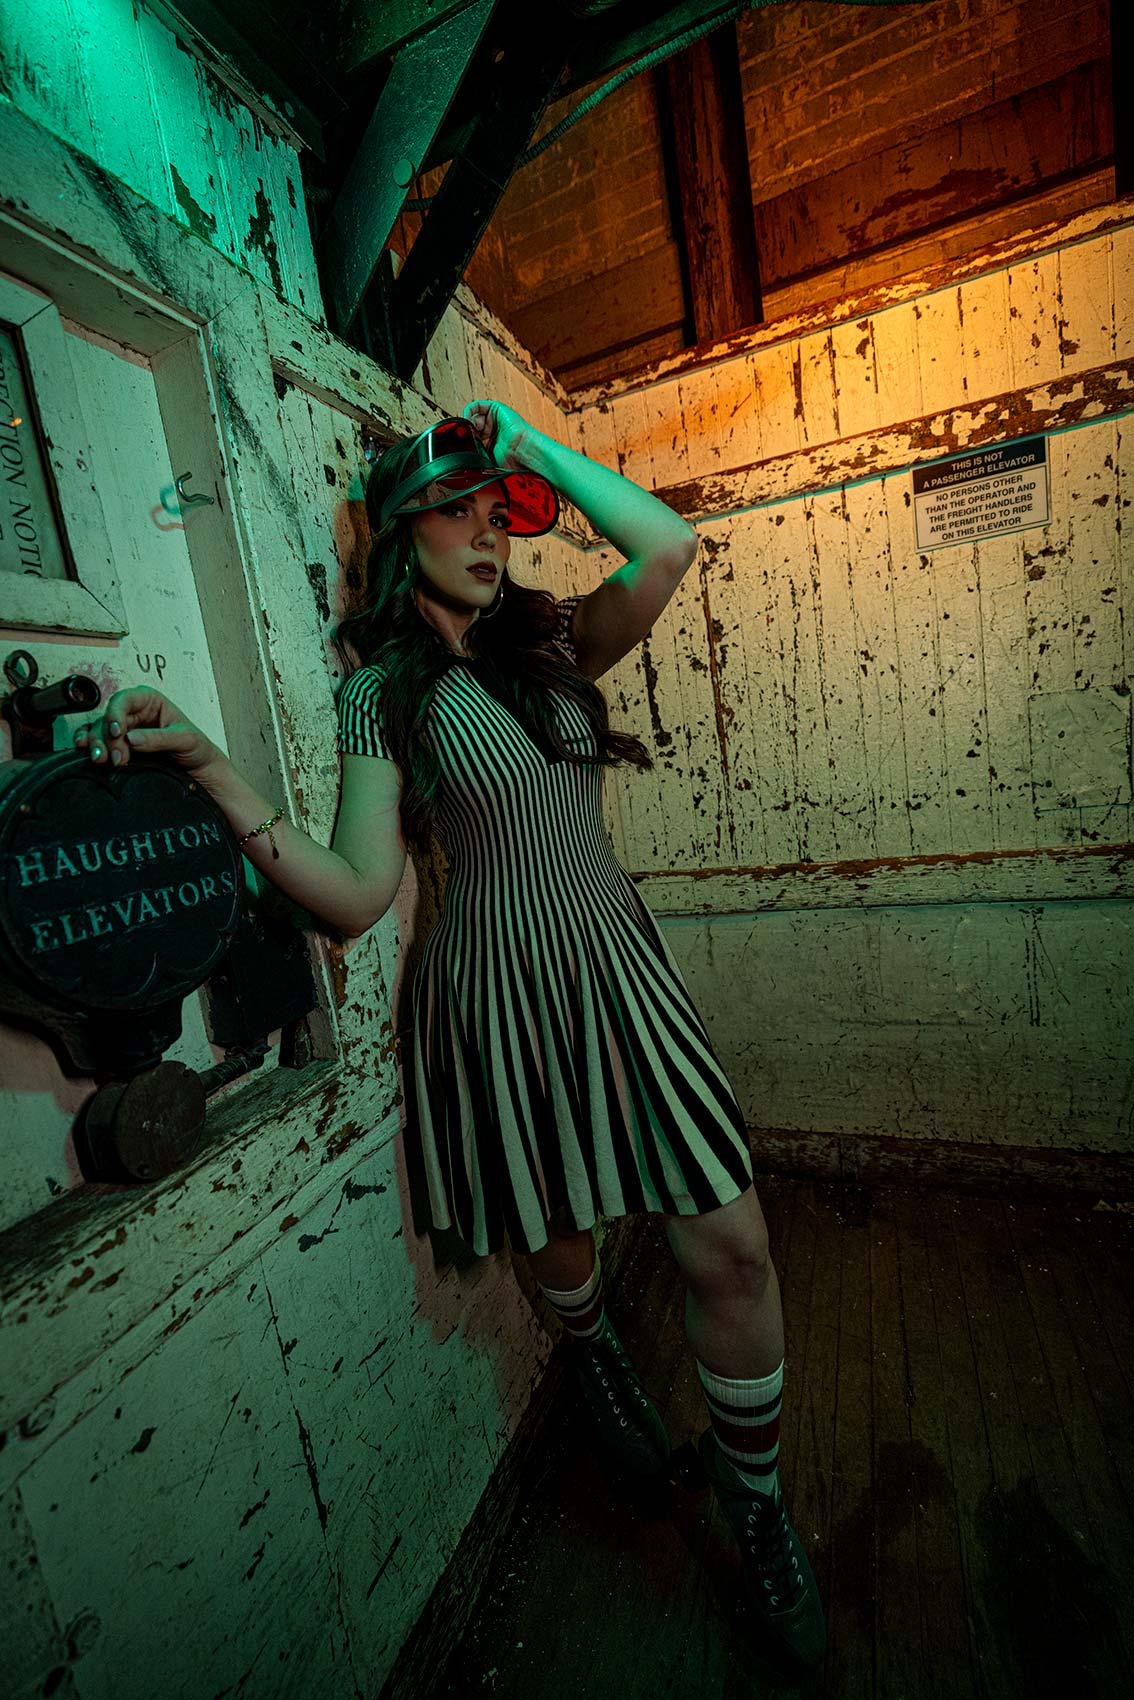
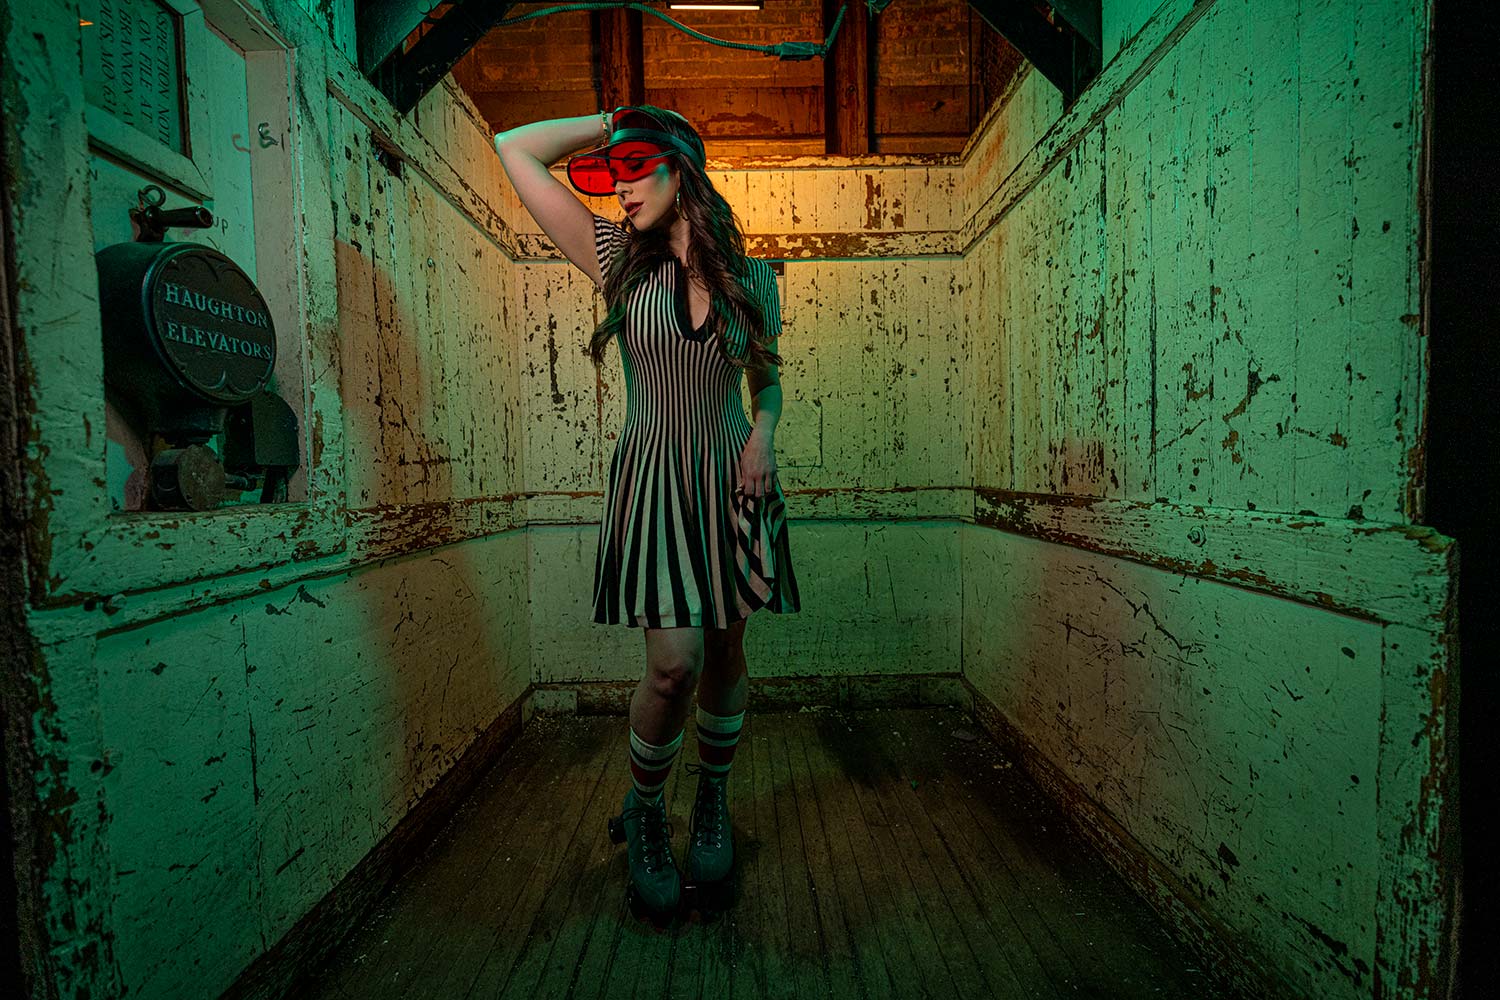
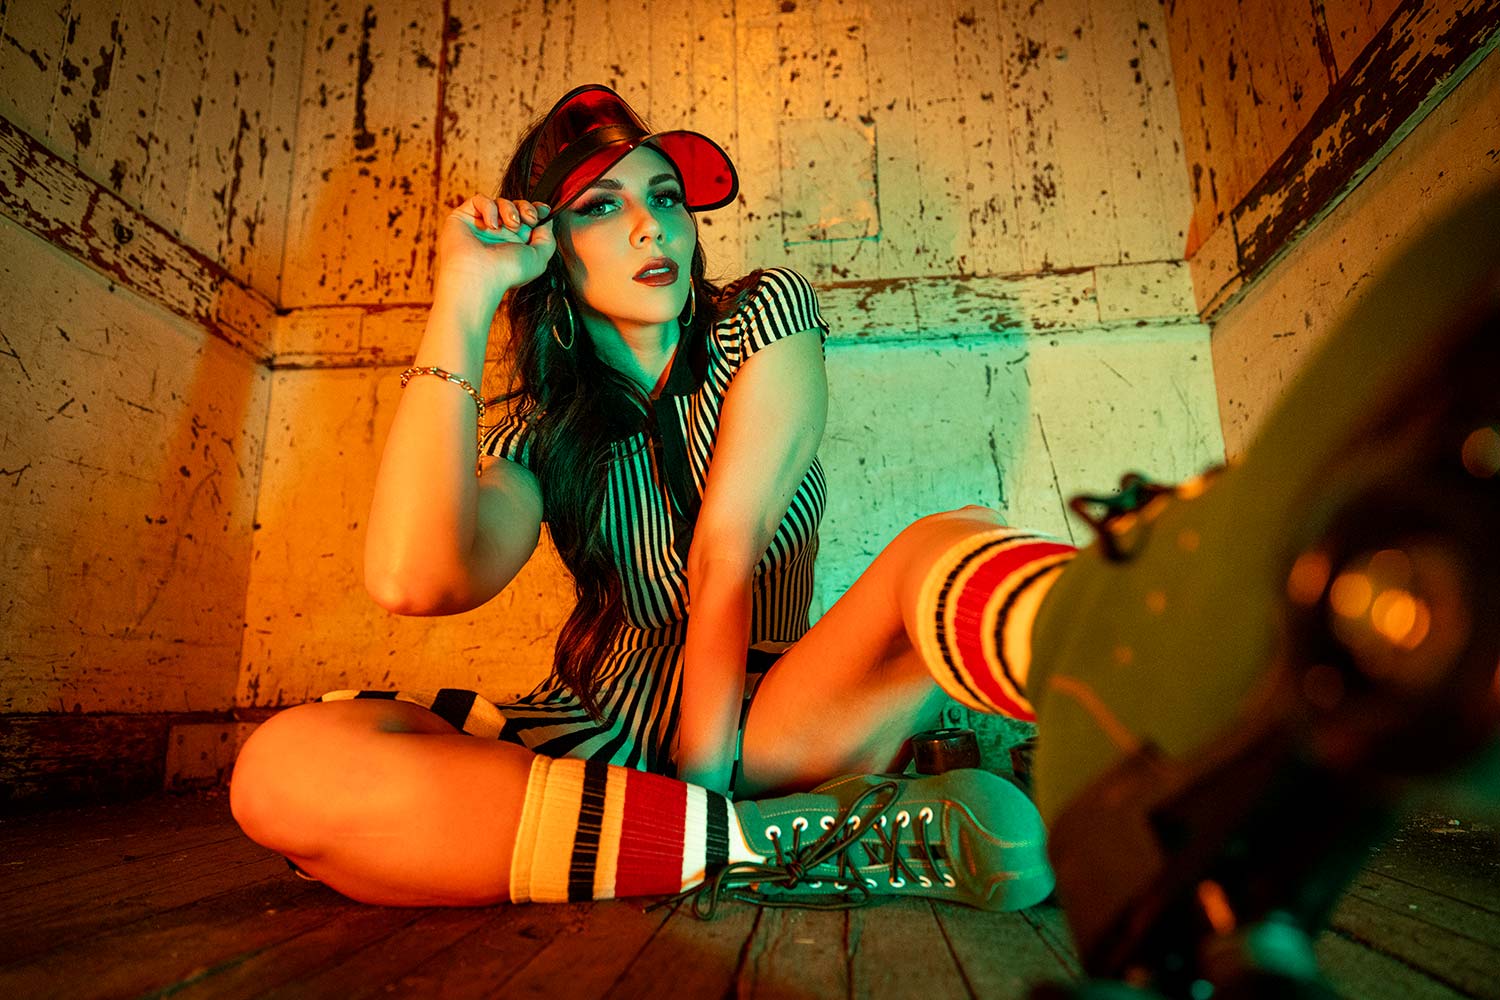
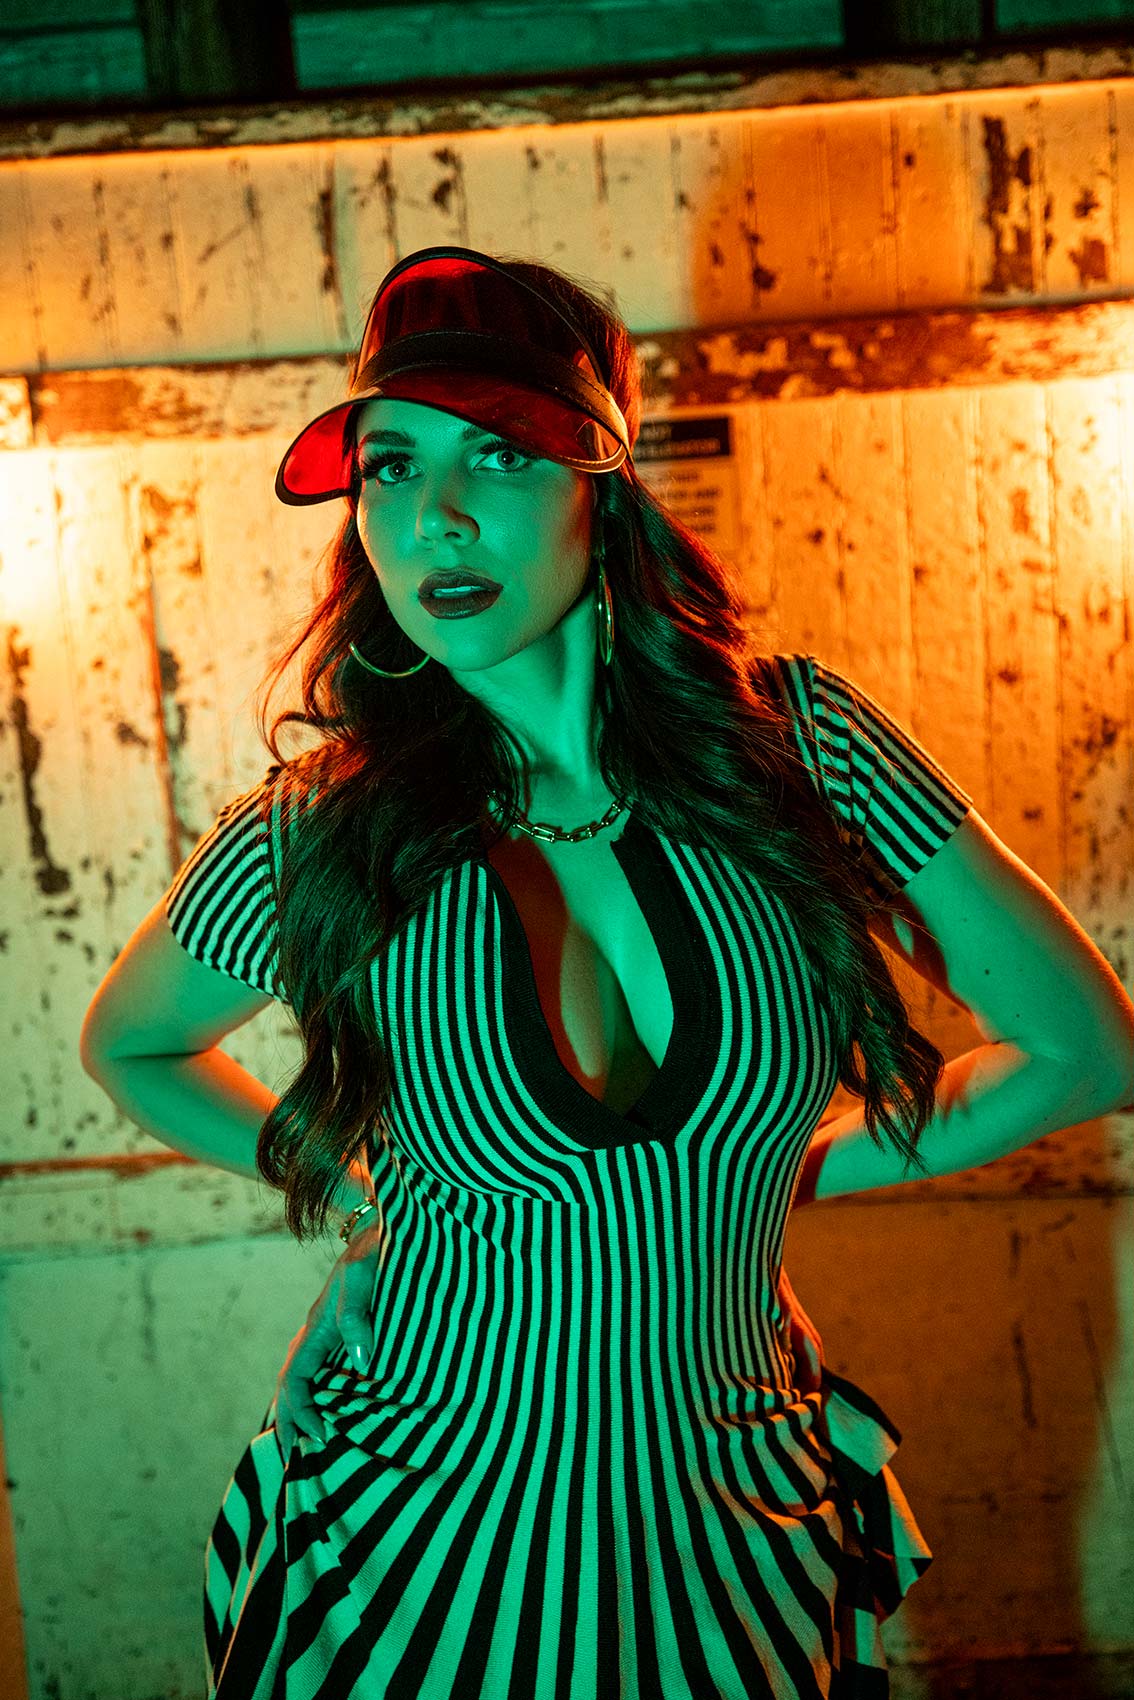
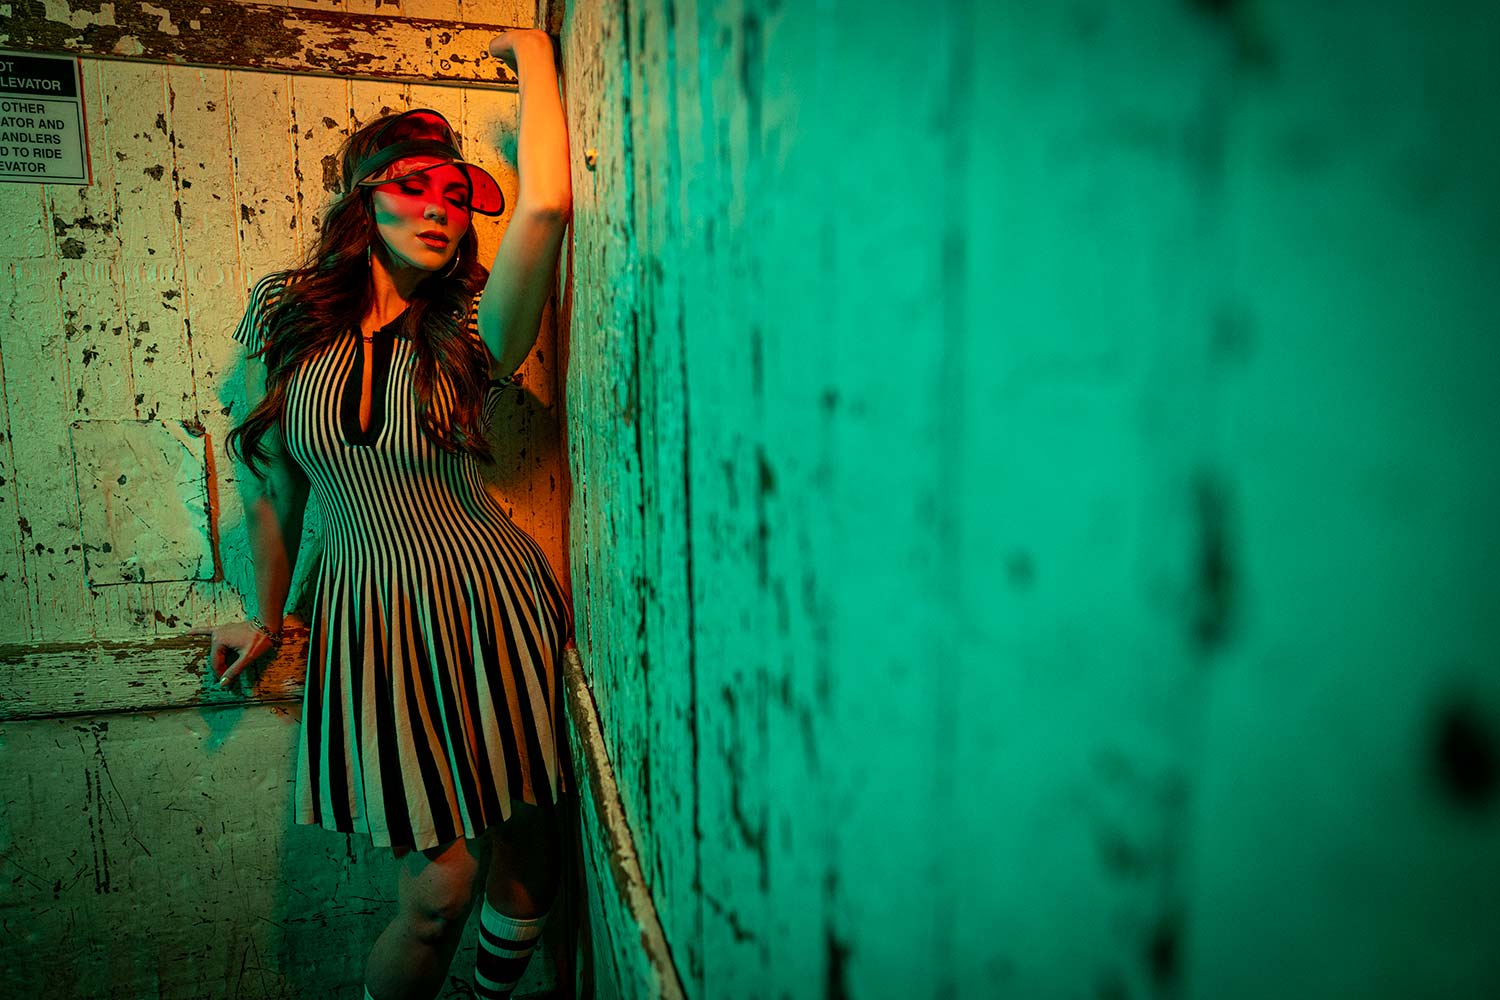
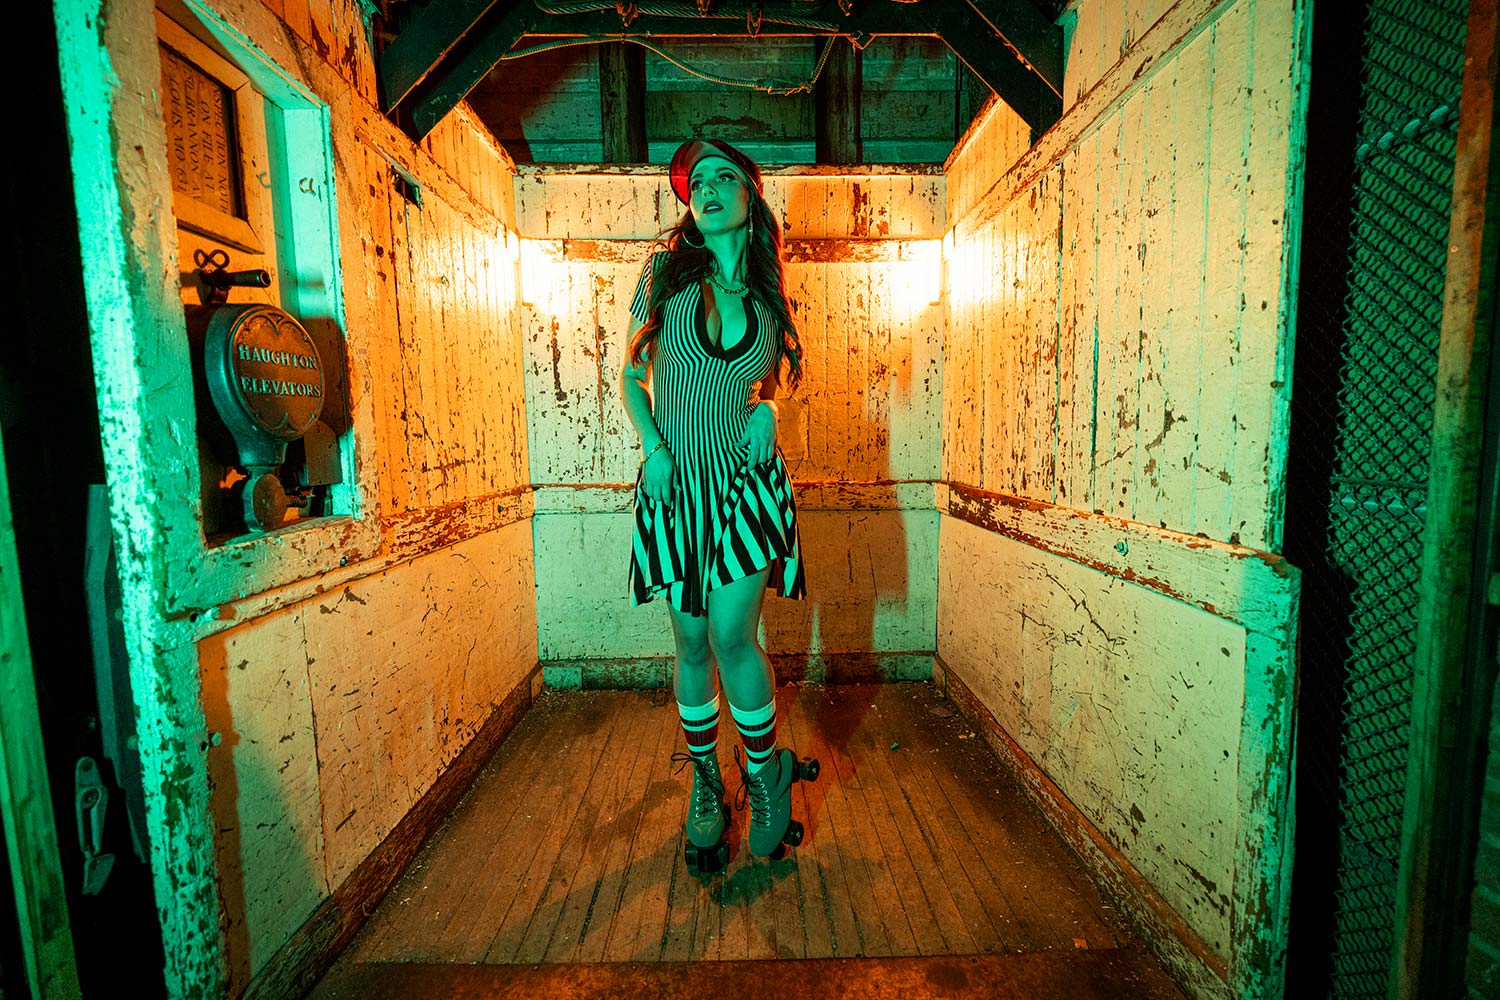
So here’s our vision. Want to use some orange, blue, orange, teal color combination in the elevator and then light her from the front with one of these lights just to create a kind of a moody portrait. We thought it’d be fun to have this kind of roller skater look.
We’ll see how it photographs, then I’ll determine if I like it or not. Jury’s still out. So this is orange. Again, they are magnetic, which again, this is the perfect use case for a light setup like this. So as we come in here, you can see if I were firing strobe into here, it’s just going everywhere. You’re not going to be able to create mood. I take that back. You can, but you’re going to have to have flats. You’re going to have to have snoots. You’re going to have to have a lot of light control.
Here, now, because this is magnetic, I can just put this up here and now that’s shining that orange light over here, right? So I’m really able to create a look and feel that I want. And so for this, these are now the teal colors. They’re all RGB. Put that up there. And now put this here. And depending on your light power, these will last two, three, four hours. If you’re firing them at full power, you’re probably only going to get about 30 minutes out of it. So move quickly if you’re going to do full power. But in here, to give you perspective, these lights are only at about 30, 40% power.
Settings: f/2.8 @ 1/200, ISO 1000
And so just so you guys see on and off, so with no light hitting her, she’s just got some really dark shadows, which could look cool, but I just want a little bit of fill here. And we do have to come in from underneath just to get that fill. So let’s work with this. And I’m shooting a Cannon 15-35. So I just felt like for this, it should be wide angle to give it that kind of funky feel. What I’m going to do here, so I’m going to turn up these lights just a little bit. So they’re at about 45% power. I’m going to go up to about 65%. So again, super easy to use. Put a little more power on this one. I’m going to go up to… Let’s push this up to 75. And it does tell you on the back at the power setting how much time you have. So this one just told me at 80%, got an hour 25.
So I’m really just watching exposure on her face. I can always enhance color later, but I want to make sure I got good exposure on her face.
And again, I chose this wide angle lens. it’s a lot of fun. I’m sure you’re seeing what we’re doing. I’m moving around. And this is what I love about these lights. I would not be able to move this quickly with strobes. It’d be like a 15, 20 minute reset every time. So I’m kind of getting the feel. I want orange and teal, and I’m trying to find that balance. So I’ve put one orange light here and I’ve got two teal lights to my left, just kind of illuminating her there with some orange shadow.

