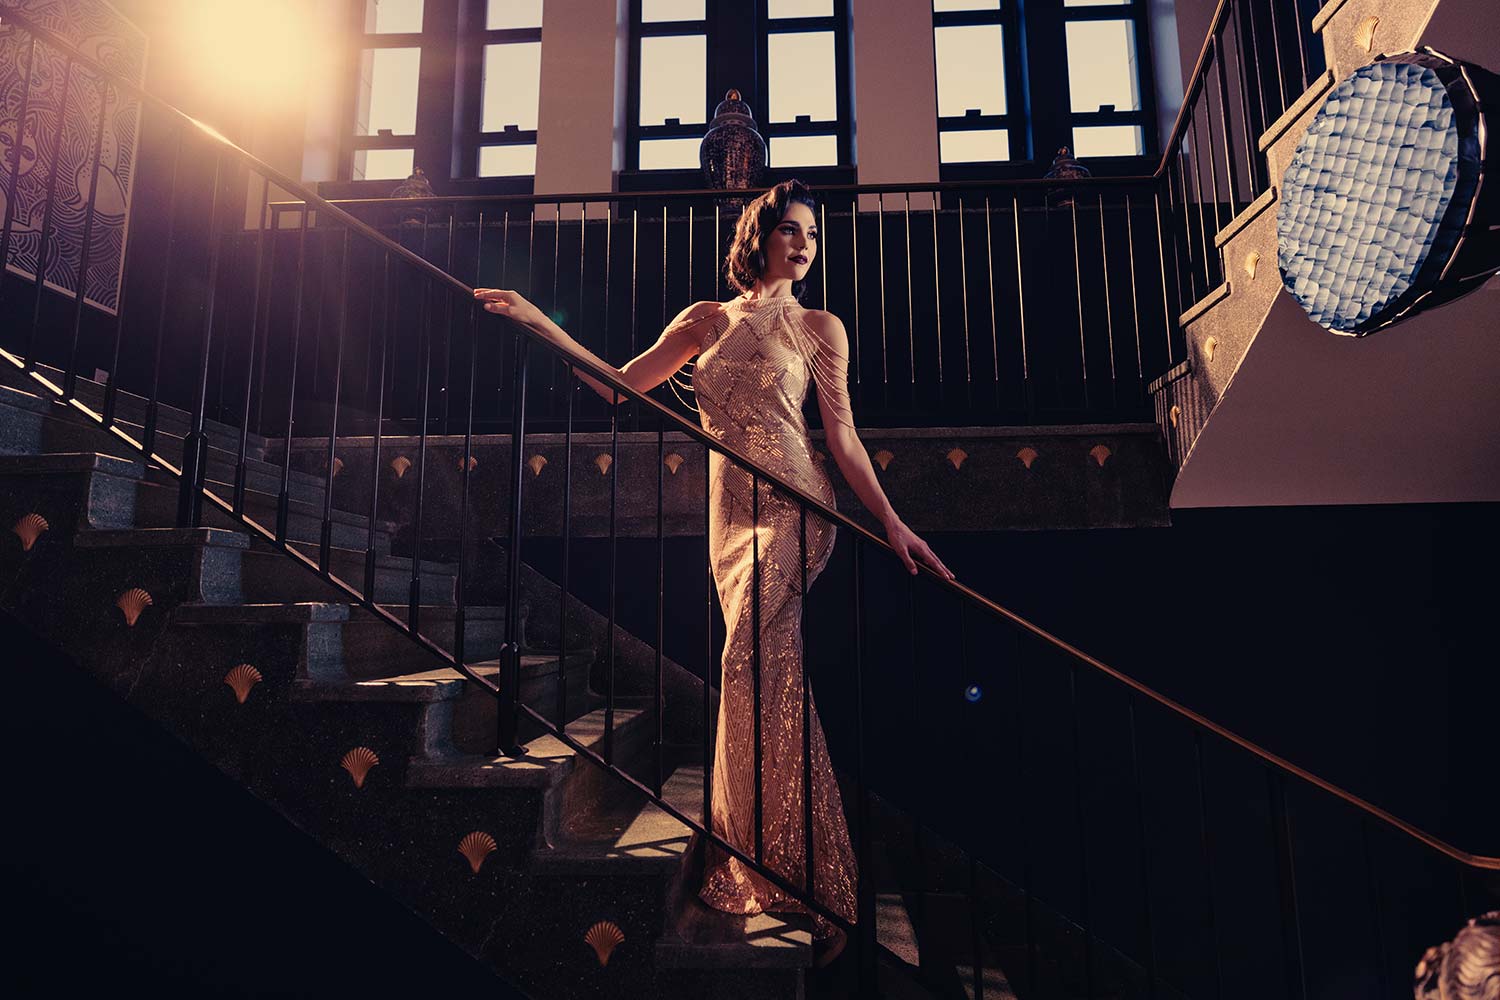
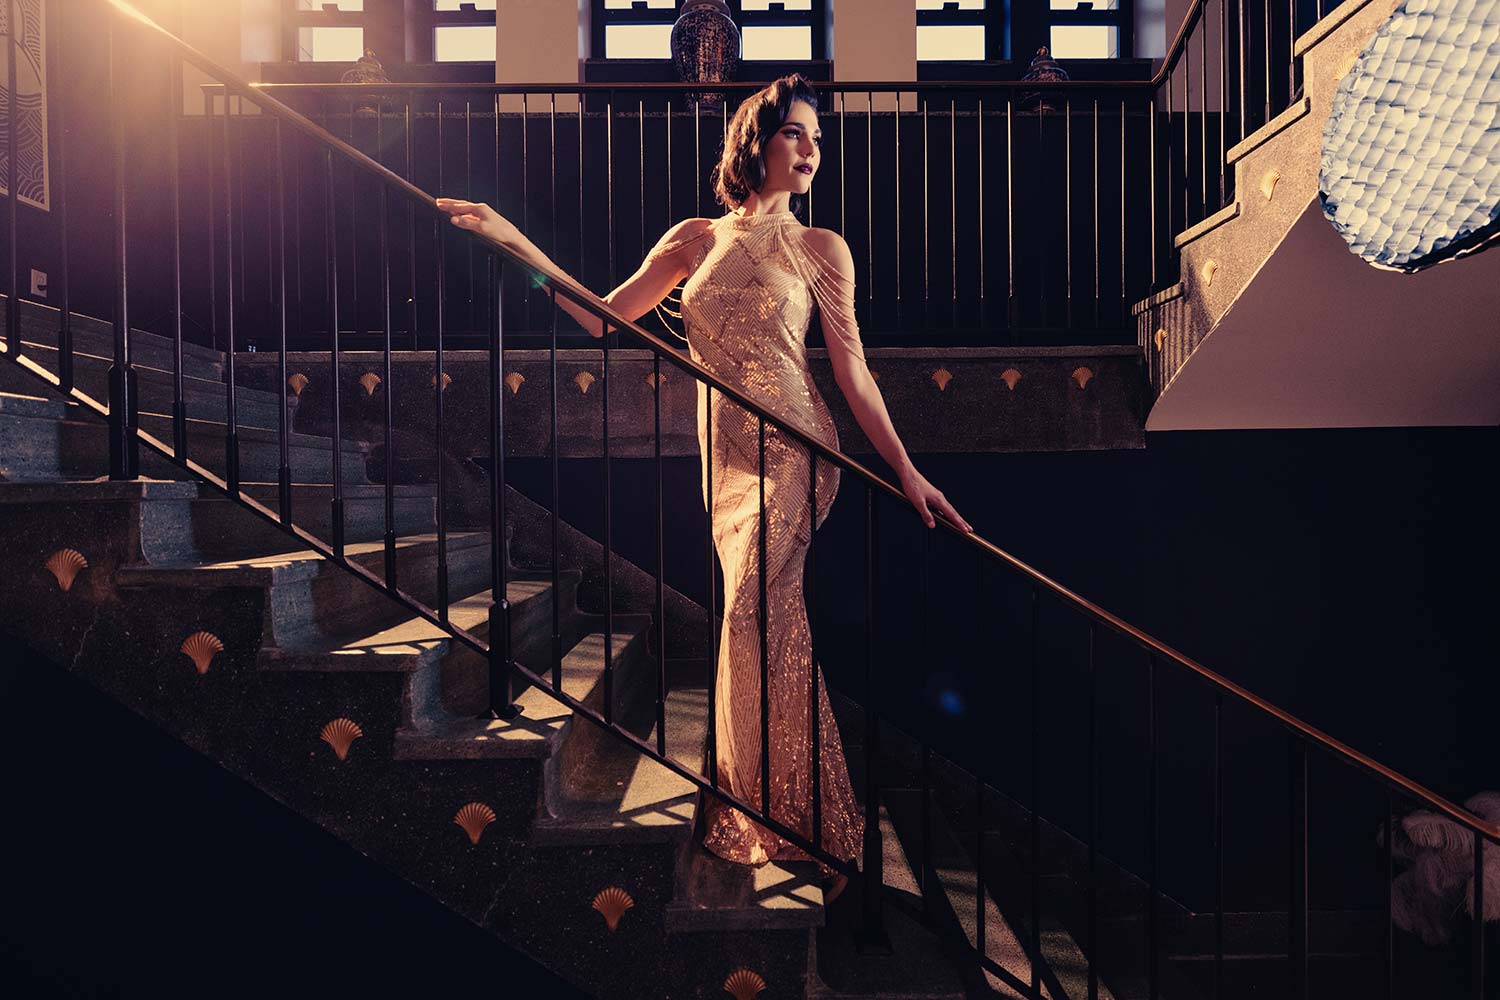
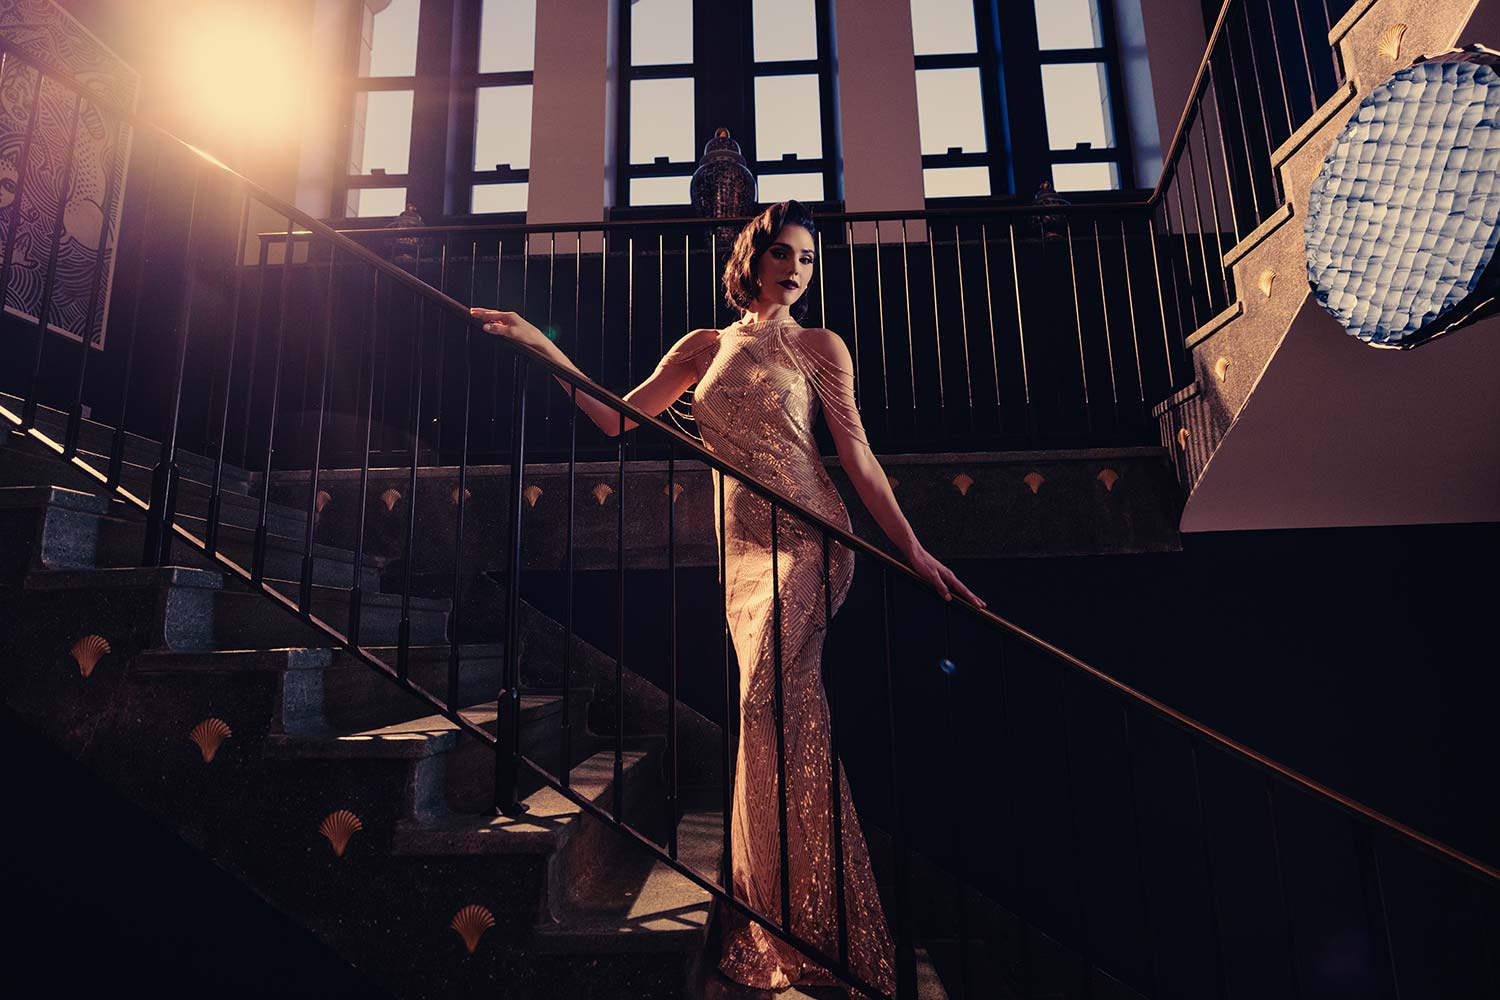
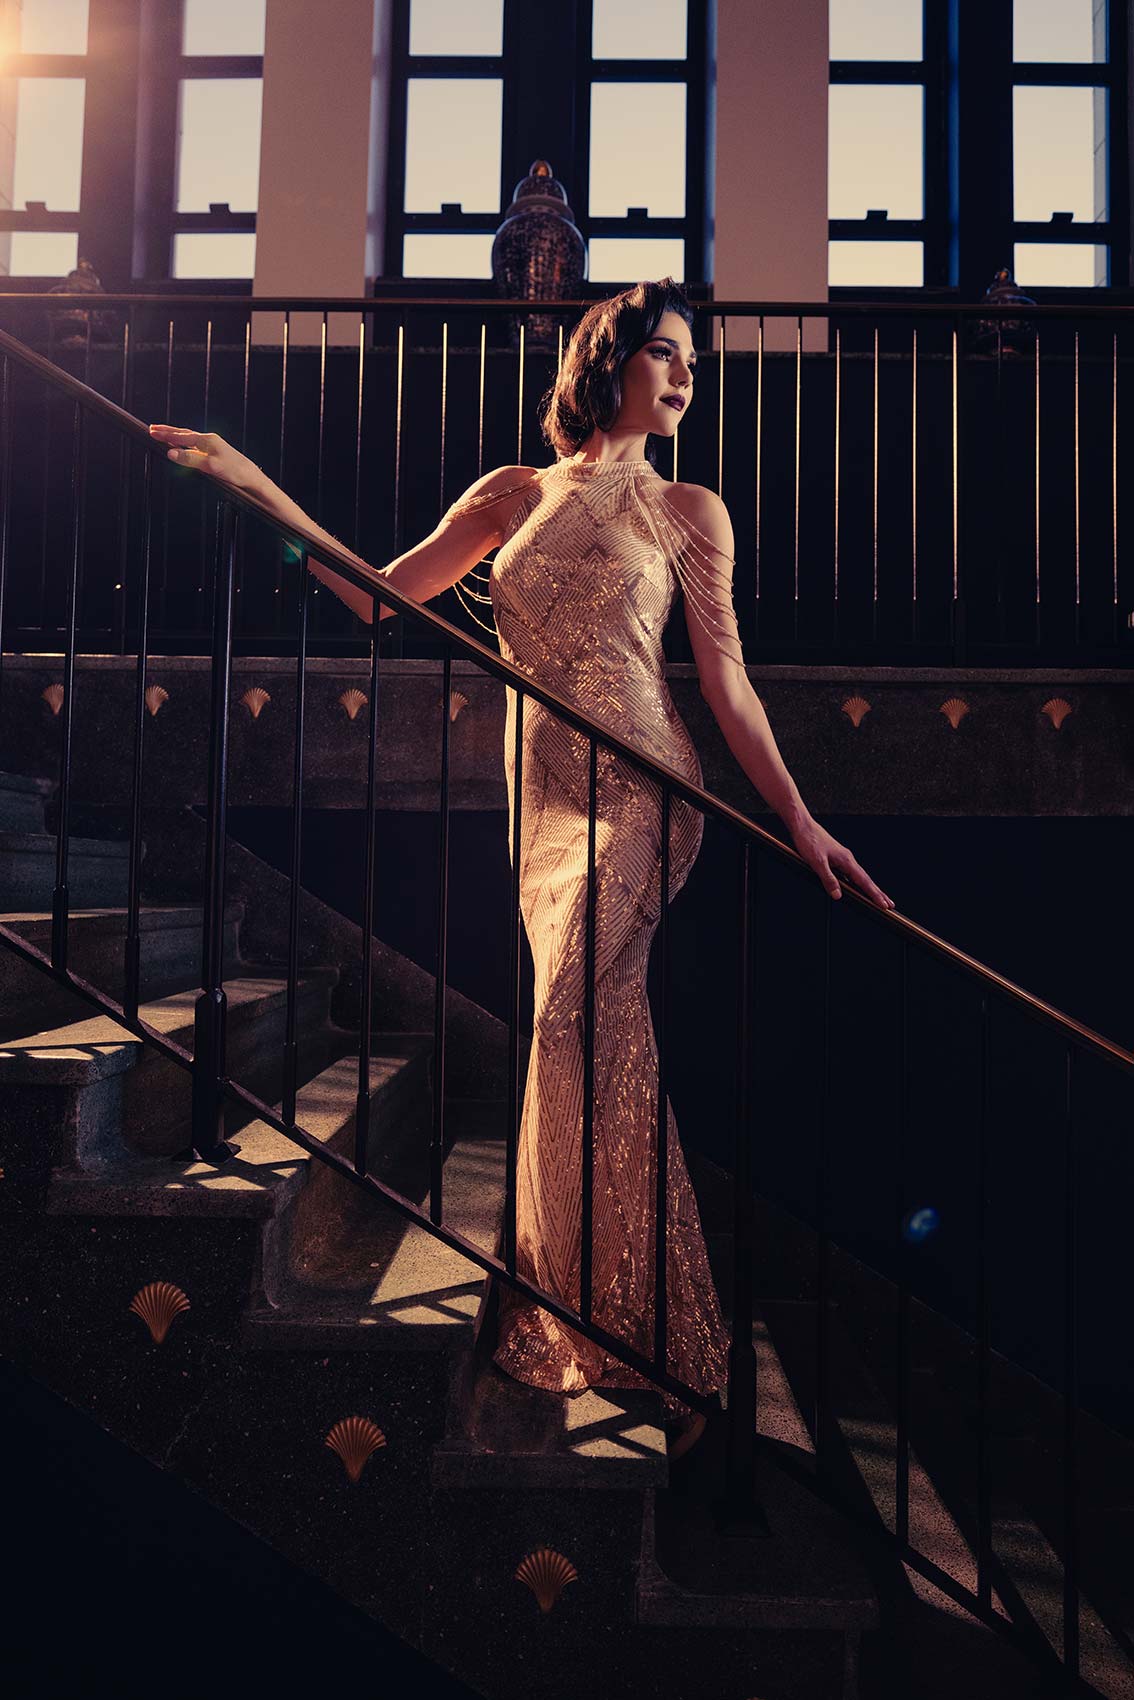
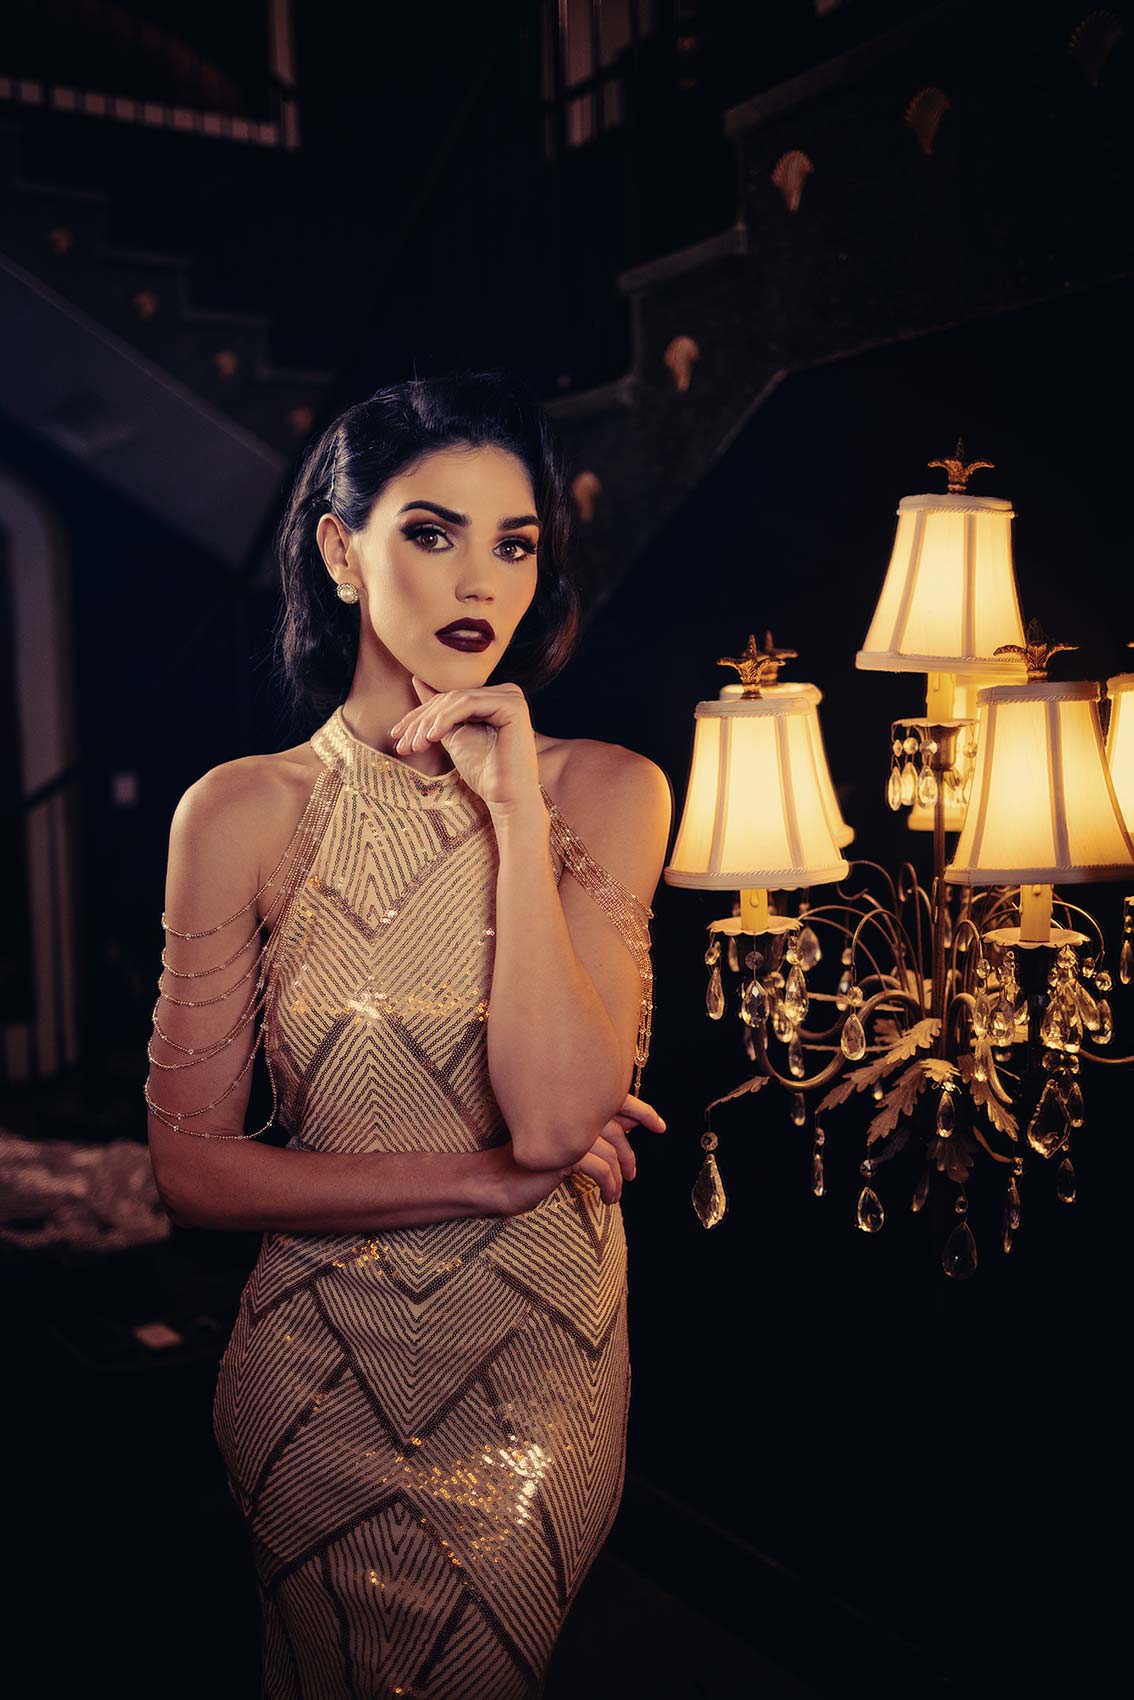
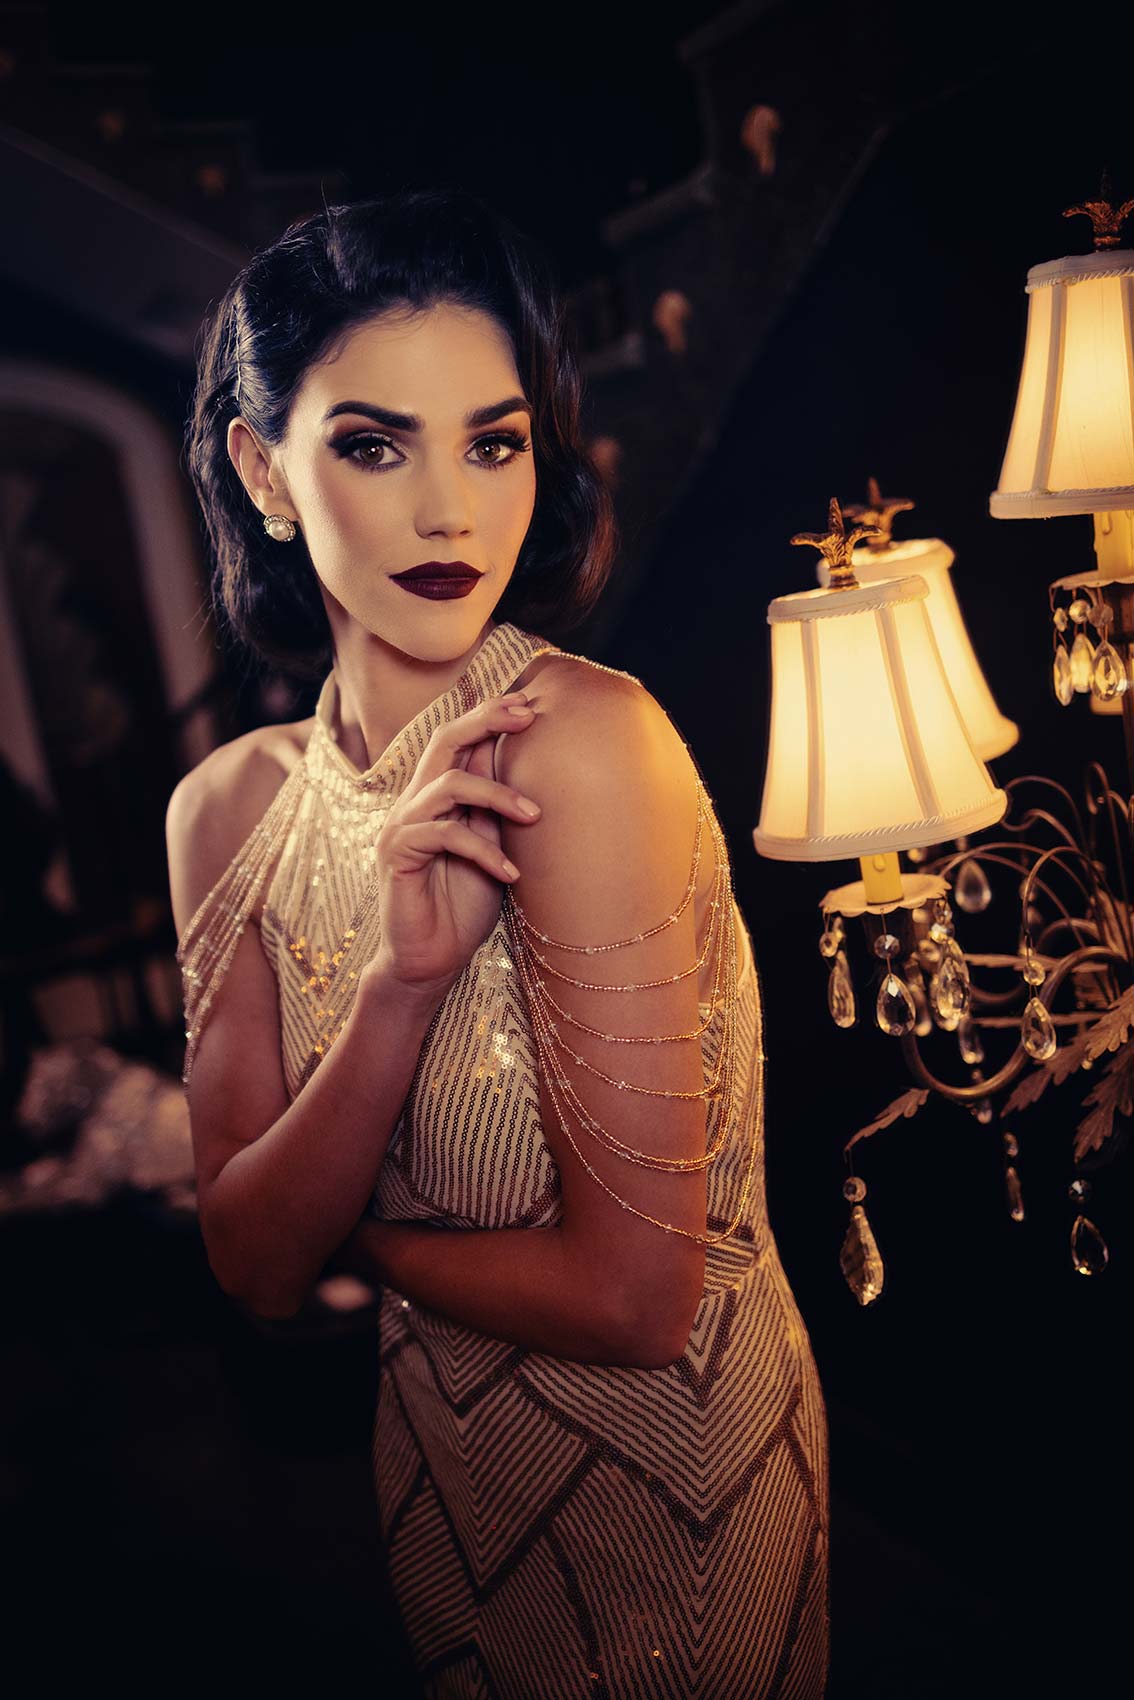
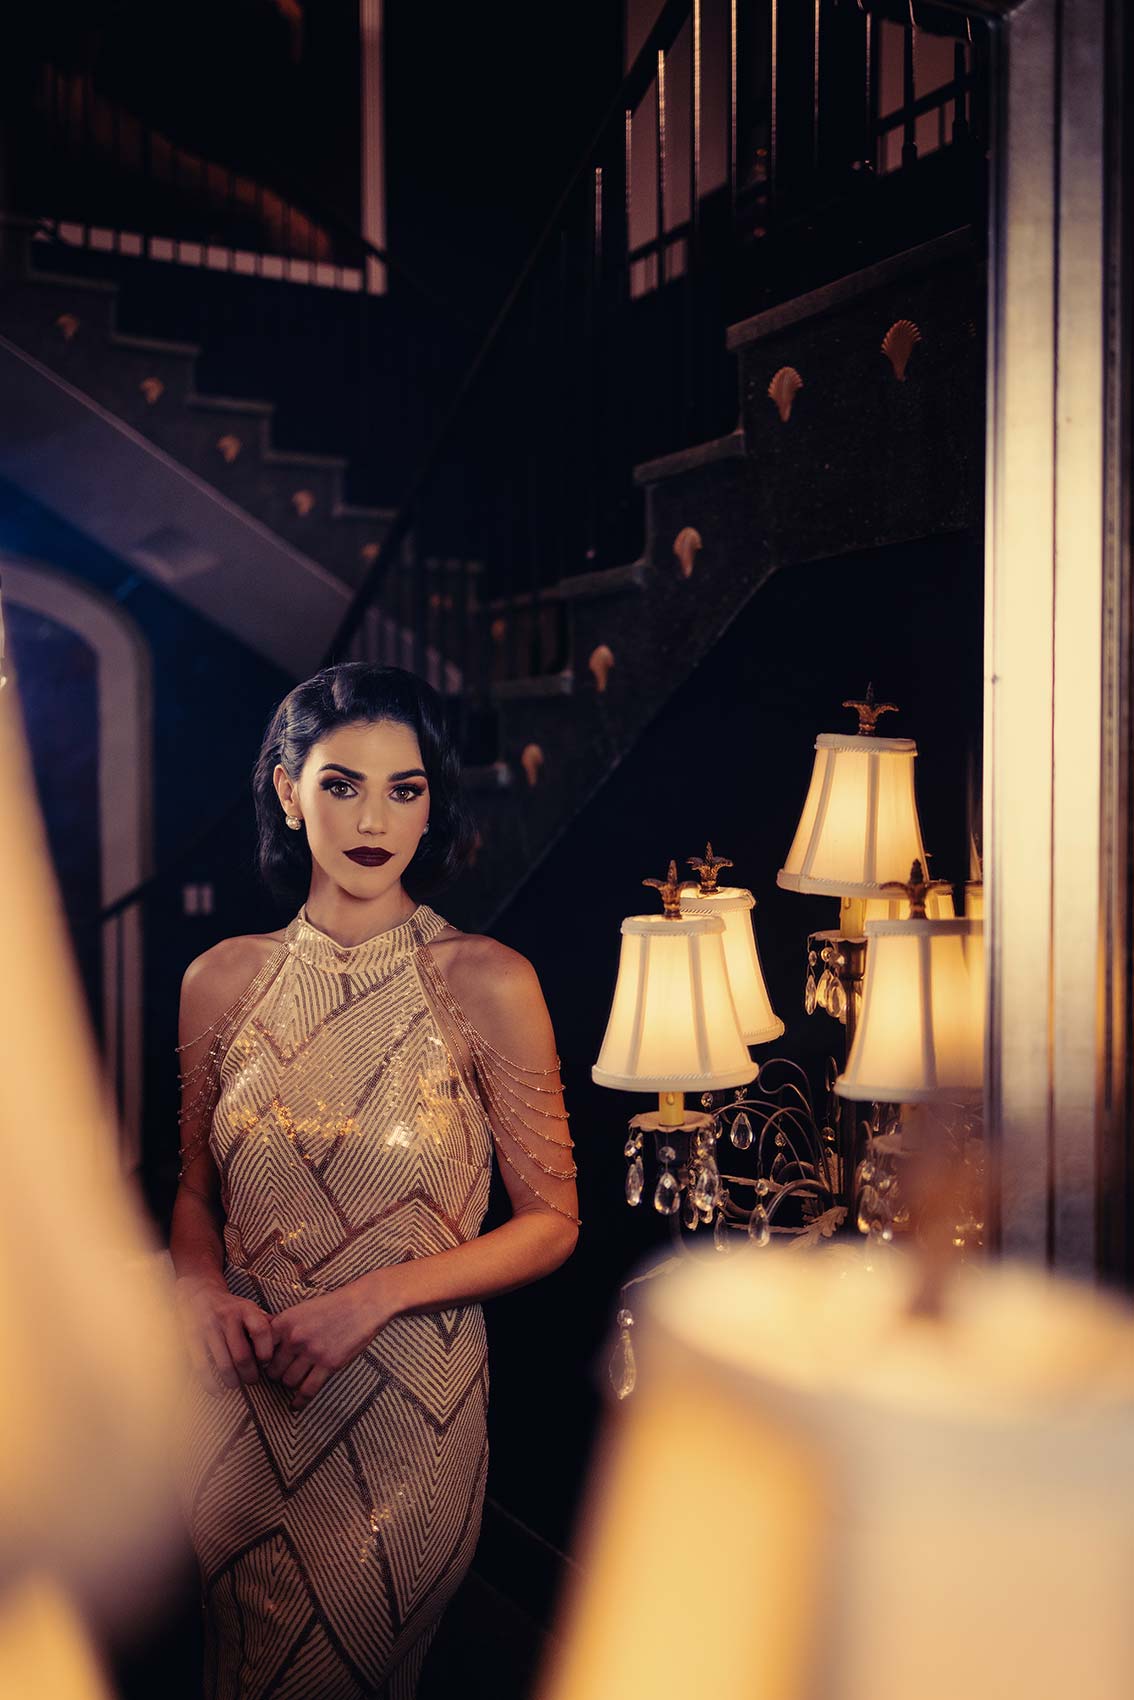
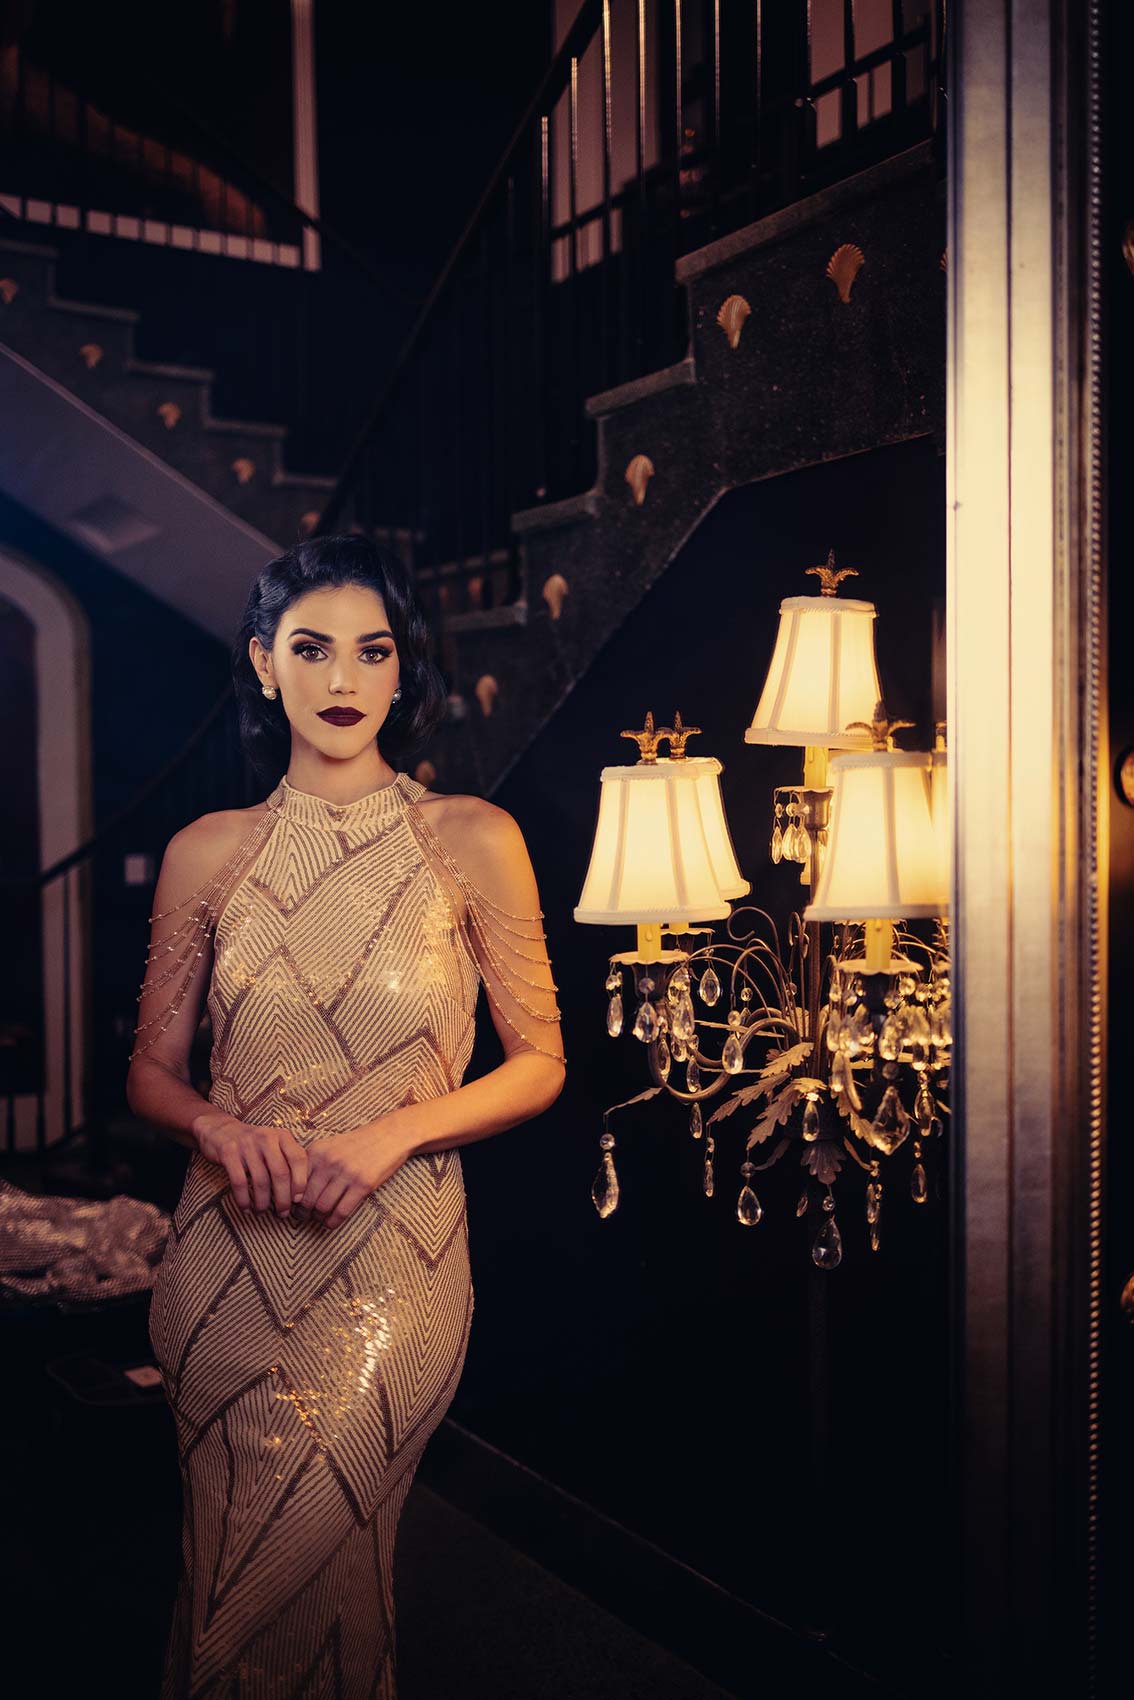
Looking to take your portrait photography to the next level? Join us as we explore the incredible Nanlite Forza 500B and 150B lights for creating moody and captivating portraits. These lights are a game-changer with their immense power and ability to enhance the mood of any scene. Subscribe to our channel to stay updated on all the latest lighting techniques and gear!
Equipment Used:
Camera: Canon EOS R5
Lens: Canon RF15-35 f2.8, Canon RF50 f1.2
Light: Nanlite Forza 500B and 150B
Team:
Photographer: Sal Cincotta
Model: Rachel James
Hair & Makeup: Brandi Patton, ReFine Beauty
What’s up everyone? Today we are creating moody portraits using the Nanlite Forza 500B and 150B. All right guys, so I am obsessed with continuous light right now, and so I find myself using it more and more, but depending on the scene, I need more and more power. And so you might be thinking if you haven’t looked it up already, the Forza 500B, it is a beast of a light. They have two lines. One is B, one is C. B stands for bi-color, C for color, meaning RGB color. So we can throw in red and blue. Today I’m just using two bi-color lights allowing me to control the color. The one light, the 500 is throwing out at 2,700 Kelvin. So we’re going to set the cameras to 5,500 Kelvin. What’s that going to do? It’s going to turn everything yellow. I want it to look and feel like a sunset. And so this is how they do it in Hollywood.
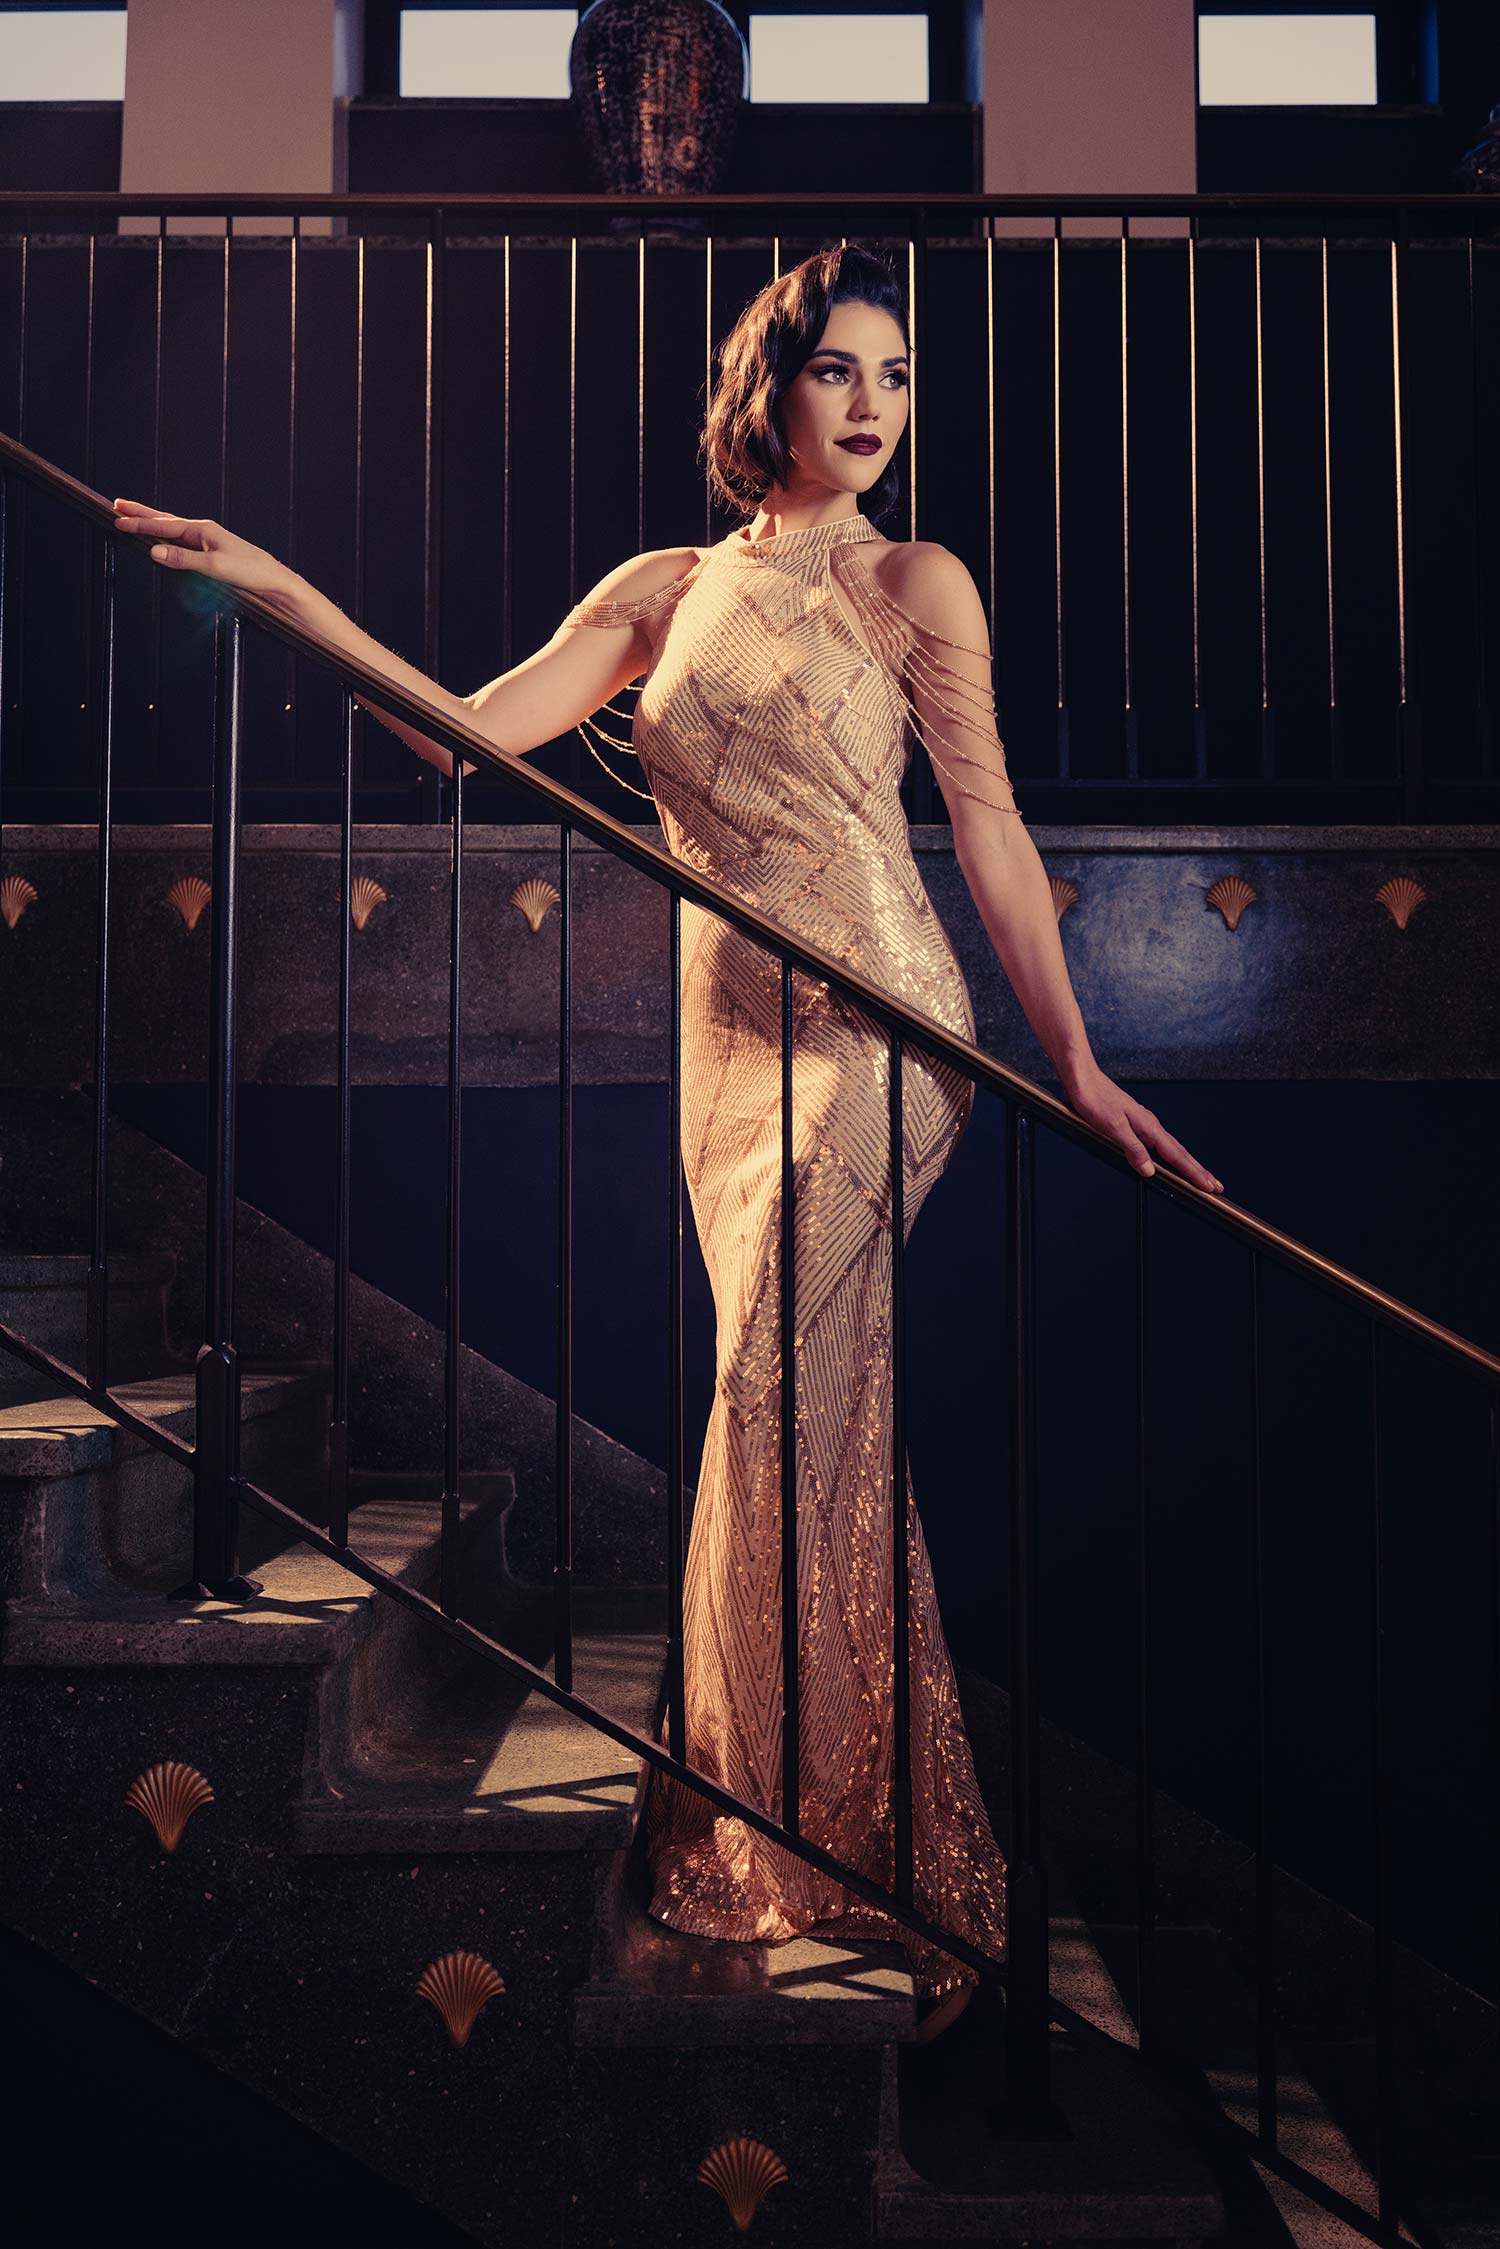
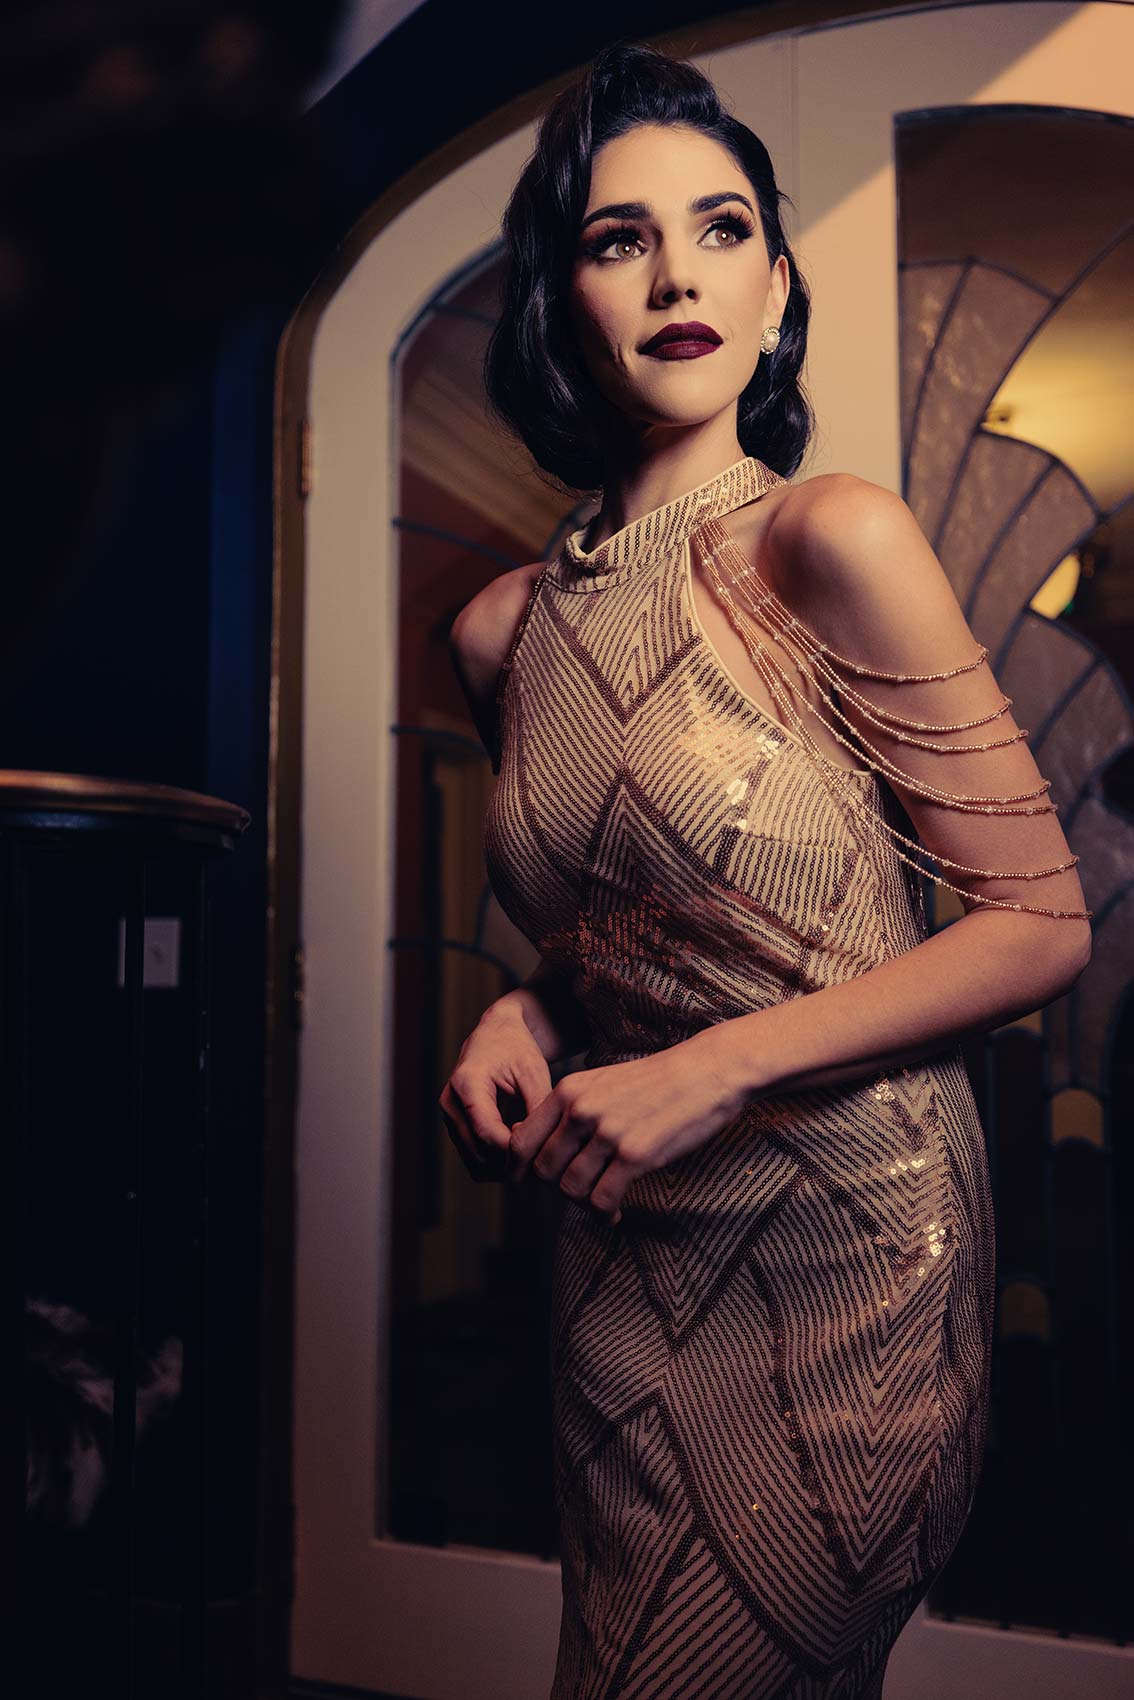
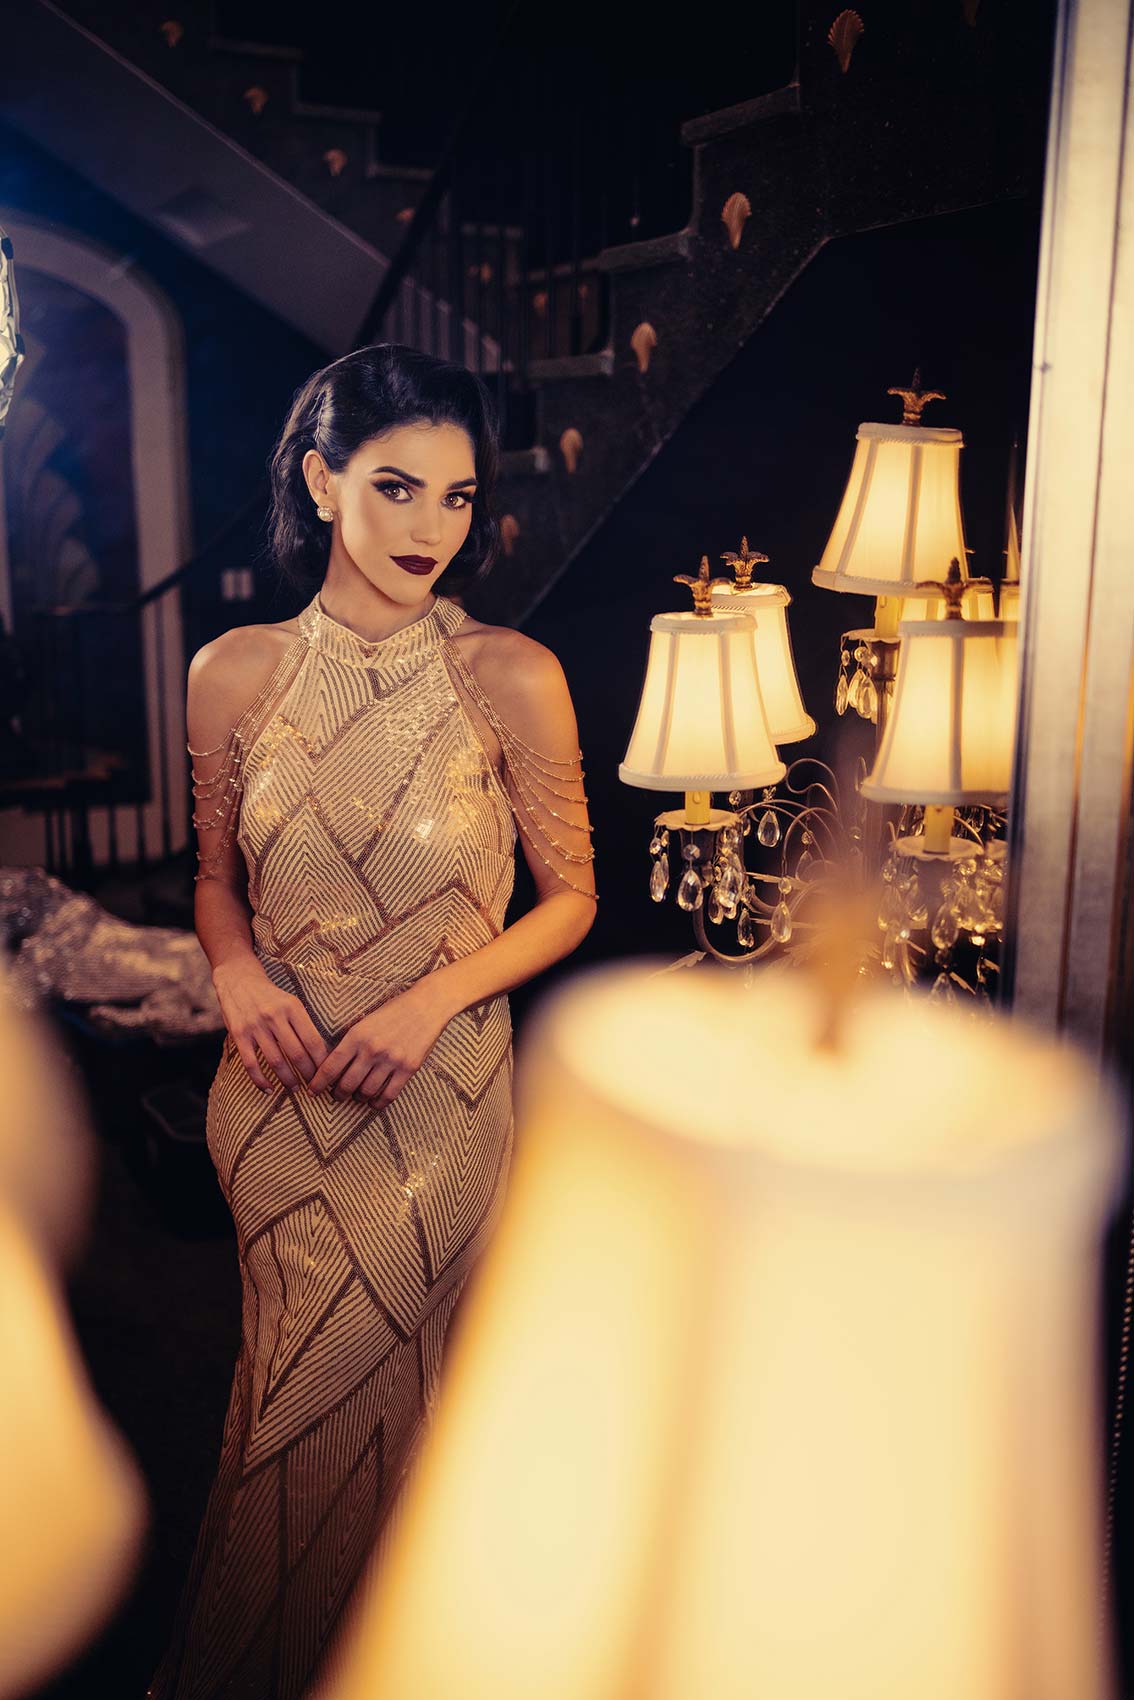
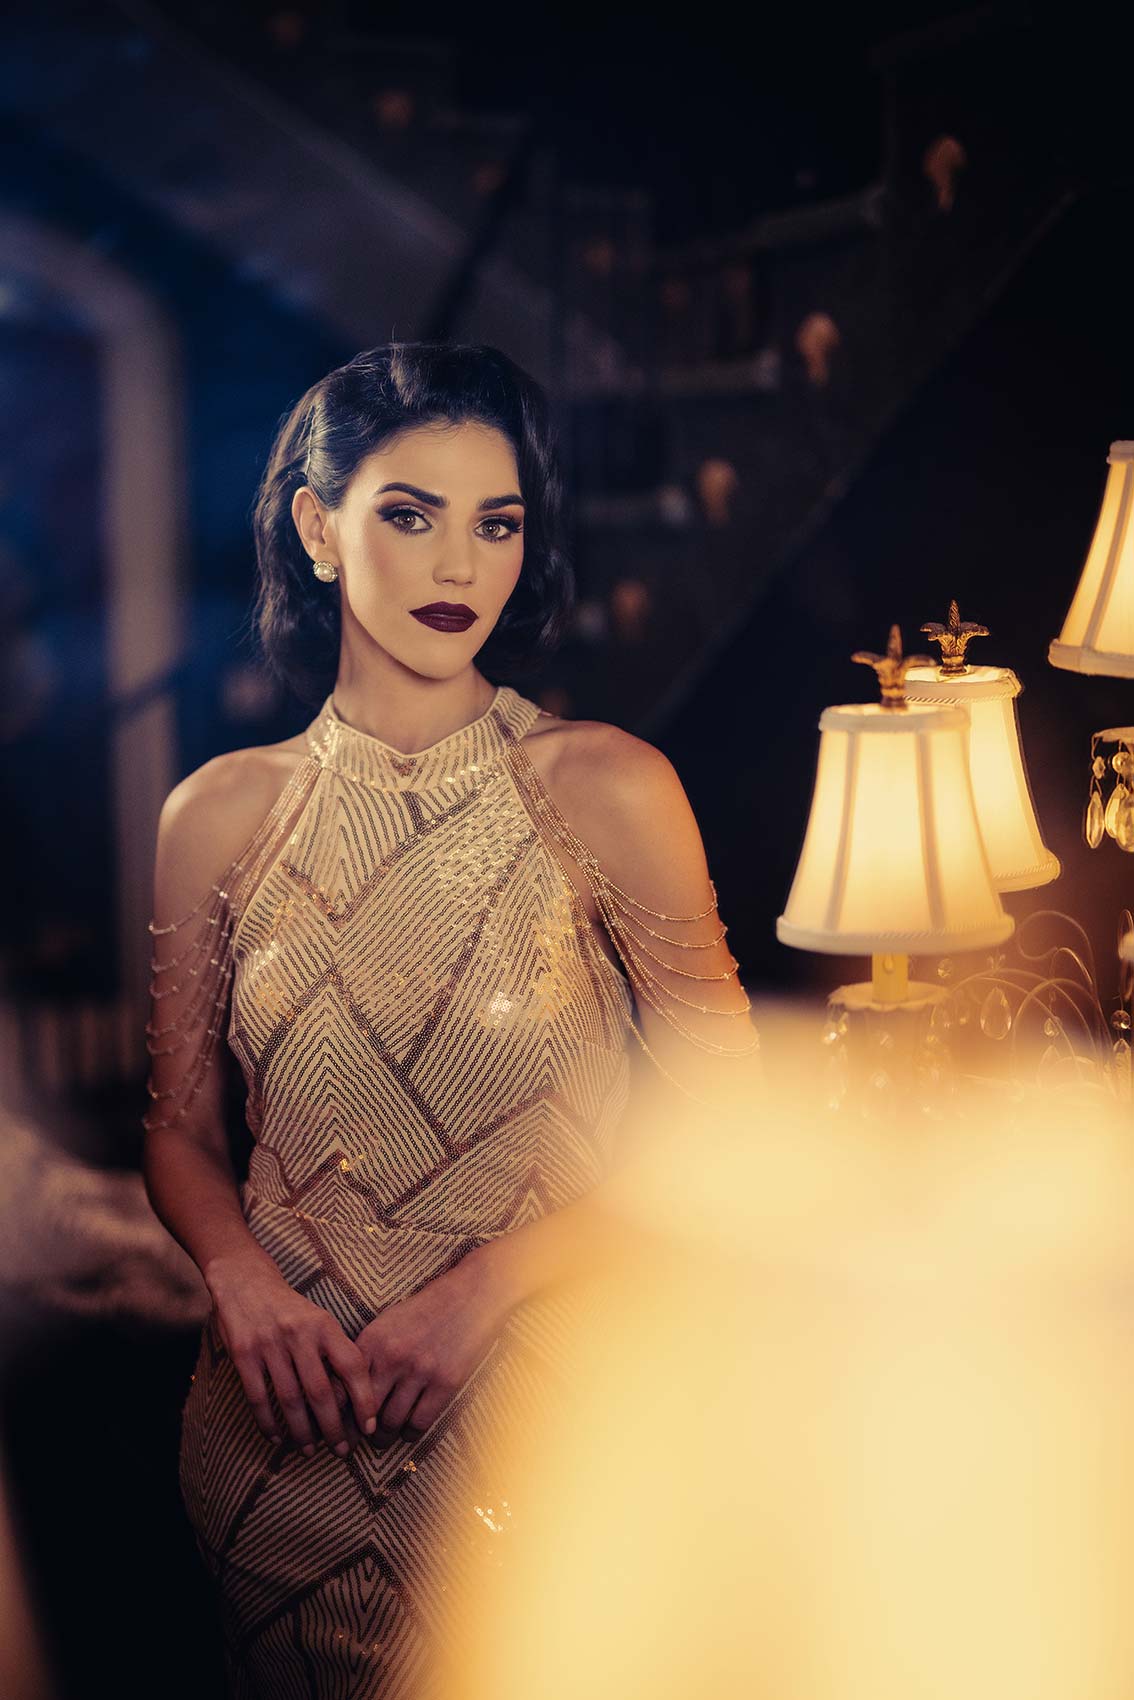
We can control that color temperature, make it look like sunset is coming in. You ever get that beautiful orange warm light and you’re thinking to yourself, oh, don’t go away, we only got five minutes? Not with the 500B. I got as much time as I want and that’s why I’m using that. And then of course, on the main light, we’re using the 150B with a soft box and a grid on it so that we can really focus that light on her. And so we’re in this beautiful Airbnb that we’ve rented. She’s got this kind of Gatsby looking outfit on and I really want to work with those warm tones. So there’s a lot of gold accents in the scene. In her outfit is gold as well.
Settings: f/2.8 @ 1/200, ISO 1000
All right. So the reason I’m using the grid on this particular light is so that I don’t have light spill all over the stairs and all over the scene. And especially when we’re doing different color temperatures, I really want to just have the correct color on her face and on the edge light here. But in camera left, what’s going to end up happening is this is going to give me some natural looking sun flare, even though it’s an artificial light source. And then what you will see is there’s these gold seashells kind of on the outside of the steps and then her outfit is gold. It’s going to be incredible.
For this, I’m using the Canon 15-35 F2.8. And I think you need this to get this whole scene. What you’re seeing here, all these leading lines, I’m trying to make sure I get everything straight and I’m lifting my camera a little bit so that I’m not shooting so much at an upward angle, but it looks like sunset. It’s just bouncing around in here.
I’m trying to make sure windows and lines are right. Now what I’m going to do here is just rotate this just a little so that I don’t get split light on her. Now I’m going to get more even light, but this is why I’m using the grid on that light. I don’t know if you can see it, but that grid is really controlling the spread of light. It’s not washing all over the wall behind her. So now I’ve got really nice light on her. I love this kind of artificial warm light coming in.
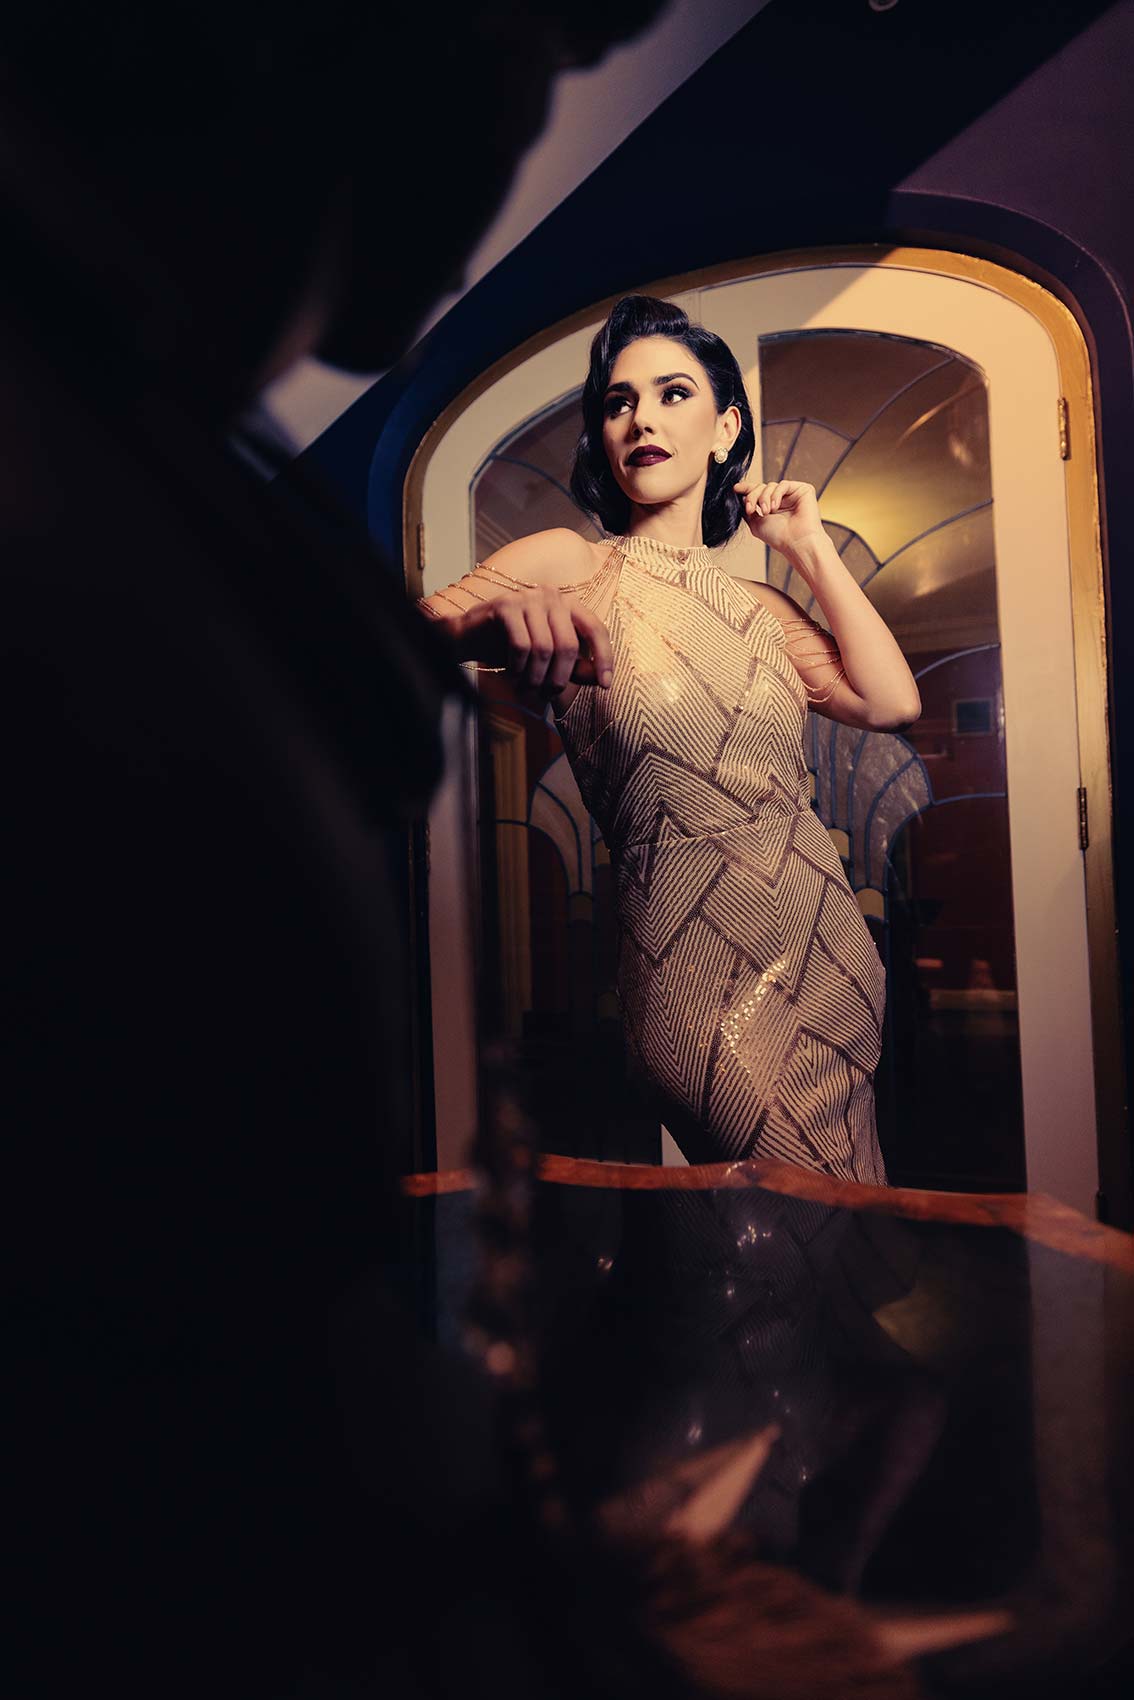
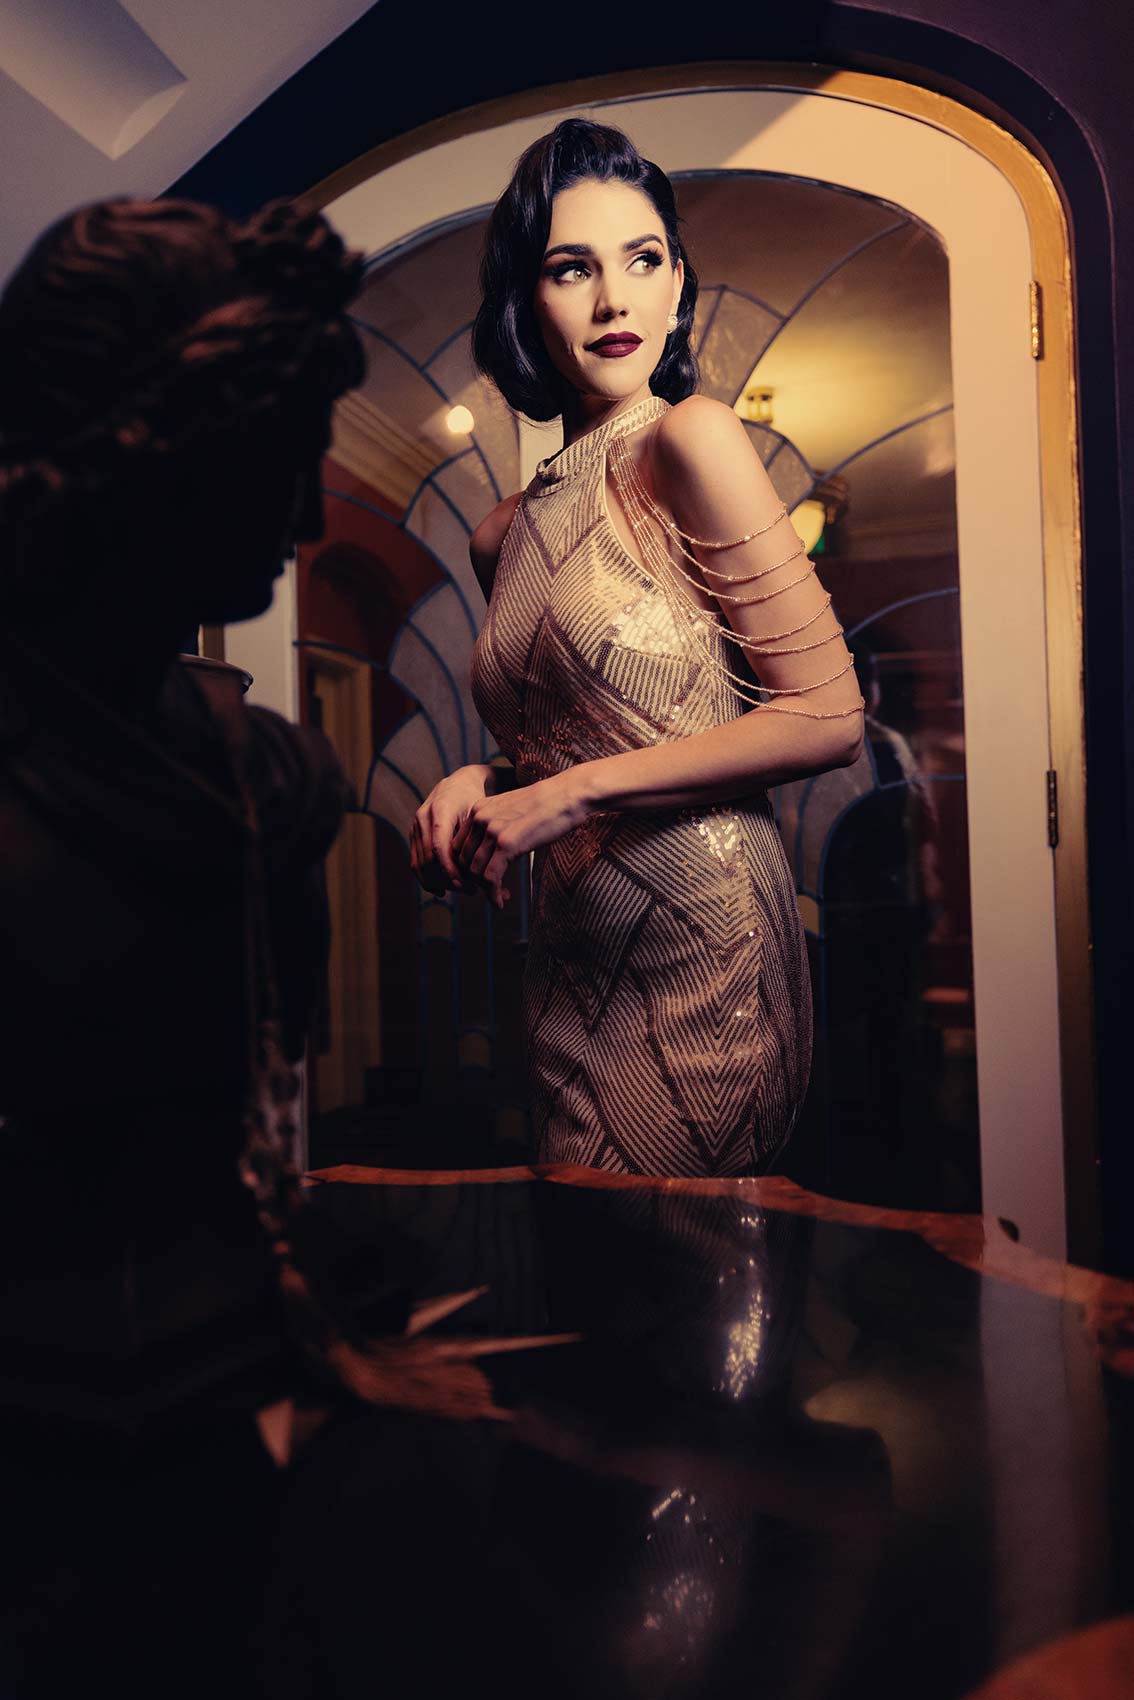
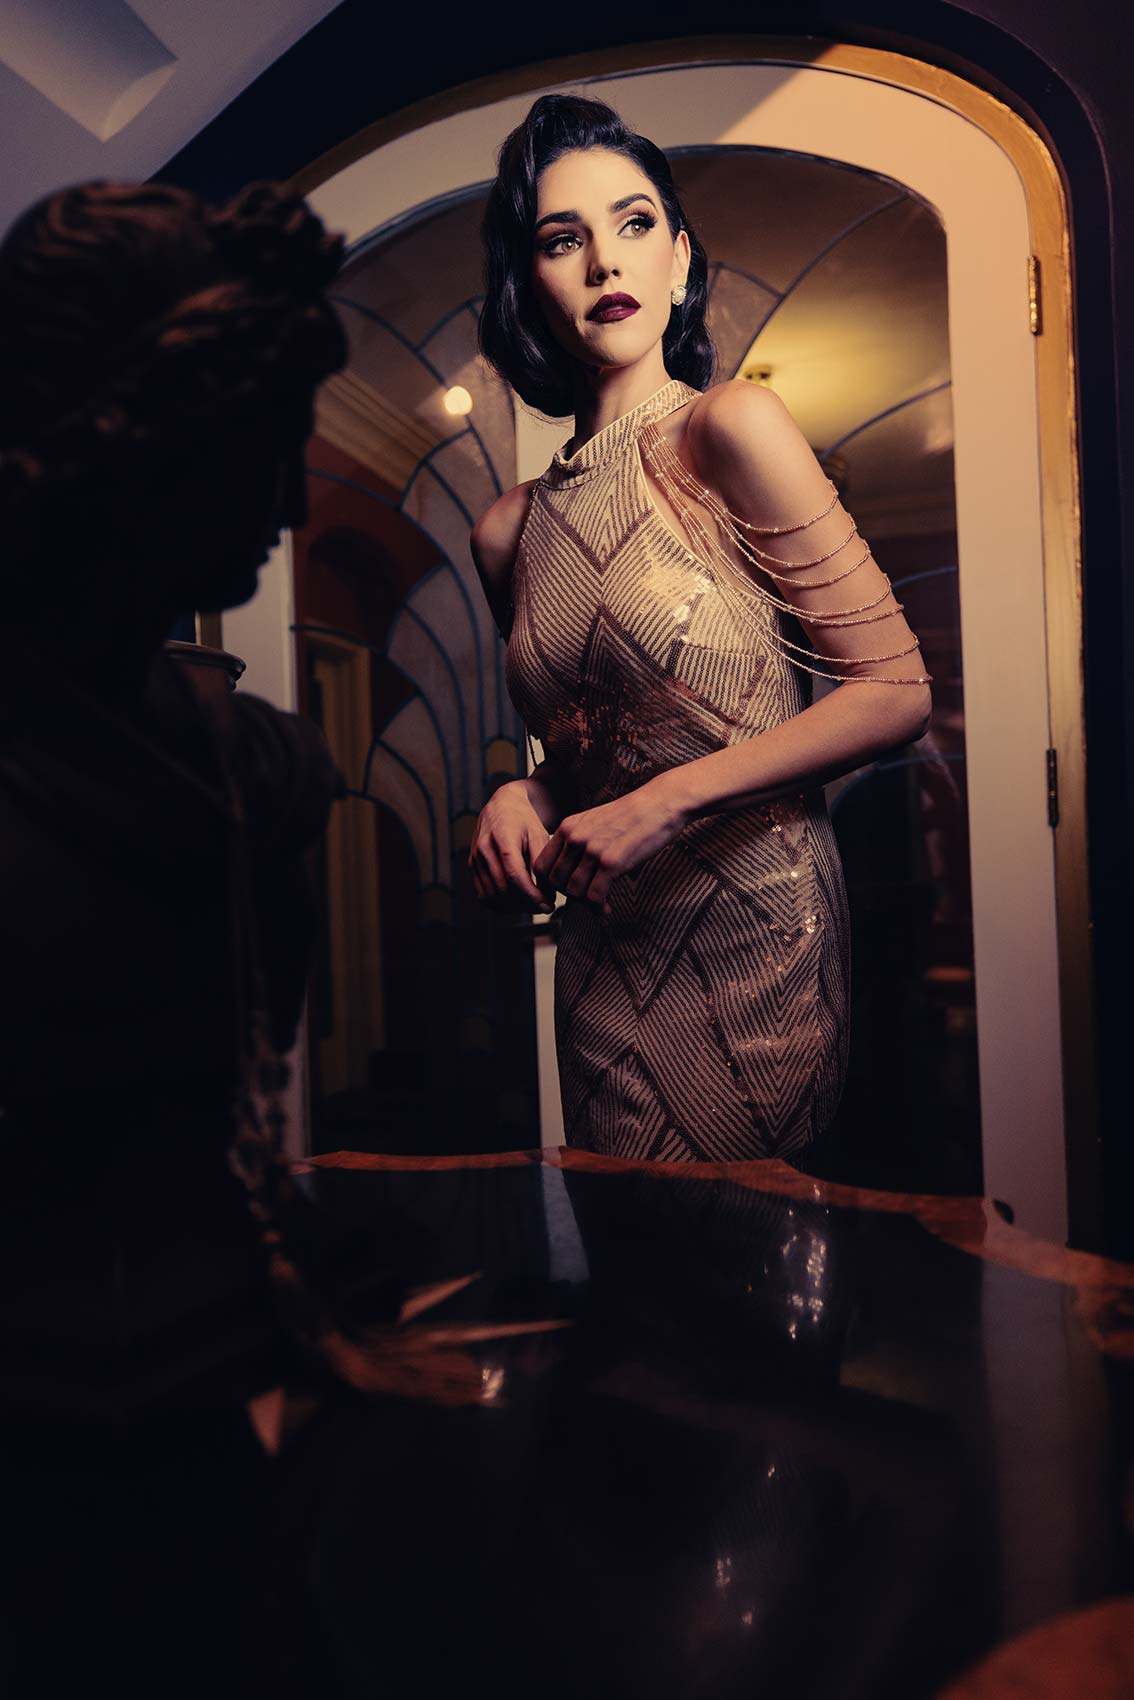
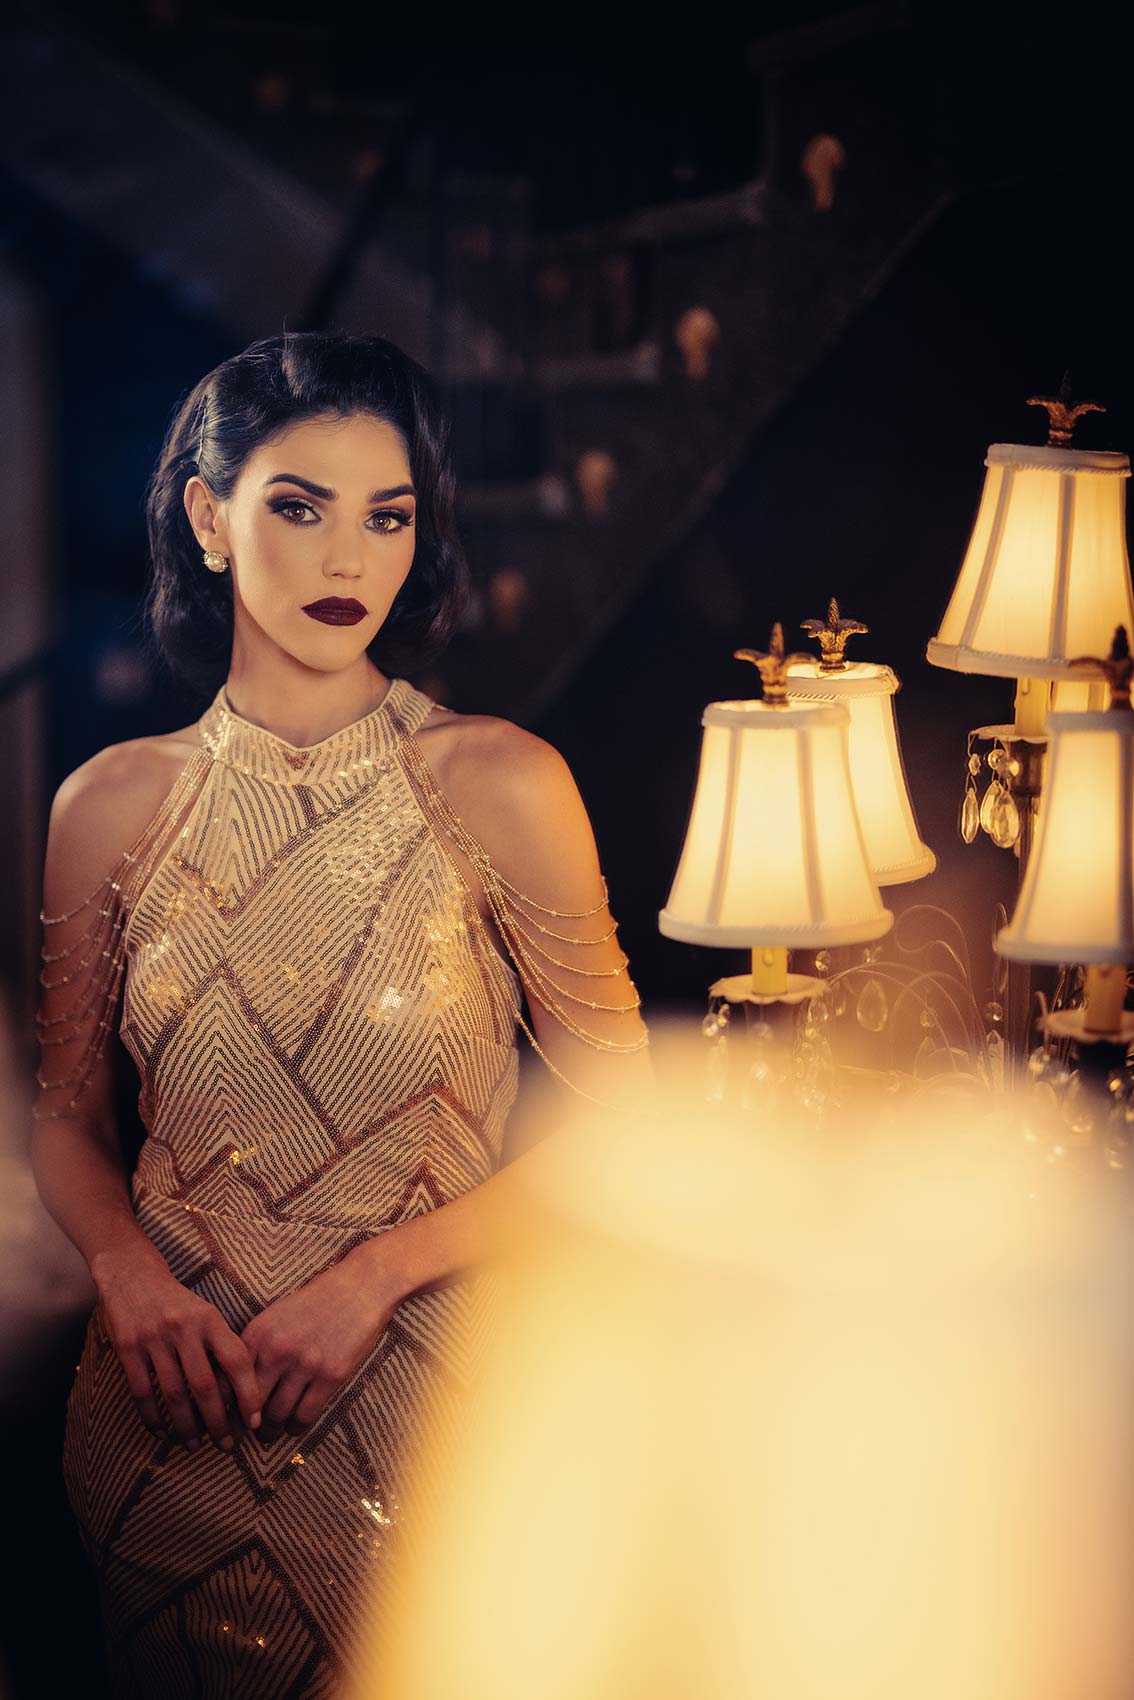
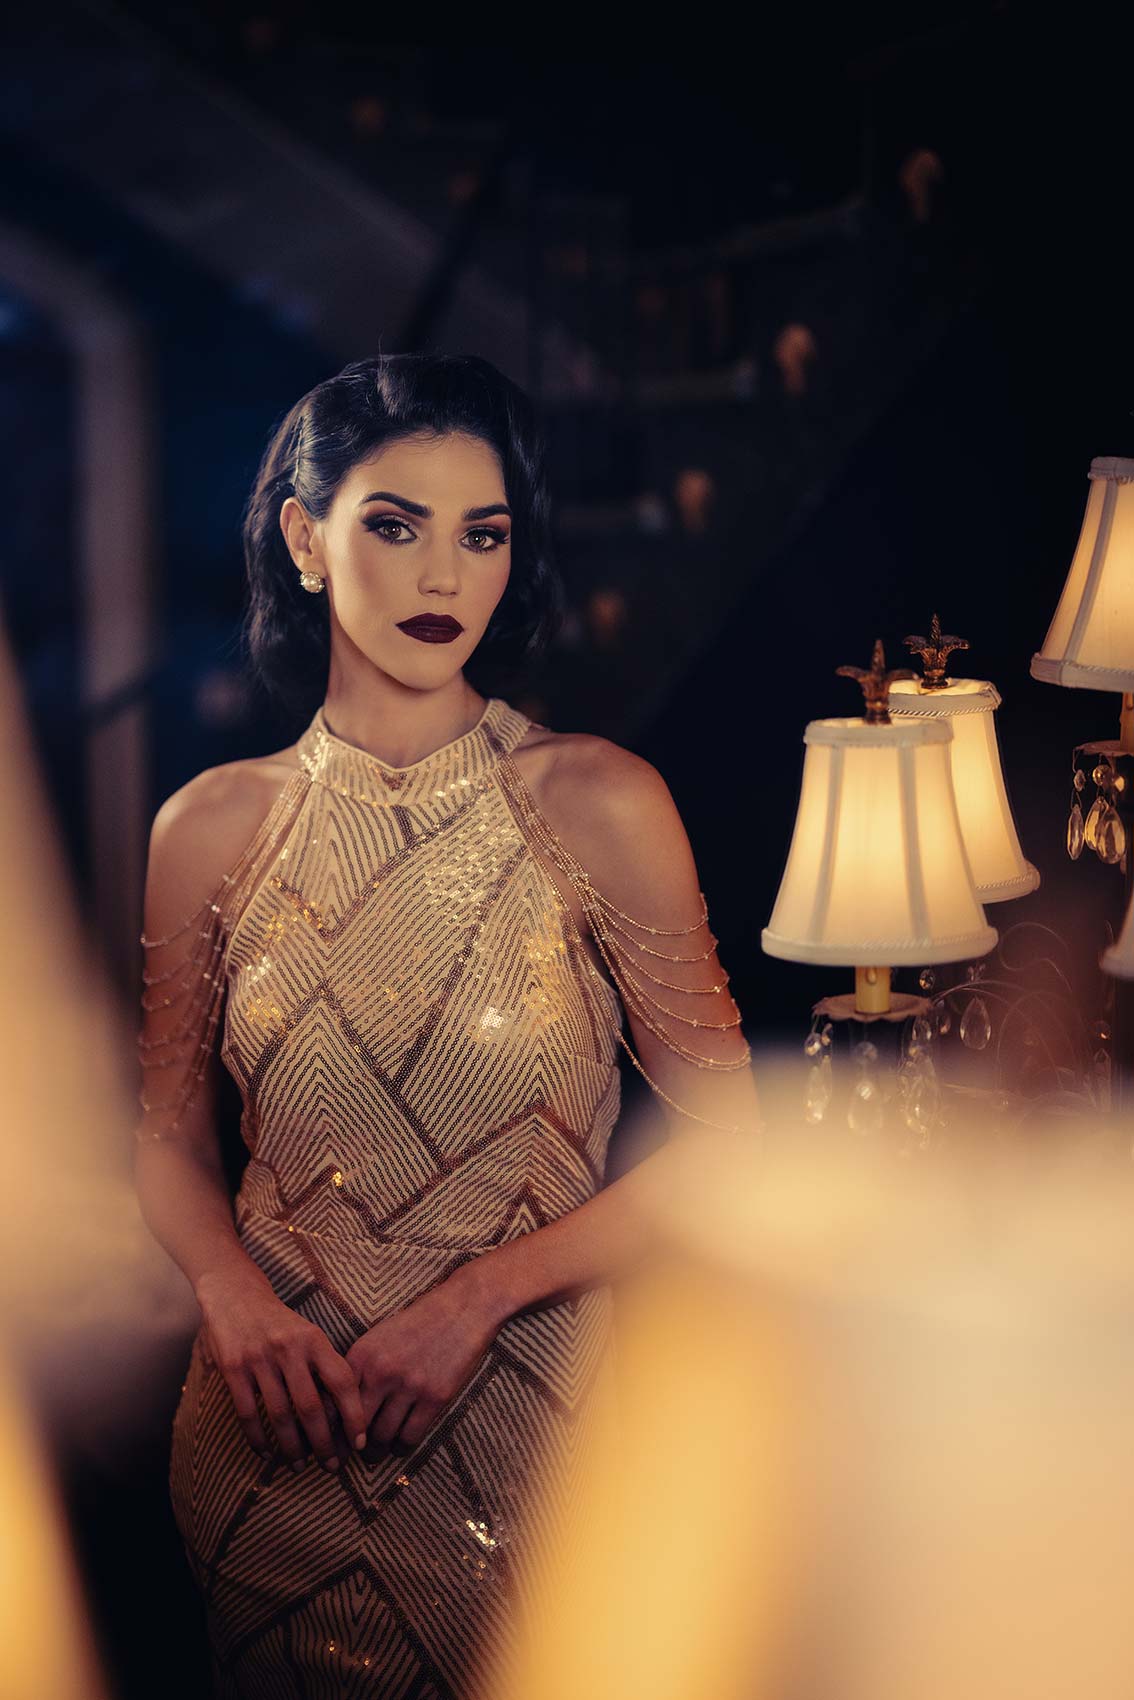
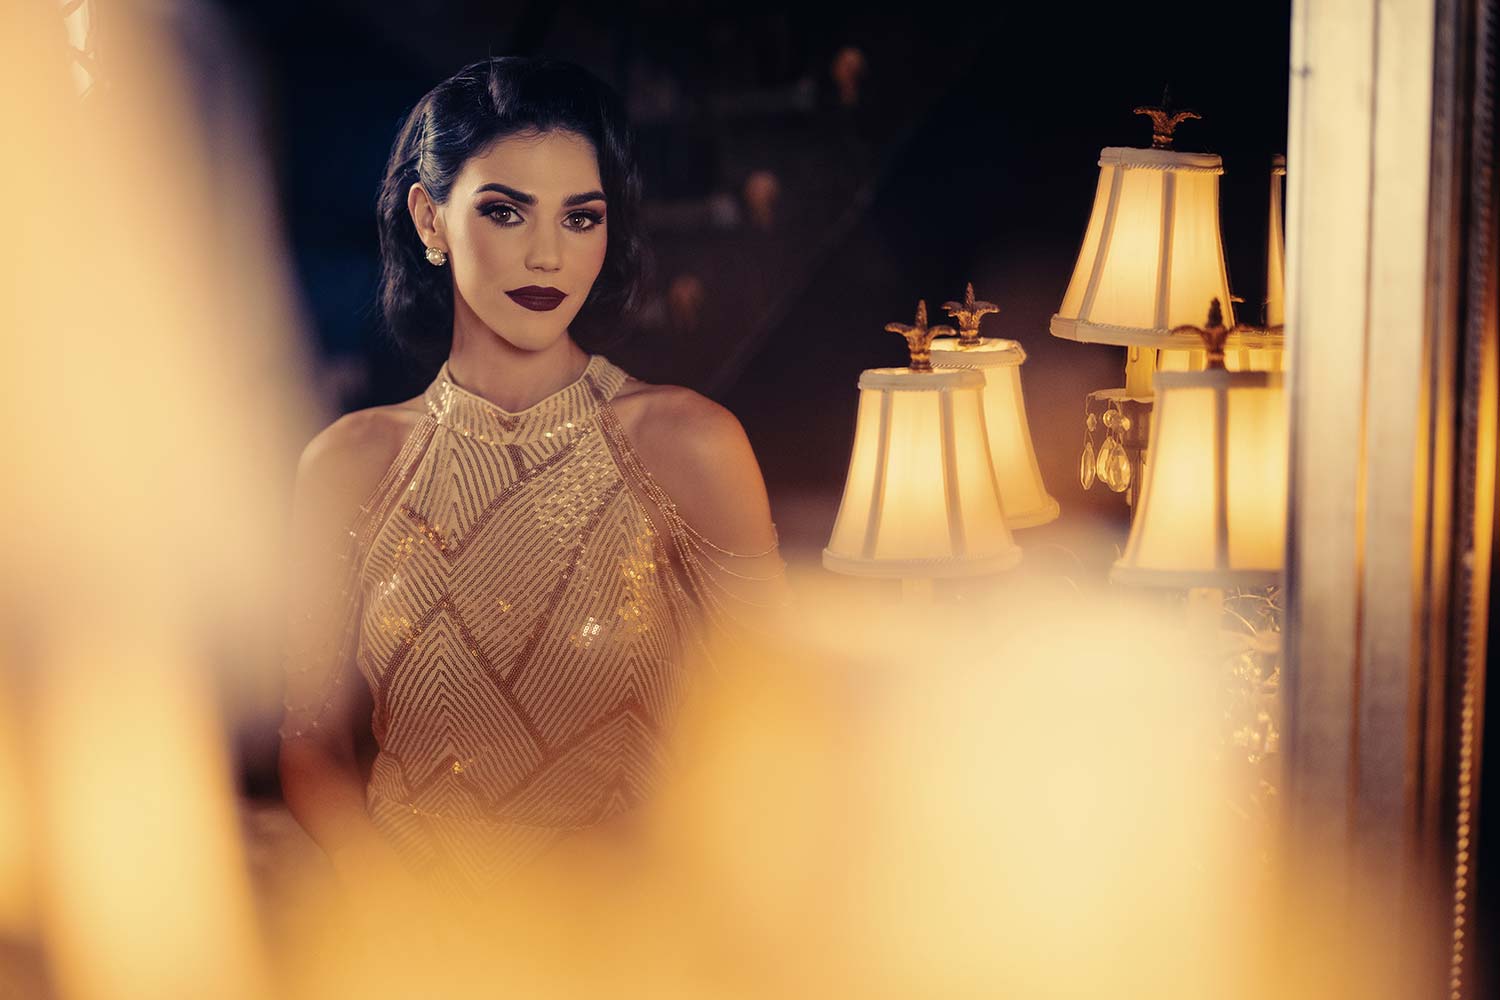
All right, so one of the things I did was we made an adjustment to the main light. It was just casting too hard of a shadow down here on her face. Had really bad split light, so I just wanted this soft light, but I still have it firing into the ceiling just to kind of fill the shadows with some warm light. I think it makes the portrait a lot more interesting. Again, what you see is what you get. So I got one more scene I want to shoot with her here, right behind camera. So I’m going to shoot that with the lights in the background. So I’m going to probably use this and then fire that so that we get some warm tones in the shadow.
So a little bit of a reverse. A lot of times people will put cool tones in the shadows, but I think we’re going to switch it up. So let’s see what we got. Let’s work through it. You can follow along. Okay, so what I’m doing here is I’m going to take a test shot with and without this light. So what’s happening is up top, we’ve got that light firing at 2,700 Kelvin. And you might be thinking, man, that doesn’t make any bit of difference. It’s not firing directly at her. But what you’re not realizing is it’s lighting all these other elements behind camera.

