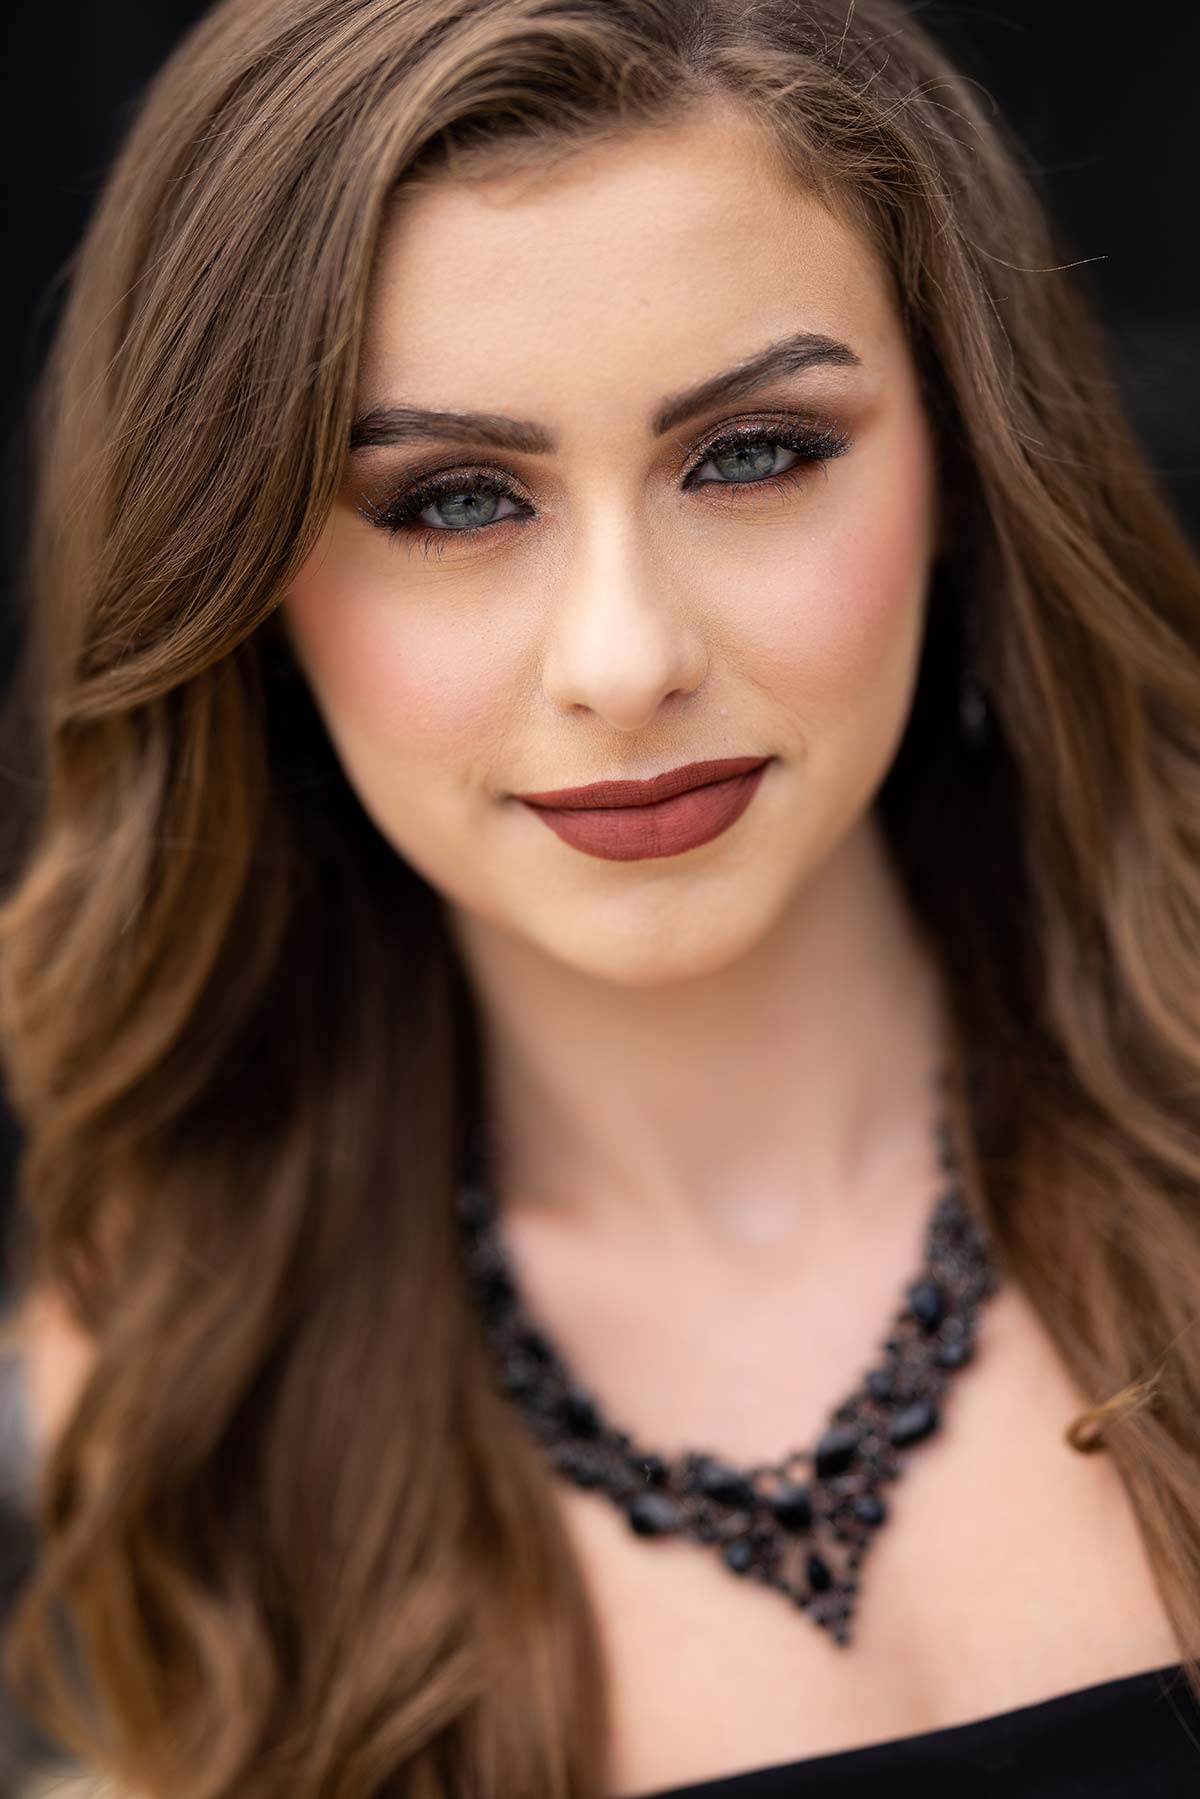
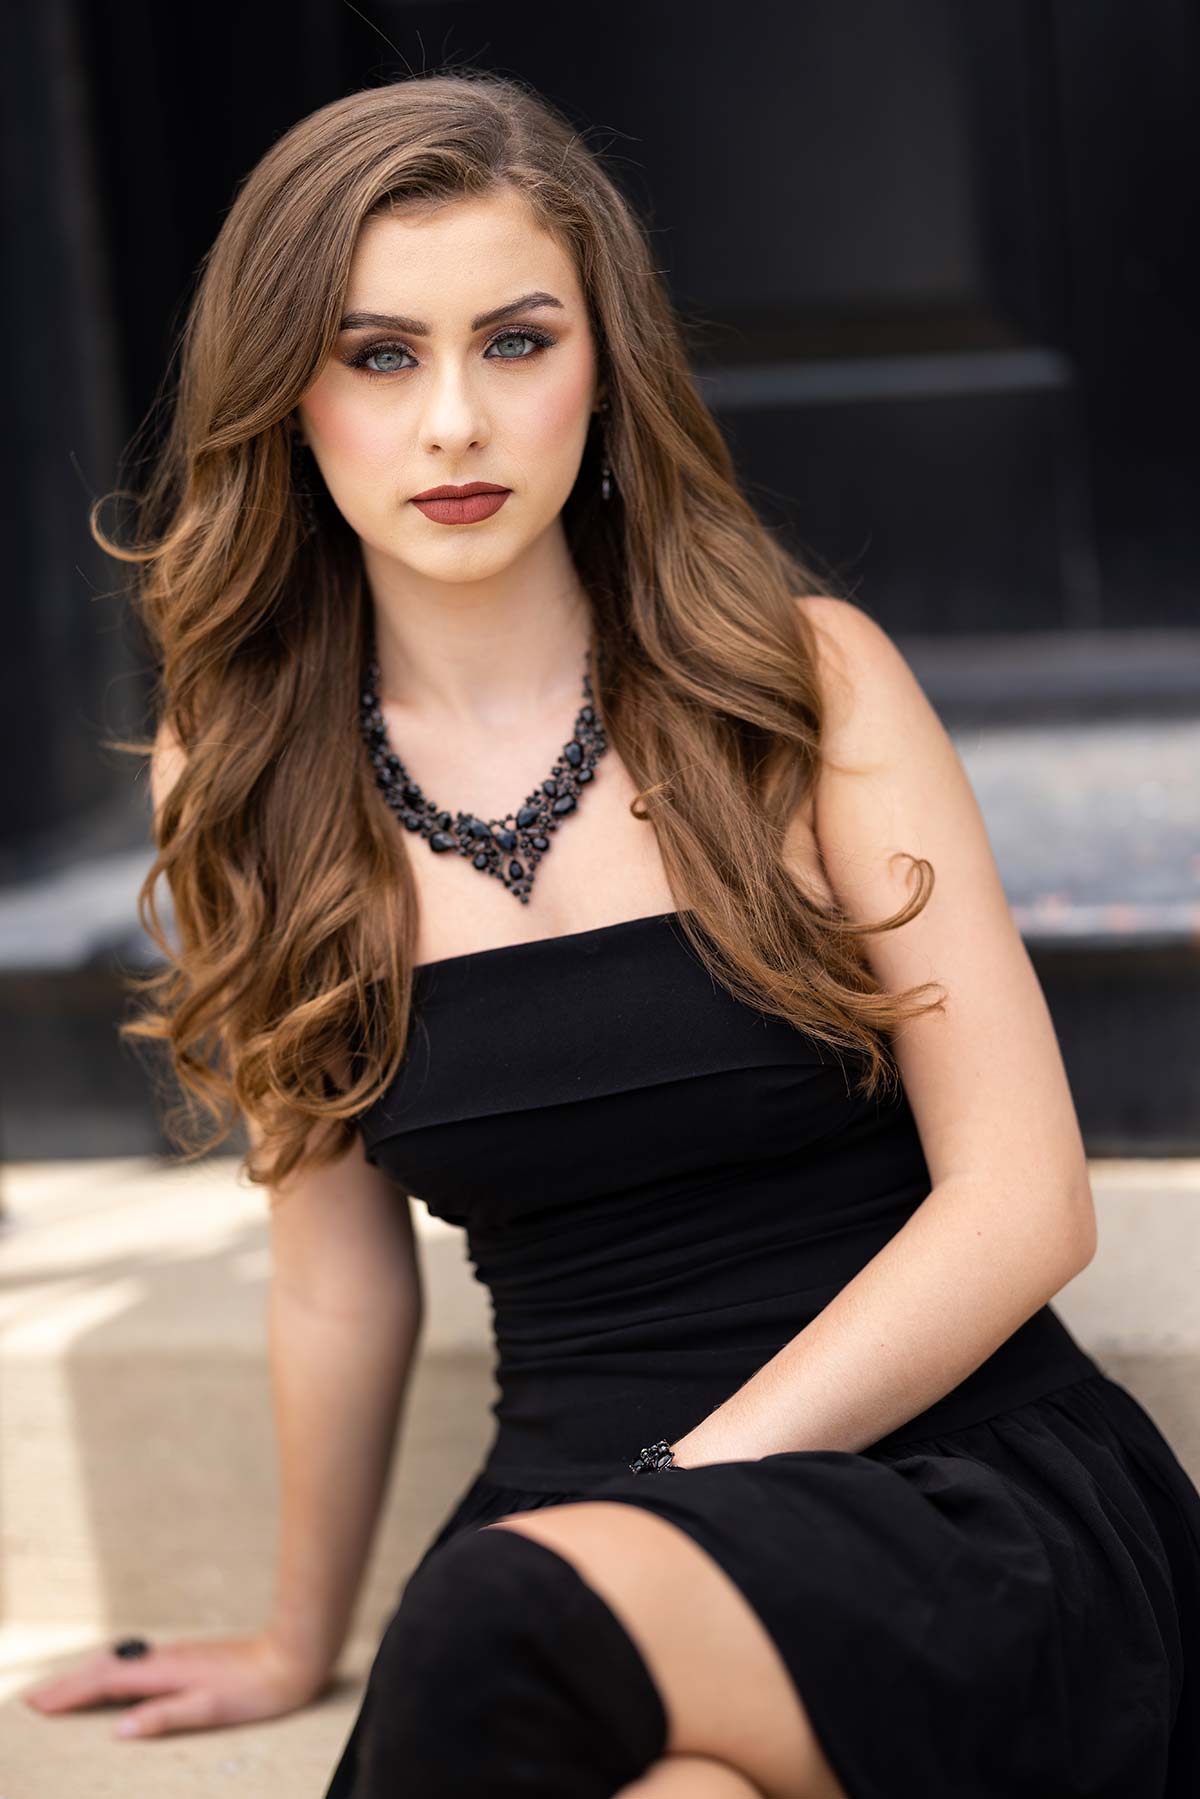
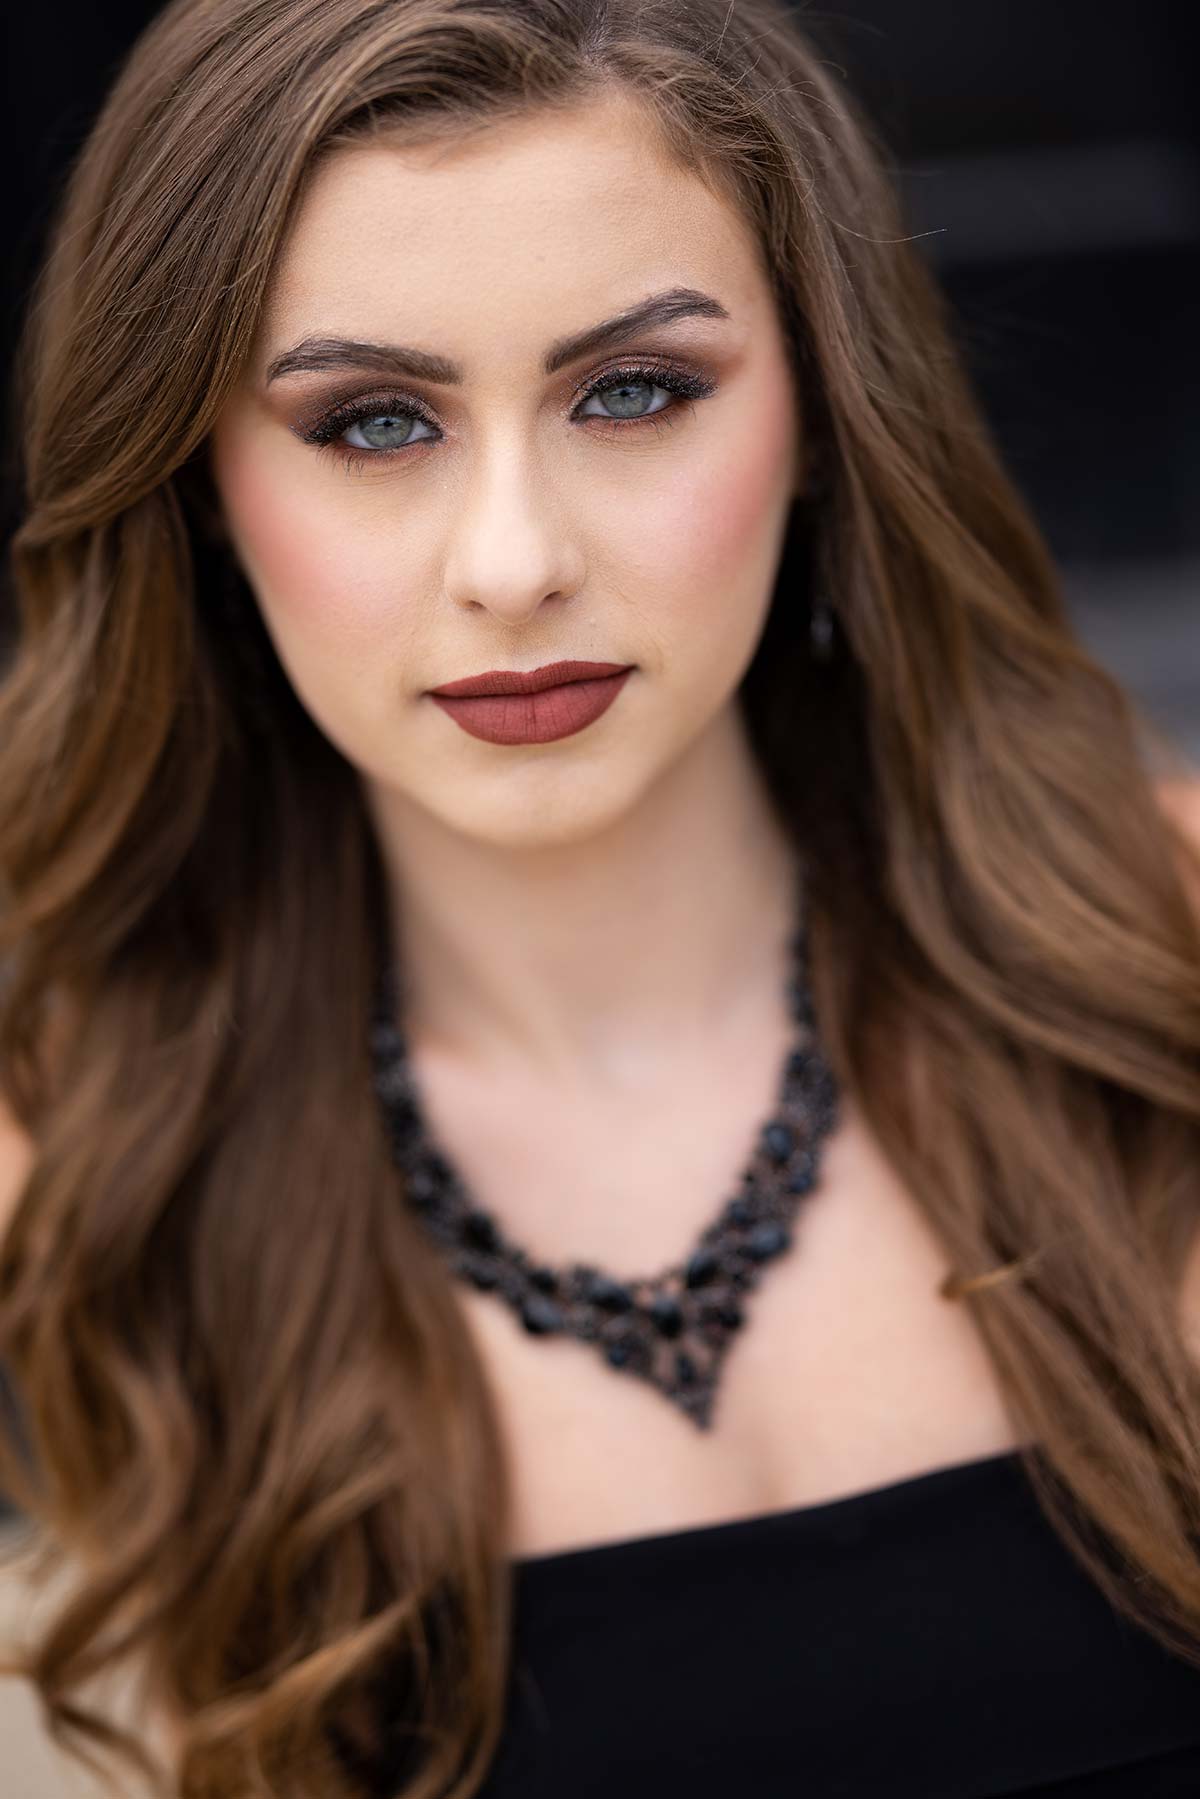
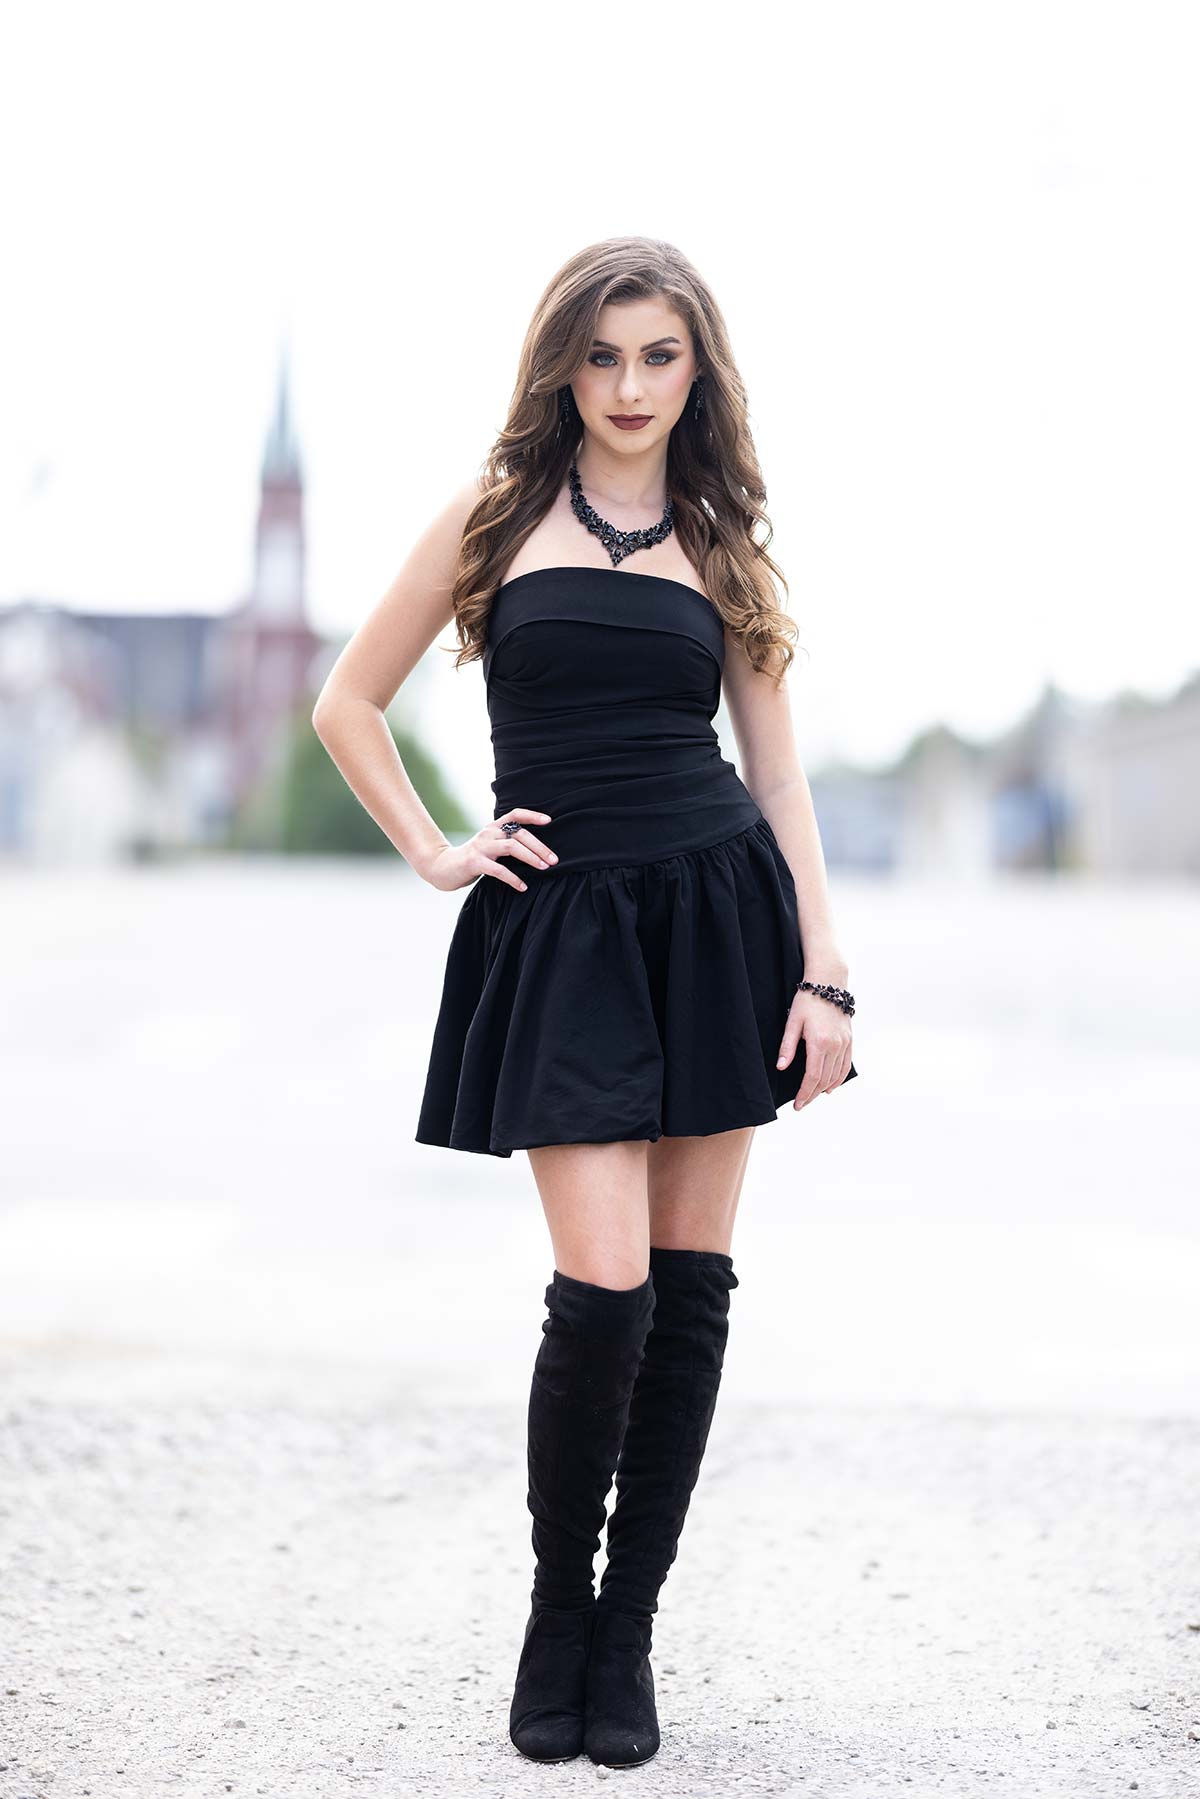
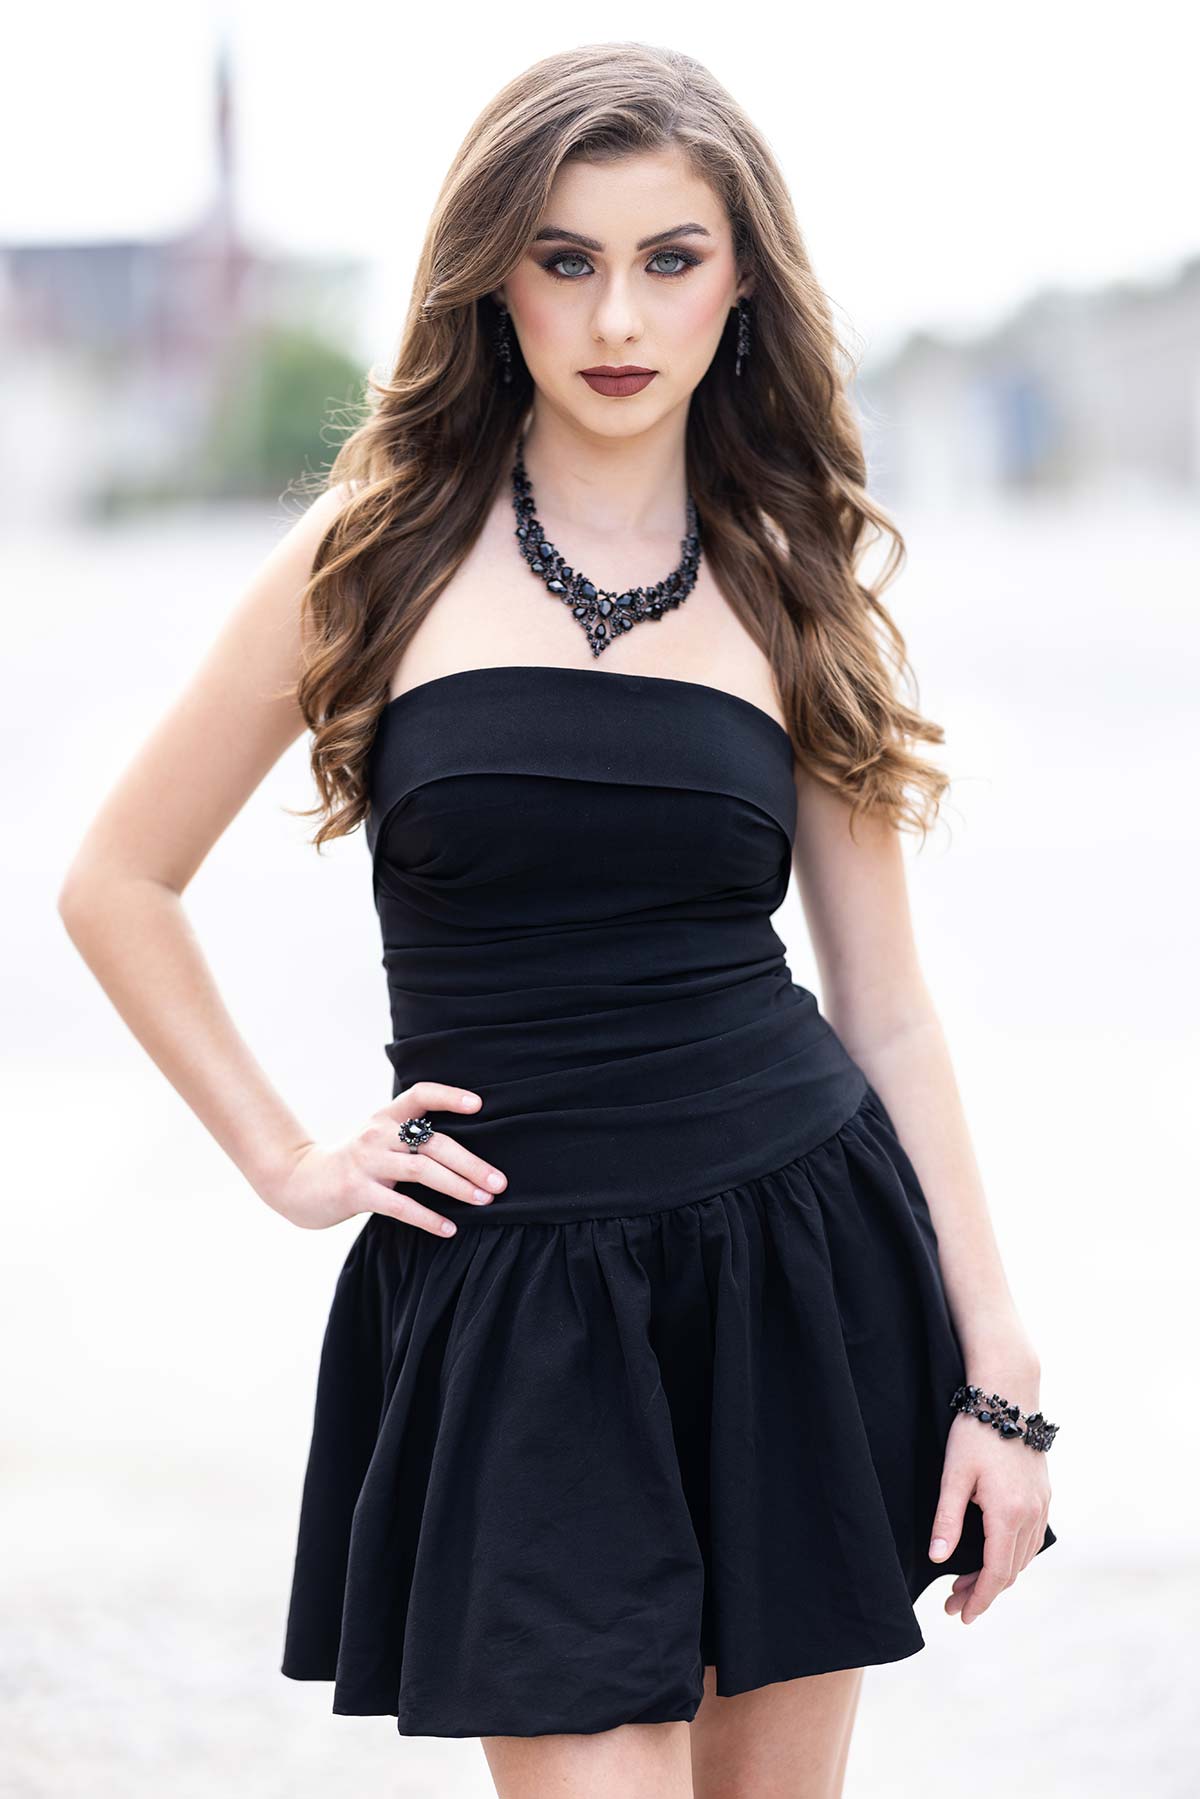
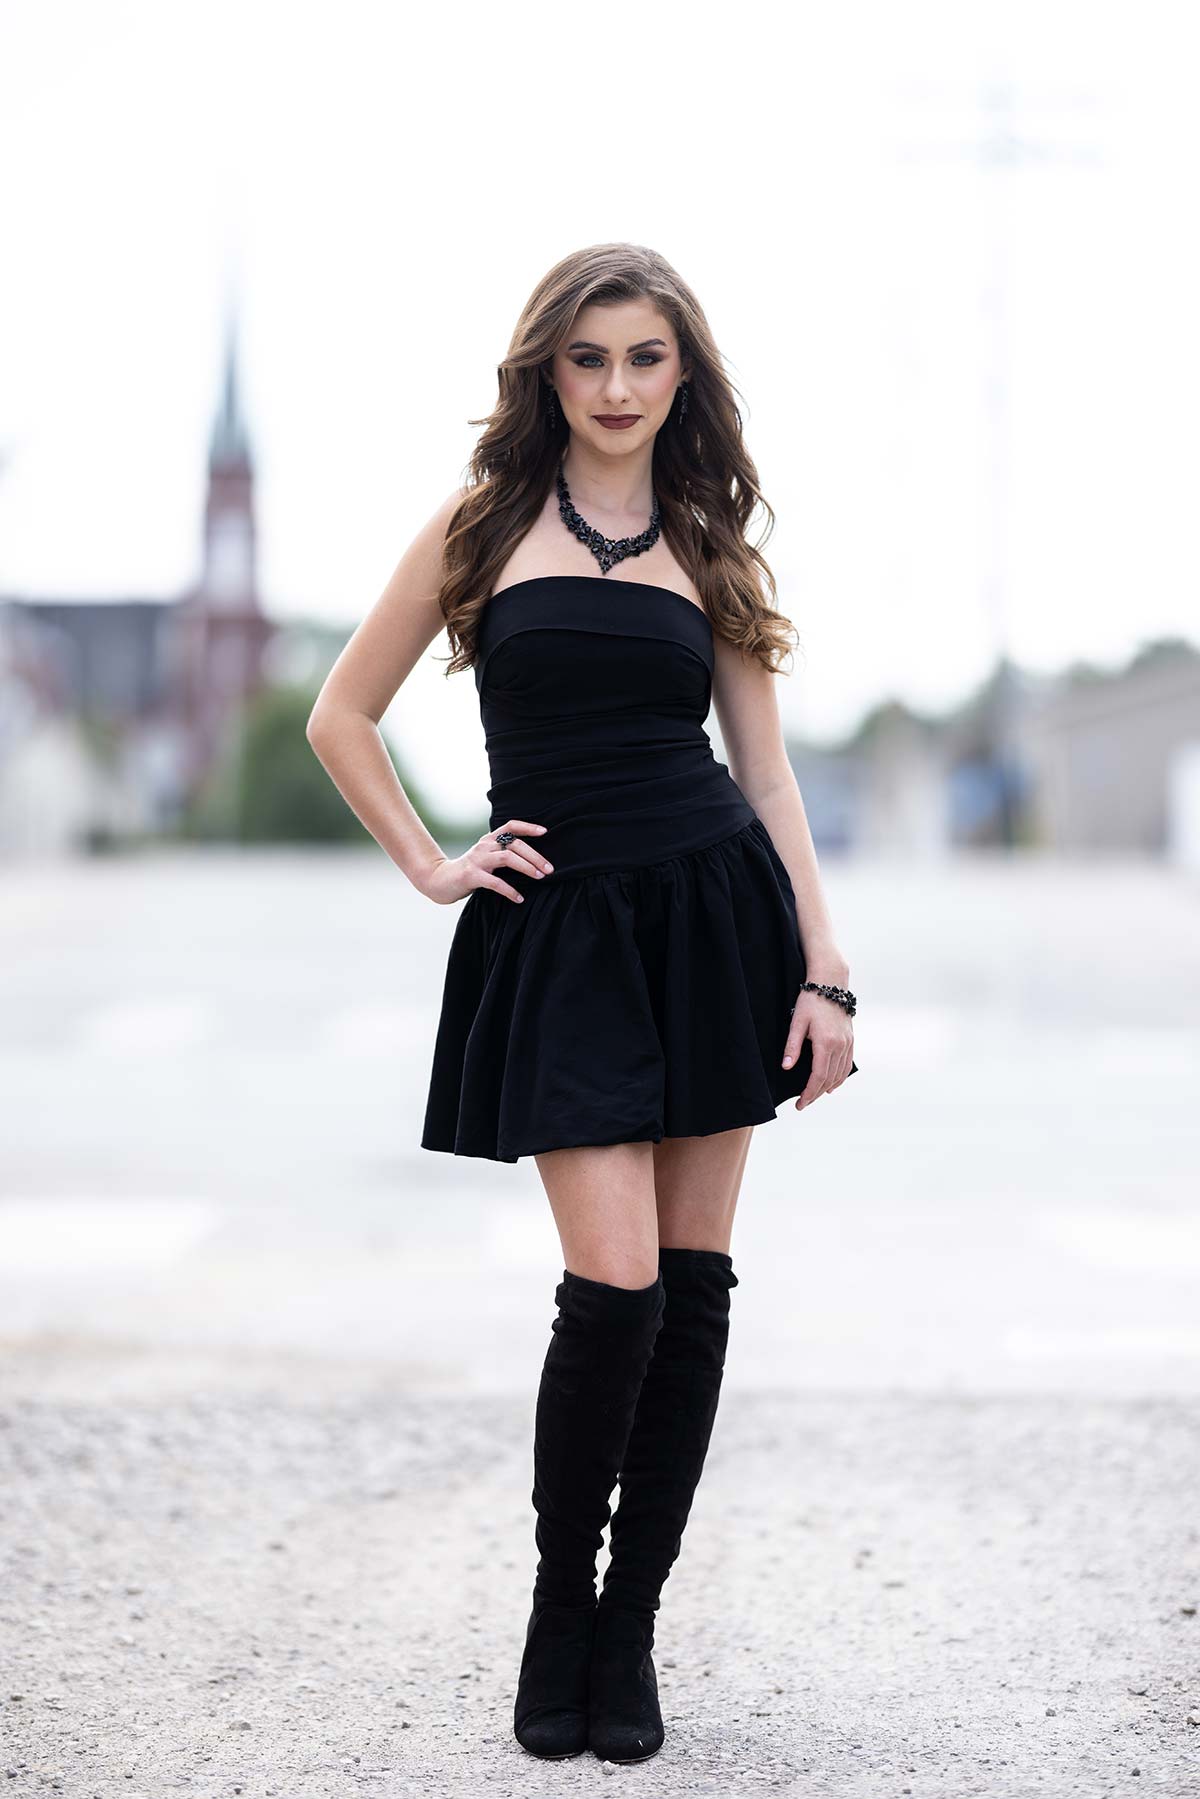
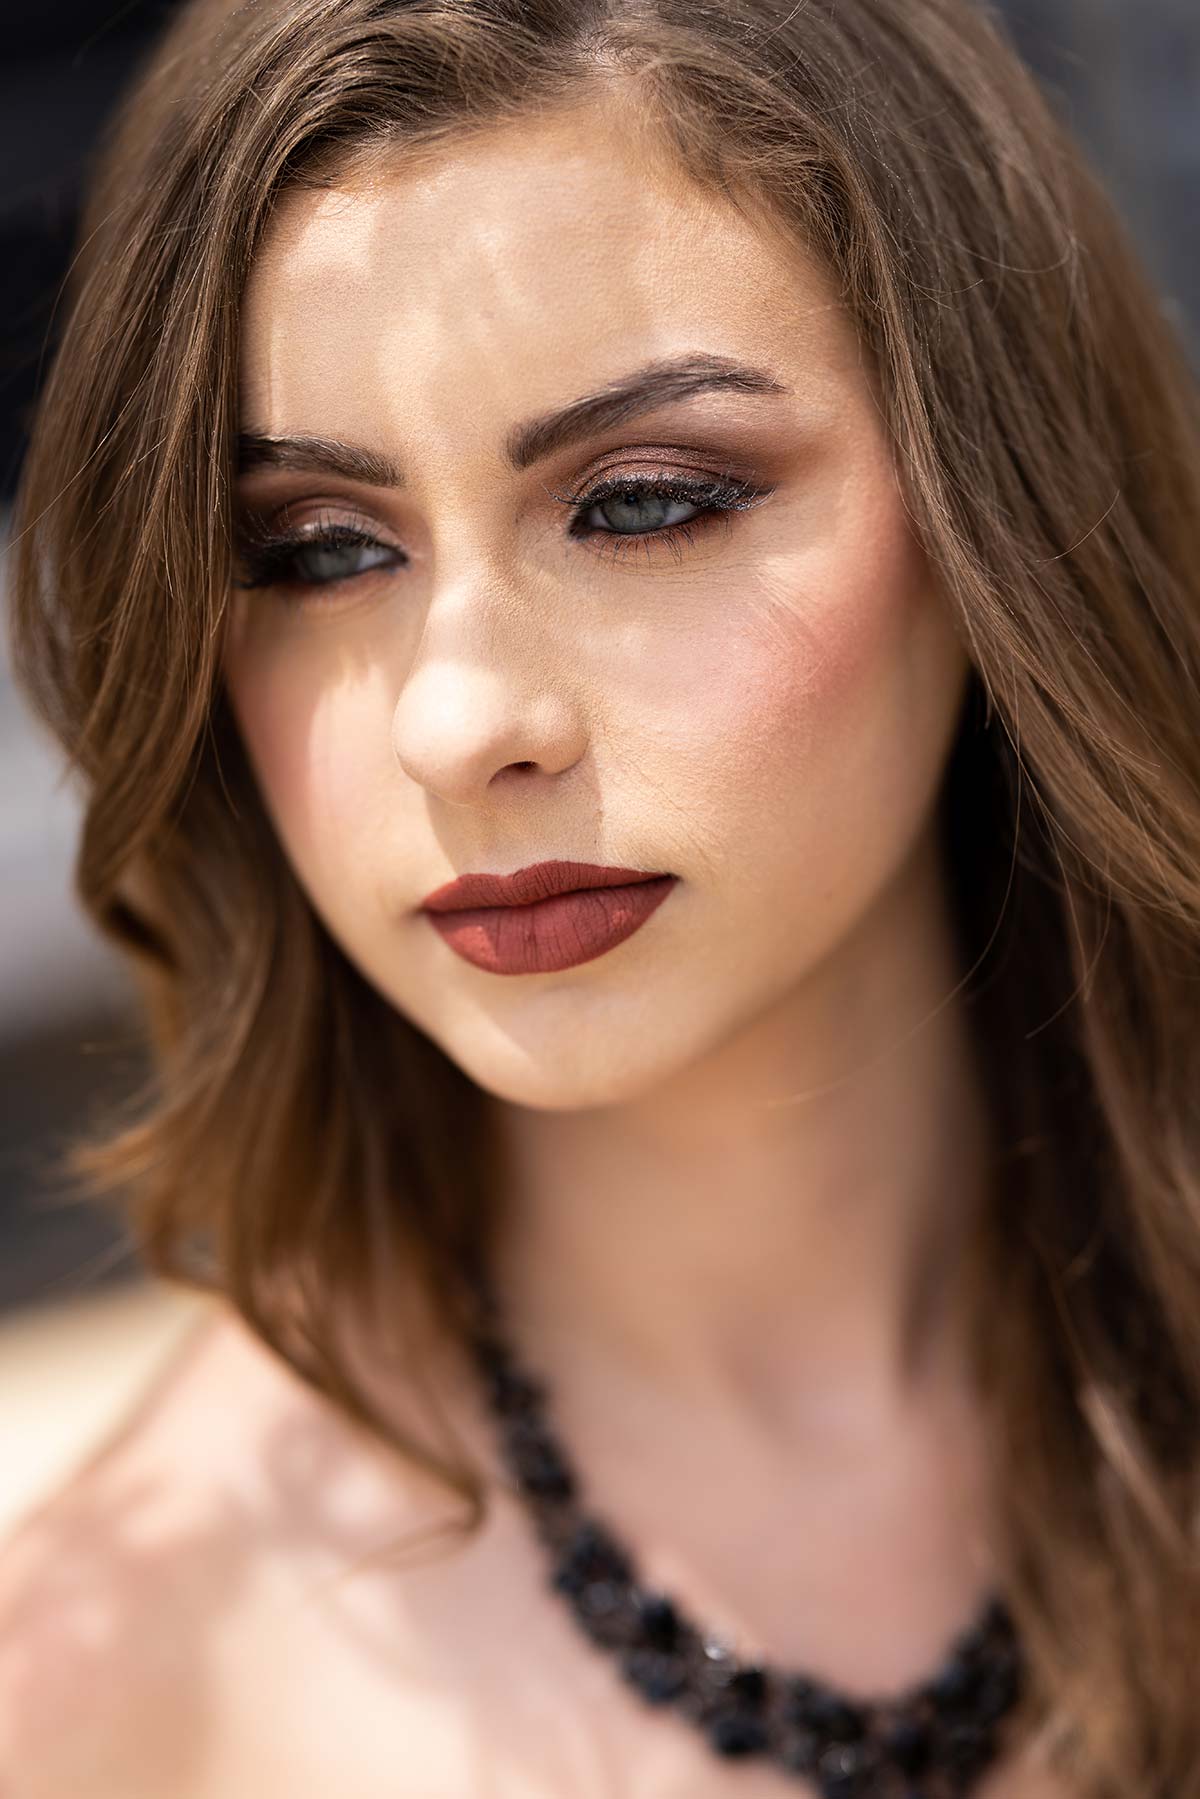
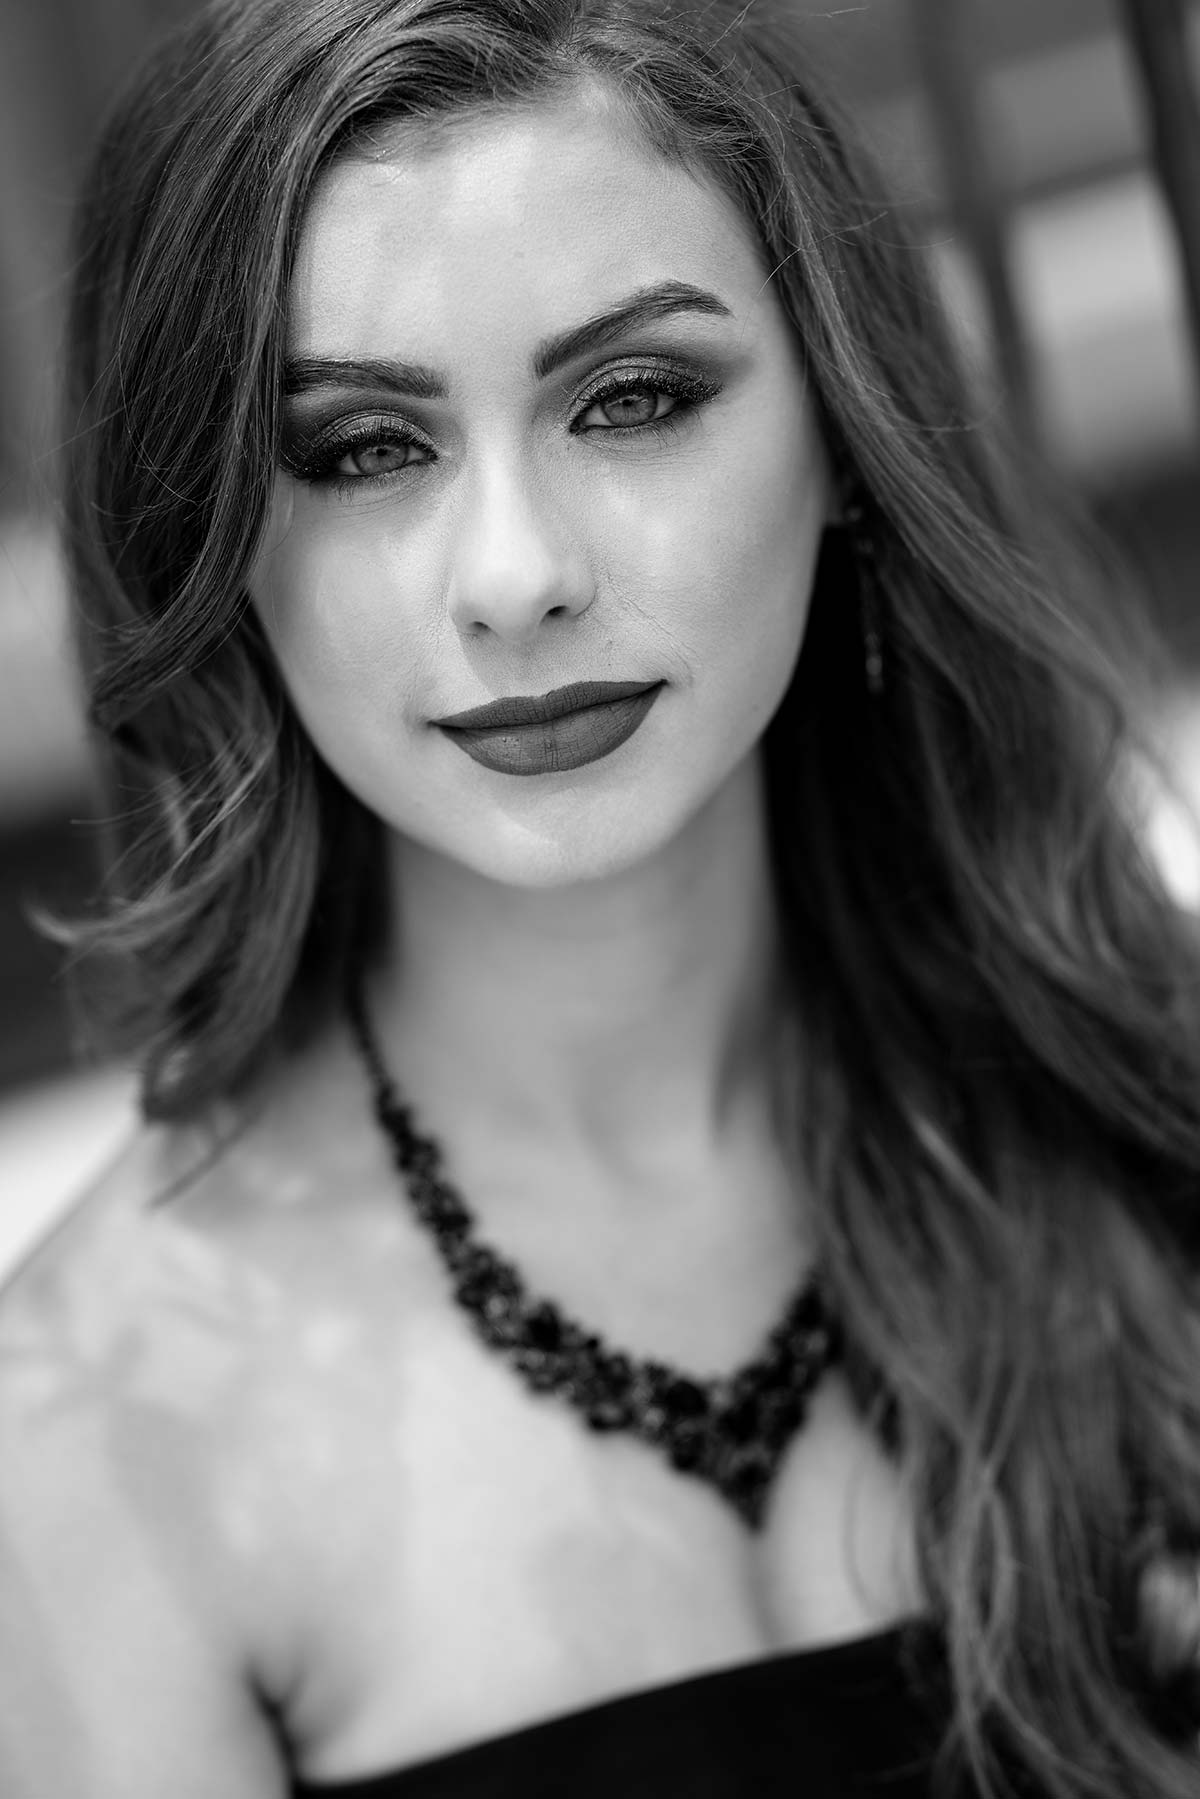
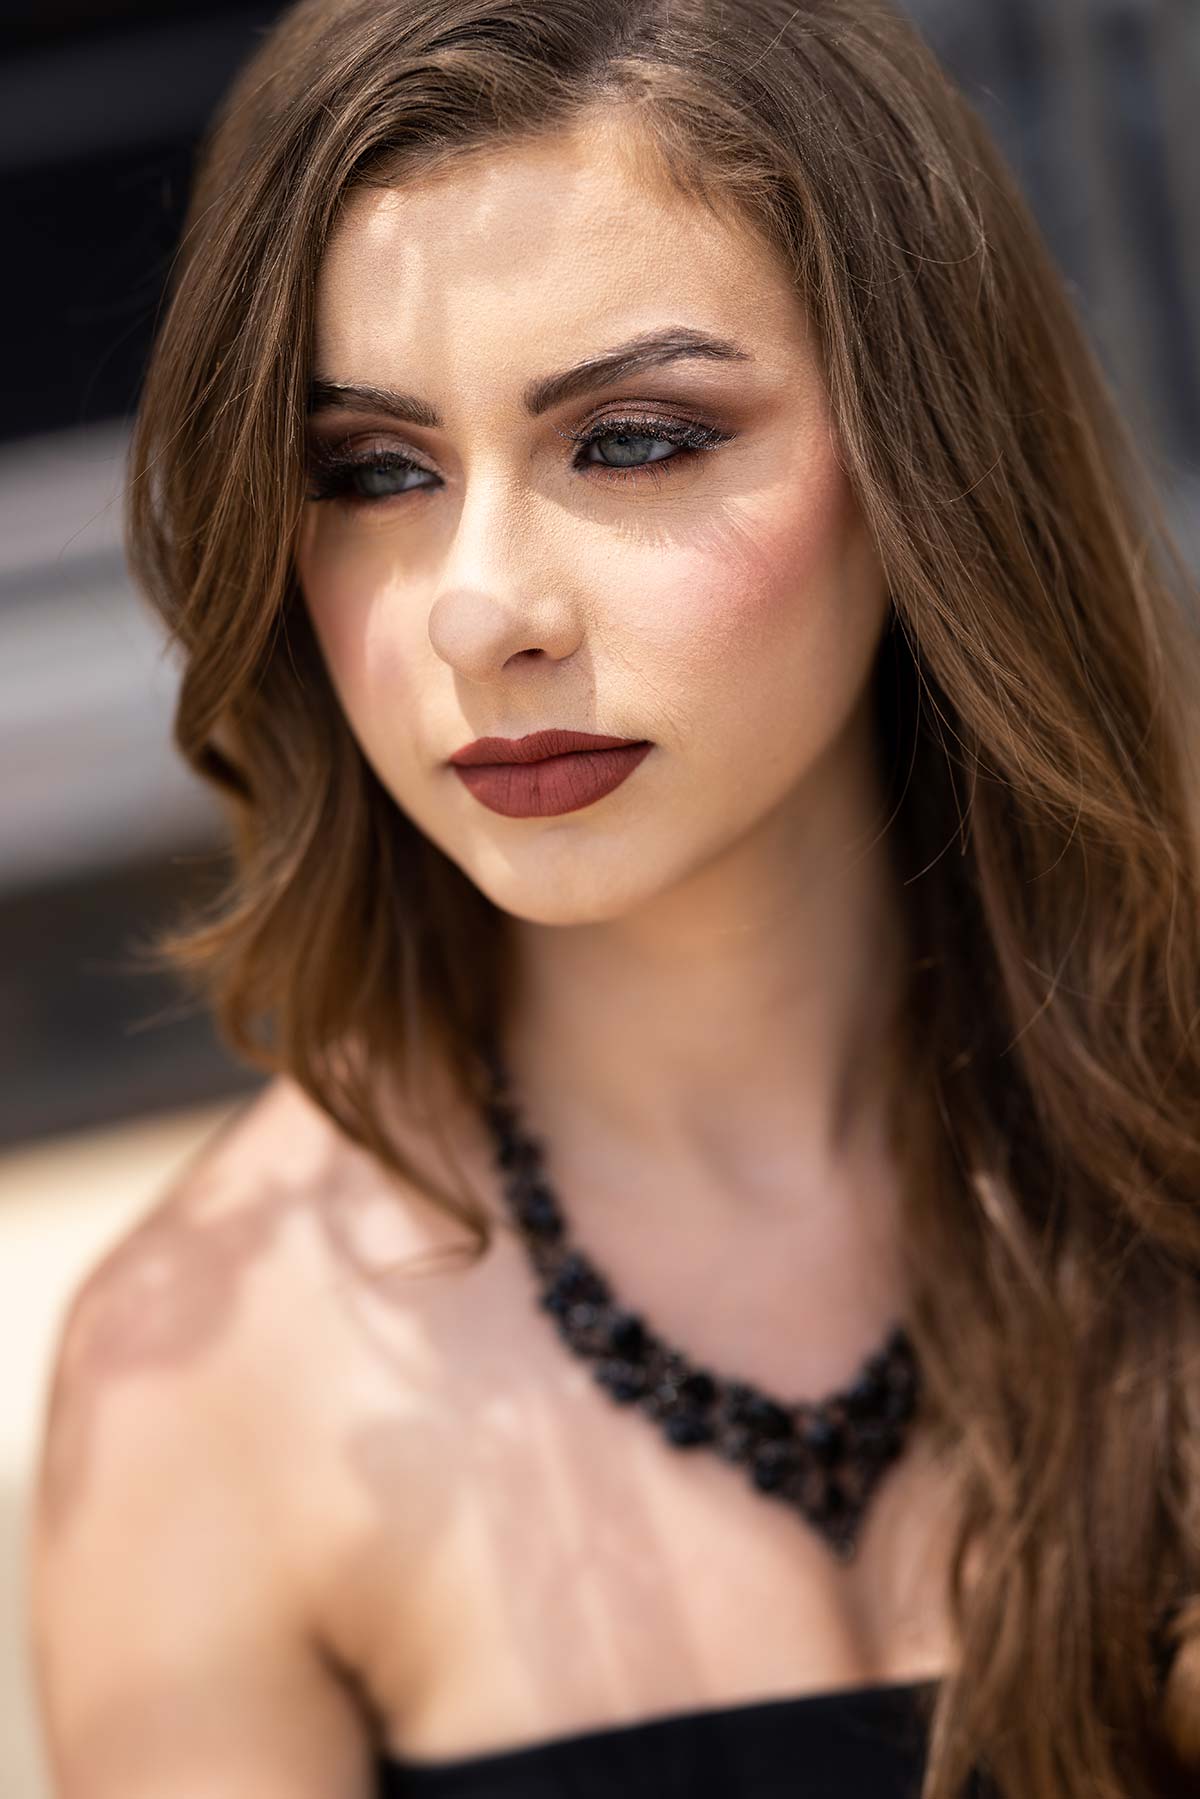
Today, we unlock the secrets behind three remarkable techniques: direct sunlight, scrim light, and backlighting. Discover how to manipulate these diverse lighting conditions to enhance your photographs and unleash your creative potential. We provide in-depth explanations, practical demonstrations, and professional insights that will empower you to master the art of natural light photography.
Equipment Used:
Camera: Canon EOS R5
Lens: Canon RF85 f1.2
Light: Natural Light
Team:
Photographer: Sal Cincotta
Model: Layla Schwab
Ready to master some natural light portraits? Let's get to it.
What’s up everyone? My name is Sal Cincotta. Today we are on location right in front of our studio just to really work through this, but we’re going to talk about mastering natural light portraits. So what does that really mean? Well, it means direct sunlight and how we can work through it and still create great portraits. Now we don’t want every portrait with the person squinting. That’s not going to look good. But there are ways we can do it quickly and easily, and I’m going to show you three ways today. It’s going to be using a scrim, backlighting our subject, and embracing the harsh light and having them look towards it. We’re going to get three completely unique and distinctive looks from this type of light. This just is going to show you guys that, no matter what kind of light you’re in, you can make magic. So let’s get to it.
Scrim Light
So you can see this is horrible light right now, but let’s see if we can make something good. We’re going to have our model sit right on the steps. All right, so if you can see on her face, these shadows are just miserable, not to mention it’s fricking hot. So the first thing we’re going to do is to just soften this up and work in these conditions. They do it in Hollywood films: scrim. So now you can see that we’ve got this beautiful, softer light on her.
This is a little trick I use when I’m working with people. I get their expression right, close their eyes, and then once they’re relaxed they open their eyes on the count of three. I like to do that because that allows them to relax so that on that three count, they can burst through it. This is as bright as it gets, and we’re still going to get some decent portraits out of it.
All right, let’s do this one more time. Now you can do things with a scrim like this. I’ll have in the comments below all the equipment I’m using. For this, I’m just using the scrim from Westcott. I really like the shape of it. It’s not a round one, which is what you’d get in a five-in-one. This one’s a little bit more vertical. So let’s cover her whole body now. I want to get at least into her feet and then slide it a little. This is just going to give me a little more wiggle room.
Scrim Light Portraits
Backlight
Okay, so let’s get rid of the scrim. I’m dripping, that’s how hot it is here. So that’s one way. Way number two is to backlight. This gives it that natural, open, airy look. The sun’s over here this way, so I’m just going to shoot back into this direction.
What we’re going to do here is put the sunlight behind her and overexpose by about a stop. This is going to really create a more high key shot. You only have to overexpose very little. You’re going to blow some highlights in that background, which is going to end up giving you a high key shot. So that’s another way where, in harsh lightning conditions, put that sun behind her even if it’s peaking in and out of clouds. You’re going to get that light and airy shot.
Backlit Portraits
Harsh Light
So think about that now, two different scenarios. One, the light is beating down on her and we’re using a scrim, which is creating a diffused light and looks really good. Granted, I’m doing that on the steps of my studio. You could be doing that in a park. You could be doing that in a city. It doesn’t matter. This is what they do in Hollywood, and you’ll see it all the time on TV. When they’re scrimming shots, you can tell if you know what you’re looking for. Second is to put that light directly behind her. And then the final tip is going to be to embrace that light, having her looking right into it. So let’s do that.
Harsh Light Portraits
All right, I had to get inside. I am dripping. It is hot outside. The boob sweat is real. Don’t zoom in to the boob sweat. It’s a real thing. All right, hopefully that at least teaches you something, that you can make something out of nothing no matter where you are, no matter what the lighting conditions are. It might not always be ideal, but that’s okay. I think as photographers, we have to know how to work in all those environments and still capture great images. So let me know in the comments below which one’s your favorite. We’ll see you in the next video.

