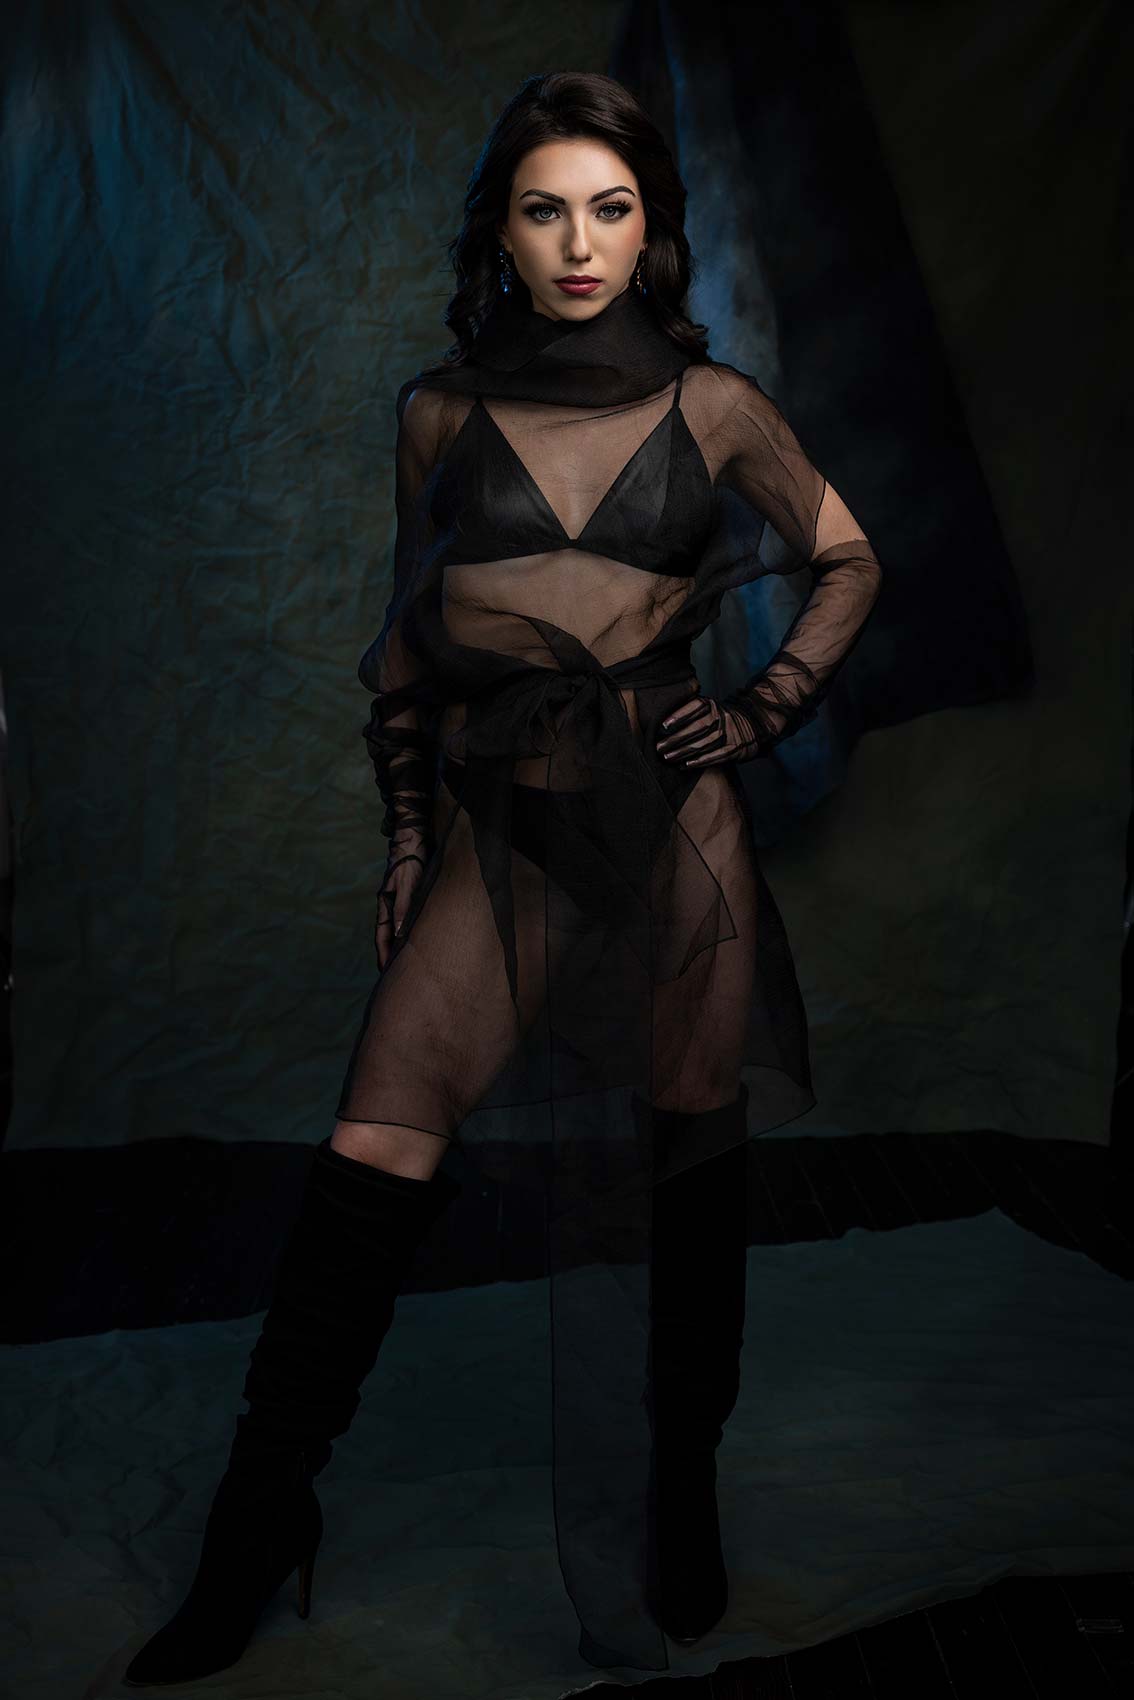
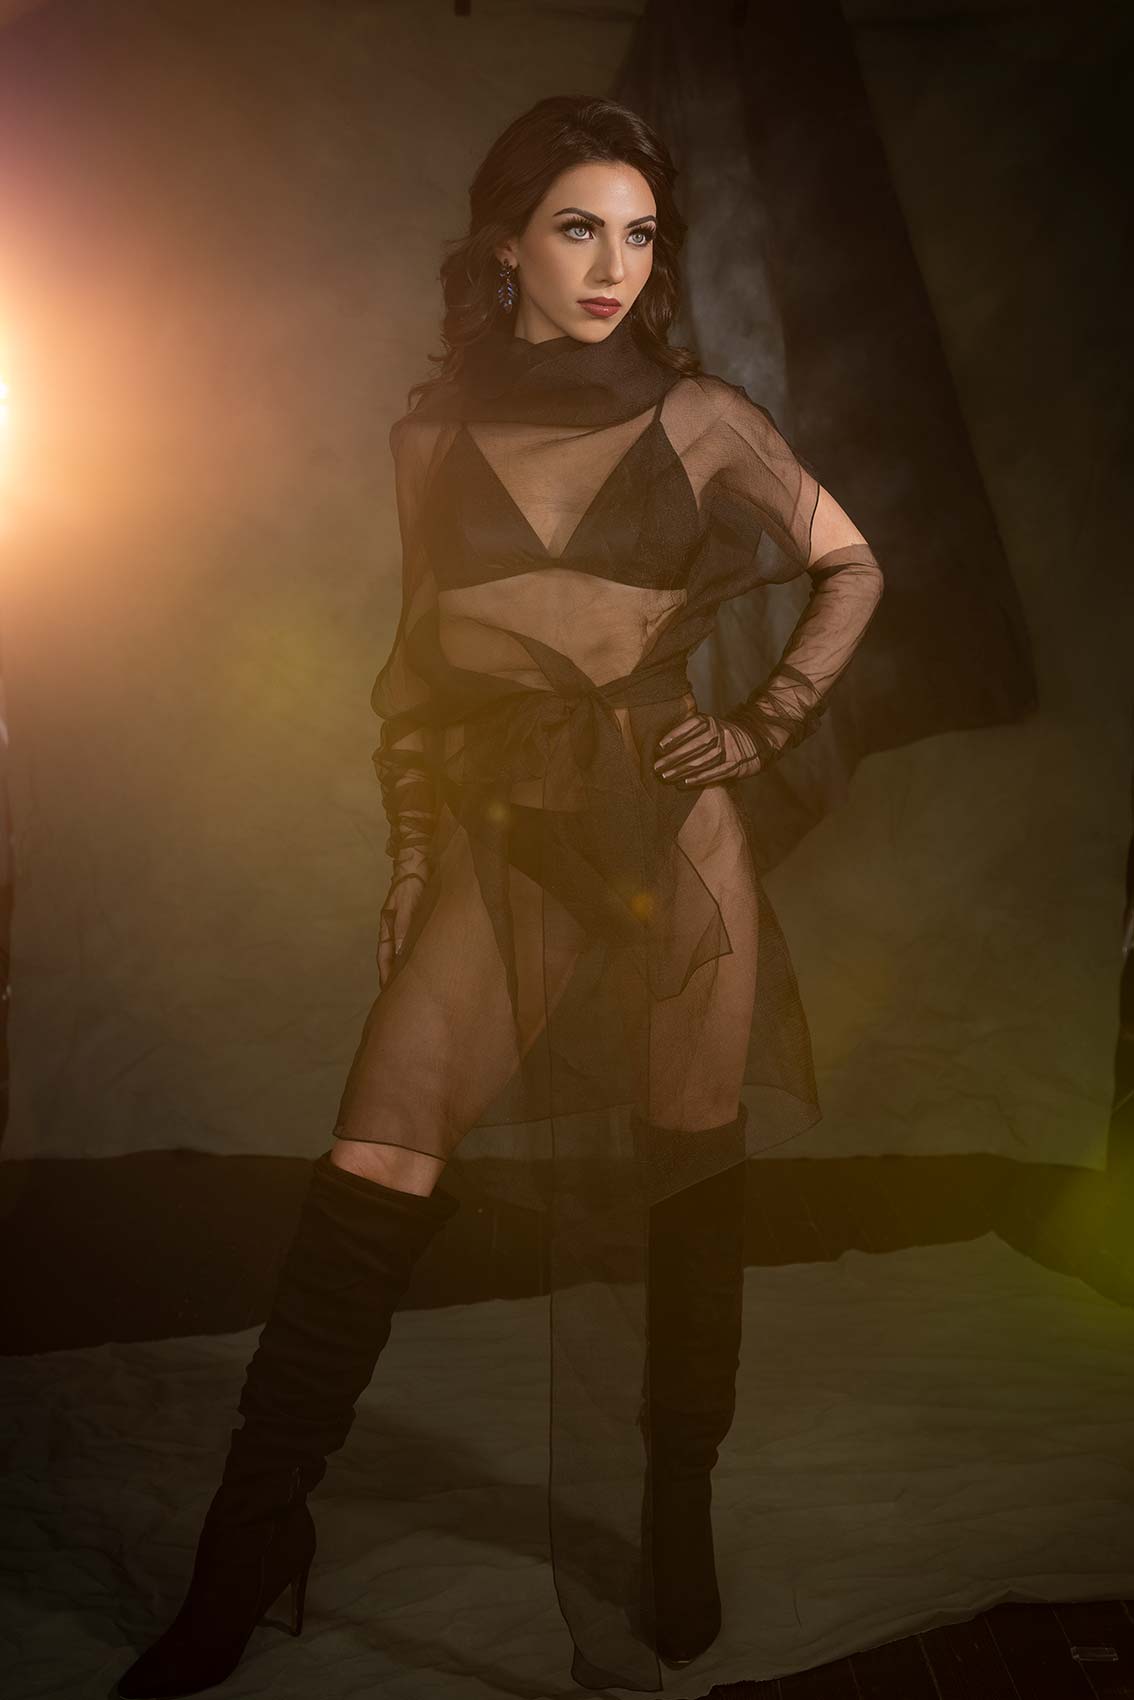
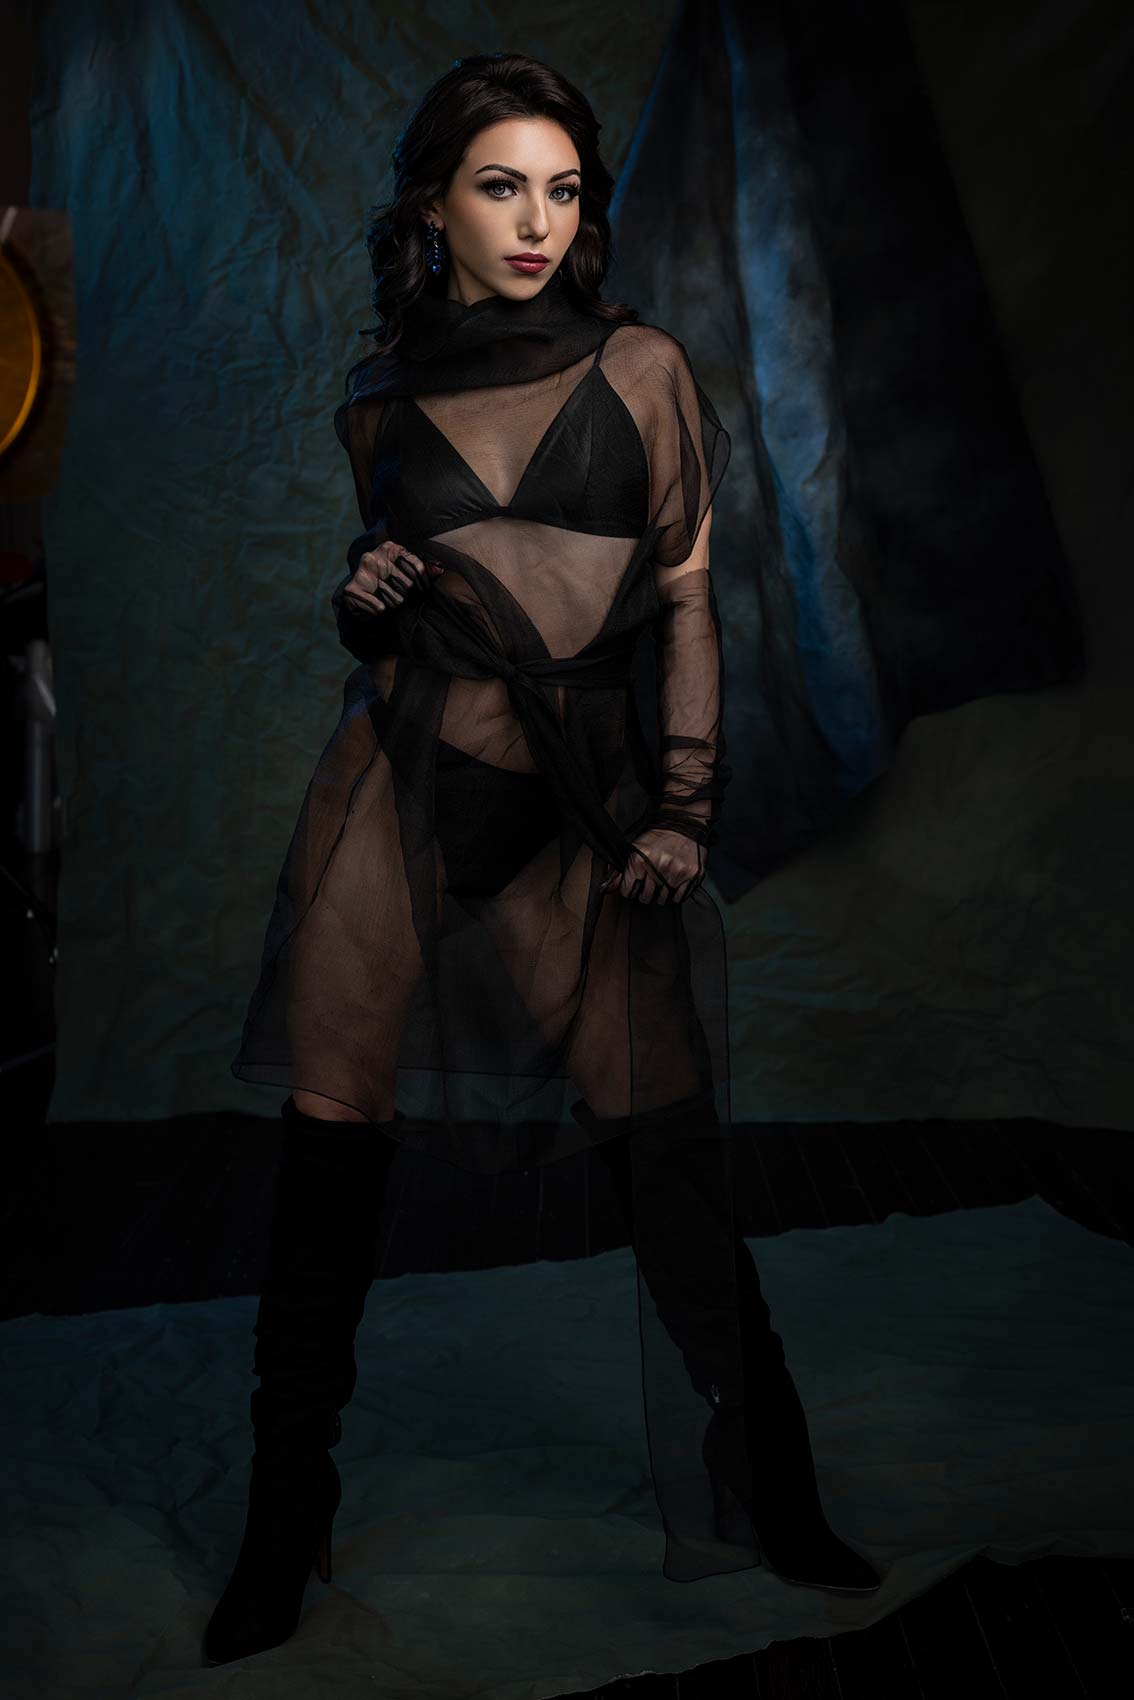
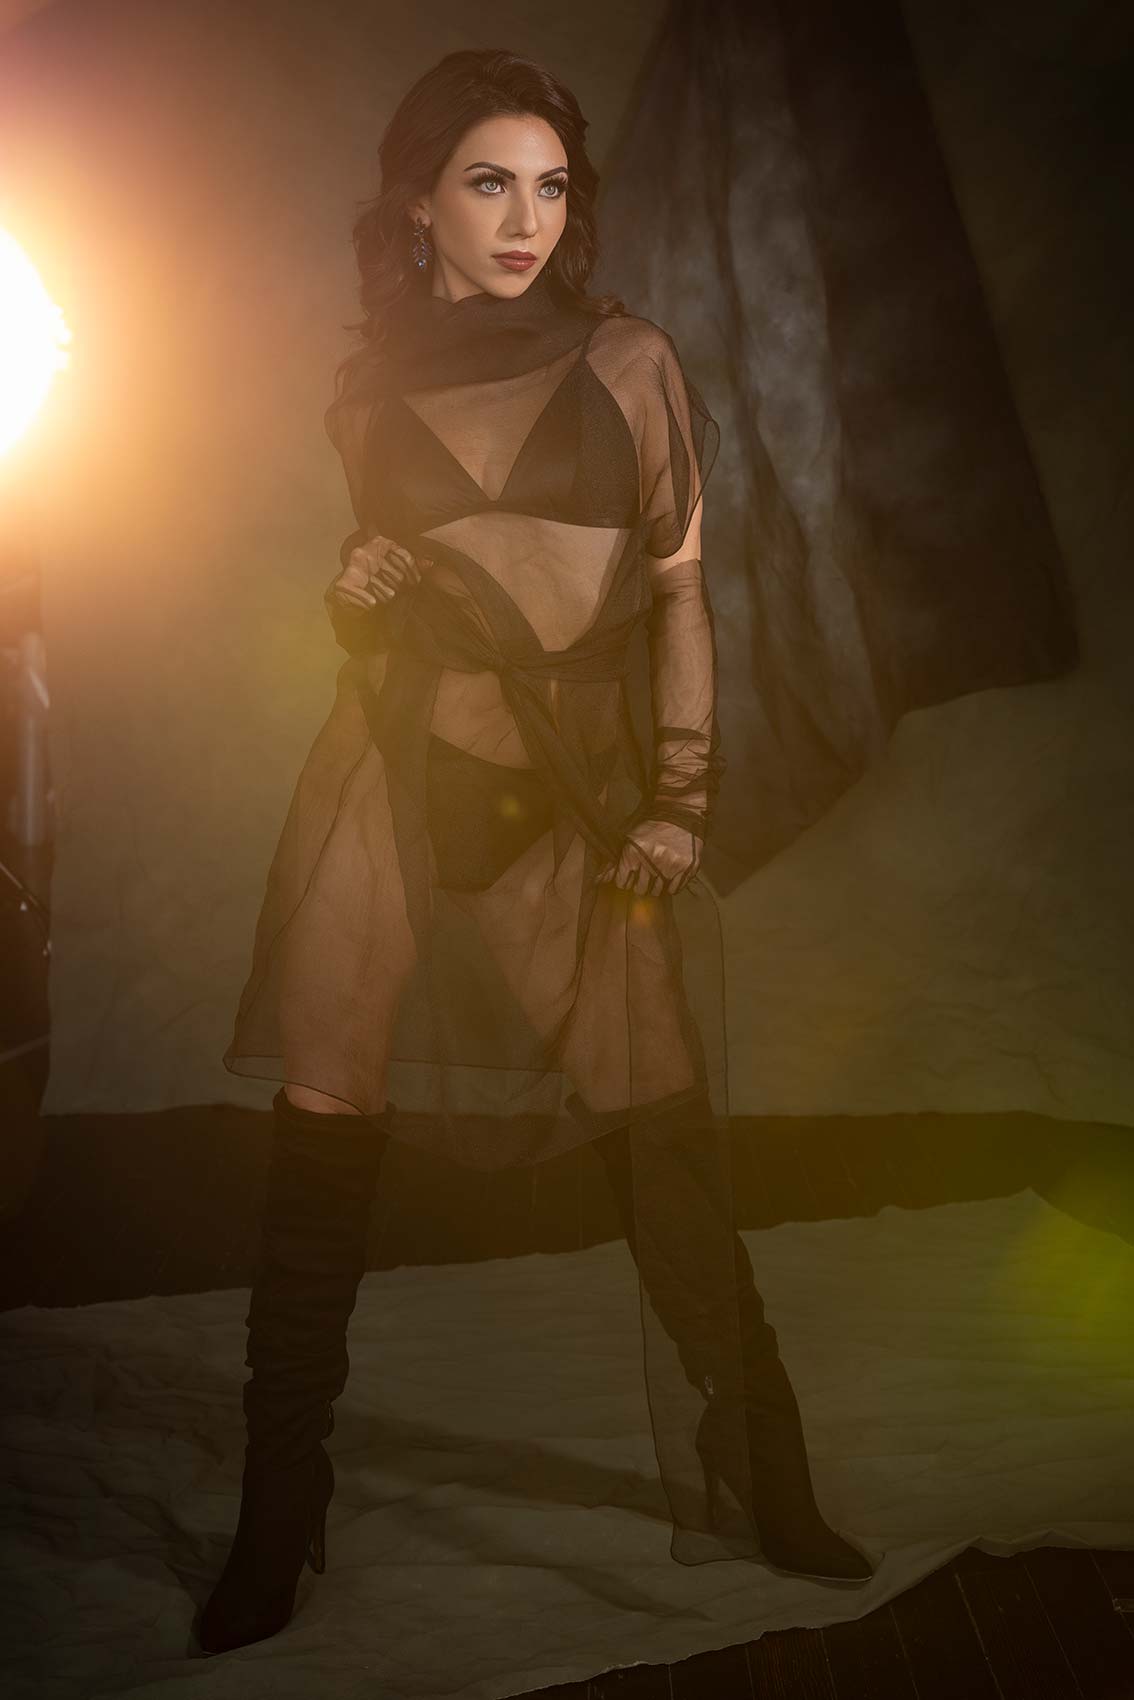
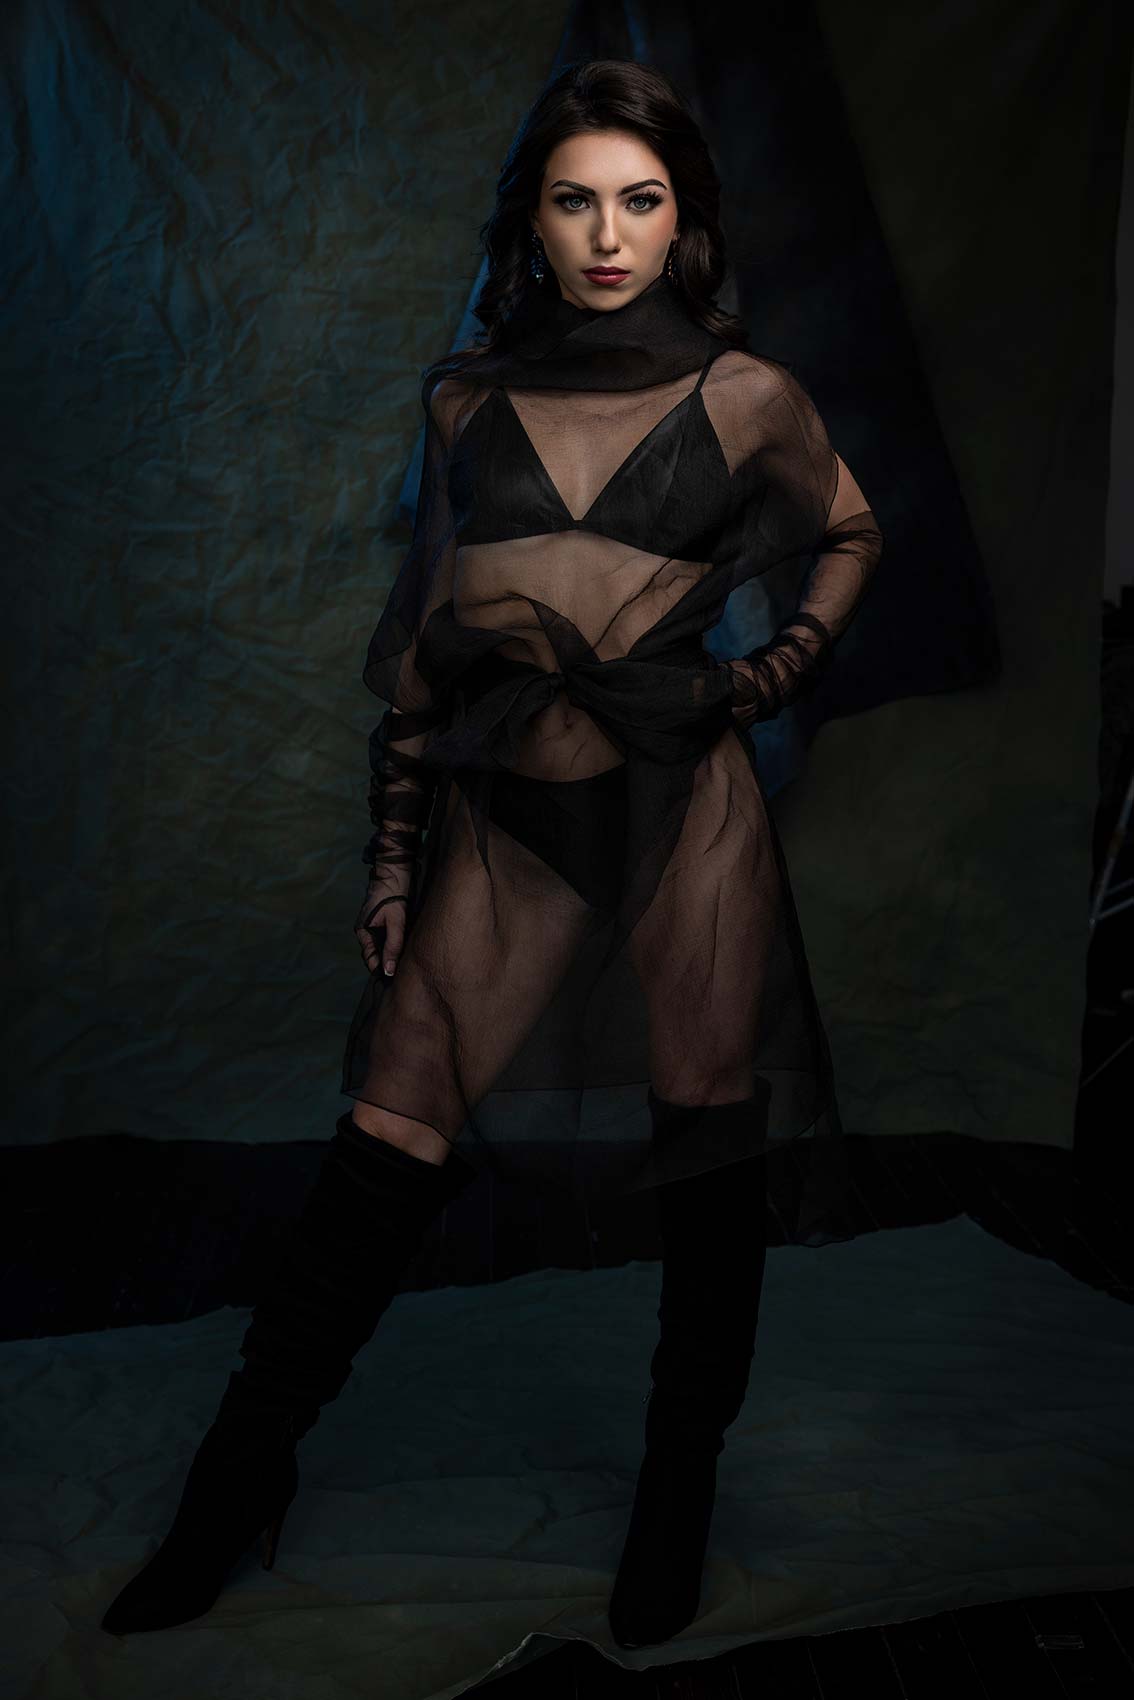
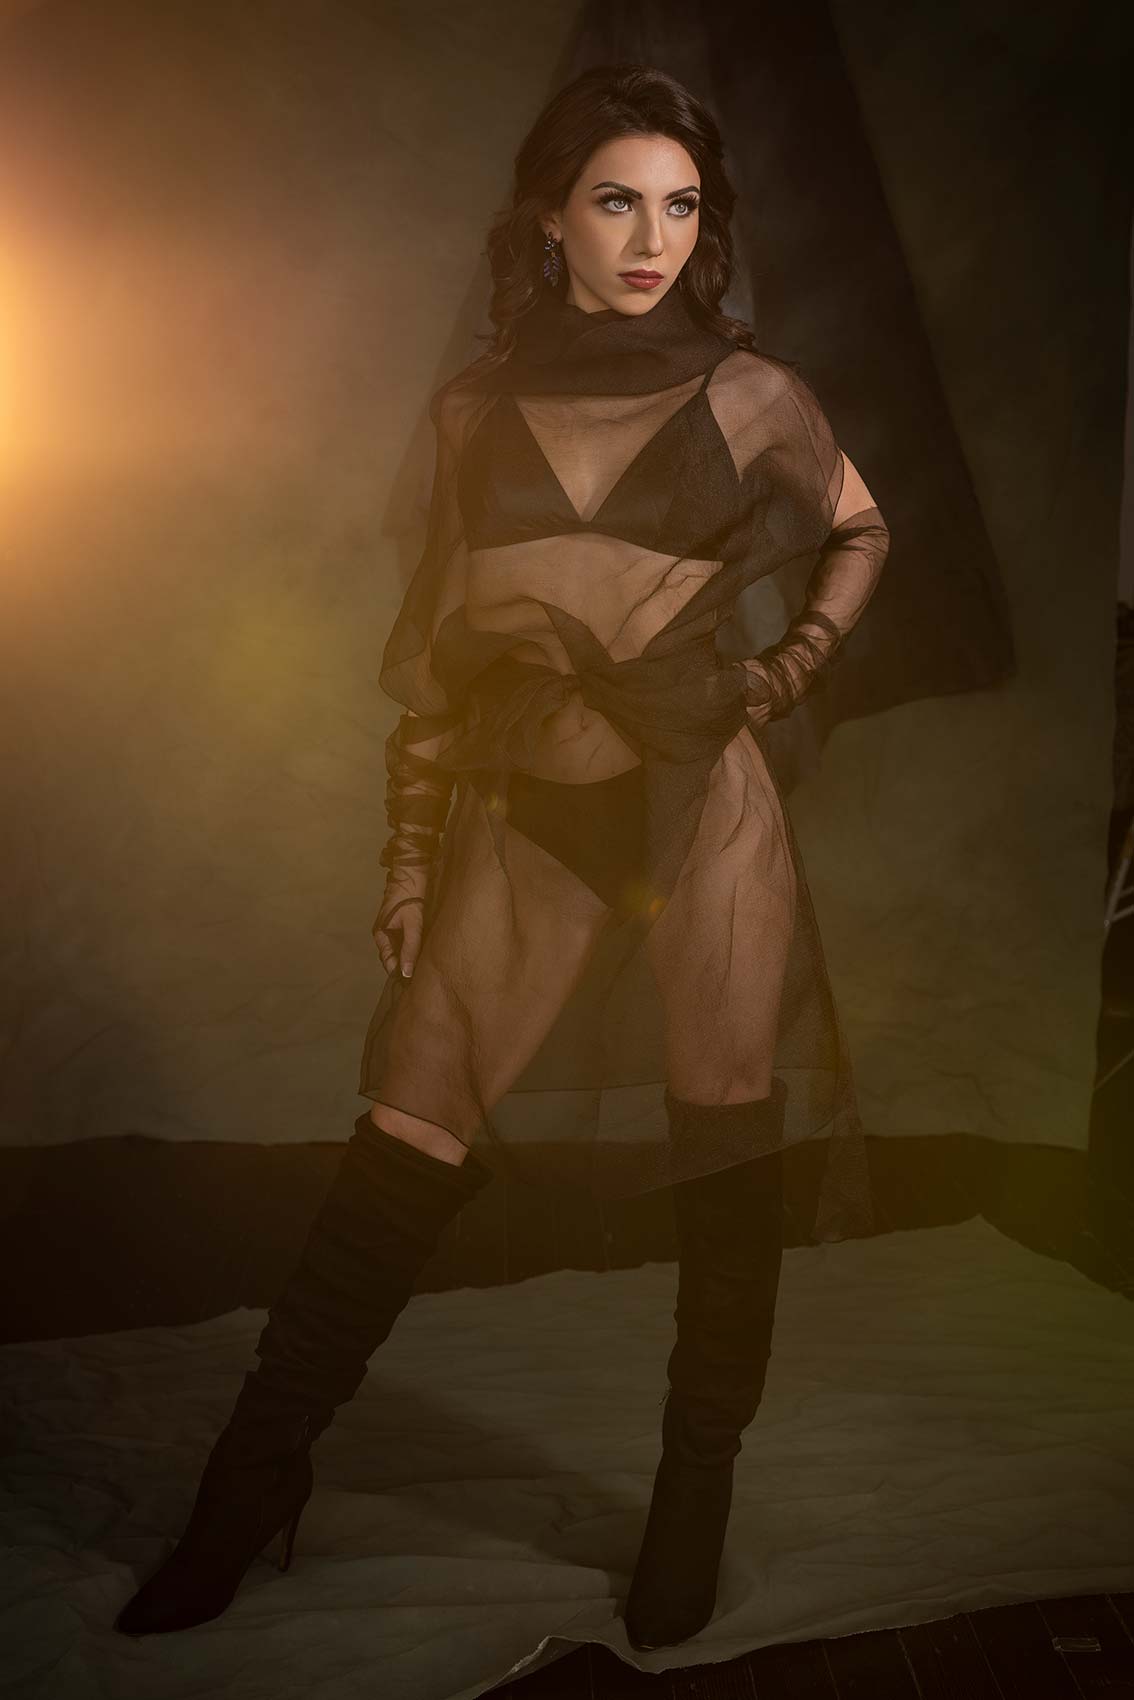
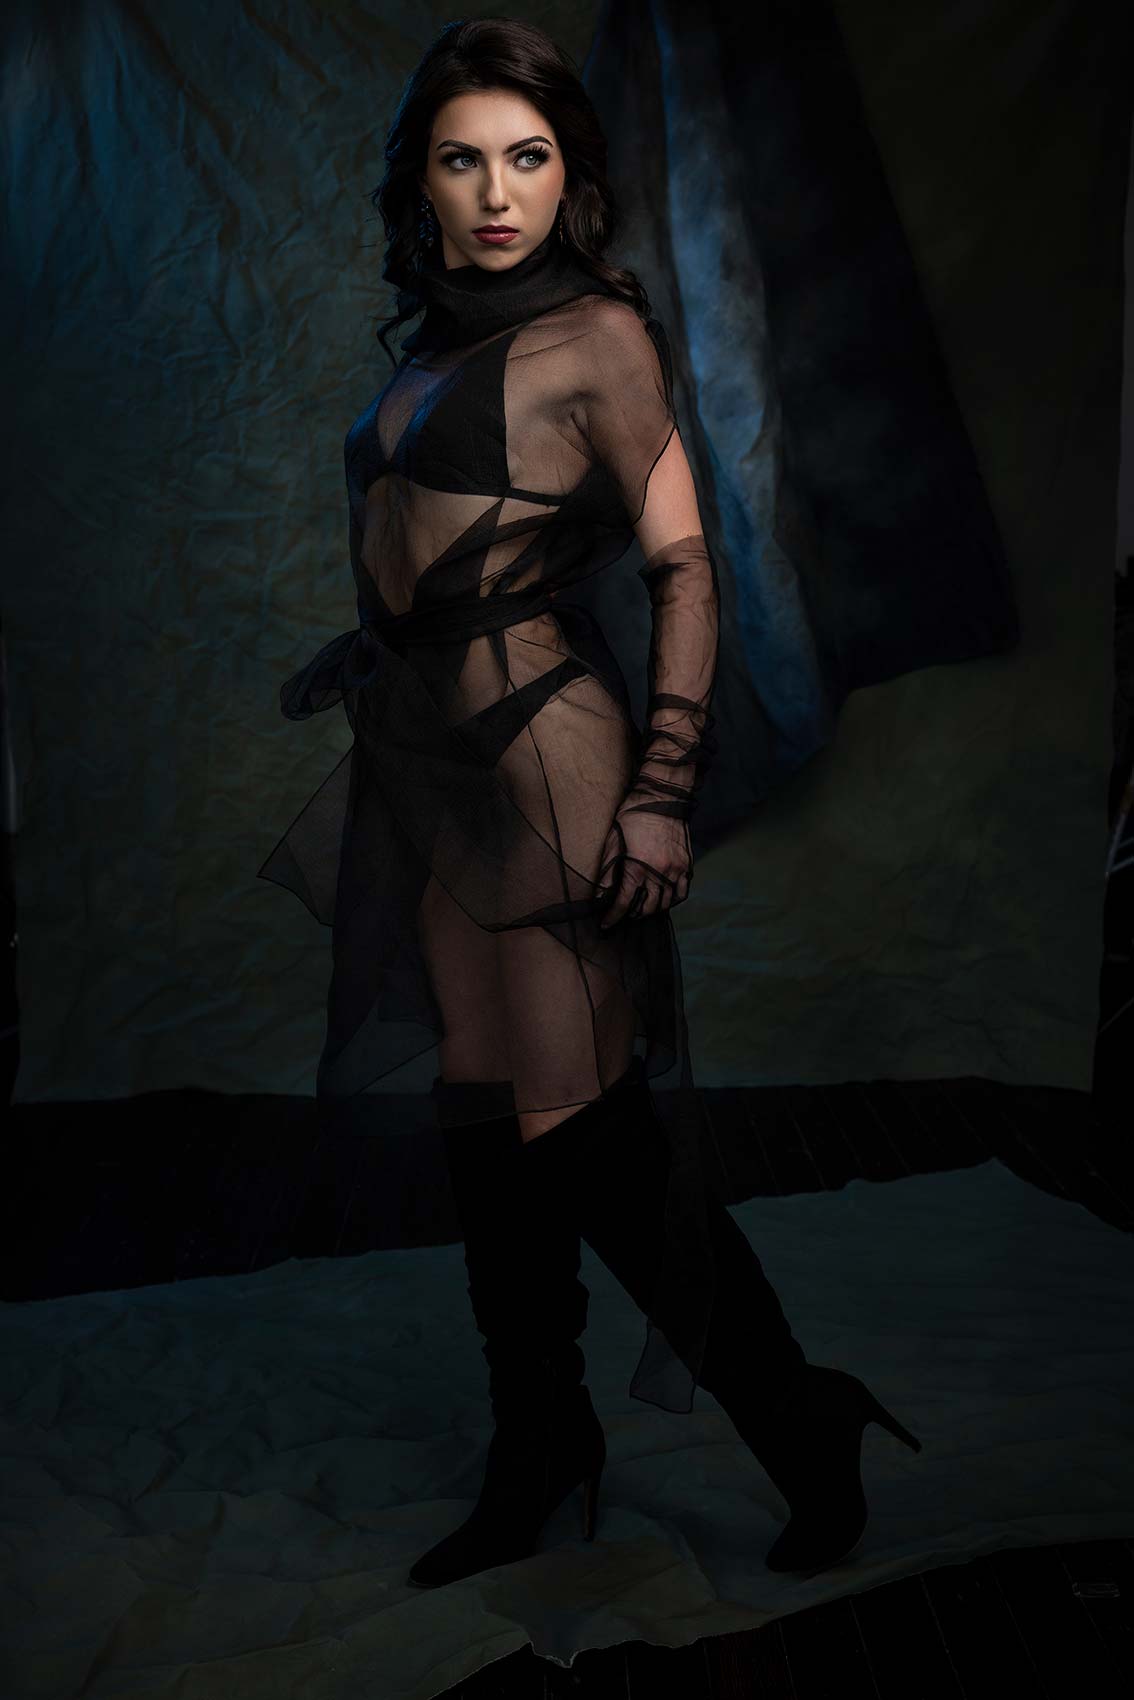
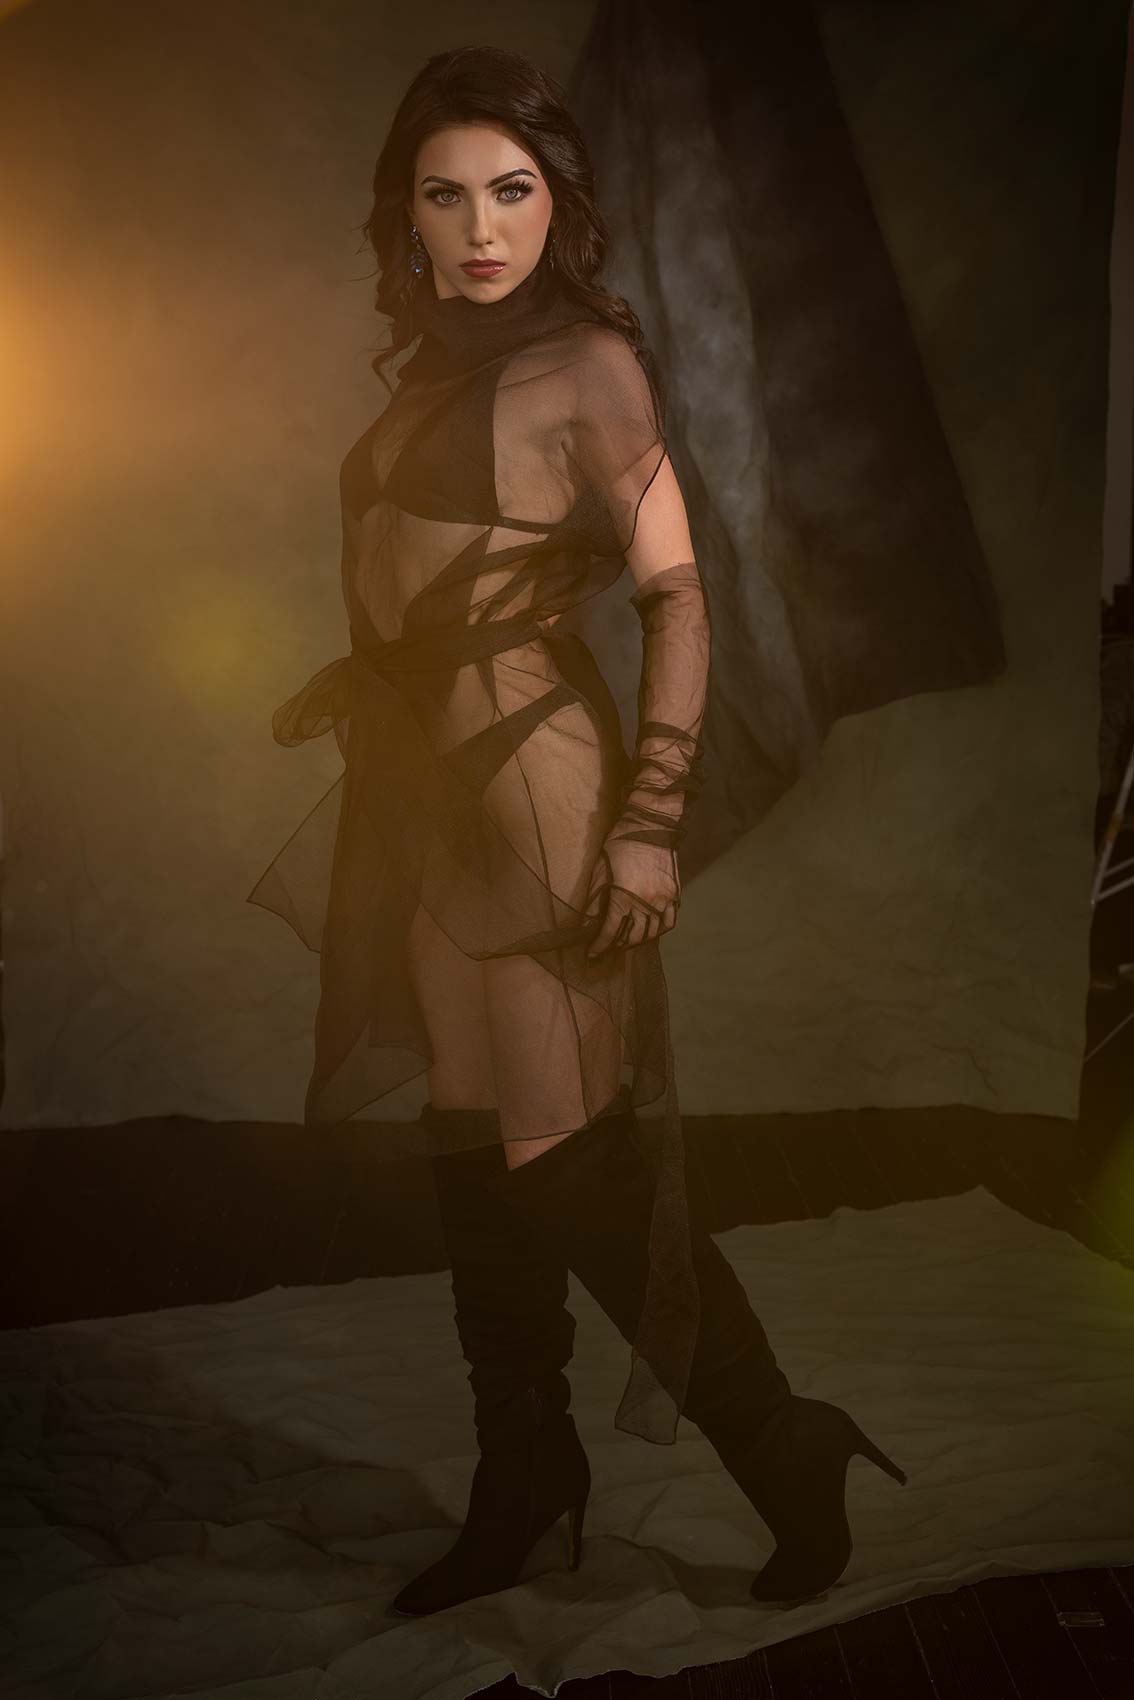
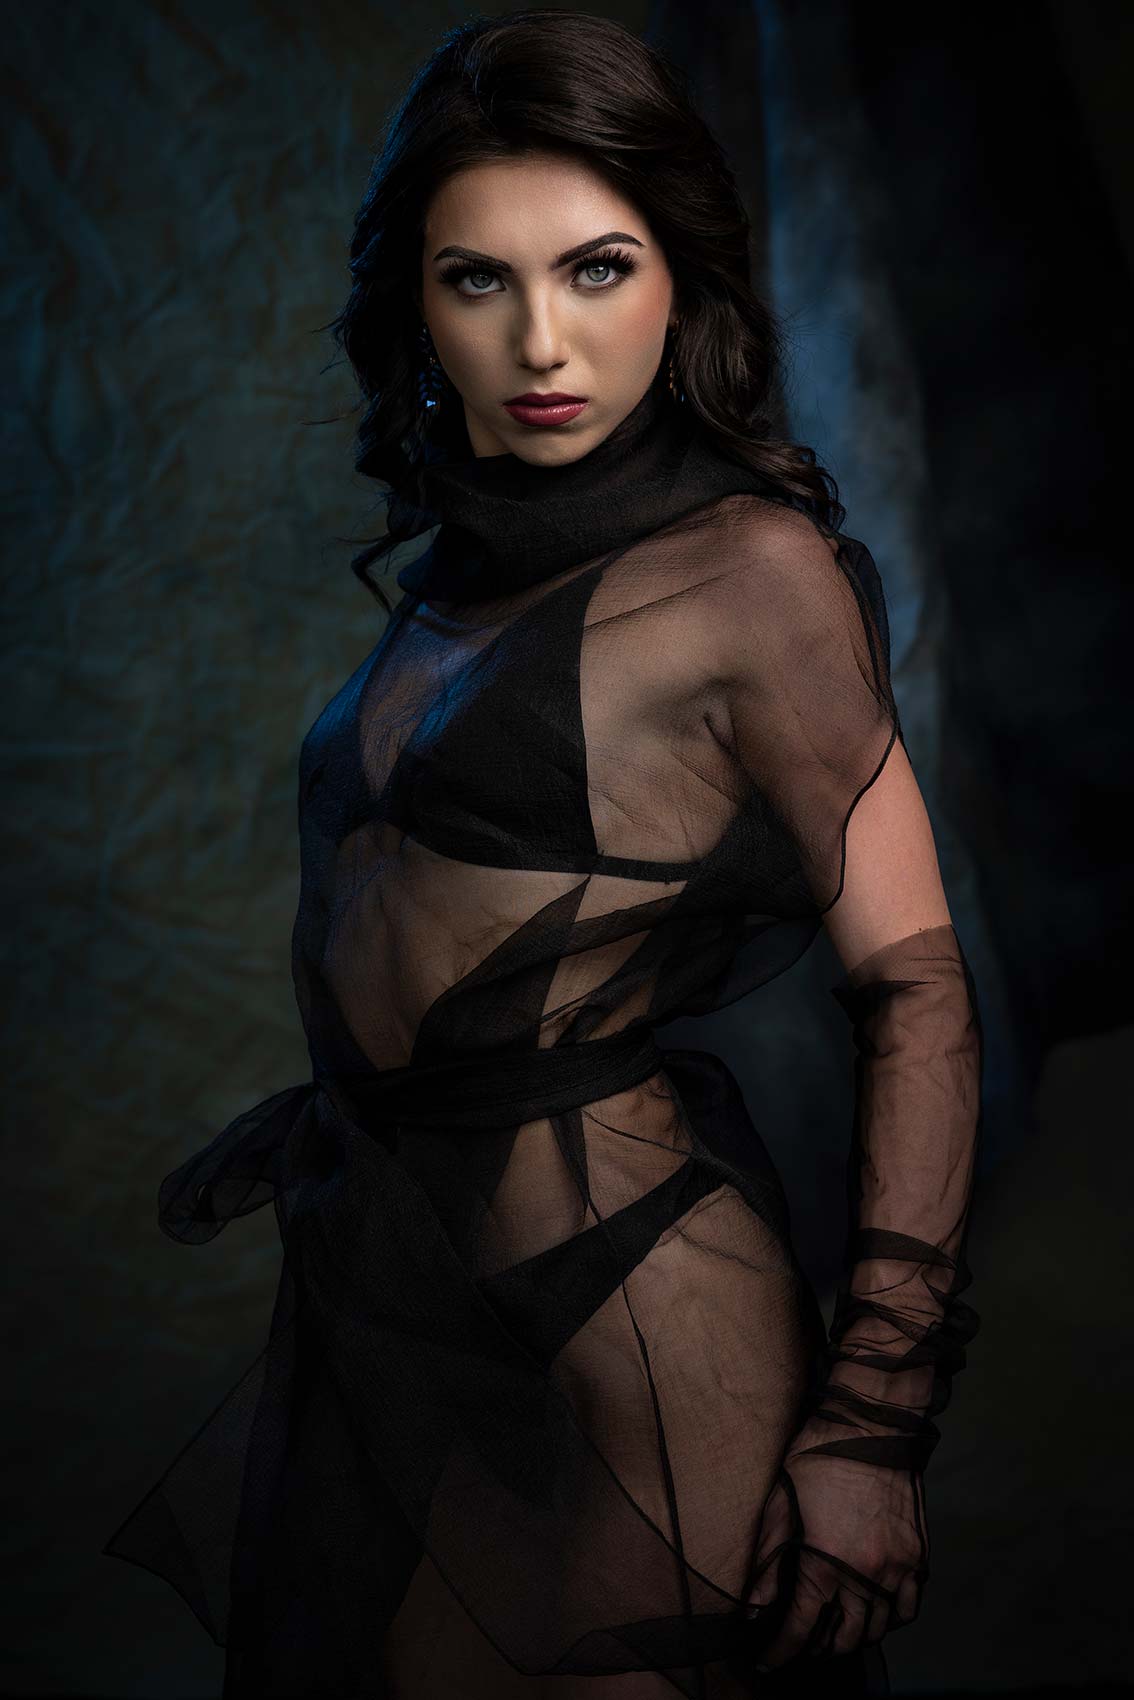
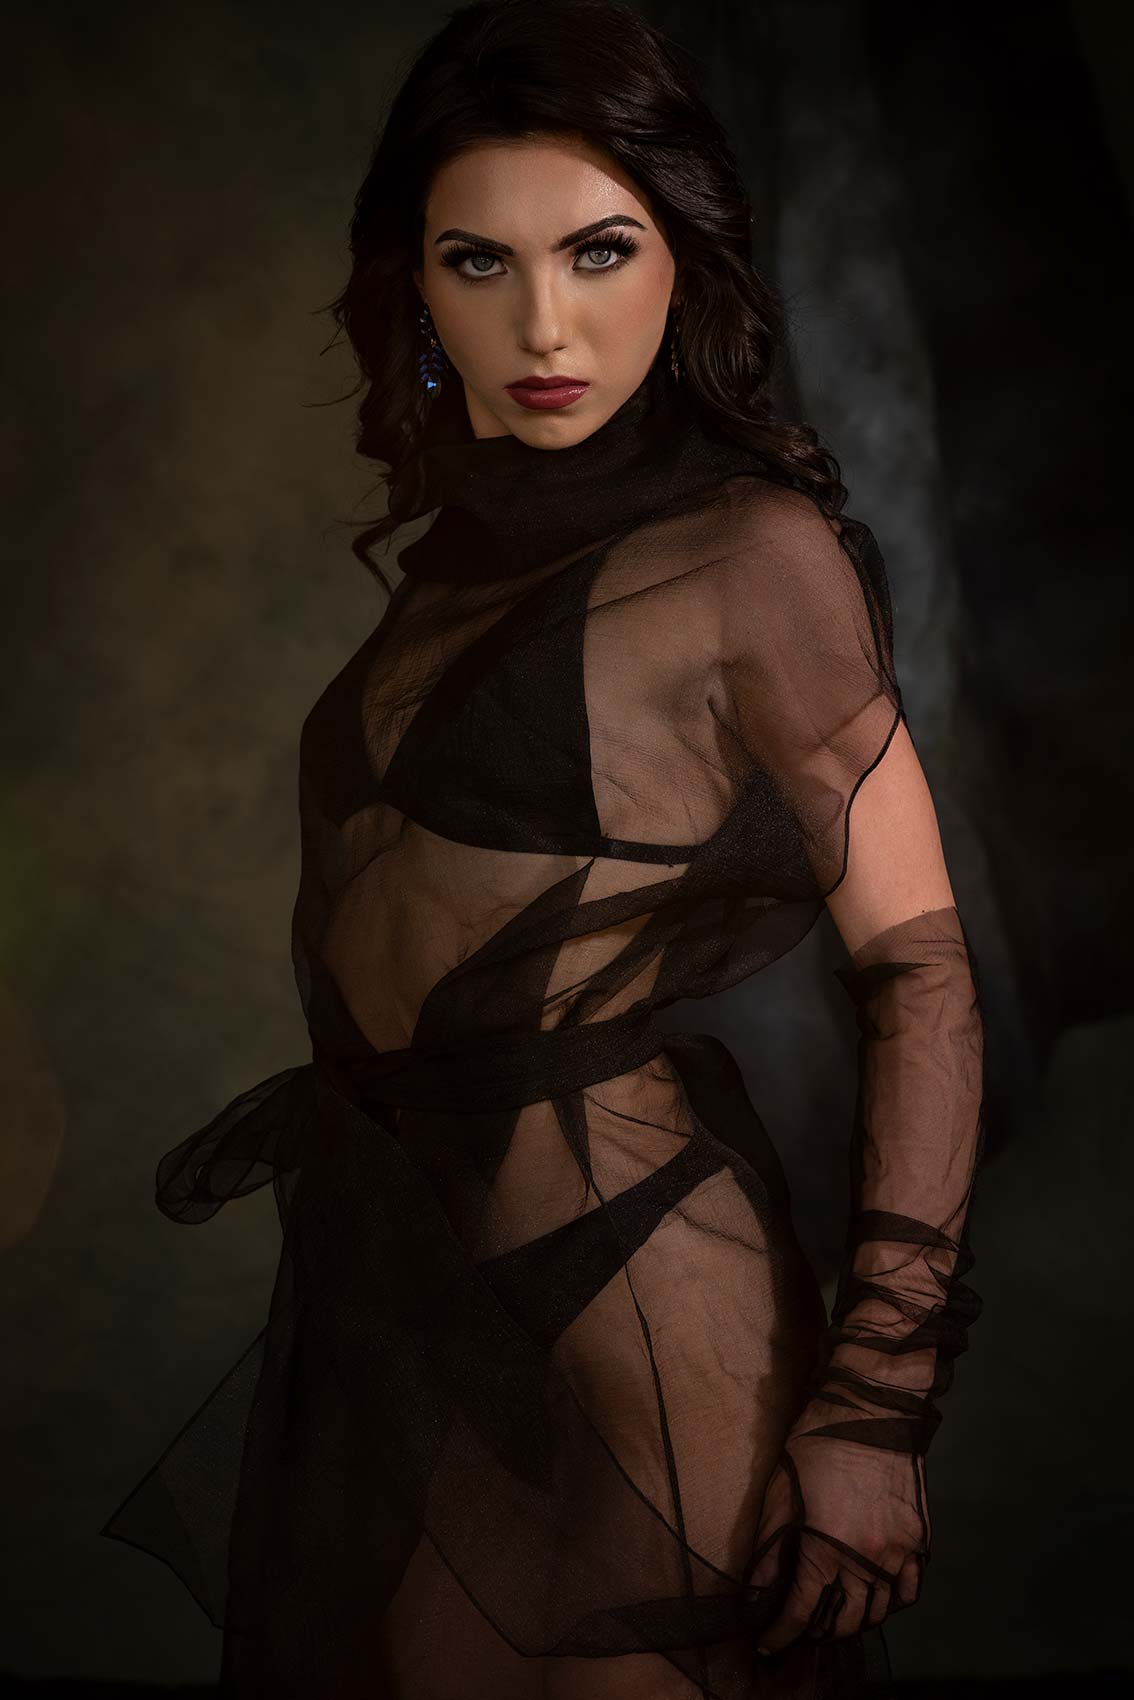
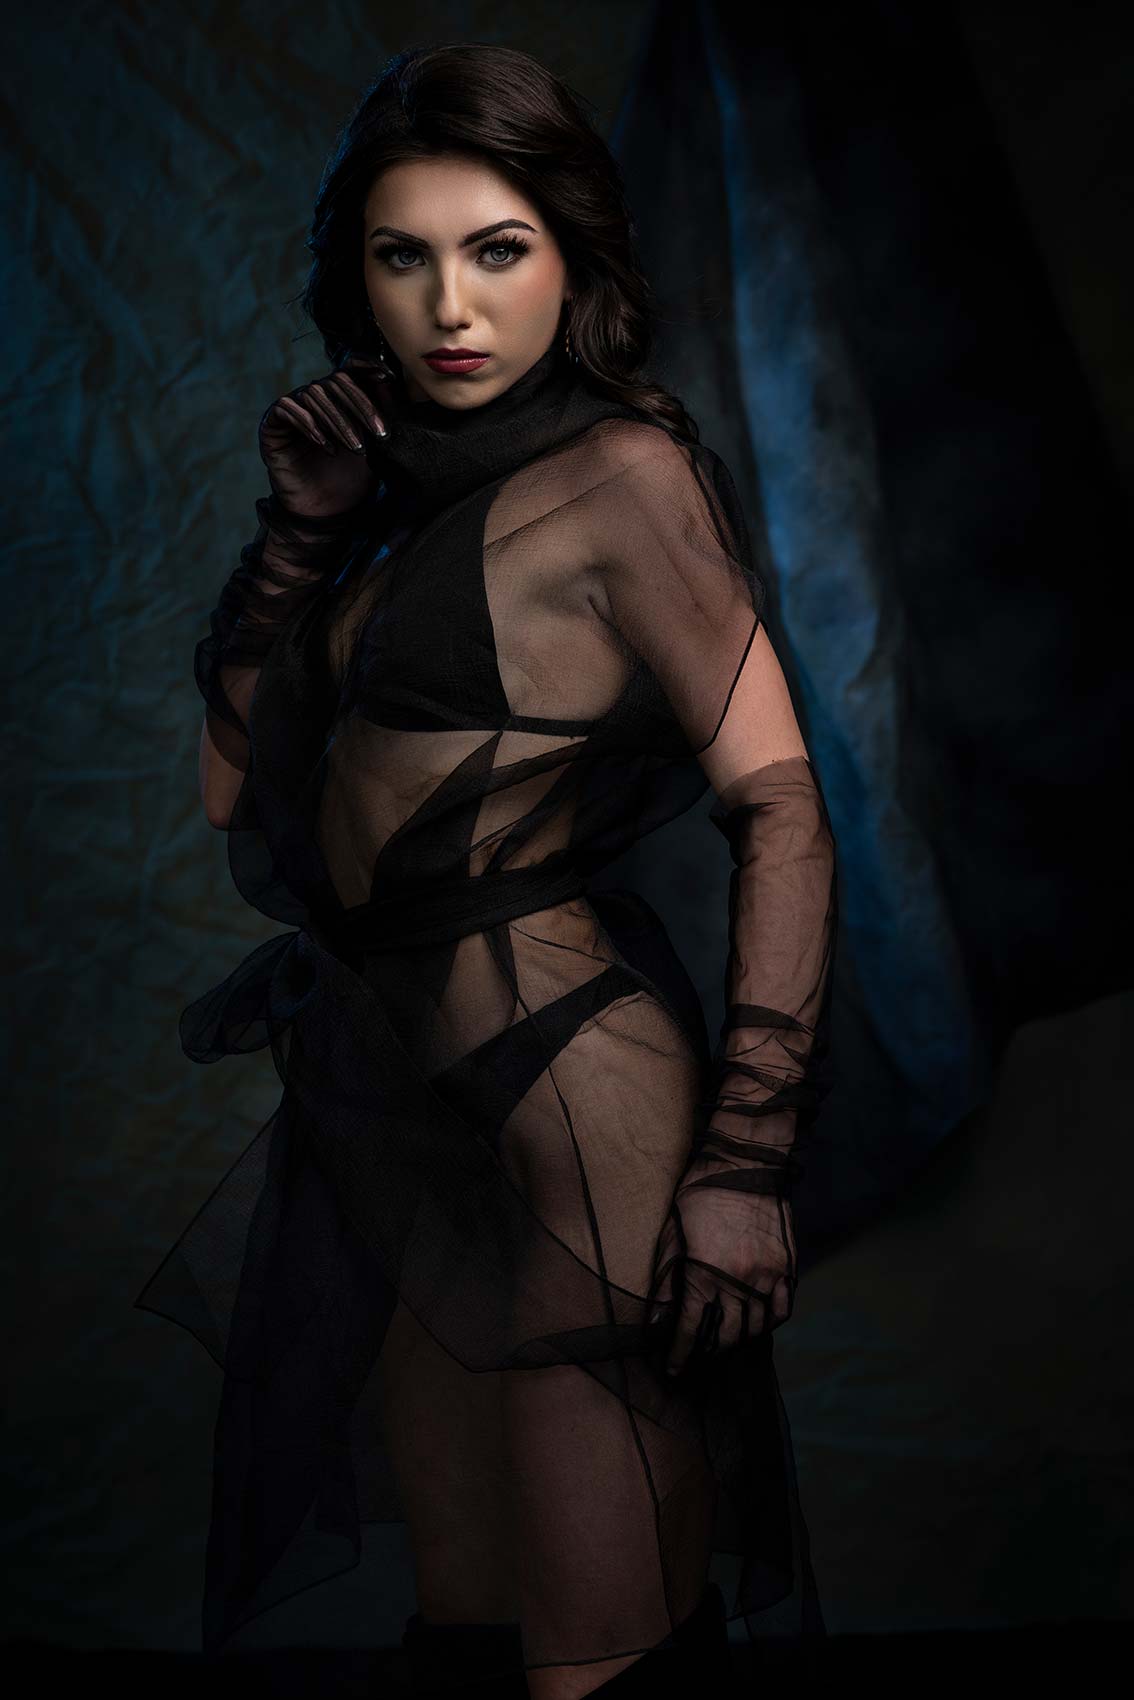
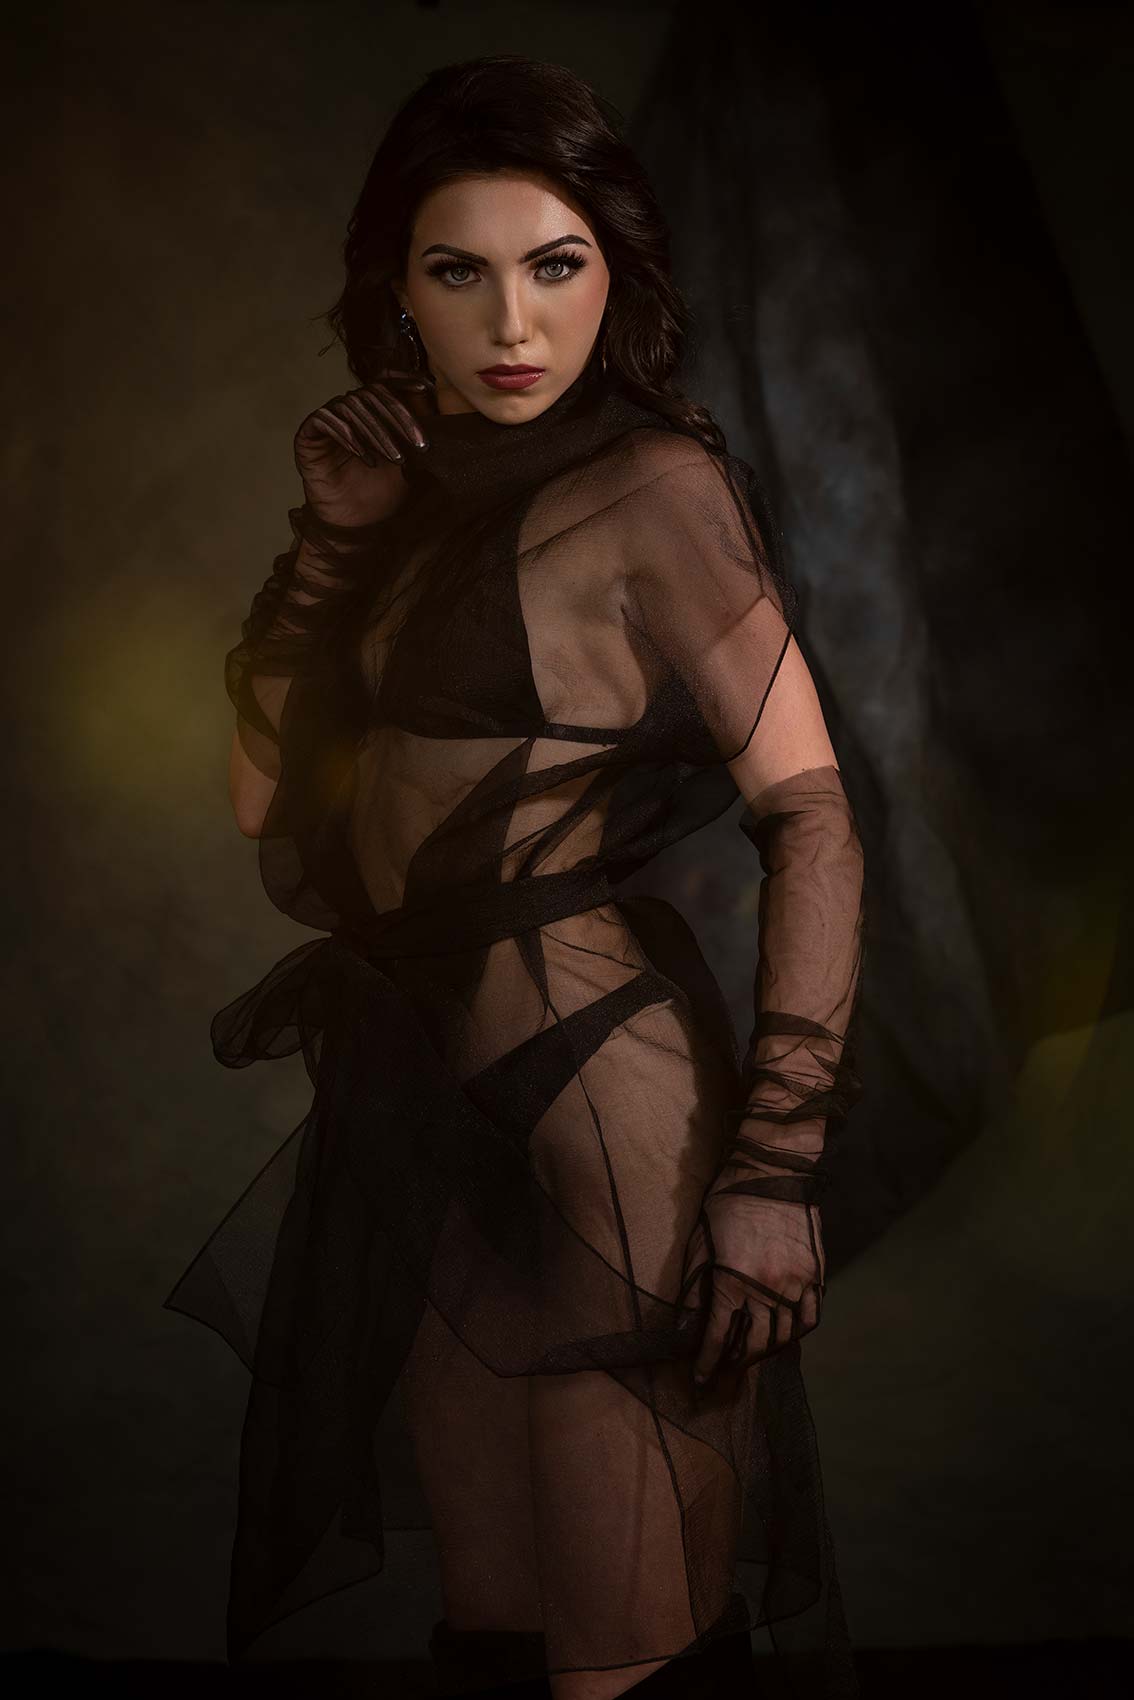
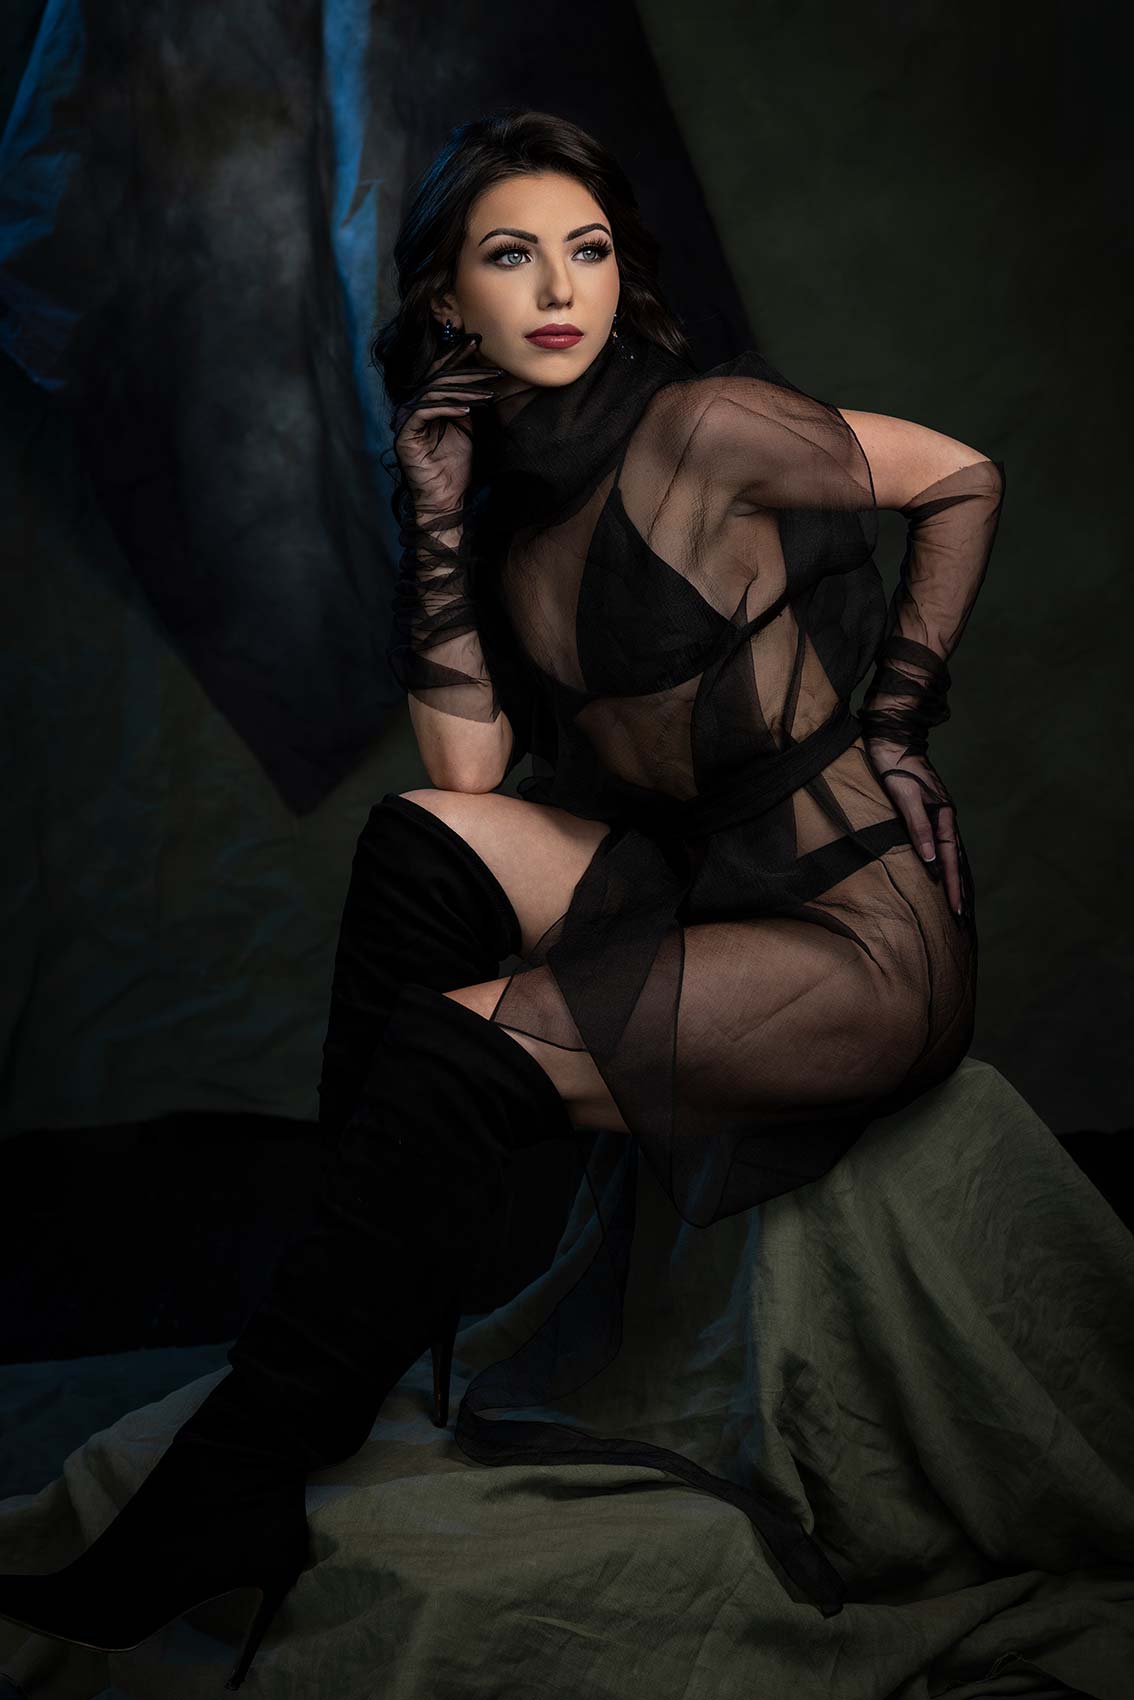
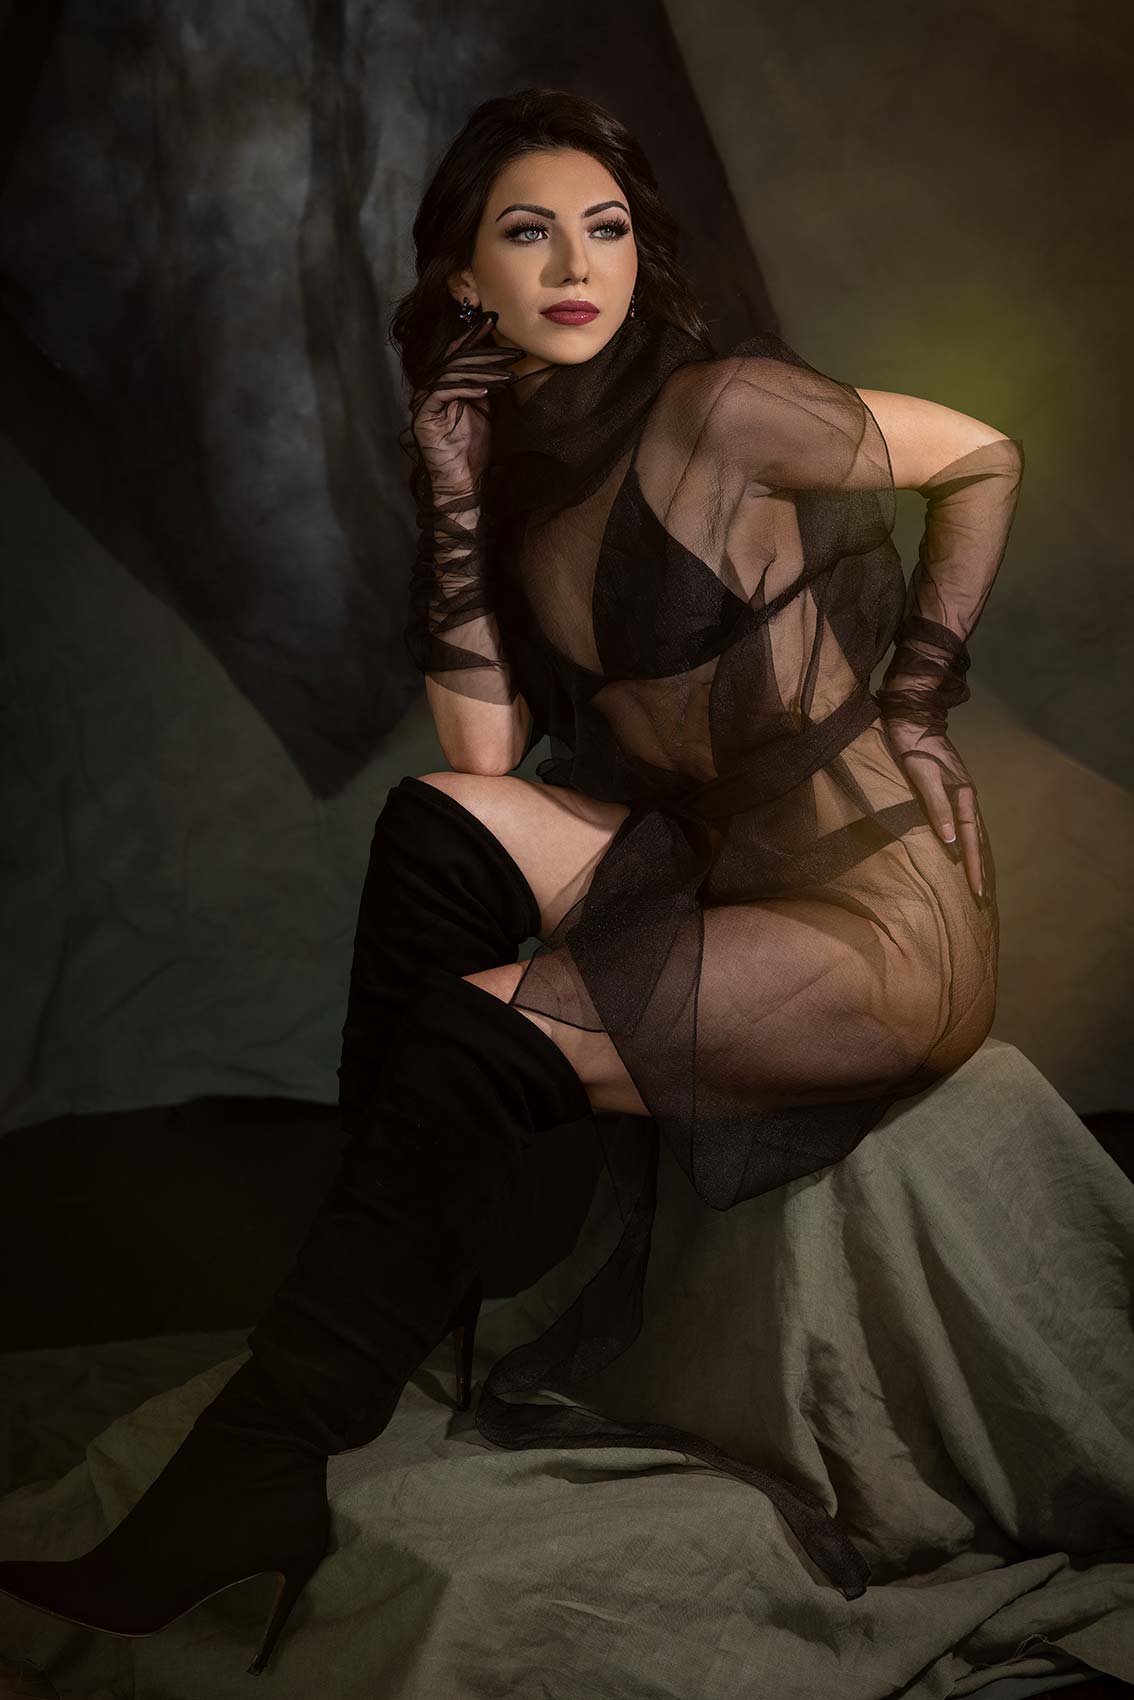
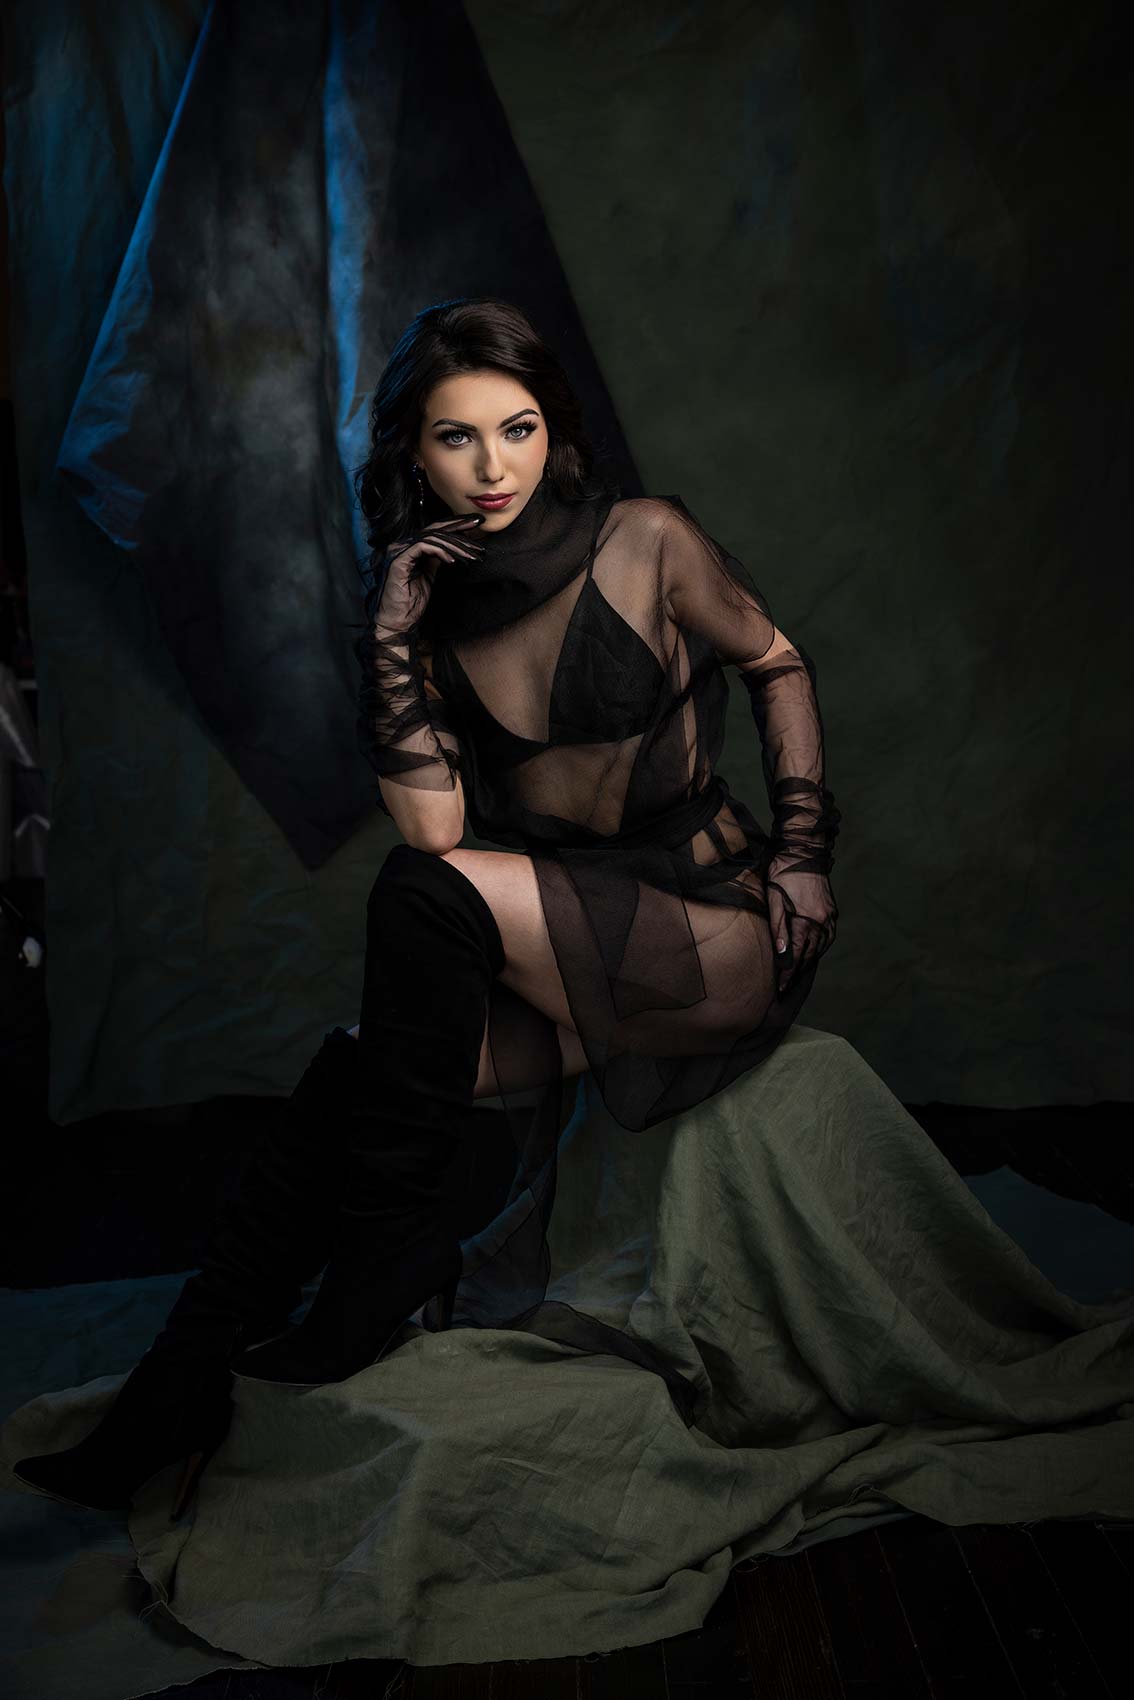
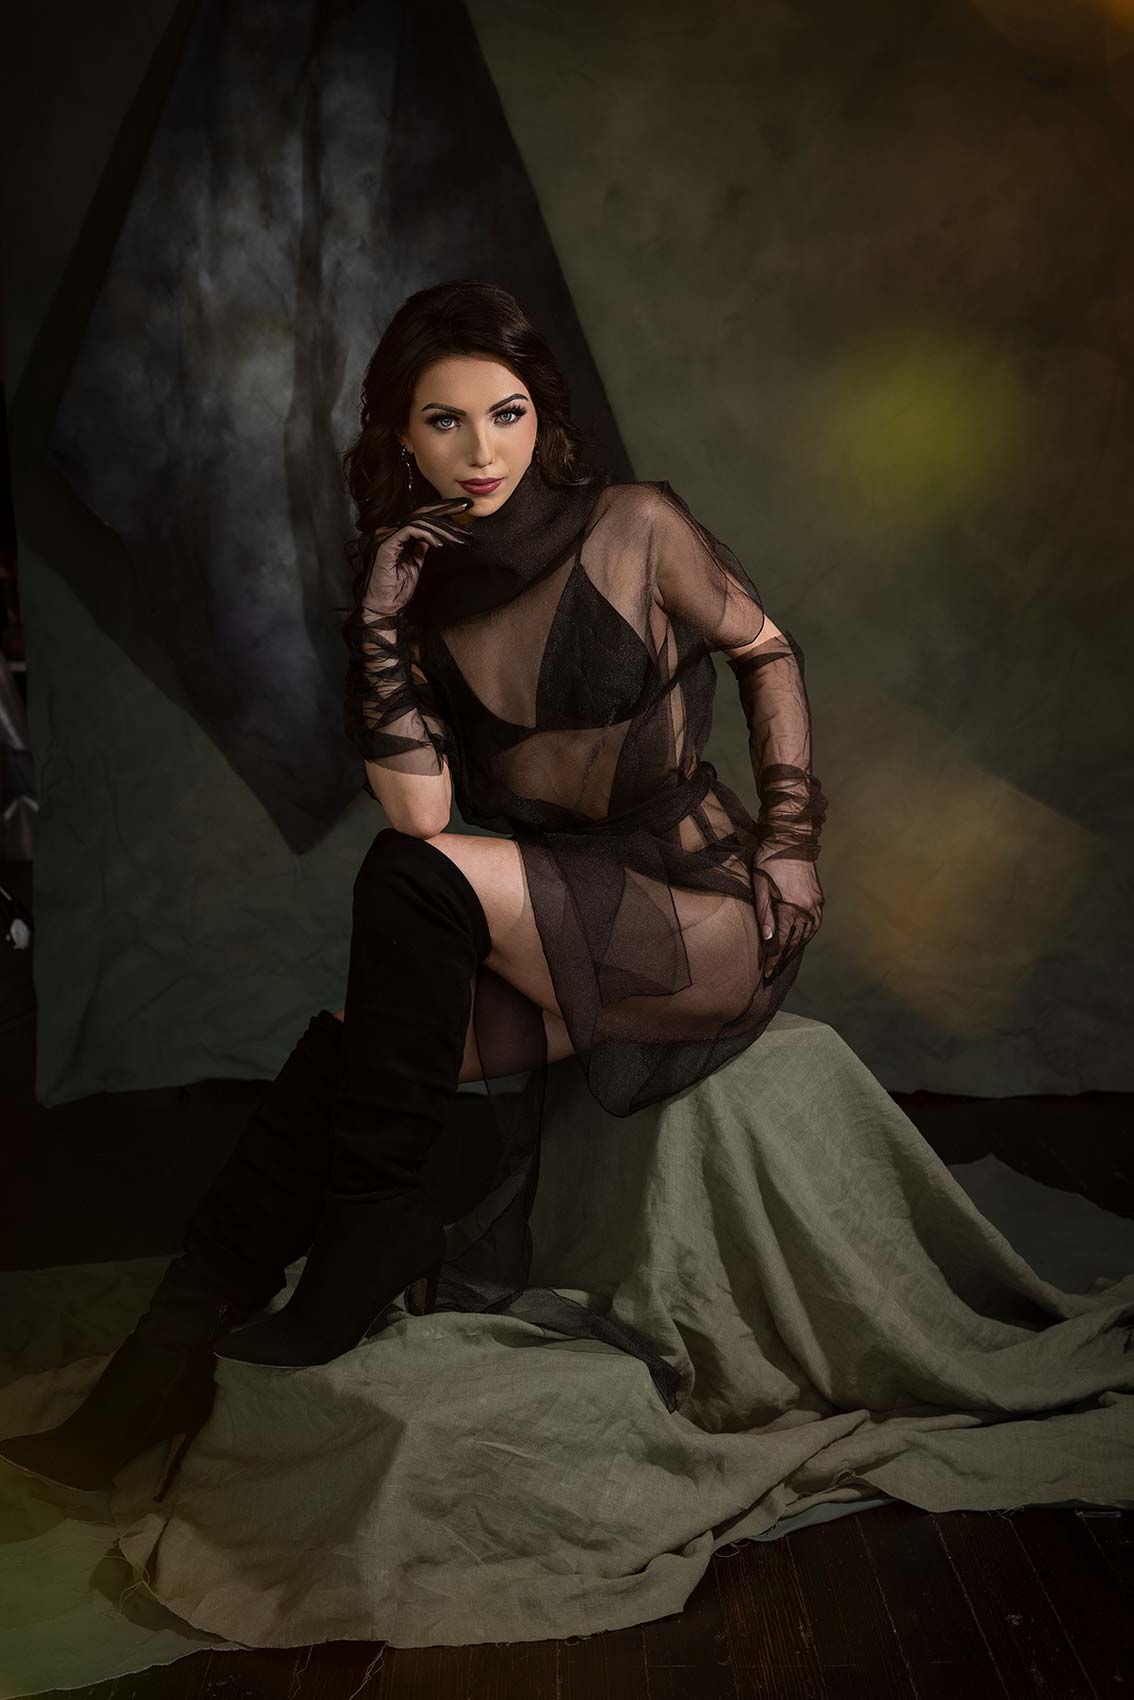
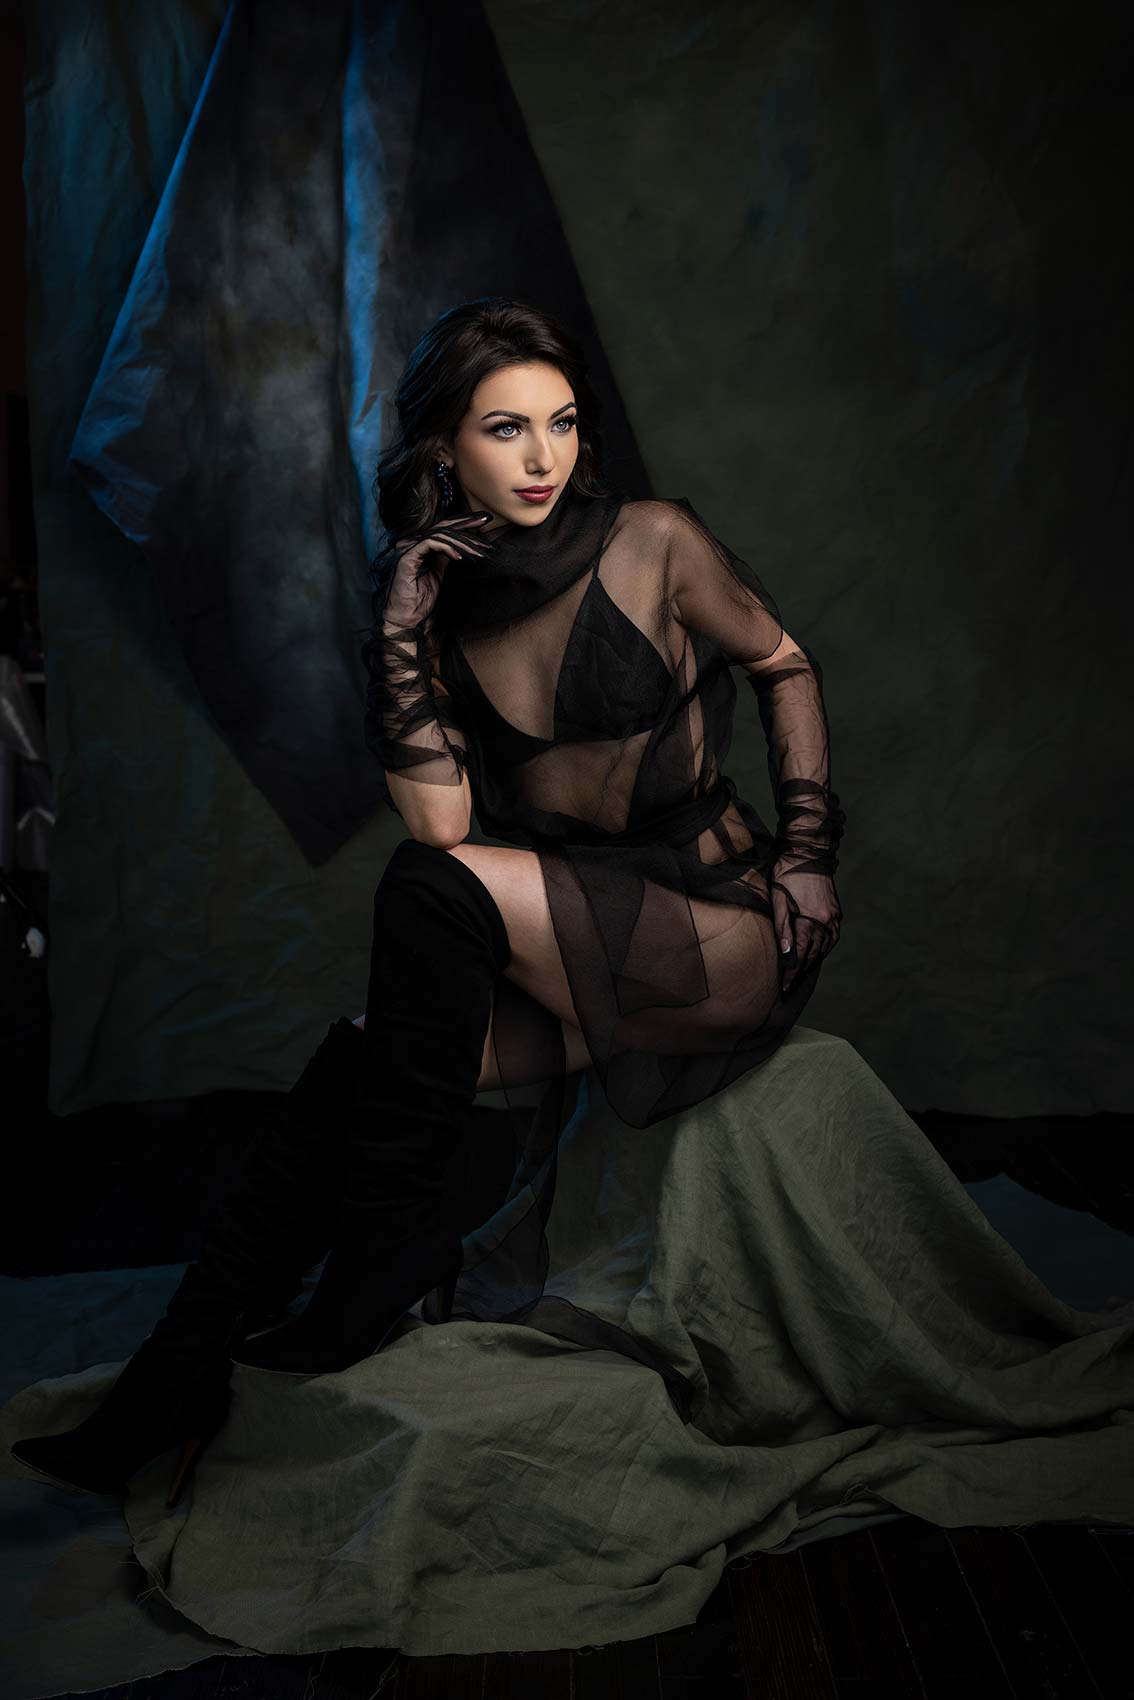
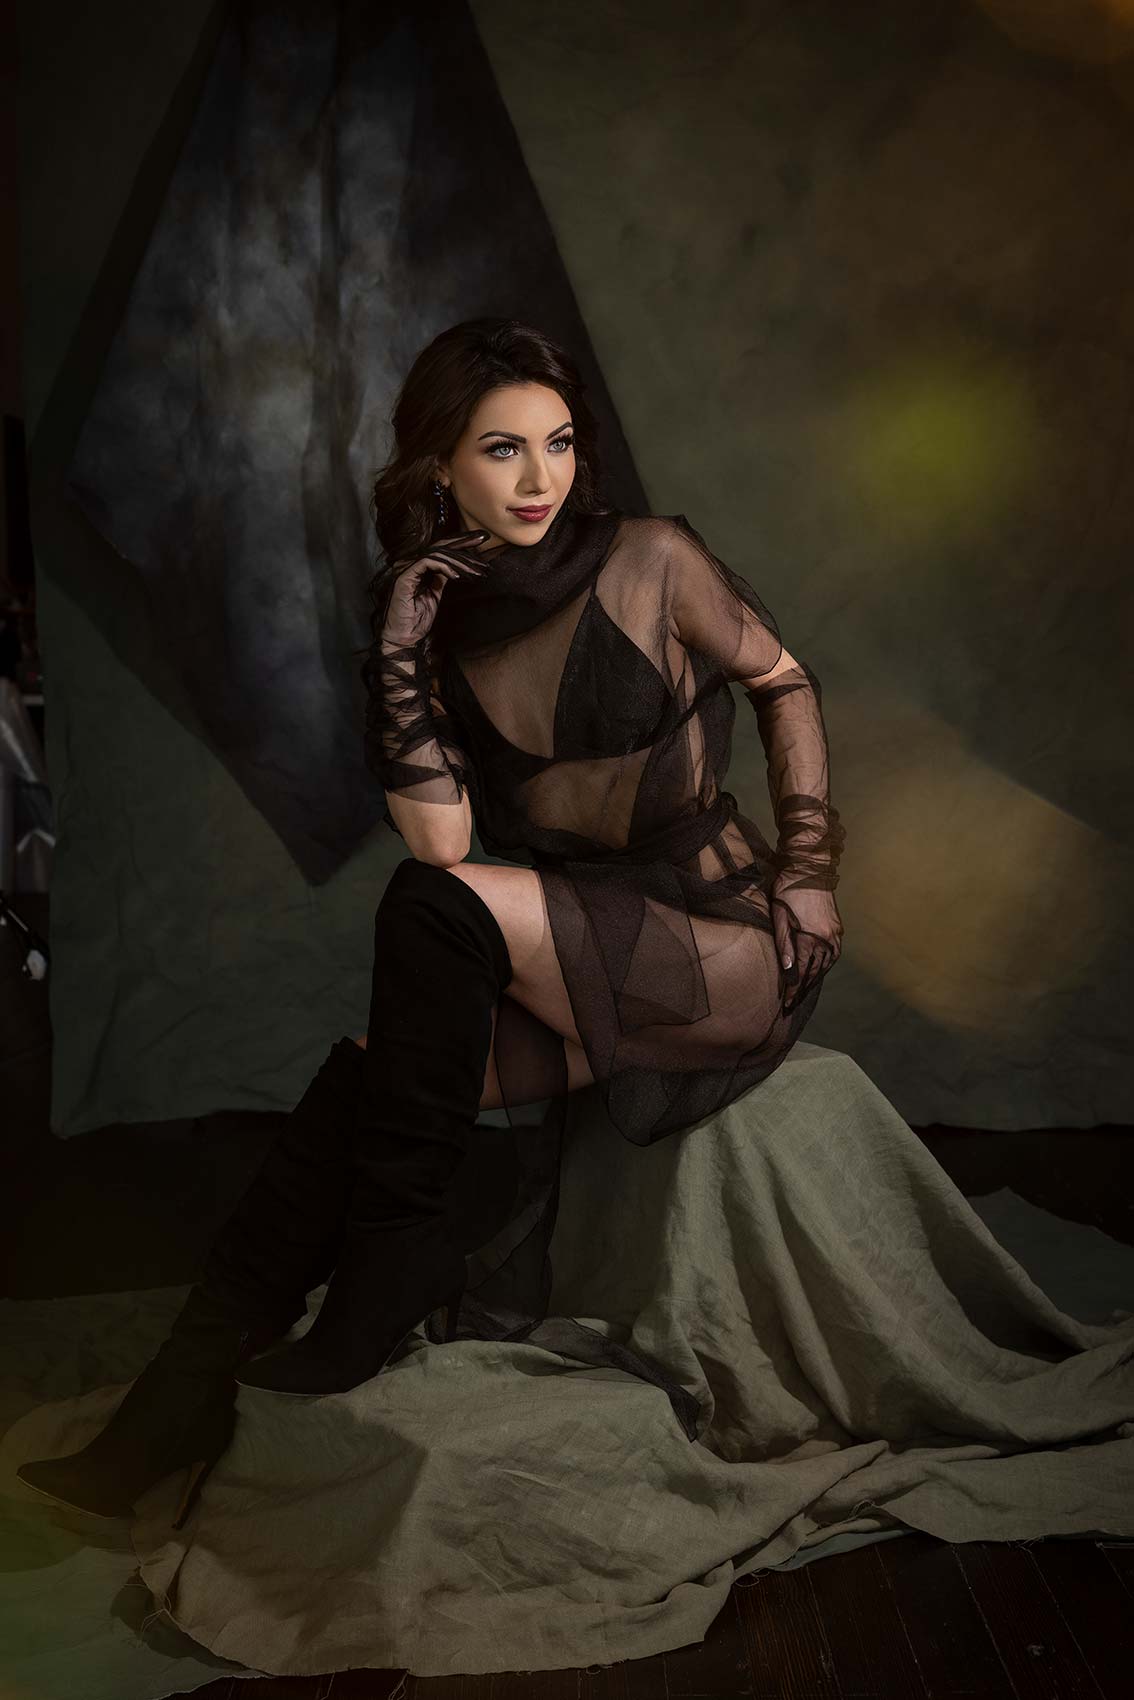
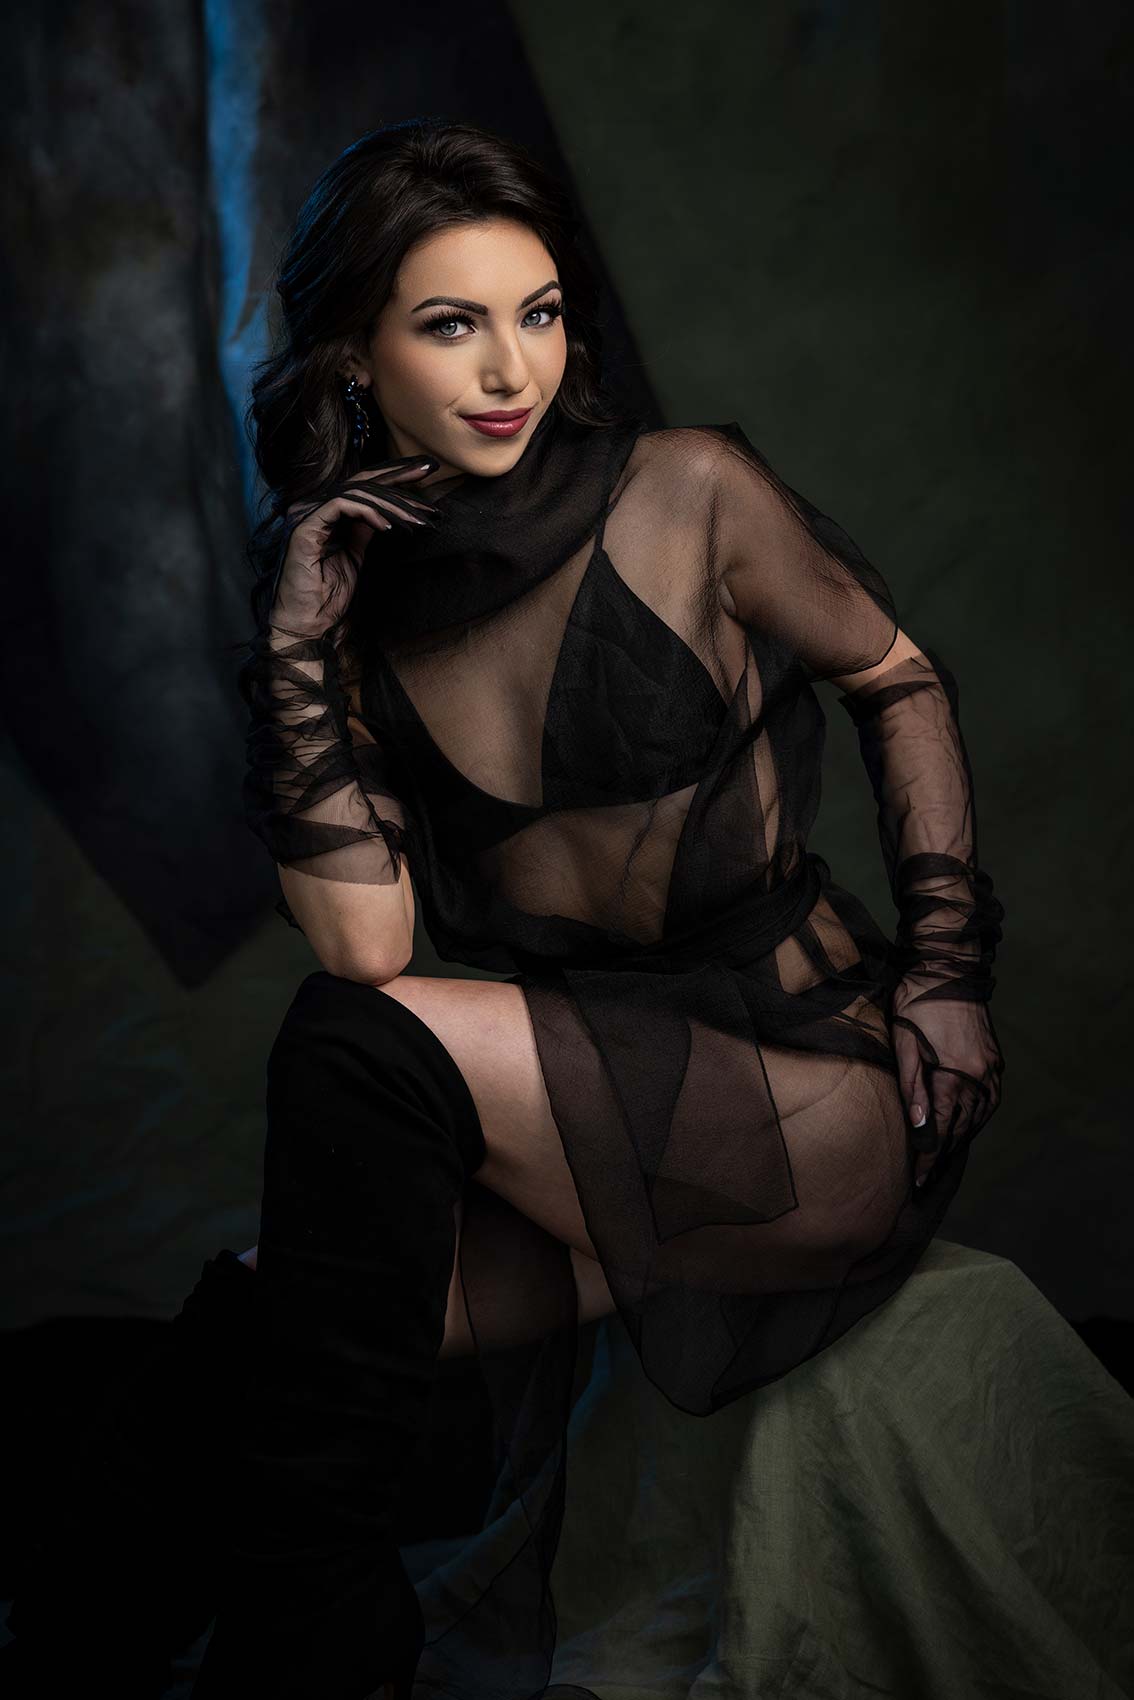
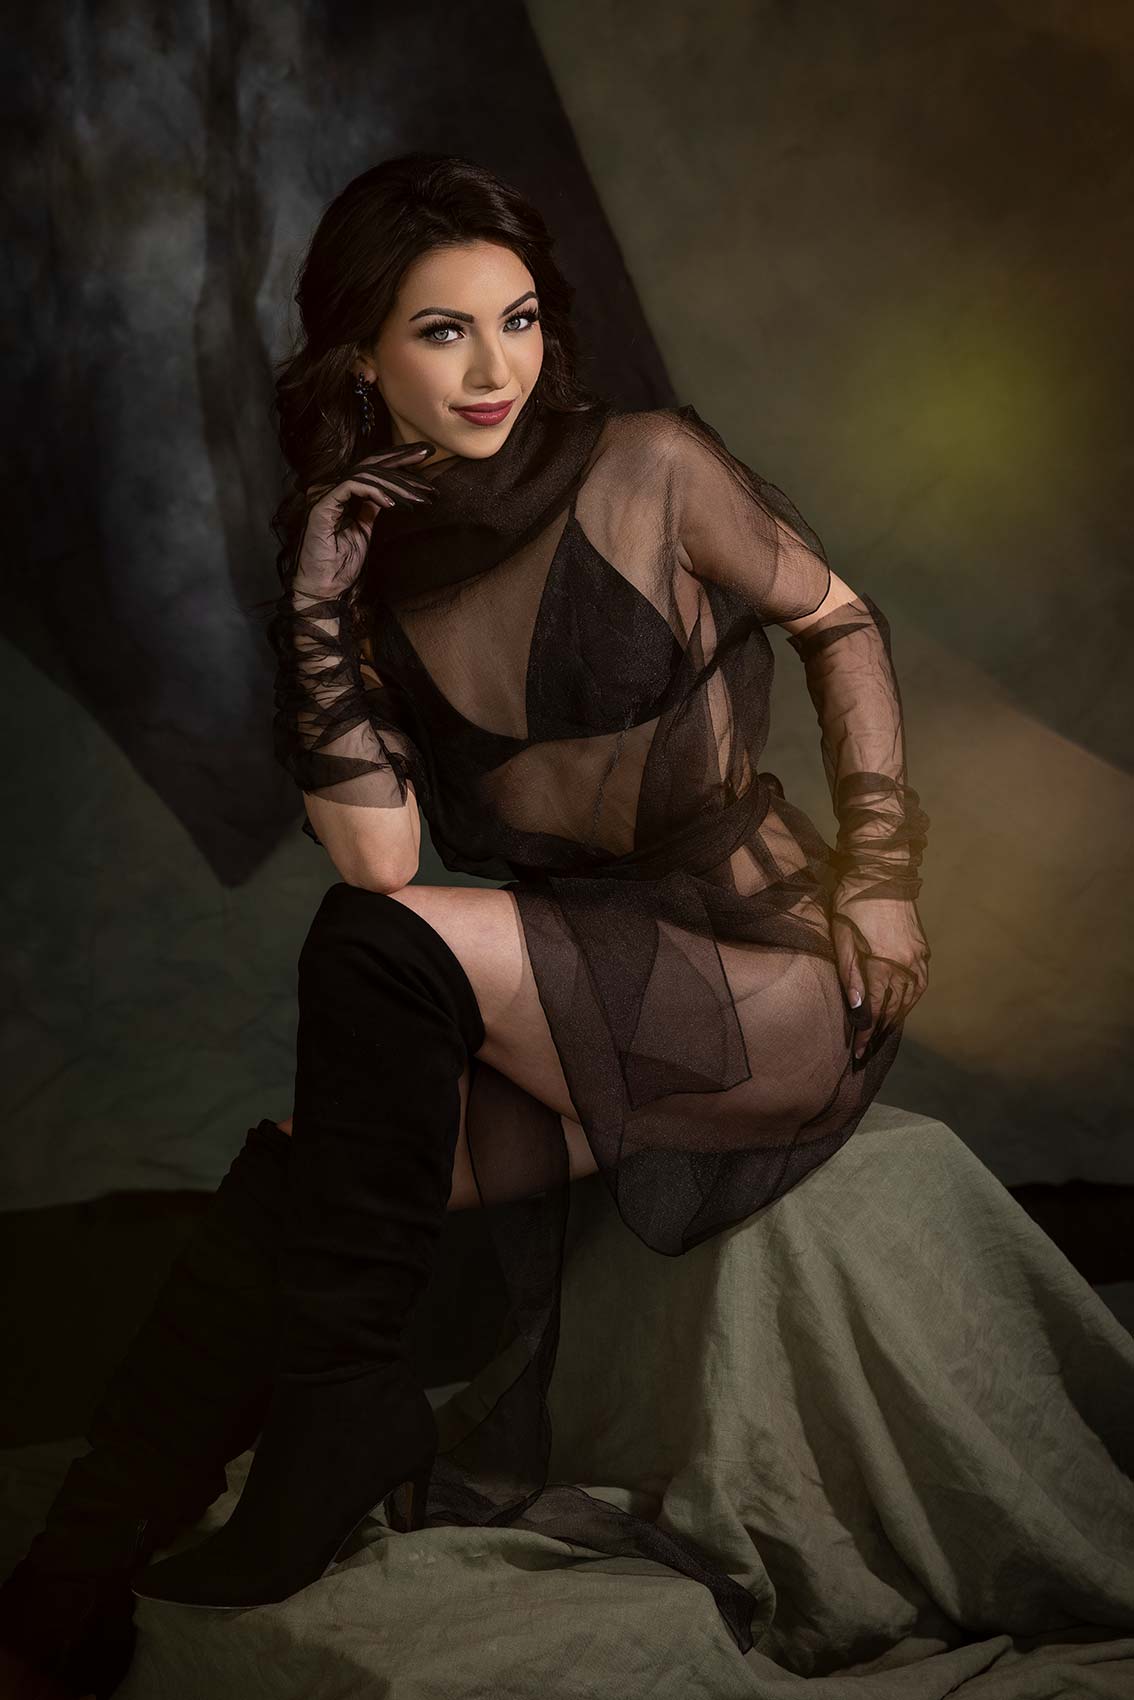
One of the most underrated features of the Westcott FJ400 is its Mask Mode. It’s typically used in school and sports photography to create a mask around your subject for easy background removal in post-production. But in this video, I’m going to show you how you can create mask mode fashion portraits using the FJ400.
Equipment Used:
Camera: Canon EOS R5
Lens: Canon RF28-70mm F2
Light: Westcott FJ400, Octabox, Gels
Team:
Photographer: Sal Cincotta
Model: Brooke
Hair & Makeup: Brandi Patton, ReFine Beauty
What’s up, everyone? Sal Cincotta. Today we are going to create fashion portraits using the FJ400 mask mode.
What is mask mode on the FJ400, and how do I use it?
Have you ever wished you could create portraits with different looks, feels, and lighting setups without ever having to reset your lights? Well, the Westcott FJ400 is the only lighting system I know that has this feature, called Mask Mode, built right into the FJ400s. Now, it’s typically used in sports photography to mask out subjects in Photoshop by creating a kind of plate shot, a high key black and white shot. We’re not getting into any of that, so don’t worry about it; just let it go over your head. What we’re using it for is to create one look.
By the way, let’s give it up for Brooke here, she’s our model today.
How can I create different lighting looks in one photoshoot without resetting my lights?
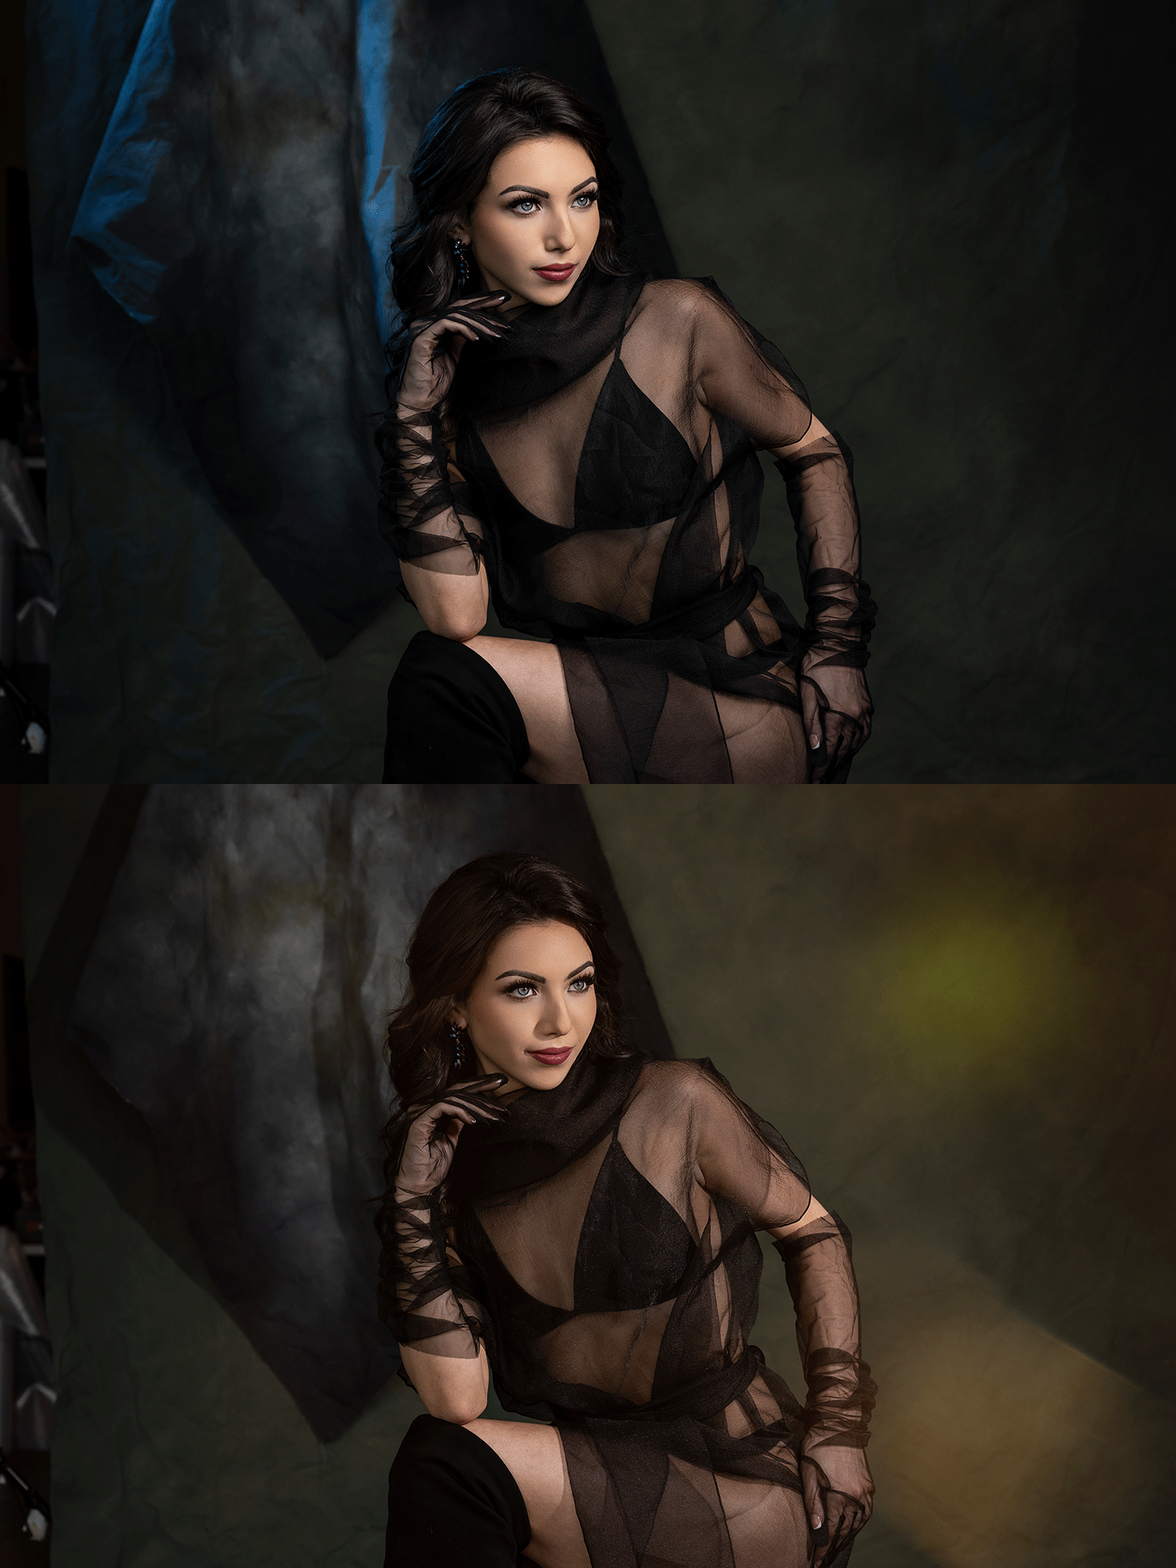
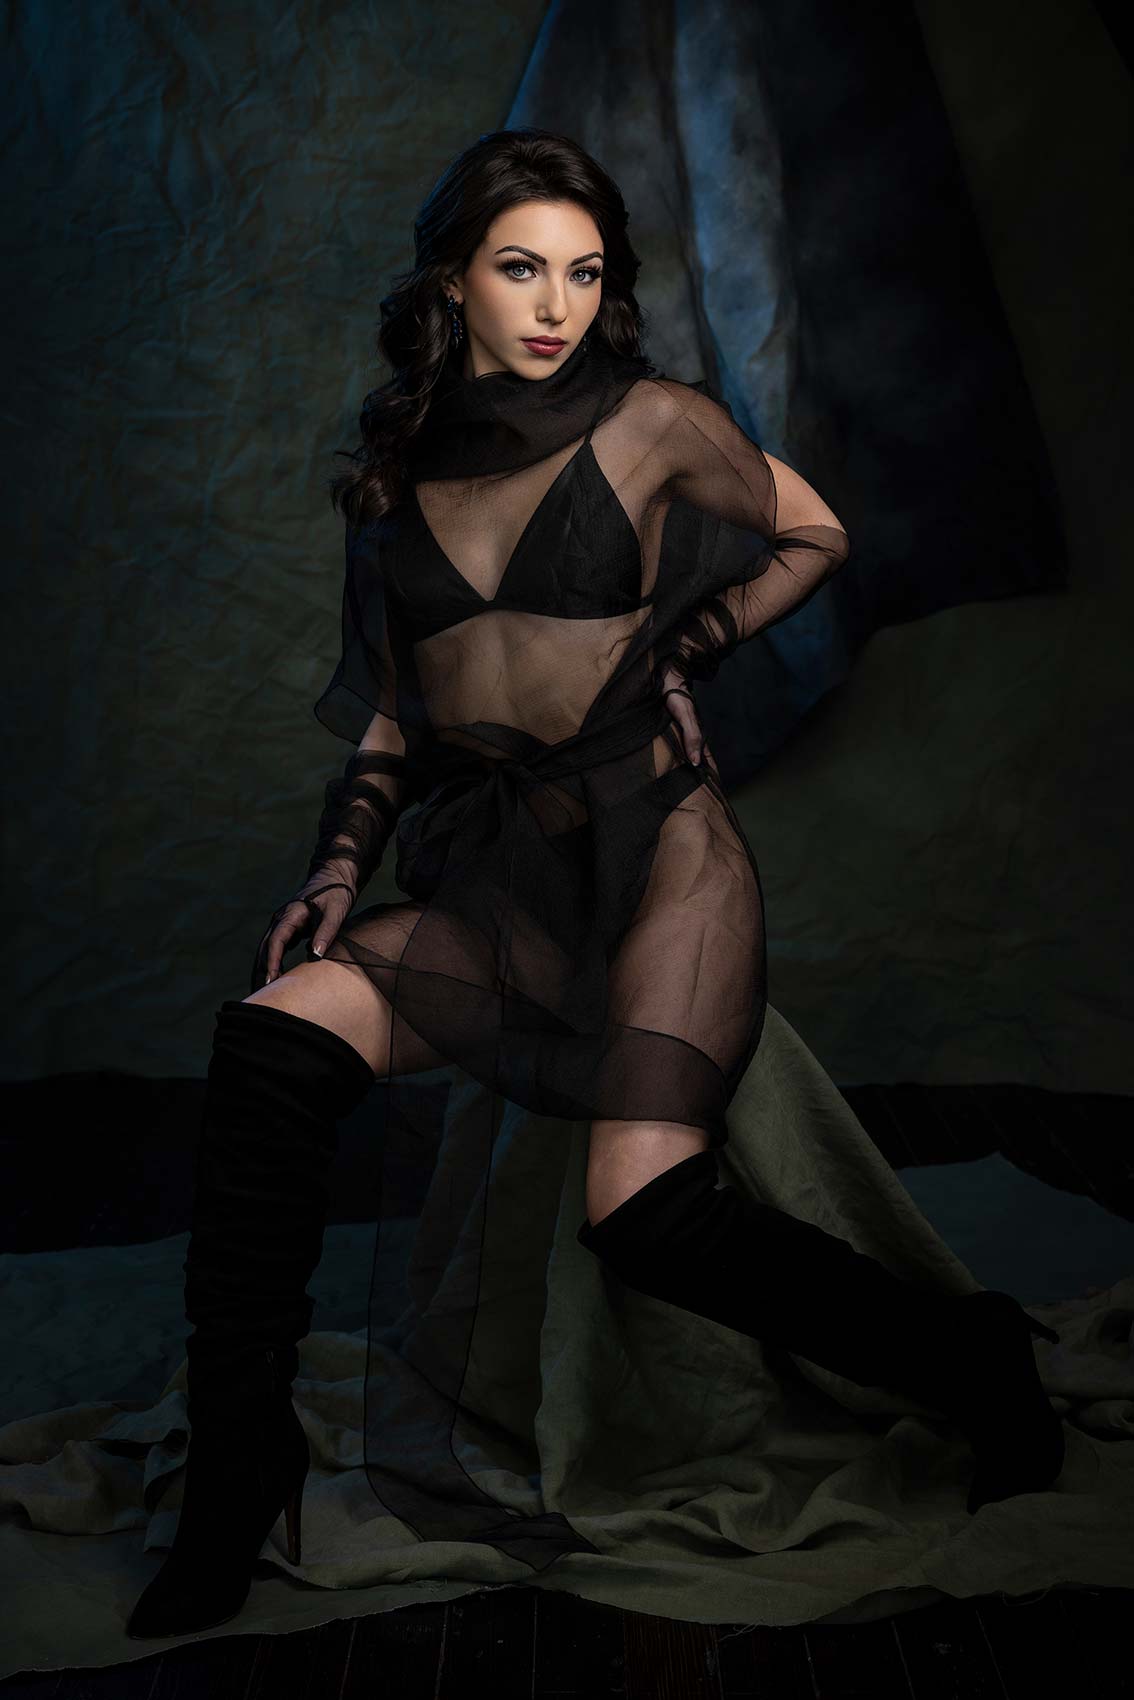
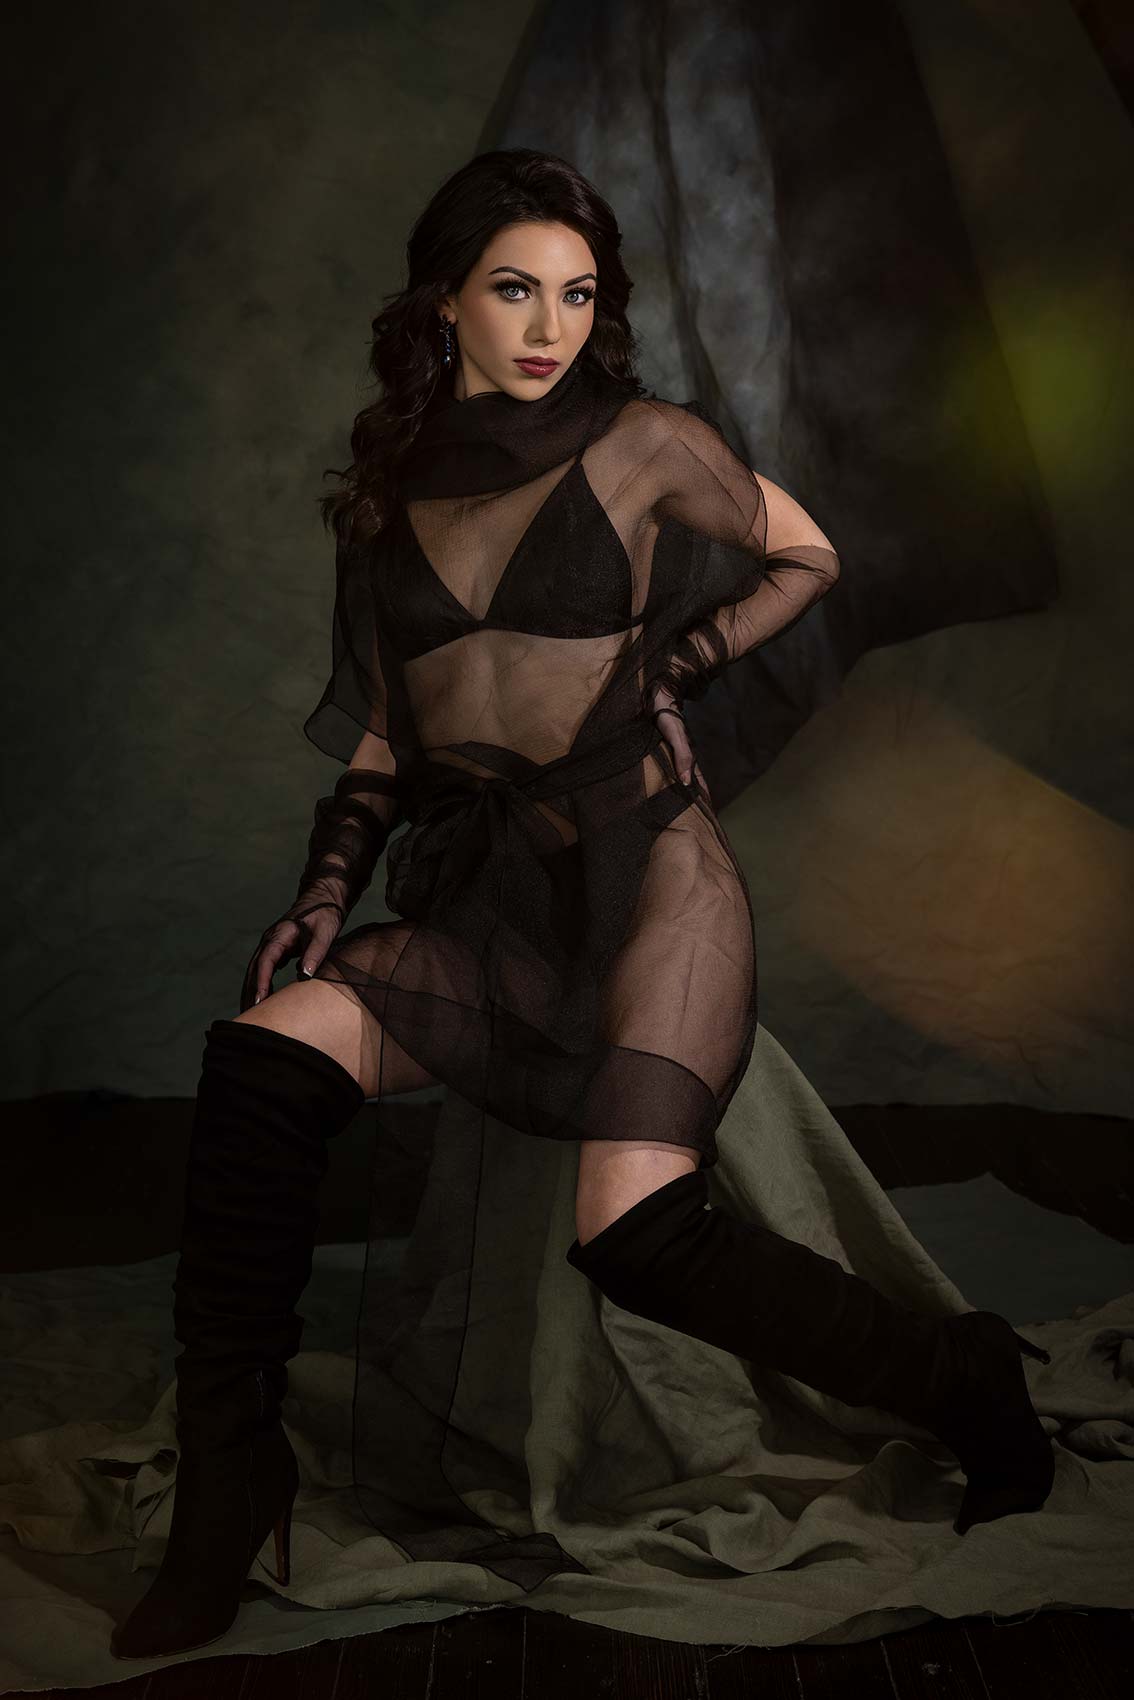
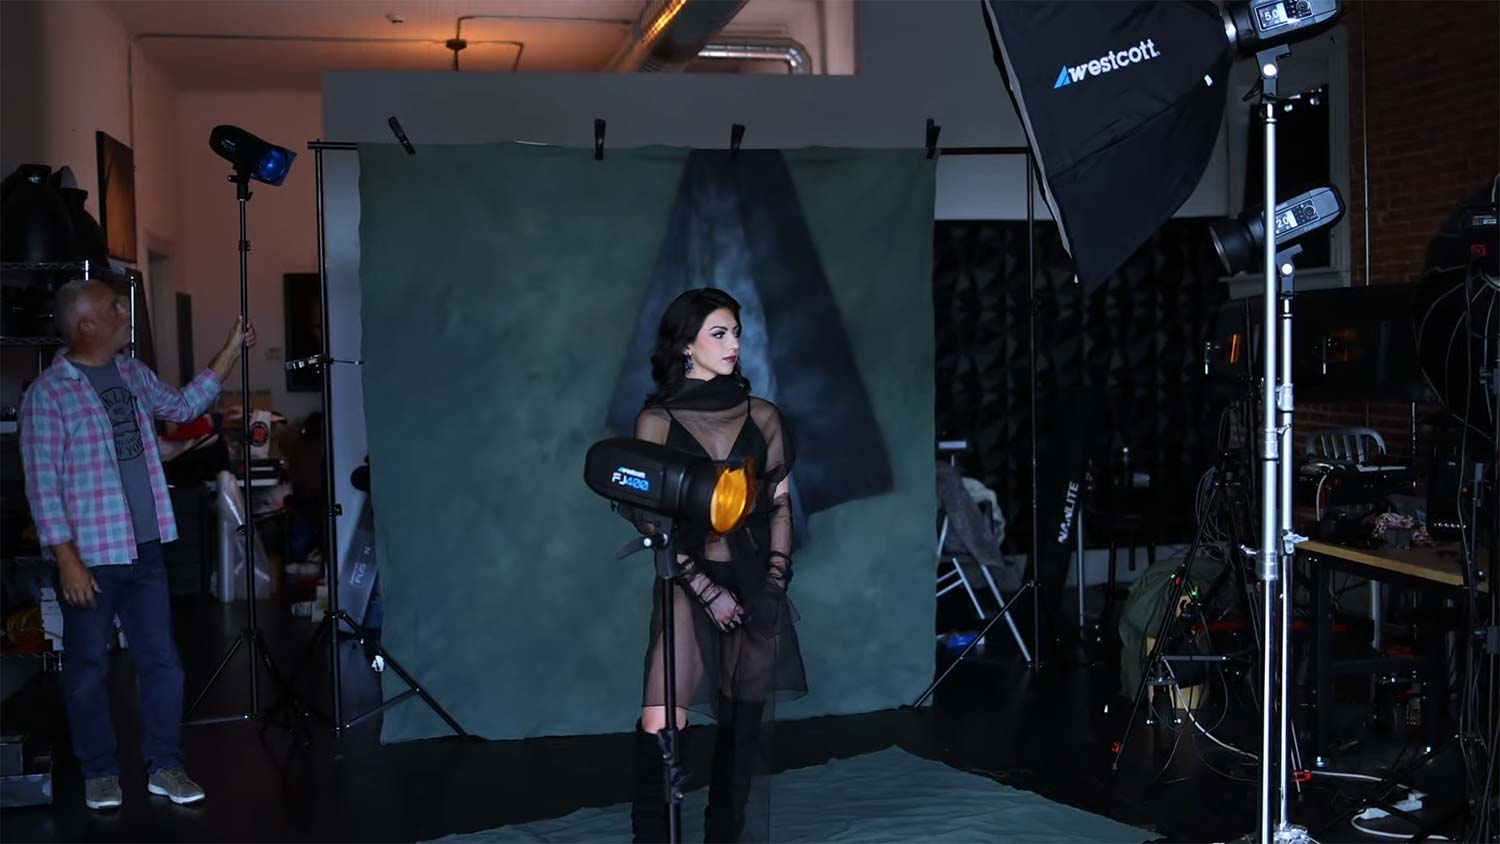
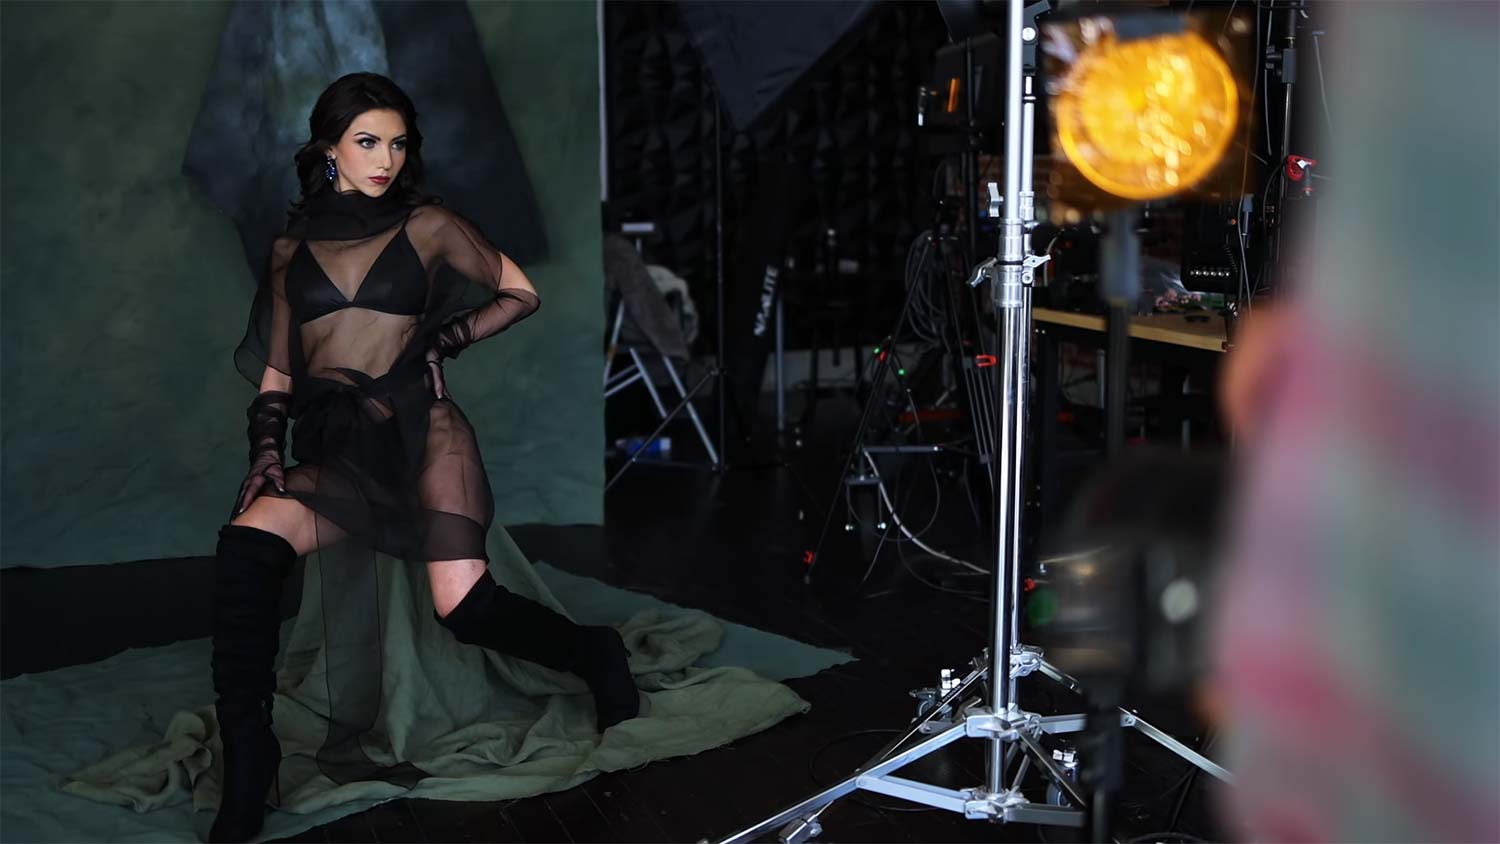
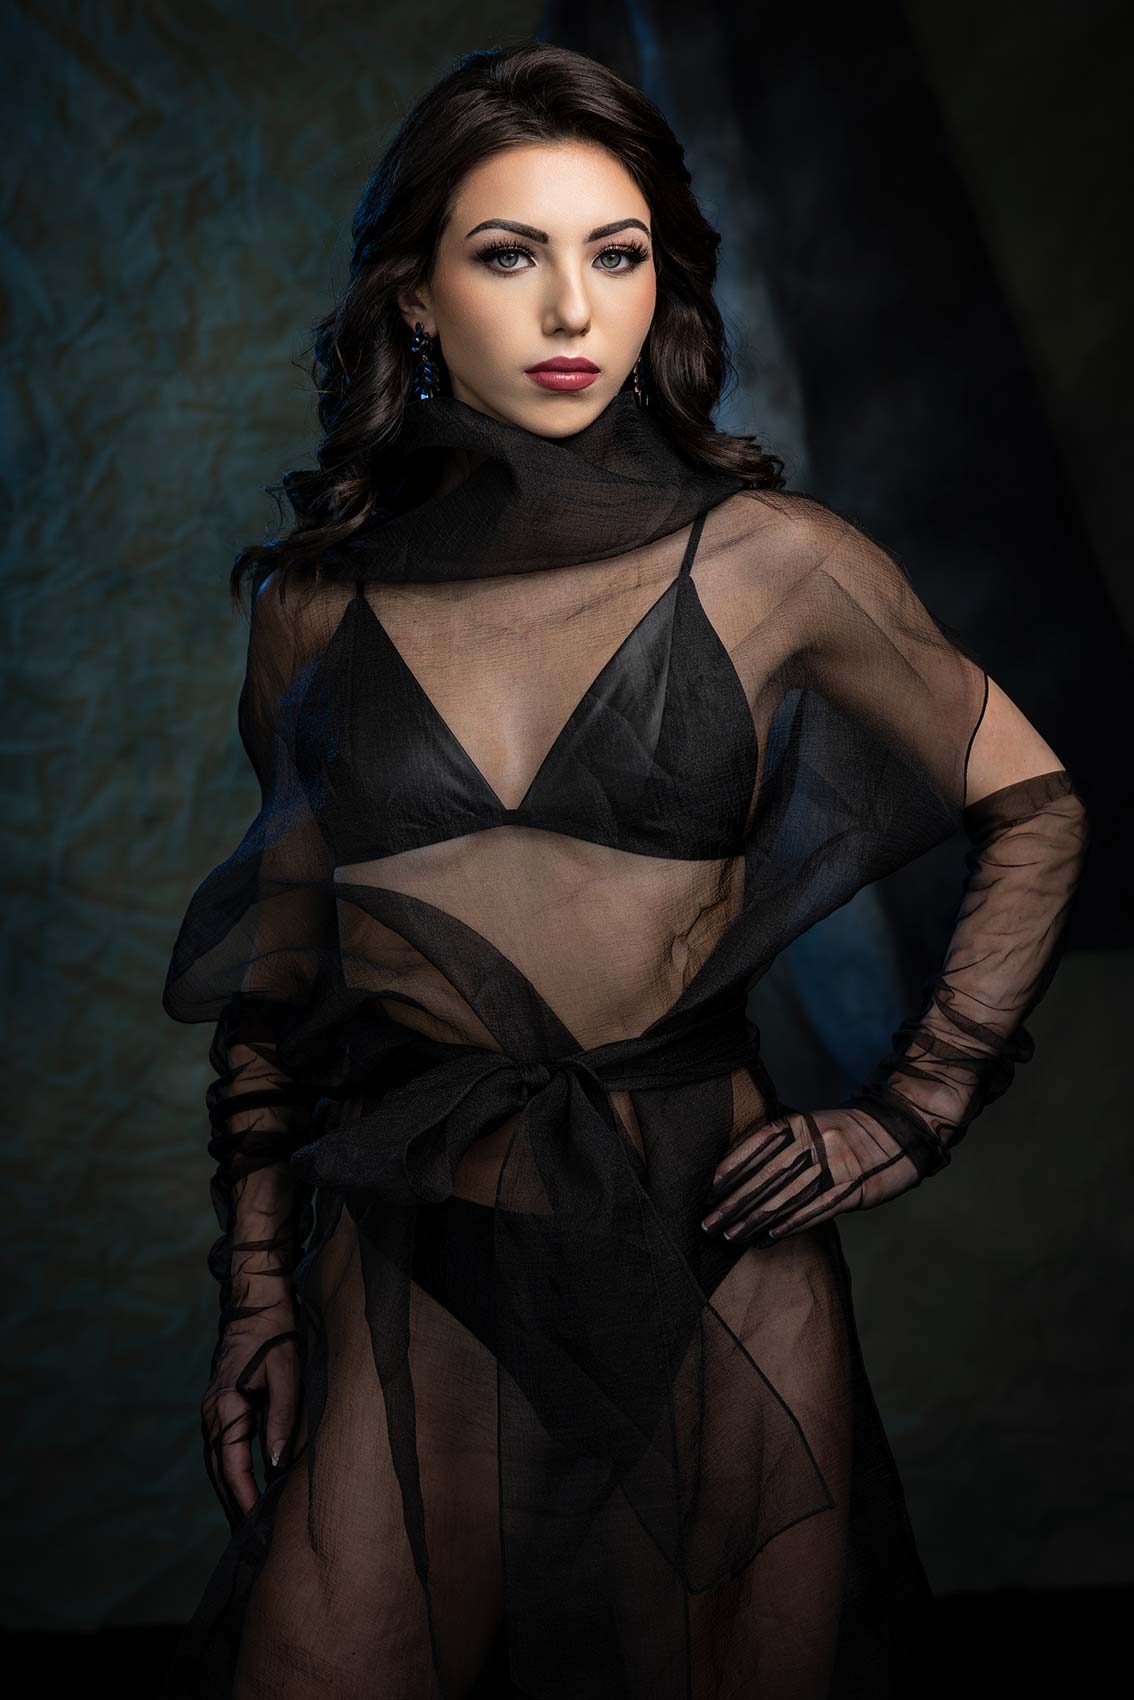
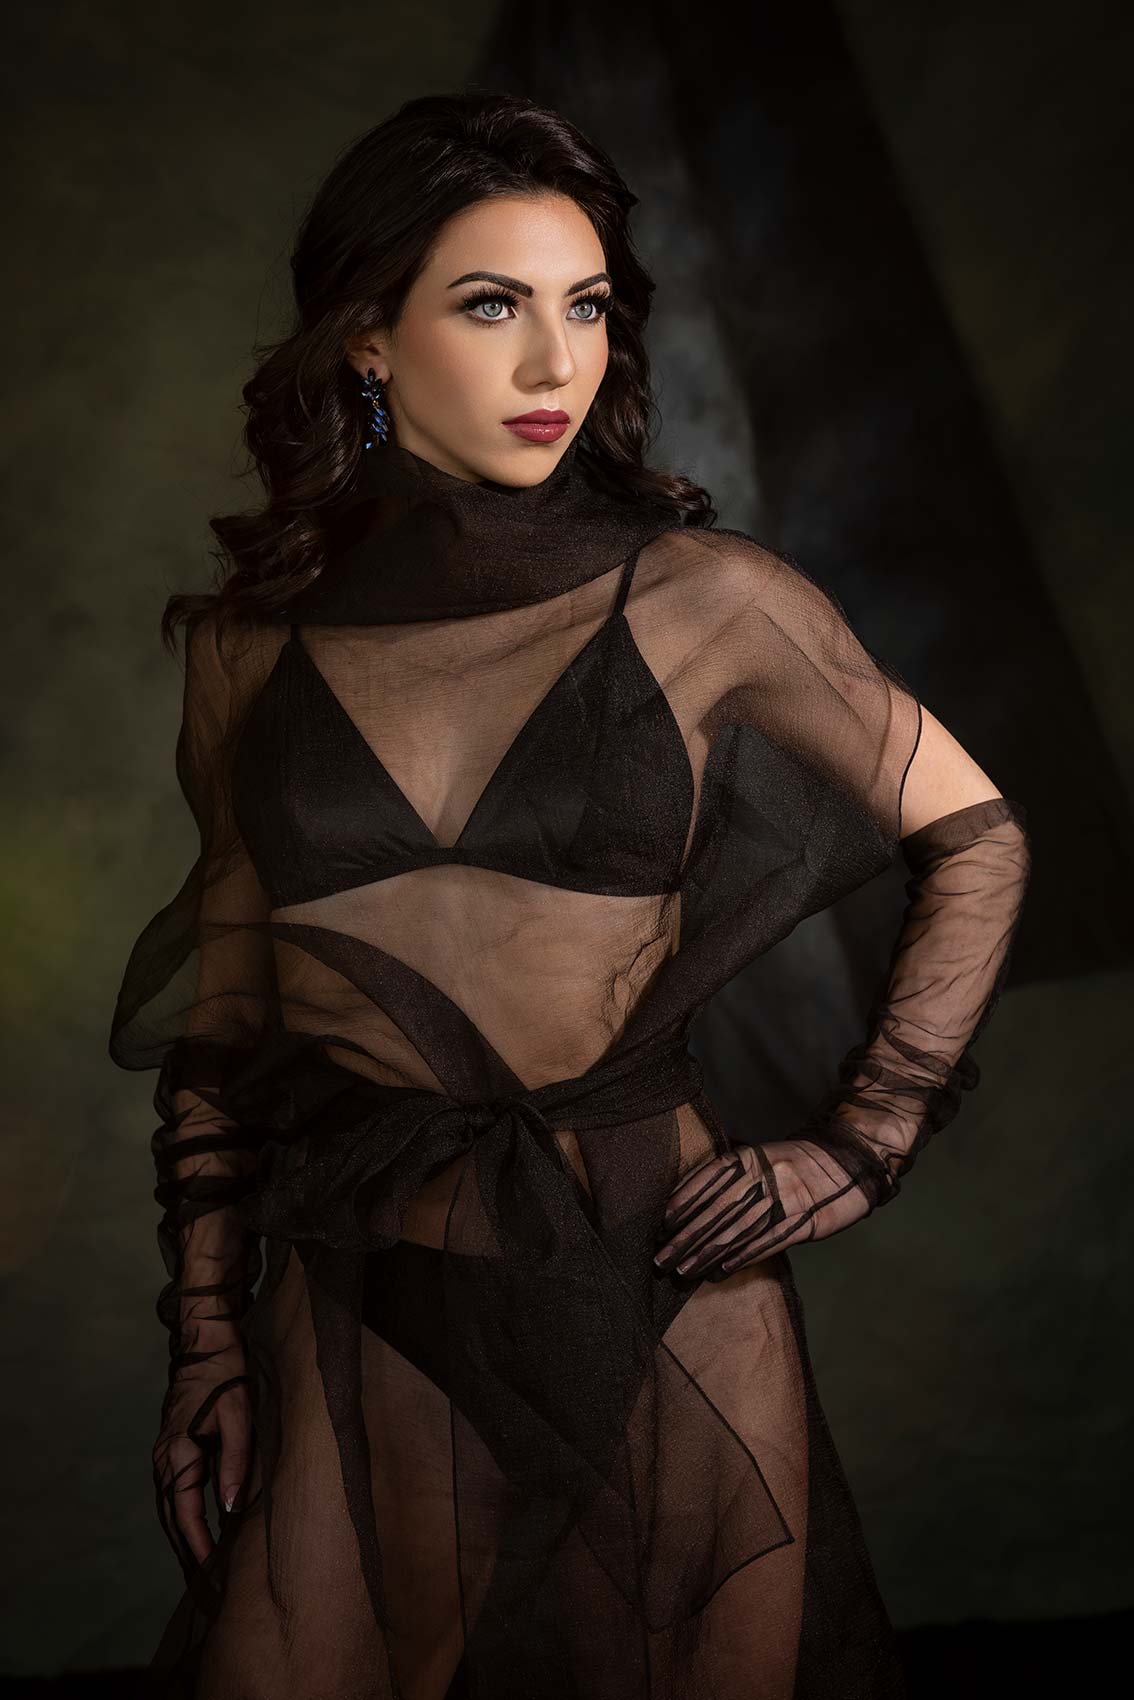
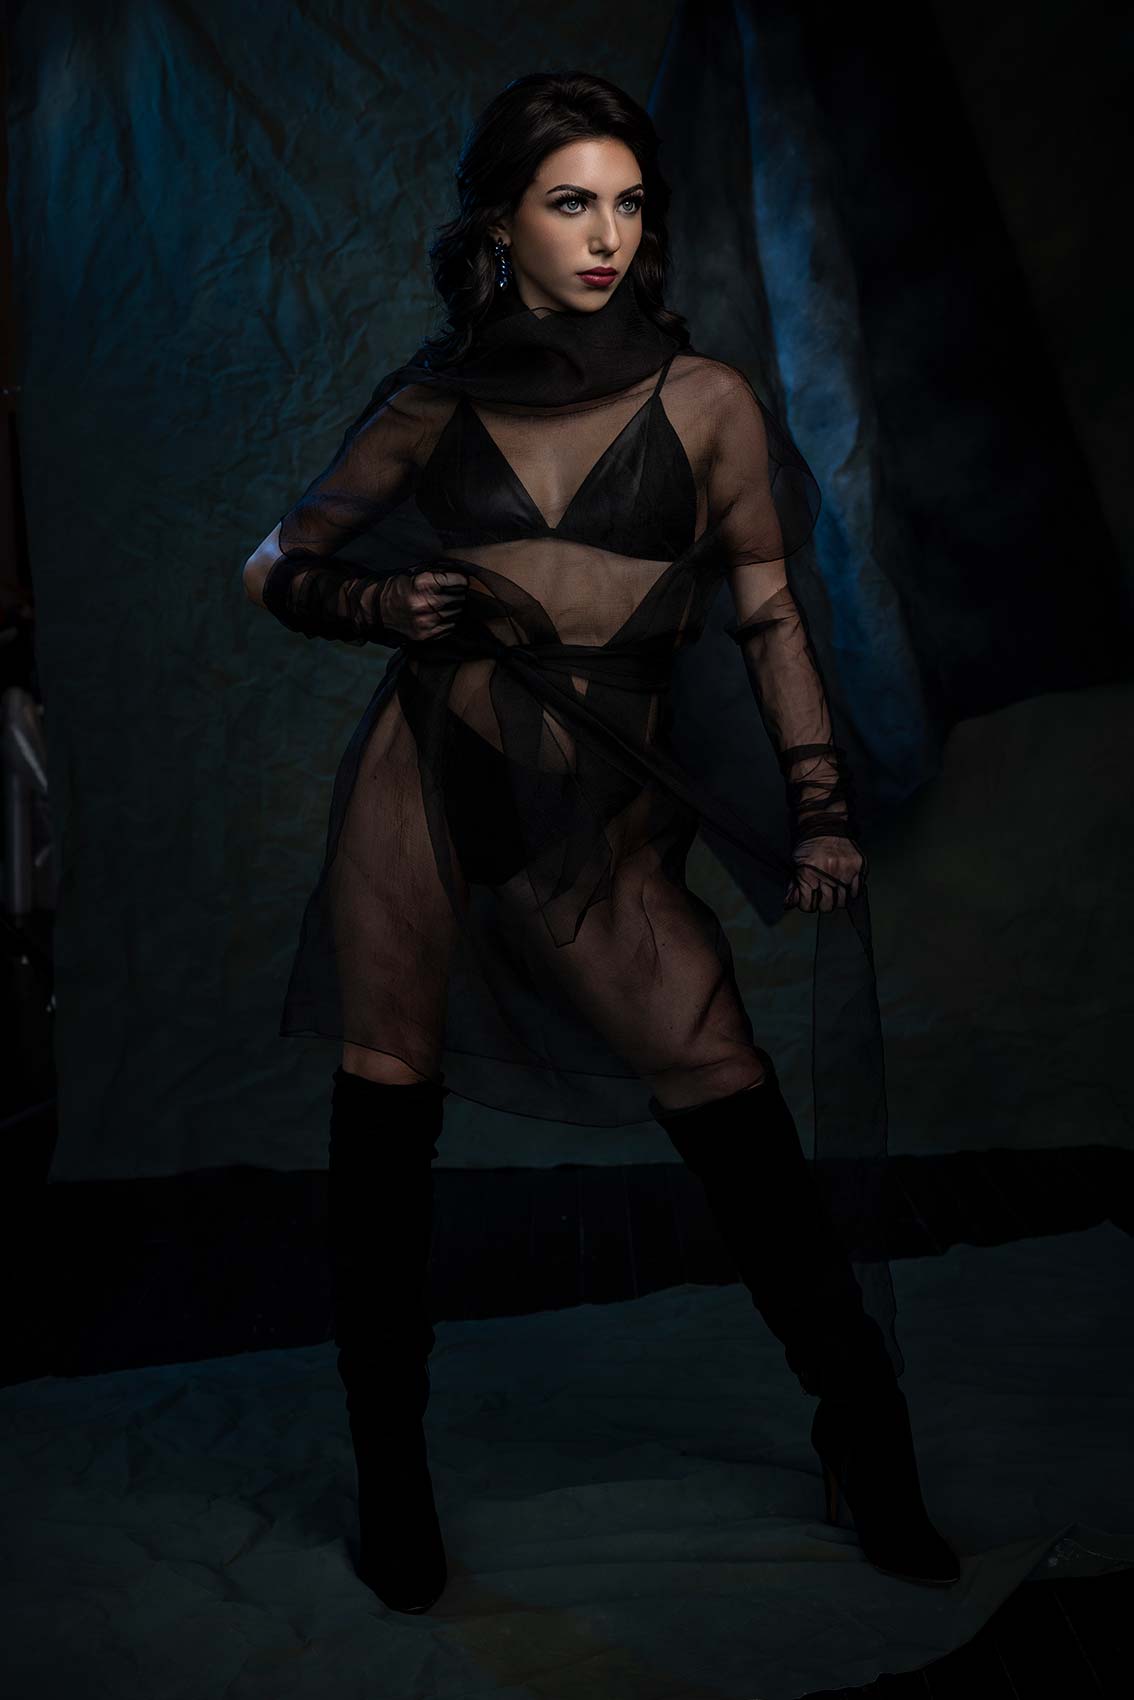
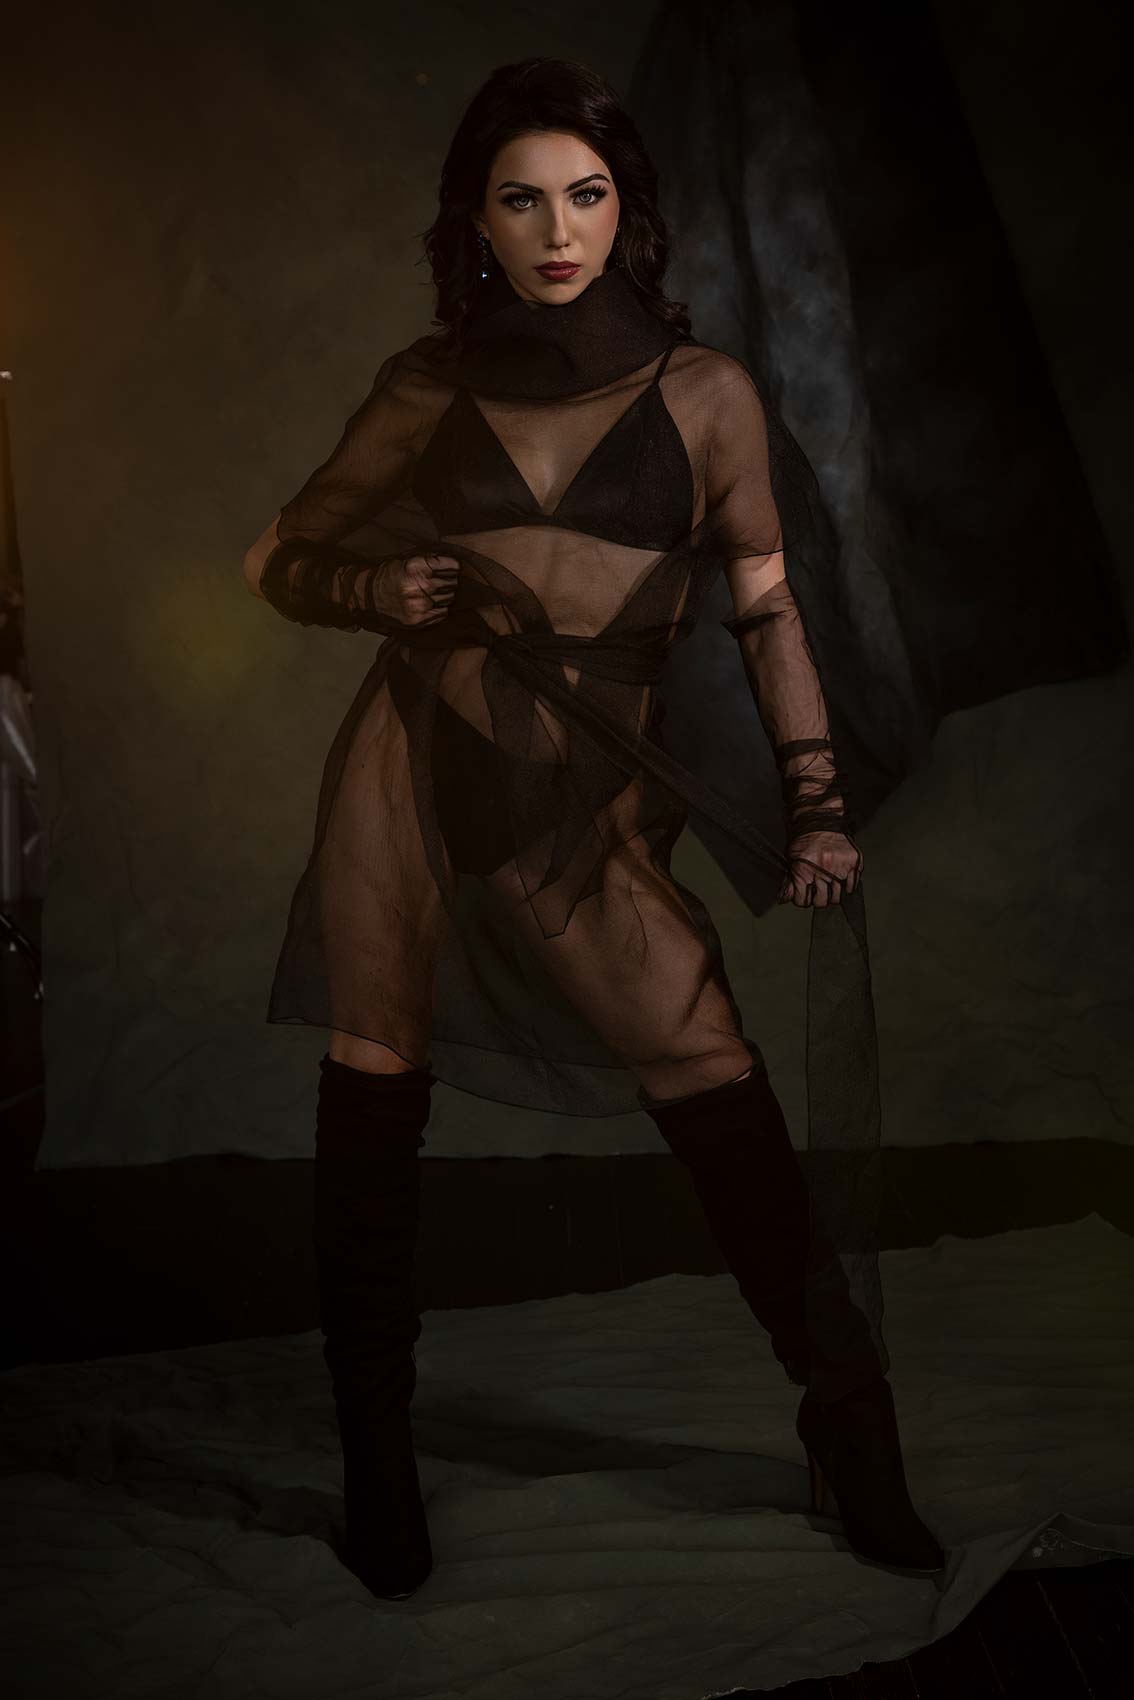
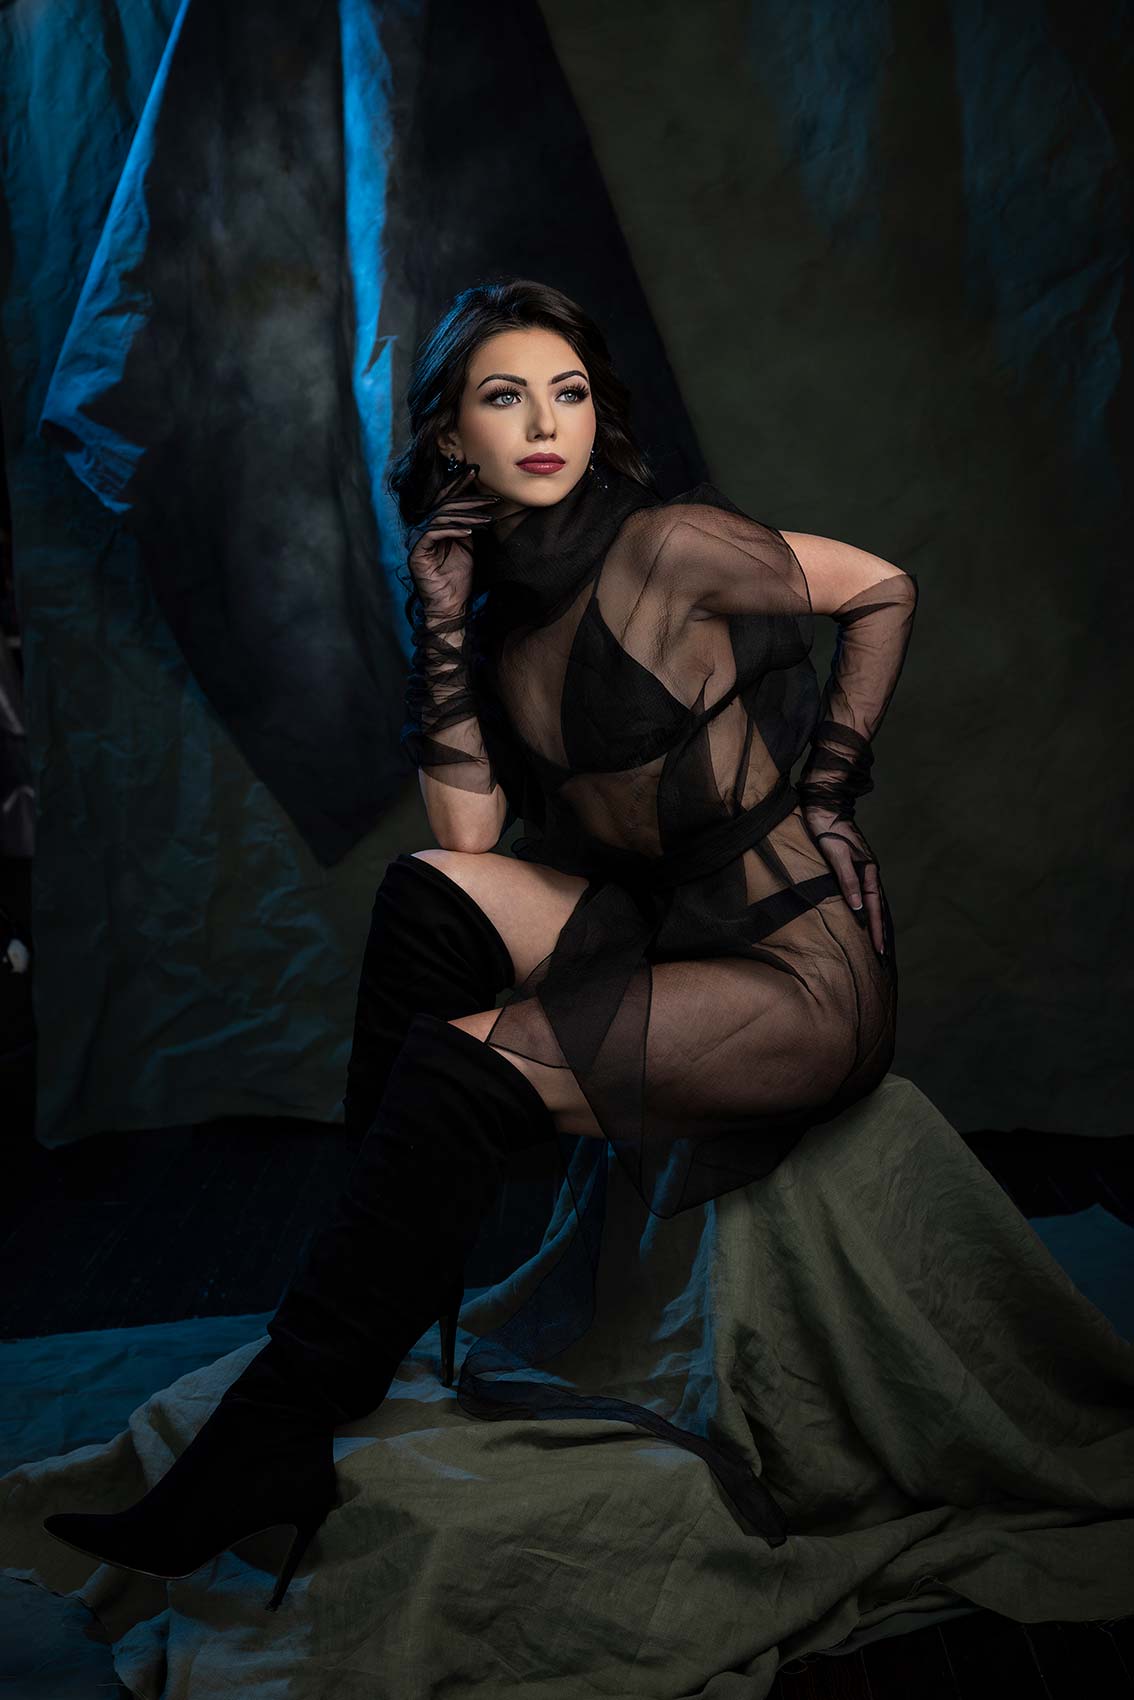
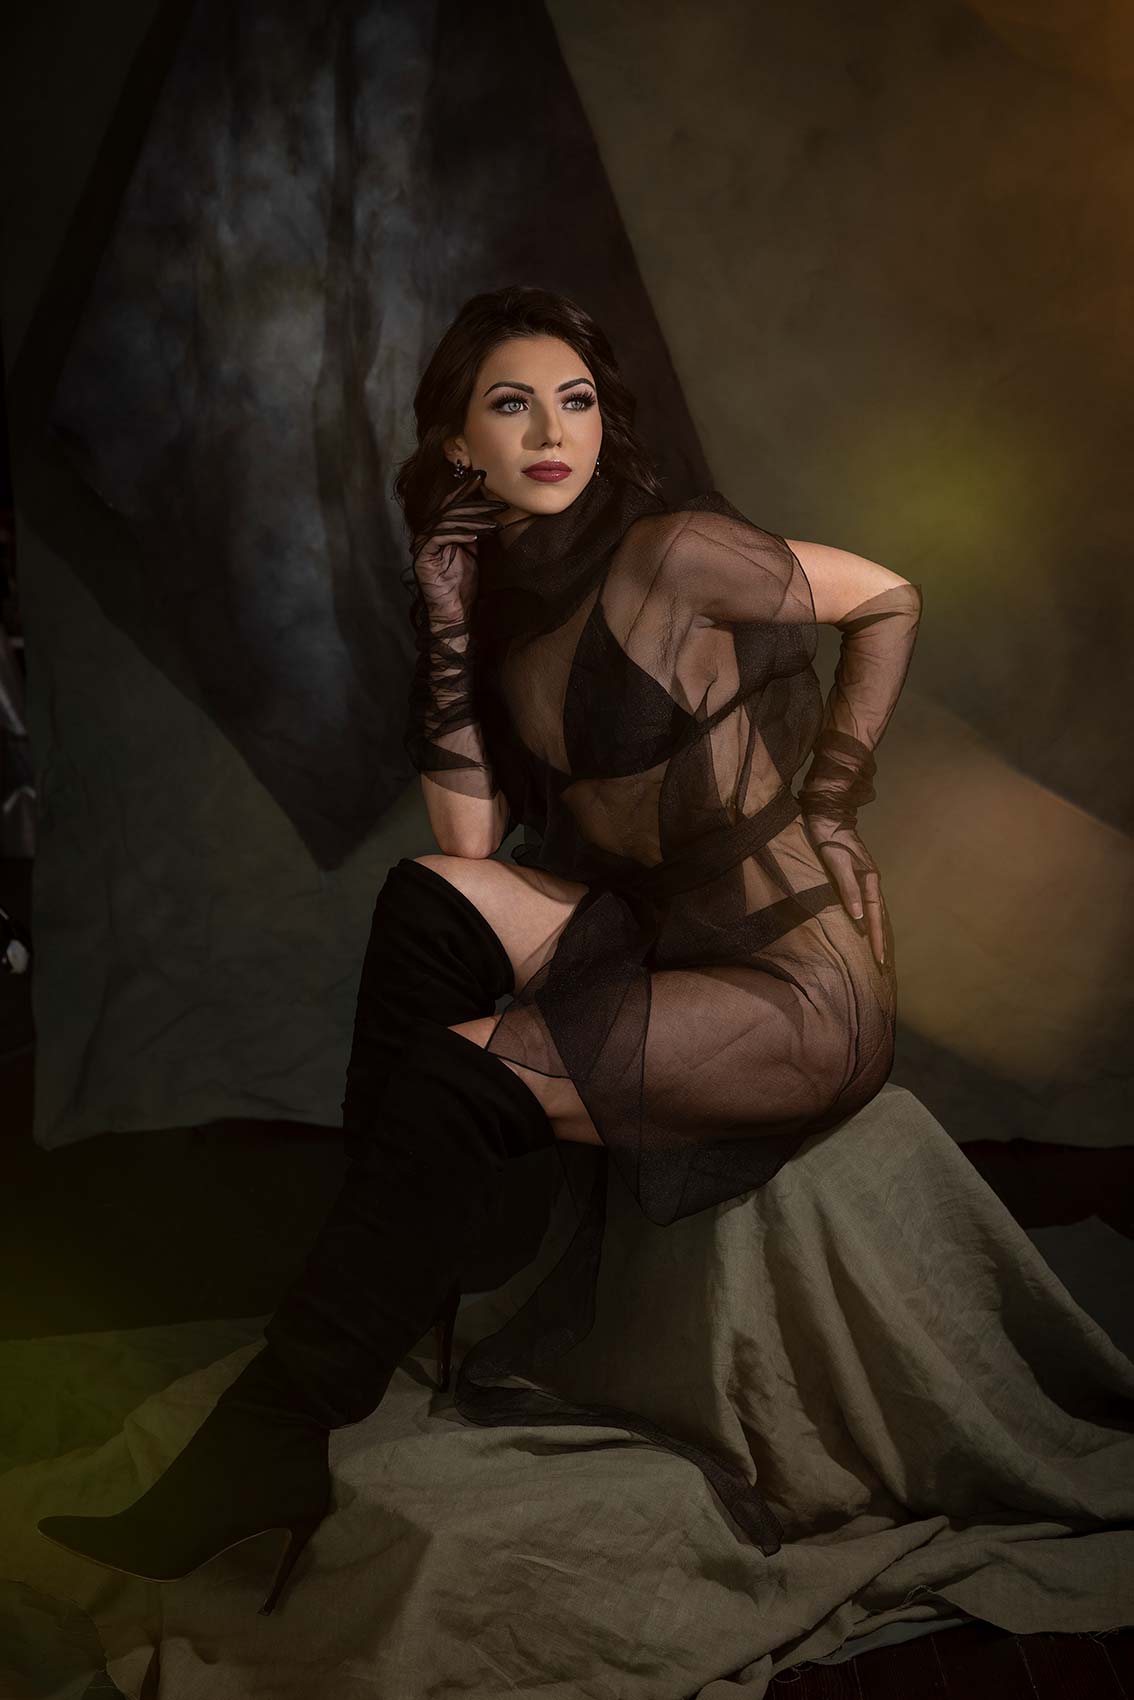
Back to our lighting setup, mask mode is going to allow us to do is have two completely different light setups. Let me explain what we’re doing here. We’ve got two looks: one will be a soft portrait with a blue kicker light, and the second shot will be a harder edge light with a warm gel. Now, you can mix and match these however you want; you can set up as many lights as you need. Obviously, the more lights you use, the more you’ll spend, but in this particular setup, we’re using four lights.
So, in the first shot, our main light is an octabox on an FJ400. All the lights are FJ400s; you need that to do this. When it fires, we’re also firing a blue gel as part of this sequence. So we have two sequences firing. I know this can be confusing, but we’ll make another video explaining how to set all this up. The point is, I’ve got two sequences firing. Sequence one fires the octabox as our key light, and it also fires the blue edge light—that’s how you get that look.
And then, in the second sequence, we’re firing a bare bulb FJ400 with just a reflector on it. We’ve got the reflector on it to control the light a little bit. We’re using that and firing it with an orange gel into the lens. That’s how we’re getting the second sequence. So, every two frames we fire, each one is going to give us a different look.
What are the benefits of using mask mode for portraits or client sessions?
Start thinking creatively about how you might use something like this. Think about when you’re shooting a client (maybe headshots, portraits, seniors, boudoir, maternity) and you don’t want to spend all this time resetting your lights. Now, you can set up your system one time, and then just get to work. Every other frame is going to have a different look.
This is going to allow you to experiment, try different things, and show your clients different looks. And if they hate one look, it’s okay because you have another, and you didn’t have to waste all that time. So it allows you to be hyper creative when you are working in your studio.
Now, just for full transparency, I’ve got four FJ400s, so obviously they are not as expensive as some other strobes out there, making them economical in a certain sense. But if I wanted to have three or four sequences set up, obviously, I’d have to keep adding lights. But the looks I’m getting, well, you be the judge, just allow me to be super creative. So, let’s get to work on this.
How do I set up mask mode on my FJ400 strobe lights?
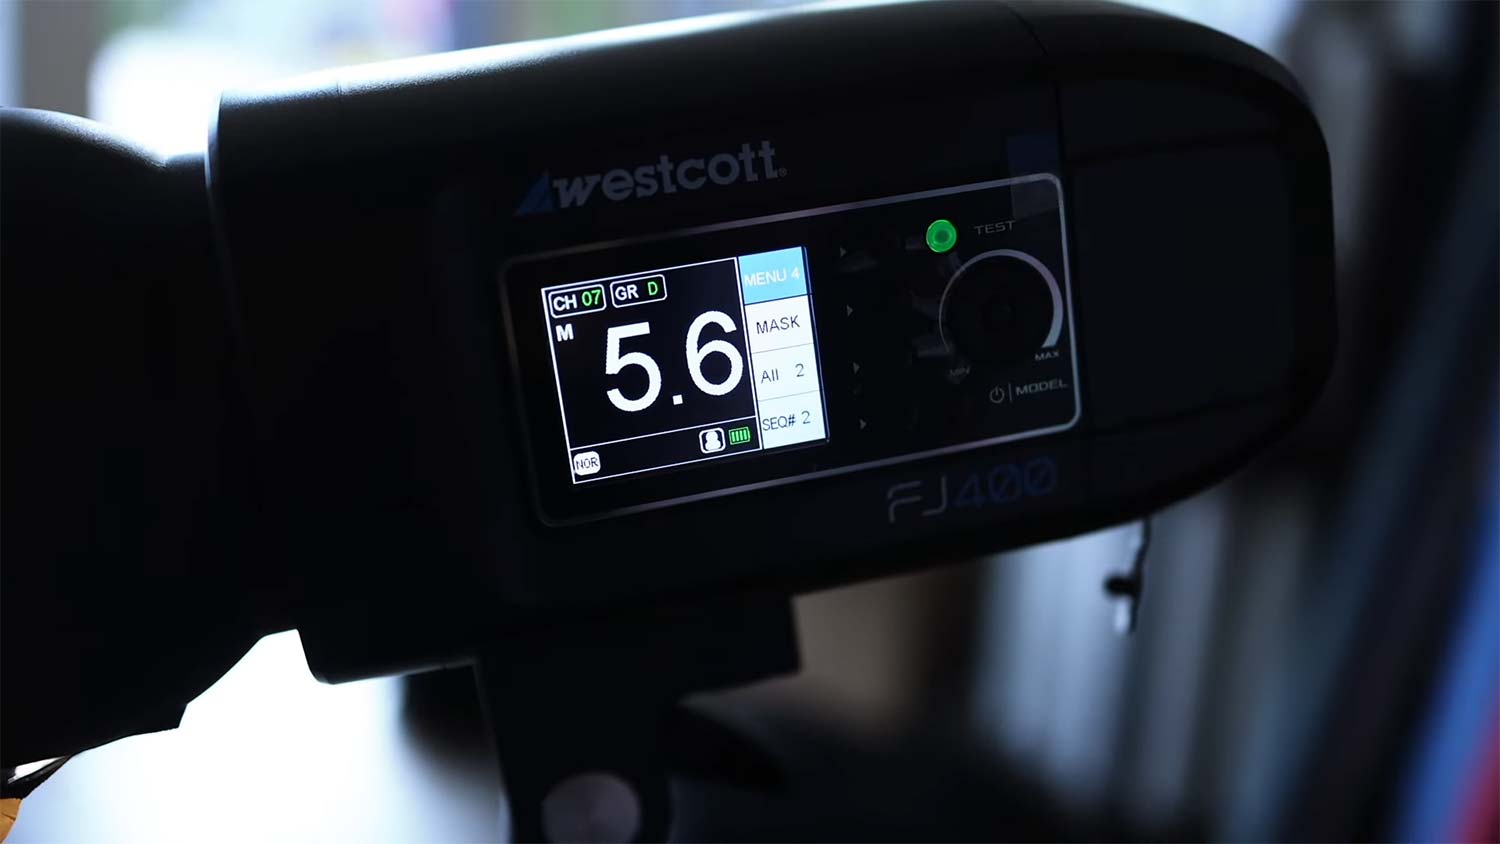
On your unit, if you already have this and you’ve never figured out how to use it, you’re just going to cycle through your menus. By the way, channels and groups all work the same way, nothing changes in this mode. What you’re going to do here is hit mask, and this is what’s toggling it on and off. You can see that little icon there, that’s mask mode off, mask mode on. The first number after “all” is asking me how many sequences there are going to be, so how many different setups do I have. Well, for this, I already told you we only have two. I can easily go to 3 or 4. For now, we’re going to stay at two. Then it’s asking me which sequence this light is firing in. Well, this light is firing in the second sequence. And that is literally all there is to setting this up, it’s that simple.
So that’s how you get the lights into their various sequences. Think of them as just another way of grouping lights. Now, as far as getting dialed in on your light meter, everything still works the same. You still have full control from the X3M, and you would have a light meter here, which I set up earlier.
You’re hitting test, but you’re noticing it’s going to cycle through. It’s the first light sequence firing, then the second light sequence firing. So they’re going in order, just like you would for bracketing on your camera, where if you set up to do one underexposed, one even exposure, and one overexposed by one stop, you would fire three frames and merge them into Photoshop if you were trying to create that HDR image before we had software to do all that. That’s it. So let’s get going.
Alright, everybody, that’s a wrap. Hopefully, you’re inspired to get creative with this setup. Again, check out mask mode. We’ll make another video in the future showing you how to set this up step by step. But which ones do you love? Let us know in the comments.

