Lighting Tutorial: Soft Light vs. Hard Light with John Gress
Lighting isn’t that hard if you have a good softbox. Sorry, I couldn’t resist.
There are two main approaches you can take in the studio or on location. And which lane you choose will have a huge impact on the outcome of your images. You could choose to emulate window light, or you could choose to simulate sunlight.
As an aside, nighttime interior scenes can be a mix of the two.
Window-lit images can be great for creating flattering light for most subjects and will look painterly, given that the Dutch master painters, whom we often seem to evoke, posed their subjects near an open window.
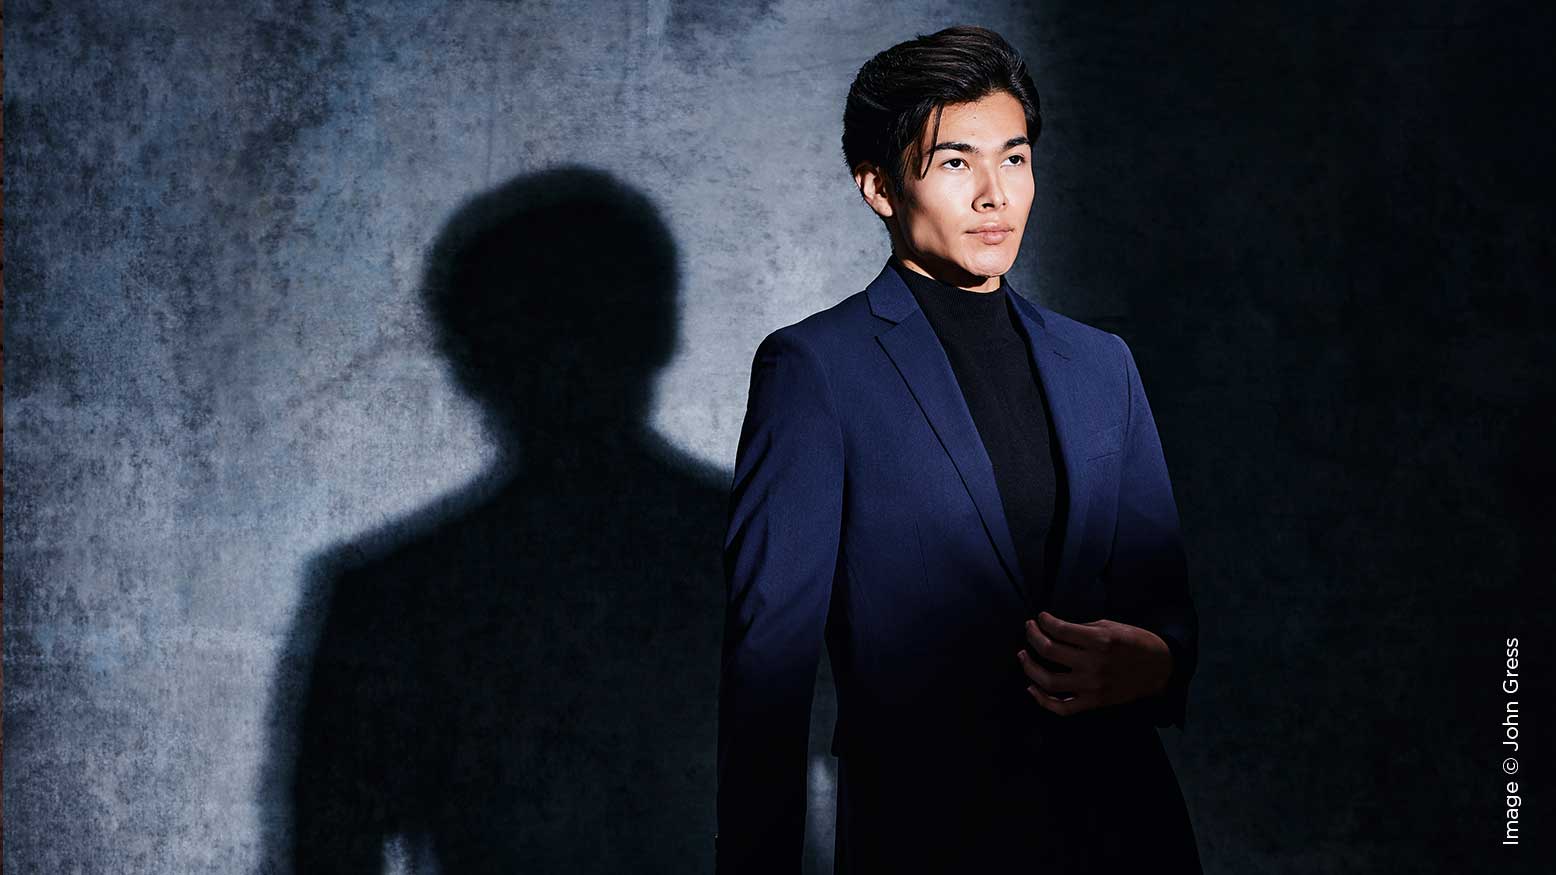
Sunlit images tend to have harsh shadows and speculated highlights. This type of lighting setup can be great for athletes and adolescents, but it might not be the best choice for the textured skin of aging adults.
In the interest of exploring these two approaches, let’s go over this Lighting Tutorial.
Setup 1
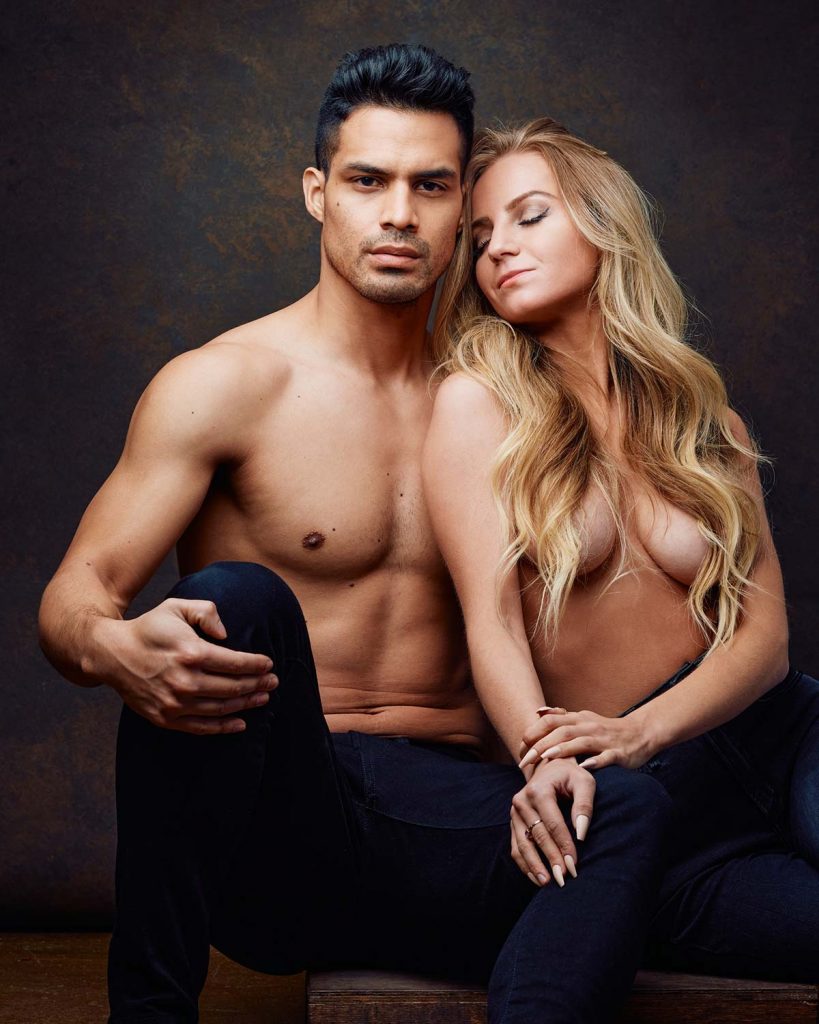
One of the easiest ways to recreate window light is to use a large softbox and then bounce some of that light off a V-flat. In this setup with our models Paulo and Klaudia, to give the sense of light coming from a skylight, the main light was an Elinchrom ELC 500 in a Litemotiv 120cm parabolic style softbox, boomed high and on camera left. It was feathered so the far rim of the softbox was aimed at their faces and the center of the modifier was directed more at the floor in front of them. Then on camera right, I had a V-Flat World V-flat wrapped around them to bounce some of that light from the Litemotiv in order to fill in the shadows, which also created a barely visible highlight on her left side. Then I had an Elinchrom 35x90cm strip softbox boomed high and behind the couple, pointed at the top of their heads to create just a little separation between them and the background. It was just bright enough to create a sense of three-dimensionality, but not bright enough to really be noticed.


