Lighting On a Budget with Angela Marklew
Photography is an expensive undertaking, whether it’s your hobby or your career. From the hardware (camera and lenses) to the software (Capture One/Lightroom/Photoshop) and all the little things in between, the costs add up.
It can then be daunting to think you need to rent a studio and a bunch of expensive lighting gear to create a professional looking set of images (either editorial or commercial).
However, I’ll let you in on a secret… This is simply not the case.
Out of necessity, I’ve become adept at creating beauty images pretty much anywhere (and 95 percent of the time, “anywhere” is not a traditional studio) and with tight budget restraints (which are at times self-imposed or due to client limitations), while maintaining a consistent level of quality.
No Lights, No Studio… No Problem!
You can shoot amazing images out in the world using natural light. In my opinion, learning to manipulate natural light is one of the most important things a photographer can have in their arsenal. As far as I’m concerned, the sun is my best and most versatile light source.
I work with natural light in three primary situations: direct sun, open shade/scrim, and what I call covered shade (more on that in a bit).
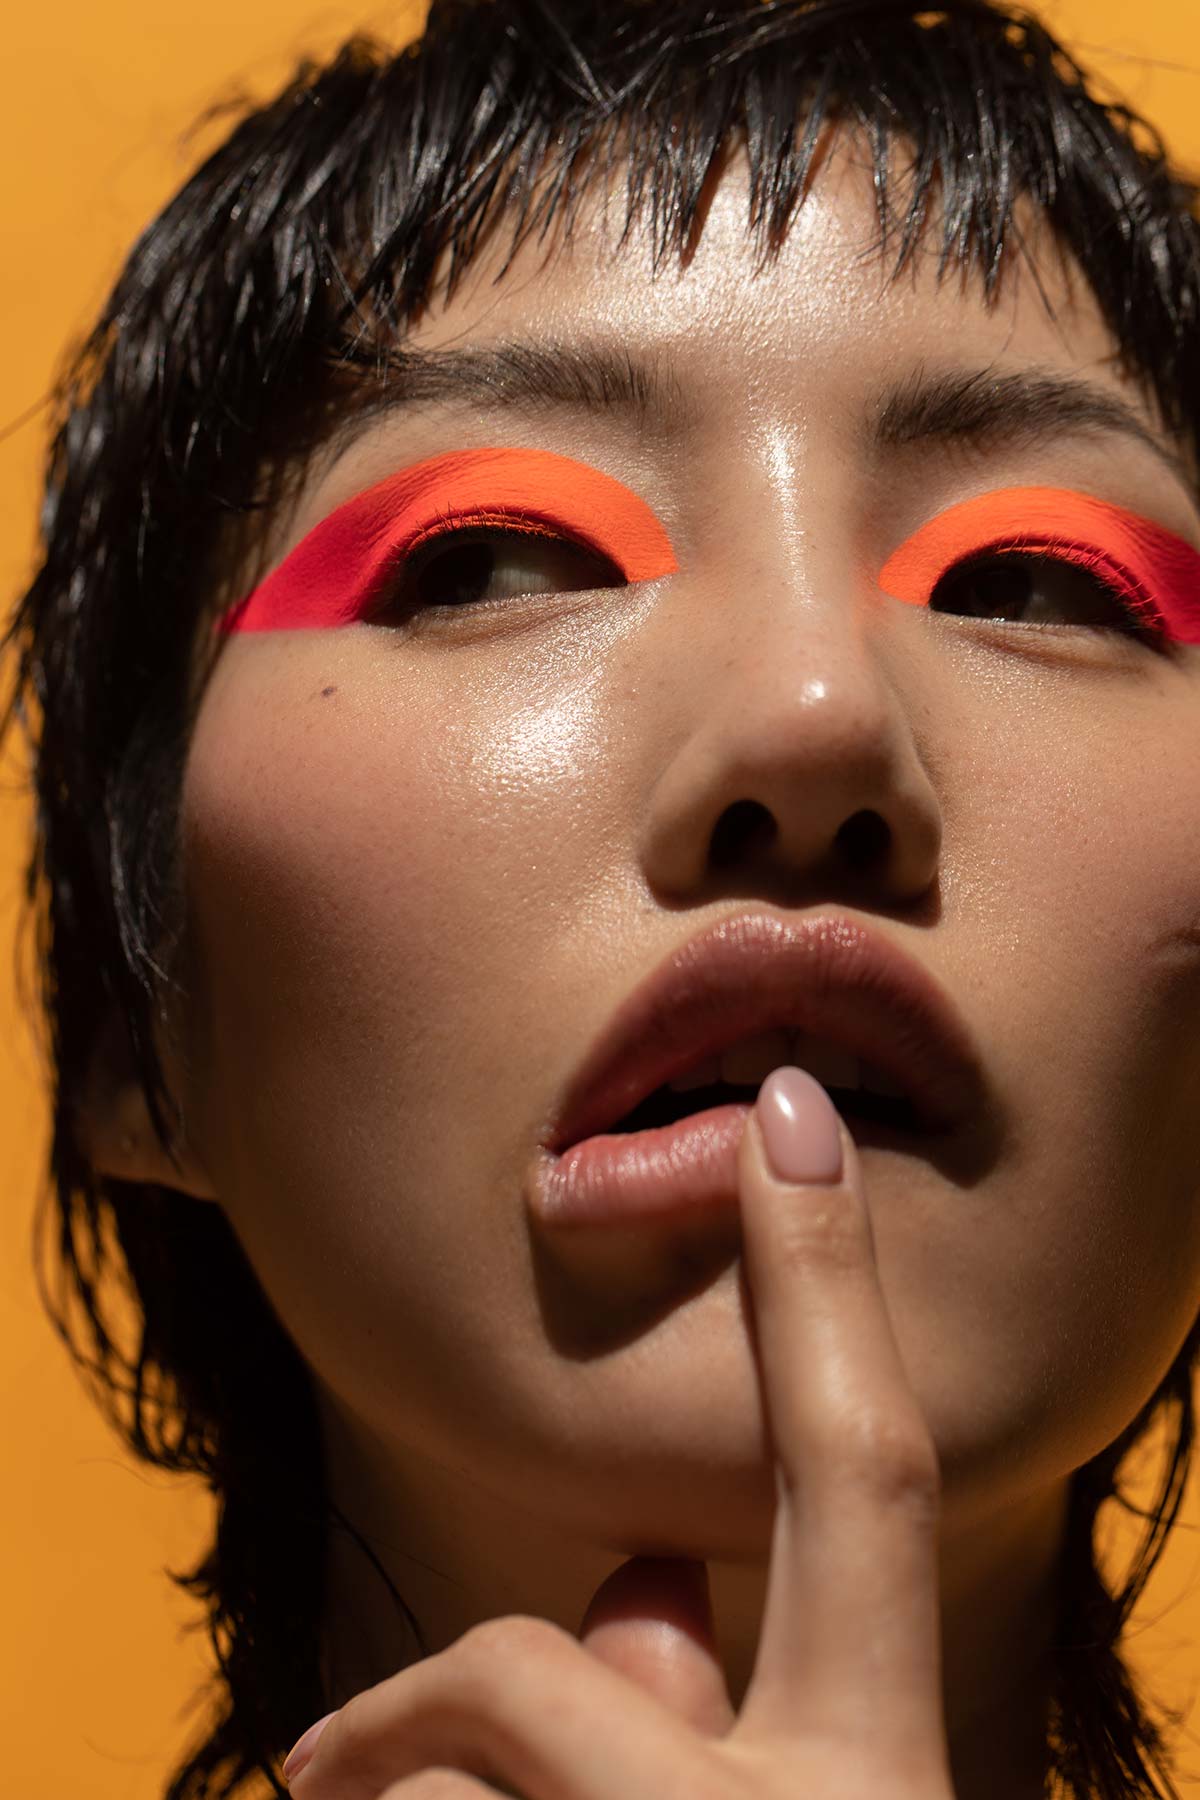
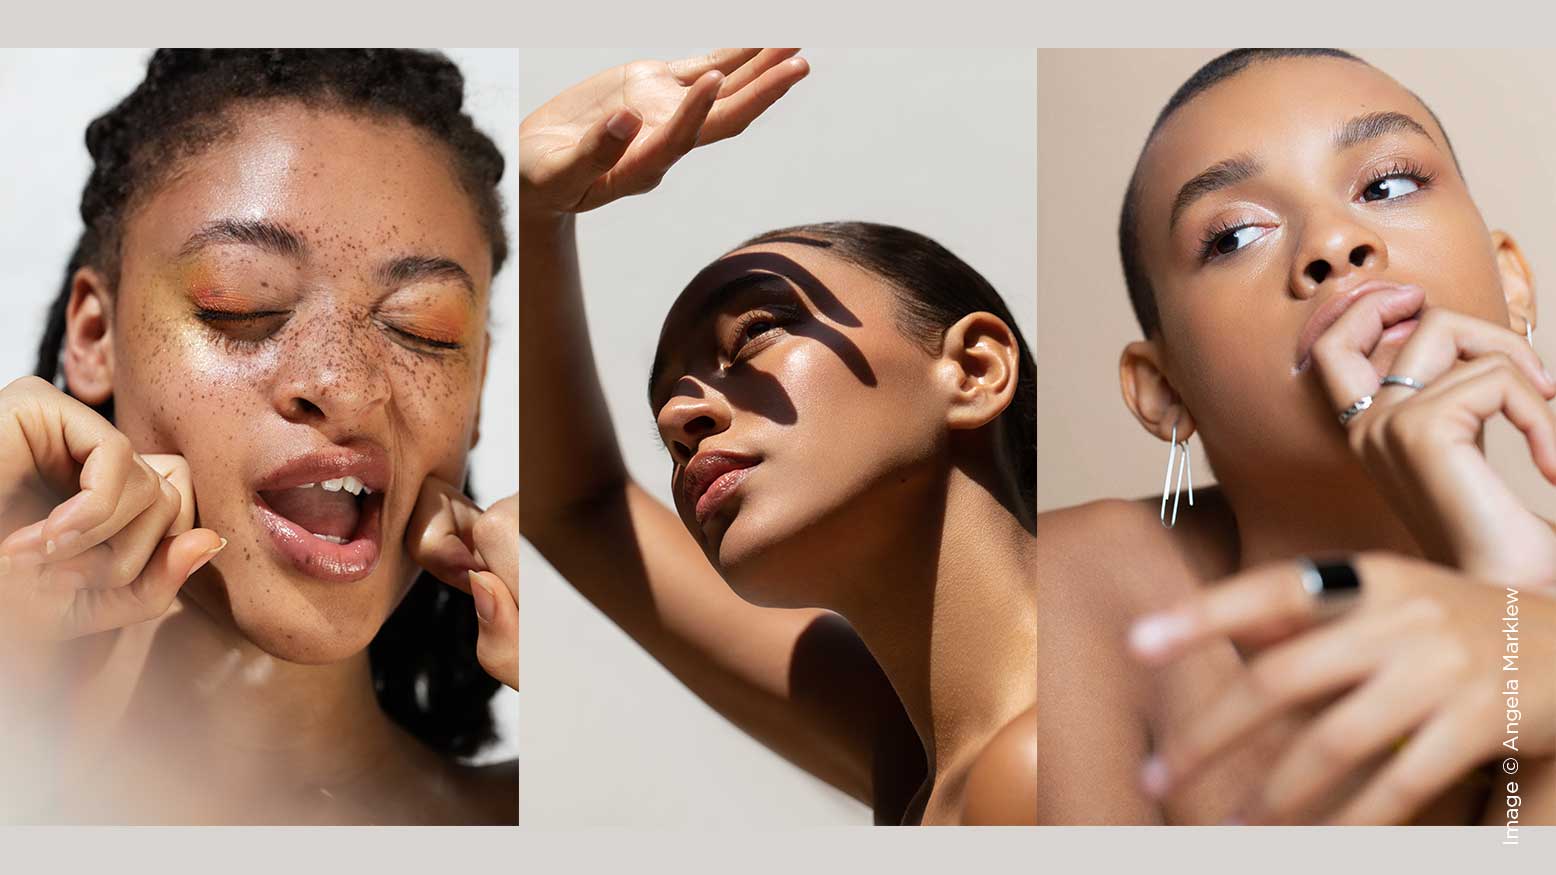
When shooting in direct sunlight, the thing to keep in mind is the sun is essentially a small, hard light source. This means you’ll need to place your subject in a way to get the most pleasing shadows. I tend to have my subject face the sun and keep their chin slightly raised, as this will help eliminate big shadows under the eyes. When shooting this way, I often try to use the hard shadows to my advantage to create some visual interest. Another advantage to shooting in direct sun is the level of color saturation. Hard light is a go-to of mine when I’m looking to create really bright, punchy images. To create solid colored backdrops, I’ll simply tape a scrap of seamless (or any colored paper) to a wall.
