Lighting is the Love Language of Photography with Dixie Dixon
Lighting is essentially the love language of photography! It has the power to transcend a normal moment into pure magic and turn a simple photograph into art. Lighting creates a mood, captures a feeling, and communicates an idea.
Consider Your Vision First, Then Choose the Lighting
Before I plan how to light a particular photograph, I always consider my client’s vision first. This could be for a campaign or commercial production where I am being hired to capture their concept. If the project is editorial in nature or personal work, I come up with my vision first before anything else. There is no right or wrong way to light! Yes, there are lighting ratios and various techniques, but the truth is there is no universal template to lighting a photograph. There are a million different ways to light an image, and the way you choose all depends on your style and vision.
What mood are you trying to convey? If you or your client is after a light, airy, effortless vibe, you might opt for natural light with lens flare. If your client is looking for a dark, ominous vibe, you might try more moody lighting such as utilizing constant lights to spotlight your subject, leaving the background dim.
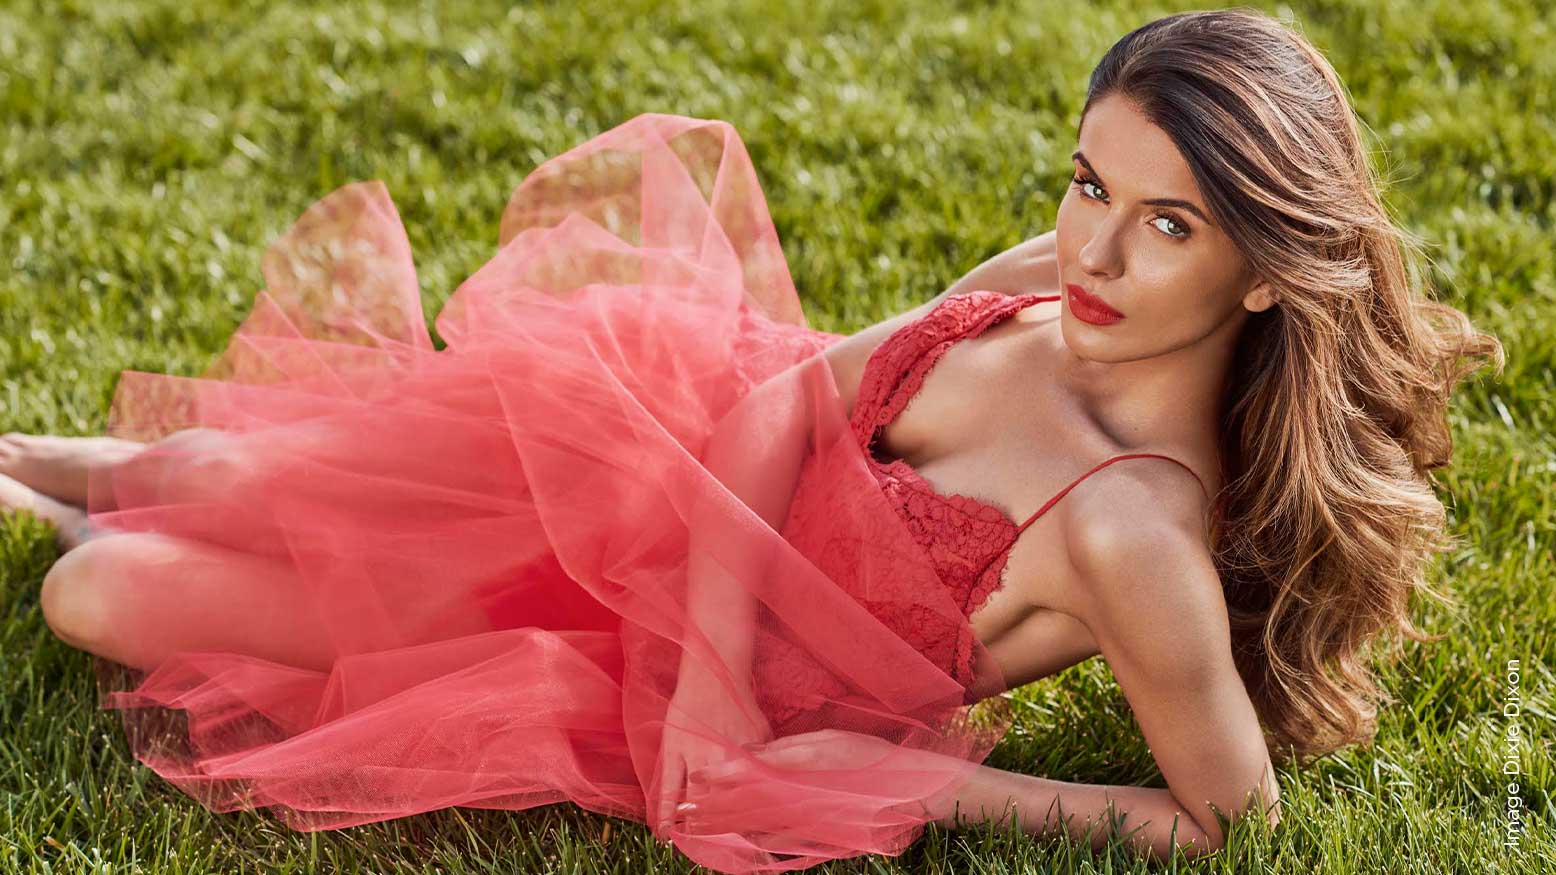
In fashion, consider the feeling that goes along with wearing the garments. For instance, when photographing lingerie, there is a softness to the fashion, so you might want to opt for soft lighting and bounce a strobe off of a white wall and back onto your subject to create a beautiful, soft effect.
Where is your final image going to be used? If you are shooting a cover, you might check out past covers the magazine has run and find that a lot of times the lighting is glossy and bright. Then you might use high-key lighting. Be sure to only overexpose your white background by about 1/2 a stop so you don’t get lens flare.
Think about your subject matter. If you are shooting a portrait of a heavy metal band, then you might try lighting that is more harsh, such as side lighting. If you are shooting a hair campaign, you might want to choose lighting that brings out the texture of the hair and utilize a parabolic reflector to create nice specular highlights.
What are you selling in the photograph? If a client is selling a product, you want to be sure to light the product as well as the model in the image to look their best. When I shoot jewelry campaigns, I usually will shoot at F16 so that the model and the jewelry is in focus; the best way to accomplish that is shooting strobe. I prefer to use the Profoto line of strobes and modifiers because I love their light shaping tools and they are the most reliable on set during big productions.
Beginnings
Every single situation, location, and subject is different so lighting is always going to vary. The key is to have experimented so much with different lighting styles that when given a particular assignment or vision, you have an idea of where to start and what lighting style will work best. And just because something you do lighting-wise goes against the grain or the “rules of lighting” doesn’t mean it doesn’t look good. Many photographs you see in high-end fashion magazines break all the rules. So learn the rules and then break them creatively. Ultimately you have to go with what you love and what looks beautiful to you. Learn the basic principles of lighting, experiment with them, and use the types of lighting that speak to your soul!
Favorite Gear
Here is a list of my favorite gear to create gorgeous light. Keep in mind that you can rent these for your shoot before you purchase them to see what you like best.
- Nikon Z 7 + Nikkor prime lenses 35, 58, 85, 105, 200
- Silver reflector or insulation board
- Profoto D2 Kit for in studio
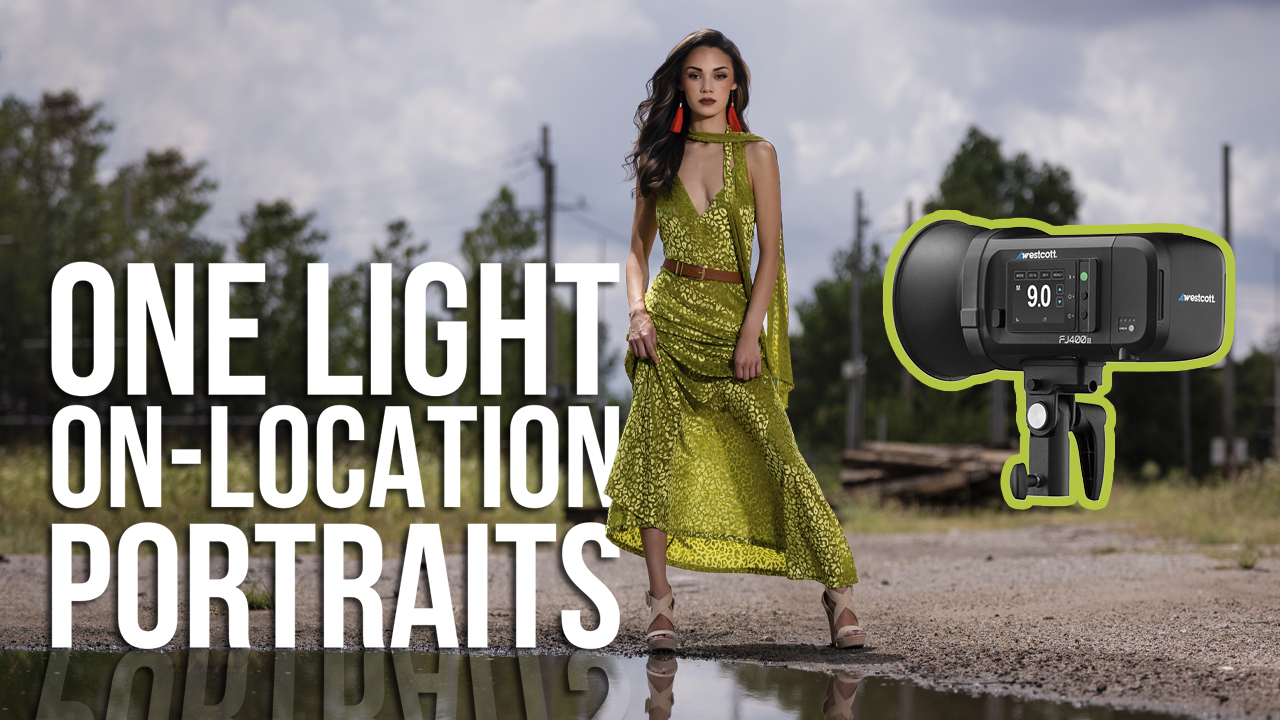
- Profoto B1x Kit for on-location lighting
- Beauty dish with white interior
- Parabolic reflector
- Deep white umbrella
The Easiest Way to Learn Lighting
This is key: Start with one light at a time! I personally started with the sun and mastered natural light, then I worked with constant light, and then I moved inside to learn studio/strobe lighting.
Here are my favorite types of lighting for editorial and fashion work:
Natural Light
Possibly my favorite type of light that I use is natural light—the sun, the light that was made for us. It can be soft and beautiful or hard and edgy depending on how you use it!
Direct Light
This is easiest style of lighting that works best during the first and last hours of daylight. Direct light is when the sun shines directly on your subject and the sun is at your back. It is clean, crisp and warm, which enhances all colors. You will always get the most beautiful images during the first and last hours of the day. That’s why they call it the “magic hour.”
Backlight
Backlight is basically placing the sun at your subject’s back and then shooting towards the sun. You can use a reflector in front to fill in their faces if you’d like. You can also capture some nice lens flare which gives your photograph a natural mood.
During most productions, my team uses insulation board from the hardware store which has a silver side and a white side to bounce light. The insulation board is easier to keep consistent on windy days instead of the flimsy reflectors. Use the white side to create a softer fill and the silver side to create more punch.
Midday Light
We don’t always have the luxury of shooting during magic hour. So in order to make great images when times are not ideal, we can find shade, use reflectors, or try different posing.
When shooting in midday sun, I first always try to find shade or create it. Try putting your subject in the shade and then have your assistant stand in the sun and bounce light back into your subject using a reflector. You can also angle your model’s face up towards the sun.
Overcast Light
Overcast light is beautiful for soft portraits as the sun and clouds give you a natural softbox. This type of lighting is ideal for video since it stays consistent throughout the day. Sometimes we will pop in a strobe as a hair light to add more punch on overcast days.
Window Light
Window light is quite gorgeous for fashion because it wraps around your subject beautifully! Stand with your back to the window and have your subject face the window, shooting in. This gives you such a flattering look. If you’re photographing men, try shooting parallel to the window to give it some shadows and a more masculine look. And finally, if you want to capture streams of sunlight coming through the window, try using a fog machine to bring out the beams of light. We use them often to create a high fashion, moody feel.
Constant Light
Constant light, or video light, is a great tool if you are learning lighting. The big advantage over strobes is that you get to see where the light is falling. Like natural light, what you see is what you get. If you’re looking to recreate daylight in a studio there is nothing better than an HMI light like ARRI M18s. If you are not familiar with HMIs, just think about any movie like “Pirates of the Caribbean” that takes place outside, but you know was filmed in a studio. They are using HMIs.
If you are looking for a smaller type of constant lighting, the Stella Pros are great tools as they are lightweight and powerful. You can also use the modeling lamp of your Profoto strobes. You may just need to bump up your ISO a bit to expose properly.
Strobe
Strobe is one of the most important kinds of light in fashion and editorial work! I like to pair the Nikon Z 7 mirrorless camera with the Profoto remote because you can instantly see what the image will look like on the back of the camera. This is the huge advantage of shooting mirrorless with strobes. The easiest way to learn strobe is to work with one light at a time. Try using it at different heights and distances and find what you like best. Then try different modifiers on that one light to give you different looks.
When I was starting out, I rented a studio near my house once a week and would bring in a fashion ad and ask the studio manager—who is an awesome photographer, Kauwuane Burton—to help me light the same way as the ad. This time in studio practicing on friends and local models was the way I learned. And once you have a good understanding of one light and modifiers, add in another light, maybe a hair light, and do the same thing with a third light. The more hands-on practice you do, the better you’ll get.
Here are my basic go-to strobe settings:
- Shutter speed 1/250 OR use High Speed Sync for faster shutter speeds to overpower the sun outside.
- Choose your aperture based on how much depth of field you want. For portraits, I prefer to shoot pretty wide open at F 2.8 so the eyes are sharp and the background falls out of focus nicely. If I am photographing a group or a model wearing jewelry where I need more of the photograph in focus, I will shoot at a higher f-stop.
- Low ISO. Go as low as possible to create the cleanest images.
Some of my favorite modifiers for strobes are the beauty dish, parabolic reflector, and the deep white umbrella. These tools are stellar for fashion imagery.
Strobe Mixed With Ambient
Much of the time when shooting outside we will mix daylight and strobe. I prefer the image to still look quite natural, so we will match the strobe and daylight pretty close by just overexposing the hair light by about a half stop. This creates a sunlight type of look. Other times we just want to add a kiss of light to the face at the end of the day, such as in this boat image, to where it still looks natural. In these cases we either go with a bare bulb or use the beauty dish modifier.
When utilizing strobe inside a location that has some nice window light, we love to bounce the bare strobe off of walls and back into the subject to create a natural, soft look.
Experimental
One of the best ways to create unique fashion images is through experimental lighting. I often love to shoot through crystals and work with star filters on certain editorial projects. We even cut out shapes in foam core and shine a light through to make interesting shadows and create a unique mood.
Ultimately, the lighting you choose to go with creates the mood of your photograph and showcases your style and vision. The more you experiment and add new techniques to your lighting toolbox, the more stunning your lighting will be!


