Lighting Foundations for Better Portraits with Michael Anthony
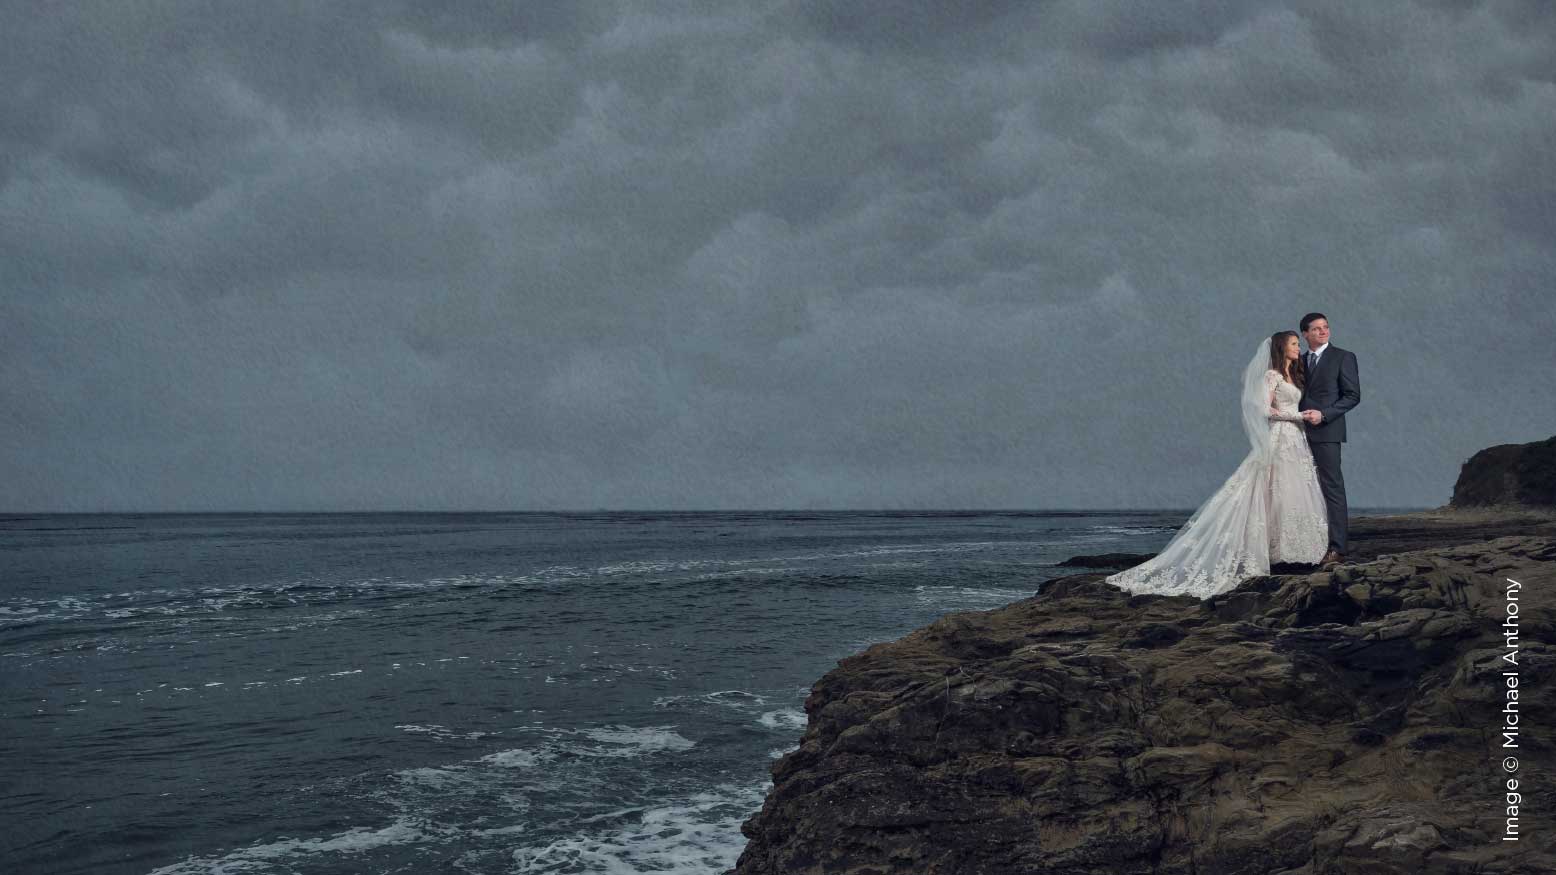
The lighting issue of Shutter Magazine is always one of my favorites. Photographers who understand light use it as a paintbrush to create a beautiful piece of art for their clients. Photographers tend to overcomplicate things, which can make the use of artificial light intimidating to some. This month, I talk about techniques that are not commonly used by wedding and portrait photographers who do most of their work outside the studio. I also get into the intricate details of light that can impact a portrait for better or worse.
There are many more photographers who understand light than just five years ago. Companies like Profoto and MagMod have provided amazing products and inspirational online communities that have popularized the “strobist” look.
To understand light, you have to visualize your final image before it is created. That way you can get a perfect blend of lighting for your desired final outcome, which brings me to my first topic.
Ratios
The first time I picked up a Canon flash, when I was learning how to use artificial light, I was a bit overwhelmed by exposure ratios. After messing around with multilight setups, I began to understand the importance of lighting ratios in portrait photography. Lighting ratios matter not just on your subject, but also within elements of your background. Since our cameras are able to resolve more dynamic range, we are able to capture scenes with higher amounts of contrast, but that doesn’t always mean that a particular light ratio will be aesthetically pleasing to look at. We often forget about the shadow side of our subjects, but it’s important to pay attention to those small details because they will be very evident when enlarged.
I like to use a 1:2 ratio between highlights and shadows on my subjects. This means that the highlight side of my subject is one stop brighter than the shadow side. When you are out in the field on your next shoot, you can light the shadow side using natural light or fill light. Fill light adds detail to your subjects in places where ambient light is not strong enough to provide a good ratio for your subjects. In terms of modifying fill flash, I have found that matching your keylight is a good way to start.
Accent Lights
Accent lights are another technique I use to create dynamic portraits. When shooting images that are scenic in nature, having a kicker light often means more work in post-production because you have to edit the light out; but for closer portraits, adding a kicker light opposite your keylight is a great way to give your images a little more dimension.
Accent lights can also be used to highlight an object in an image that is a secondary element. The basic rule is that your eye is drawn to the brightest spot in an image; knowing this can help you keep your lighting powered lower than your keylight, but you should highlight an area of an image that you want to bring attention to. We do this all the time with details on a wedding day. We may add a small light with the power just barely more than the ambient light to a dress in a background, while using our main light on our bride in the foreground. It makes for interesting layering in an image.
Color Temperature
I have written articles on color temperature in flash photography, but it’s important to highlight why we need to pay attention to the color of our light. Light color modifiers have been easier than ever to find and use, whether using MagMod’s popular system or Profoto’s unique systems for the A1 or OCF line. There are many options for you to use light color both creatively and correctively.
As with everything in photography, there is no right or wrong way to do anything, but there are rules you can follow to make your images that use flash more believable to the eye.
Our flash outputs images at a color temperature of approximately 5500. This is equivalent to the light produced by the sun at approximately midday. As the sun gets lower in the sky (or as it rises in the morning), the light has an orange/magenta color. When we use our flash outdoors, the time of day matters when determining the proper color temperature. Our flash can use gels, known as CTO or color temperature orange, to modify the light to the proper color. You can use one-quarter, one-half or full cuts of gel, depending on how much correction you want.
The same rules apply with color tint. When you are photographing a subject in a fluorescent environment, you can use CTG (color temperature green) gels to balance the light as much as needed.
Corrective gels can be used creatively as well. We can use orange gels during the day to turn our ambient light blue and “shift” the white balance to get a neutral exposure on subjects.
As you can see, the sky really is the limit when it comes to creative control over lighting. Experiment and practice using colored light to get the best results.
Modifiers
One question I get asked the most is how to best modify a flash. The answer, like everything else in photography, depends on the look you want. A general rule of thumb is to use modifiers that match your ambient light so it looks more believable to the eye. If you are shooting on a cloudy day, a softer light modifier may be the best option. If you are shooting on a sunny day at noon, a hard reflector may be the best option. I love the lines by Westcott and Profoto. For harder modifiers on smaller lights, MagMod produces great options as well. Location-based photographers have to weigh portability against the overall size of the modifier. For soft light, I like a 24-inch softbox, which gives the best overall balance between quality of light and portability.
This year, we have significantly downsized our kit, and use the lightest equipment we can in most scenarios.
Type of Lights
When you’re choosing lights, you are weighing a tradeoff between portability and power. You should have both at your disposal, but as a wedding photographer, I use small lights almost exclusively, with the exception of our hero shots, which typically are done outside at midday. Small lights are key for location-based photographers, who have to trek through locations without being weighed down. I recommend having a low-, mid- and high-power option at your disposal, but if you are shooting with hard light, you can substitute your high-power option for multiple smaller lights. The Profoto A1 is our weapon of choice—it’s small and powerful, and has an amazing interface and recycle time. There are many options available at all price points, so find the one that works for you.
Your style isn’t as important as your ability to use your lights. You can build a natural-light aesthetic that you create with artificial light if you know what you are doing. You need to have a basic understanding of how to use these fundamentals to create a better final product for your clients.

