Lighting for Engagement Photography with Michael Anthony
Engagement photography has become cliché in the minds of many potential clients. The reason is because when browsing for photos, many clients continuously see the same poses and style of photography over and over again on wedding blogs, Pinterest, and many other online sources.
In engagement photography, it is important to stand out among your peers. If you follow Sal’s business model, the engagement session is an incredible way to make an additional $800-$1200 per wedding while still adding value to your wedding packages. In order to get clients to understand the importance of the engagement session, you need to show them images that truly stand out.
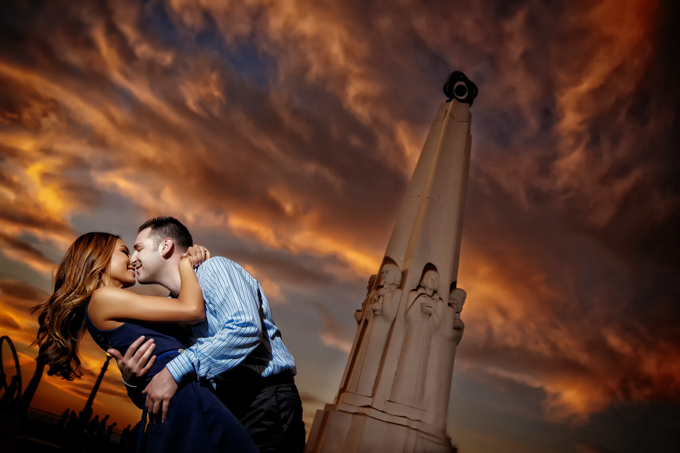
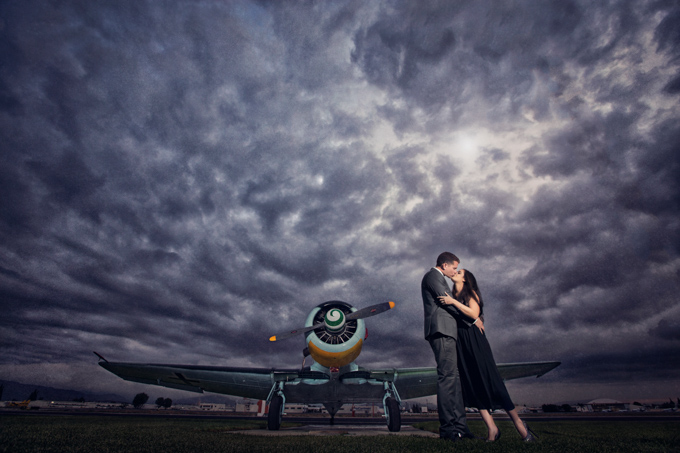
Many of you who follow our work know that we use creative lighting to make our images stand out. Creative lighting can be a single light or a multi-light setup. While most studio images can be created using large modifiers and precision, engagement and wedding photography both need to be mobile and portable. Here are the lighting setups that we use most often on an engagement shoot.
Single Direction Rembrandt
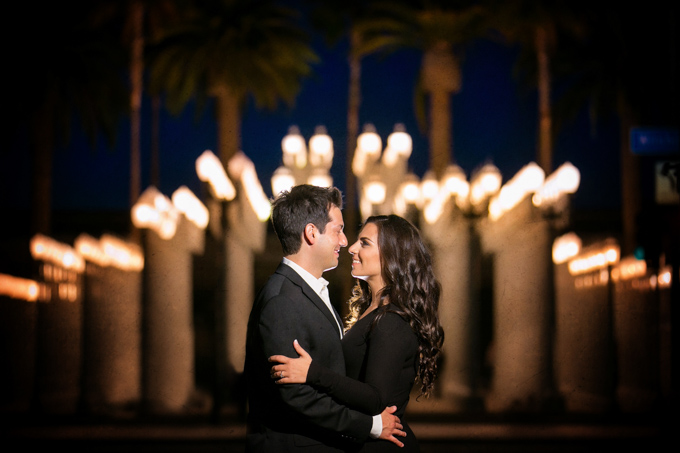
This is above and beyond the most often used setup we shoot with on a wedding day. While it seems simple, we are careful about the modifier that we use when we create our signature images. The trick is to match the ambient light direction and shape. For instance, if you are shooting in open sun, place the flash coming from the same direction as the sun, and stop down your background to allow your subjects to become the brightest part of the image. If you are shooting on a cloudy day, or in open shade, then soften the light with an umbrella.
I call this light single direction rather than single light because you may find it necessary to use more than one light if you are using low powered light sources such as speedlights. By combining two together, you are able to add power or reduce recycle time.
Backlight
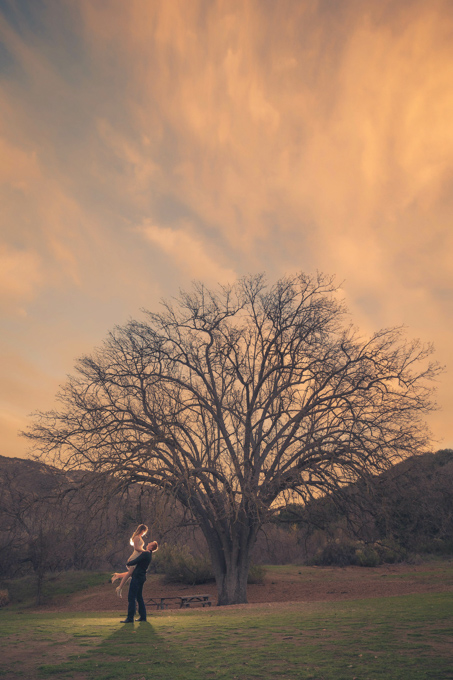
Backlighting is the simplest way to add dynamic to your image using flash. Be careful not to overdo it however. The mistake I see most often with backlight is the position that the light is in. Often times the light will be placed too low, causing the top of the subject’s head to not get the outline. If you place it too high however, you risk spill on the ground. Magmod’s grids can help with that problem.
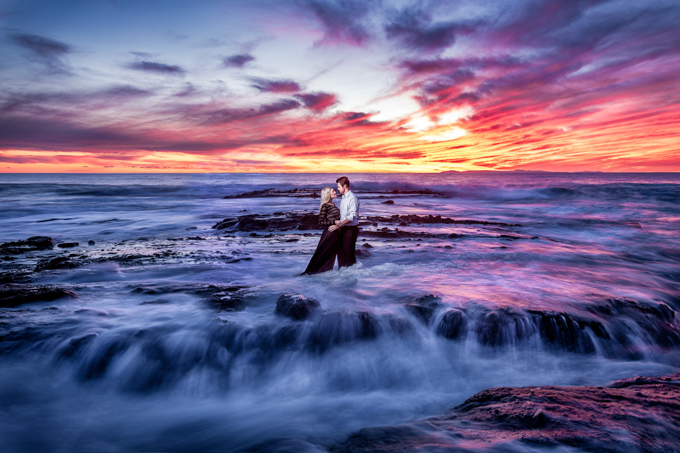
You can use natural or artificial light to backlight your subjects, and you can play around with color temperature for more interesting effects.
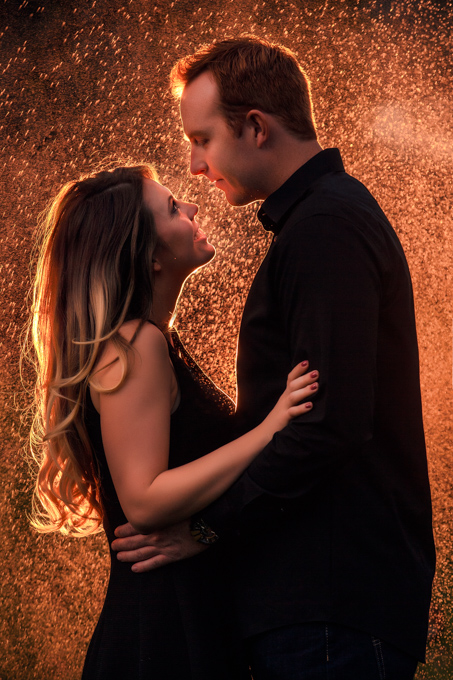
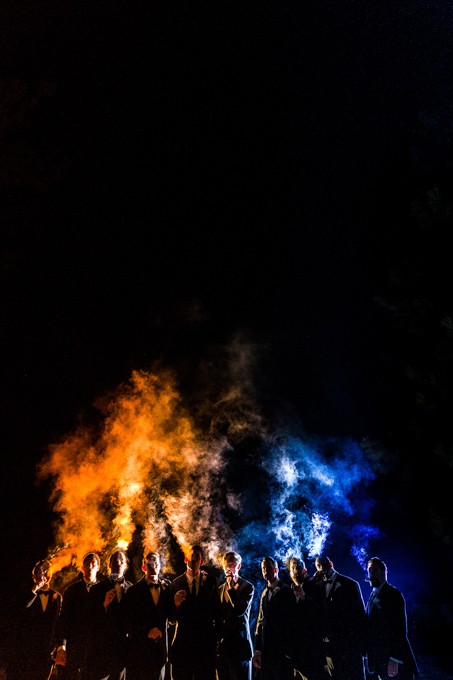
PRO-TIP: Place a light behind a semi-translucent object (water, smoke, atmosphere aerosol) it will illuminate and look amazing.
Multi Light Setup
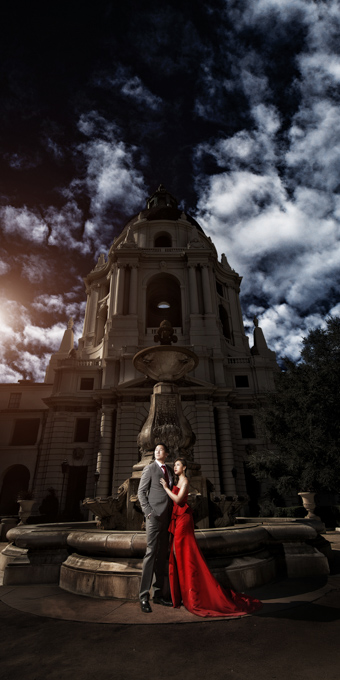
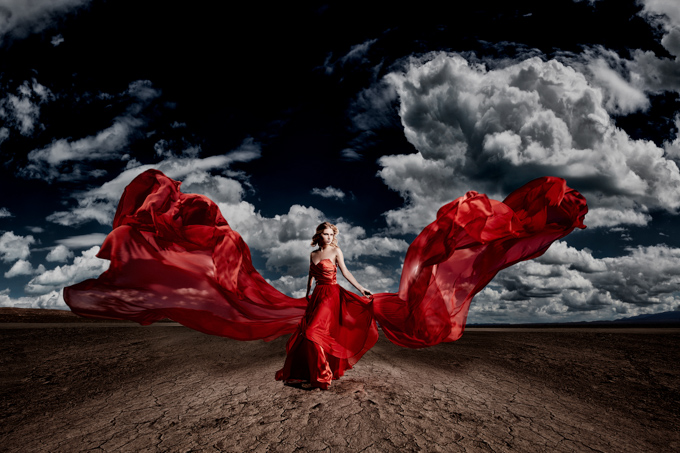
I often use Dual Light setups when we need to add to a boring scene. A dual light setup can give you dynamic contrast and shadows in an image. We will often use our lights in a criss-cross pattern to add a key and rim to our subjects. Sometimes, we will add a light directly behind a couple in addition to the main key light.
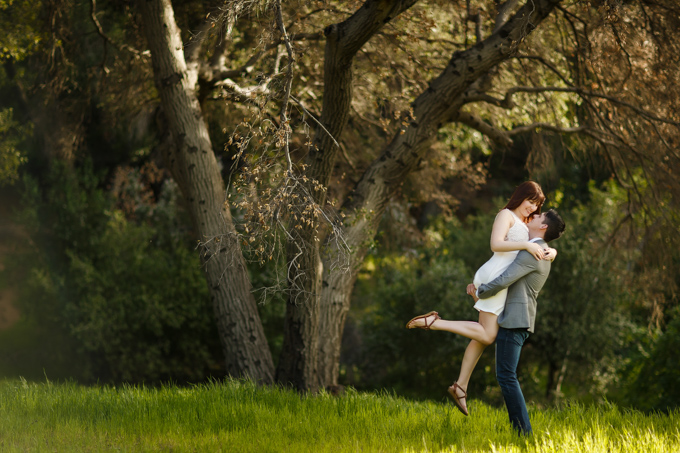
If equipment permits, one of my most favorite light setups is the light triangle. It consists of a key light, and opposing rim lights on each side of the subjects. Use your grids to help control the spill and the flare.



This Post Has 7 Comments
Nice images. Especially enjoyed the couple bathed in bronze light and backlighted in the rain, and the last one with the wedding party. I see what you did in the latter one with the smoke color; it’s very easy to do something like that in post, as I’ve done on a few shots using white powder (baking powder, so DEA please stand down) and colored afterwards.
Thanks for the post, Michael. While I’ve used these techniques on and off, I want to employ them more and your article was the right inspiration. I do have a question. What considerations do you make about white balance and flash color to make the main light more believable? I’ve had some frustration with the main light being a little off-color from the ambient. Thanks!
Hi Jim! Hope all is well my man! typically I try to match the color of my flash to the ambient light, but it’s all open for change. I wrote an article last year in the lighting edition of Shutter Mag that shows when I use WB and gels creatively.
Great post!
nice!
Regarding the Pro-Tip about shooting behind something like water – the example shown is done at night. Is this the best time to use such a technique?
Hi Curt! The goal is to make sure that your backlight is strong enough to light the water or smoke against whatever the backdrop is, so I recommend finding a darker backdrop to shoot this against, and using your OCF to illuminate the water.