Light Is Light: Creating Your Own Lighting Style with André Brown
In many circles throughout the world, people debate about what kind of lighting makes the best photographs. Hard, soft, natural light, strobes, LEDs… I remember hearing a conversation long before I became a photographer. Someone said that you were not a REAL photographer if you didn’t shoot with strobes, and not just that, but you needed to have a particular brand of strobes. LOL. But the truth is, light is light. It’s all about how you see it and what you do with it to create the art that is representative of your style.
Thinking that I wasn’t a “real photographer” if I didn’t shoot with strobes, I started my photography journey shooting everything with strobes. Sometimes I used an actual studio strobe with a power pack and portable battery, and later on I utilized speedlights. It was flash, pop, beep — everywhere I went. I lugged around multiple lights, stands and modifiers so that I could be prepared for any scenario. The worst part about that time is that I didn’t have an assistant, nor were there a plethora of portable options like there are today. So, I spent half of the day walking around looking like Inspector Gadget. As you can imagine, that gets old after a time, so I gladly traded my “real photographer” badge for the convenience of carrying less gear and began to fall in love with the idea of finding good light.
For the next few years, that was my favorite part of shooting. Finding good light, directional light. It was a challenge at times, but it was extremely gratifying! The idea of making something of absolutely nothing. Shitty hotel room? No sweat! Let’s find the slightest sliver of light to make incredible bride prep photos or an amazing ring shot. But that’s all fine and dandy until you have rainy days where there is no directional light creeping through a window. I mean, I had no issue with pushing the boundaries of high ISOs either, but in some cases the images would be rather flat and take away from the overall appeal that I was after. Although I was chasing light by day and light at night, make no mistake, I still utilized my speedlights for lighting wedding receptions and ceremonies if it called for it.
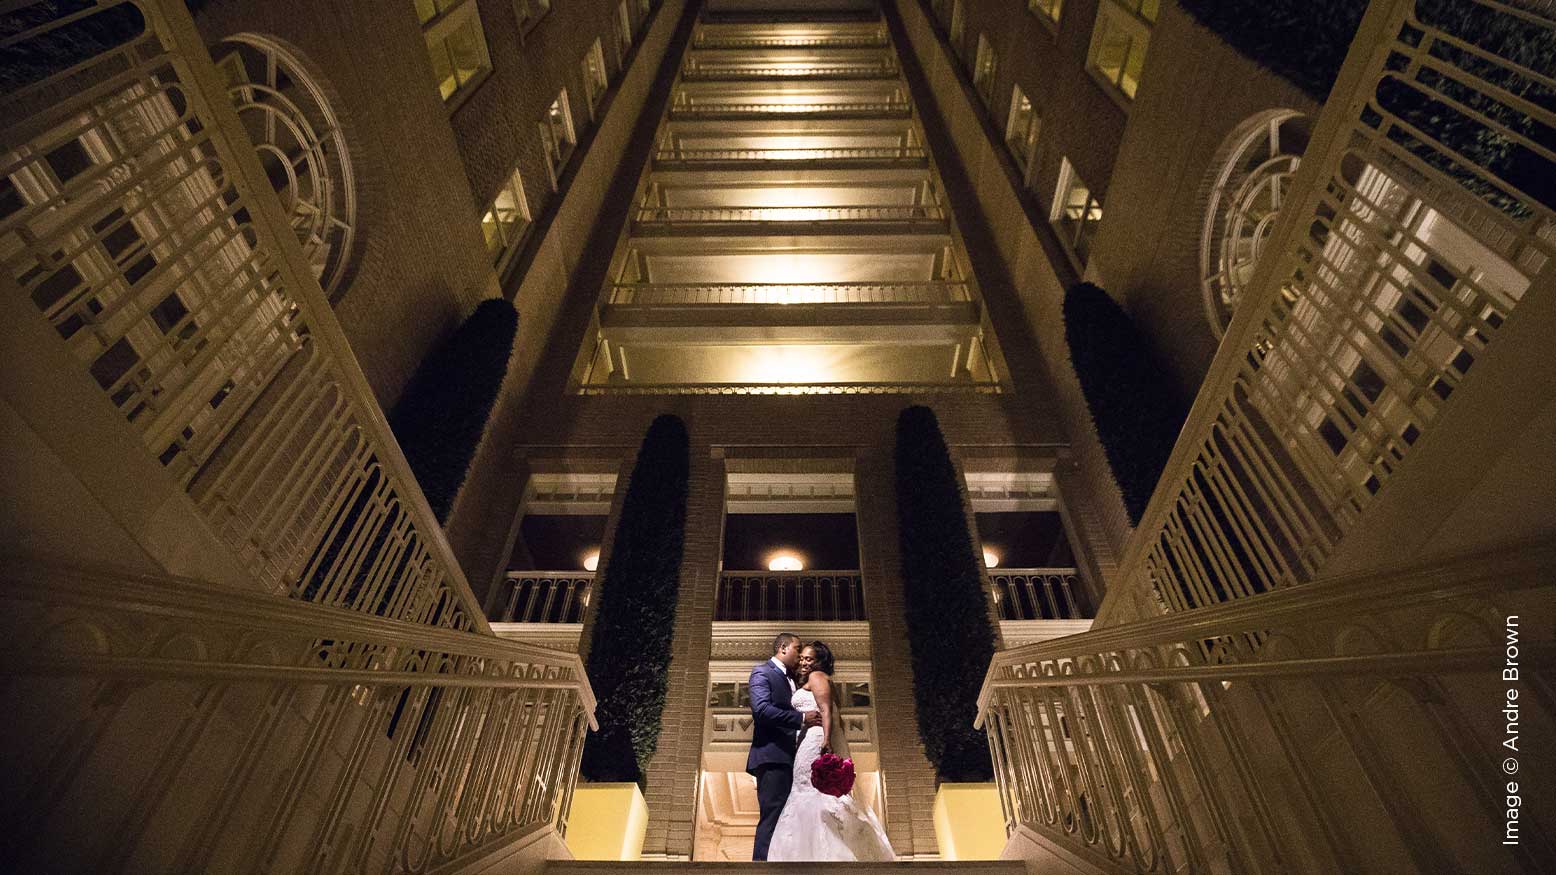
In efforts to keep it light (no pun intended), I started carrying around these little $25 LED bricks for those moments when I was on the go and needed light. Inside of a dark hotel lobby, out in public during a nighttime session. I just needed something lightweight and portable that would get me the light I needed when I needed it. They were small and had variable power controls which made it easy. Since it is constant light, what you see is what you get. You can dial in the perfect lighting scenario from the start without having to take any test shots. That made it incredibly convenient to shoot in locations that we may or may not have had permission to be in before security came in to give us the boot. Truth be told, many of my favorite rooms shot at weddings receptions were photographed with multiple LED bricks.
Although LED bricks are convenient and natural light makes life super simple, they still have their limitations. If you follow my work, you know that I am a huge fan of environmental portraits. In the beginning, there was a heavy influence of environmental and architectural structure in my work, but I’d gotten away from that just a bit while shooting natural light. Exposing for my couple would leave me with blown-out skies. At times I would capture multiple exposures and merge them together in Photoshop or just replace the sky altogether, which adds more time in post production. Using the LEDs was hit or miss. To catch those dramatic skies that we all love so much, they just didn’t put out enough power in most occasions. Not to mention the batteries can run down pretty fast. I was able to get the job done, but they too increased post production time.
A little over a year ago, I made my way back to strobes. Truthfully, I found my inspiration again at ShutterFest 2019. I was teaching a few classes and found time to pop in on a few of my fellow instructors’ classes. Since I’d begun with speedlights, many companies had introduced much more powerful, yet still portable and affordable monolights to their product lines that seemed to make life much easier.
I’ve used many brands from Godox to Profoto but I try to use the Profoto lights as often as possible. Light modifiers have become extremely compact and easy to break down as well. It’s much easier for me to move around and capture the images that my clients have come to expect from me, even when I don’t have a lighting assistant. Not to mention traveling for shoots, especially internationally, has been a breeze and doesn’t require any additional bags.
As you can see, my lighting journey has brought me full circle. Although I’ve changed my methods, I’m still able to get to the same results. Through it all I’ve learned to become diverse in my use of light and I don’t prefer any one type of light over another. In fact, I still carry at least one of each of the lights I’ve mentioned so I can use whatever type of light I feel is the most effective in the situation I am in. I’ve won awards with photos with the slightest of directional natural light and I’ve won awards by using multiple light sources to create the light I wanted. The bottom line is, light is light and REAL photographers know how to get amazing results using any of them.

