Is the Profoto Clic worth the money? Well, in this video we compare it to the Angler 24″ at 1/3rd of the price. If you use off-camera flash, then you need a softbox at some point. As a Profoto user, I own the Profoto Clic, but as many photographers have pointed out, there are cheaper alternatives for this lighting softbox. Let’s break down the differences between the two.
Equipment Used:
Camera: Canon EOS R5
Lens: Canon RF 85mm F1.2 Lens
Light: Profoto A10
Modifier: Angler FastBox Octagonal Softbox (24″)
Team:
Photographer: Sal Cincotta
All right, as a Profoto shooter and Clic owner and user, I got to be honest with you guys, I own the product. I use the product, I love the product. For me, it was one of the first Fastbox setups or Octabox setups that you could just quickly open, click together and you’re in action. Slide your A1 or A2 in there and you’ve now got an Octabox in the field that can be handheld, put on a light stand. It would go on just like this, locked, loaded, you’re good to go, but the internet had something to say about that because at $299 for the Profoto Clic, there are alternatives out there. Some people making the argument that Profoto just copied someone else’s design, et cetera, et cetera.
What are the differences between the Angler Fastbox 24" and the Profoto Clic?
Off the bat, the case on the Angler is a much more durable canvas than Profoto. But at the end of the day, it’s a case. Who cares?
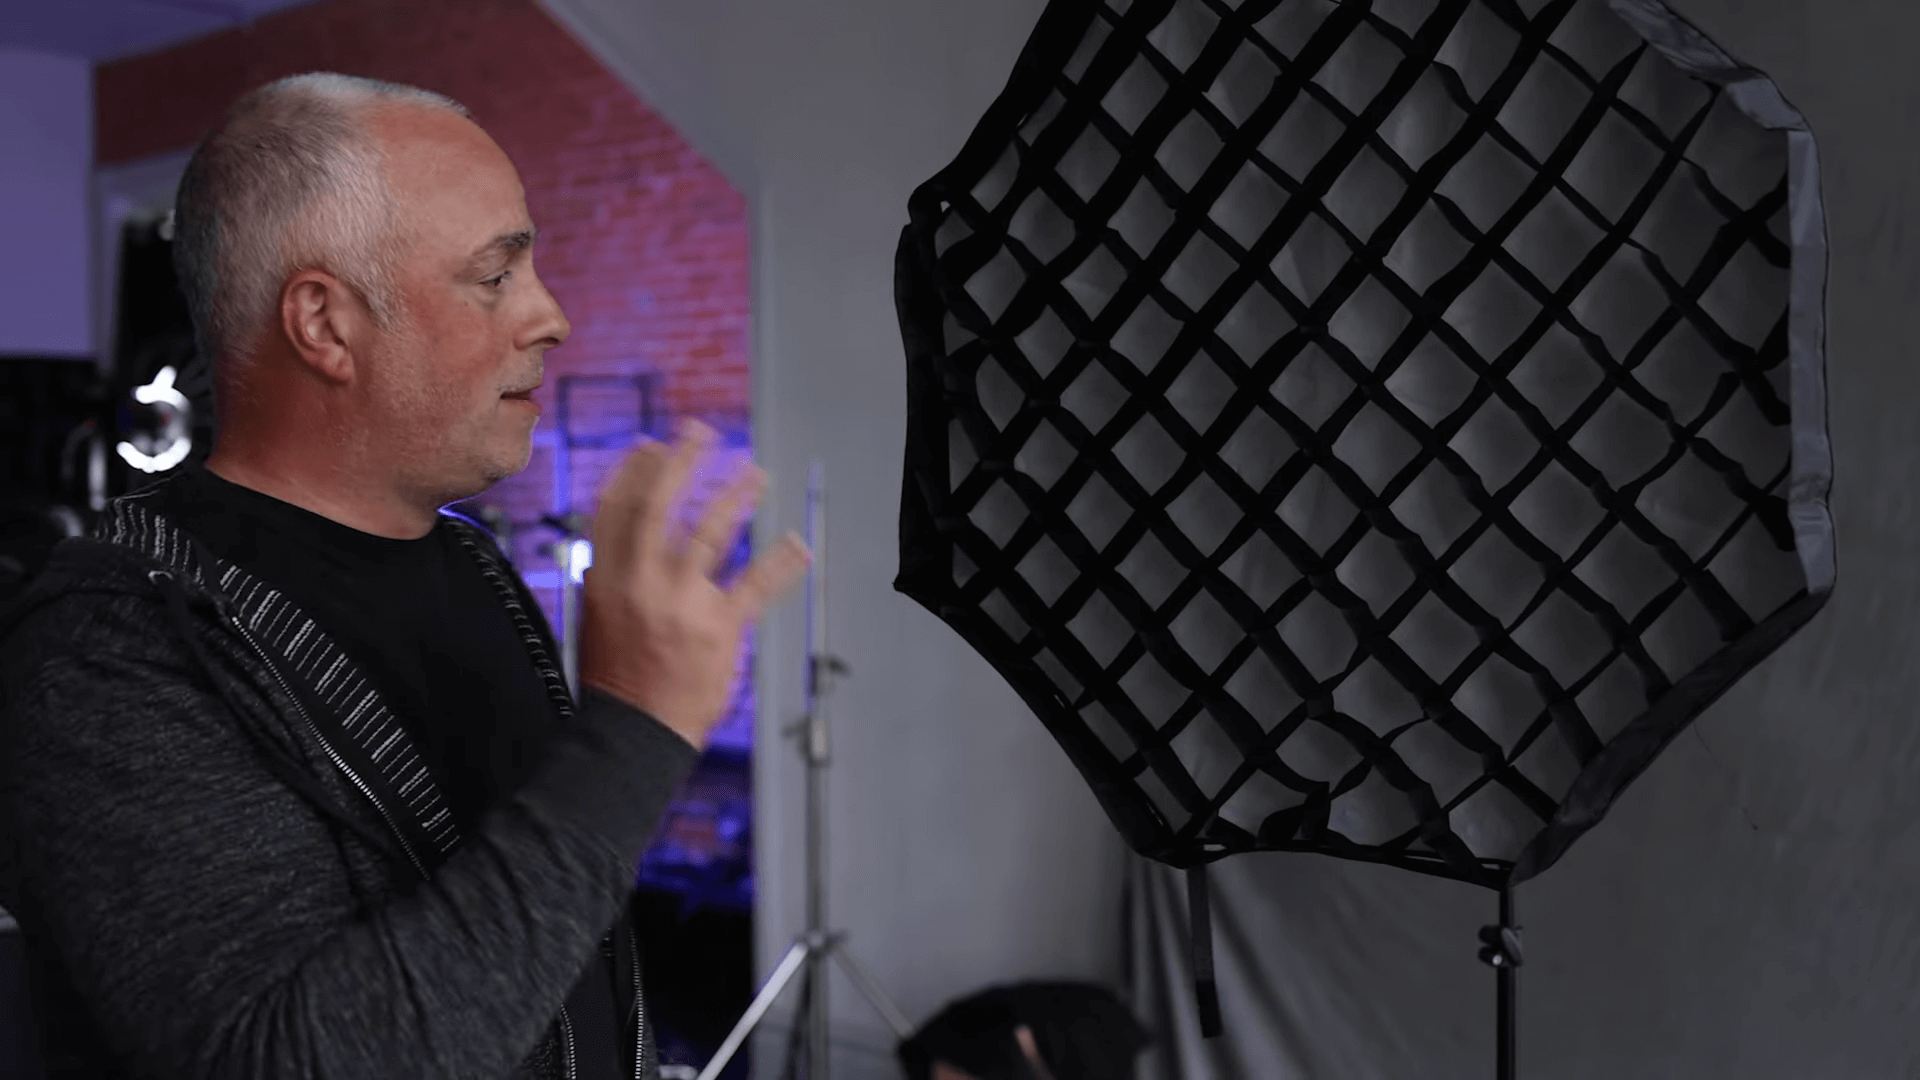
Next, the grid. I chose the version of the softbox from B&H that came with a grid. What this does is focuses and controls the light a little bit more. Worth noting: the Profoto Clic does not even have the ability to add a grid. There’s no velcro around the edges. That’s a nice feature I was impressed with.
On the Angler, you also have a little velcro strap to help you put the softbox away nicely. It’s a small creature comfort, but at a much cheaper price than Profoto, that’s a big leg up.
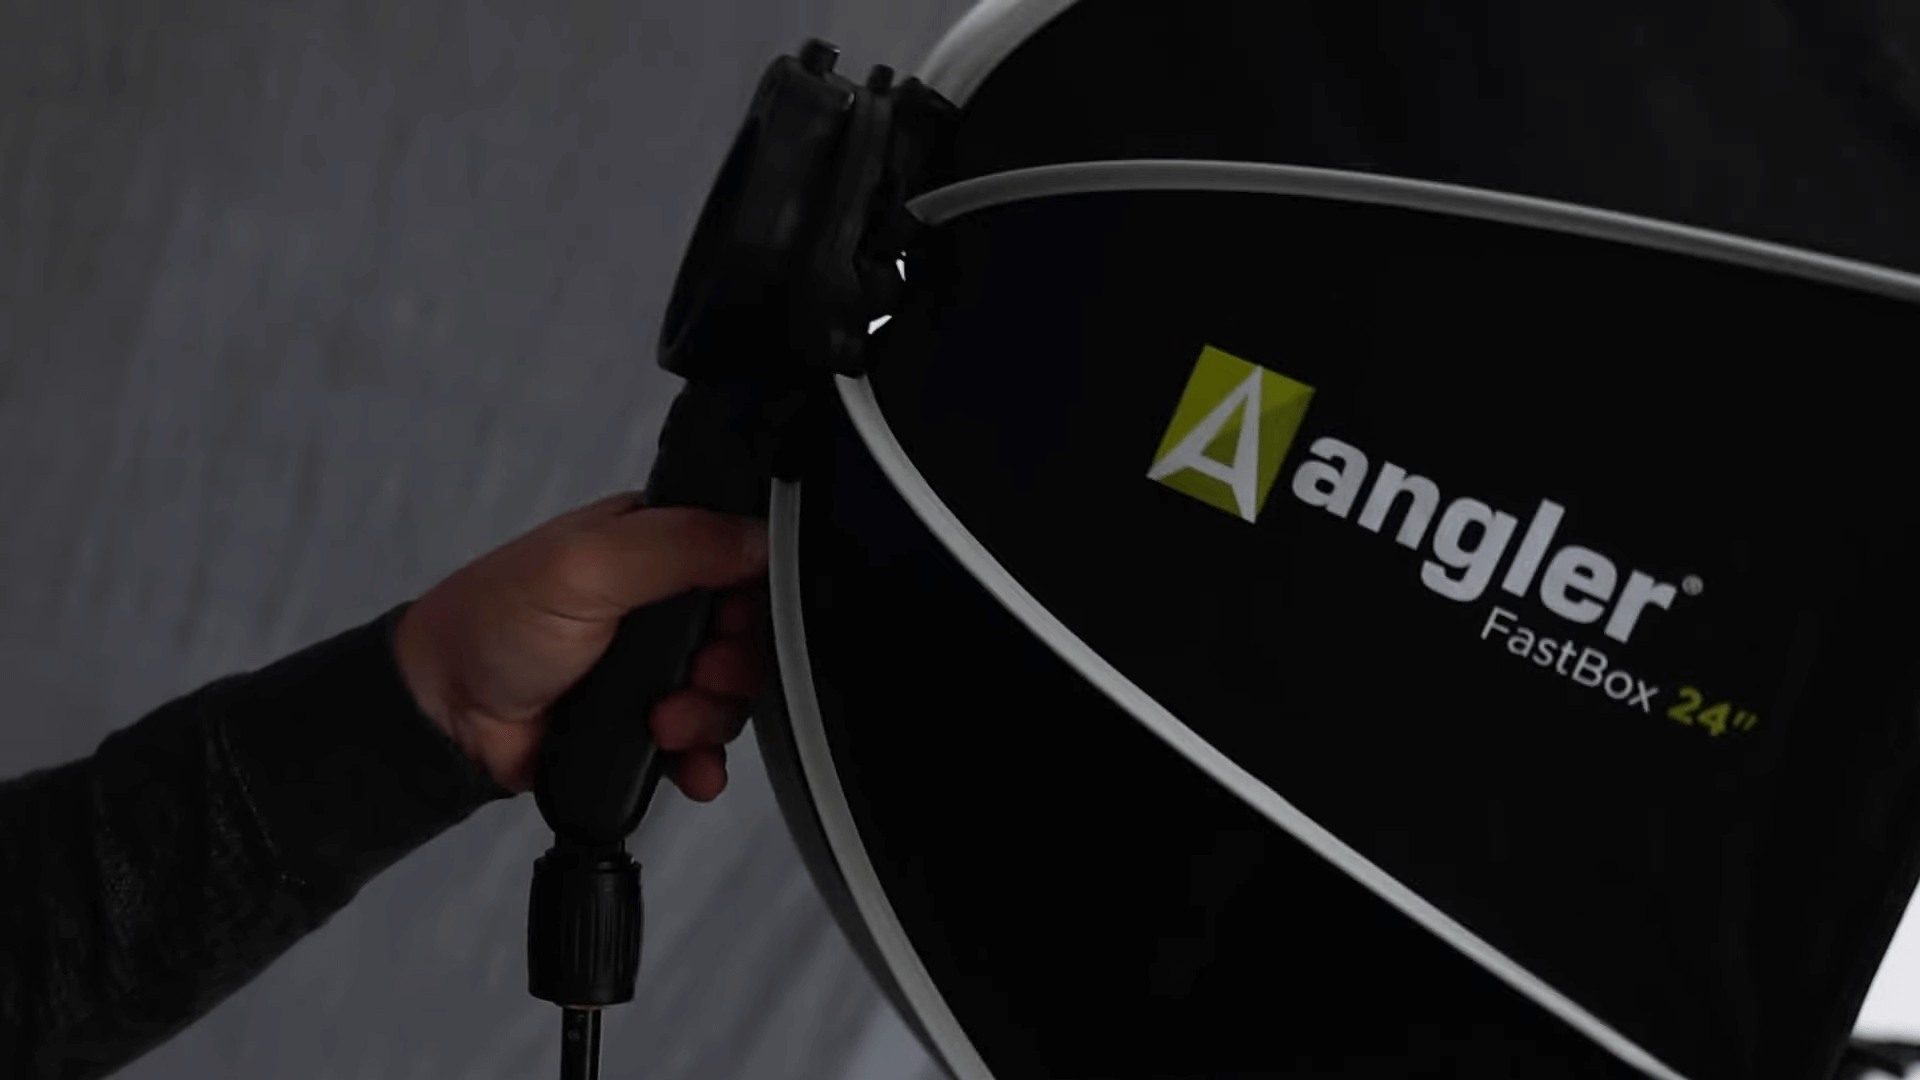
Now we get into the structure of it. I will tell you the handles are different. The Profoto has texture on their handle, the Angler does not. The handle of the Angler Softbox is what you would expect – basic PVC-style plastic. They both appear to be made of the same type of material, so there’s no construction quality difference. If anything, the Angler feels a bit larger. For my hands, the Angler feels a bit better, but that’s really subjective.
The locking, release and tilting mechanisms are exactly the same on both products. It’s pretty simple; twist to lock on to your light stand, and there’s a trigger to tilt the softbox back and forth.
Around the edge of the Angler FastBox you have velcro, to attach the grid. I hate to say it, but this is a better design for in the field because it allows you to have more versatility in how you use the product.
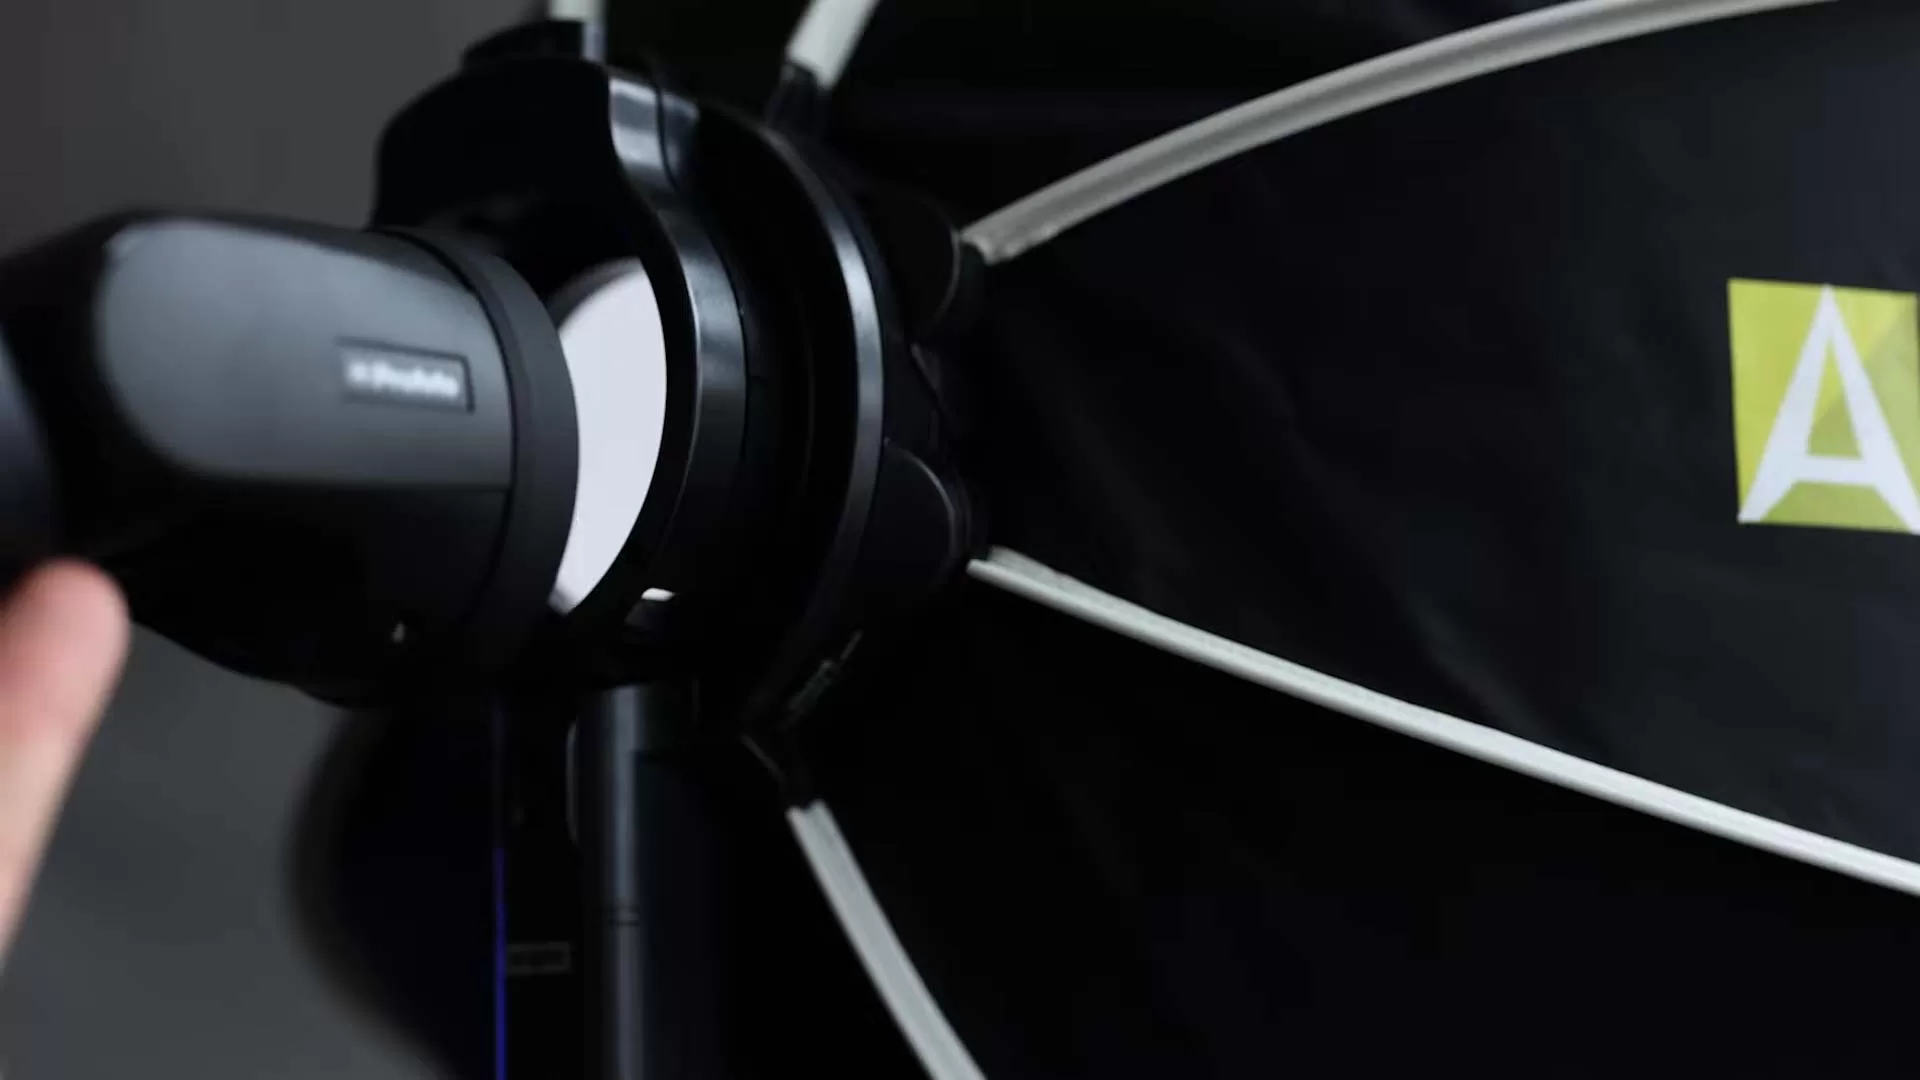
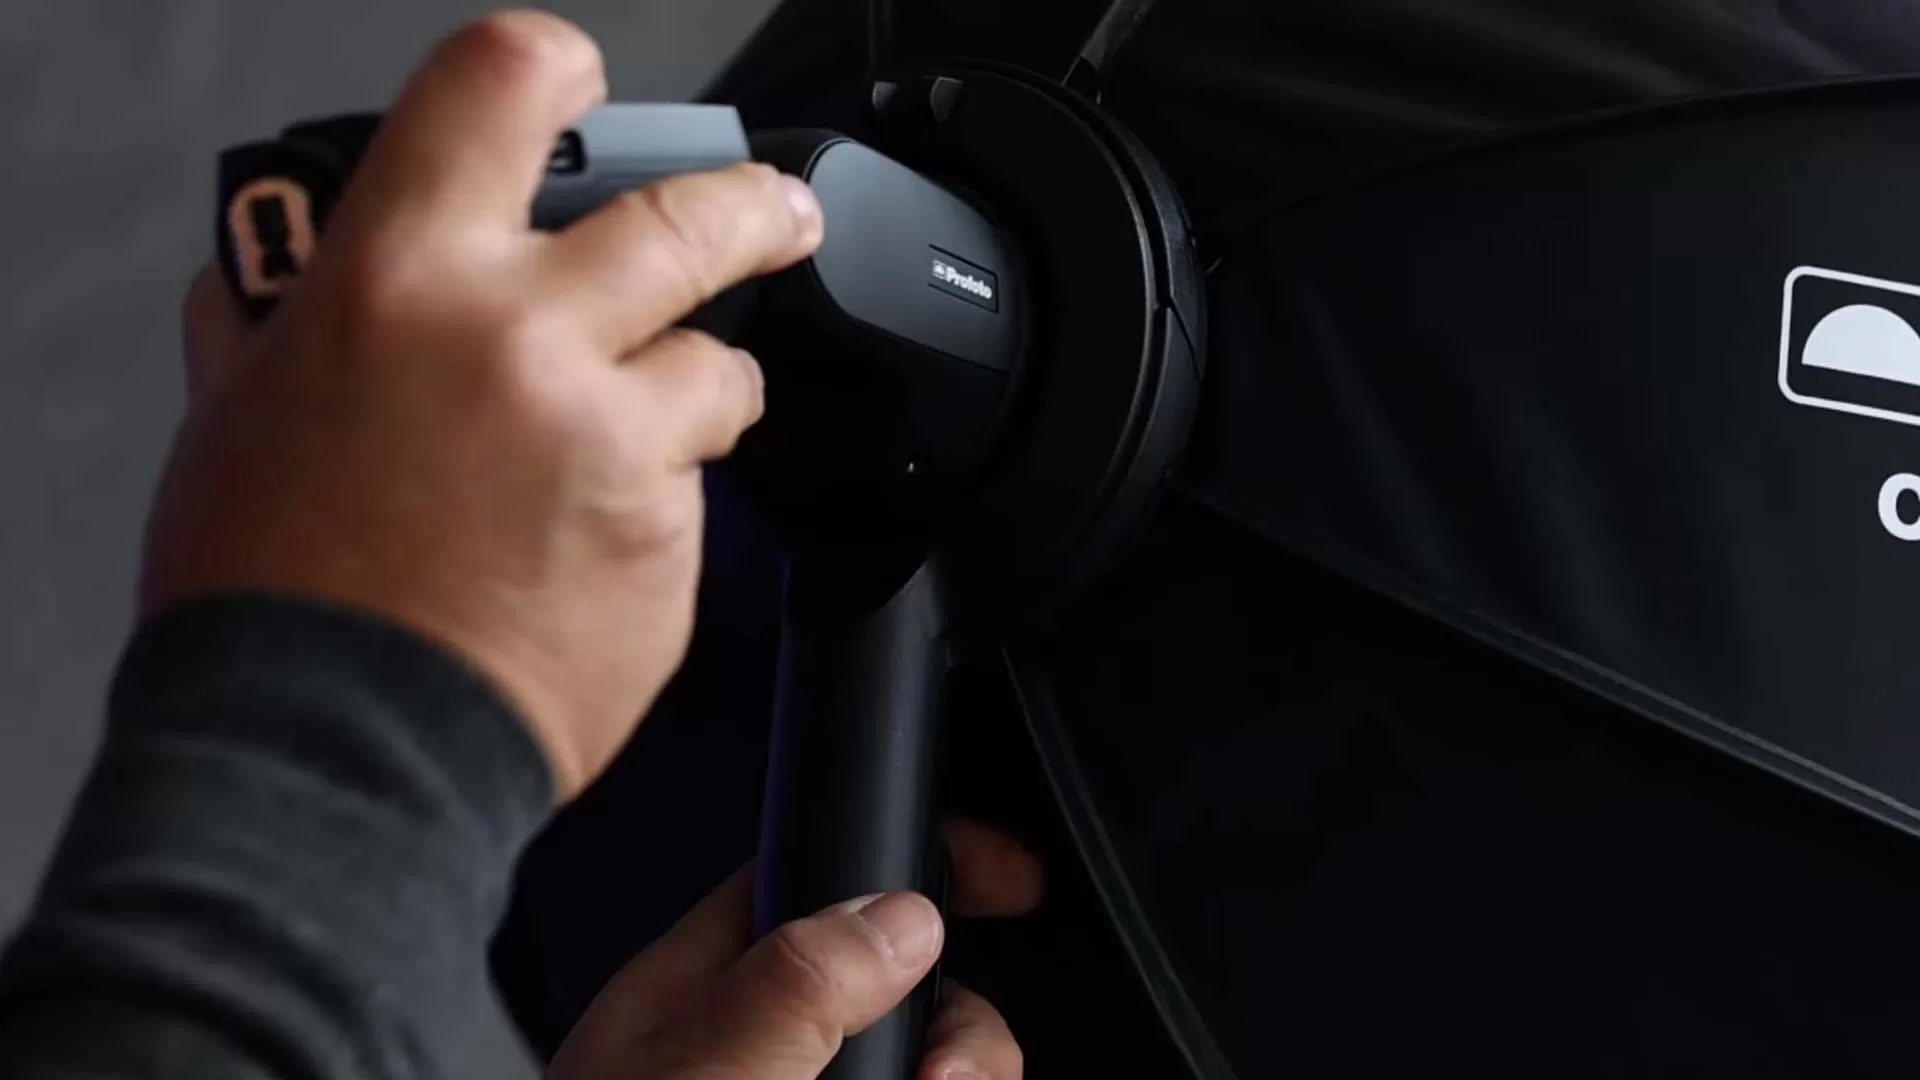
The magnets are important too, because they actually hold the light in, and that’s where I noticed a significant difference. Profoto’s magnets had a way stronger hold. I don’t think the light would fall out of the Angler FastBox, but the difference was noticeable. Three times the price noticeable? You’ll have to decide on that one. 🙂
One big difference between the two softboxes is the depth. The Angler 24″ FastBox looks about 4″ deeper than the Profoto Clic. While not a true parabolic sofbox, light will come out of the Angler a little bit differently vs a more shallow softbox. From that perspective, I think I’ll like the Angler a little bit more.
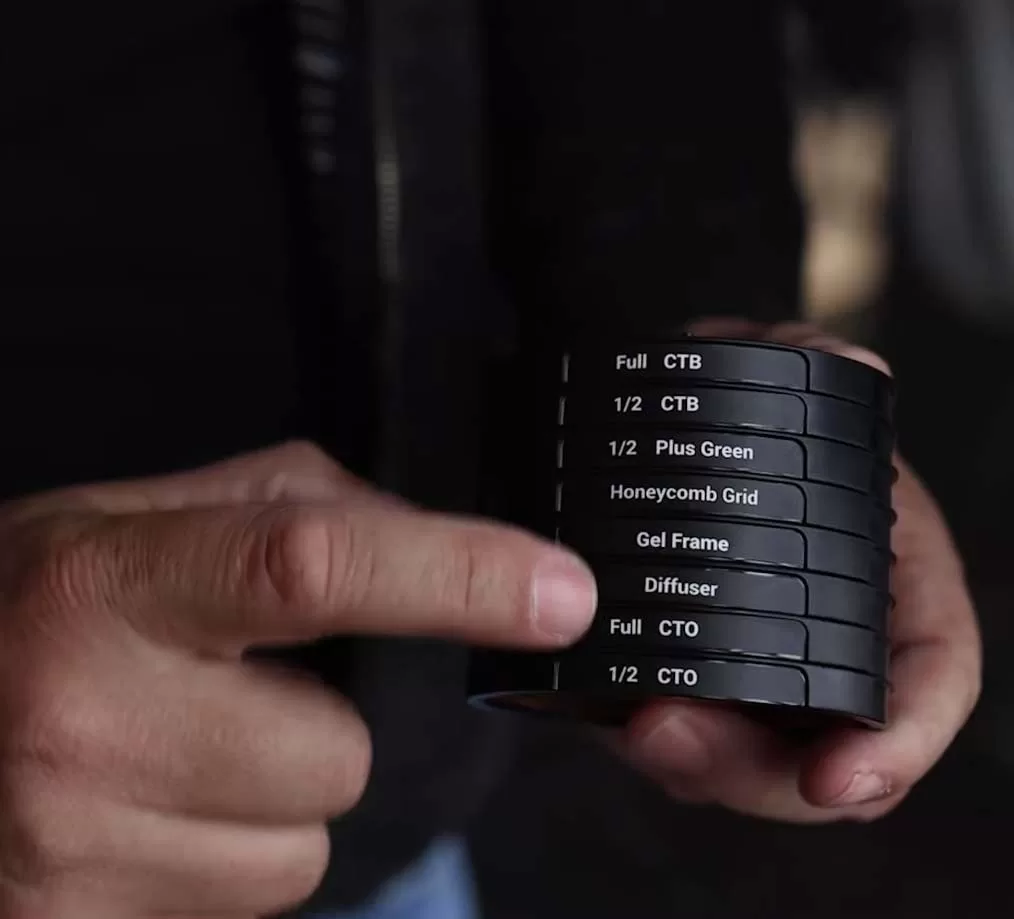
Both softboxes allow you to add gels to your light. Angler has a corrective gel kit with CTB, CTO, full CTO gels, half CTO gels, etc. There’s even a blank gel frame if you want to put colors in there. Profoto has almost exactly the same kit that fits inside the Clic in almost an identical way. The win here has to go to Angler – their gel kit is much cheaper, and to me there’s no discernable difference between the two.
Who wins?
If you’re a Profoto shooter, and you’re looking to save some money and get a good quality product, the Angler 24″ and Angler 28″ Softboxes are definitely worth the investment.


This Post Has 2 Comments
I have the Angler, and repeatedly my A1X falls out with minimal movement. Yesterday, it was on a lightstand, sitting in the grass, and I went to adjust the direction, and the speedlight fell off. It did the same thing two days earlier at a shoot, but that time it fell onto the cement, damaging the speedlight. I read that the ProFoto Clic Box is no better (read the reviews on Amazon) in regard to holding the speedlights securely in place. MagMod seems to be able to use magnets effectively on its products. Why is this so difficult for Angler and ProFoto?!?
Just checked B&H – for what you demonstrated, the cost is approximately $316! 24” Octa is $129 (on sale, normally $159). Adapter – needed to use the flash – is $49. Gel set is $69. Grid for Octa is $69 (on sale, normally $99).