Image Sharpening: A Complete Raw Workflow with Lightroom and ON1 Photo RAW 2018 with Dustin Lucas
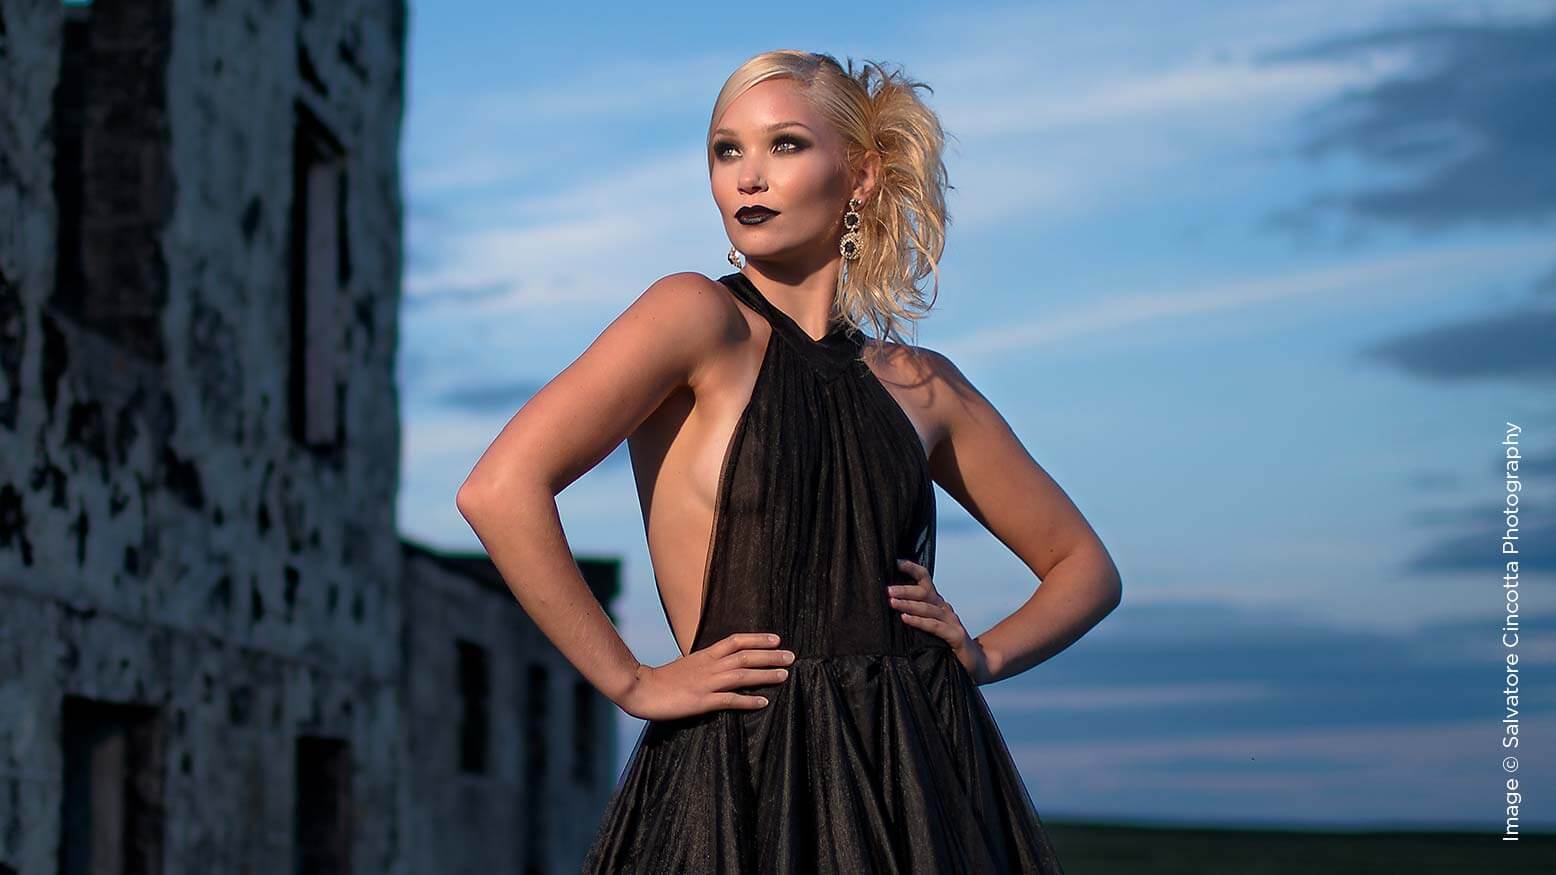
When photographing people in a landscape, it is so important to push the limits of your lens to capture detail. We look for the eye of the subject, dial in the exposure settings and fire away. Many of us consider shooting wide open to draw the viewer immediately to the main subject, typically the person standing in the field, so to speak. In an image where removing the person from the frame would give you an amazing landscape, you have to push your technical skills to keep the focus on the portrait.
This is only the first step in the process as we ingest our Raw images to see how sharp the subject is. The biggest fear when shooting is losing the peak focus on the subject’s eye and having an unusable image because you shot them at such a thin aperture. We’ve all been there. Even with full-frame digital cameras and the best glass, there is a chance for failure. That’s where editing programs can save the image and bring back the sharpness you intended to capture.
There are different processes and programs we can use to sharpen our images. Knowing when and how to get the most out of sharpening is where I am going to focus in this article. I will be working strictly in Lightroom and ON1 RAW 2018 to demonstrate a complete Raw workflow. Let’s get started in Lightroom.
Lightroom Details Panel
Once we have our image prepped and ready to sharpen in Lightroom, we can navigate to the Detail panel and implement Input Sharpening. At this stage, we are going to simply bring back the sharpness to the Raw file. This panel is going to bring back details you saw on the back of your camera. I recommend removing all the fluff settings in camera for a more faithful representation of your image. Again, this is completely subjective but will help keep things in check.
We basically have three sections in the Detail panel: Sharpening, Noise Reduction Luminance and Noise Color. For this particular image, we do not need any Noise Reduction since it was shot at ISO 50 and properly exposed for. In the event you have a lot of noise in the image you are sharpening, you can read my previous Shutter Magazine article “Silence the Noise” for additional support. You’ll notice the Amount slider is defaulted at 25, Radius at 1.0, Detail at 25 and Masking at 0. Let’s dive into each of these settings.
Something to consider with sharpening is we have to see the image at 100%, so working with a Smart Preview will be an issue. You want to be connected directly to your Raw, or original, file. Then we can copy all of our previous Develop settings onto the Before preview to comparably see the difference. Zoom in to 1:1 or even 2:1 on the image so we can actually see the difference while adjusting the Amount from 25 to 50, 75 or 100. Toggle the backslash or back slash (\) key to see the before and after preview in full view.
It is important to note that Lightroom sharpens based on the luminance and not the color in an image. You can view this by holding Option + Alt while moving the Amount slider. This will naturally bring back the sharpness we were seeing, or I should say hoping for, in camera.
Remember that this setting is intended for input sharpening, so we don’t need a heavy amount here. Leaving the Amount at 75, we can play with the Radius slider. Since these edges of your image are being analyzed, the Radius slider will extend the sharpness based on pixel size. This slider is usually left alone because I am typically not working on small or large megapixel sensors. Most recommended settings would be in the 0.7 to 2 range since I like a little less grit to my Input Sharpening. You’ll notice by increasing this slider that the image takes on a similar effect as applying a High Pass method of sharpening. Hold the Option + Alt key while moving the slider to see the edges of the subject.
The same technique can be used for the Detail slider to keep the amount of skin sharpness we want. This setting is extremely useful for heavily detailed images versus beauty portraits. I tend to lift this slider until I see the pores of the skin become gritty. Leaving this at 35 will give us just enough wiggle room to push some creative sharpening later. Let’s look at Masking, which is a useful tool to reduce oversharpening of the skin. Hold down the Option + Alt keys to show your mask. Black to gray is blocking out the effect and white is applied at 100%.
Since the face is in peak focus, most of the subject will naturally be in white. I recommend utilizing this slider to separate your subject from the background. Drag this slider to black out the soft areas of the image and keep the viewer drawn to the subject. Let’s keep it at 20 and move into ON1 RAW for some creative sharpening.
Creative Sharpening in ON1 RAW 2018
We are now ready to edit in On1 RAW by right-clicking on the image in the filmstrip. Choose Edit In < ON1 Develop 2018. I choose file type Tiff for more editing flexibility outside Adobe programs. I select Adobe 1998 for color space and 300 PPI for resolution. This opens the image in Develop, where we can add a local adjustment for some creative sharpening. I like to use Structure for a light HDR effect, but I want to choose how it’s masked and blended with my image. That is exactly why the Local Adjustment panel is my go-to tool.
Select the Local Adjustment tab and click Add Layer. This panel allows us to custom-build styles, or we can choose from the premade ones. What I love about ON1 RAW is I can hover over each style and immediately see the changes applied to my image in real time. Choosing detail sets the structure to +40, which is right around where I push this to. I also pull the saturation down to –100 to simply turn this image black and white. Then I can mess with the Blending options to pull out my creative details and tones.
At the top of the panel is a gear icon similar to the preferences symbol in Lightroom. Click this to access the Blending options and scroll down to Luminosity. Much like our input sharpening technique in Lightroom, I want to affect the brighter tones. Now the entire image has more dynamic range and crisper detail. Remember that we can control this adjustment mostly with sliders.
I like to zoom in at 100% to the face and move the skin slider to 50. This controls predetermined colors that would fall into the skin tone range. Notice how the hair begins to lose this effect. The sky is still too bright; instead of burning it down, we can go back to the mask settings to turn on Color Range. Then sample the sky to completely mask out all the blue/cyan tones. We can mask out the face and skin as desired with the Paint Out brush as well. Now we have a more controlled image. Lowering the opacity to 85 gets us dialed in. We can even save these settings as a custom style for future use to make things more efficient.
For more flexibility, we can copy the Local Adjustments mask and paste it to an Effects filter. Now we can add sharpening and dynamic contrast filters to push the creativity with this image. Feel free to experiment in this area to make your work stand out.
Output Sharpening
Once you are ready to go back into Lightroom, click File < Done to render your newly edited Tiff file. Now we have many options for output: Export from Lightroom, Print from Lightroom, Publish from Lightroom, Edit in On1 Resize, etc. Most of these methods have Output Sharpening to allow your image to retain optimal sharpness no matter how you display it. Let’s start with the easiest option, Export from Lightroom.
In the Lightroom Export module, we can choose all the standard file settings necessary: destination, name, type, resolution, color space, bit depth and output sharpening. With this option checked, you get a limited number of output options for printing glossy or matte as well as screen or web. Then the Amount is broken down into low, standard and high. I never use these because I do my output sharpening in Photoshop or not at all when retouching images.
Before jumping into the Lightroom Print module, review your image as a Soft Proof. To learn more about this feature and module, check out my previous Shutter article “Print Your Portfolio.” This shows you a simulation of what your photo paper or lab’s print will look like. In the Print module, choose Print Sharpening options very similar to the Export settings. Another useful tip is to use Color Management and choose the ICC paper profile you are using.
Choosing ON1 Resize is the best option for enlarging your image, and controlling the way it adds pixels and the sharpening you apply. Right-click on the image and choose Edit In < ON1 Resize 2018. Be sure to Edit as a Copy rather than the original so you can save a separate version later. In this output module, choose from file size, resize process settings, sharpening, film grain, tiling and gallery wrap. Without adding any pixels, I can basically print a 15×22.5 image. Since my image scales up in a ratio of 2:3, I immediately take it to a 20×30. This scales my image up 140% and requires us to look at the resize settings.
These settings become important when upscaling a low-res JPEG or, in this case, a portrait. I exported this image with the Genuine Fractals and ON1 Resize Portrait methods, and could not see a clear difference. I would stick with Genuine Fractals because this is the standard for resizing and moving to Sharpening. Now remember that with this tool, it’s about sharpening for the loss of sharpness with printing. This is not going to recover a blurry part or increase the detail in the shot.
We have three types to choose from: Progressive, UnSharp Mask and High Pass. These options are nothing new, but we lose some editing capabilities. I find that Progressive starts to oversharpen easily, causing jagged artifacts across the skin tones. Unsharp Mask offers an additional parameter to set the Halo as well as Amount. I am happy with the setting chosen and can move into Protect Section. This acts similar to the Masking option in Lightroom. For portraits, I tend to lift the Highlights between 25 and 40 to keep the skin tones slightly softer. Shadows are typically left alone.
That’s it—we’re ready to send these off!
The Results
Now that we’ve pushed this image with Lightroom and ON1 RAW, you can see all the lost detail from capture that was easily brought back in. For sharpening, you always want to process after you’ve edited the image and properly reduced any noise. The last thing you want to do is sharpen the noise. As a Lightroom user, I find that I am limited to a certain extent with sharpening. That is why I am always looking for good plugin software to quickly edit in and bring the results back into Lightroom, organized and ready to send off.
ON1 RAW offers quick and intuitive options to push the creativity with my images and resize without losing detail. My Raws start in Lightroom, and it’s so important to dial in the Input Sharpening. Use the Option + Alt trick to sharpen accurately. Never oversharpen or push the HDR structure too high. There is always room for creativity, but you don’t want to output crap.


