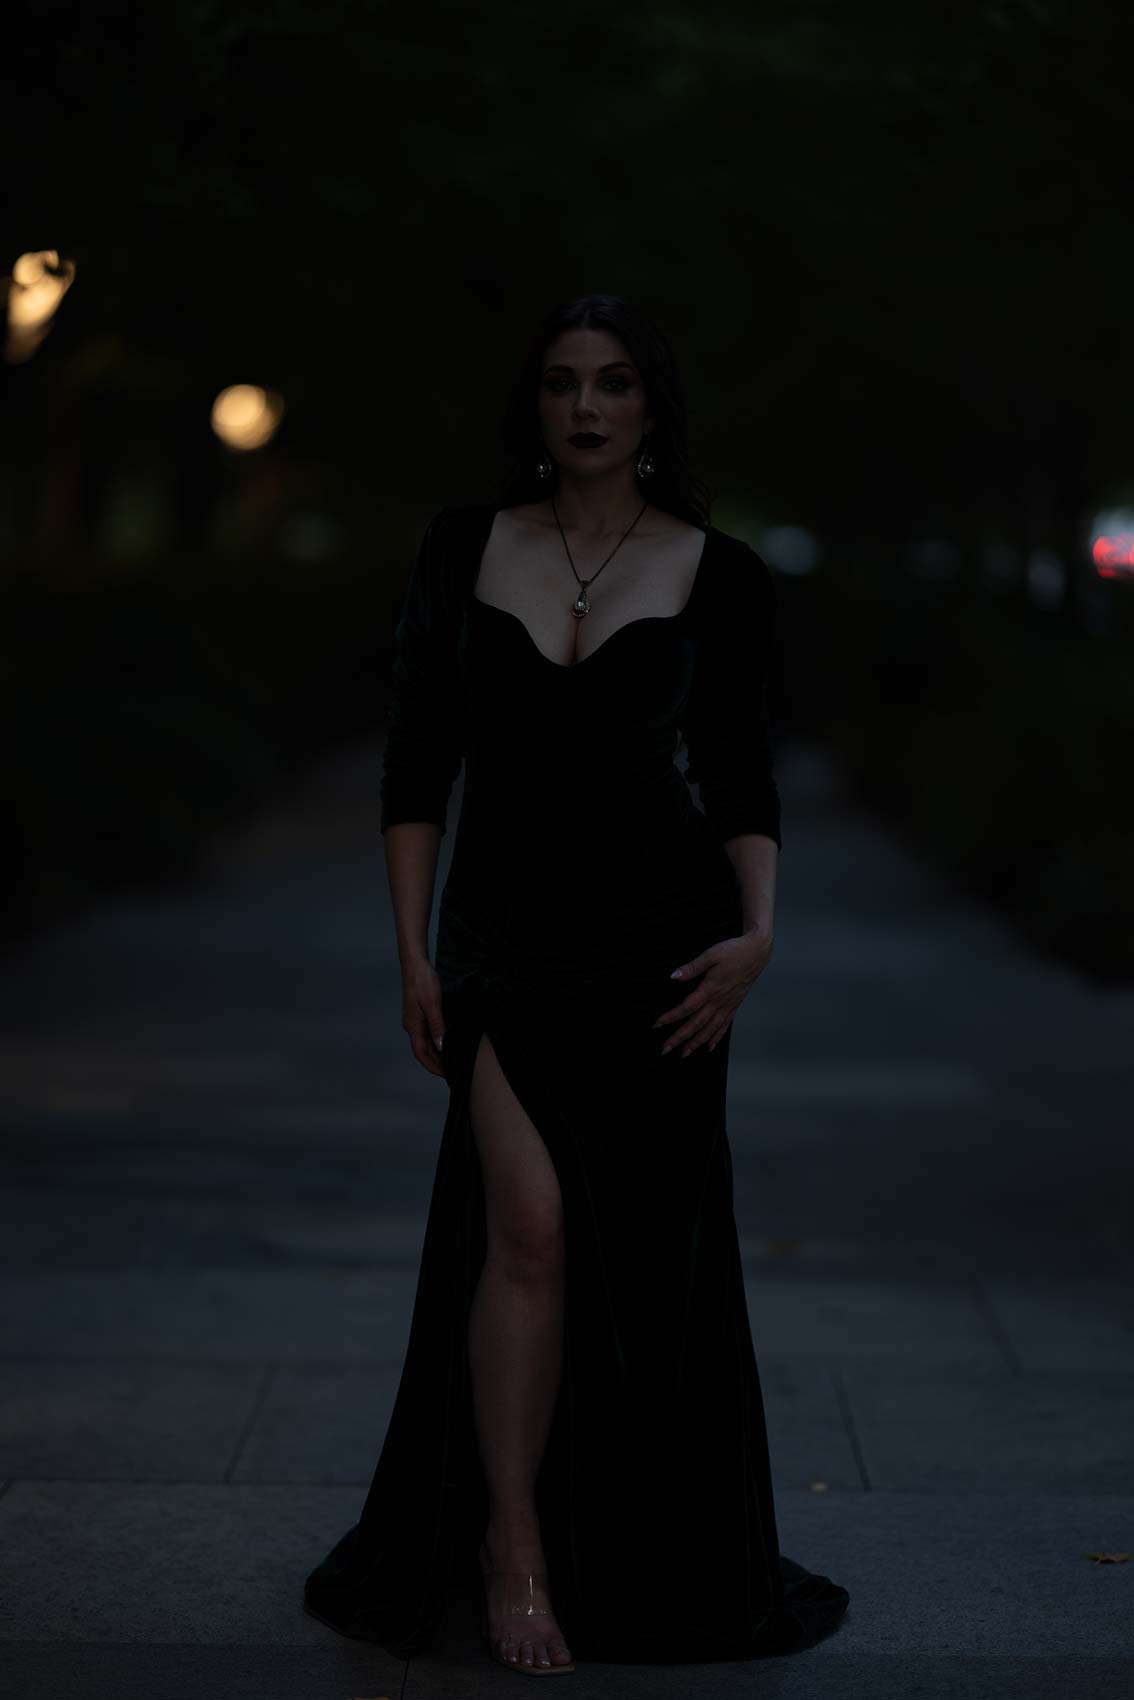
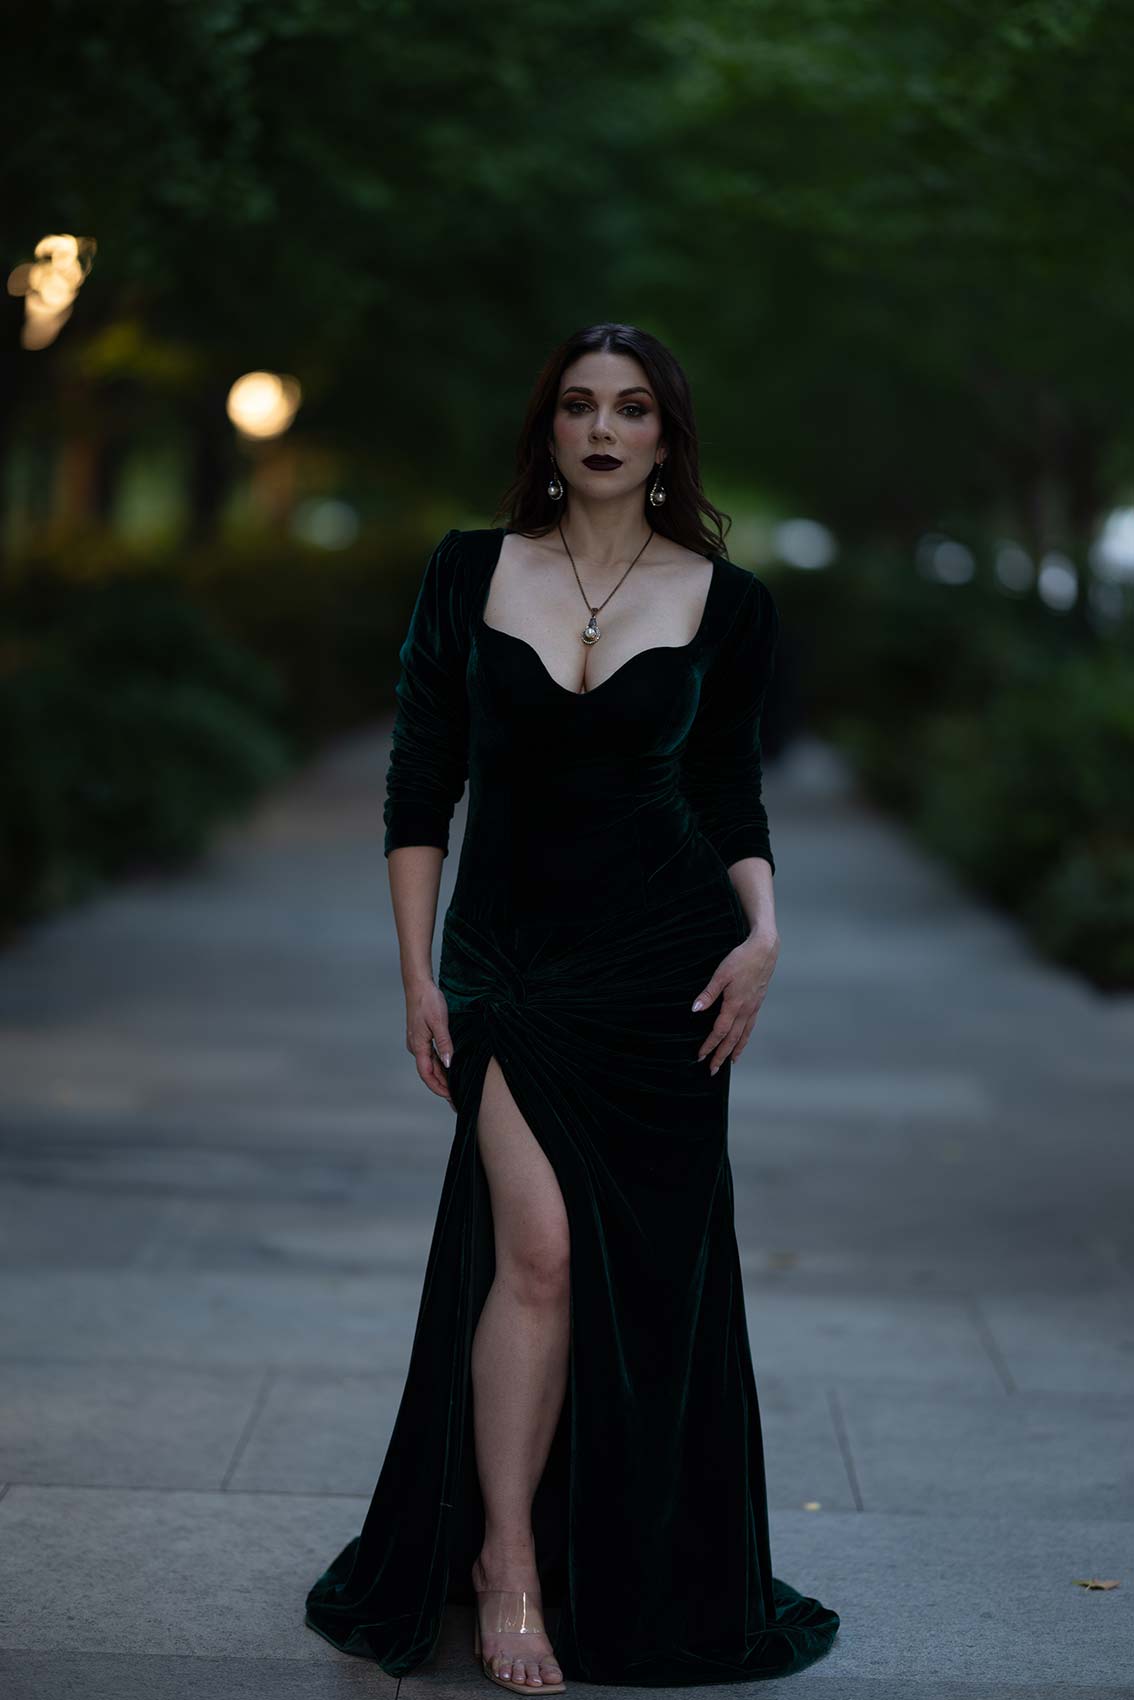


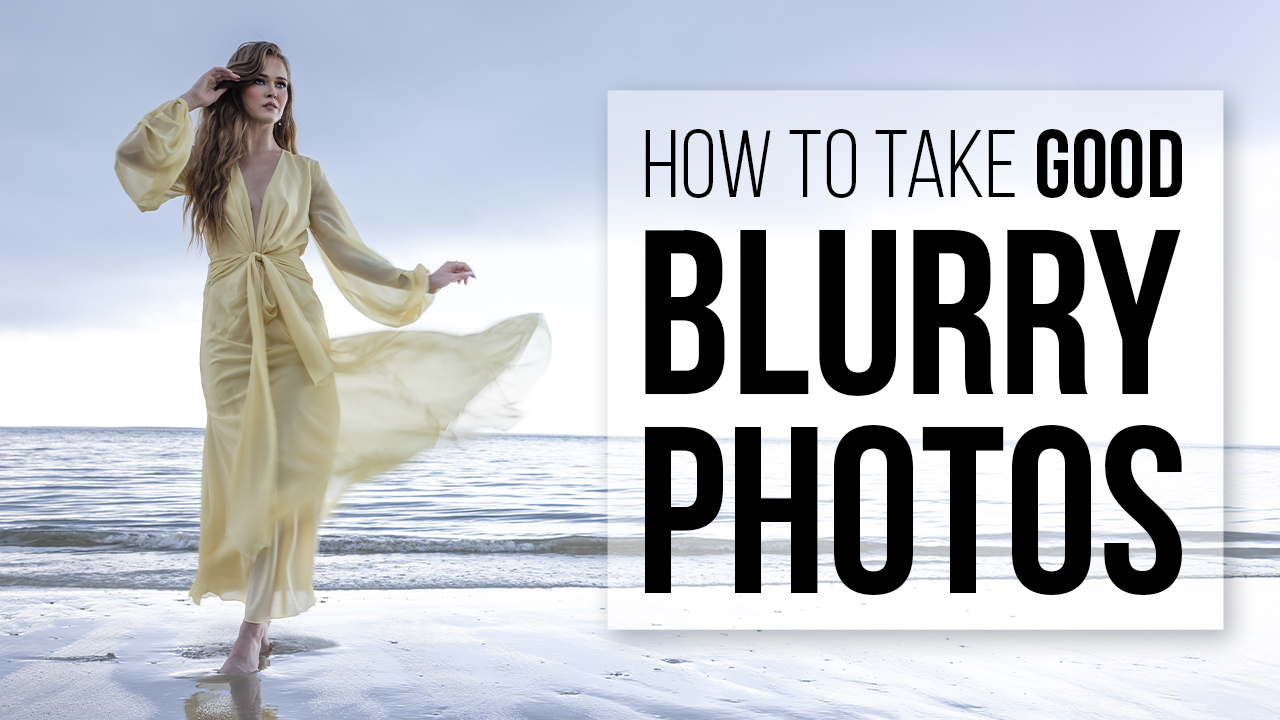
Learn how to take GOOD blurry photos with intention and style. This guide covers camera settings, motion techniques, and creative tips for adding artistic blur to your portraits.
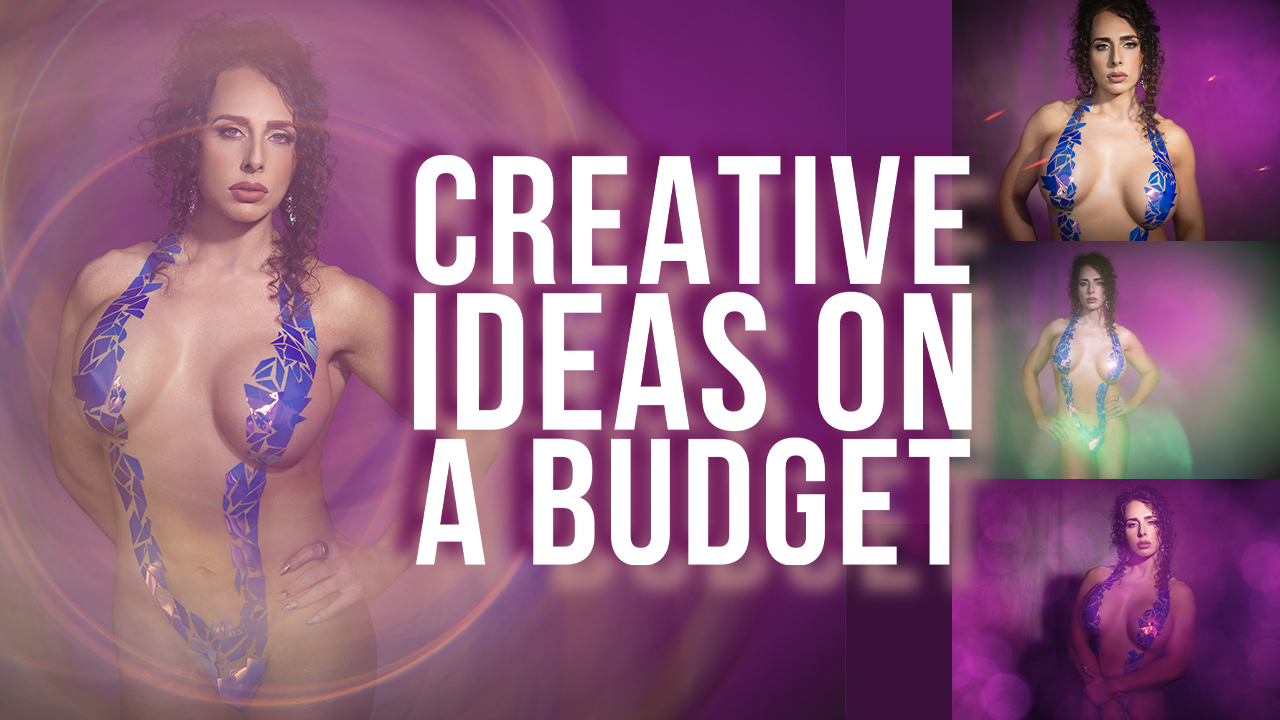
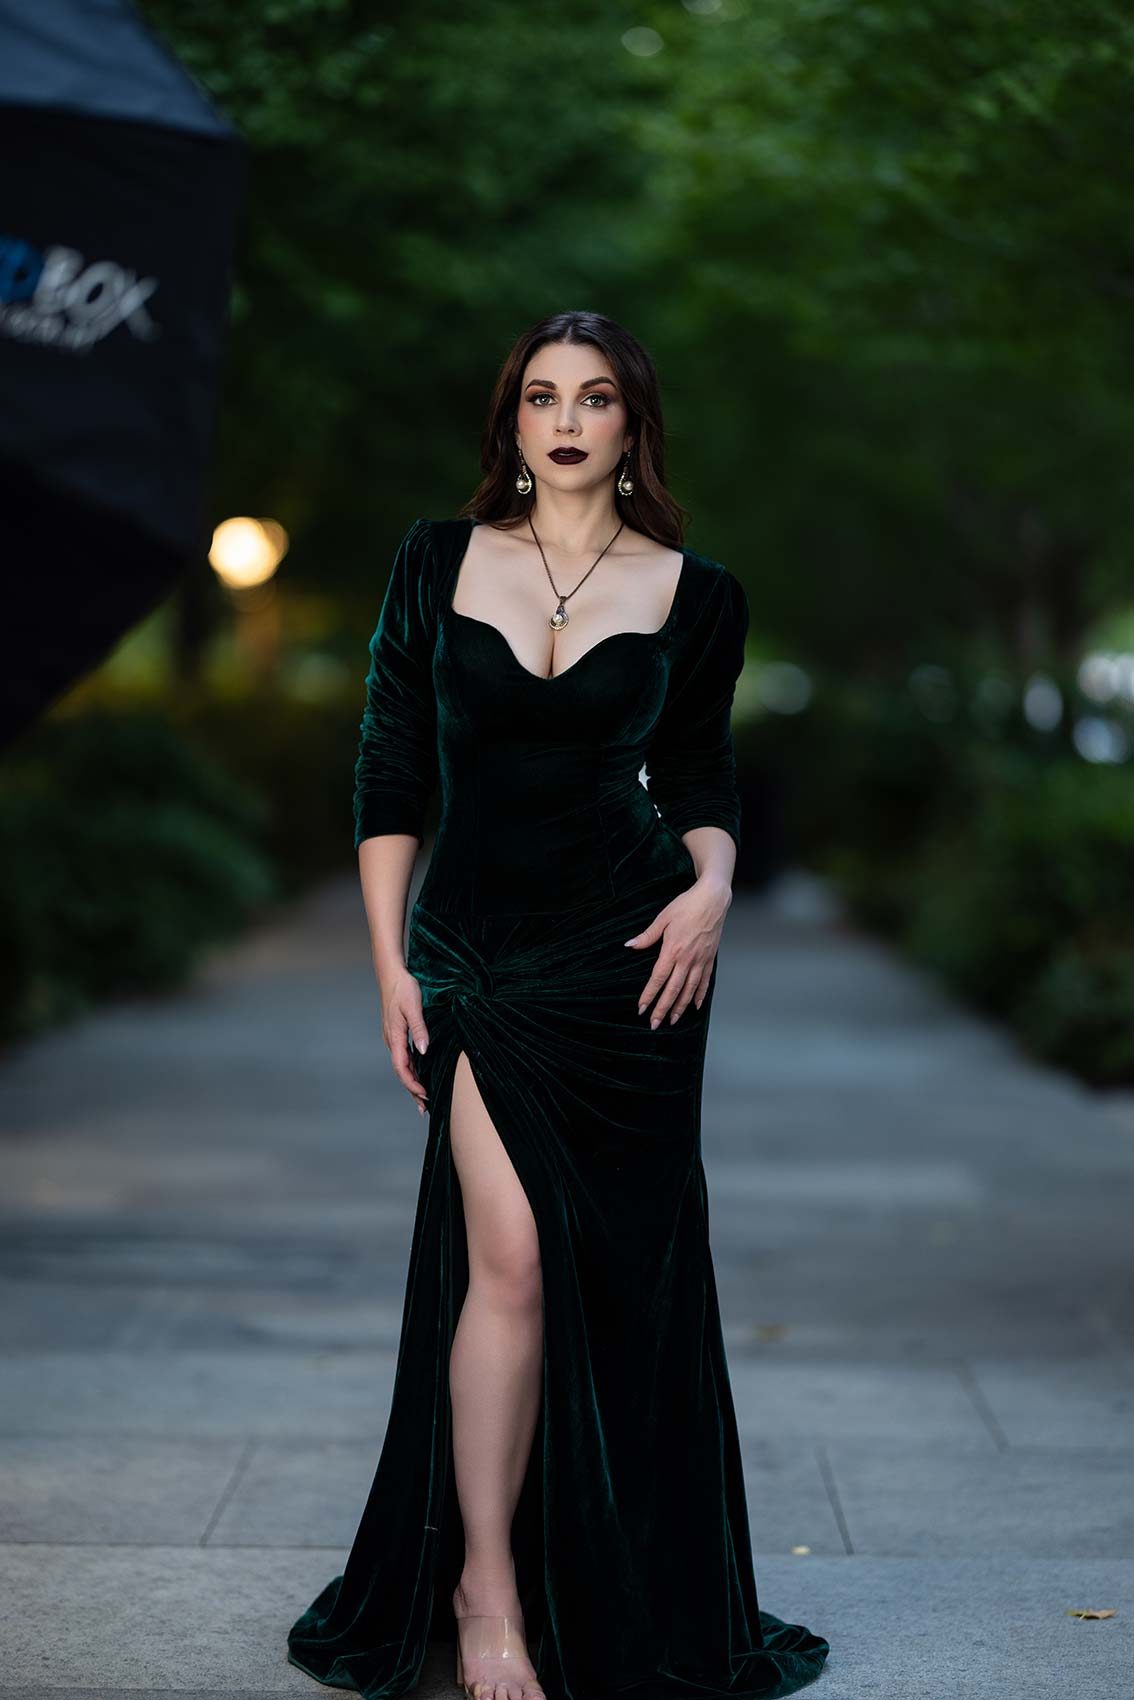
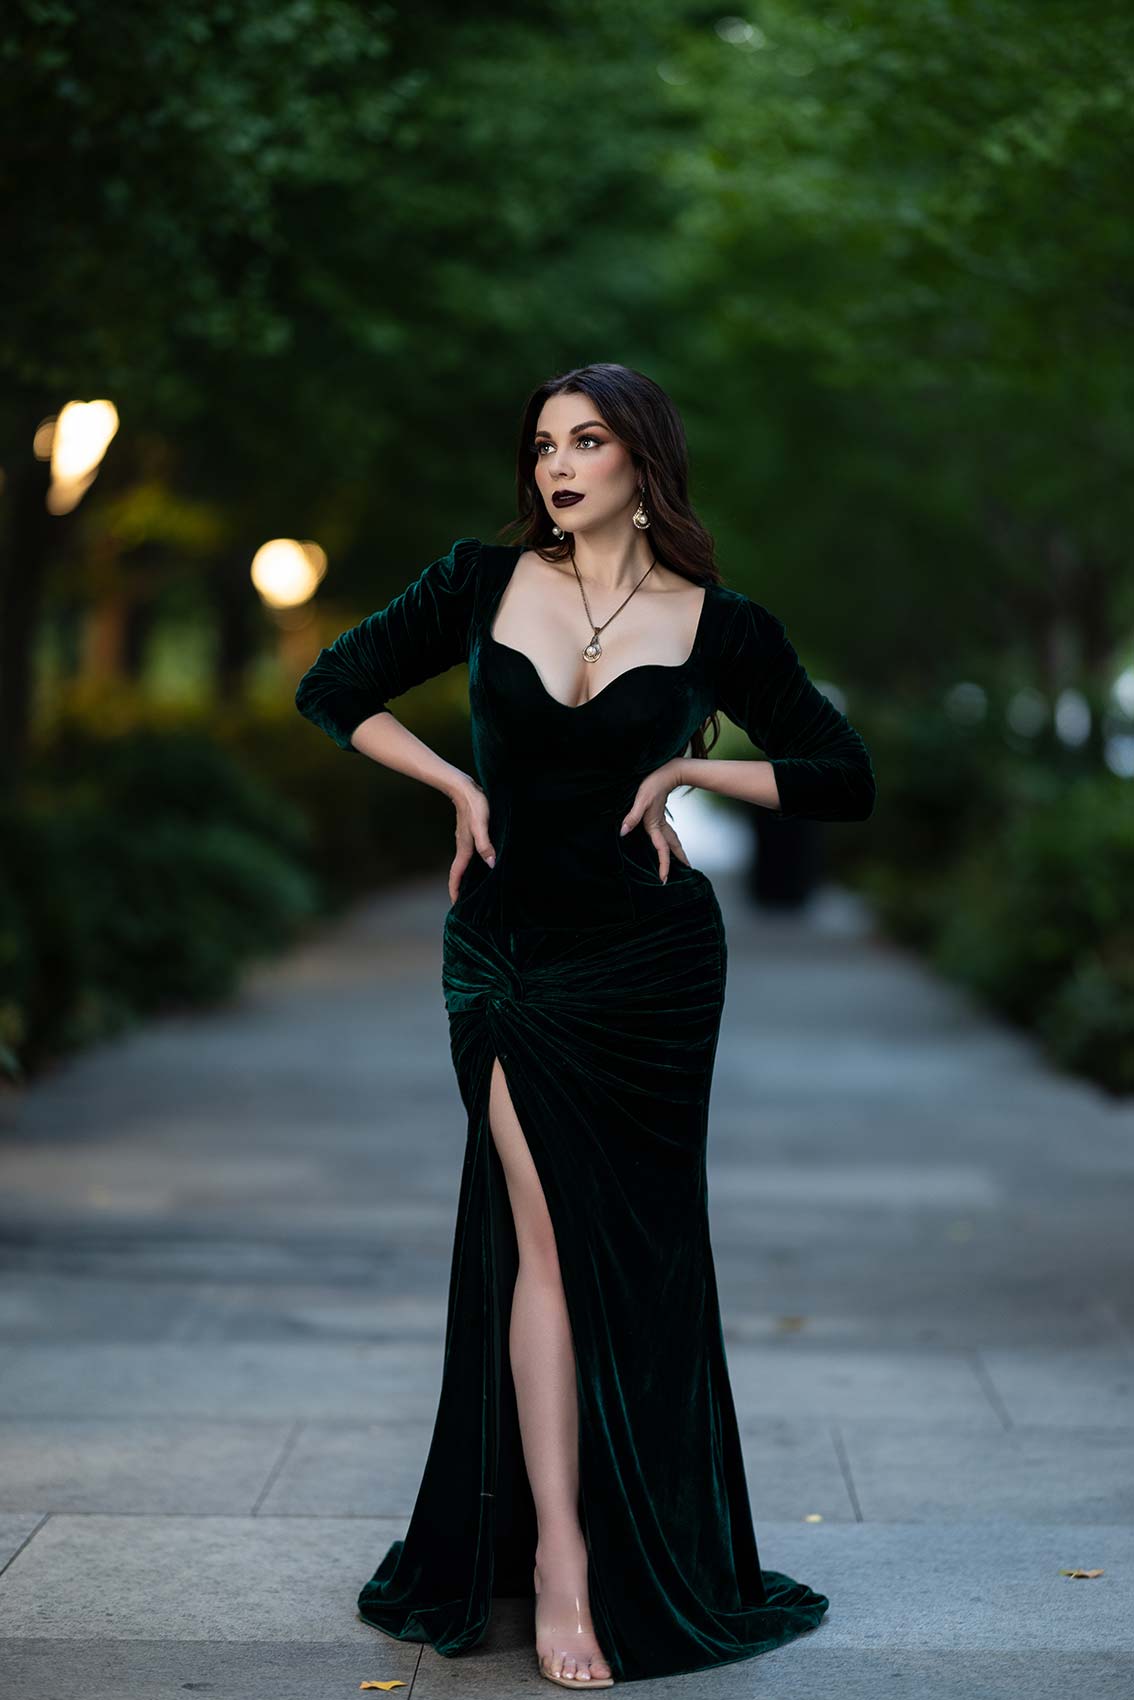
Discover four creative ideas for your next photoshoot on a budget using simple tools like prism filters, holographic sheets, crystals, and a glitter lighting technique to elevate your portraits without breaking the bank.
