How to Make Women Look Good on Camera

Share
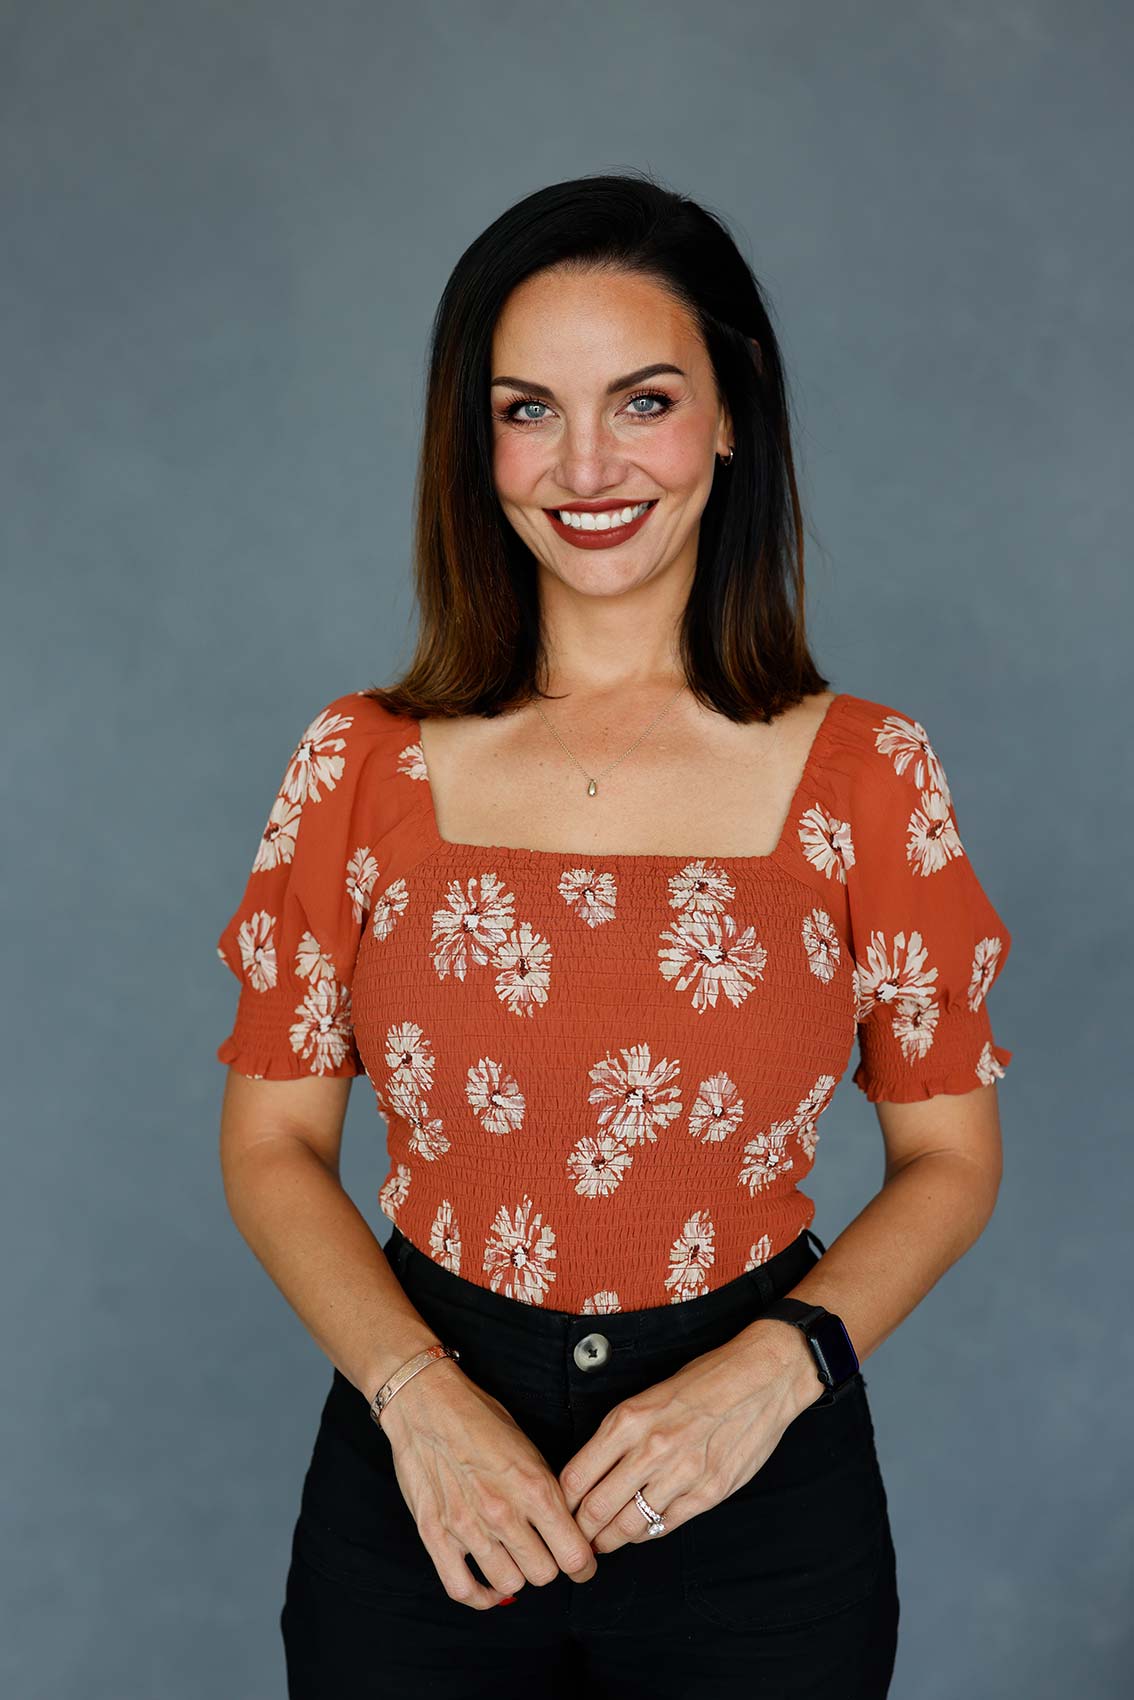
Everyone wants to look their best on camera, as a photographer, it's your job to helping them shine. Learn the art of posing women for captivating photographs! In this tutorial, we share expert techniques to make women look stunning on camera. From flattering angles to highlighting feminine features, discover essential tips for posing women that will enhance their beauty effortlessly.

Equipment Used:

Camera: Canon EOS R5
Lens: Canon RF50 f1.2
Light: Natural Light

Team:

Photographer: Sal Cincotta 
Model: Alissa Cincotta 

Today we are going to talk about some quick tips on how to make women look better in pictures. Now, make no mistake, as photographers, the task is ours to make them look good, right? Your subject, whether they are a high school senior, a tween, a bride, an older woman, etc. They all want to look good on camera. In fact, I don’t think I’ve been to a wedding recently where someone in the wedding party doesn’t ask me if I’m going to use “The Skinny Lens.” I’m sure you’ve all heard that extremely hilarious joke. But in all seriousness, it’s because these women have been in bad pictures and don’t like the way they look.

I think a lot of that has to do with us as photographers. So how do we mitigate that? When I’m starting with all my clients—Seniors, families, weddings, mothers of the brides, it doesn’t matter—I give every one of my female clients the same spiel. I walk them through how to look their best on camera. And if you just spend two to three minutes explaining what I’m going to explain to you right now to your clients, you are going to get better results. And hey, you don’t even have to use the skinny lens.

The Chin

All right, so how do we do it? We start with various sections of the body. One of the first places I like to start for all my clients, men included, is the chin. What I’ve seen is a trend where people are used to taking selfies high up in the air, angling their phones downward. So, we’re getting into this habit that when we have clients on camera, their chins are up in the air. I don’t know why, but doesn’t really look too good if you ask me. I am constantly telling them, “Chin down, chin down, chin down.”
What ends up happening from that kind of direction is the reason they don’t like their pictures—because it ends up giving them a double chin. So, one of the things we tell our clients is to “turtle”, the phrase I like to use. If we turtle it extends and elongates the neck. This is a really good way to get people out of having a double chin.

Regular Chin

Settings: f/2.8 @ 1/200, ISO 200

"Turtle" Chin

Settings: f/2.8 @ 1/160, ISO 200​

The Hips

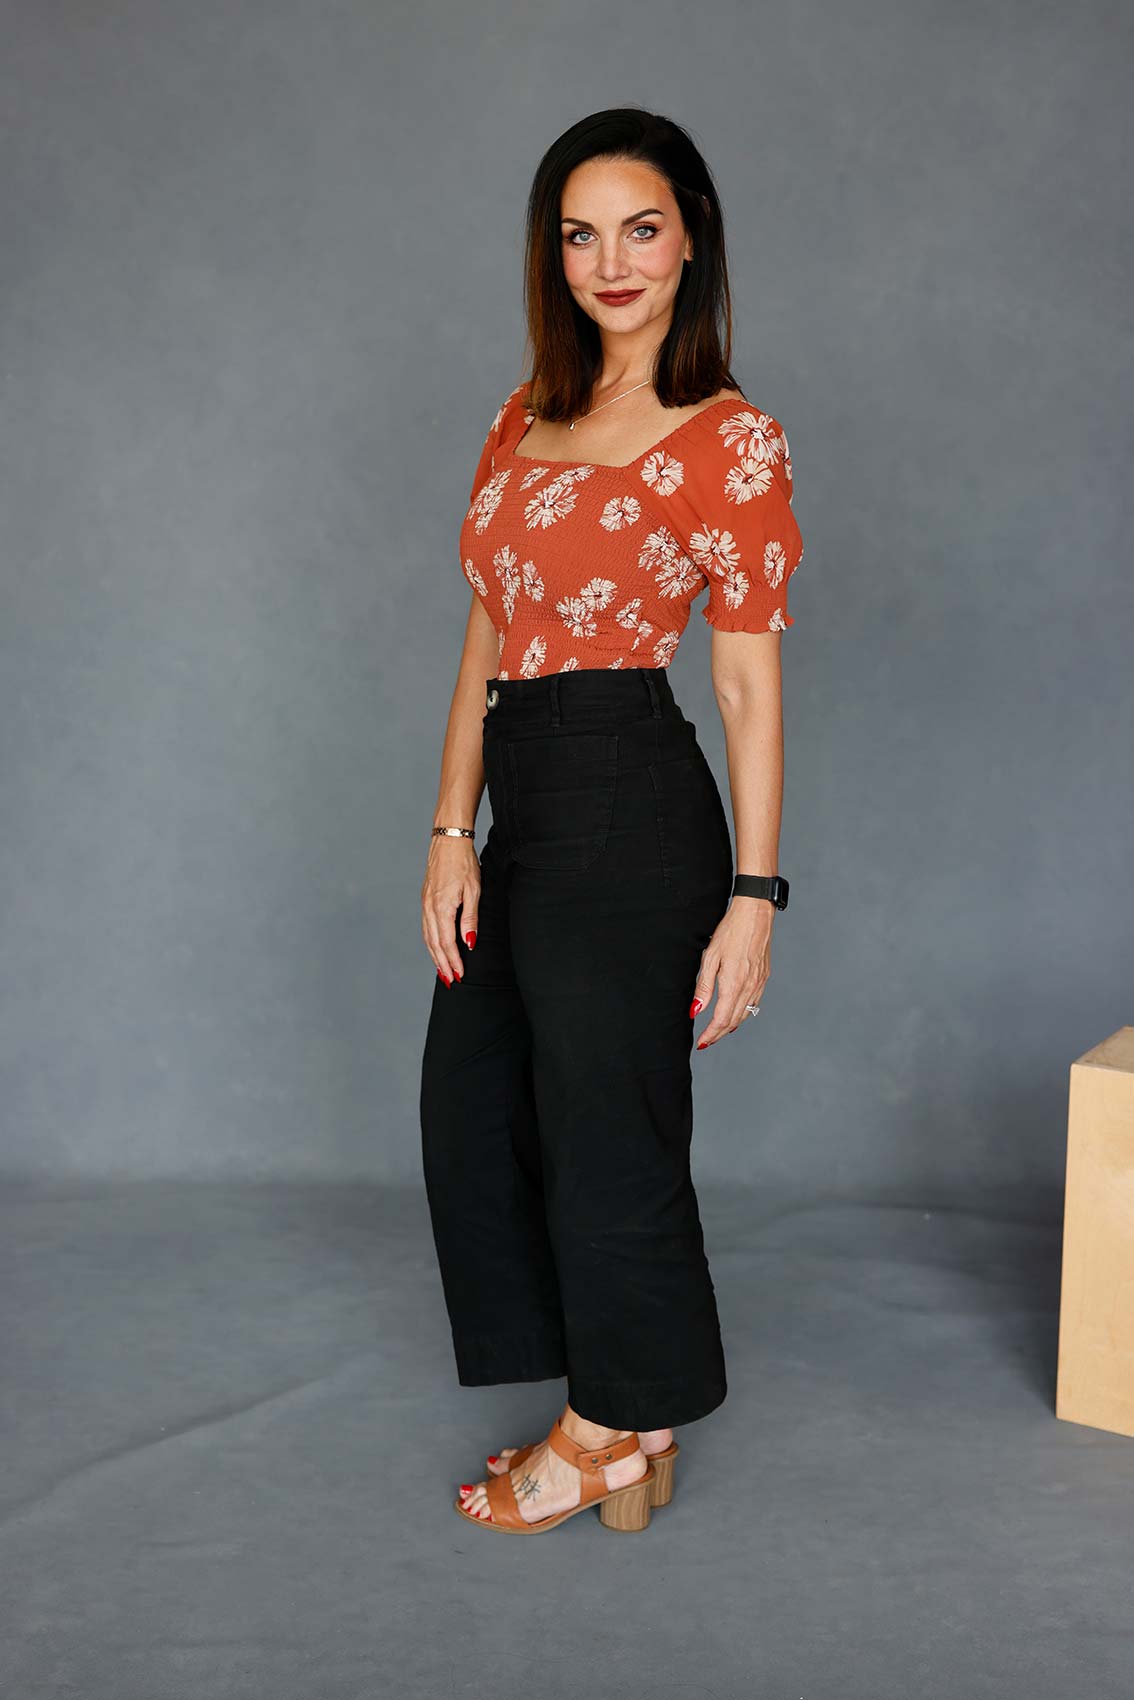
What we want clients to do is push that hip to the rear. What that’s going to do is thin out this part of their body. Now, the other thing is if you’re square to camera as well, the wider you start going with that stance. It’s going to get you looking heavier. So, the hips are really important on how you’re posing them. And it’s all by body type. You really have to learn. There’s no silver bullet. You have to learn and kind of evaluate your client for where those areas are. So if somebody’s a little bit heavier in the midsection, you have to take that into consideration, even for guys. I got my nice little Italian pasta belly, so I’m not going to stand totally sideways to camera, because then it’s going to accentuate the wrong part of my body. So I might turn at a little bit of a 45 degree angle.

Hip Towards Camera

Settings: f/2.8 @ 1/200, ISO 200​

Hip Away From Camera

Settings: f/2.8 @ 1/160, ISO 200​

The Legs

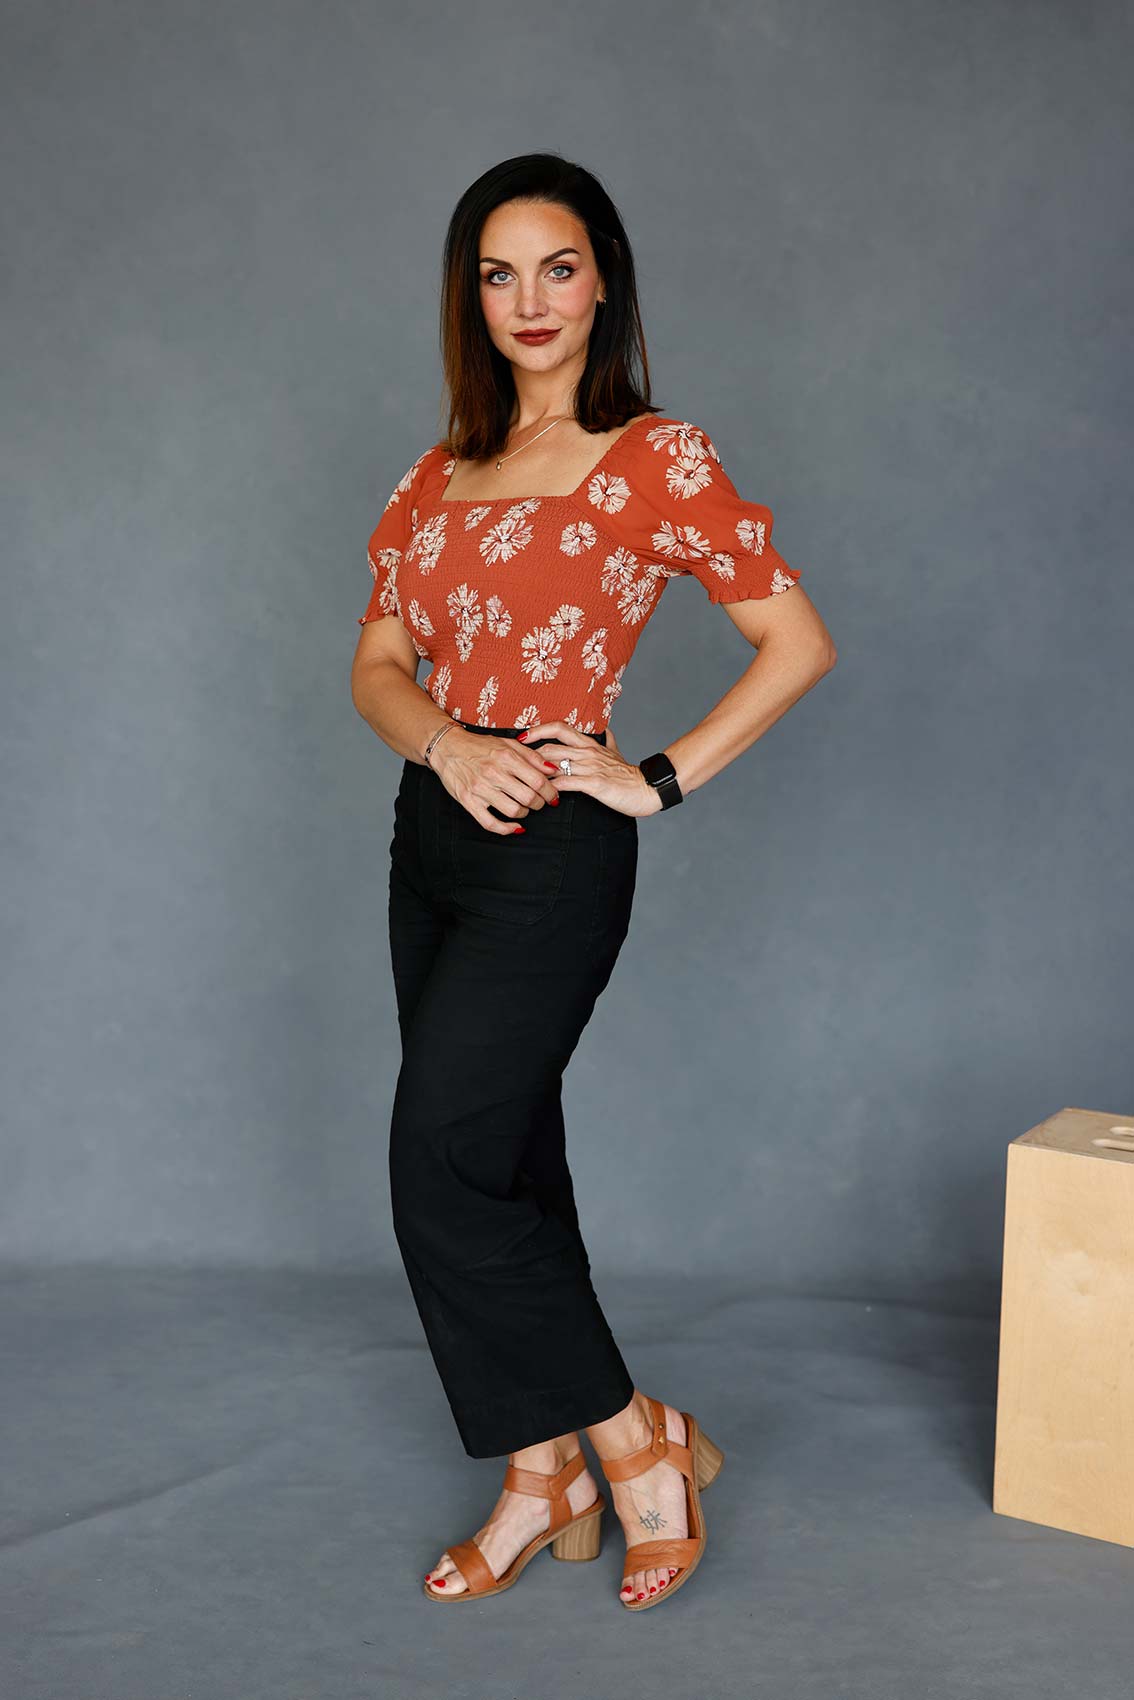
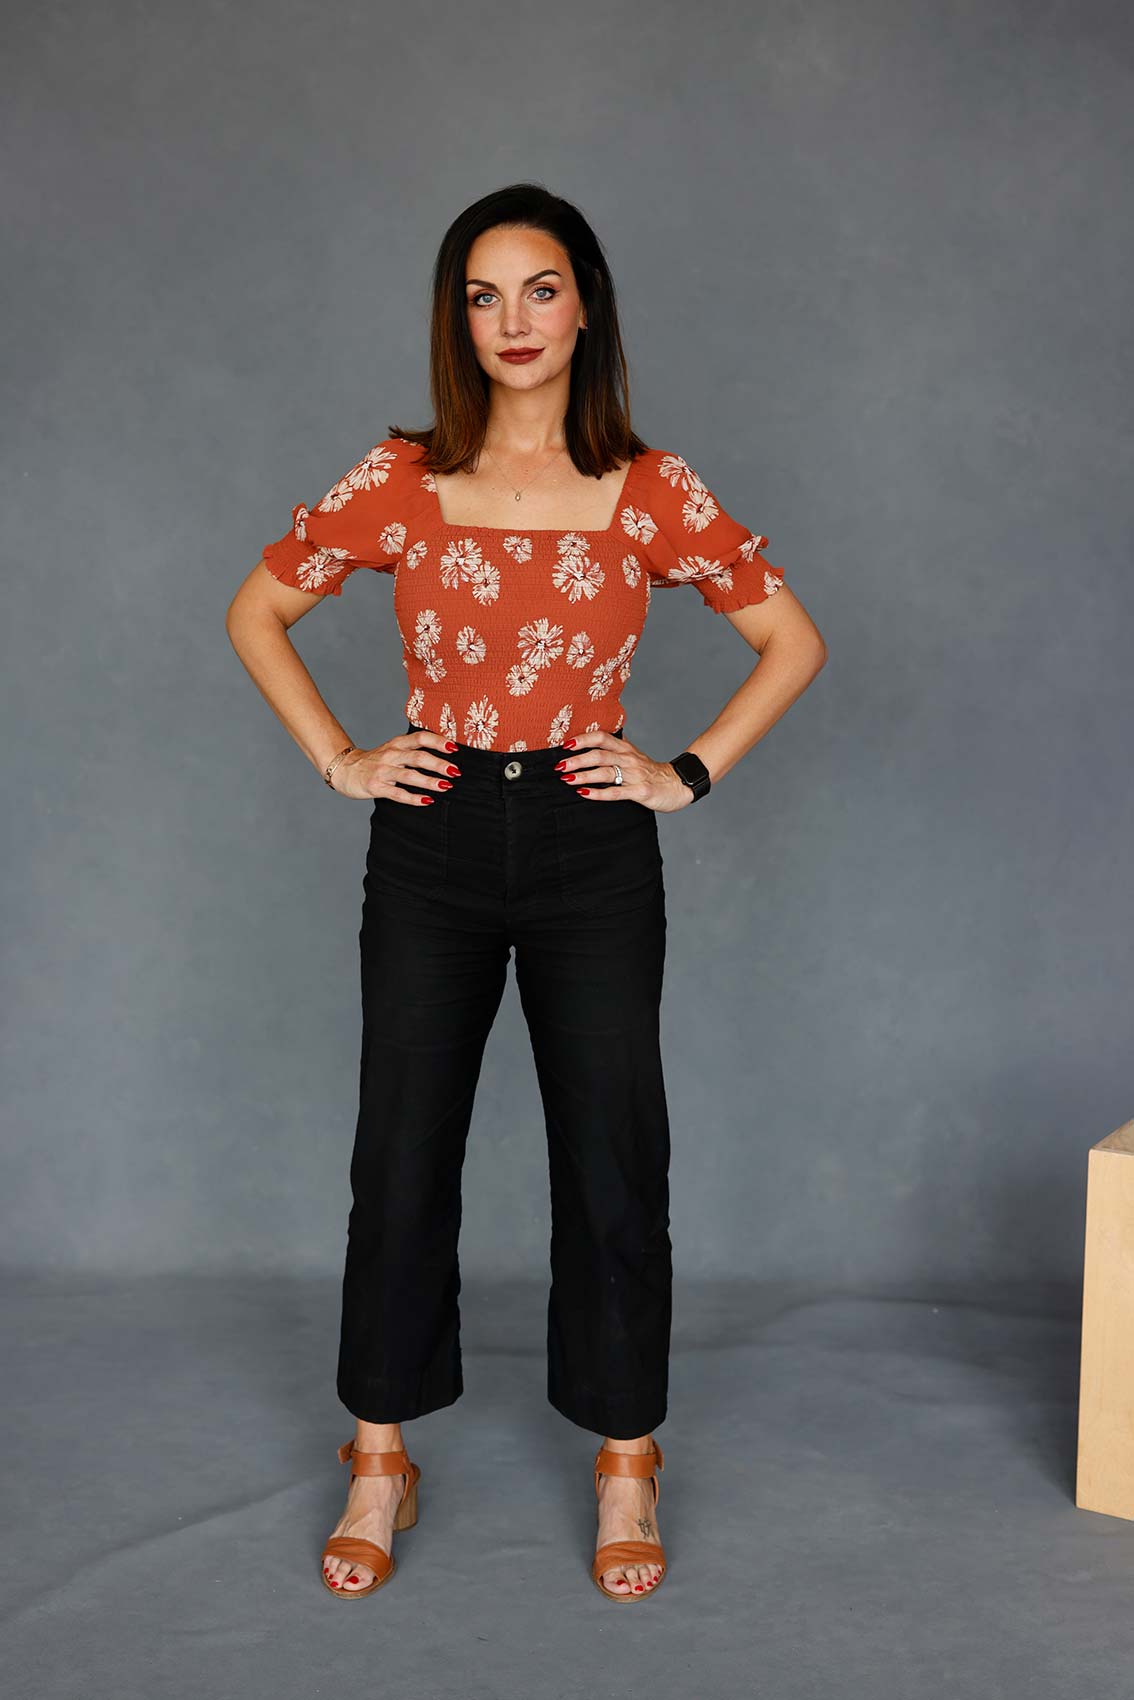
The next thing we want to do is an S-curve in the body. So, if your subject stands with their stance fully wide, what ends up happening in a pose like this everything is just very symmetrical, feels very much like a cheerleader. Maybe it’s great for a 10 or 12-year-old, but I’m not going to pose my bride like this. It’s not very elegant. Nobody’s going to like that pose.
Where I start my clients is telling them to put their ankles together and lift their right foot, just the heel. You can automatically see when they lift that heel, we’re thinning things out. But here’s the trick to it all looking good: make sure they collapse that knee.
If your subject just raises their heel, they’ll still look wide, but if they collapse it, it now goes into more of an S-curve. If you still need to thin them out just a little bit, you’re going to turn their back hip away from camera. When you do that, it looks completely different.

Wide Stance

Settings: f/2.8 @ 1/200, ISO 200​

S-Curve

Settings: f/2.8 @ 1/160, ISO 200​

The Arms

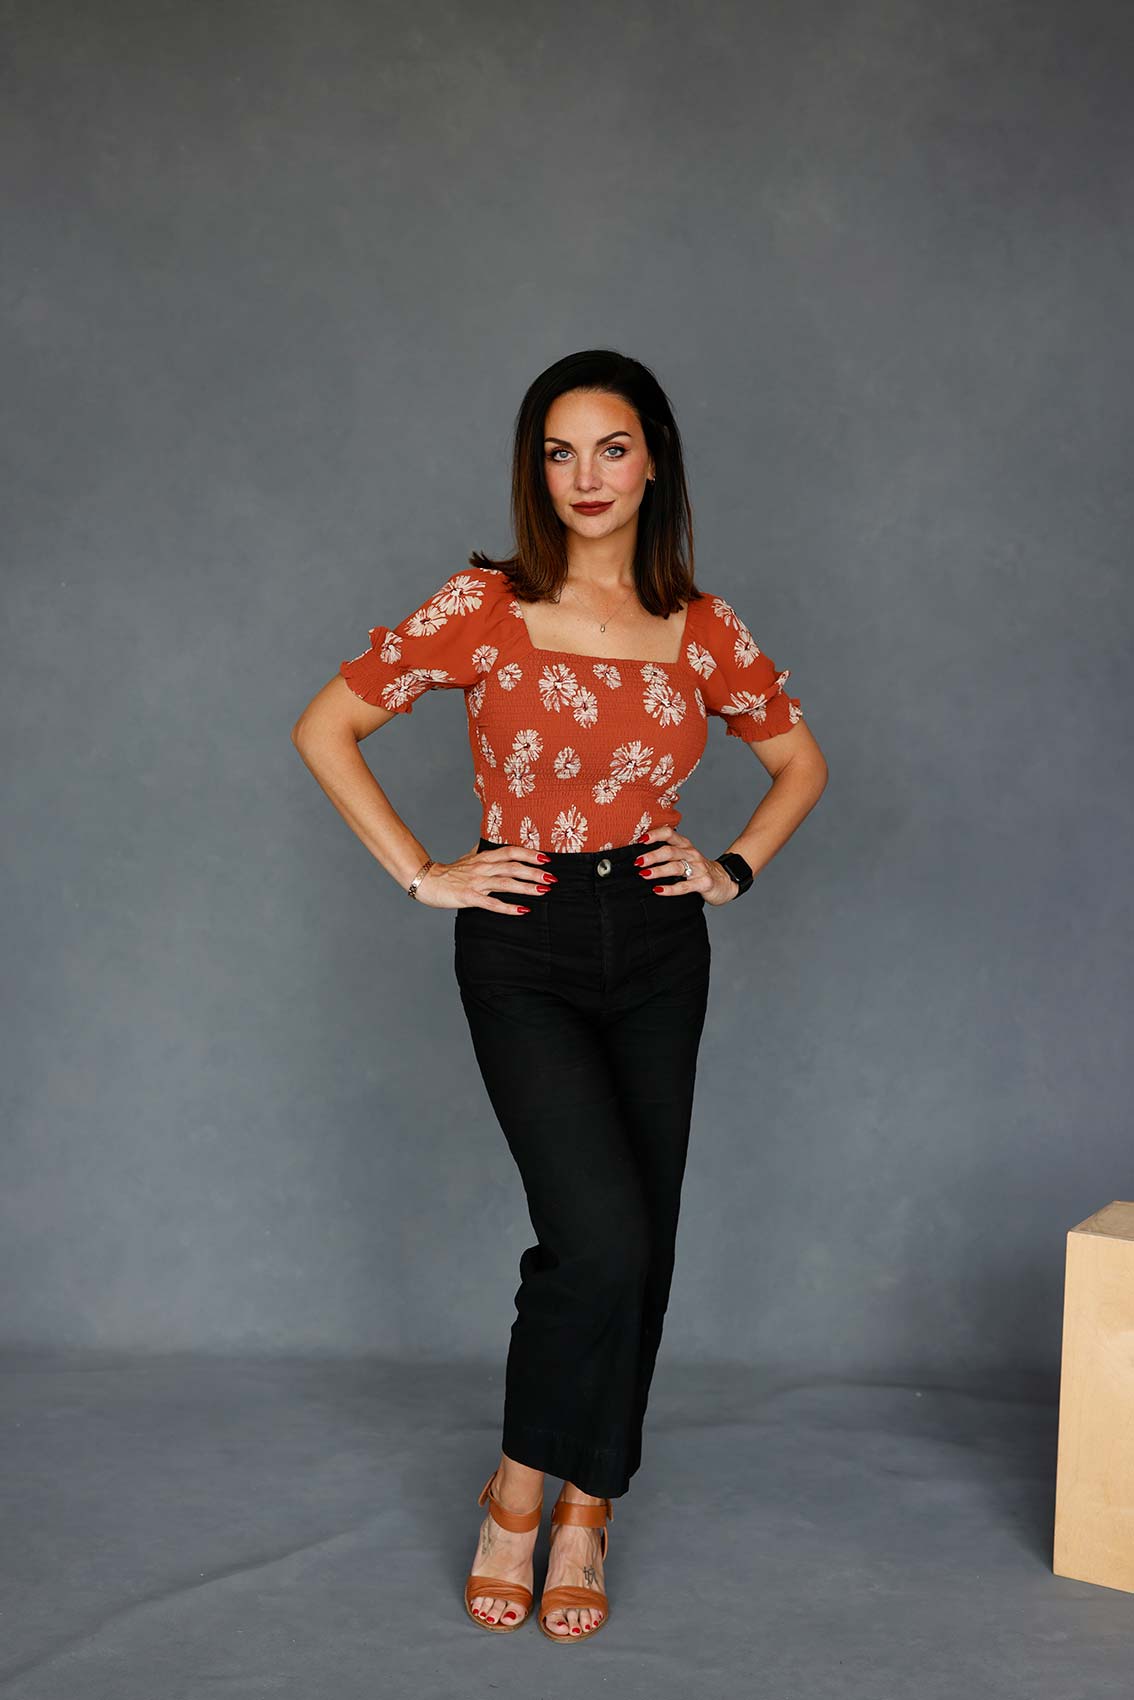
The other thing is arms. Arms are a big problem for most women in general. And again, a trend that you’re seeing, whether it’s in weddings or portraits, is females will wear sleeveless shirts but then not be happy with the way their arms are looking in pictures. When you allow somebody’s arms to lean against their body, they’re going to look heavier, right? It’s just natural. It’s mass. You’re squeezing all that mass together, it’s going to look heavier.
The trick there is getting arms off the body. Now, in order to do that, we don’t want people walking around like a robot. That doesn’t make any sense. It also doesn’t make sense to have every picture with their thumbs in their pockets, flexing arms. It’s the subtlety of it all. One of the things that will help here is creating a gap of space between the arms and the body, because now the eye can visually see the hip, the shape of the hip and the waist. And so just immediately getting her elbows off just a little bit is creating that space.
Now, the next trick I really love. Models know how to do it very instinctively. It’s not going to work for every one of your clients, but for those clients where it does work, it’s very subtle and it looks good. If you’re telling people to pop their hip, you should be encouraging them to pull their arm back and work within the shape of the hip. For somebody who’s got heavier arms, what that’s going to do is hide the back half of their arm away from camera. As that arm gets away from camera, it’s going to thin that arm out because you see less of it. It’s more in the shadows, and it’s further away from camera. If somebody’s already has thinner arms, it’s going to look even better.

Arms Away From the Body & Pulled Back

Settings: f/2.8 @ 1/160, ISO 200

Asymmetry

One of the other things I want to talk about is asymmetry. Everything looking perfectly symmetrical is not necessarily very pleasing for a final portrait. So that’s why I like doing things with asymmetry in the shoulders. I like to tell people to just shimmy the shoulders a little. Drop one shoulder more than the other. Now we’ve got more of an asymmetrical pose, where everything’s not perfect, but it looks much more visually pleasing and it’s a much nicer look on the portrait.
What will start happening for you is these types of things will become more and more intuitive and part of your vernacular as you’re talking to and communicating with your clients. I think this is very important. So just in this quick video, we’ve been able to show you from chin, to shoulders, to chest, to hips, to legs, how to work down the female form to make a better portrait. And this will work with all your clients if you just put this into practice while you’re working on any given photo shoot.
At the end of the day, clients are coming to us to look their absolute best, and that extends beyond just hair and makeup. So your posing can make or break the whole thing.

Leave a Reply

Want more content like this?

Check out our recent posts

yt thumbnail transform your studio space with continuous light

Transform Your Photography Studio Space with Continuous Lighting

Are you ready to transform your photography studio space with continuous lighting, all without the need for new construction? Adding continuous lighting to your setup allows you to truly change how your space looks and feels. Best of all, what you see is what you get.
In this video, I show you how we are using Nanlite continuous lighting to enhance our space with different lighting modifiers, color temperatures, and more.

Read More »