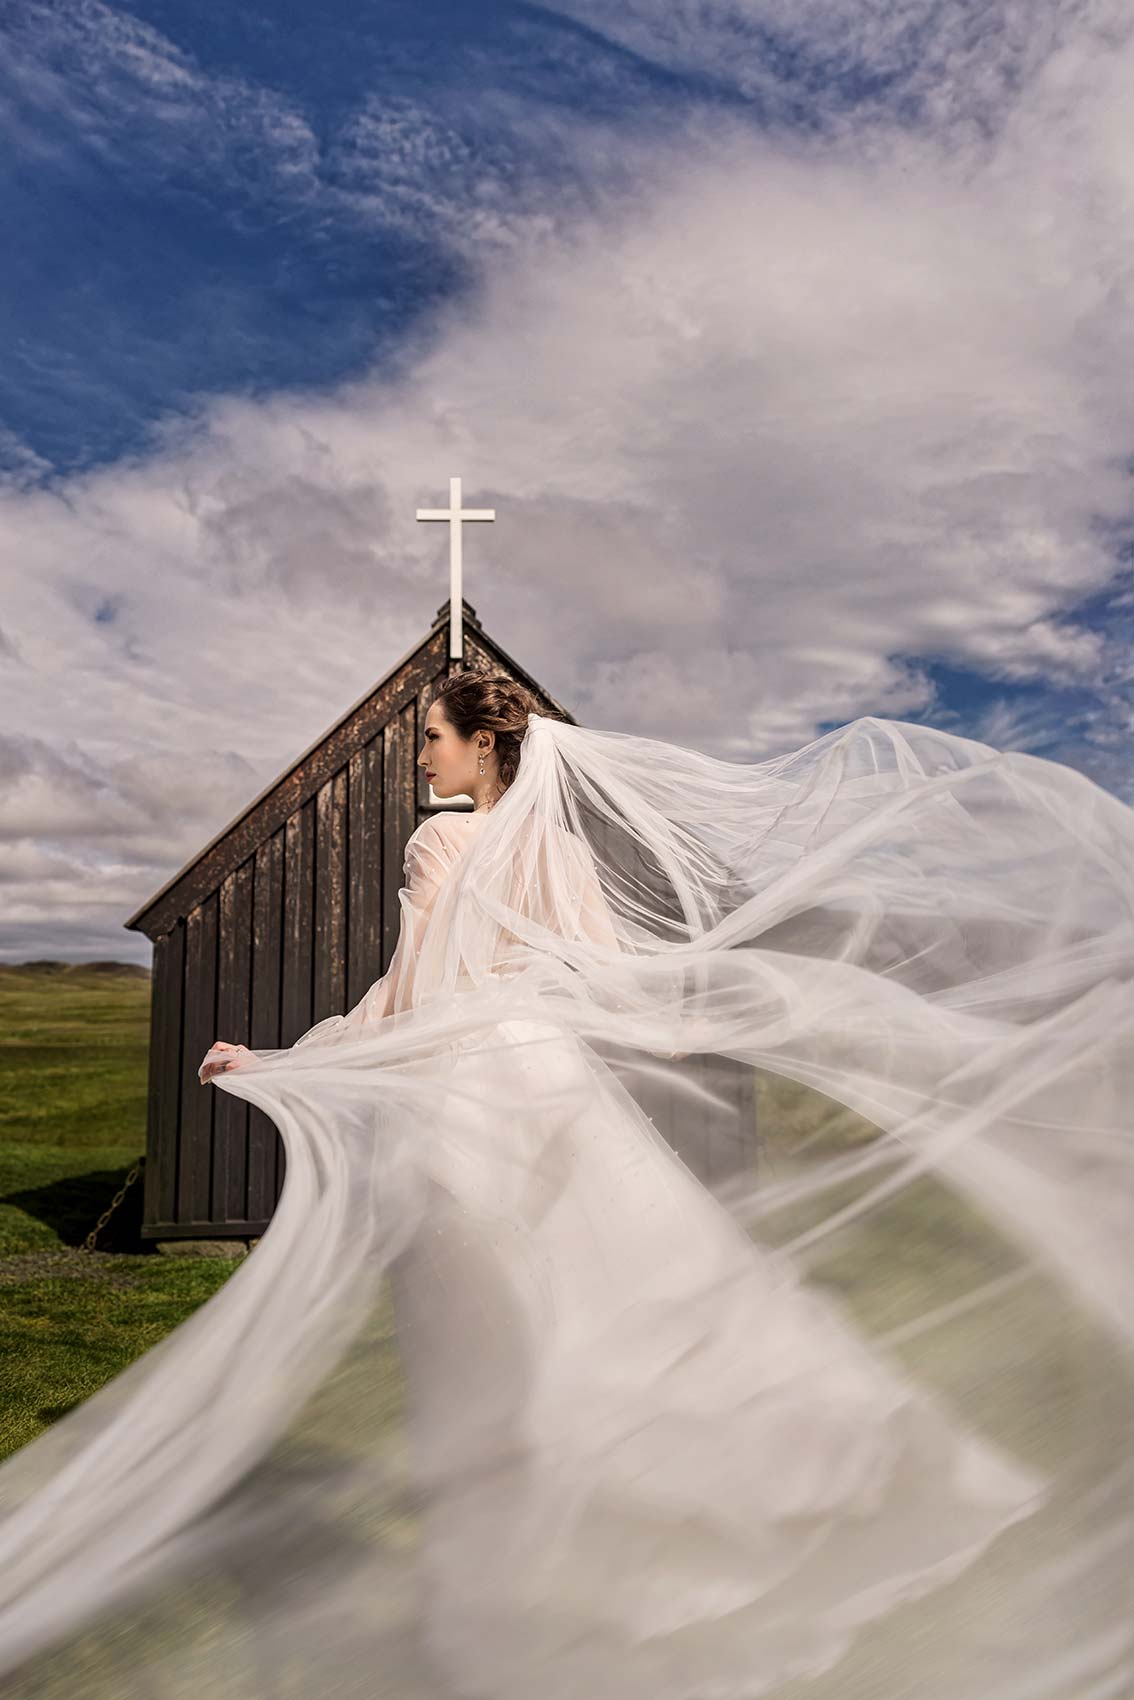
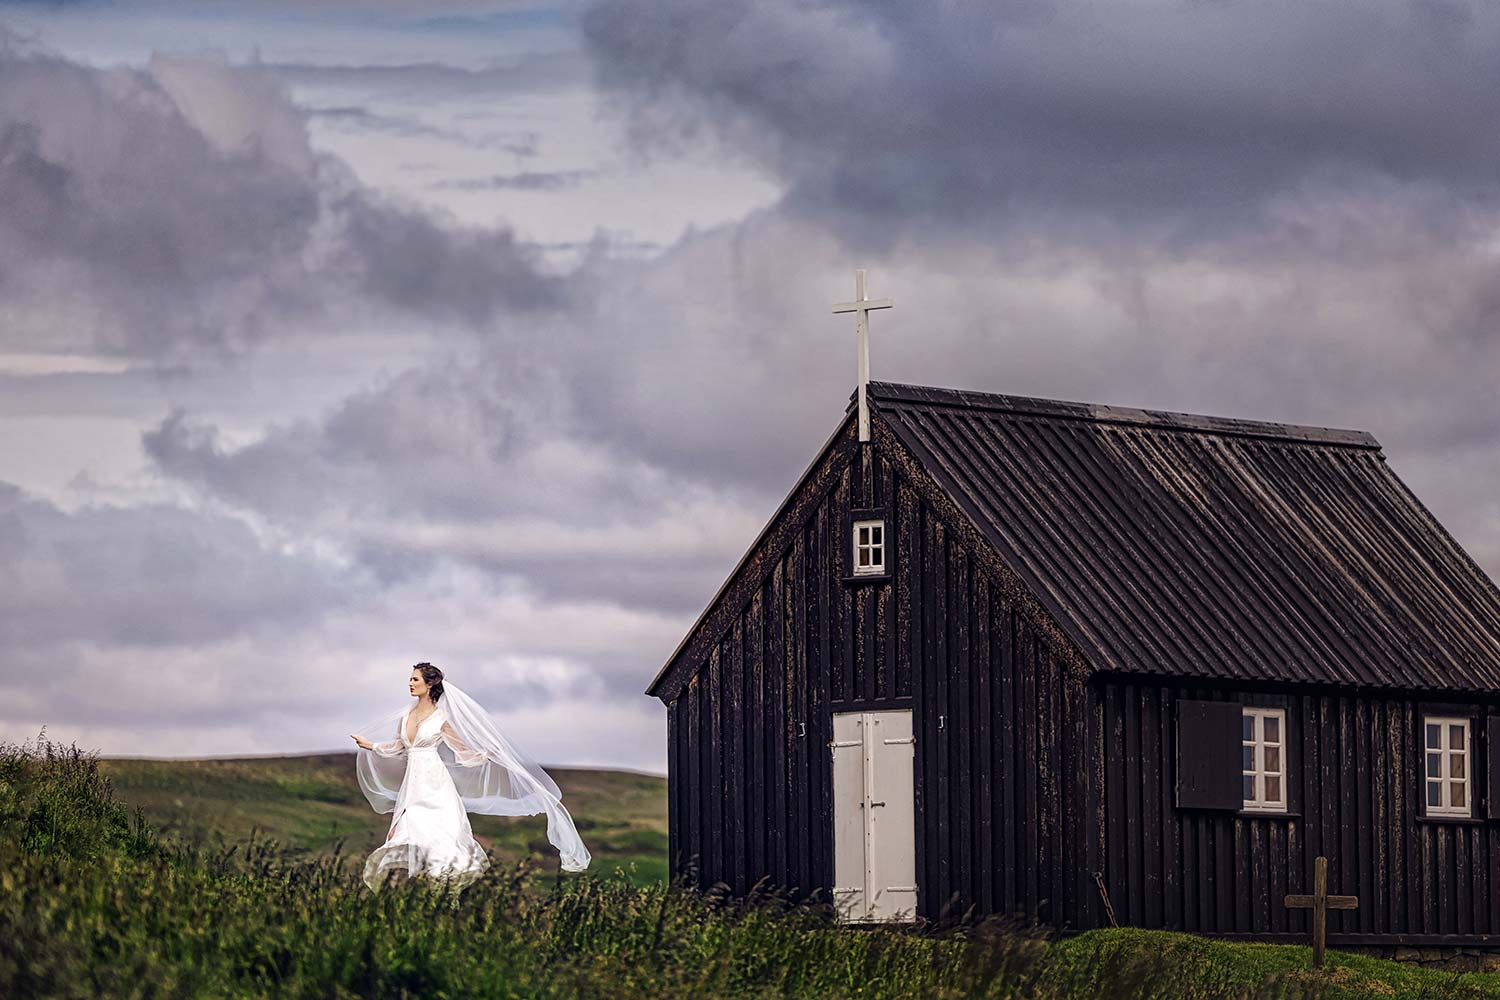
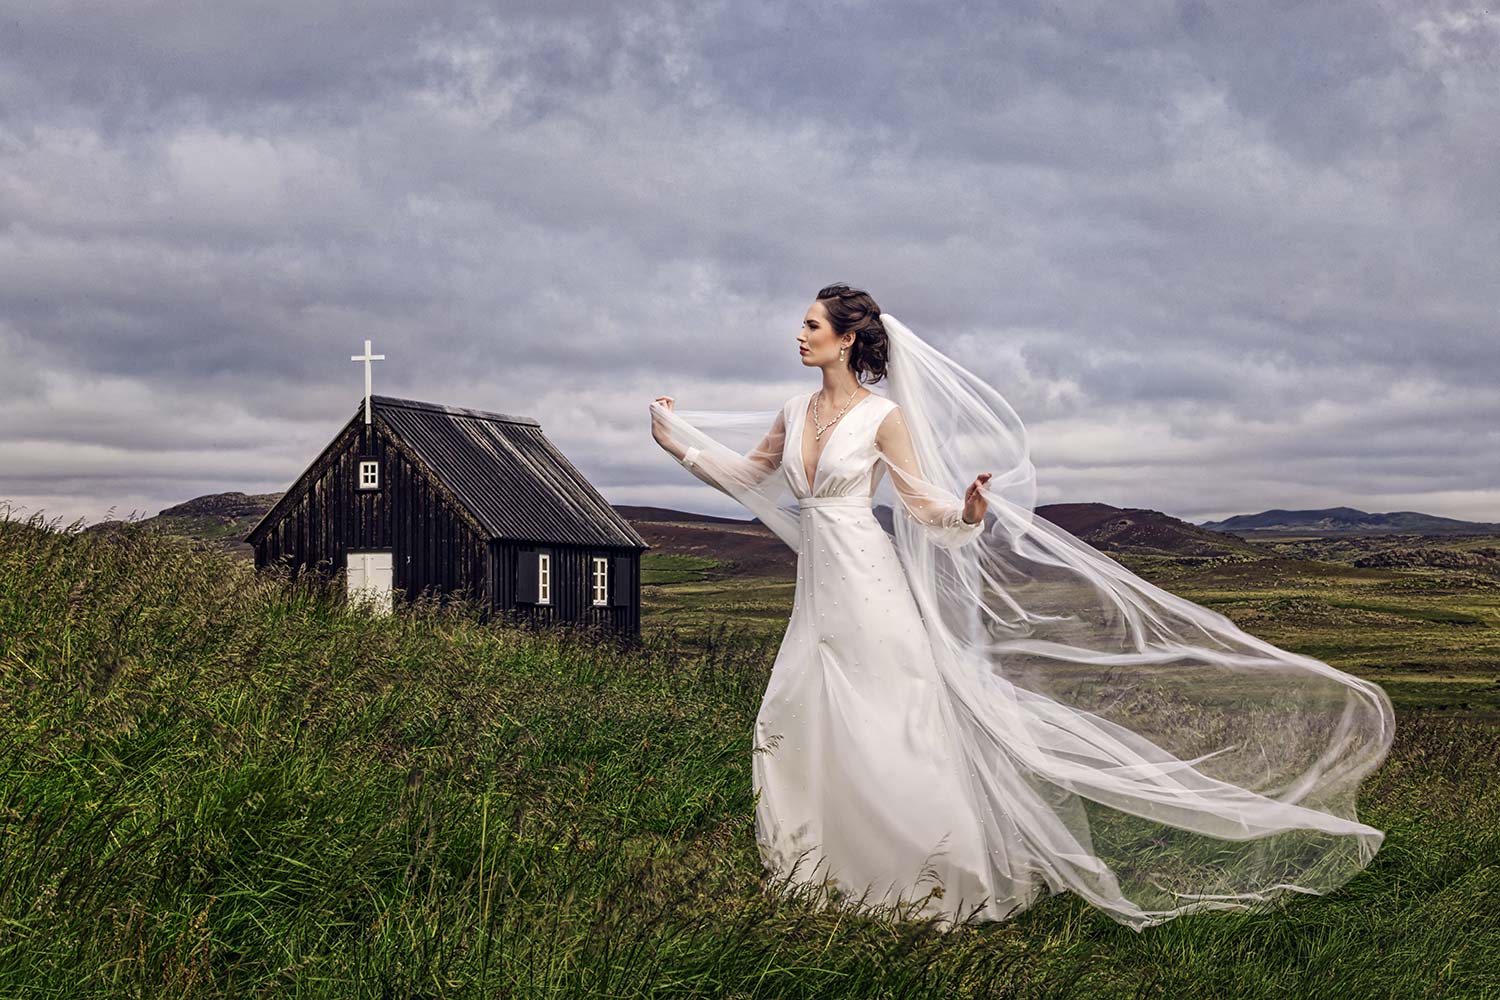
Do your bridal portraits need a little work, little jazzing up, a little spice? In this video, I’ve got three tips to help you create better natural light bridal portraits. We just got back from Iceland and we were doing a bridal portraits session at this iconic black church. So we’re on location, the sun is coming in and out, it’s chilly, but we still wanted to create incredible portraits.
You have to figure out how to work with your scene to be able to create the perfect natural light bridal portrait. Sometimes, the scene may not give you what you want. You may want to have your bride face a certain direction, but it just may not be there at the time. You have to be able to work with the scene, the sun, and the natural light. So what I want to do is help you guys out, show you what we were doing during this shoot, and give you inspiration on how to create a better bridal portrait. Let’s talk about how we did it.
Tip #1: Find the Scene
As a photographer, you want to be able to tell a story with your photography. So as you’re coming into a scene, don’t just roll up and start taking pictures just because it’s a beautiful church, beautiful bride, beautiful groom. You have to be able to tell a story with that scene. So before you even pick up your camera, step away. Put the camera down, look at the scene, absorb the scene, and ask yourself, what is the story here I’m trying to tell? Is it the bride walking into the church? Is it the bride in front of the church? And this can be with your bride or your groom. They can both be there (or your bride and your bride, or your groom and your groom) What is the story that you’re trying to tell?
For this scene, we had a couple of stories we wanted tell. We just had a bride and we wanted to have the church in the background with her in front of it. And then we wanted some portraits where she was kind of walking to the church and moving. So the story would be that she’s heading to the church to get married, maybe she’s late for her wedding day, I don’t know. You insert your story however you want it to be. But the movement gives it more of a story versus her just standing in front of the church.
Great. Story. Check. What’s next?
Tip #2: Find the Light
This is the one thing I see most photographers struggle with over and over again. It’s square peg round hole. We are not moving the sun. So if you are shooting in natural light, wherever the sun’s coming from, that’s where it’s coming from. You’ve just got to deal with it and work around it. And you have a decision to make. Is your subject looking into the sun? Are they looking away from the sun? Are they back lit from the sun? Depending on the time of day, that sun is going to be in a different location and you’re going to be getting all sorts of different light. And we all know you can’t show up at sunset for the golden hour all the time. Just doesn’t work that way. So you’ve got to figure out where that sun is coming from and pose your couple appropriately.
So remember, the first step is figure out the story. What shot do we see? When I say story, I’m talking about composition. Where’s the bride going to be? Where’s she walking? Where’s the church in the frame? Think through all this stuff. Once you figure that out, step two is to figure out the lighting situation. Since we’re talking about natural light bridal portraits, that means the sun. Where is it? Maybe it’s open shade, maybe it’s back lit. Whatever it is, tell that story and light it properly.
Tip #3: Find the Wind
There’s nothing worse than a bridal portrait where her hair is blowing in her face. And if you have two people posing in that scene and one has long hair and the other doesn’t, guess who wins? It’s the person with long hair. You’ve got to have your subject looking into the wind, so that their hair is blowing away from them and not into their face. Not only is the wind blowing into their hair, it’s blowing their dress and it’s blowing their veil.
Seeing the problem here? So if the light’s coming from one direction and the wind is coming from another direction, those are not fun days. Hate those days, by the way. We’re dealing with pure chaos there because we’re fighting the wind and we’re fighting the light.
In this particular shoot, luckily we were able to work with both the light and the wind. I don’t know if the Icelandic gods were shining down on us to give us the perfect image, but I think we nailed it. I hope you guys love the images you’re seeing. We were able to do that because we had a story to tell, we found the light, and we were able to have her look in to the wind.
Pro Posing Tip for Natural Light Bridal Portraits
Pro tip; when you have your subject looking into the light, they’re going to squint. They’re going to make ugly faces. So the trick that we use with them is we tell them to relax their forehead, close their eyes, get the expression right, and I give them a three count, and then they open their eyes. They can at least give you one or two frames where they’re opening their eyes and they’re looking towards the light. So that’s the trick. That’s how we do it. That’s how I did it on this particular photo shoot, because she was looking directly at the light.
So give that quick three count, pop, pop, pop, and reset. That tip alone will ensure you get some good images, especially when you’ve got your subject looking directly into the light.


This Post Has One Comment
Unreal lighting and composition – thanks for breaking it down