
How to create long exposure light trails with Payton Hediger.

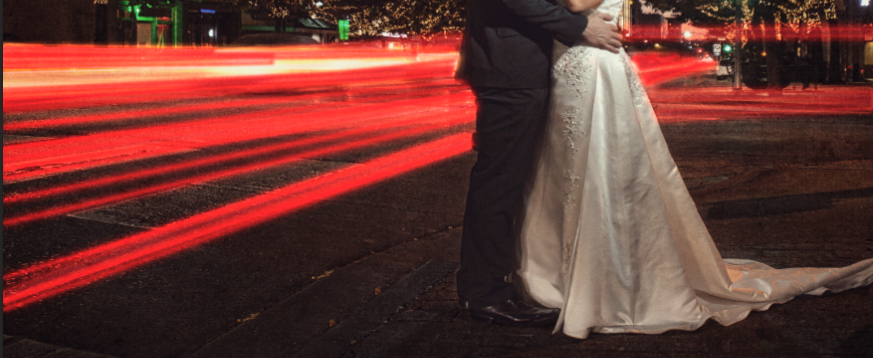
This image in particular was created by Evolve Edits as a Signature Edit for Rafael Serrano Photography. You may note that there are a few other adjustment to this image beyond the lighting technique I’ll be covering here. HDR, toning, sky swap and skew fixes are all standard processes for a Signature Edit and have been applied to this images with the long exposure light trails.
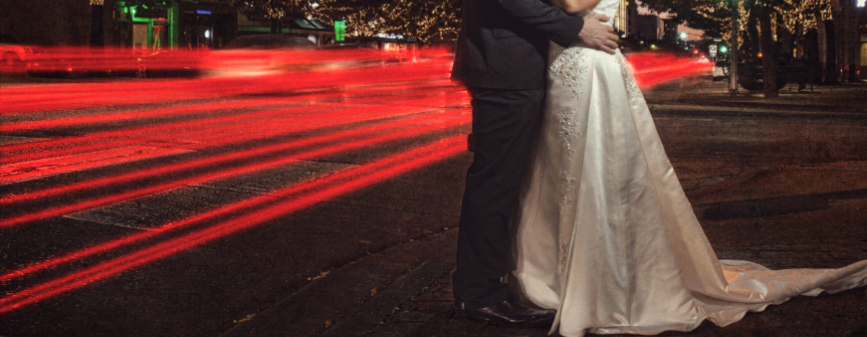
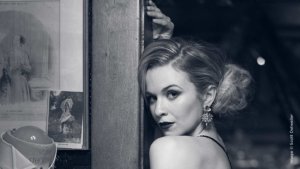
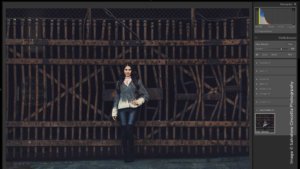
Original image (Rafael Serrano Photography)

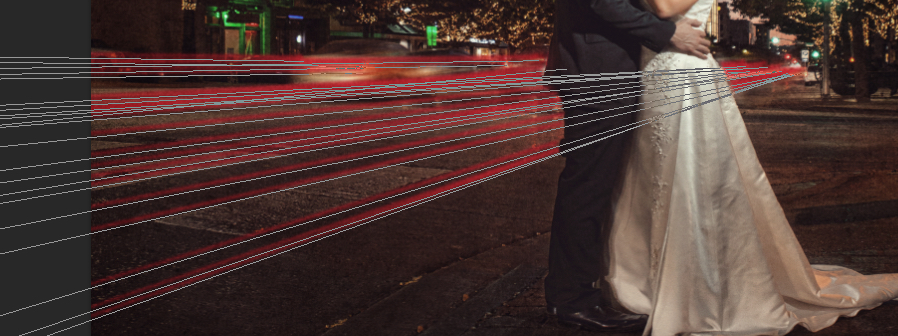
Final Image
To get started we need to blur the vehicles. This is going to make a big difference after we blend the light trails into the scene.
Use the “Stamp Visible” shortcut (Shift + Ctrl/Cmd + Alt + E).
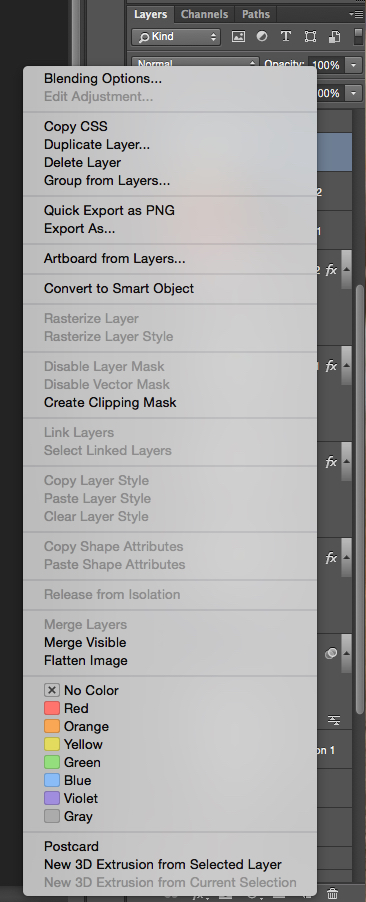
When I’m applying filters, I like to make the layer I’m working on into a smart object so I can make adjustments to the filter after I have applied it so I don’t have to go back and forth undoing and reapplying that filter. To do this, right click on the layer you wish to convert into a smart object and then select “Convert to Smart Object”.
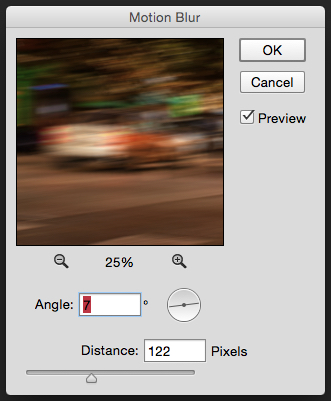
Once you’ve made the Stamp Visible layer into a smart object go to Filter > Blur > Motion Blur. I’ve set the blur to 7 degrees and the distance to 122px. This is going to depend entirely on the image you’re using this technique on. The size of the image will also change the distance of blur you’ll want to use.
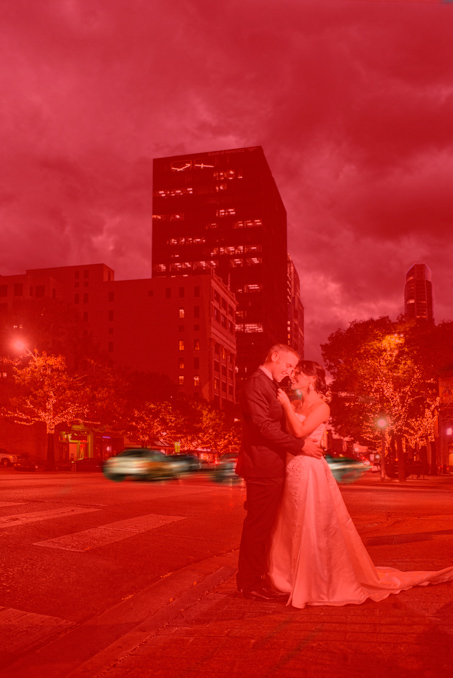
Then you’re going to add a layer mask, located at the bottom of the layers panel, to the blurred cars layer and mask out everything but the area where you want the cars blurred.
Now we need to actually create our light trails.
In your “Layers” panel, create a new layer, located at the bottom of your layers panel (or Shift + Cntr/Cmd + Alt + N). Name this “Tail Lights 1”. For this image the process of creating the light trails was repeated several times for the headlights and tail lights to get the desired effect.
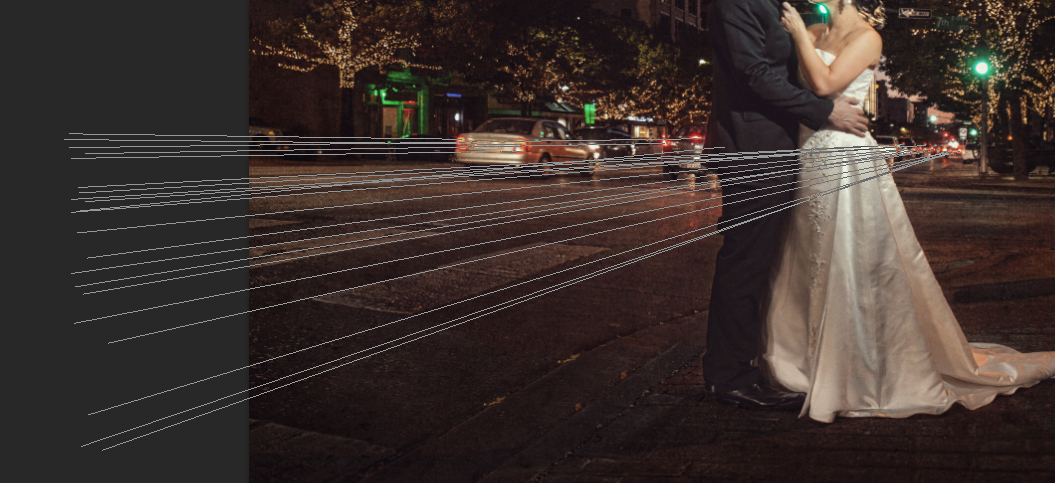
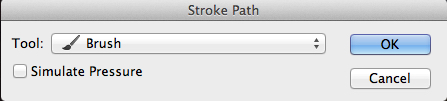
Using the Pen tool with “Path” selected and start drawing out your lines from the tail lights of the cars off the edge of the image.
![]()
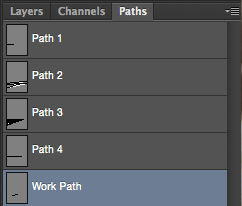
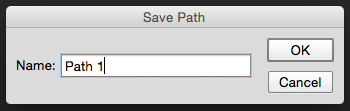
Move over to the Paths panel and save your path by double clicking the “Work Path” layer under paths and naming it “Path 1”. Again, you are seeing Paths 1 through 4 here because the process was repeated several times to get the desired effects for the headlights and tail lights.
Now we need to select a brush, opacity, and color before moving on to the next step.
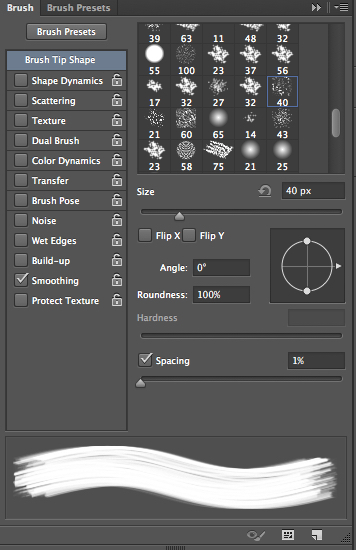
The brush I used for this is just a standard sample tip from Photoshops basic brushes.
You can really use any kind of smaller spattered brush for this, just change the spacing to 1% at 100% opacity.
You can play around with different brushes and even change the angle depending on the direction of your path.
This is what I found worked best but you may find something that looks even better with different sets of brushes.
I have also selected a dark red for the tail light color. Use the eye dropper (I) to pick the red in the tail lights of the cars in your image to get a red that going to match.
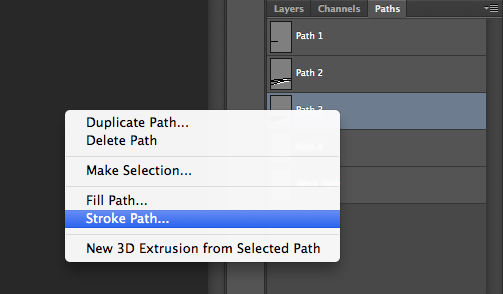
Right click on the layer and use the “Stroke Path…” option.
Select the “Brush” option under “Tool:” but do not check Simulate Pressure.
When you hit “Ok” the current brush, foreground color and brush opacity will be applied to your path.
Just click off of the layers in the “Paths” panel to deselect the path and to get them out of your view.
Play around with blending modes to get the look your going for but I found that the “Screen” blending mode worked best for this image.
Now we need to add Layer Styles to the paths we have made to give a little realism to them. We will specifically be using “Inner Glow” and “Outer Glow”.
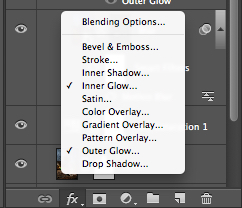
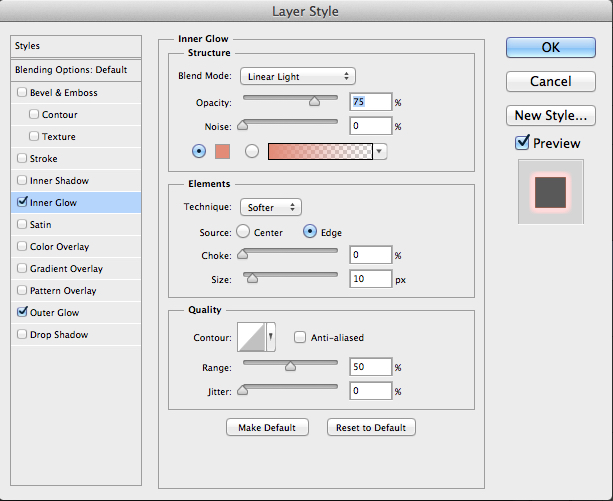
For the Inner Glow…
Change the “Blending Mode” to “Linear Light”.
Change the “Color” to a light orange red color. I’ve used “d18a74” for the color. But this doesn’t need to be specific and will really just depend on the image you’re applying it to.
Then change the “Size”, under “Elements”, to 10 px.
For the Outer Glow…
Change the “Blending Mode” to “Linear Dodge (add)”.
Change the “Color” to a dark red. I’ve used “a70b0b” but again this doesn’t need to be specific.
Change the “Size” to 30 px.
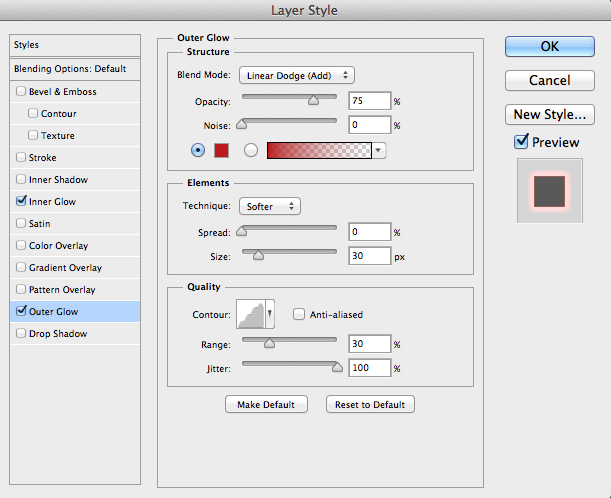
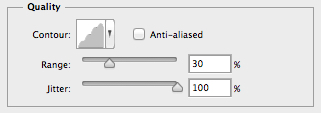
Change the “Contour” to the one with ridges. I liked the effect this gave but sift through the other contour presets to get a different look.
Change the “Range” to 30%.
Change the “Jitter” to 100%.
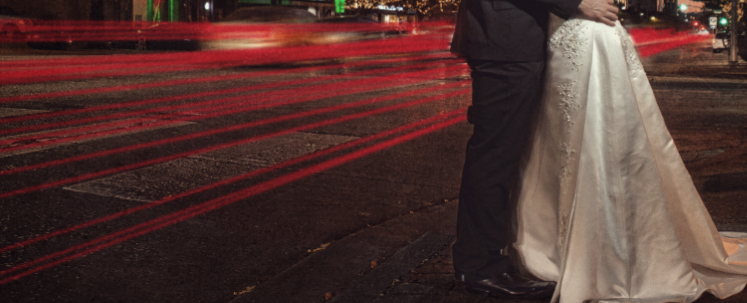
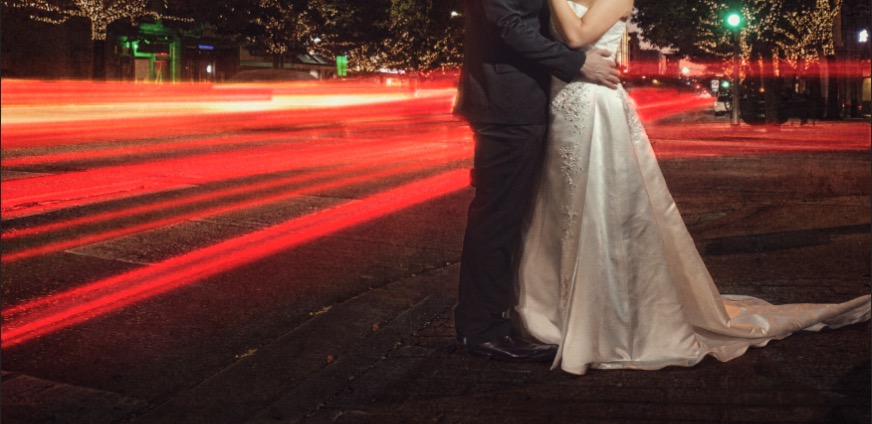
At this point you should see something similar to this.
I have also added some yellow headlights to the other side of the road using the previous steps just using yellows instead of reds for all of the colors.
Make sure to mask out anything in your foreground like the couple in this image. To do this just add a “Layer Mask” to the light trail layers and mask the trails off whatever is in the foreground.
To get a more realistic effect we need to add light that would be reflected on the road and other surfaces.
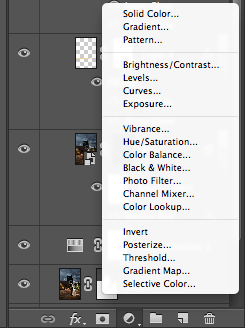
To do this create a “Solid Color” adjustment layer. The “Adjustment Layers” are located at the bottom of the “Layers” panel.
We will need two of these. On that is yellow (d7a82a) and the other red (b20f0f) for the headlights and tail lights.
You can use these colors as a good starting point but they will need to be adjusted per image.
Set them to “Screen” in blending modes.
Invert the layer mask (Ctrl/Cmd + I with your layer mask selected) so that you’re not seeing any of the color. On your layer mask paint back in the color where need using a low opacity soft round brush. I used a 05% opacity brush and applied it to the areas I felt would be hit by the light. The ground is going to be the most affected by the light but then you also have to consider the backside of the groom which would catch a small amount of that reflected light and maybe some of the trees, etc.

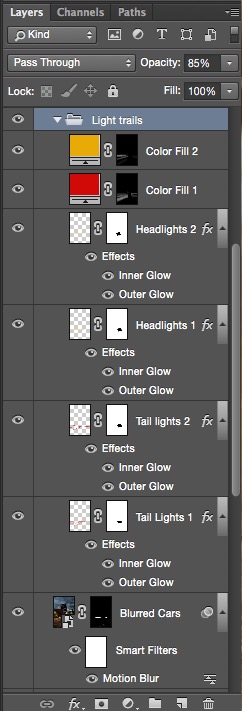
These are all of the final layers that make up the light trails in this image. I’ve put them all into a group (select all of the layers you want in the group and hit Ctrl/Cmd + G to put them in a group) and then reduced the opacity by 15%. Just to be able to see a little more of what beneath these layers as they shouldn’t just be blocked out areas of solid color.


This Post Has 3 Comments
interesting feedback… so what do you do when you cant create it in camera? should we just forgot photoshop all together? or possibly leave your couple in the street for that time? or how does the couple remain perfectly still for that time? personally, i enjoyed the read – and can see where this would be useful.
I think this so the difference between getting it right in camera (hard in the case of streaks like this) or a vision of what the finished image could be like with a little bit of effort.