How to Create Custom Profiles in the New Photoshop v21 with Dustin Lucas
When it comes to editing, I am constantly battling updates with Adobe. With my most recent shift to Photoshop v21, they changed the User Interface (UI) on me. While it can be daunting to do during busy season, take the time to get acquainted with the new look of Camera Raw before getting started. When editing in Photoshop, I build custom profiles from actions I already created, allowing me to bounce between Photoshop and Lightroom Classic. From basic sliders for Color Correction in Lightroom Classic to a more advanced color-grading effect with a Gradient Map in Photoshop, there is a simple way to apply the actions from Photoshop with one click in Lightroom Classic. Creating custom profiles in Photoshop has been a game-changer for working efficiently in Lightroom Classic while showing off some creative edits to my clients immediately.
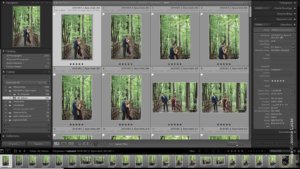
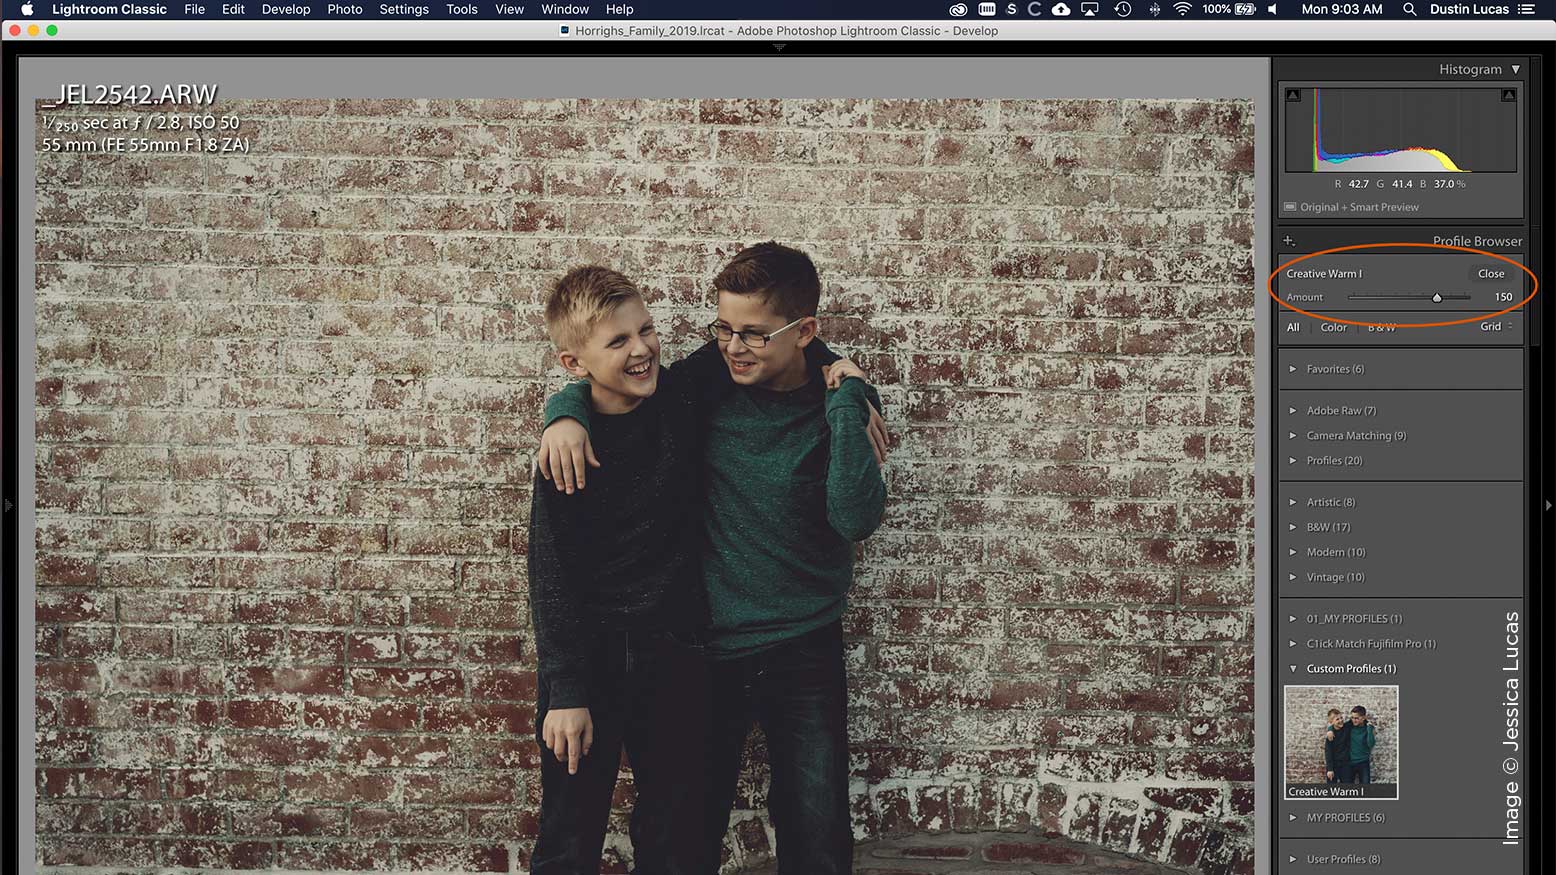
With Adobe’s hidden secret in Camera Raw we are given the ability to create Custom Profiles. Get started by opening an image in Photoshop, and apply adjustment layers or a few actions. Then we can export Look Up Tables (LUTs) to save these effects and create the profile in Camera Raw. The last step is to relaunch Lightroom Classic, and boom—we have one-click profiles to apply to hundreds of images instantly. Let’s get started in Photoshop!
Exporting Custom LUTs from Photoshop
Once you open a Raw in Photoshop, you can skip past Adobe Raw for now and focus on applying an action. With my go-to action applied, my image is transformed from a color-corrected file to a creative edit. The most important thing to consider at this point is that our actions only contain adjustment layers; image layers will not export as a LUT. All the layer adjustments can be found at the bottom of your Layers palette by clicking the middle icon. If you don’t have an action built, don’t worry. We can apply a few adjustments to get started. One of my favorite tools is the Gradient Map for converting to black and white; it’s also a quick way to color grade. If you haven’t used this tool before, I suggest you add it to your list. After adding a Gradient Map you’ll see your image looks more like a negative and is useable.