How I Use Light to Shape My Style with Sal Cincotta
Lighting offers probably one of the easiest ways for you to stand out from your competitors, mostly because of the endless ways it can be used and the seemingly complex nature of understanding how to both shape and control light.
I learned early in my career that all light is not created equally. You have to control the light. Merely turning on your flash does not make you a lighting expert. I have learned to respect light. After 10 years of shooting as a professional, I am still a student of light. Where I was once intimidated by it, I am now fascinated by what you can do with it.
I encourage you all to be curious about light. It doesn’t matter what kind of light—off-camera flash, studio strobes, natural light, Ice Lights—be curious and experiment.
In a world where “everyone is a photographer,” how in the world do you stand out? If you have been following my messaging at all, you know I am constantly talking about standing out from the crowd and the myriad ways to do so. Lighting is a perfect way to do it. The average beginner is terrified of light. Perhaps better stated, terrified of anything other than natural light. They don’t understand power, shaping, balance, etc. This is a perfect opportunity for you to figure this out and rise above your competitors.
This leads me to my point: How do I use light to shape my style?
There is no substitute for speed.
If there’s one thing that makes me batshit crazy, it’s watching photographers stumble in front of the client using their gear. Speed. There is no substitute. You are not Annie Leibovitz. Give it a rest. You are working with normal clients who don’t have time for all your technical lighting ratios and chimping in the back of the camera. If you are a wedding or baby photographer, good luck on a hot summer day getting a bride to stand around for 20 minutes while you get dialed in. And that baby? Yeah, she is more than likely screaming bloody murder after just 60 seconds.
You have to learn how to move with speed and efficiency unless you are working at a commercial level, where you have the luxury of more time and extra hands, versus a wedding day where the bride decided to give you 20 minutes to get all the creative shots.
That speed, no matter what your niche is, comes with practice. I have learned over the years, through lots of practice, how to get to my vision with the tools available very quickly. In fact, here is something not many people know about me or my studio: No matter how much I have spent on a piece of equipment, it doesn’t come out of the box or get used in production until I have read the entire manual and had at least one chance to get out there and practice with it. This simple best practice allows me to get comfortable with a new piece of equipment and ensure I can work with it quickly to keep my clients from getting bored or frustrated watching me try to figure out my new gear.
Practice new techniques.
There are a million ways to light something. That is part of the beauty of what we do. Lighting is its own art. This is what has made me a student of light. I am always trying new techniques. It can be something I see in my mind, something I saw a commercial photographer do or something I saw in a Hollywood movie.
My process is to reverse-engineer a look. By reverse-engineering, I learn how they did it and, in the process, I am practicing and gaining a better understanding of light.
From there, I want to add my own flare to it. I start practicing and altering what I just learned until I find something that feels like me and my style. Don’t overcomplicate practice. You can practice on a can of soda, you can practice on a dummy or you can practice on a friend. Grab someone, anyone. It’s not about the final image. That’s not the point here. The point when I am practicing is to learn about the light. I usually don’t have a plan to use the final image, so my subject—and what they are wearing or what their makeup looks like—is usually irrelevant.
To modify or not?
The next step is figuring out light modifiers. Modifiers allow you to control and shape the light. Obviously, the bigger the light modifier, the softer the light. However, soft light might not be what you are after. This is where you need to practice. I will admit, this becomes a little tough without spending money on equipment. This is what trade shows are for. Visit any of the lighting booths at a trade show for demonstrations of light shaping tools.
Keep in mind, we can be talking about speedlights or studio strobes, but the effect is the same. You need to control the light, or you look like a complete amateur with light all over the place. We call this light spill. It’s a sign the photographer has no idea what he is doing and is not in control of his light. Don’t get me wrong—sometimes, when moving fast, we can get a little sloppy. If that’s the case, you’d better be able to fix this in post production, or the image won’t have that professional look. We always strive to get it right in camera.
Here are some of my favorite tools for modification.
For speedlights, I love the Rapid Boxes by Westcott. These travel well and are cost effective. And when it comes to ease of use, there is nothing better. It gives you ultimate portability.
For strobes, I am a huge fan of the Profoto B1 and B2. I love their new collapsible beauty dish when I’m using any sort of light modifier. When portability is a nonissue, I love their metal beauty dishes, both white and silver, and their grids for more control.
Something else to consider for any light source are grids, gels and snoots. These are things I have in my bag of tricks at all times. I may not use them, but when I need them, I need them. Over time, you will need to built your lighting kit. There is nothing worse than not having what you need to make a great image.
Regardless of what you decide to do here, just know that this will have a dramatic impact on your look and feel.
The right tool for the job.
I don’t just go out there and buy all the latest and greatest toys—although, trust me, I want to. There is nothing more limiting than not having the tools you need when you need them. Above, I mention this regarding light modifiers, but it also pertains to the actual light.
There are times when a speedlight just doesn’t give you enough power. Imagine a wedding or high-school senior shoot on location at 1 in the afternoon with a high sun. That speedlight is not going to put out enough power. In addition, the recycle time will be five seconds between shots. That’s just not going to fly. In a situation like this, you need a strobe putting out much more power. I would use my B1 putting out 500 watts of power versus the 60-ish of a speedlight. There is no comparing the two, but we need both in our toolkit.
Now, let’s flip this. Let’s say we are working in a hotel room with a bride getting ready or we are in someone’s home for a newborn session. We might need a little pop of light—could be a main light or filling for shadows. Either way, a B1 puts out way too much light. It’s like bringing in a jackhammer when all you need is a screwdriver.
Then, of course, there are other scenarios where we need something soft, instant and WYSIWYG. Enter the Ice Light 2 from Westcott. Yes, I travel with all of these, because each has its own strengths and weaknesses.
Photographers get all too caught up in the latest and greatest cameras and lenses—which is very important, but lighting tools will last you. They are worth investing in. Build your toolbox very much like a carpenter does. Have you ever seen a carpenter run around with just a screwdriver and a hammer? If so, I promise you don’t want this person working on anything for you.
Go for the dramatic.
You still need to figure out what your style is all about. There is no right or wrong answer here. I only encourage you to seek consistency—in your lighting, which impacts your marketing, which impacts your website, which impacts the clients you attract. I don’t get clients looking for “open and airy” images. It’s just not my style. I don’t show pictures like that on my website. I don’t shoot that way or light that way. So there is no confusion with my clients. In fact, my clients often see an image online and say to me, “I knew this was one of yours!” Yes! That’s exactly what I want.
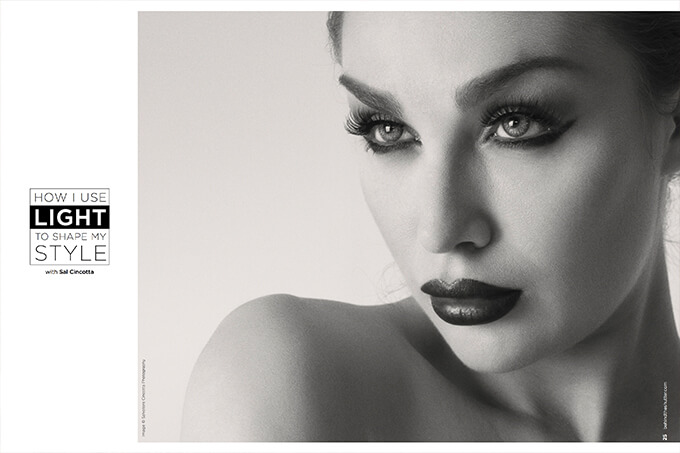
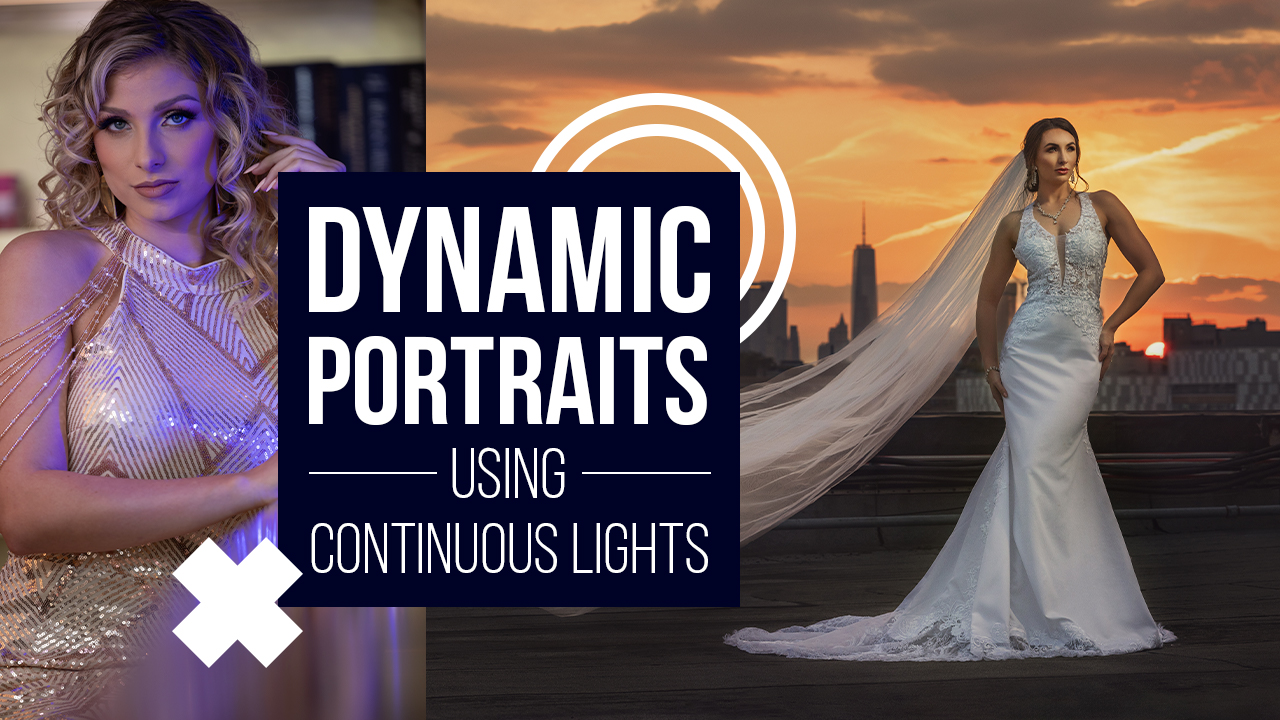
With all those tools at my disposal, I lean toward a hard-edged light. No light modifiers and directional. If I have a choice, I usually use a silver reflector versus a white one—again, for that hard specular light. This technique can be seen in many of my images on my site and in my portfolio. Does that mean I never use anything else? Of course not. If I am working a headshot, I light it a little differently than I would a bridal or beauty portrait.
By lighting this way, I have created a look and feel for my images that allows me to stand out in a saturated market. Without an alternate light source, there is no way to accomplish this look and feel that allows me to stand out and create impactful images my clients love.
It all starts with experimentation. Get out there with one goal in mind: play. Play around with lighting, modifiers and techniques, and see what happens. You’ve heard of the “happy accident”? Well, sometimes that accident becomes your signature look. Don’t be afraid to be a student and learn. We all started somewhere. And for me, the journey will never end. Every day, I want to be a better photographer.

