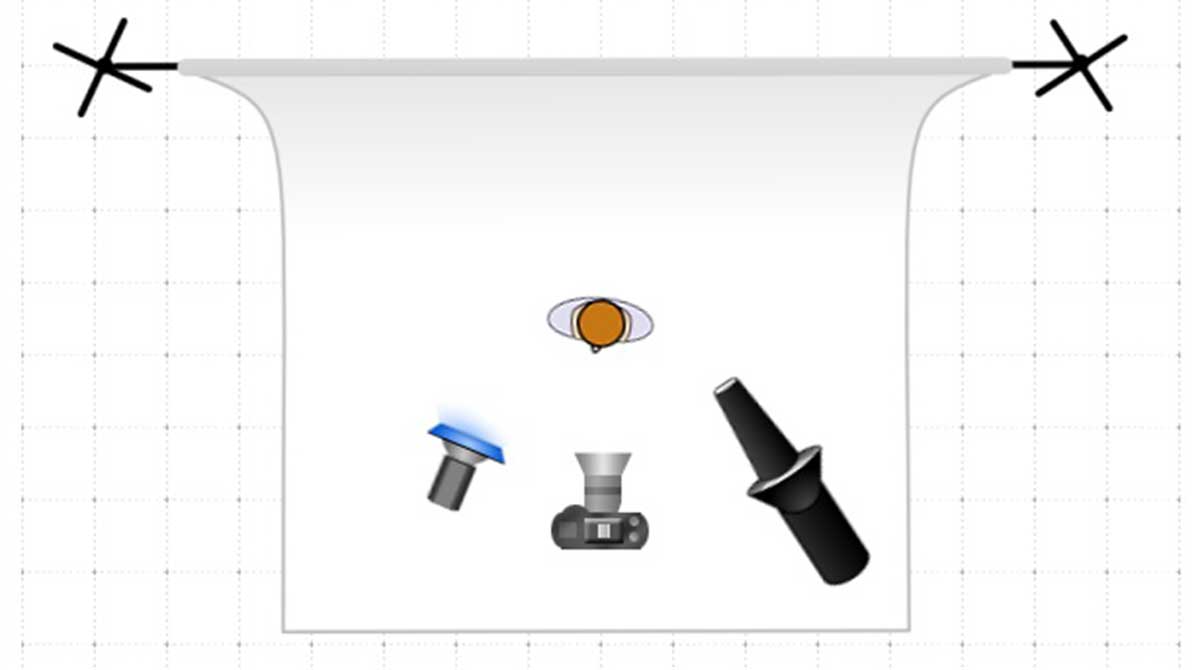


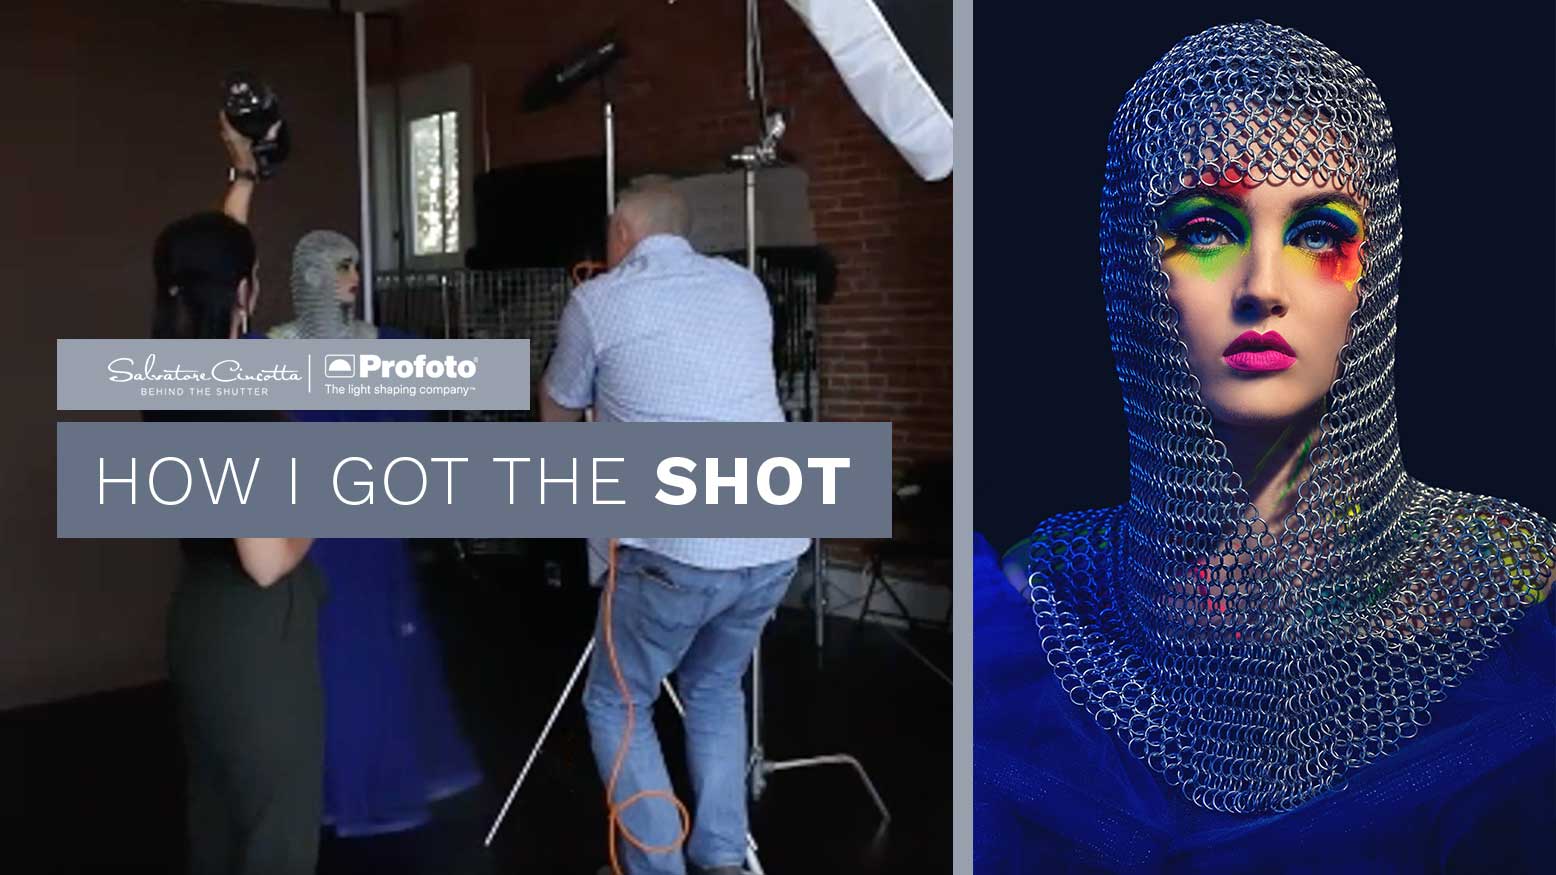

One of the most underrated features of the Westcott FJ400 is its Mask Mode. It’s typically used in school and sports photography to create a mask around your subject for easy background removal in post-production. But in this video, I’m going to show you how you can create mask mode fashion portraits using the FJ400.

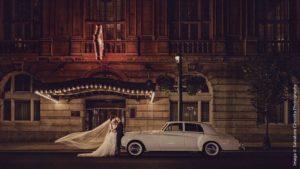
Ready to see some behind the scenes for real on-location photoshoots? Check out this video where I breakdown some recent shoots from Dublin, Ireland.
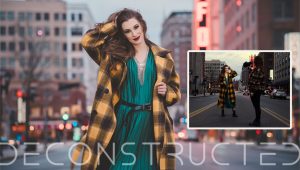
You would be amazed at how you can easily turn any location into a work of art. Learning to see the world through the lens of your camera is key to success. Let’s break it down step-by-step.