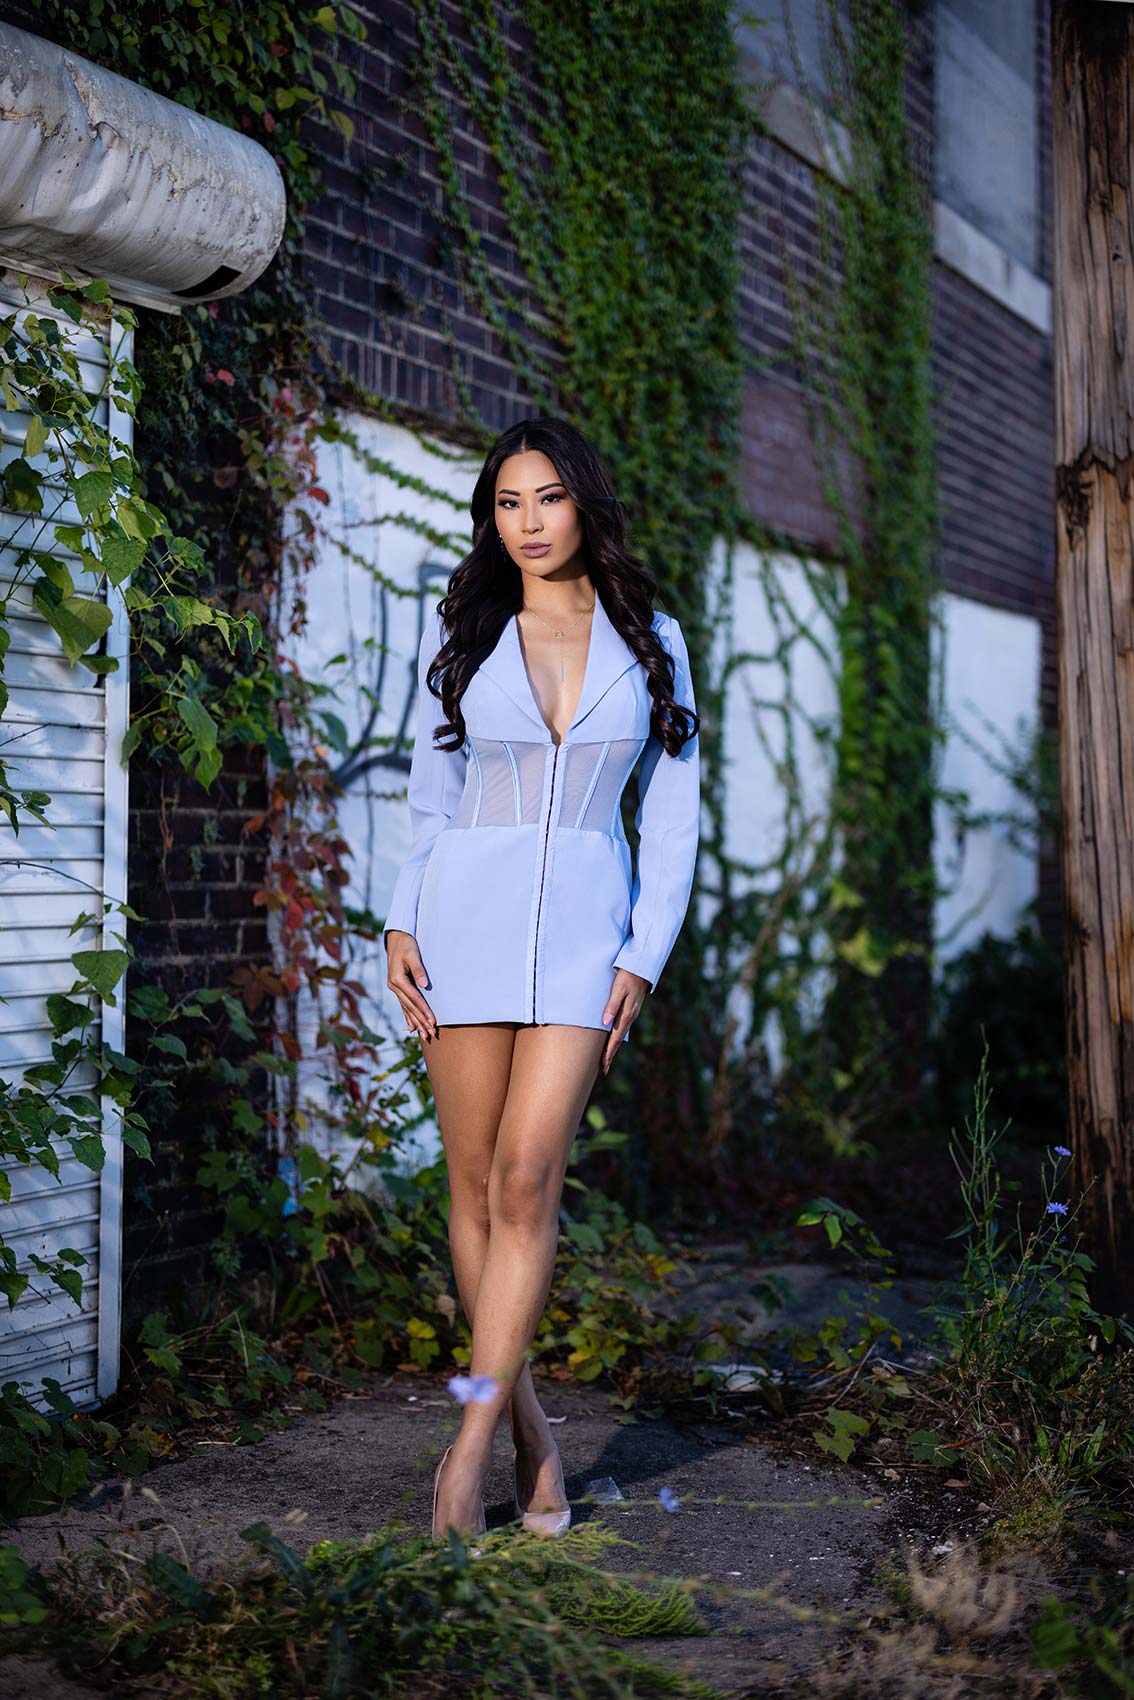
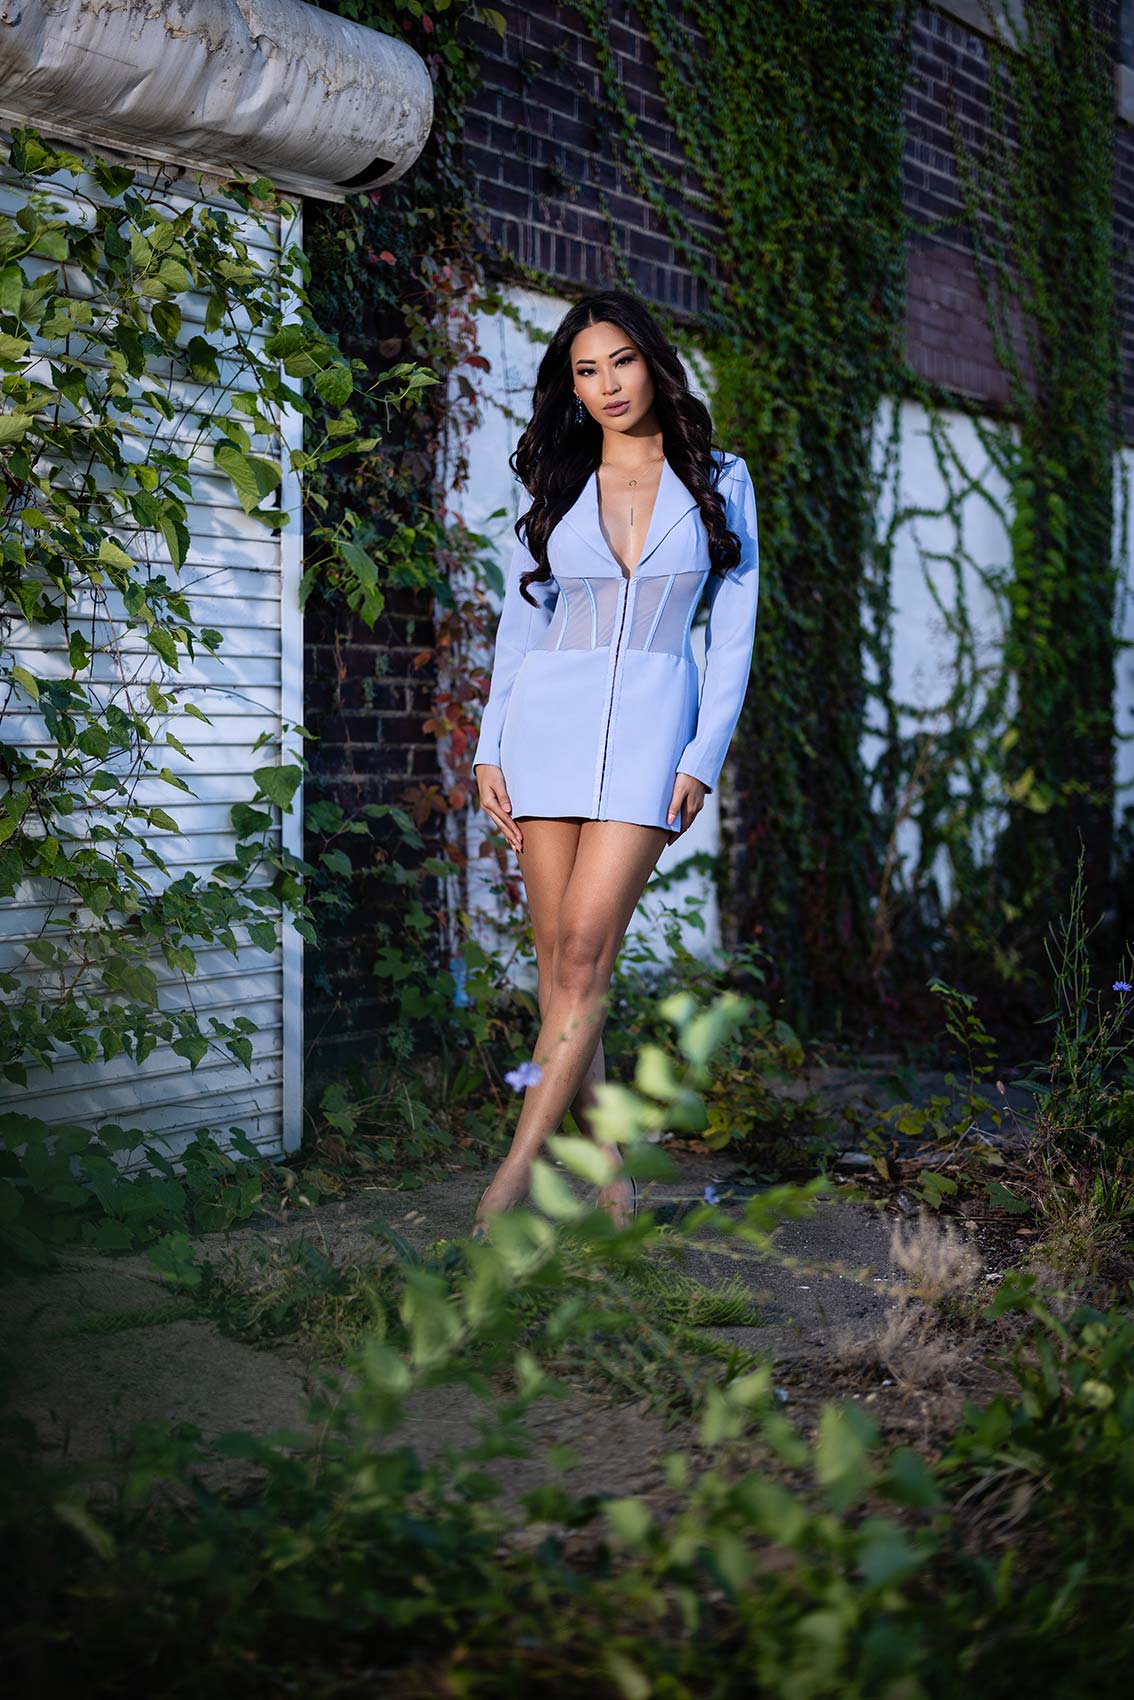
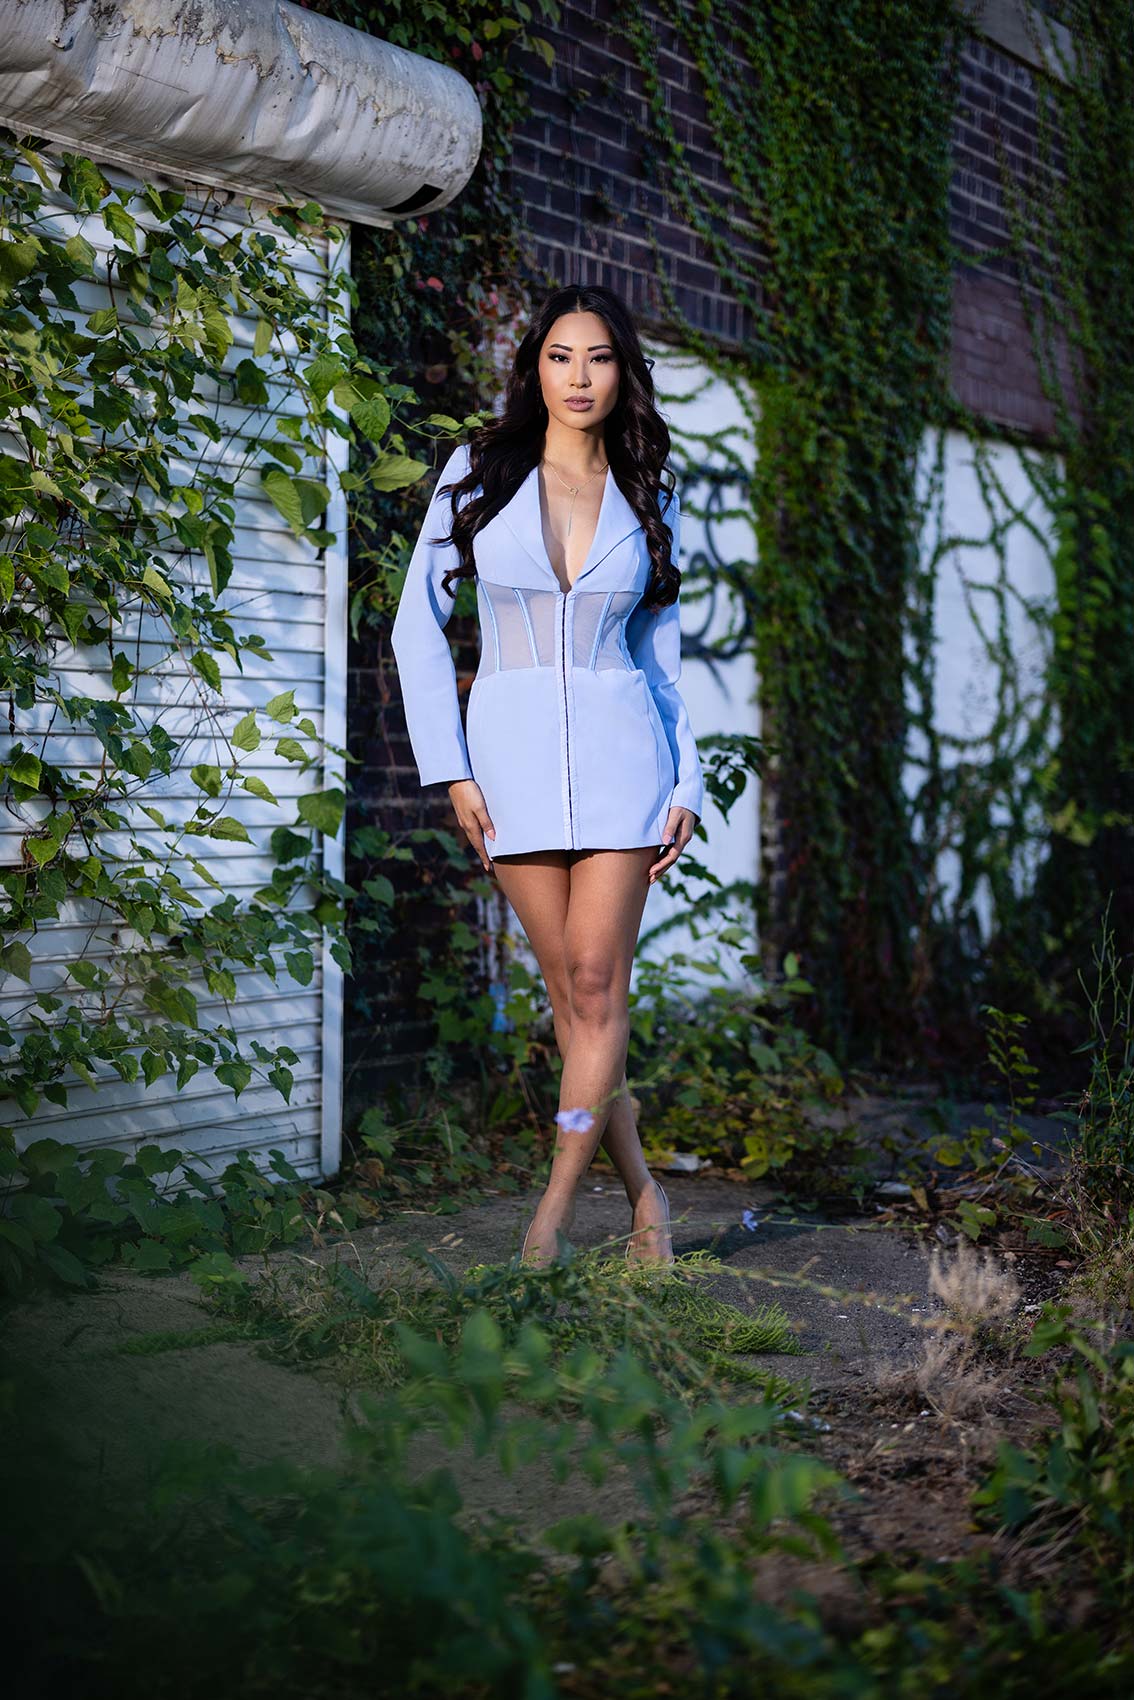
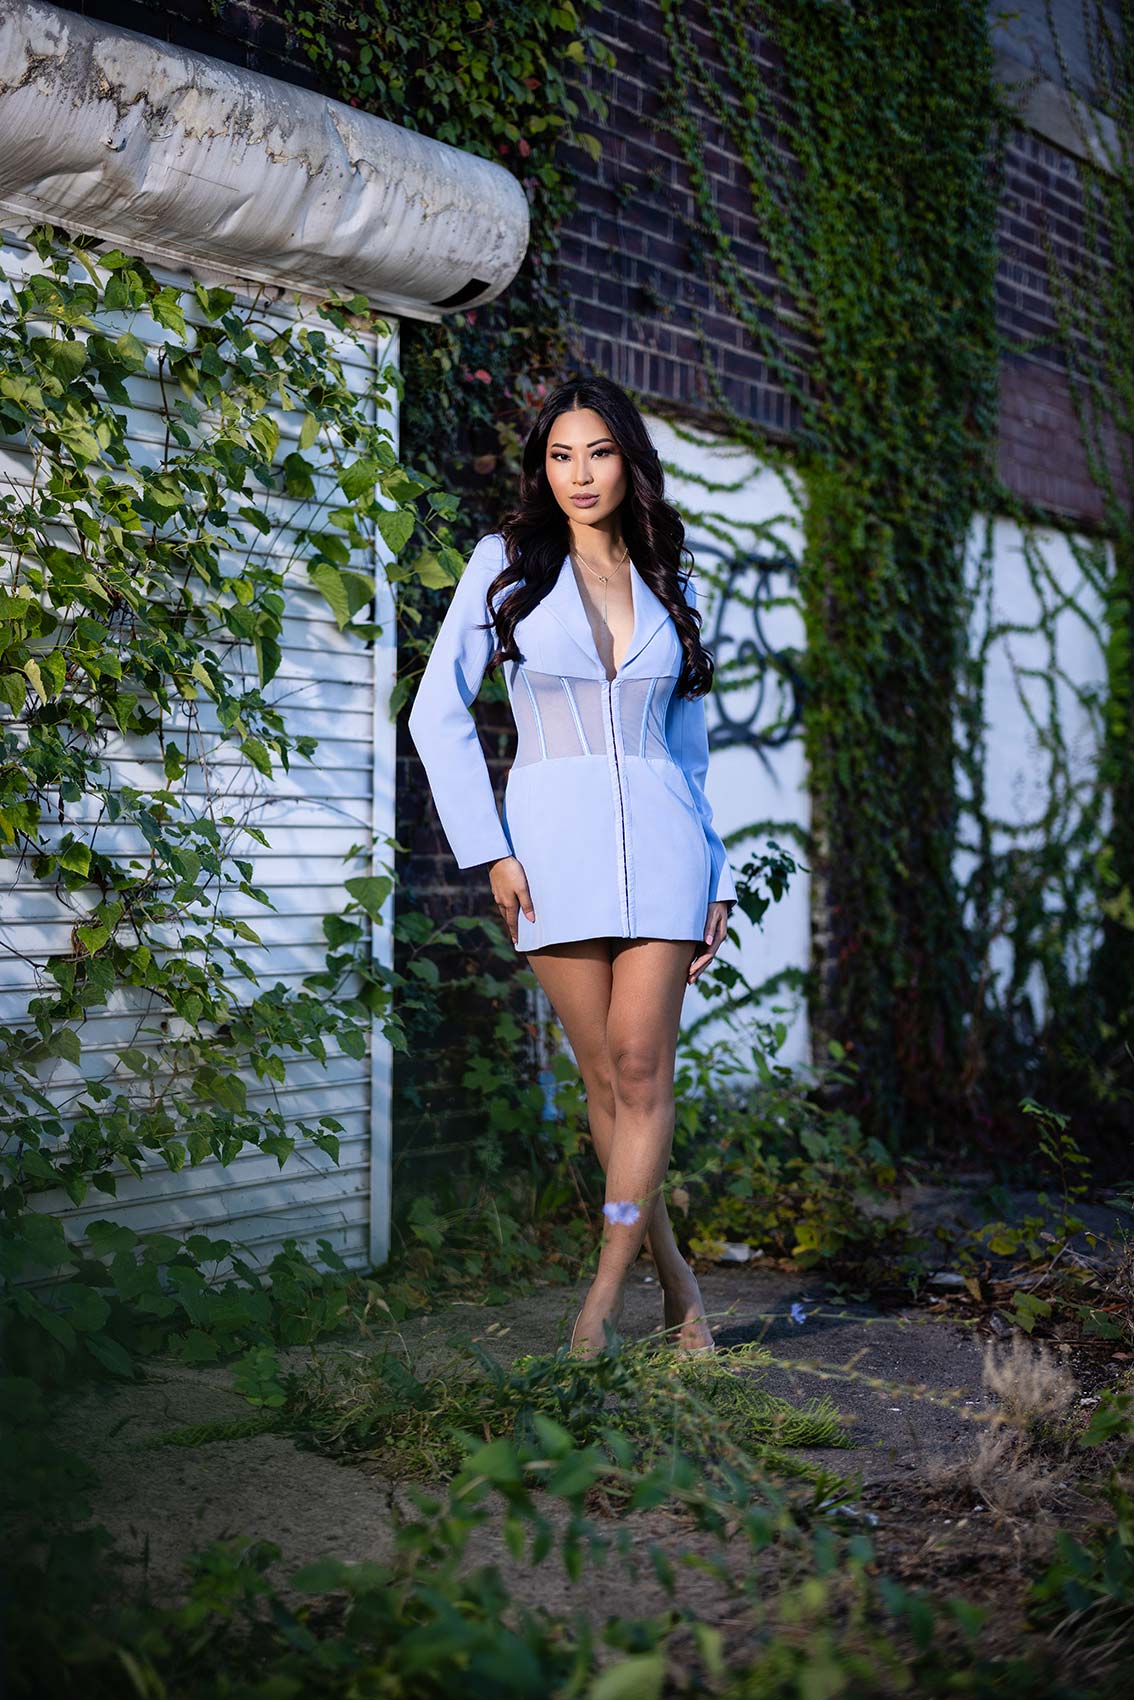
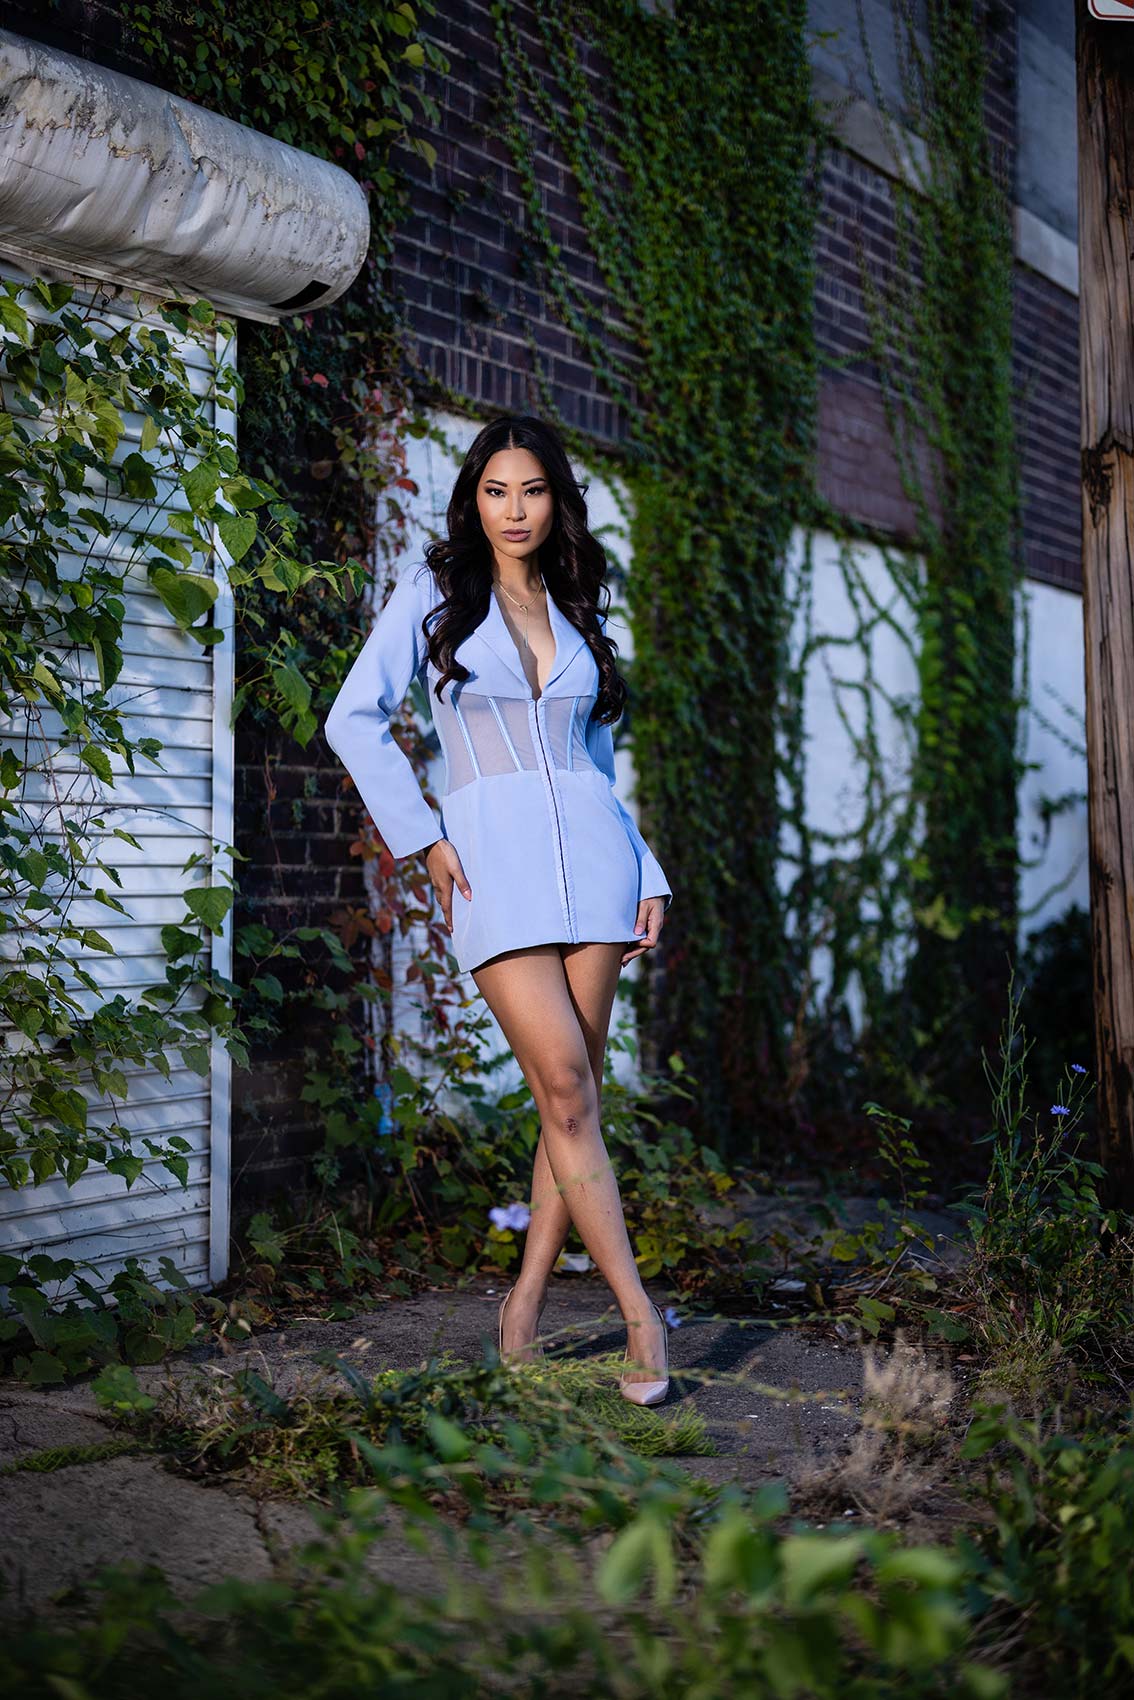
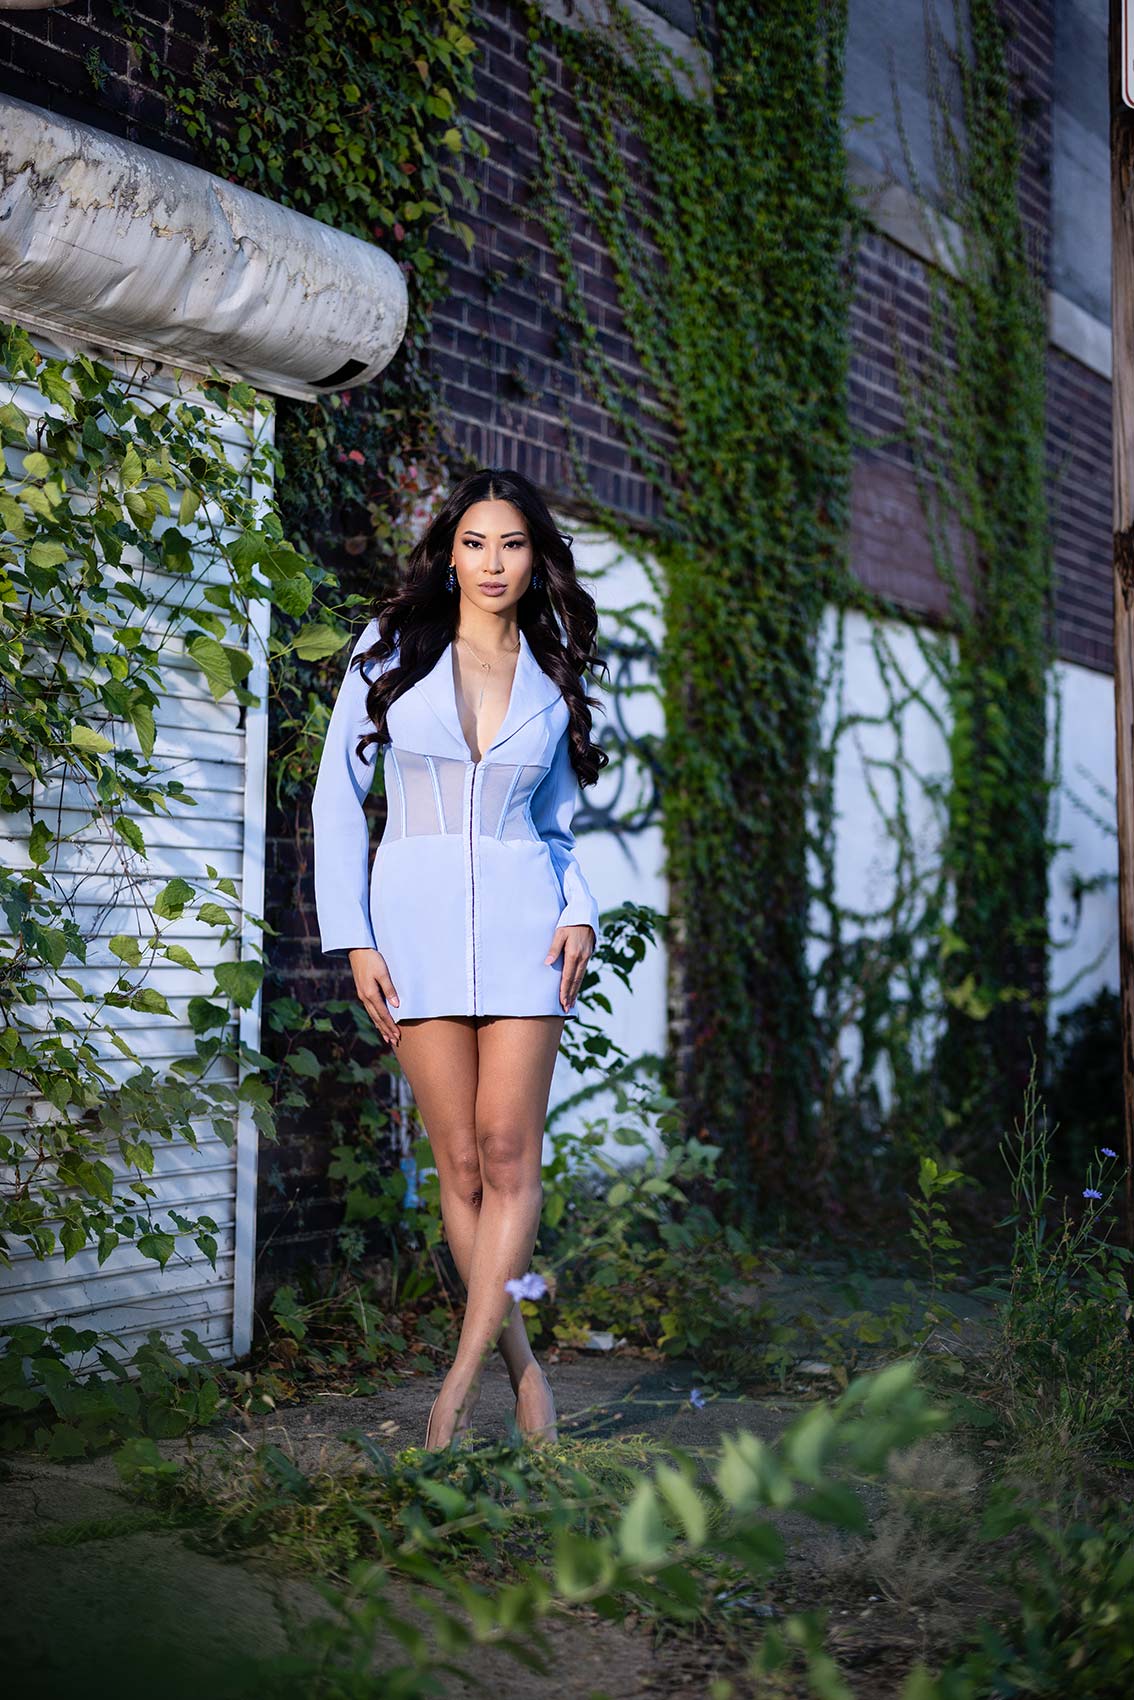
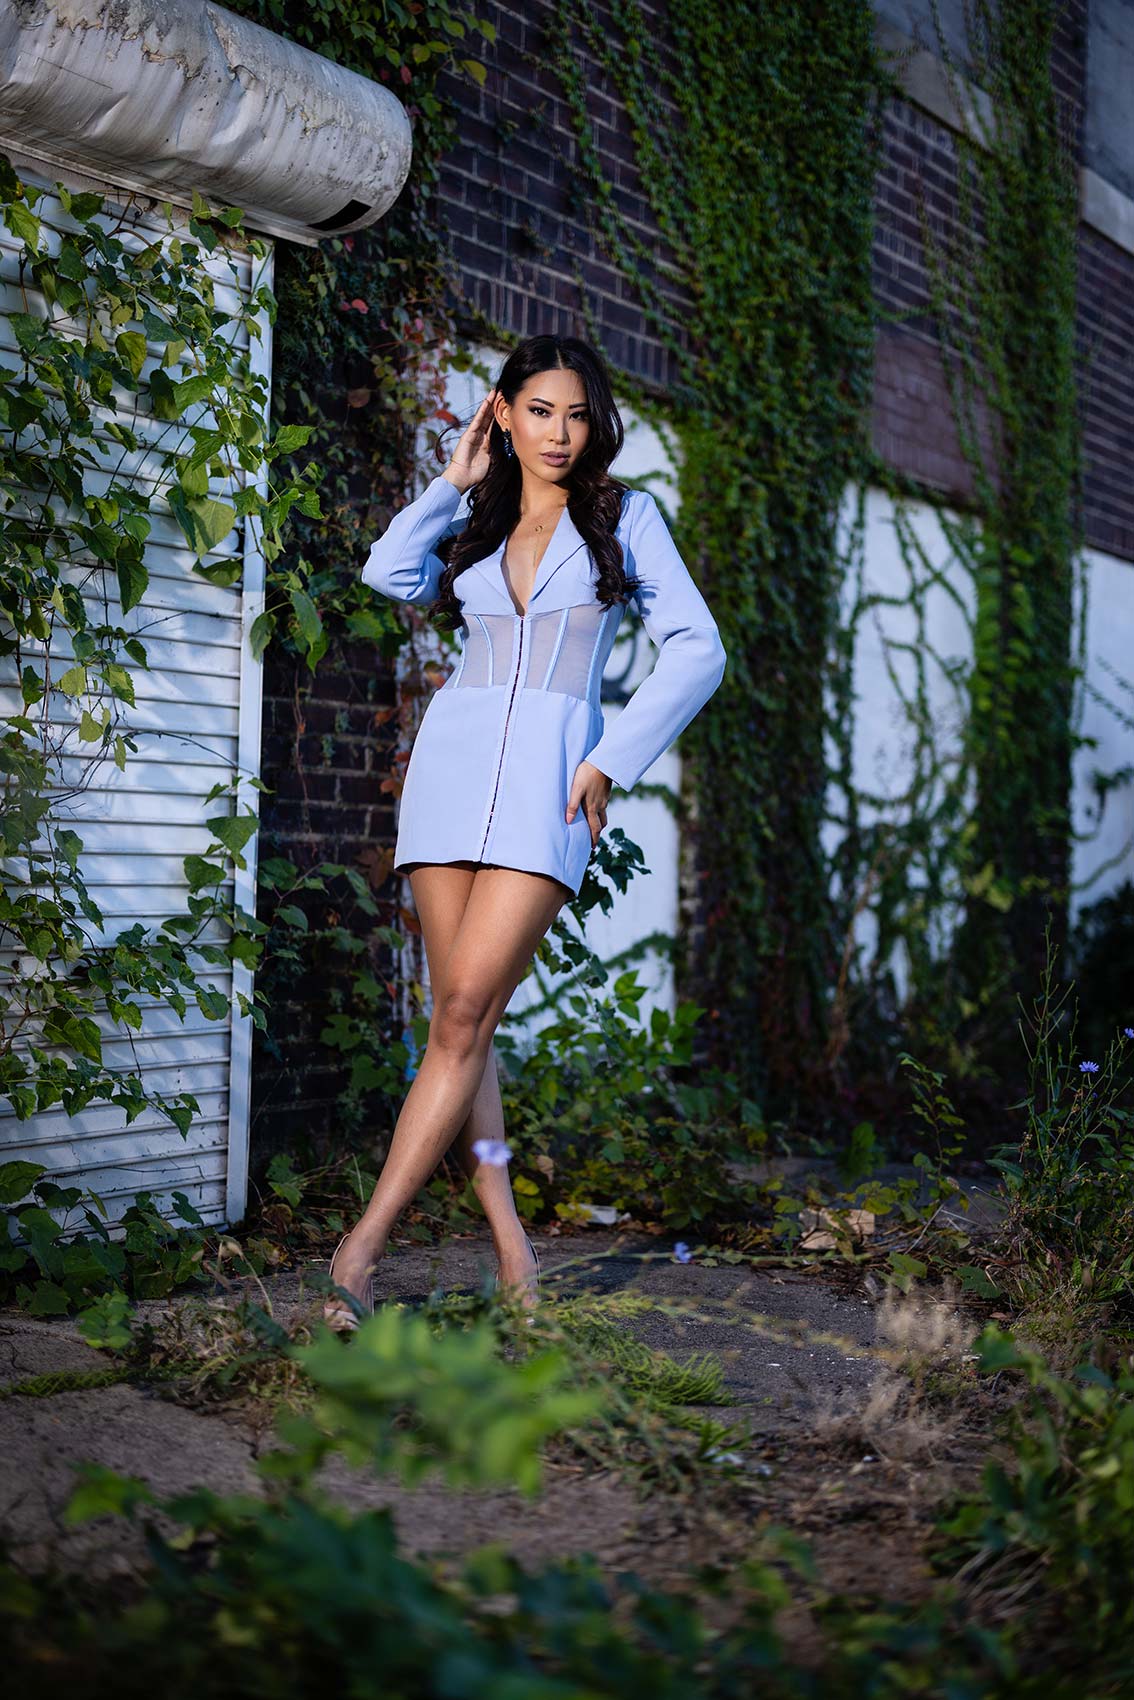
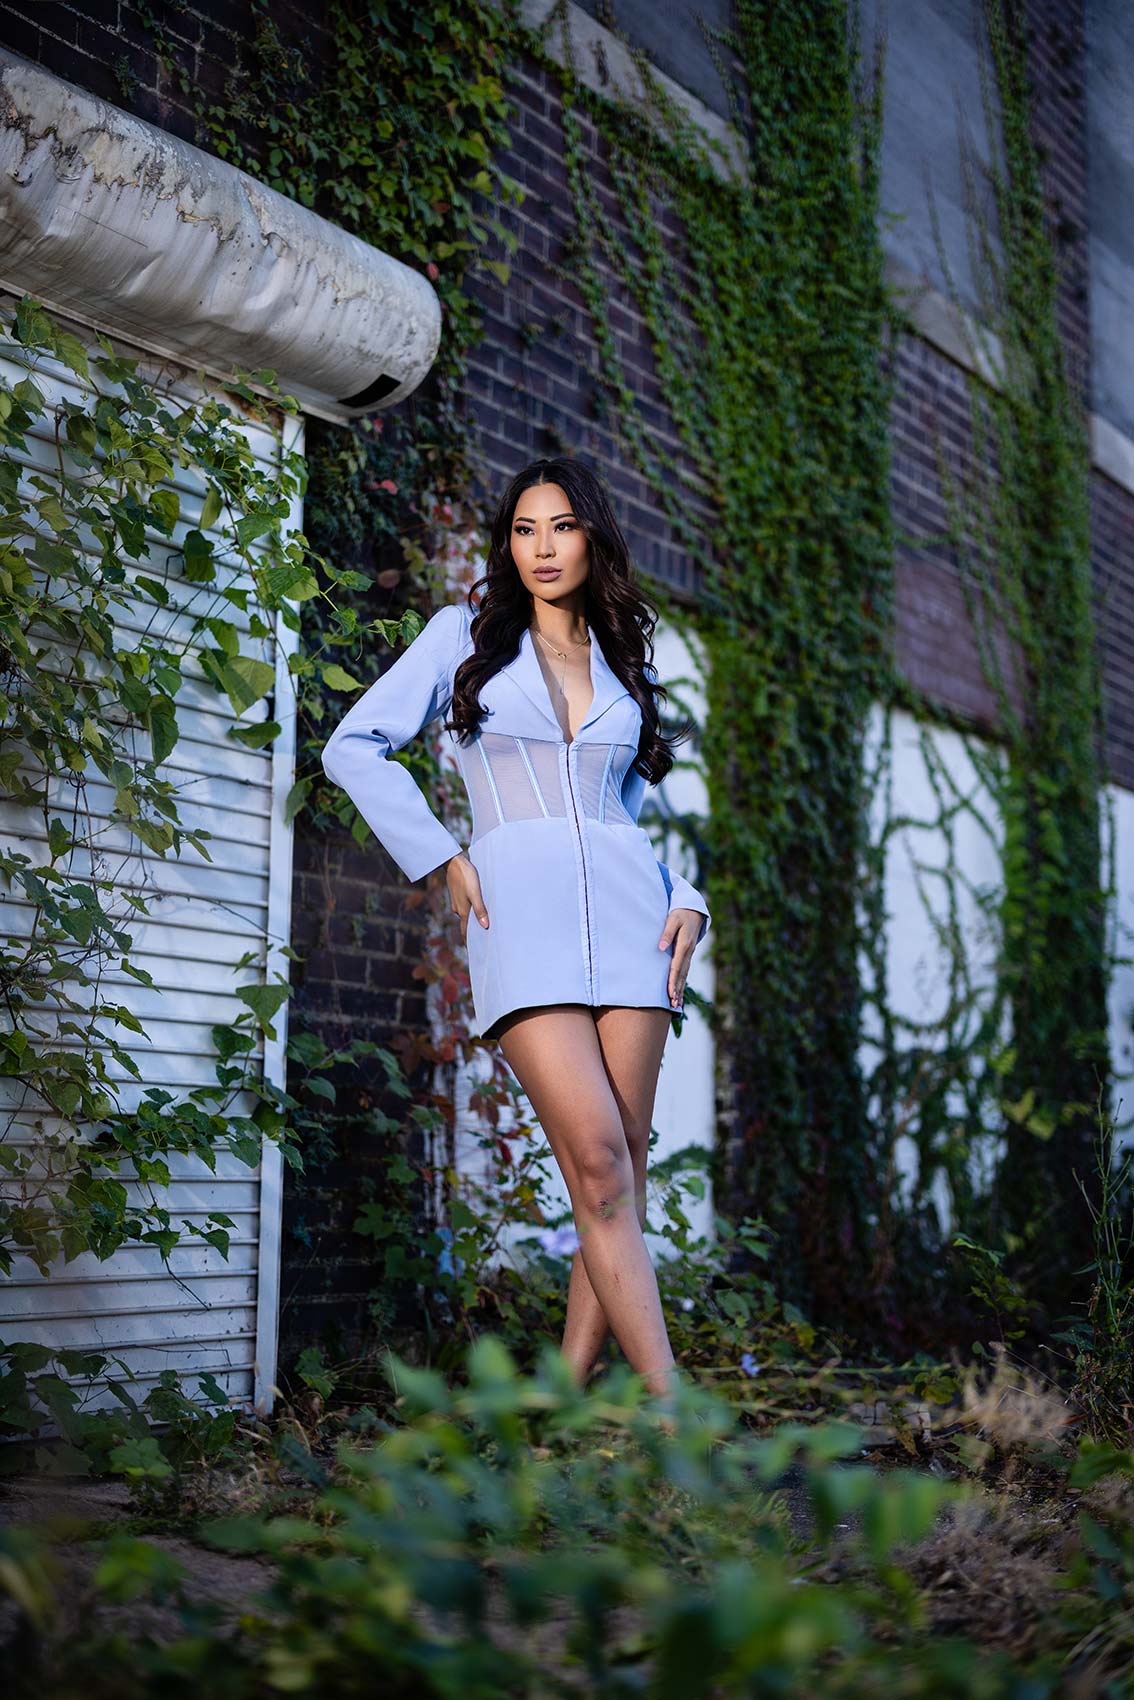
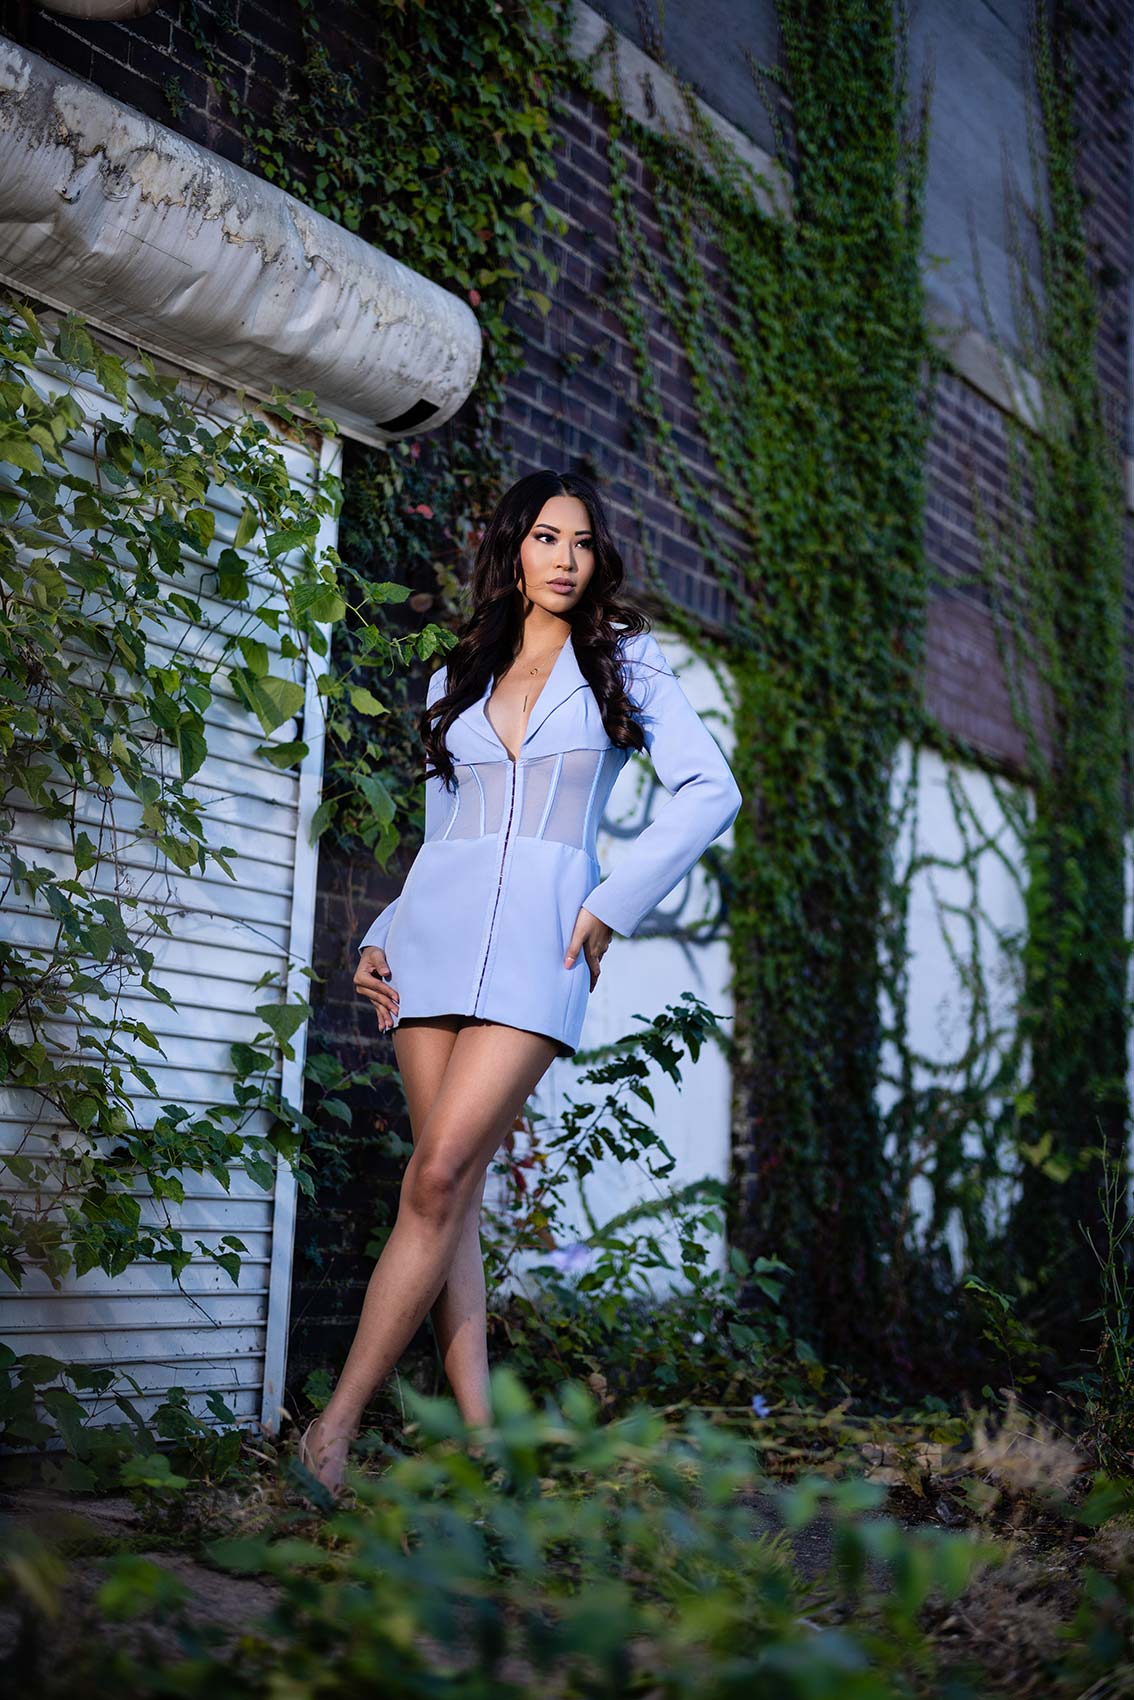
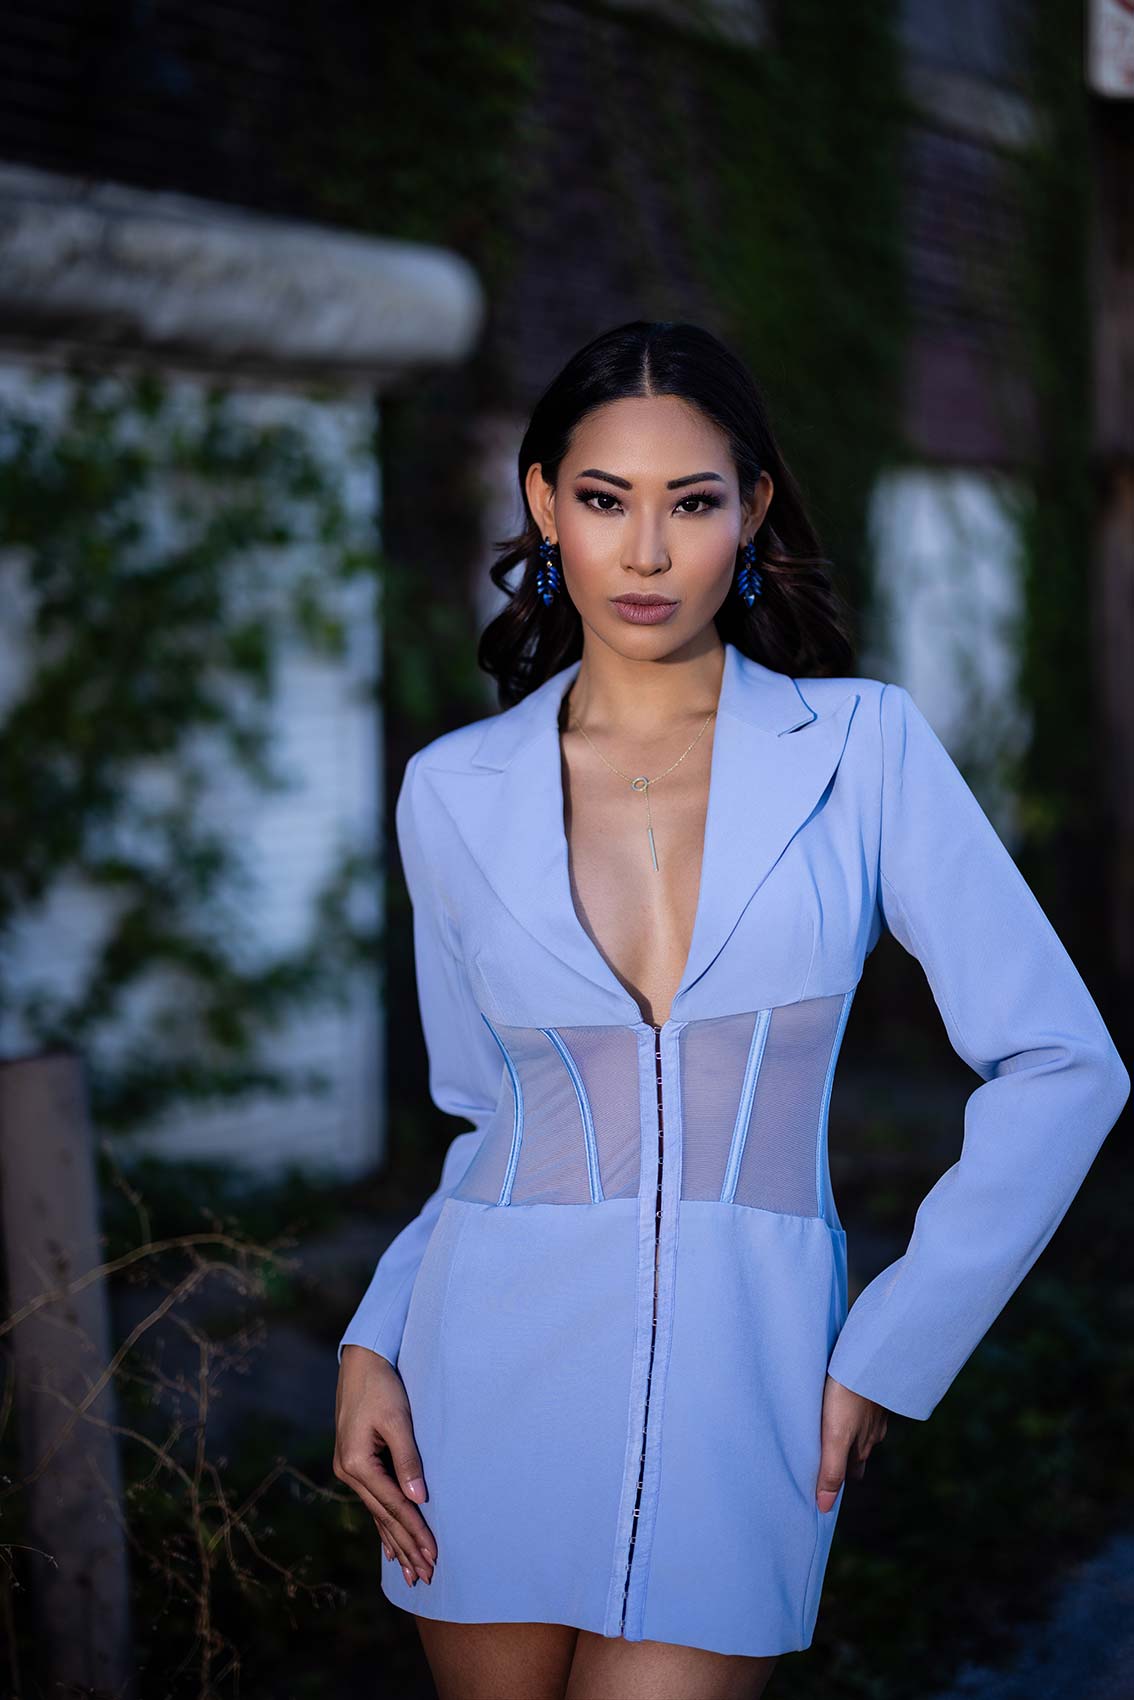
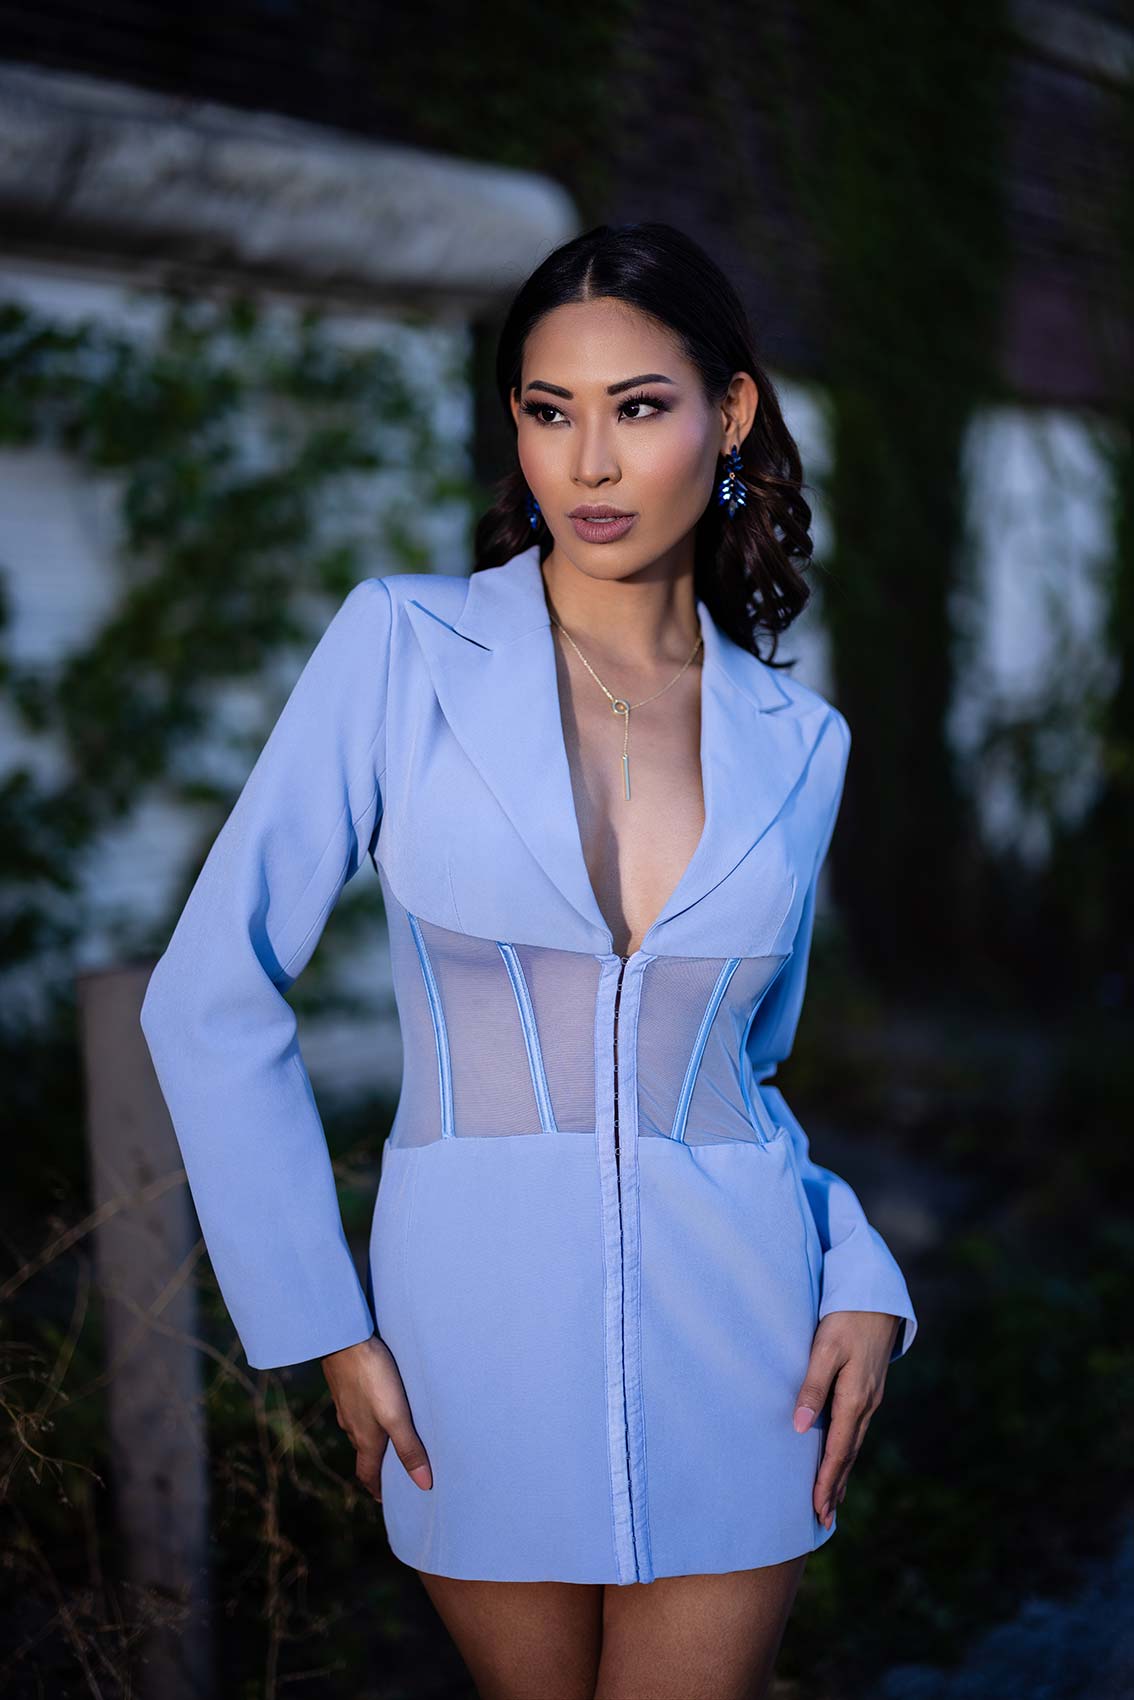
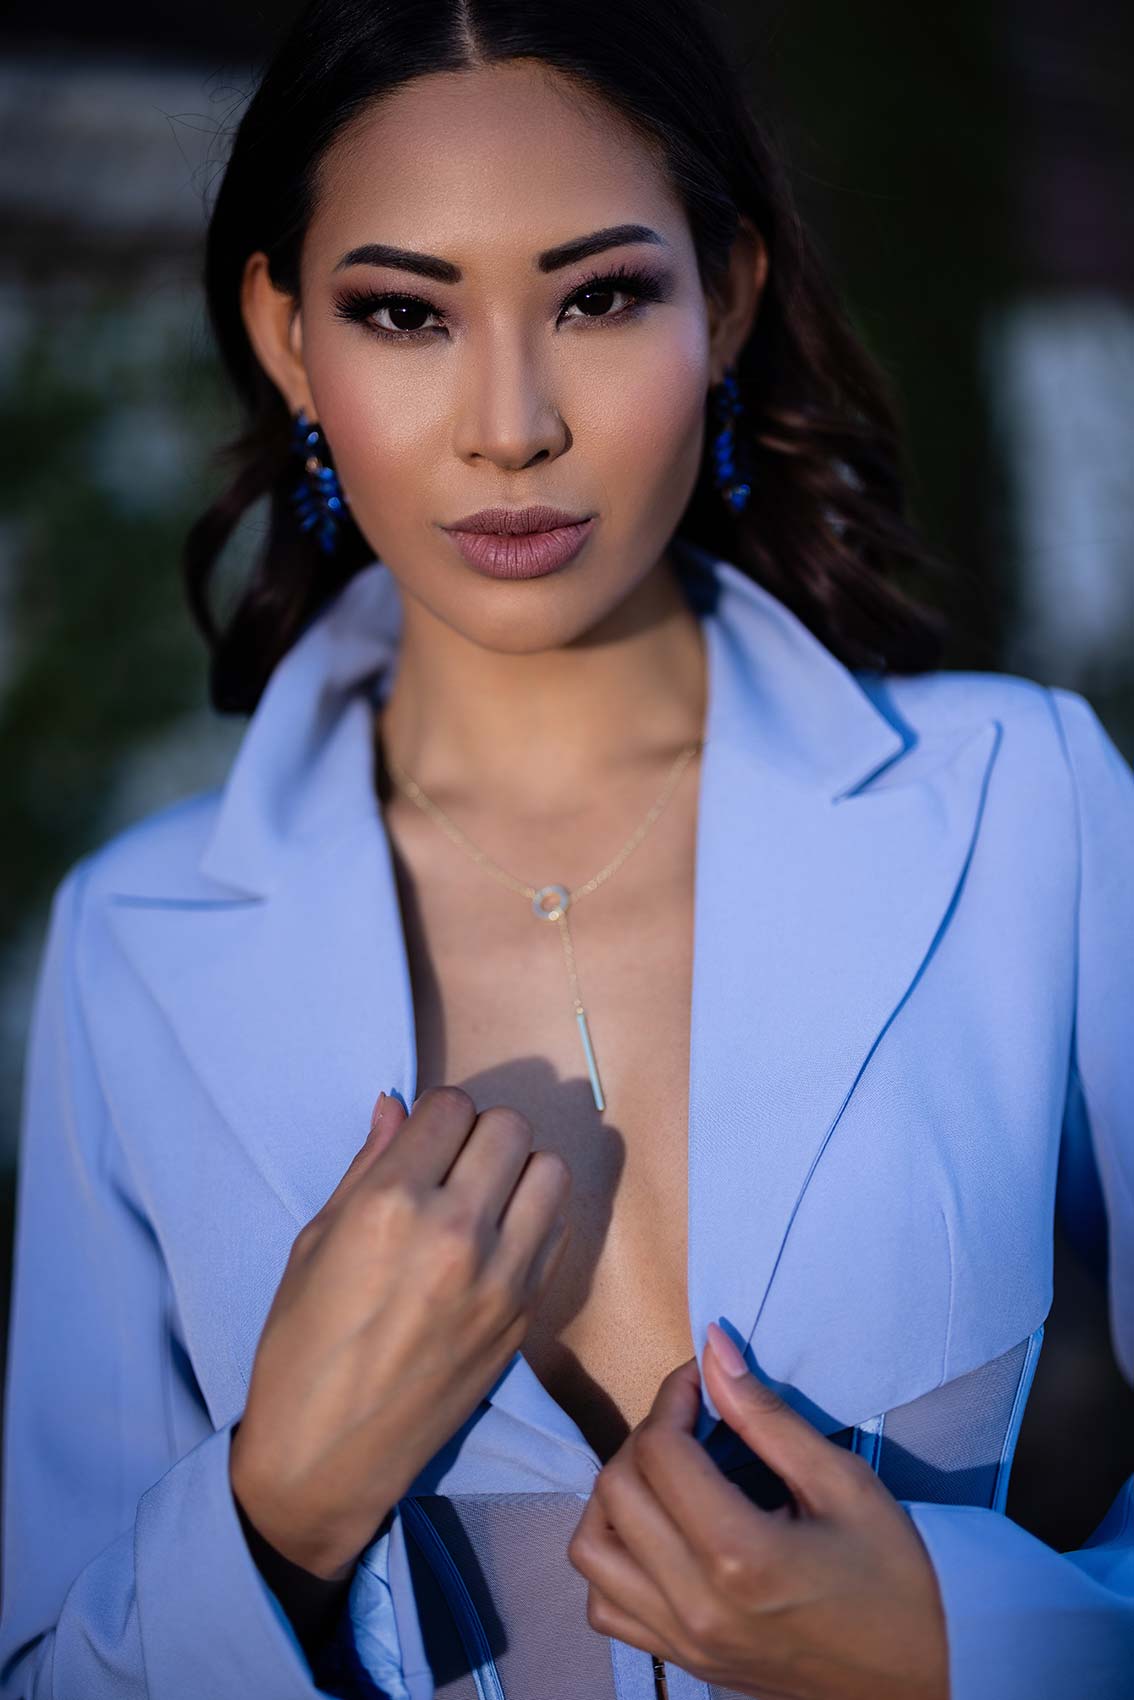
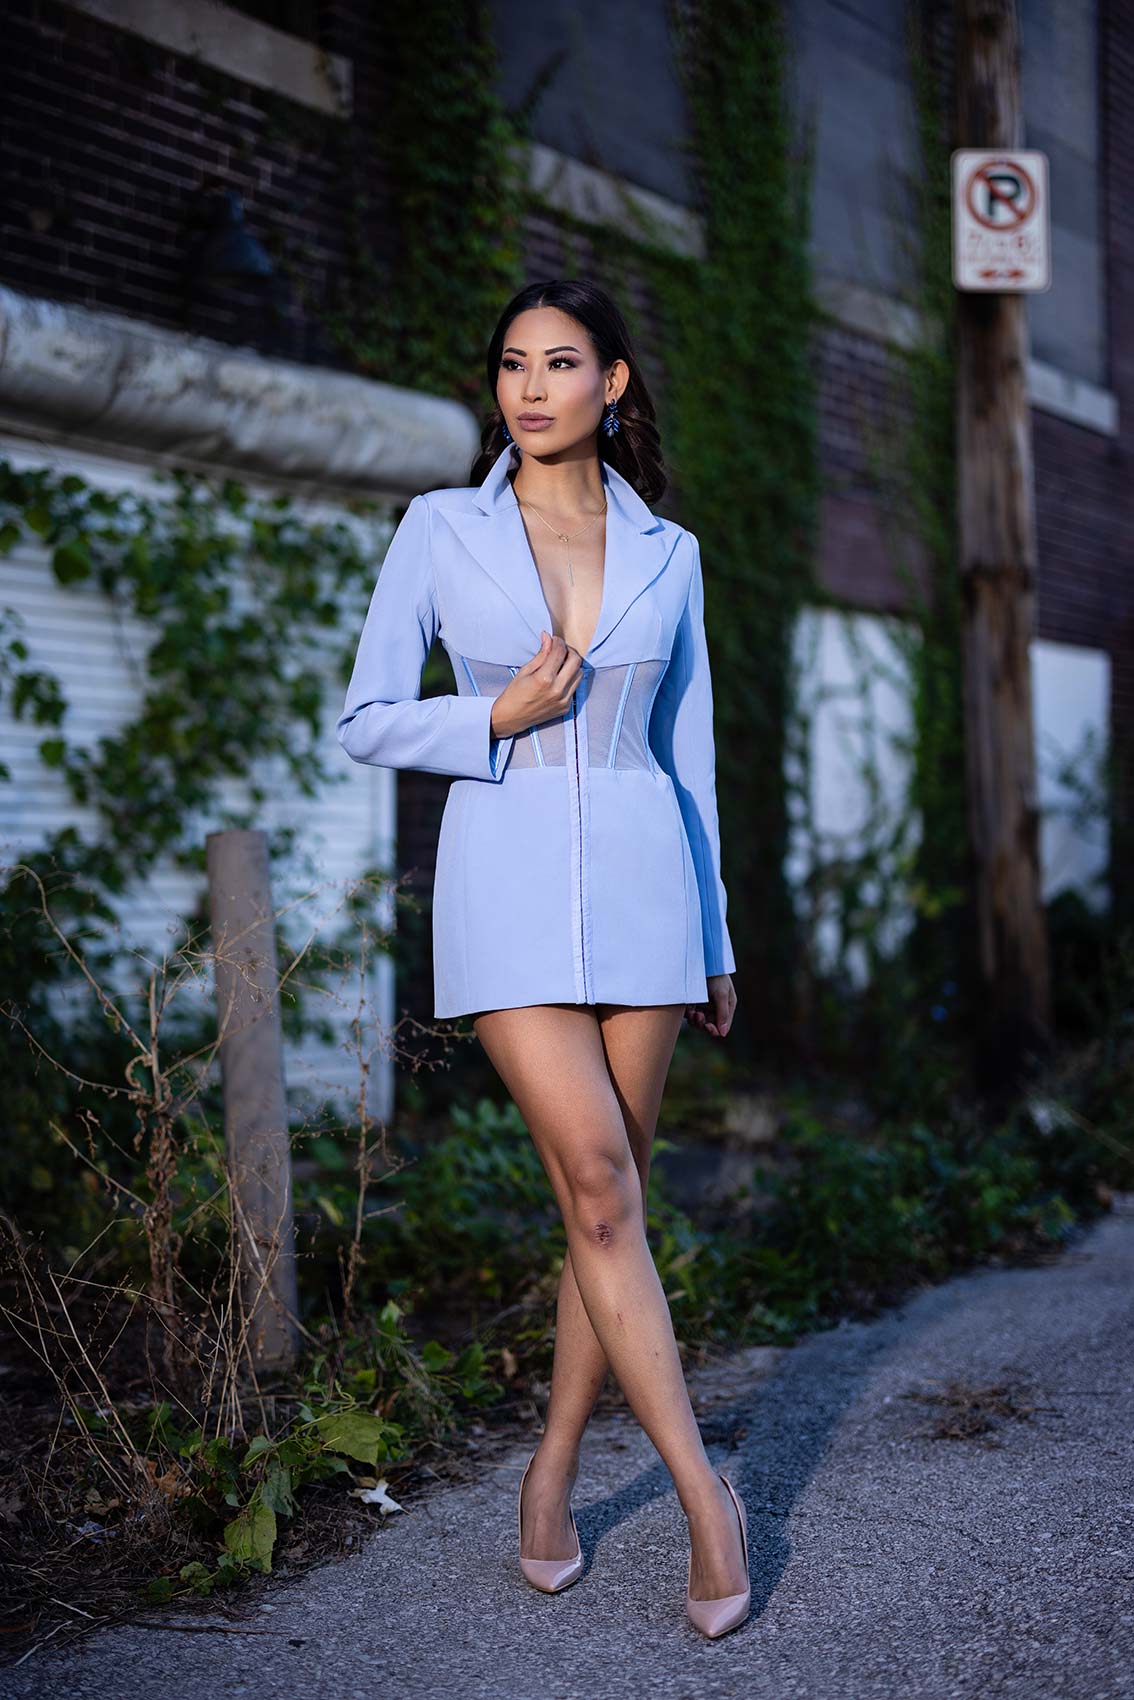
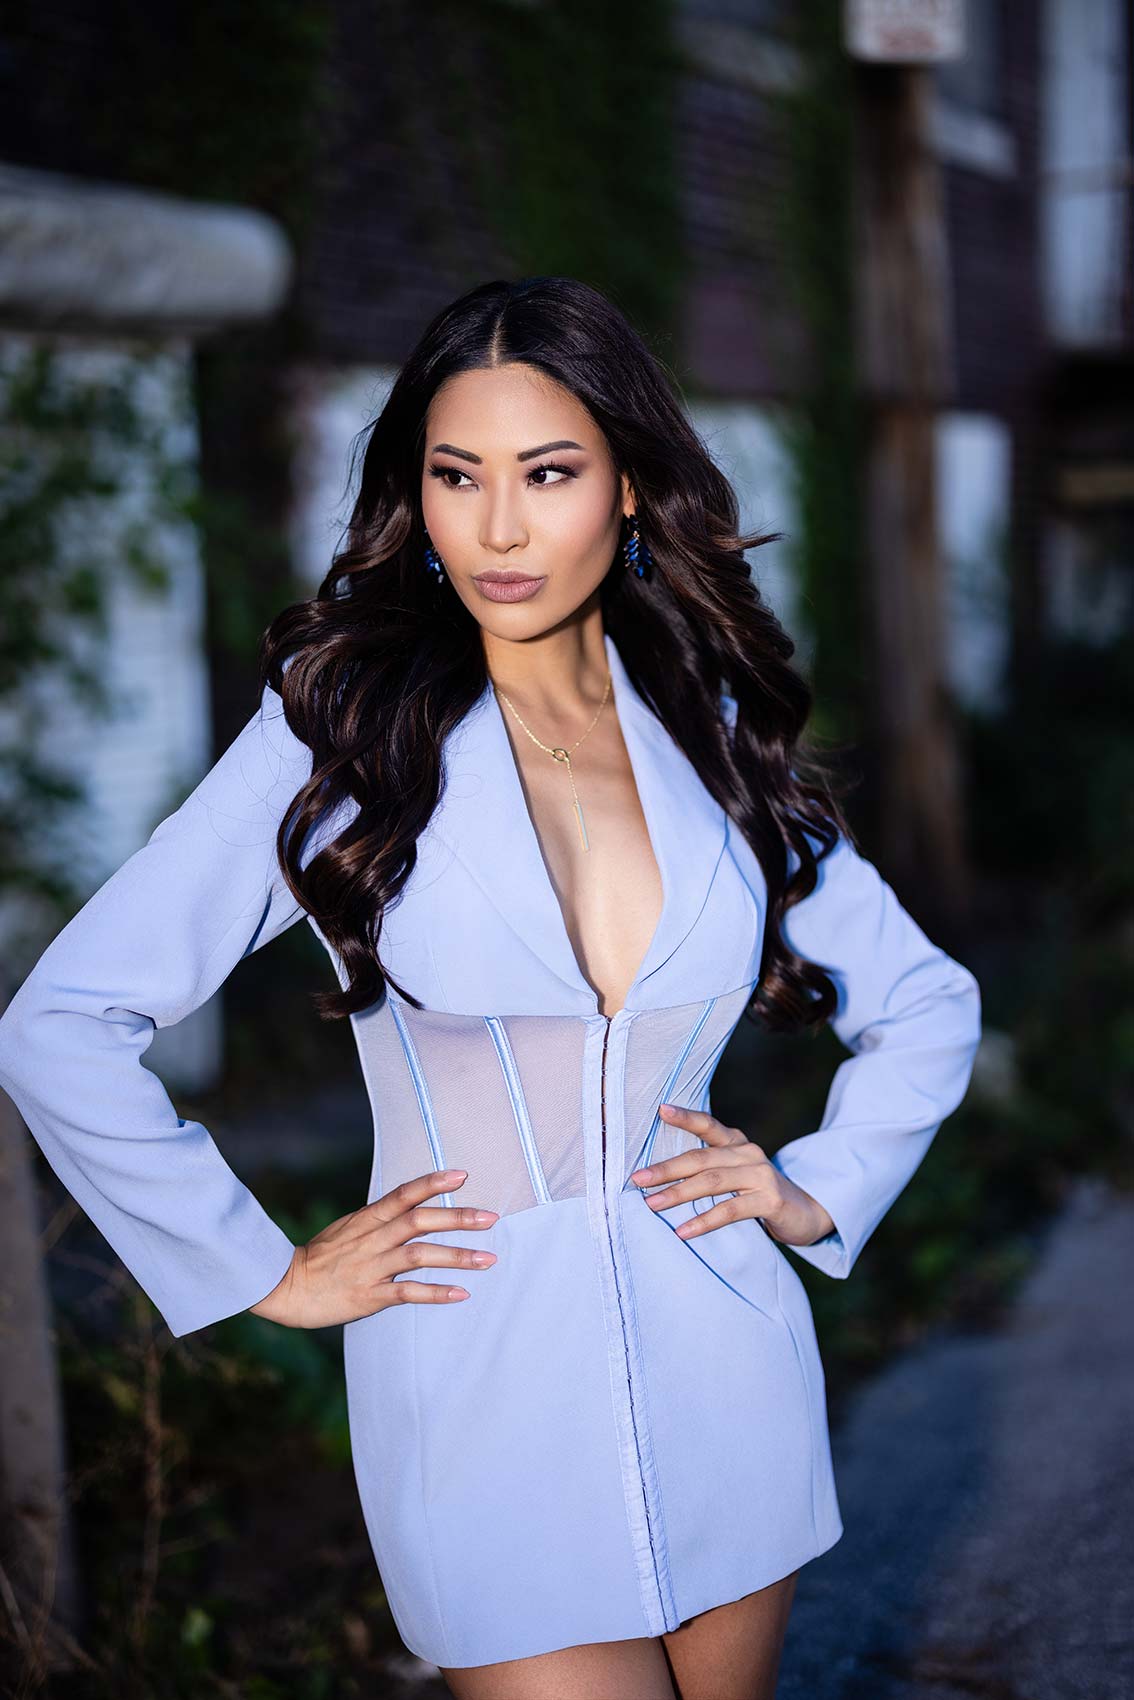
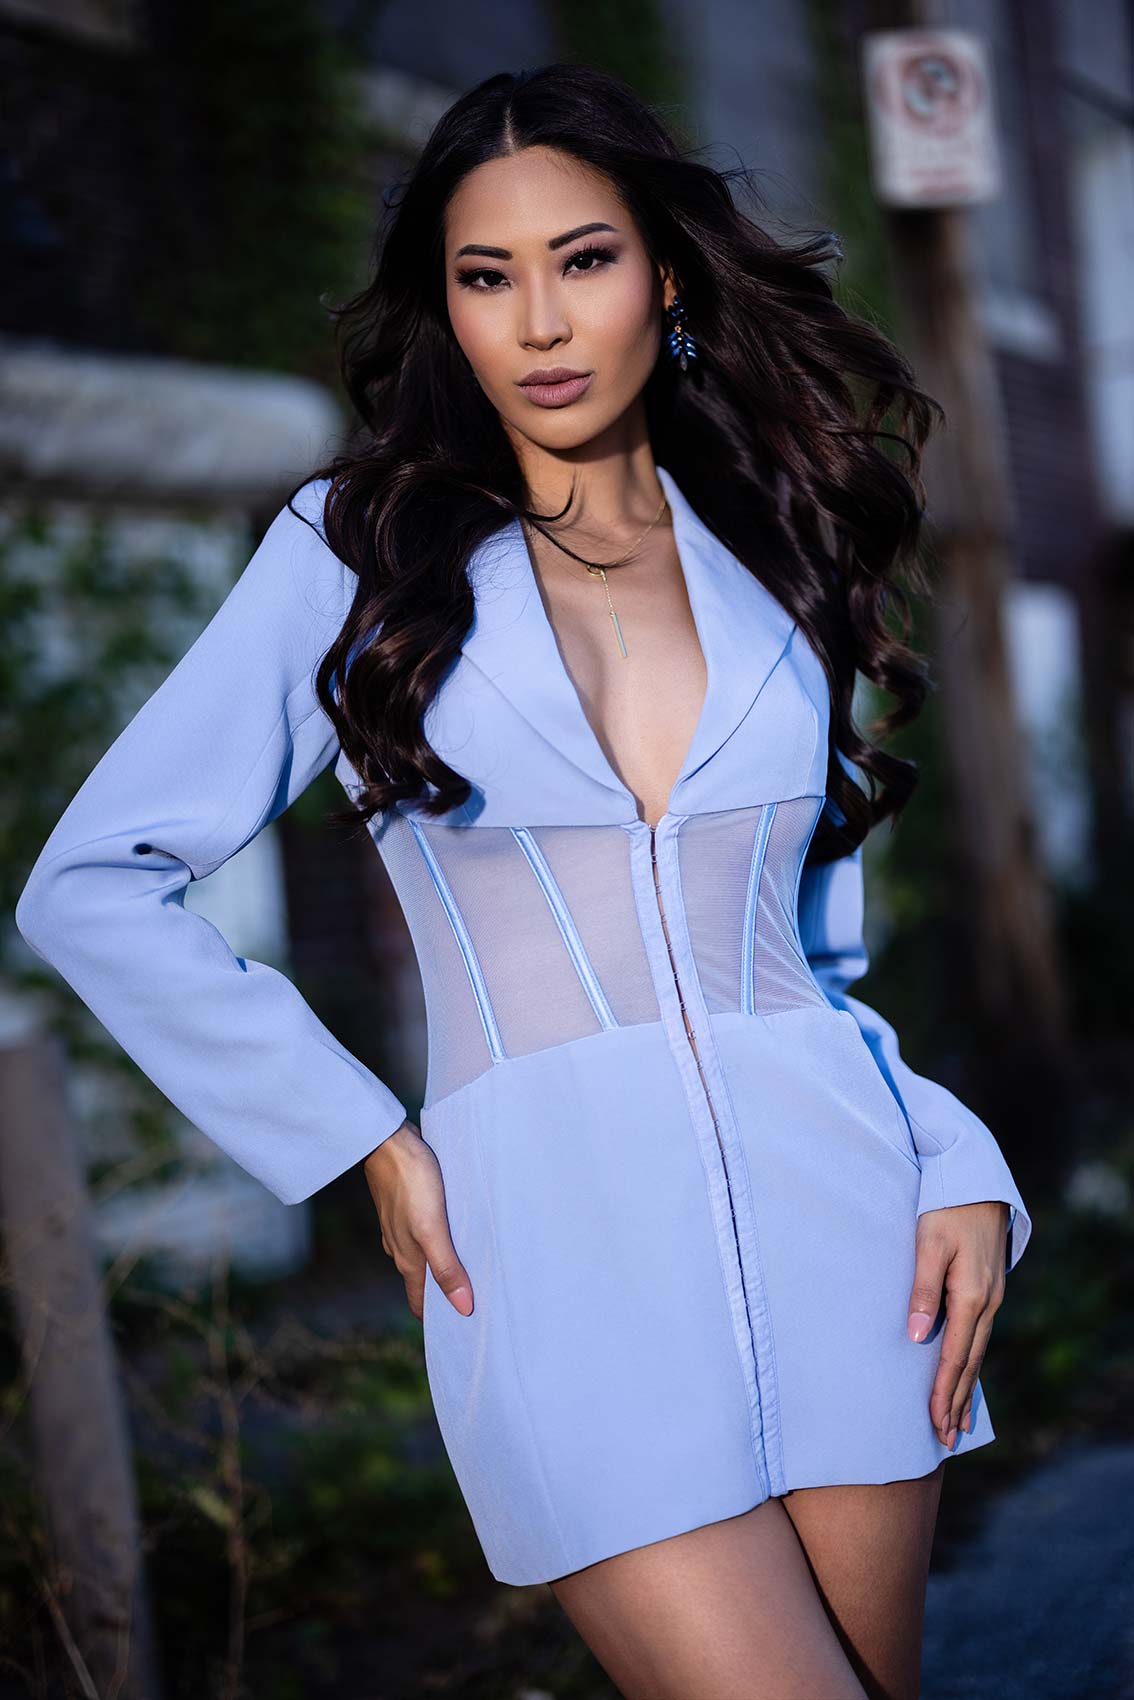
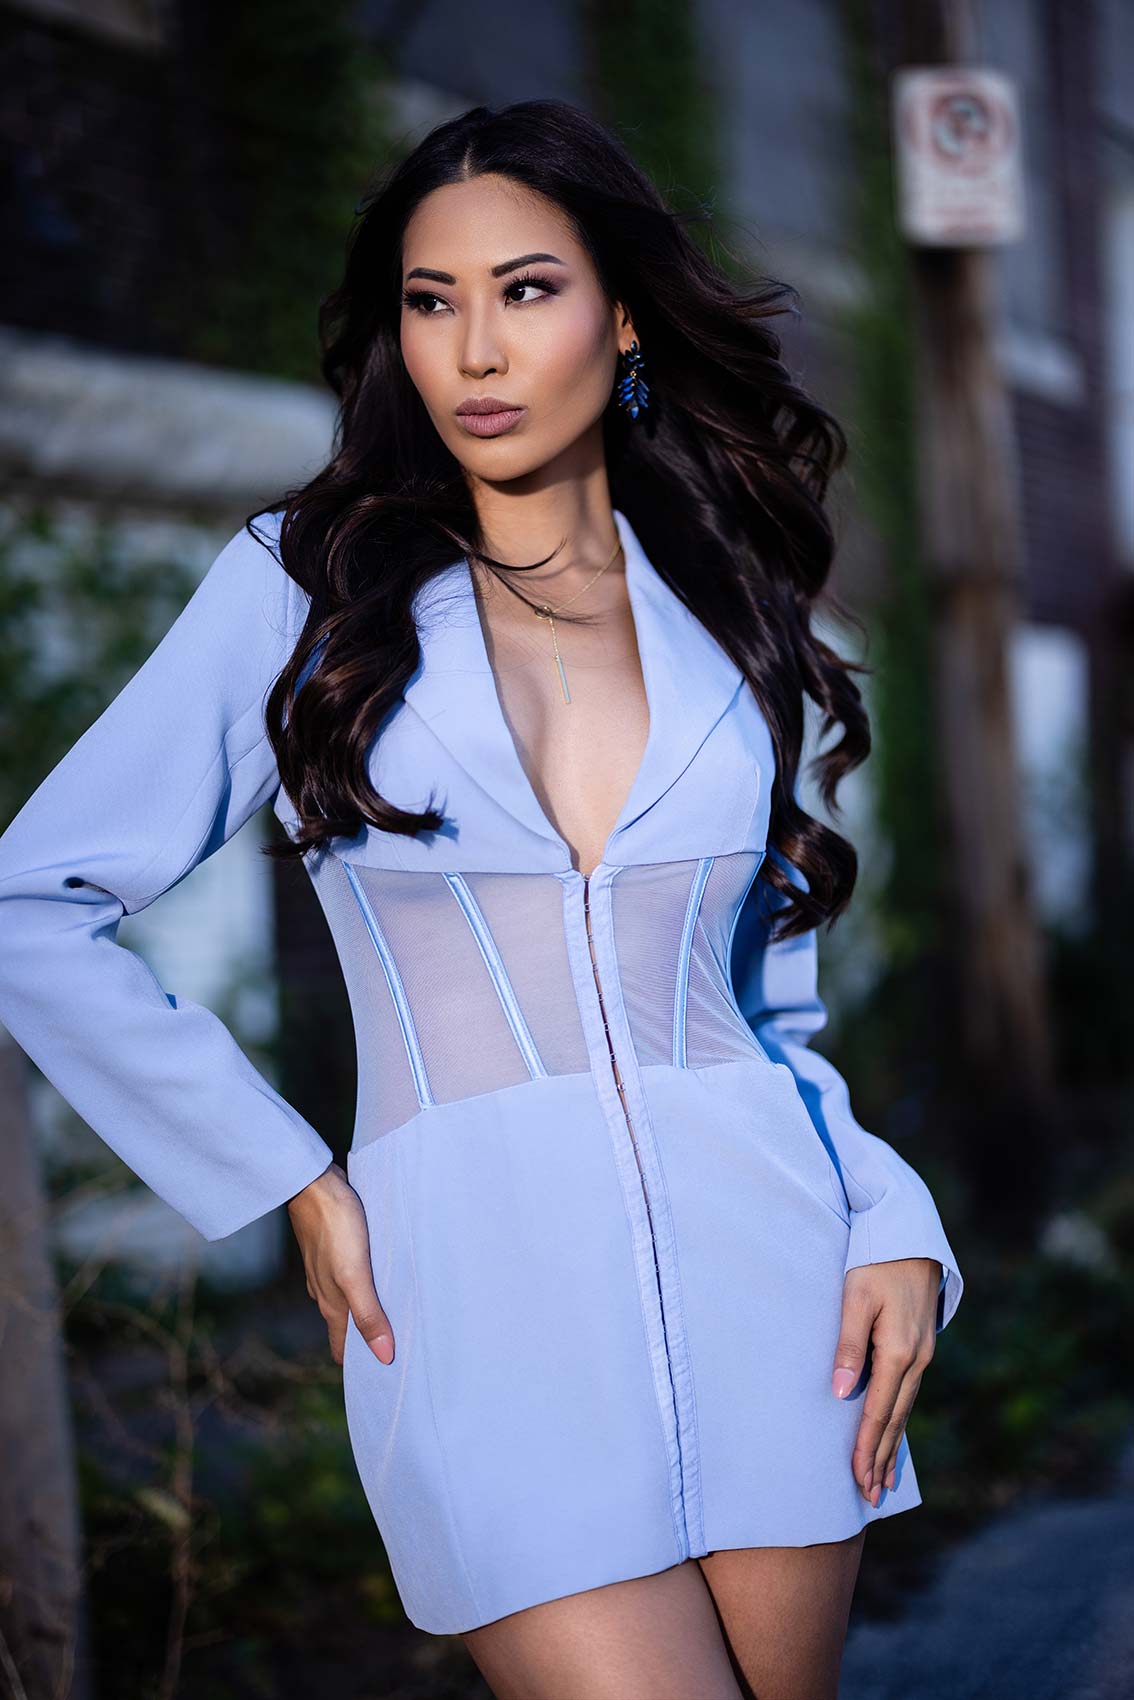
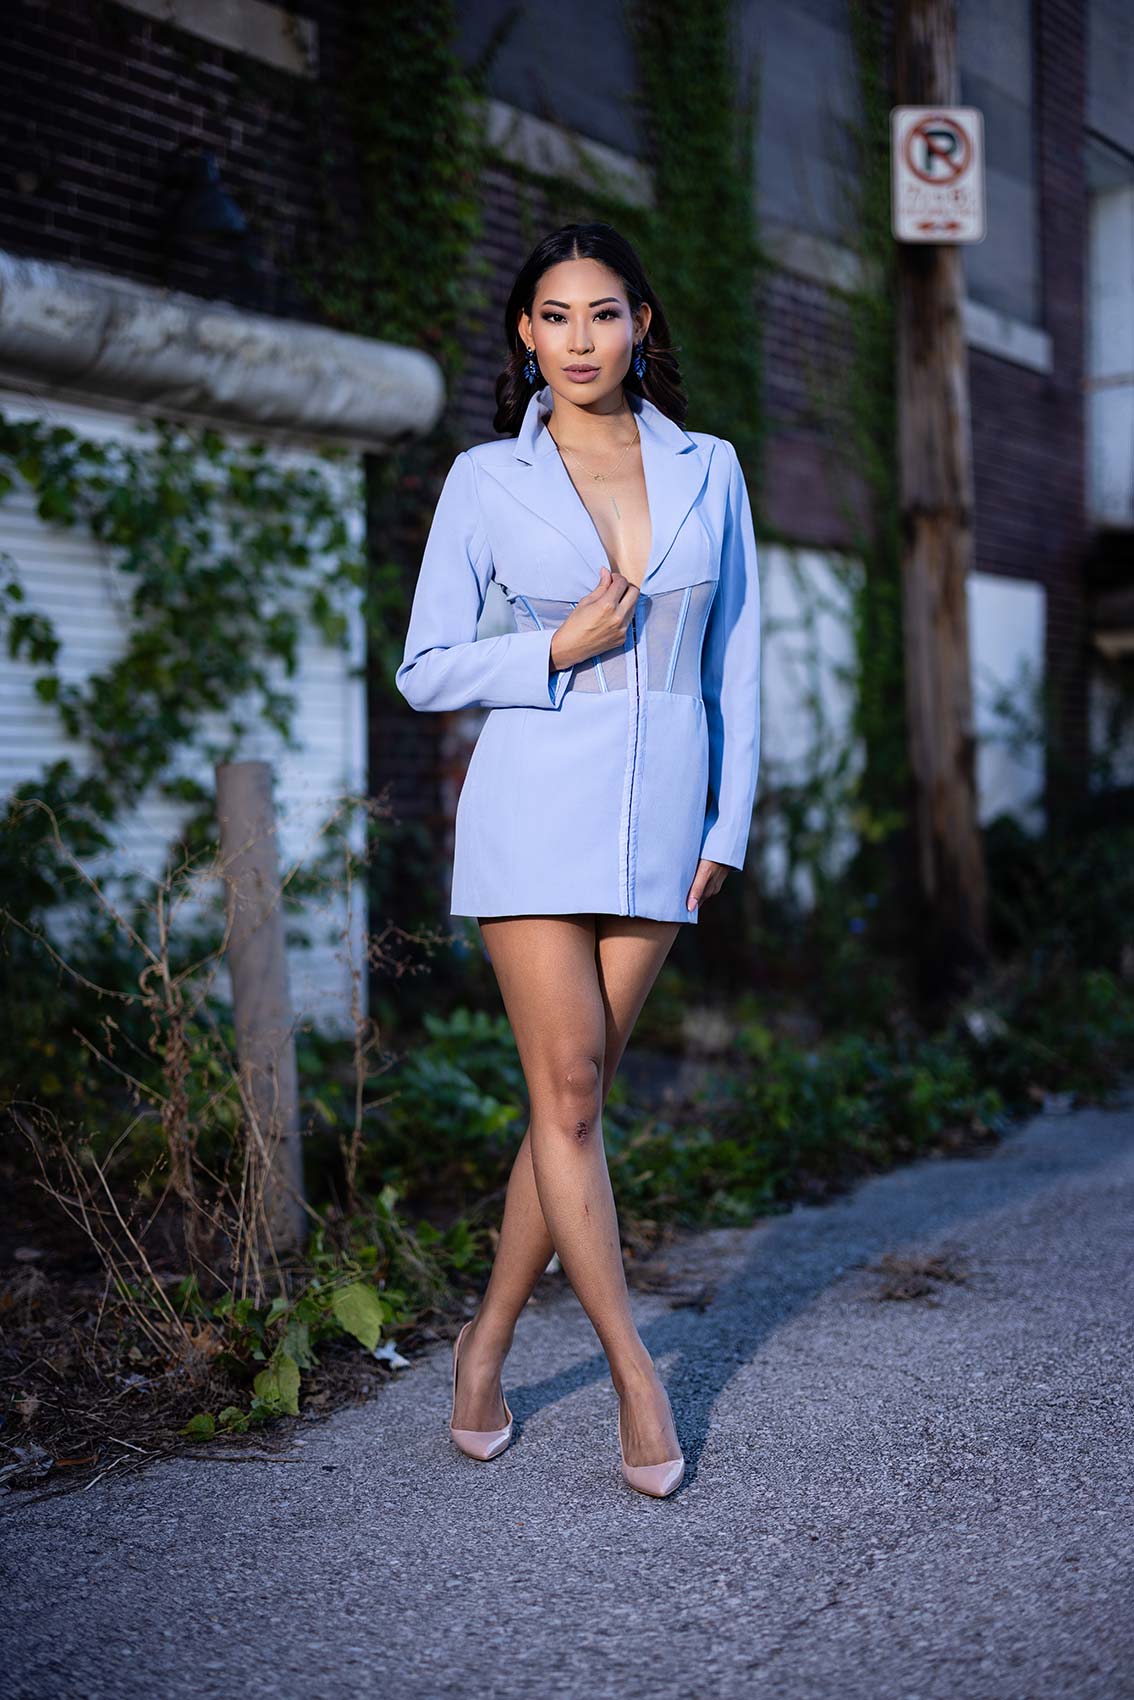
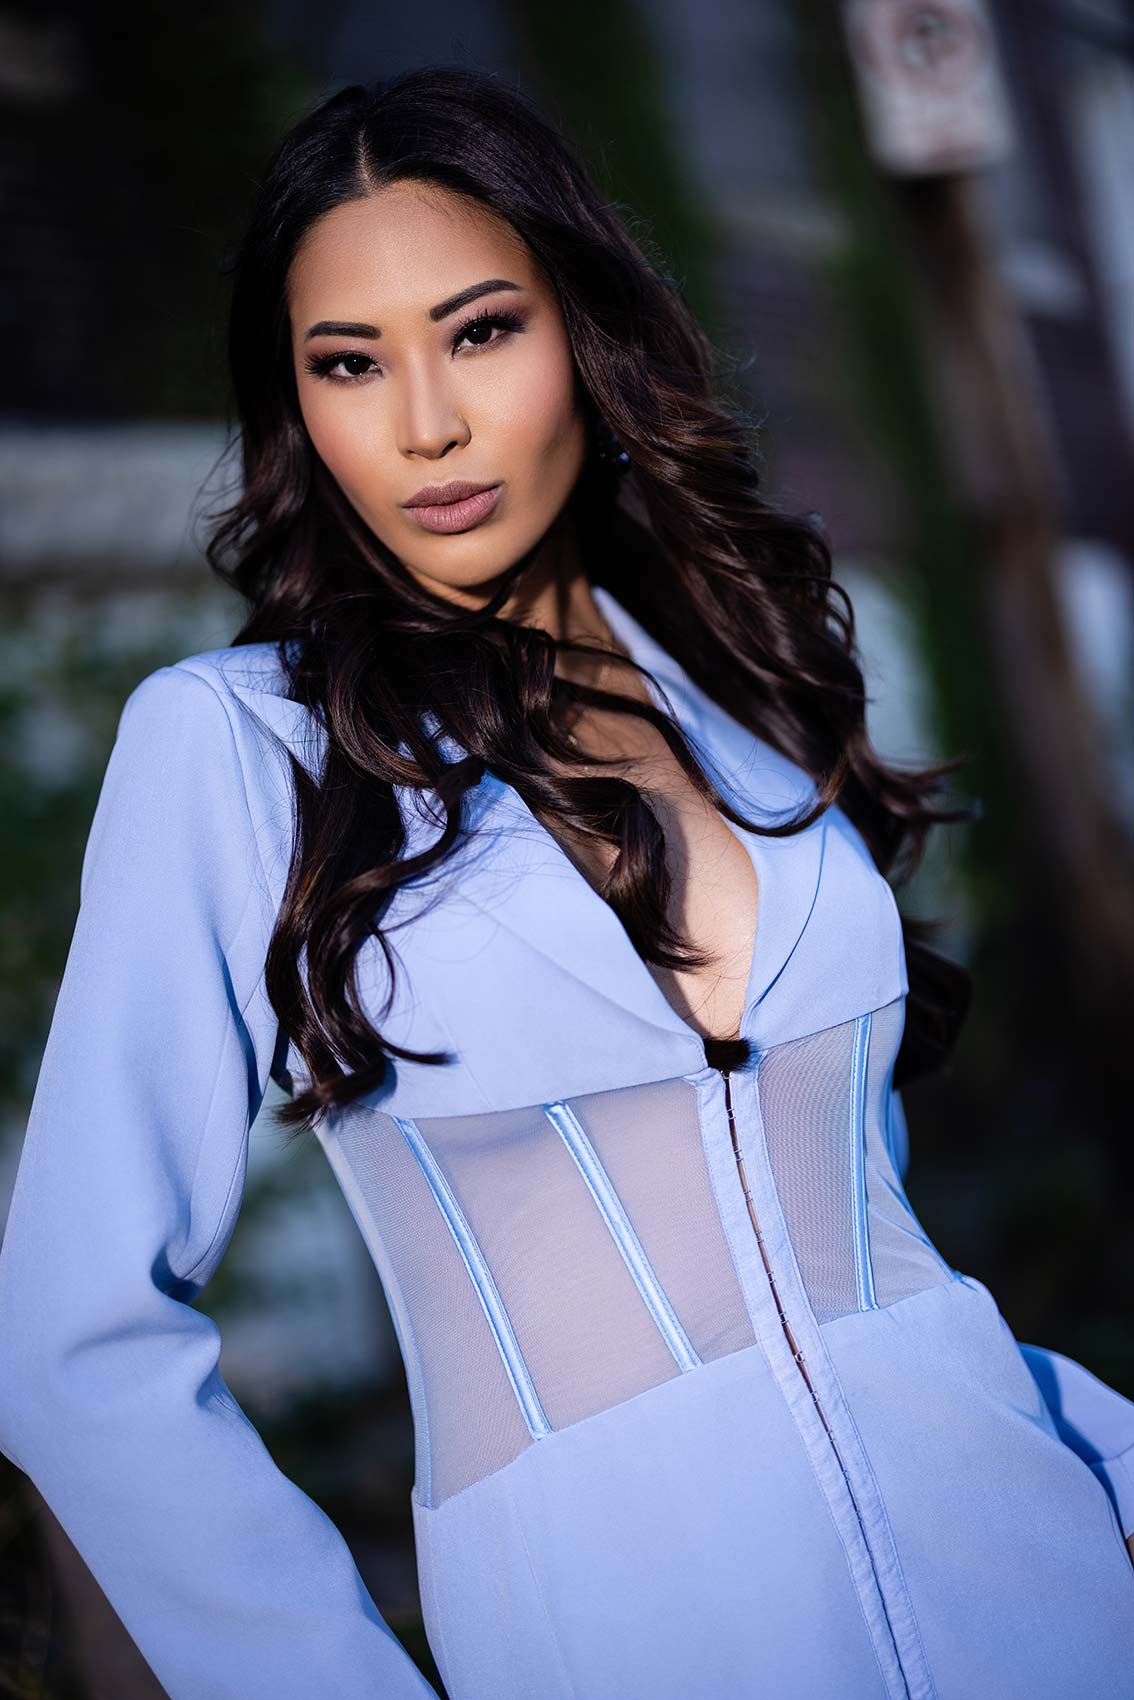
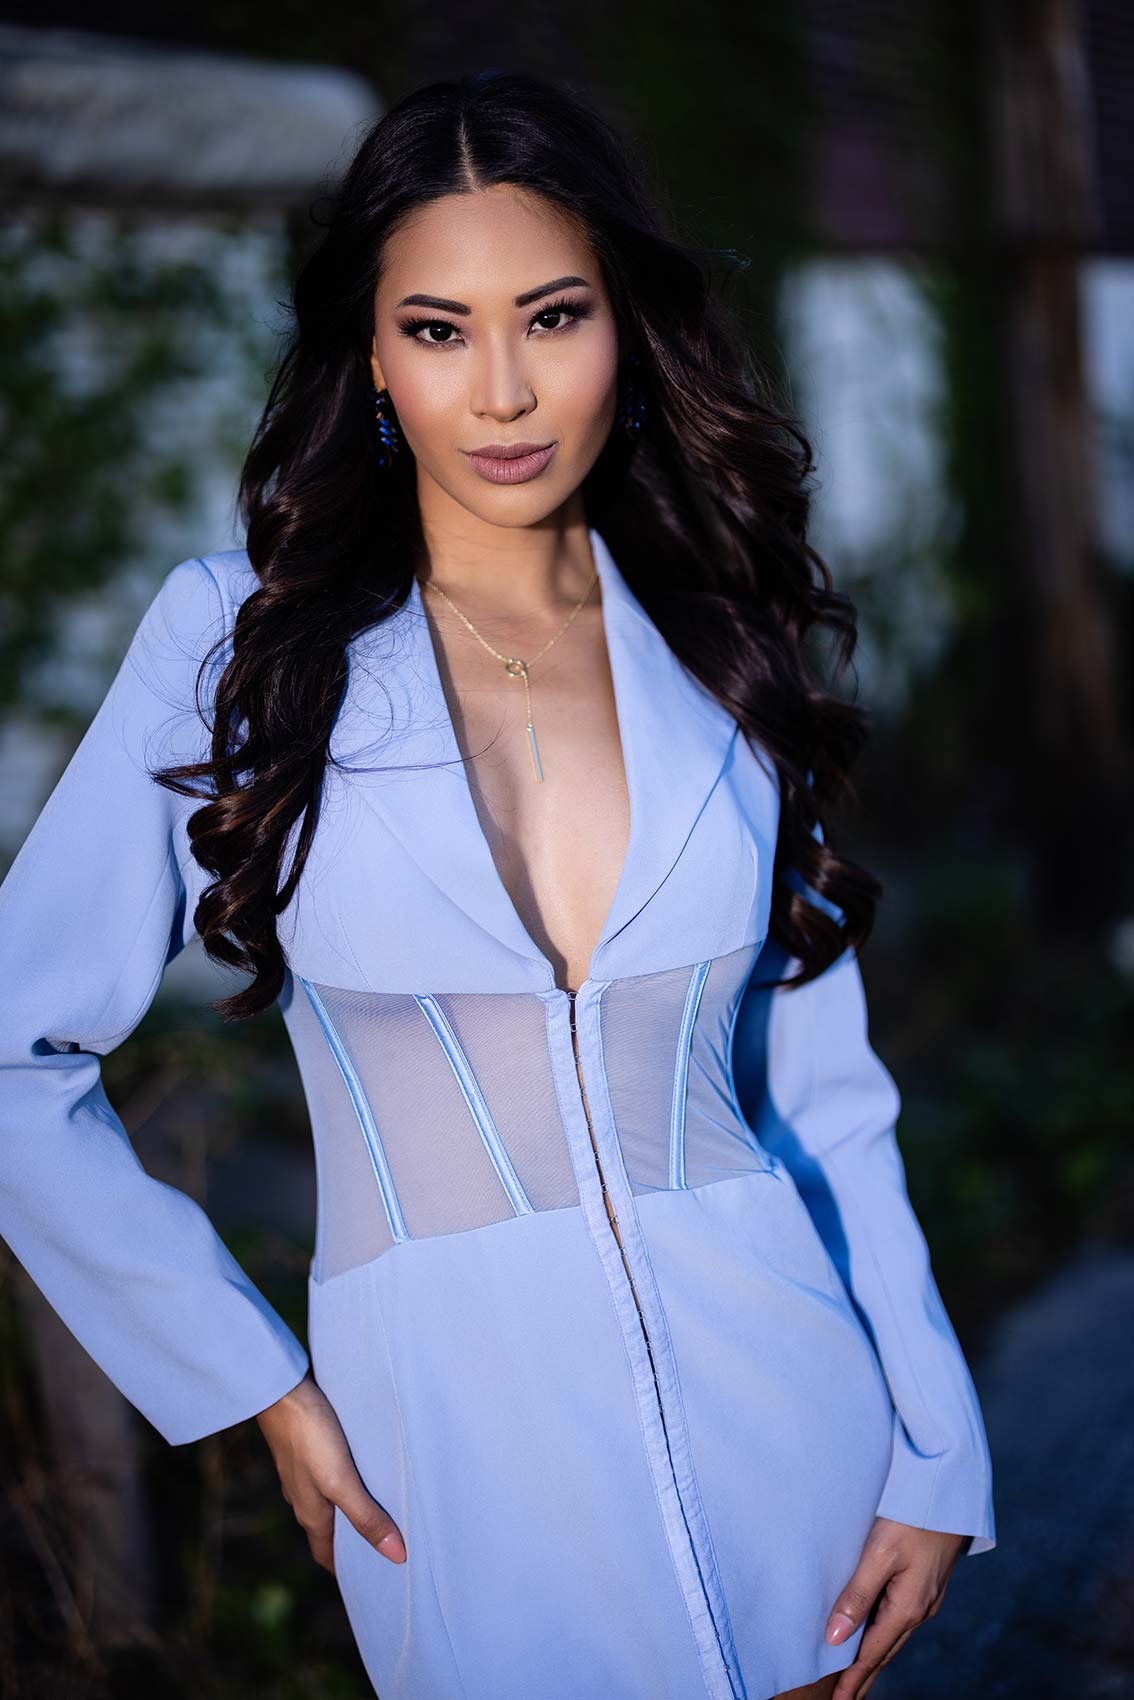
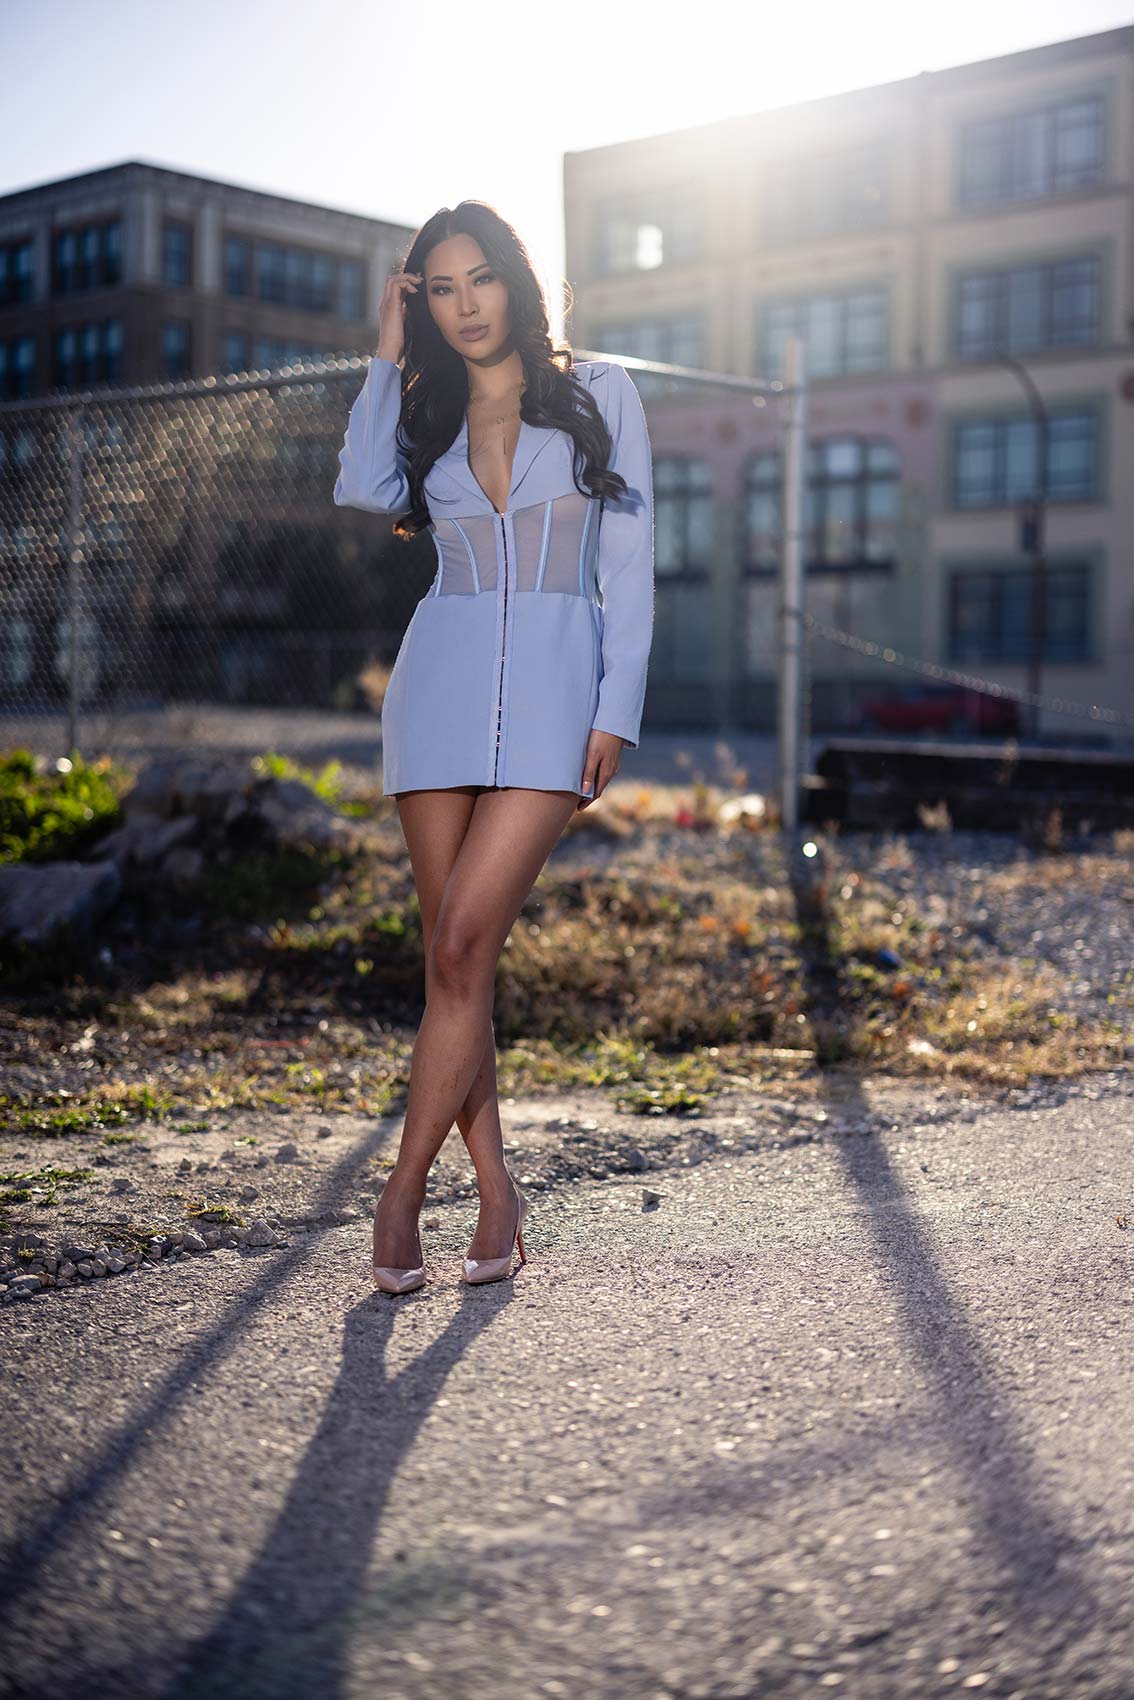
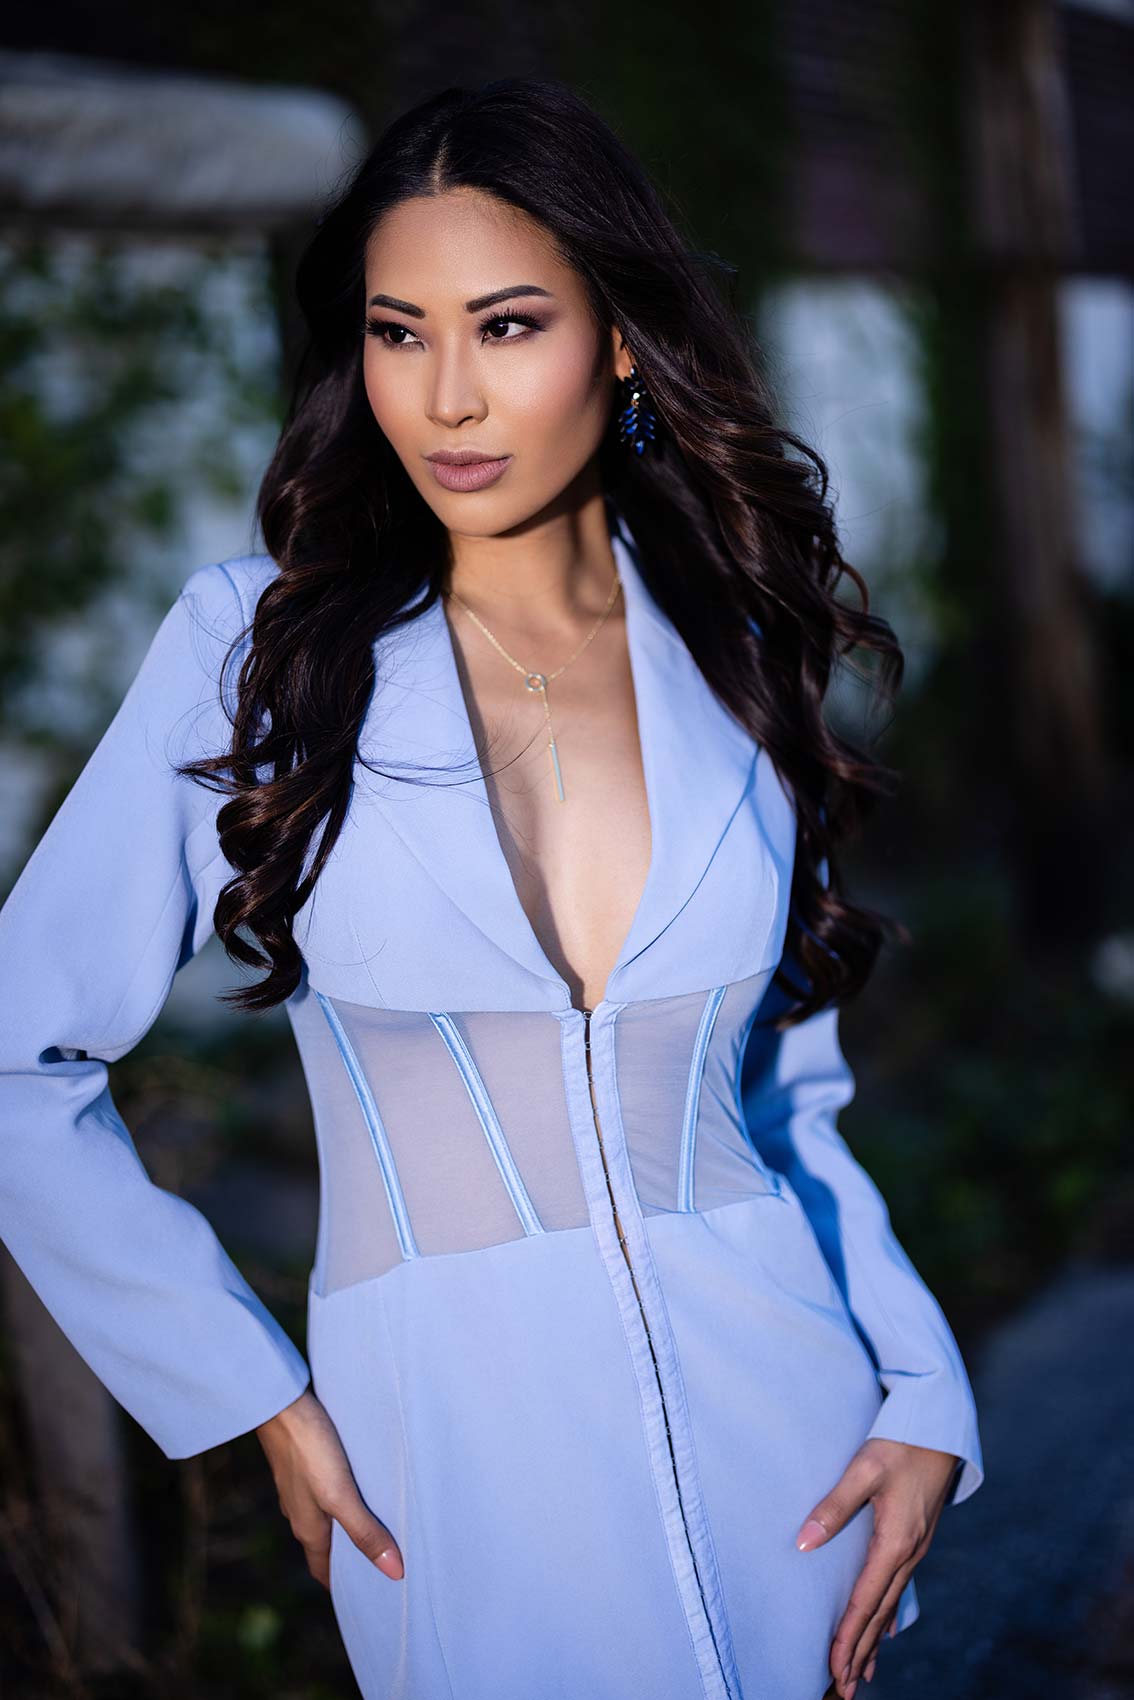
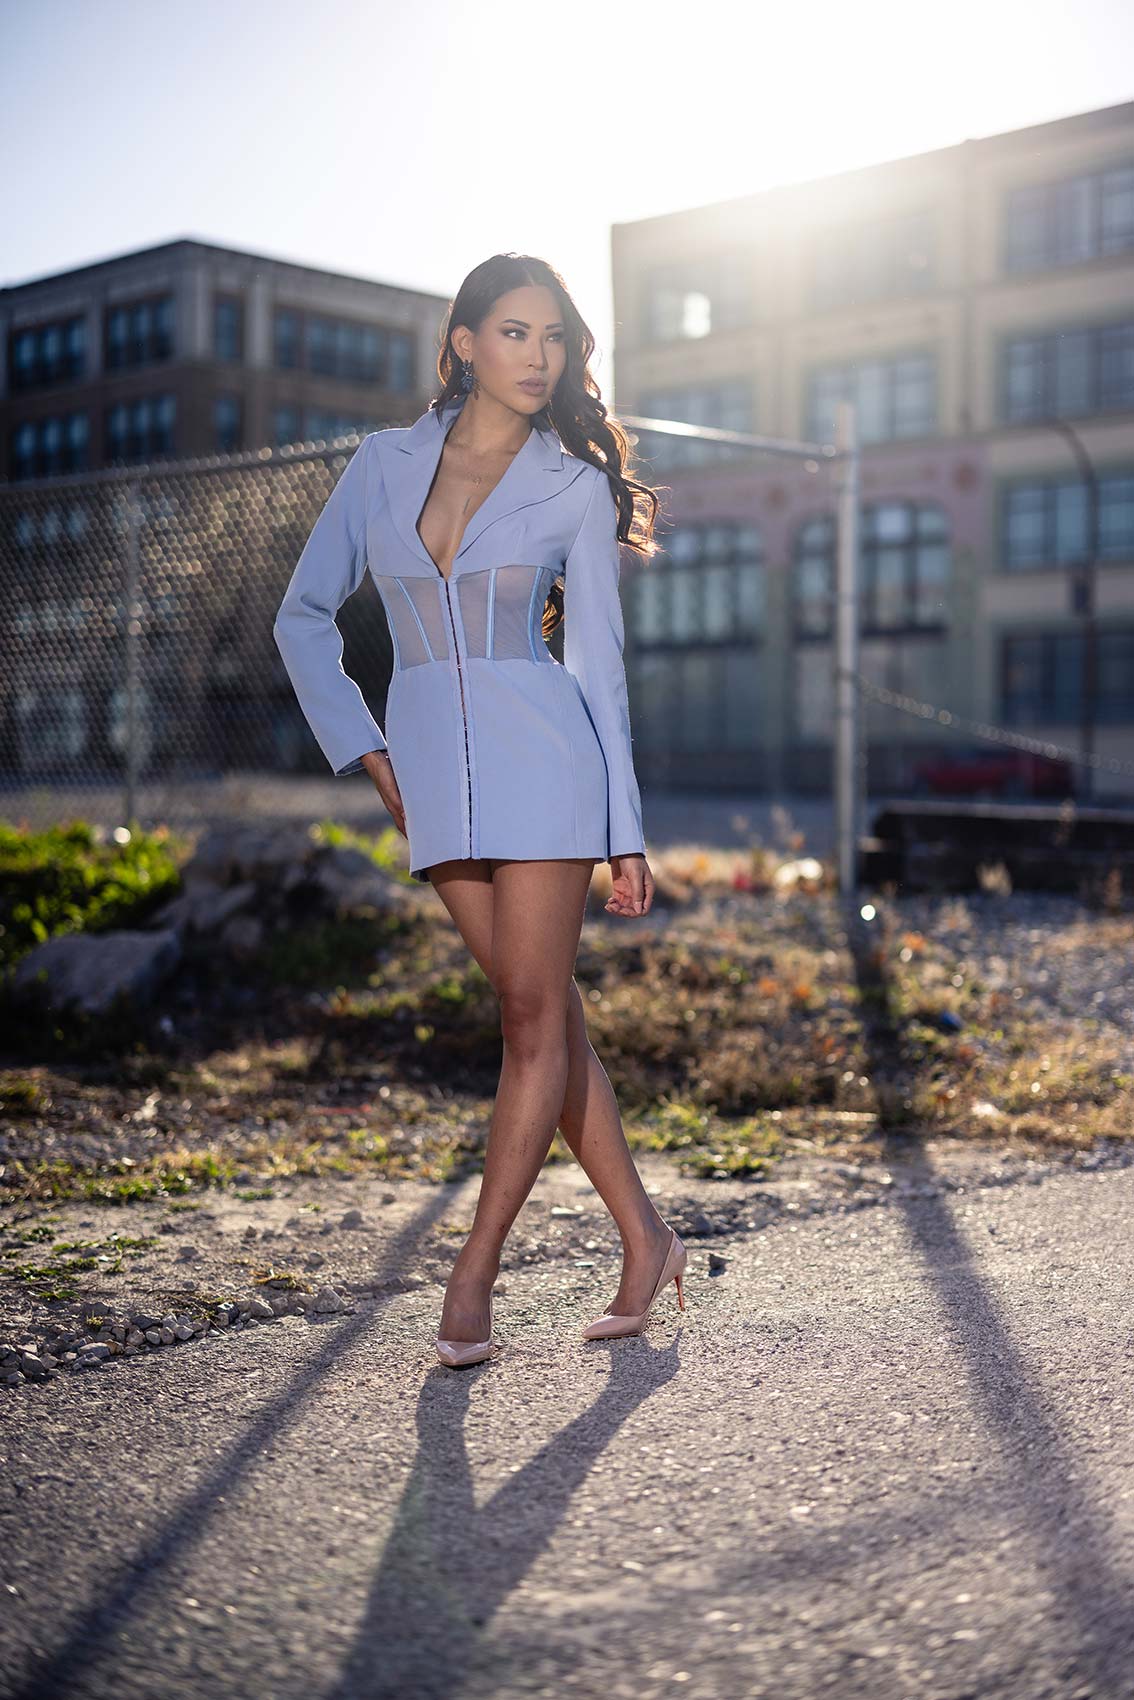
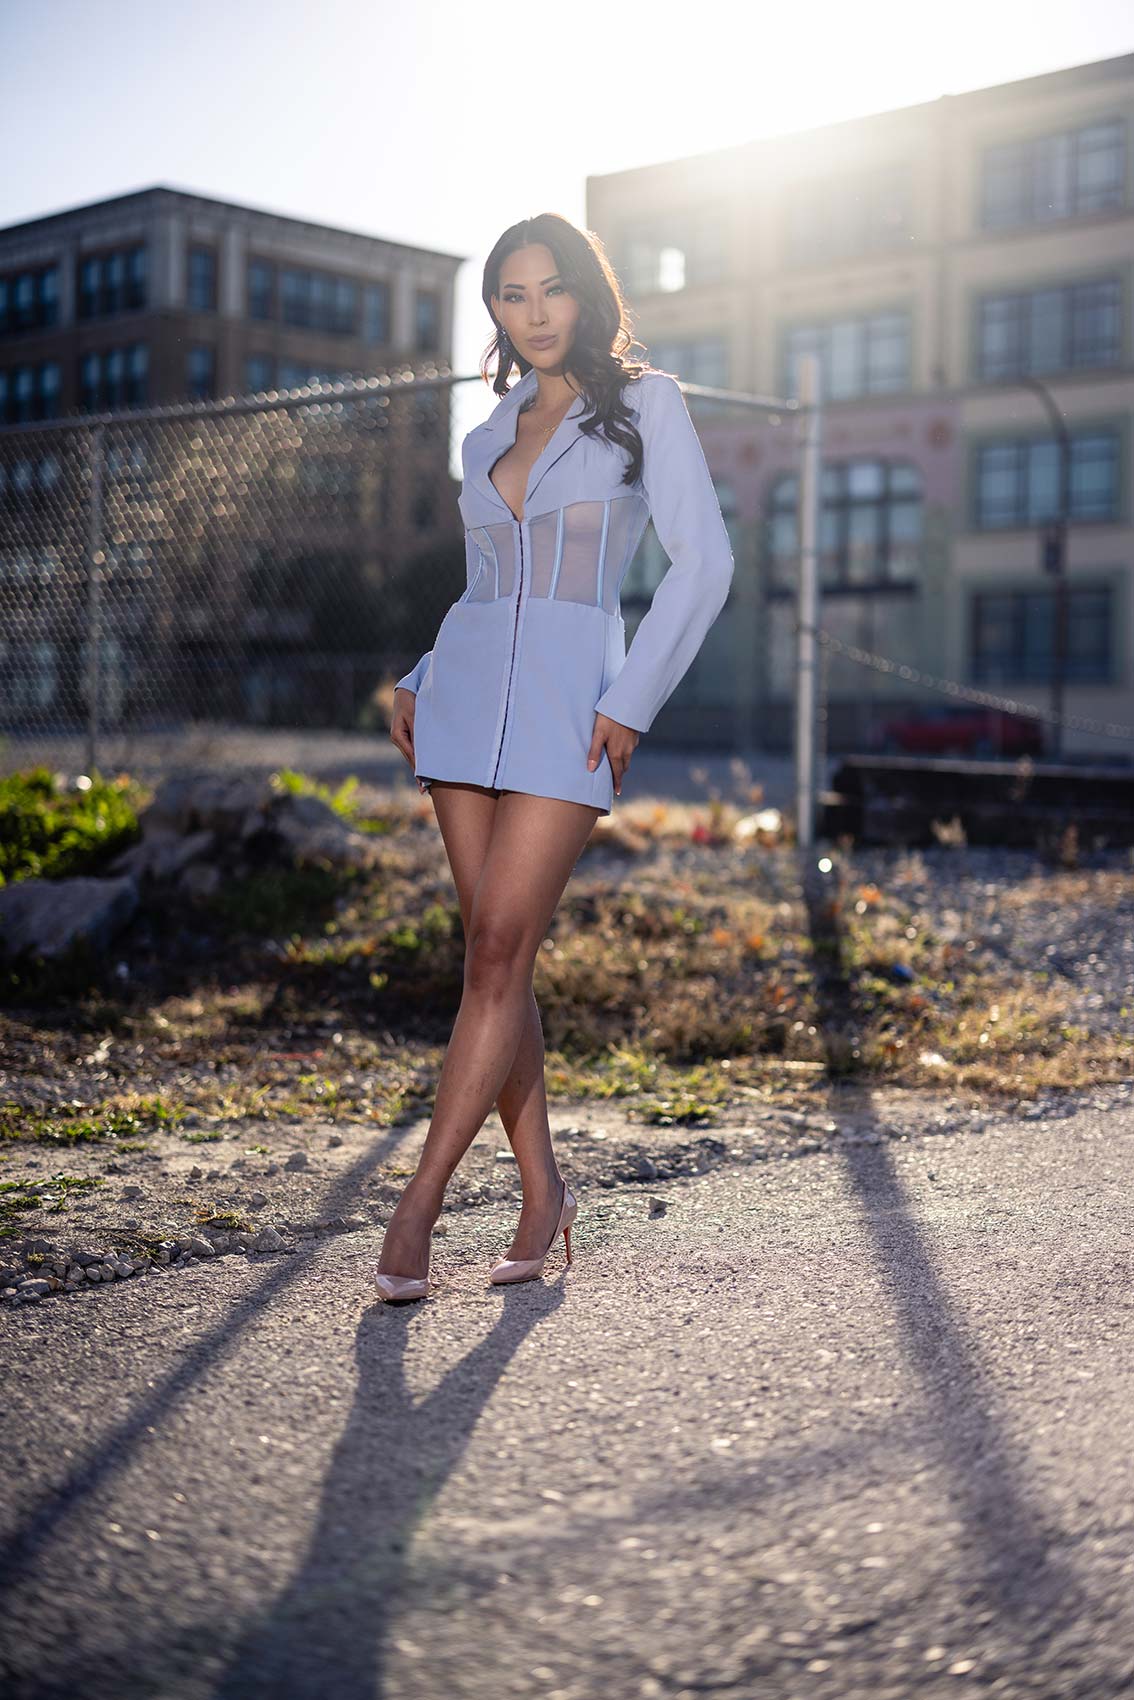
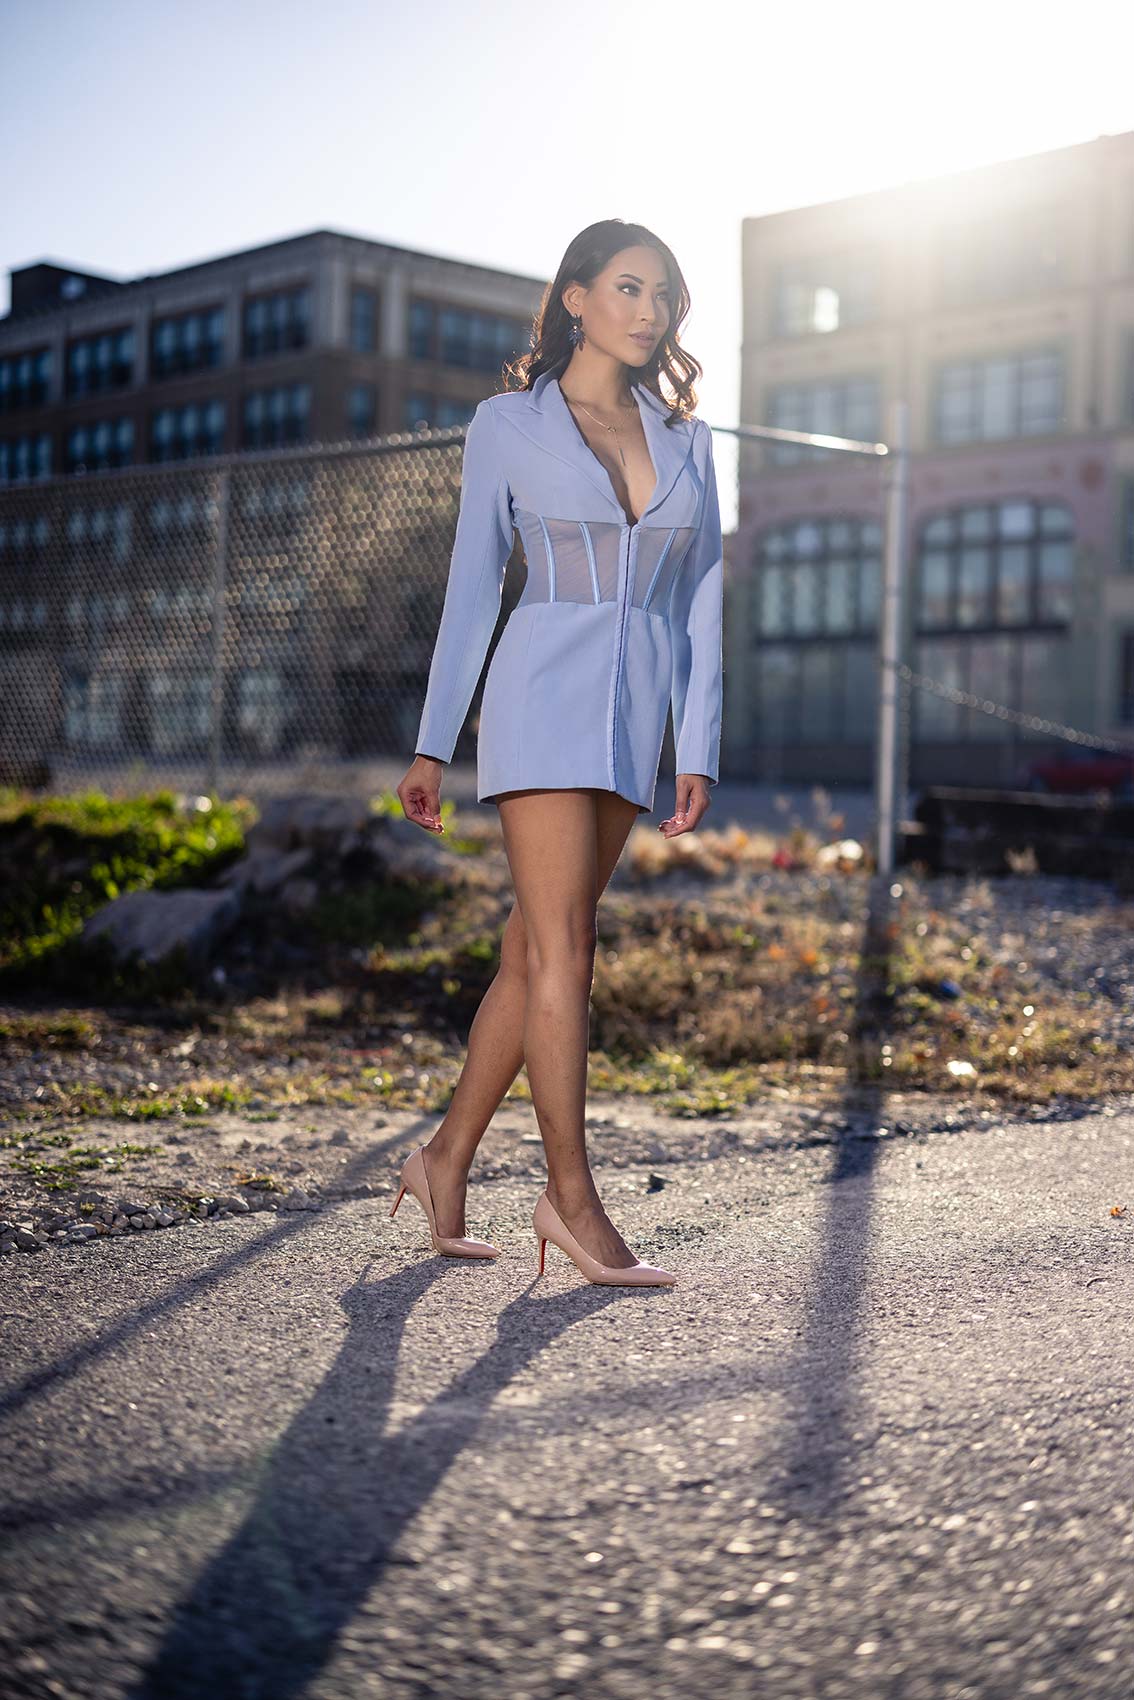
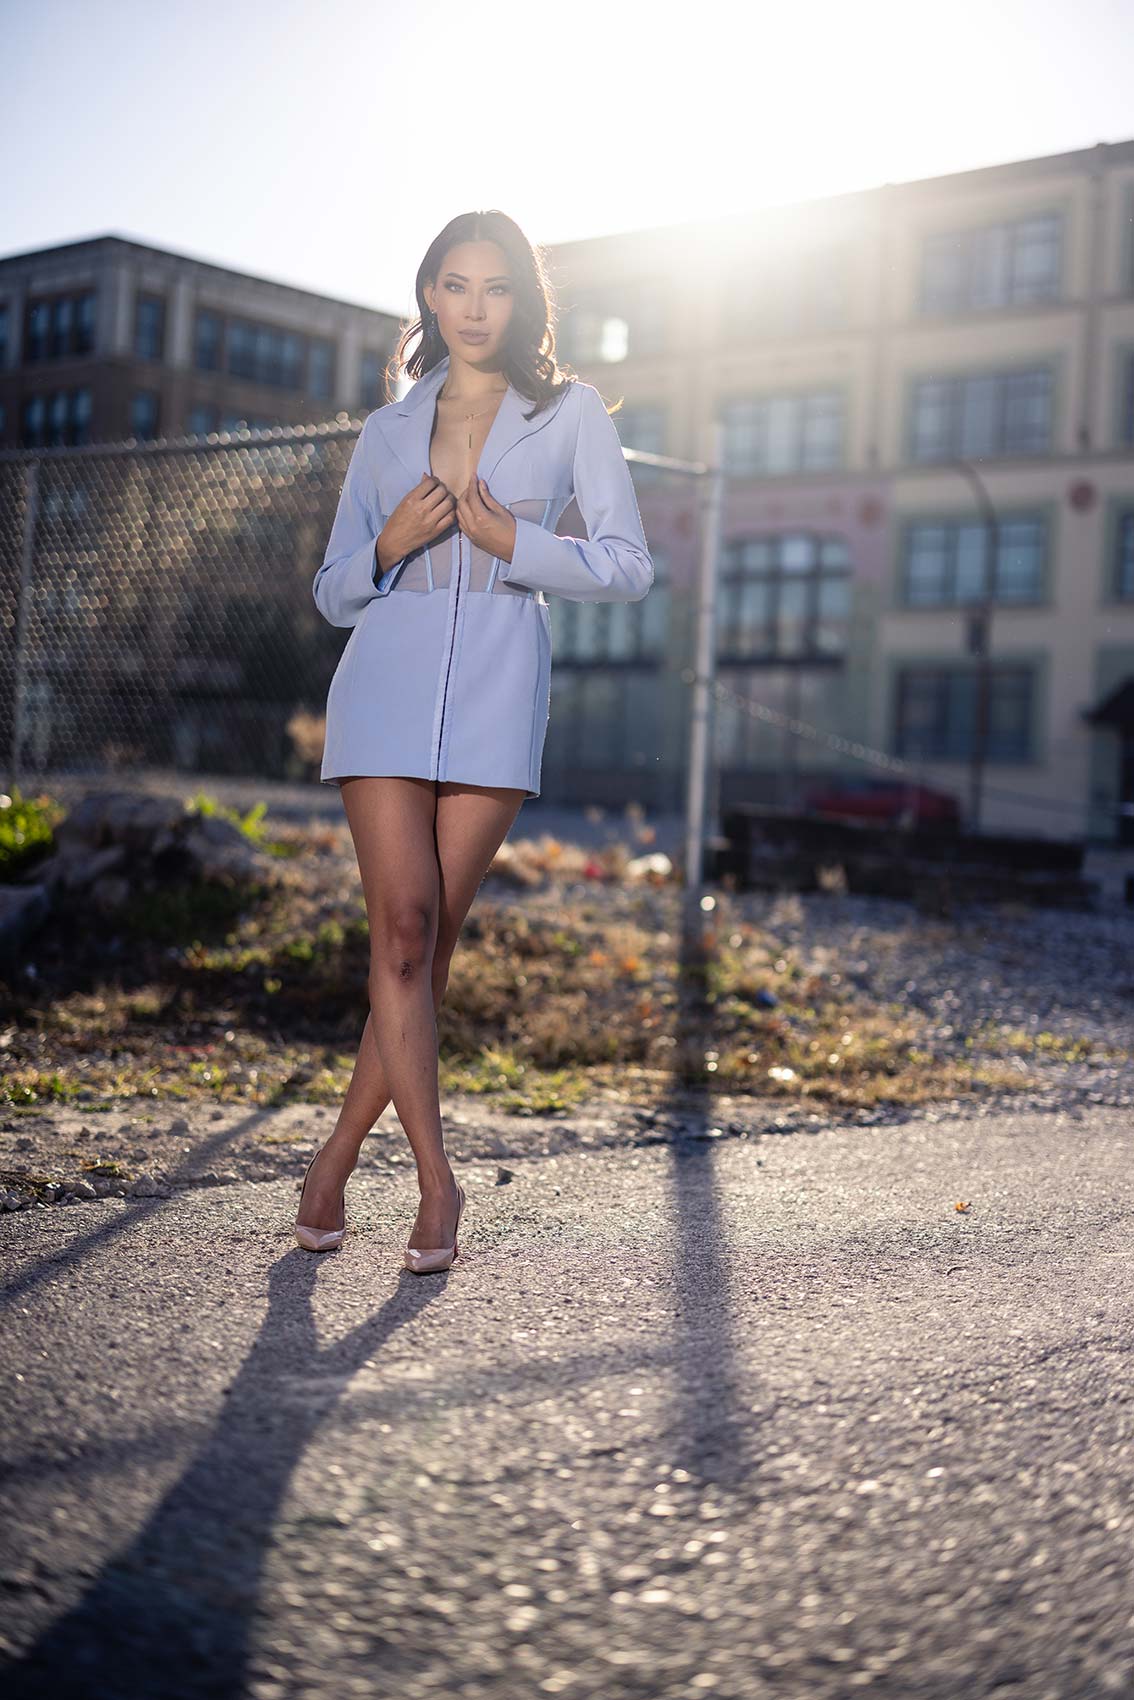
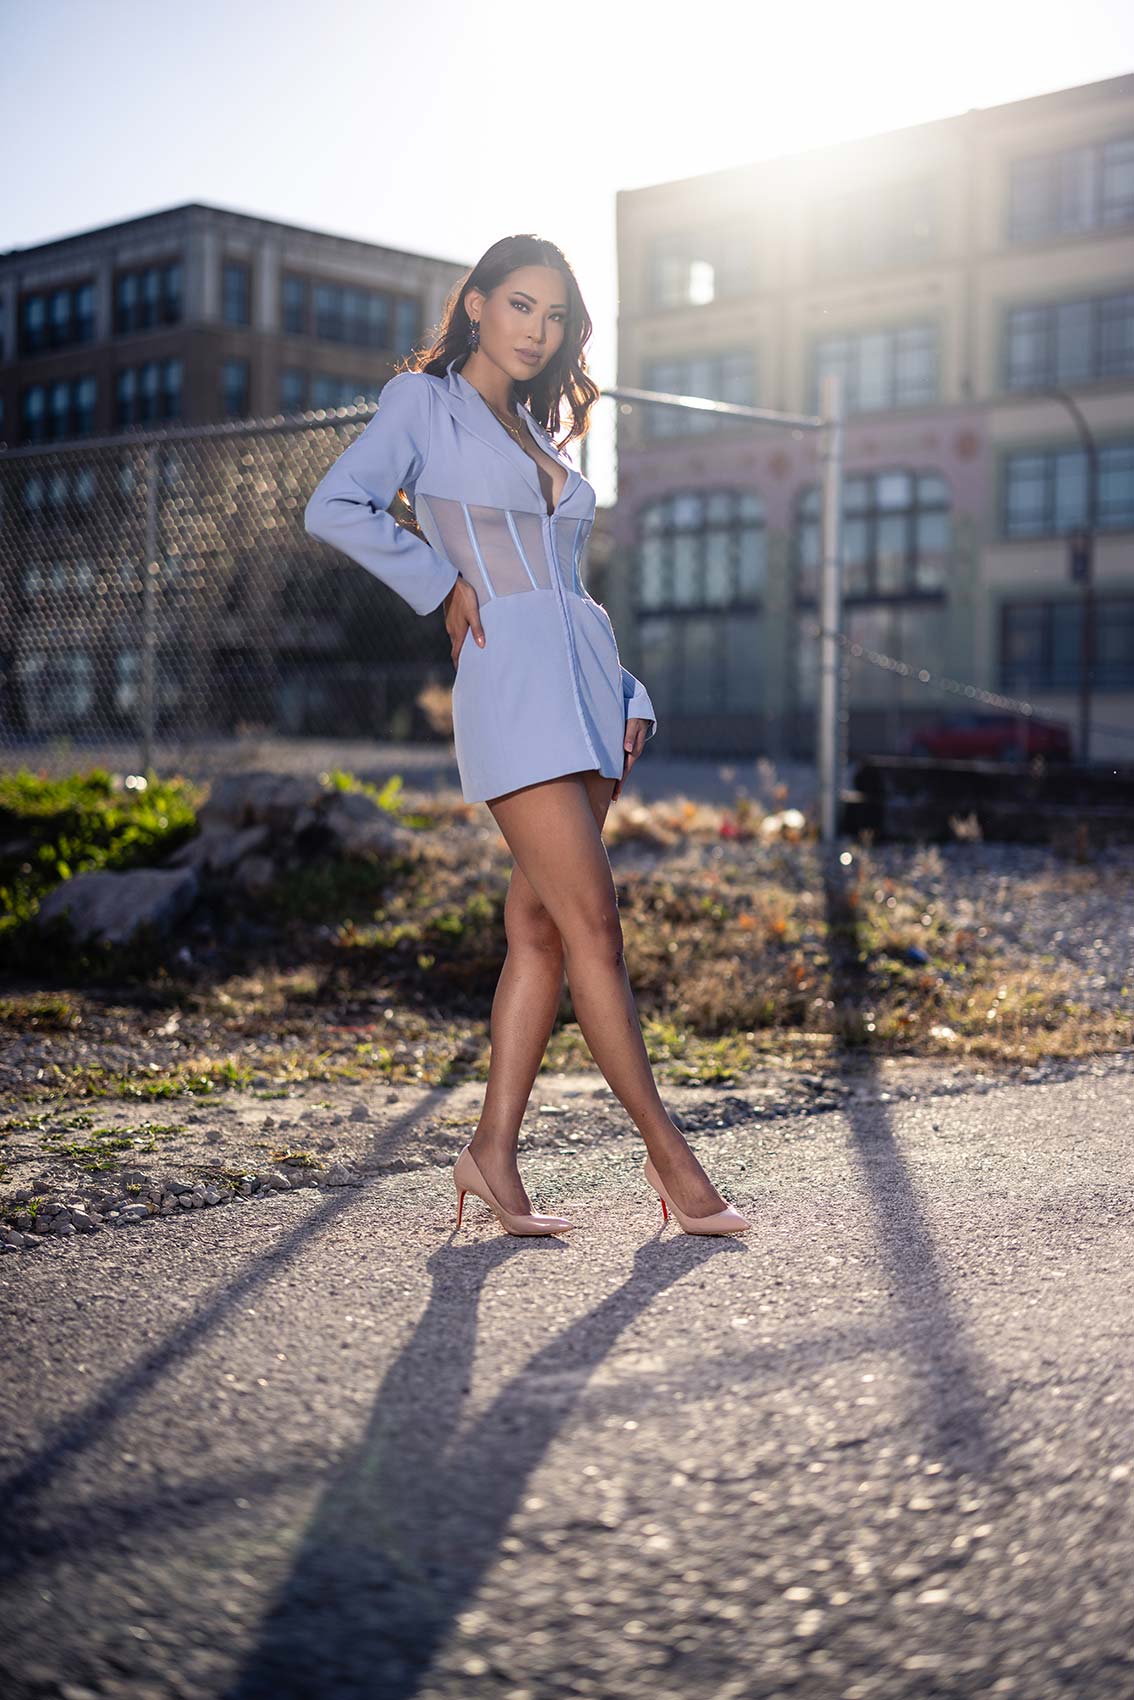
Have you ever tried using high-speed syn for your portrait photography? Well, in this step-by-step tutorial I show you how to do it quickly and easily to create unique portraits. These techniques would apply to any type of photography from weddings, engagements, boudoir, families, etc. We will cover how to use high-speed sync using the Westcott FJ400 and the FJ-X3M
Equipment Used:
Camera: Canon EOS R5
Lens: Canon RF50 f1.2
Light: Westcott FJ400
Modifier: Westcott FJ-X3M
Team:
Photographer: Sal Cincotta
Model: Marylyn Phan
Hair & Makeup: Brandi Patton, Refine Beauty
Ready for some high speed sync on location portraits? Let’s get to it. What’s up everyone? My name is Sal Cincotta. Today, I’m here with the always gorgeous Marylyn Phan.
Now, you might be asking why do you want to photograph at 1.2? Well, for me, I love that milky look outdoors. We’ve got all this kind of junk around. But it’s urban junk. It’s beautiful. And so what is the saying? One man’s junk is another man’s treasure. Well, this is my treasure right now. All these weeds, so this is going to give us kind of eye candy in the foreground, eye candy in the background, but I don’t want to focus on it. I want Marylyn popping off that background. So I’m going to photograph this at 1.2. I’m going to set my ISO at 100.
The more ISO I have, the more sensitive my camera is to light, means my flash has to work that much harder. So I don’t want my flash have to work that hard. So I’m going to ISO 100 or even ISO low, and that’s giving me an extra stop of power. But we’re going to operate at 100 right now. So we’re going to set that up. I’m going to have to put my trigger. And so I’m using the Westcott, we have the FJ400 here today, and I’m using the FJ-X3 M trigger. And on here, I don’t know if you can see this, if you want to come in here, I’m going to set up sync. And that is going to go to just that high with the lightning bolt. Okay? So we’re going to cycle through until we get that to H. Almost all your camera flash systems, all of them get into high speed sync a little bit differently.
So just kind of check your manufacturer’s manual for that. And what I’m going to do is I’m shooting at F1.2, ISO 100, and I don’t care what the shutter speed is because the camera and the flash are going to make that adjustment. So all I really have to do at this moment is get the flash power dialed in. I’m also on camera under exposing by one stop. So I’m shooting an aperture priority and I’m underexposing by one stop, I know I’m doing a lot of talking. I promise you it’s going to be worth it.
So that first shot is pretty good. She’s a little underexposed for me. So I’m going to move the power up one stop. So I’m going to move it to six and I can change that from the trigger. Now I’m getting some really cool light. I’m going to fan it away. Now I like what I’m seeing here. And so as I’m looking in camera, you’re going to see a lot of kind of shallow depth of field. And look, we’re in an urban environment, so it’s already looking a little shaggy to say the least. And I’m okay with that stuff, but I don’t want it to be in focus. I need it to be out of focus and by underexposing and creating those dark and moody portraits that we’re known for, this is how I do it.
This is the way I work. No matter what the conditions are. You can do this for sports photography, family shoots. You may not shoot as shallow, but you get the gist. This is the way you can do it. So I’m going to get to work on Marylyn and create some images. Let me know in the comments which ones are your favorite. And don’t be intimidated by this. Just get out and try it. So, because I know I’m at a shallow depth of field, I can now move stuff in front of the lens and just give me a little bit of eye candy there. Yeah, and this is blurring out some of the foreground. It’s just making it a little bit more interesting. And I love messing around with this kind of stuff.
It’s the aesthetic. Anyway, so that look is kind of in right now, right where it looks very flashy. So now what I’m doing is by pulling her off the wall, I’m going to allow that wall to go darker, create more light fall off, if you will. So I’ve just moved her off that wall and to make her now pop. So let’s get to it. I’ll shoot some mid-level portraits of her. So I’m right up at your waist here.

