Five Tips To Take Your Studio Lighting To The Next Level with Jen Bertrand
As photographers, it’s easy to get sucked into the mindset that it takes tons of fancy equipment to create stunning studio images. The truth is, killer images can be created on the smallest of budgets. It’s all about how you use your gear and understanding how to refine the light you create. Whether you’re just starting out in studio or have been at it for a while and want to take your lighting to the next level, these five simple tips will help you level up your studio lighting game with the gear you already have.
START AT THE END AND WORK YOUR WAY BACK
Our job as photographers is to create an emotional response and engage the viewer. One of the most powerful ways to do that is through intentional lighting. When lighting any image I create, I start with how I want the final image to look and then work my way back. Rather than just setting up lights and hoping for a well-lit image, I think through different elements that make up the final image and make decisions based on those answers.
For instance, what sort of mood do I want to create? How do I want the viewer to feel? Do I need to accentuate a specific feature of my subject like their eyes, cheekbones, or even the clothing they’re wearing? Do I want this image to feel happy? Edgy? Pensive? Energetic? An energetic image may require a different light modifier than one needed for a pensive mood. While the same modifier could be used for both moods, the position of the light may determine that one is energetic and the other pensive. Ask yourself these questions before you begin and let the creative vision guide your lighting.
CHOOSE THE RIGHT MODIFIERS
With so many different types of modifiers out there, how do you choose the right one? If you know how your final image will look, you can make an informed decision regarding which modifier you need to create that light. For instance, “Do I need to create soft or hard light?”
Soft light is created through diffusion, subject to light distance, the size of the modifier in relation to the subject, or a combination of these variables.
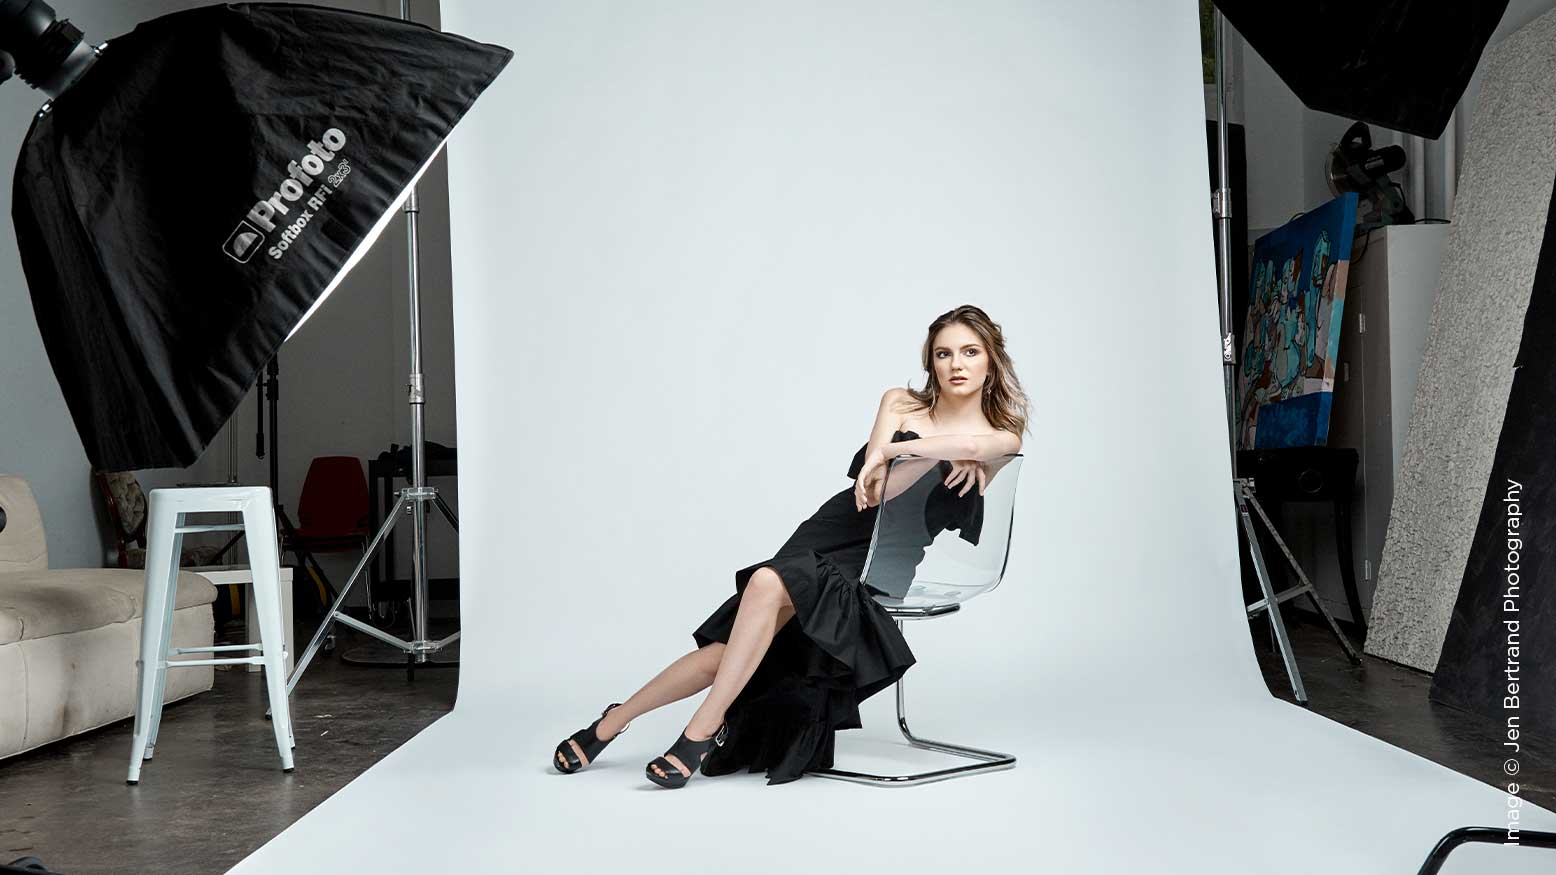
Let’s start with diffusion. Modifiers such as softboxes and octaboxes have opaque, white fabric panels through which the light travels before hitting the subject. Diffusion panels create a wider source of more scattered light, which softens the light and allows it to wrap around the subject, creating soft shadows.
Hard light is created through more direct and intense light using a smaller modifier such as a silver can reflector or bare bulb, shortening the transition between highlights and shadows and resulting in fewer midtones between the two.