Everything You Need to Know About Shooting Slow Motion Video with Rob Adams
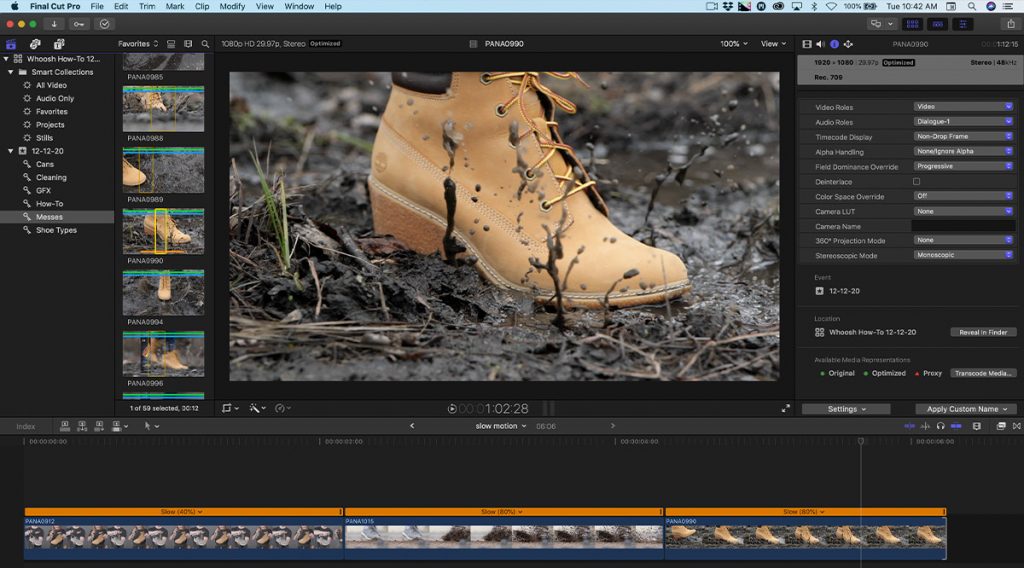
Ever since I started editing wedding films back in the early 2000s, I’ve utilized slow motion. I’ve used it to make my films more emotional, more dramatic, and even to fix some in-camera issues like shakiness, allowing me to focus on using the best part of a shot. Back then, the analog and early digital cameras available supported very limited standard frame rates like 30fps (25fps if you were using the European PAL standard). But when 24p became a popular format around 2002 for amateur and professional digital filmmakers alike, a new door was opened. We now had the ability to slow down our footage using a technique known in the celluloid film world as over-cranking. Filmmakers would speed up the film in camera, thereby creating more frames for a particular shot, and then rotate the film reel back at a slower rate to create slow motion. Today’s digital editing workstations handle these extra frames in a similar fashion, albeit digitally. Instead of a rotating film reel, we have a digital editing timeline that gives us a set amount of frames. We can then use extra frames to “stretch time.”
Nearly all of today’s amazing DSLRs and digital mirrorless cameras have the ability to either shoot slow motion in camera or have the ability to record in faster frame rates that allow you to create dynamic, high-quality slow motion in post-production. You must, however, have your end project format in mind in order to decide how you will go about utilizing slow motion correctly. In essence, you can place any clip of video on an editing application timeline and apply a speed change filter to slow it down, but if you don’t have more frames than a single second of digital time, you will end up with a slowed-down clip of video, which stutters to skip frames. In order to use slow motion effectively you must do one of two things: Record your video with the slow motion applied to clips in camera (slow and quick record modes) or shoot with more frames per second than your planned editing project timeline (higher frame rates).
Because of the complexities involving processing power, heat dispersion and limitations of your specific camera, you may have a limited number of options when recording slow motion video. As I write this article, some of the most powerful mirrorless cameras on the market can shoot 6K video in up to 60fps (very high-end cinema cameras), 120fps at 4K resolution, and up to 240fps in full HD or 1080p video (professional mirrorless and DSLRs). Considering that most video projects are edited and mastered at 24fps, those higher frame rates offer a bunch of extra frames to create very pleasing slow motion. For example, if you shoot your video at 60fps and edit at 24fps, you will be able to slow your footage down by about 60%, meaning that the footage will play back at 40% of its original speed. If you shoot at 120fps and edit at 24fps, you will be able to slow that footage down to about 20% of its original speed after conforming the speed of your video to the project timeline frame rate.
One thing to keep in mind when shooting in slow motion is your shutter speed. For the best results, you will want to shoot at a shutter speed that is double the frame rate of your footage. If you are shooting at 60fps, you will want to keep your shutter speed at 1/120 or as close as you can get to it. If you are shooting at 120fps, you will want your shutter speed to be at 1/240 or close to it. This is because of the global shutter rule. I’m not going to get too far in depth about it, but a global shutter ensures that no artifacts or jerky motion end up in slow motion when played back. If your camera has a global shutter option, which not many of today’s mirrorless digital cameras or DSLRs have, set it to 180º and use it. If not, double your frame rate.


