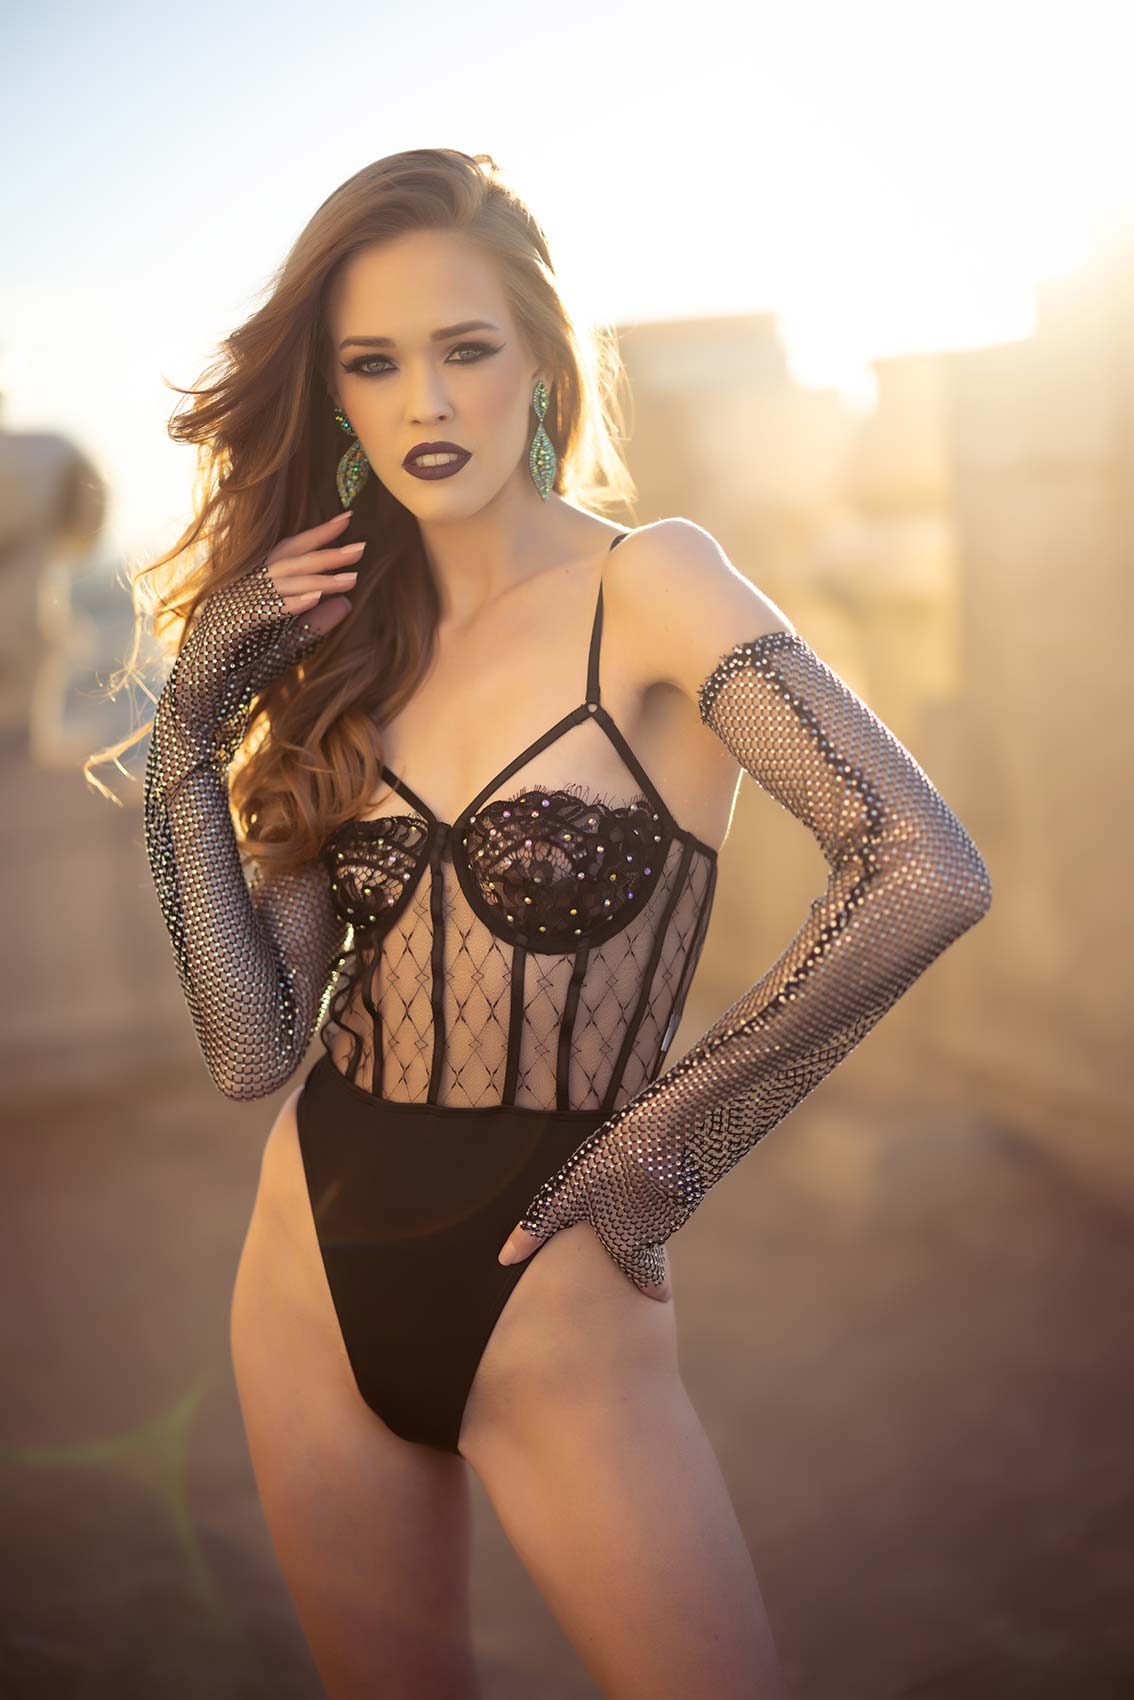
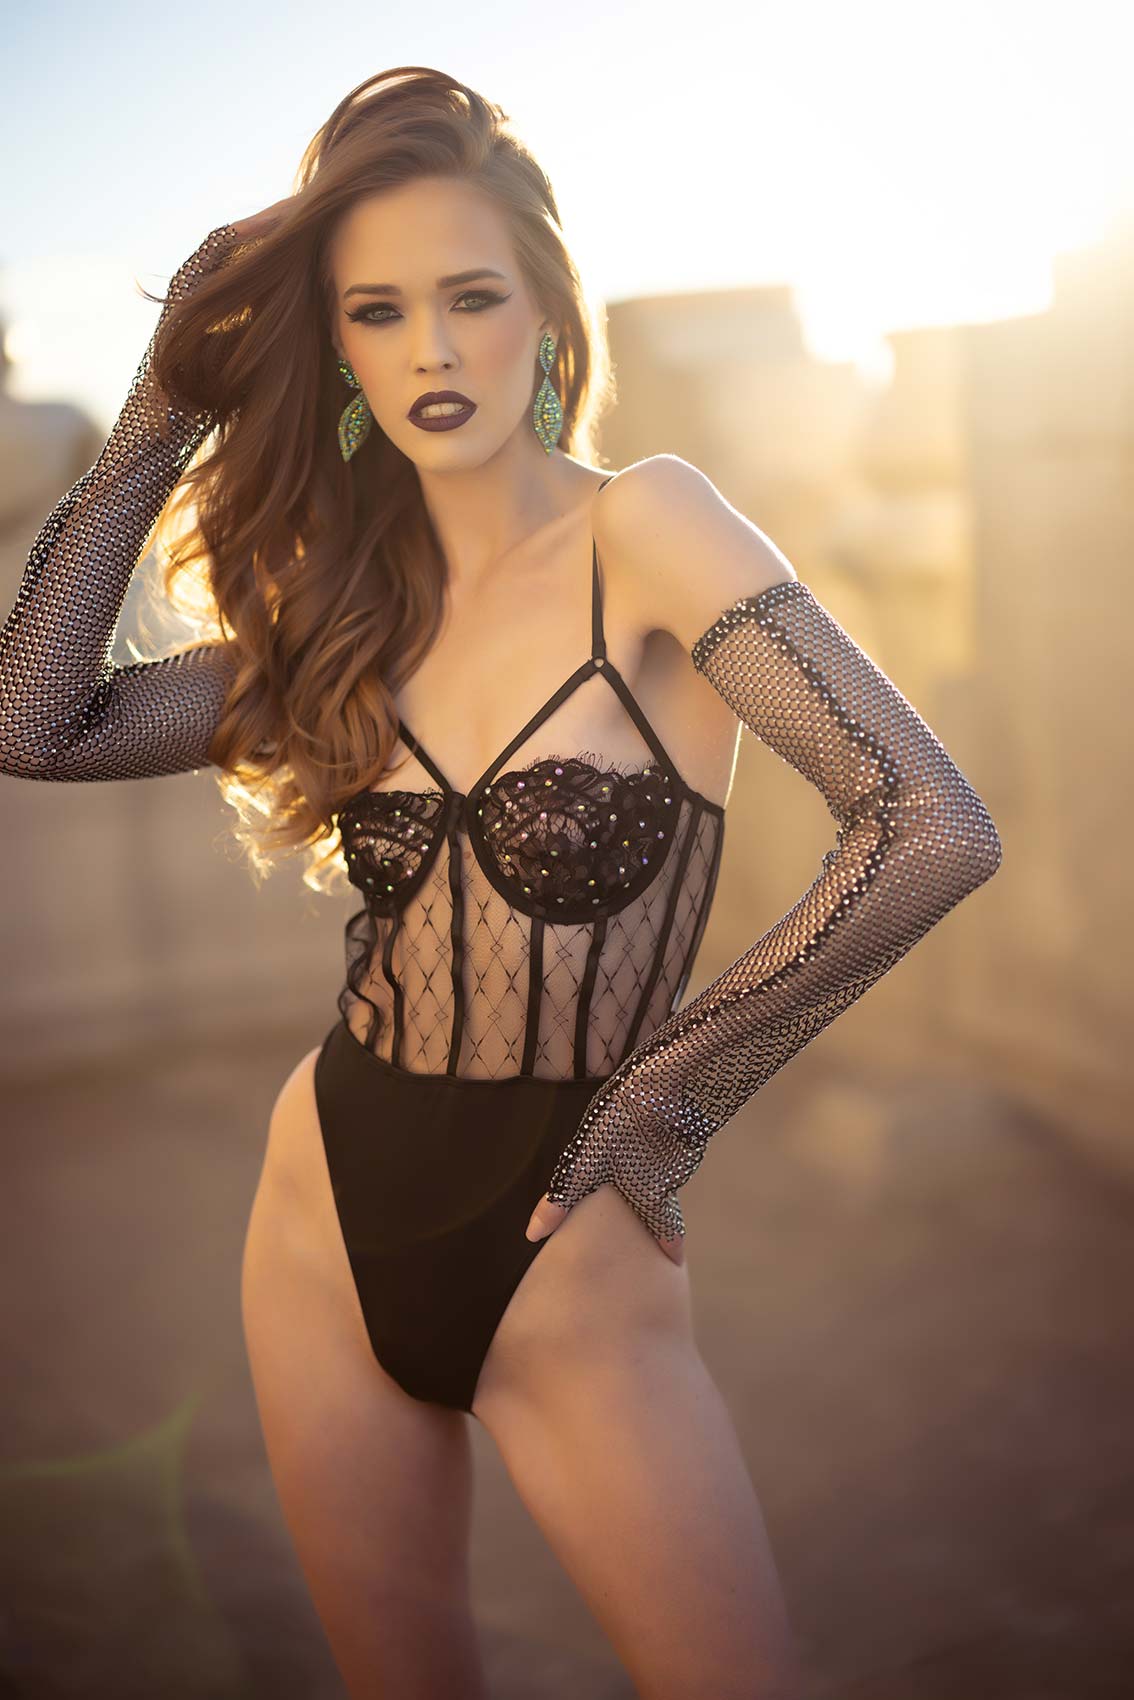
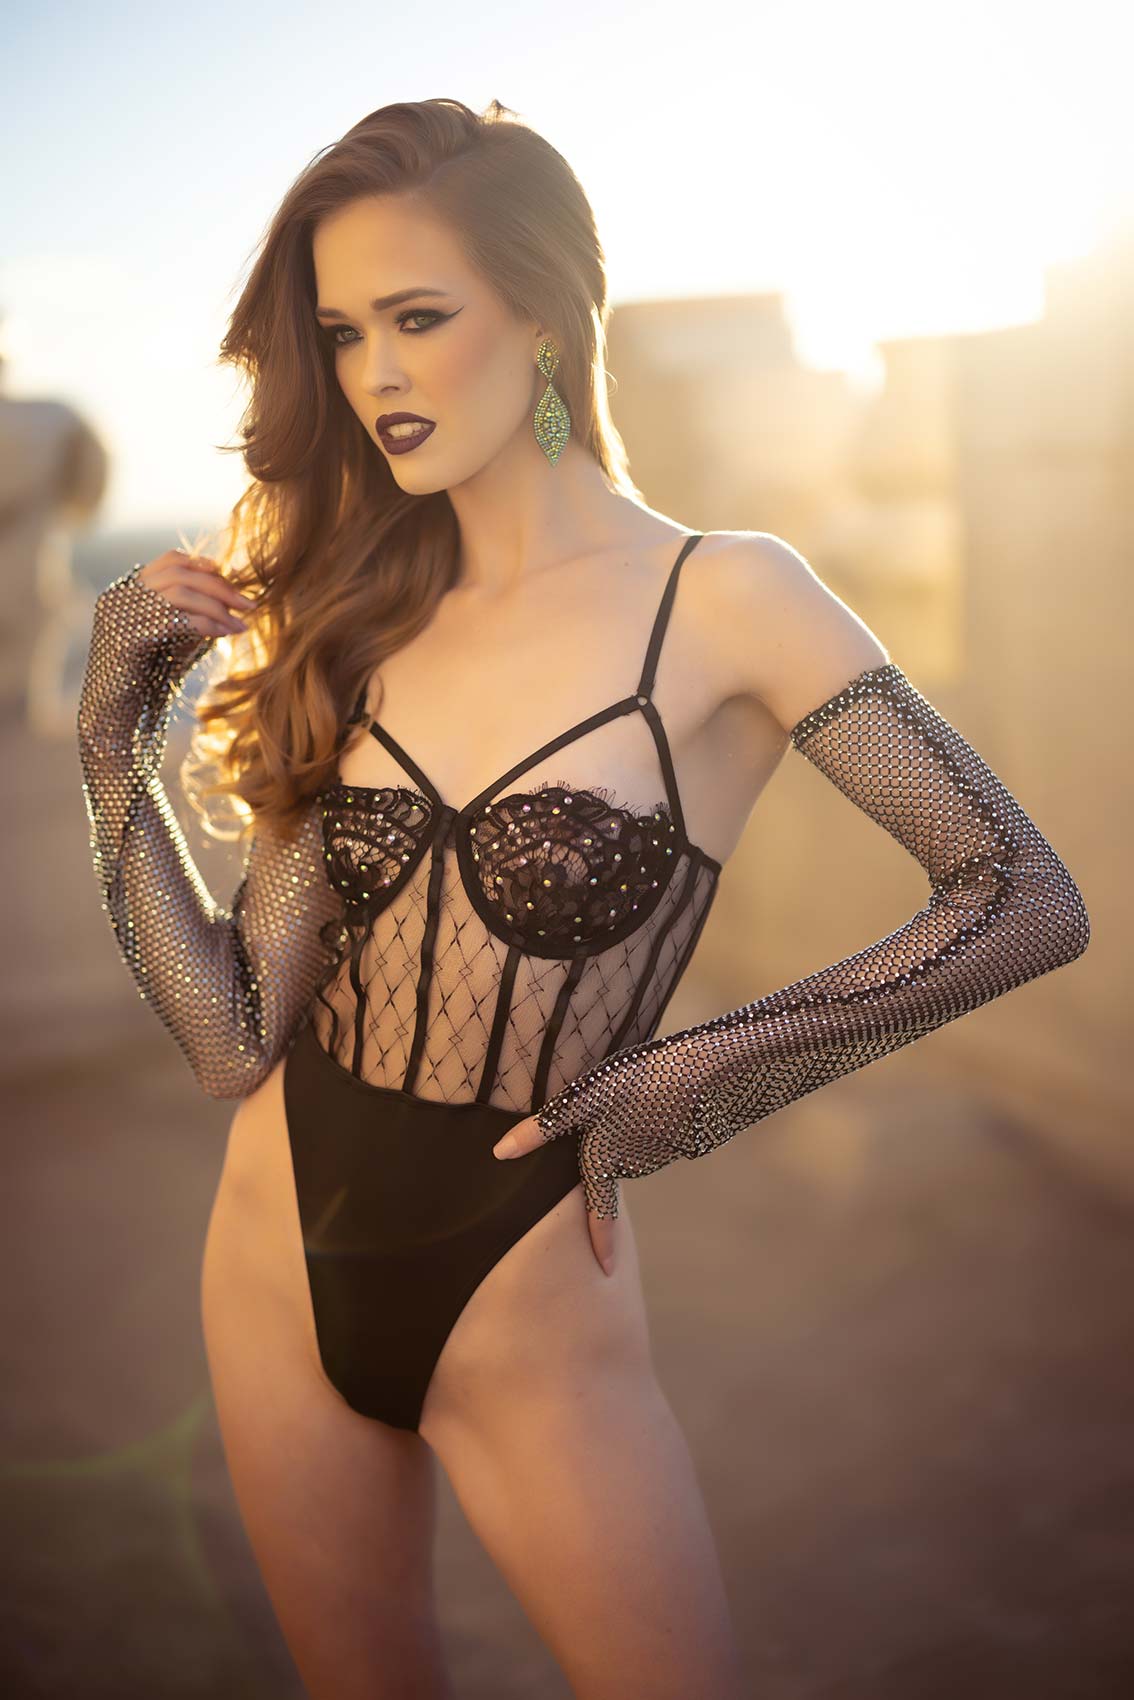
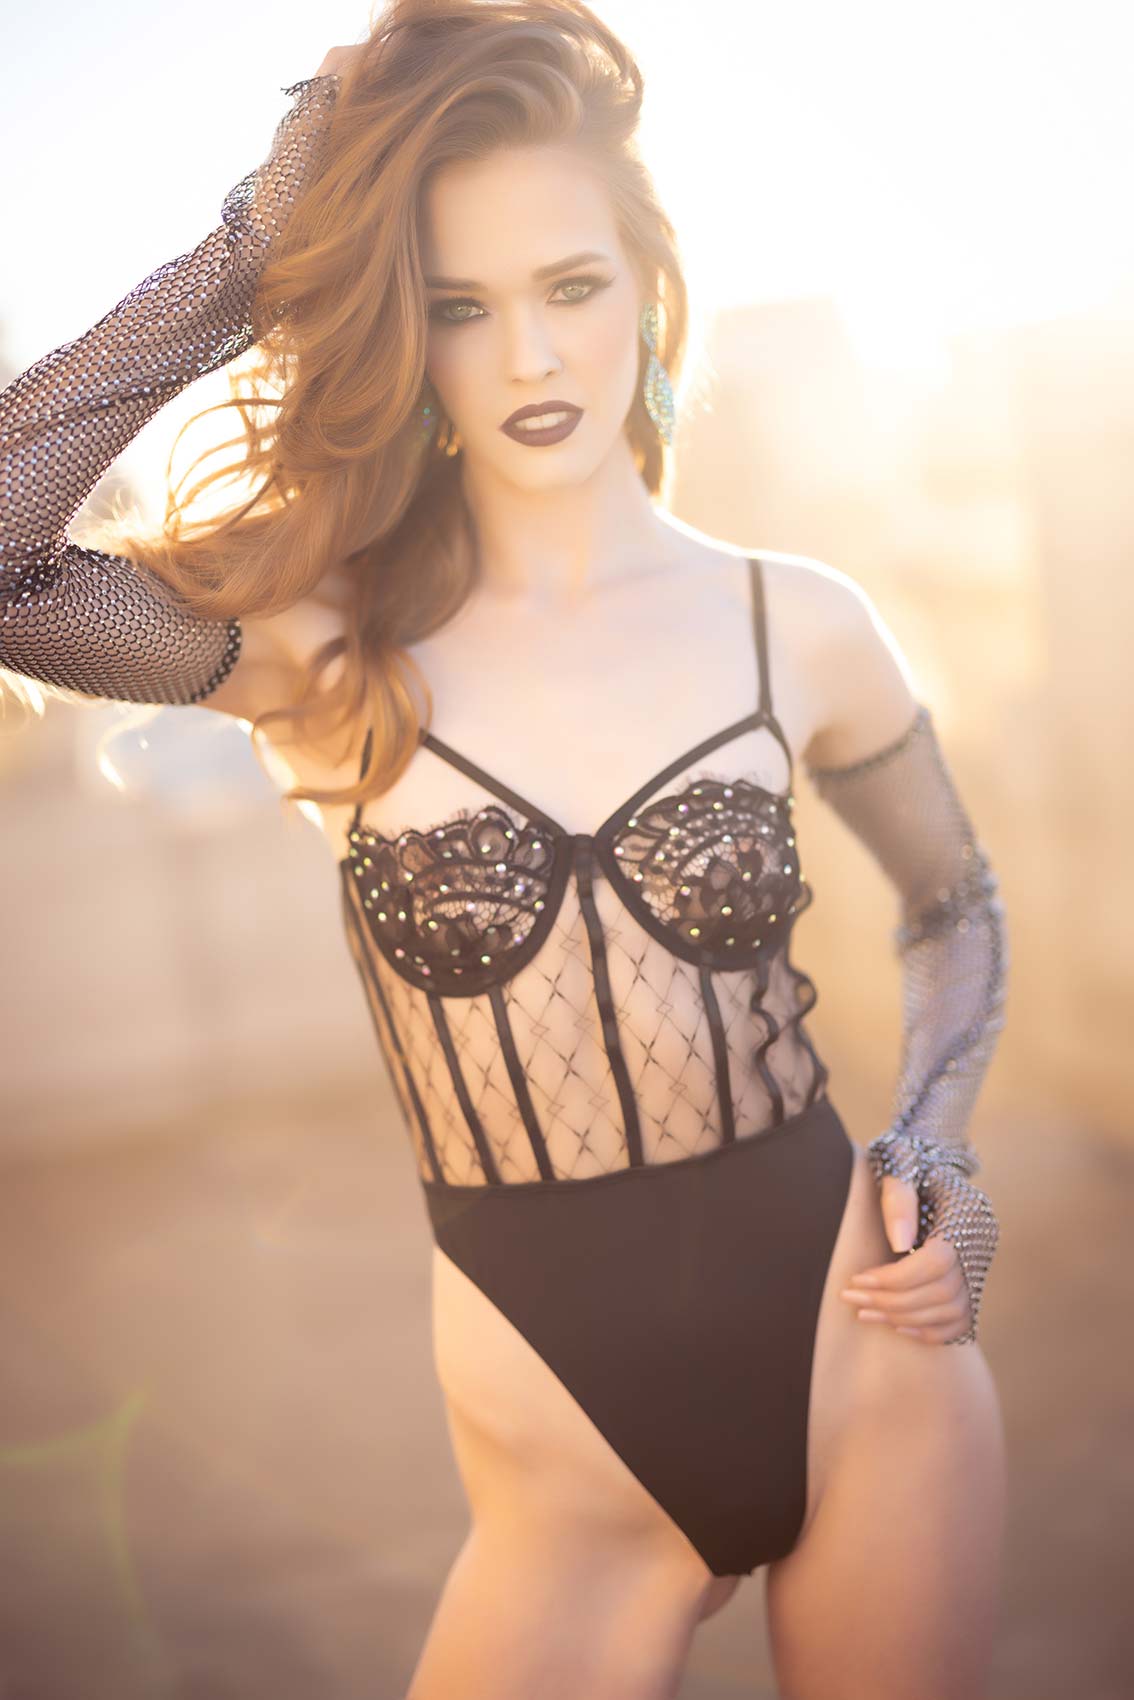
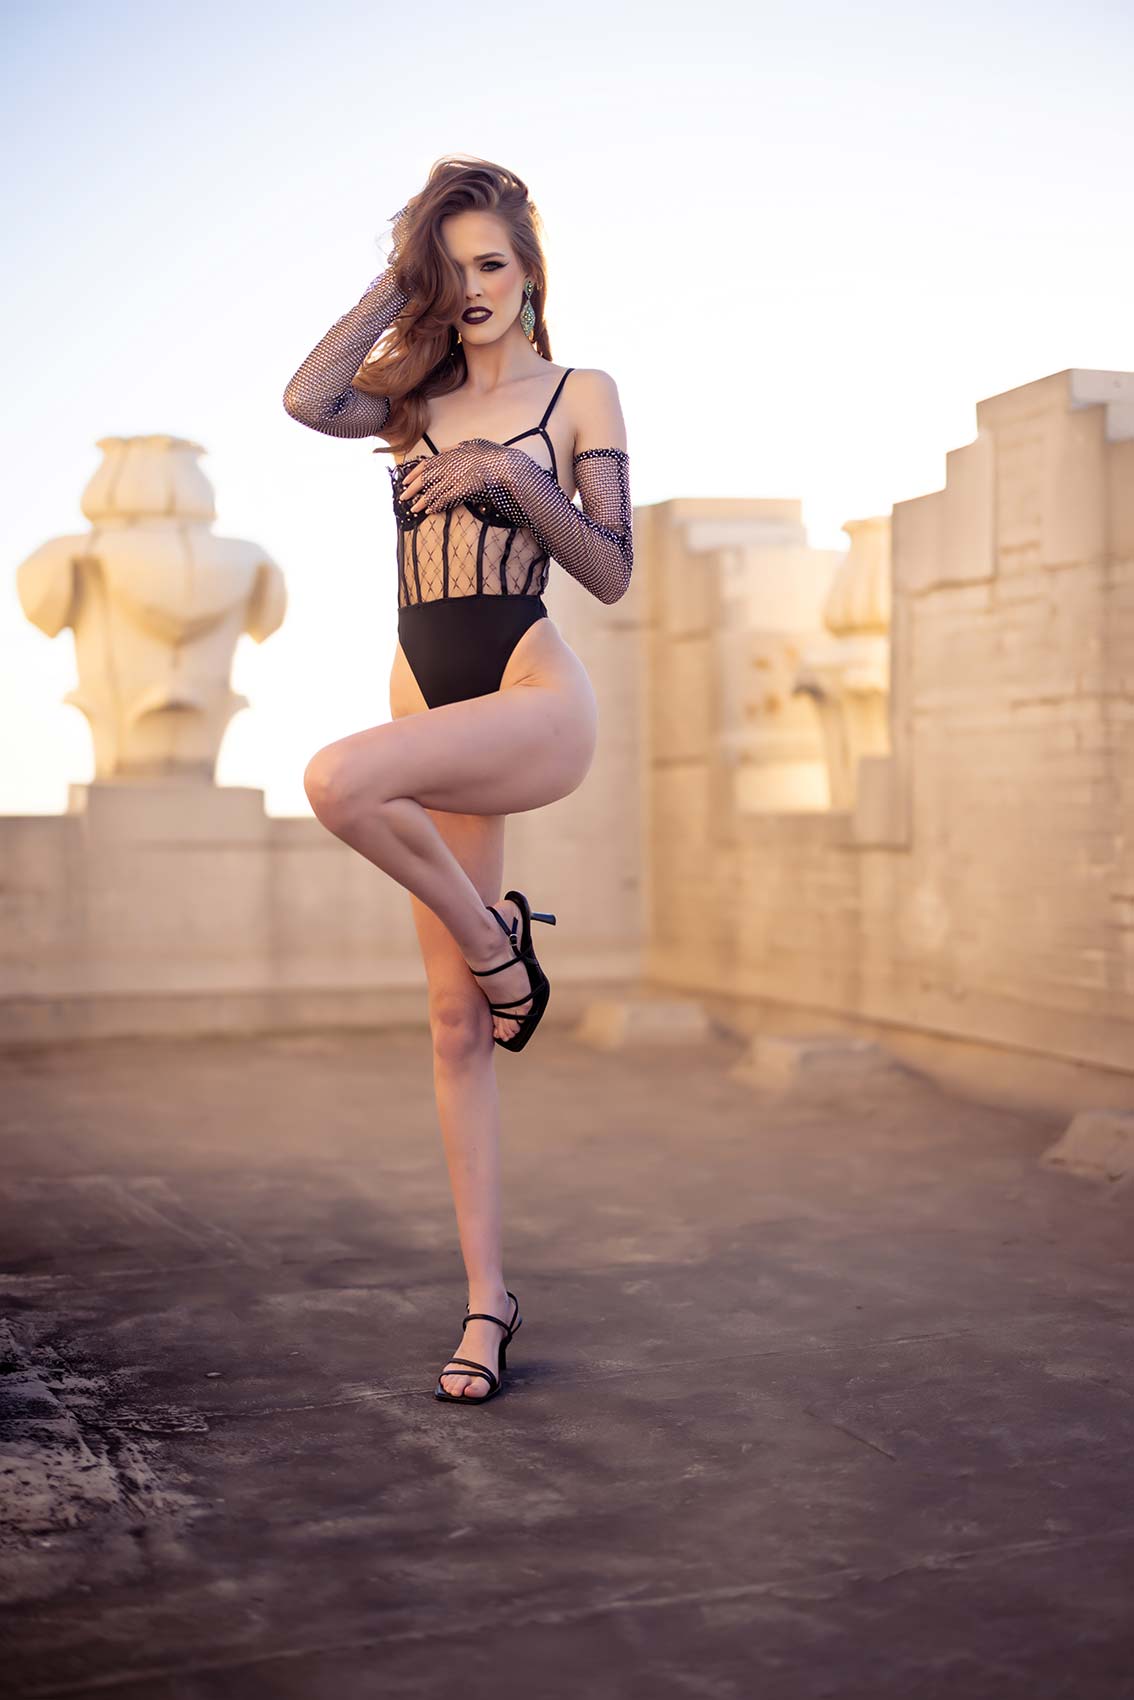
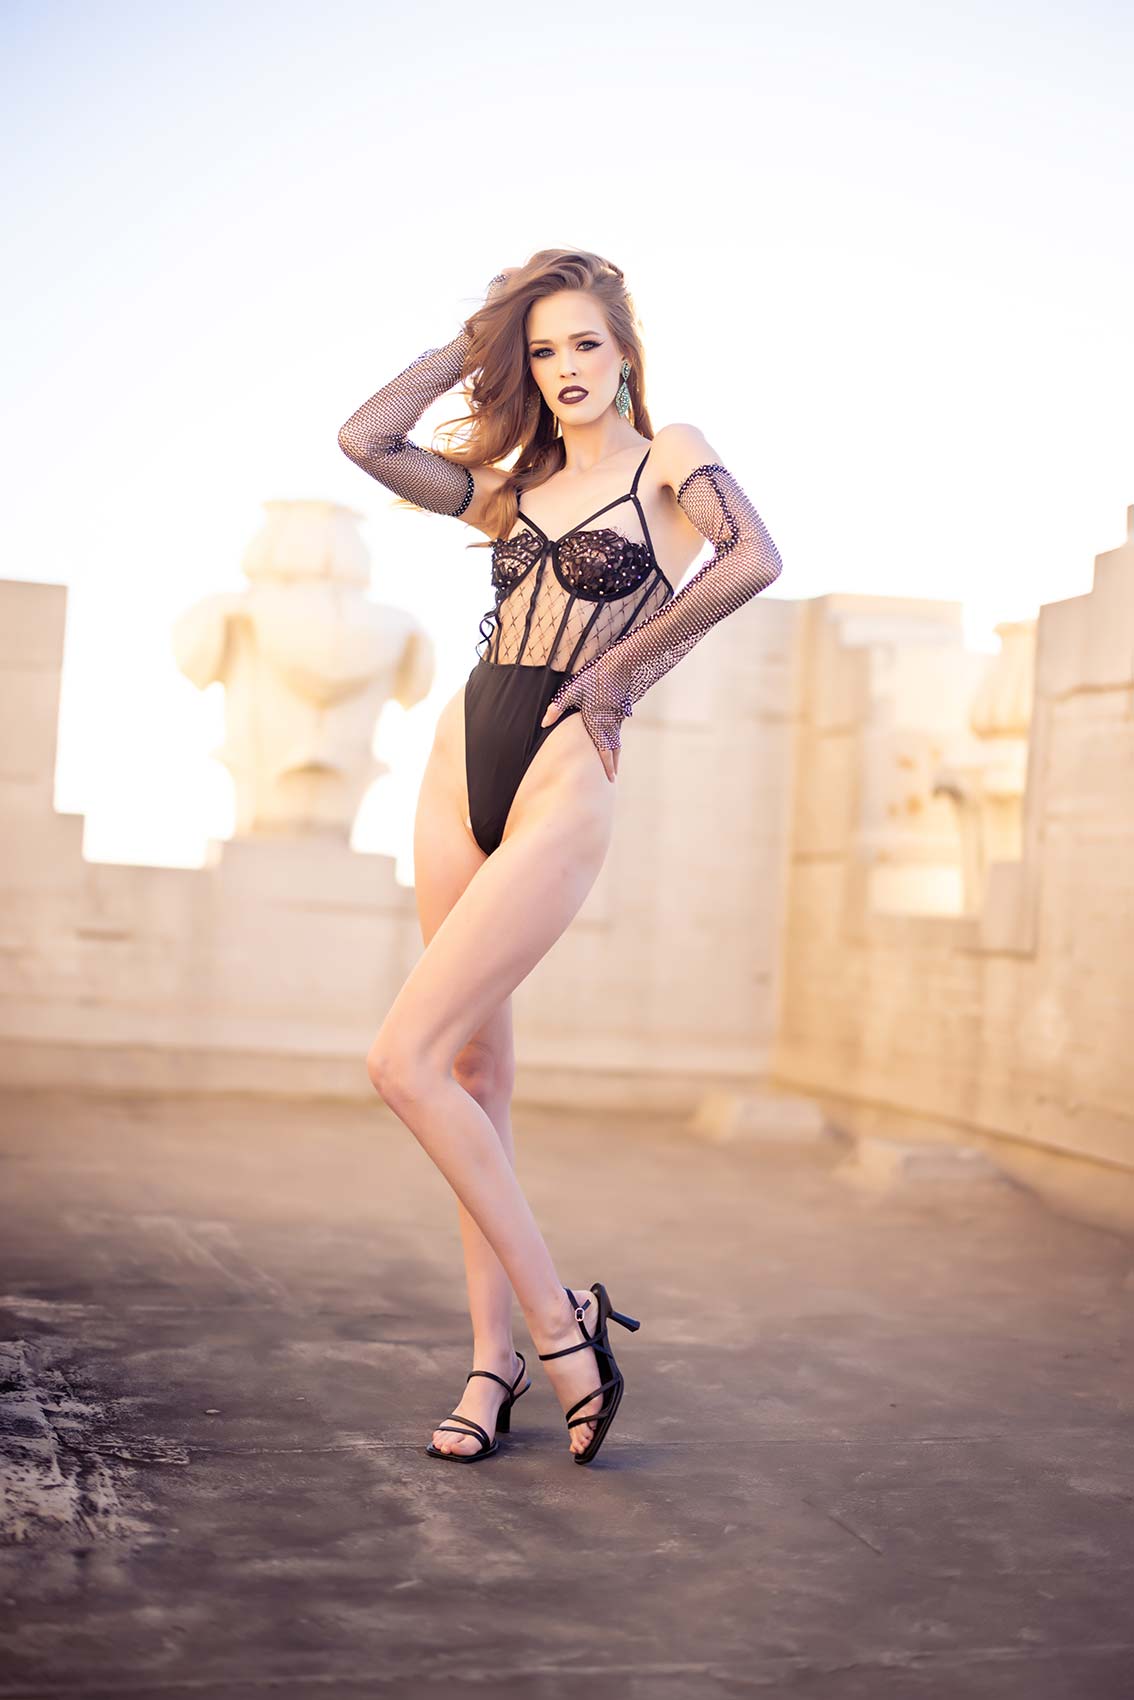
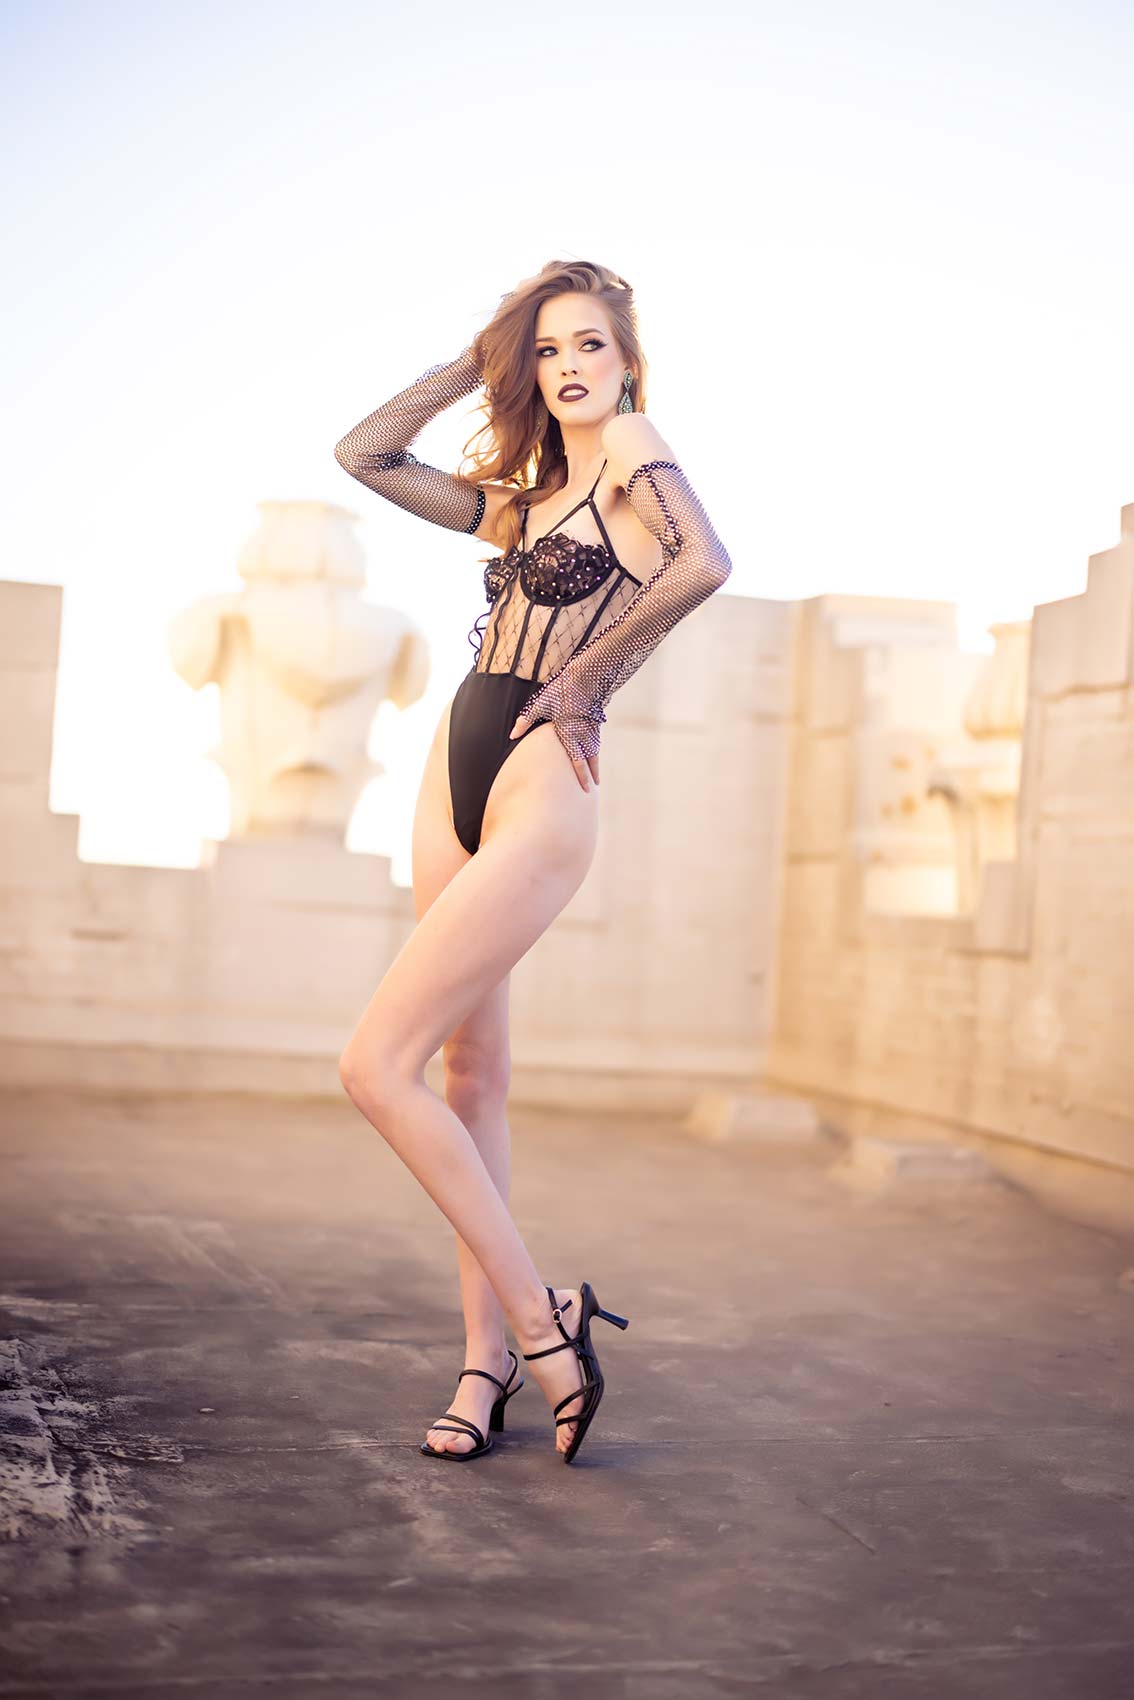
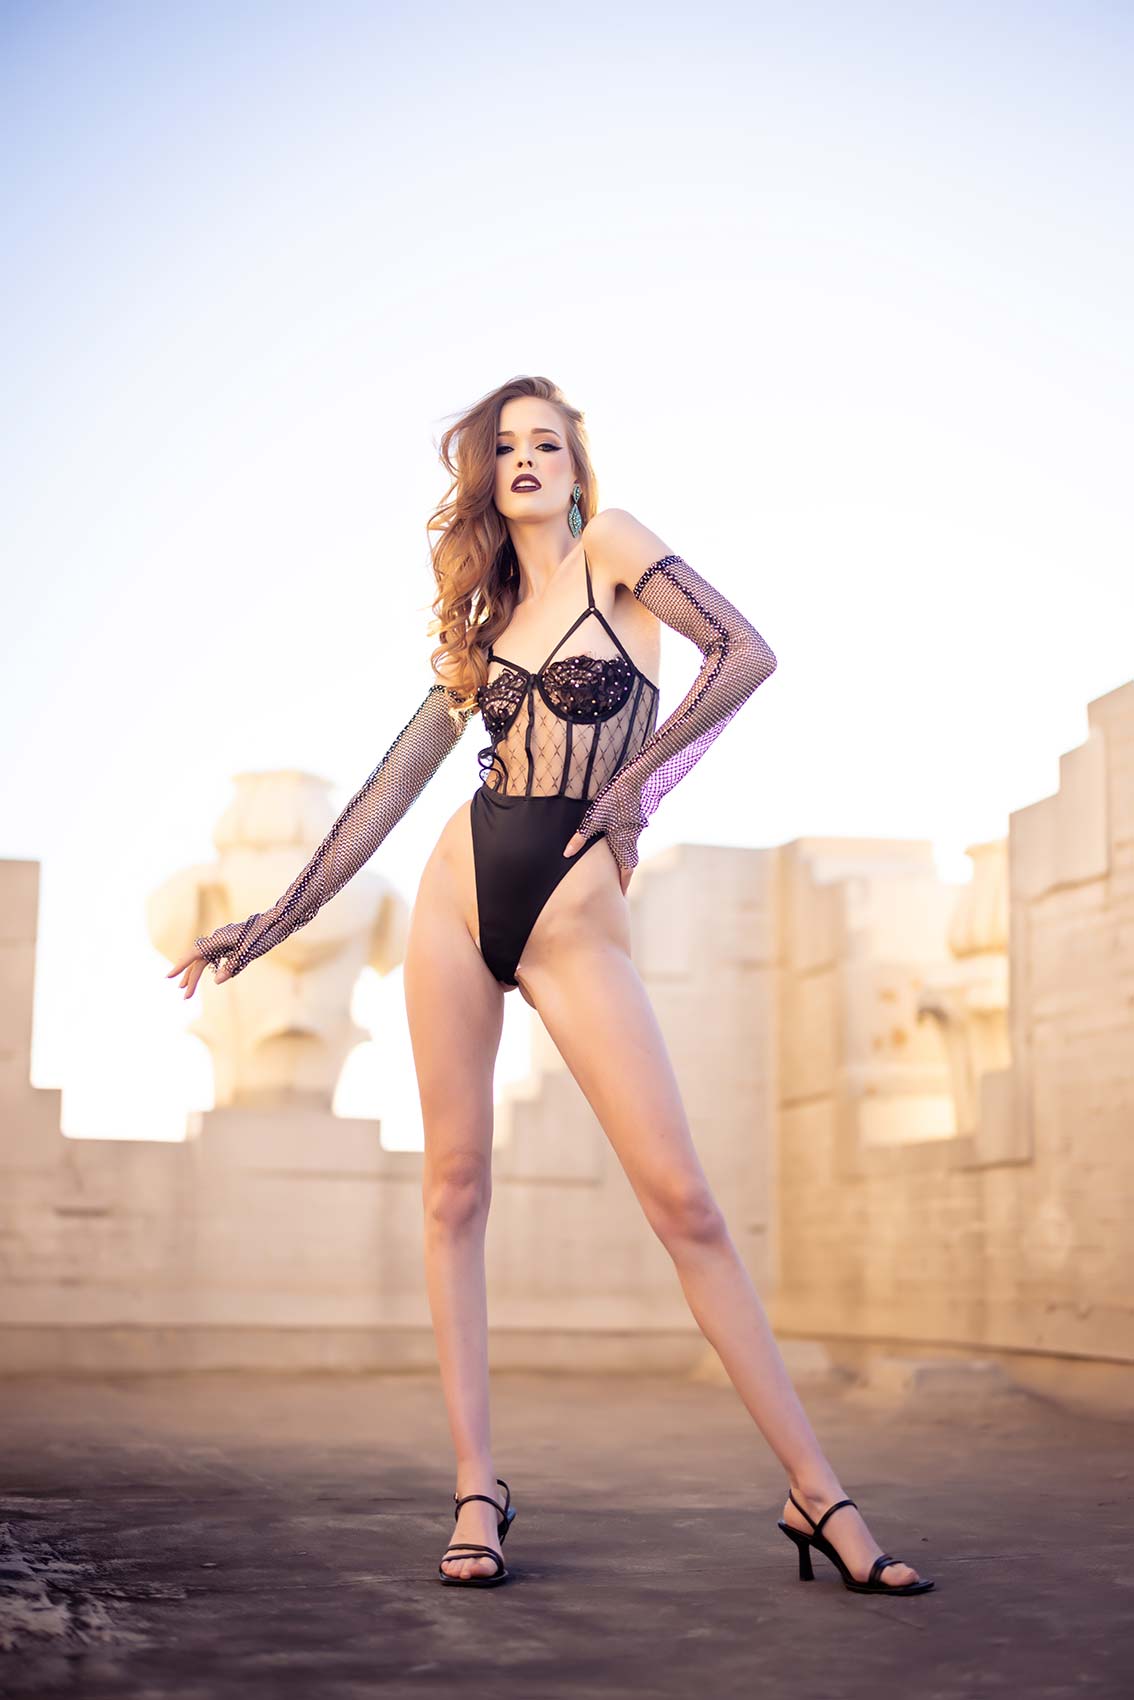

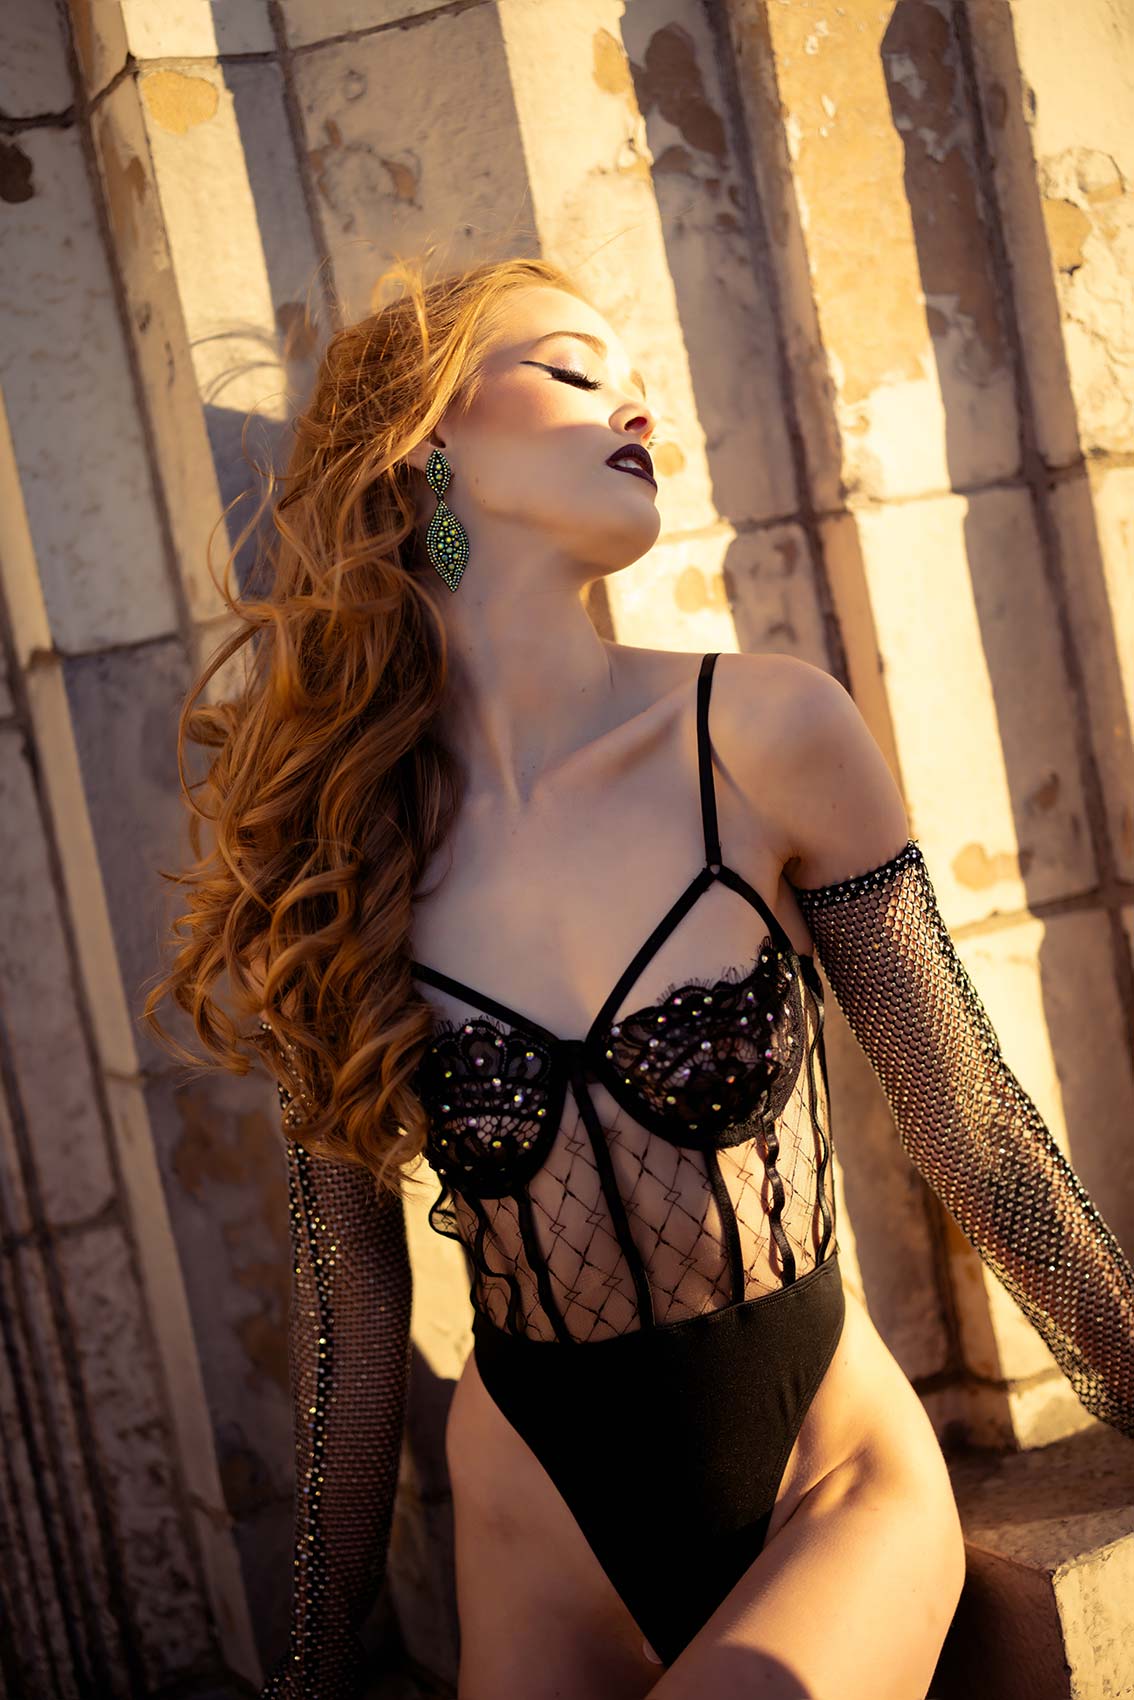
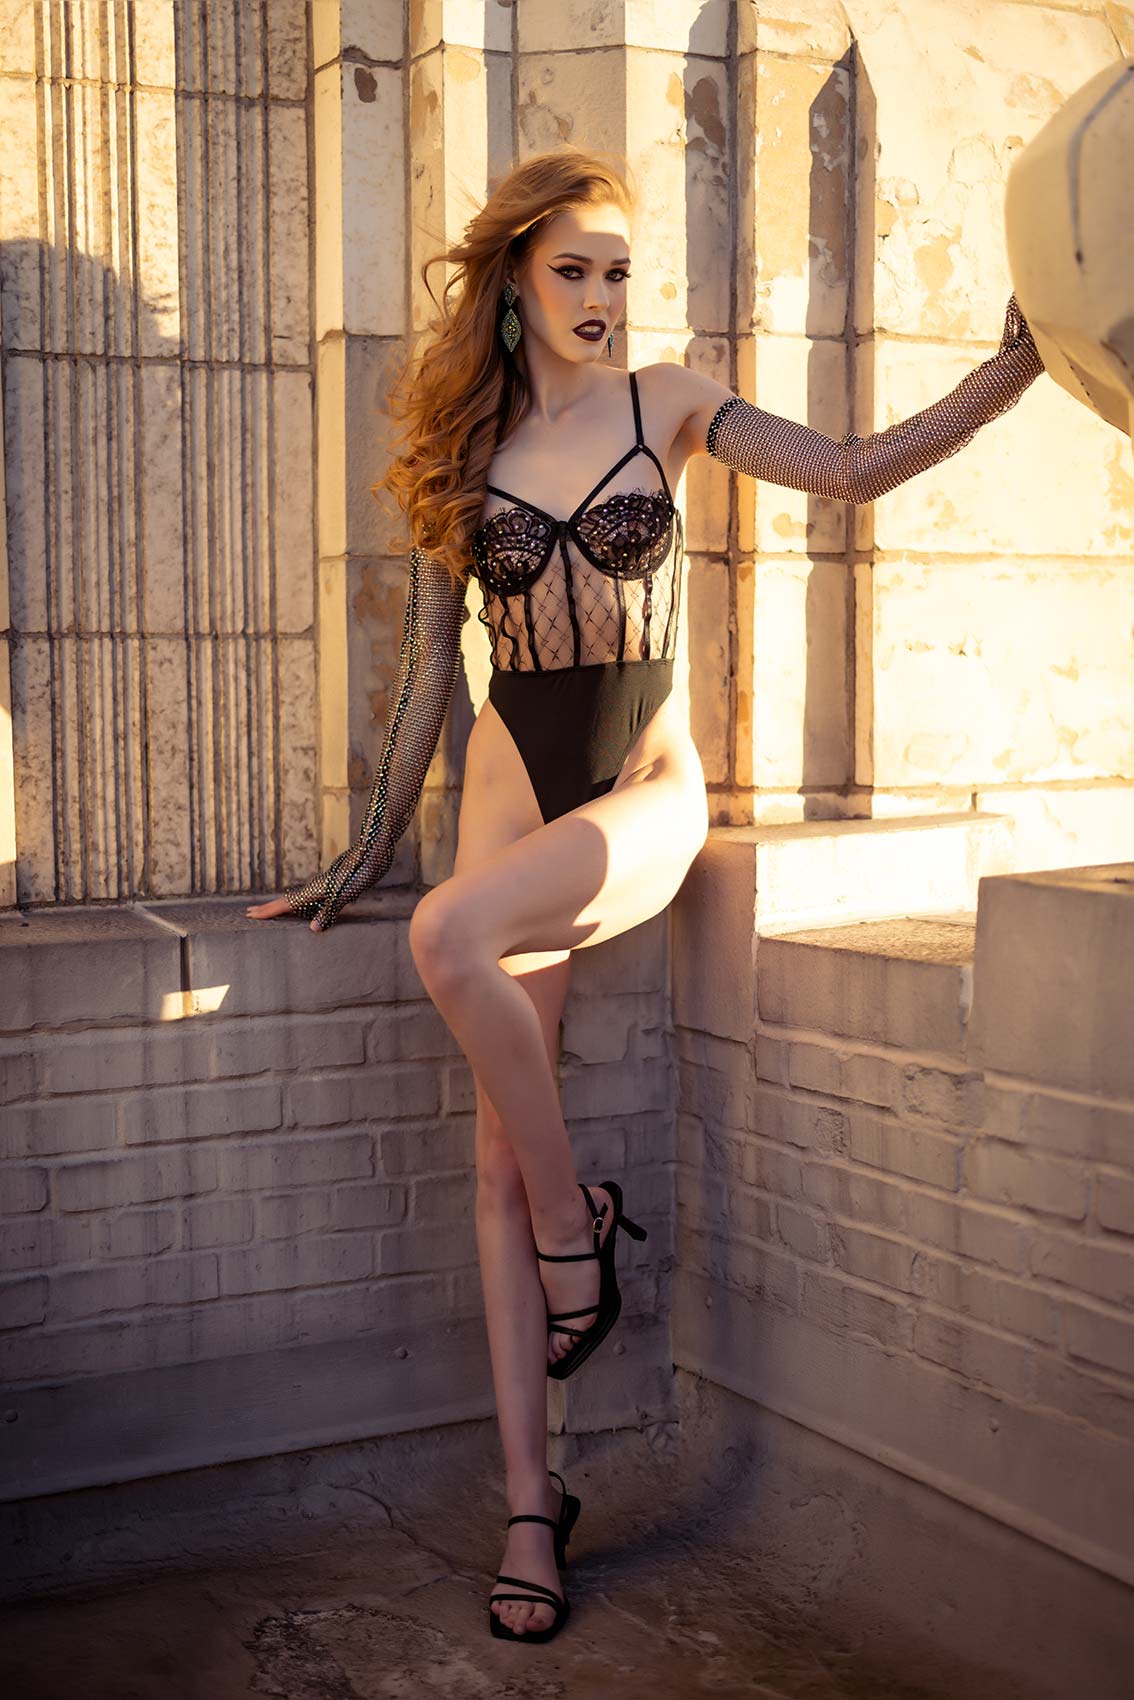
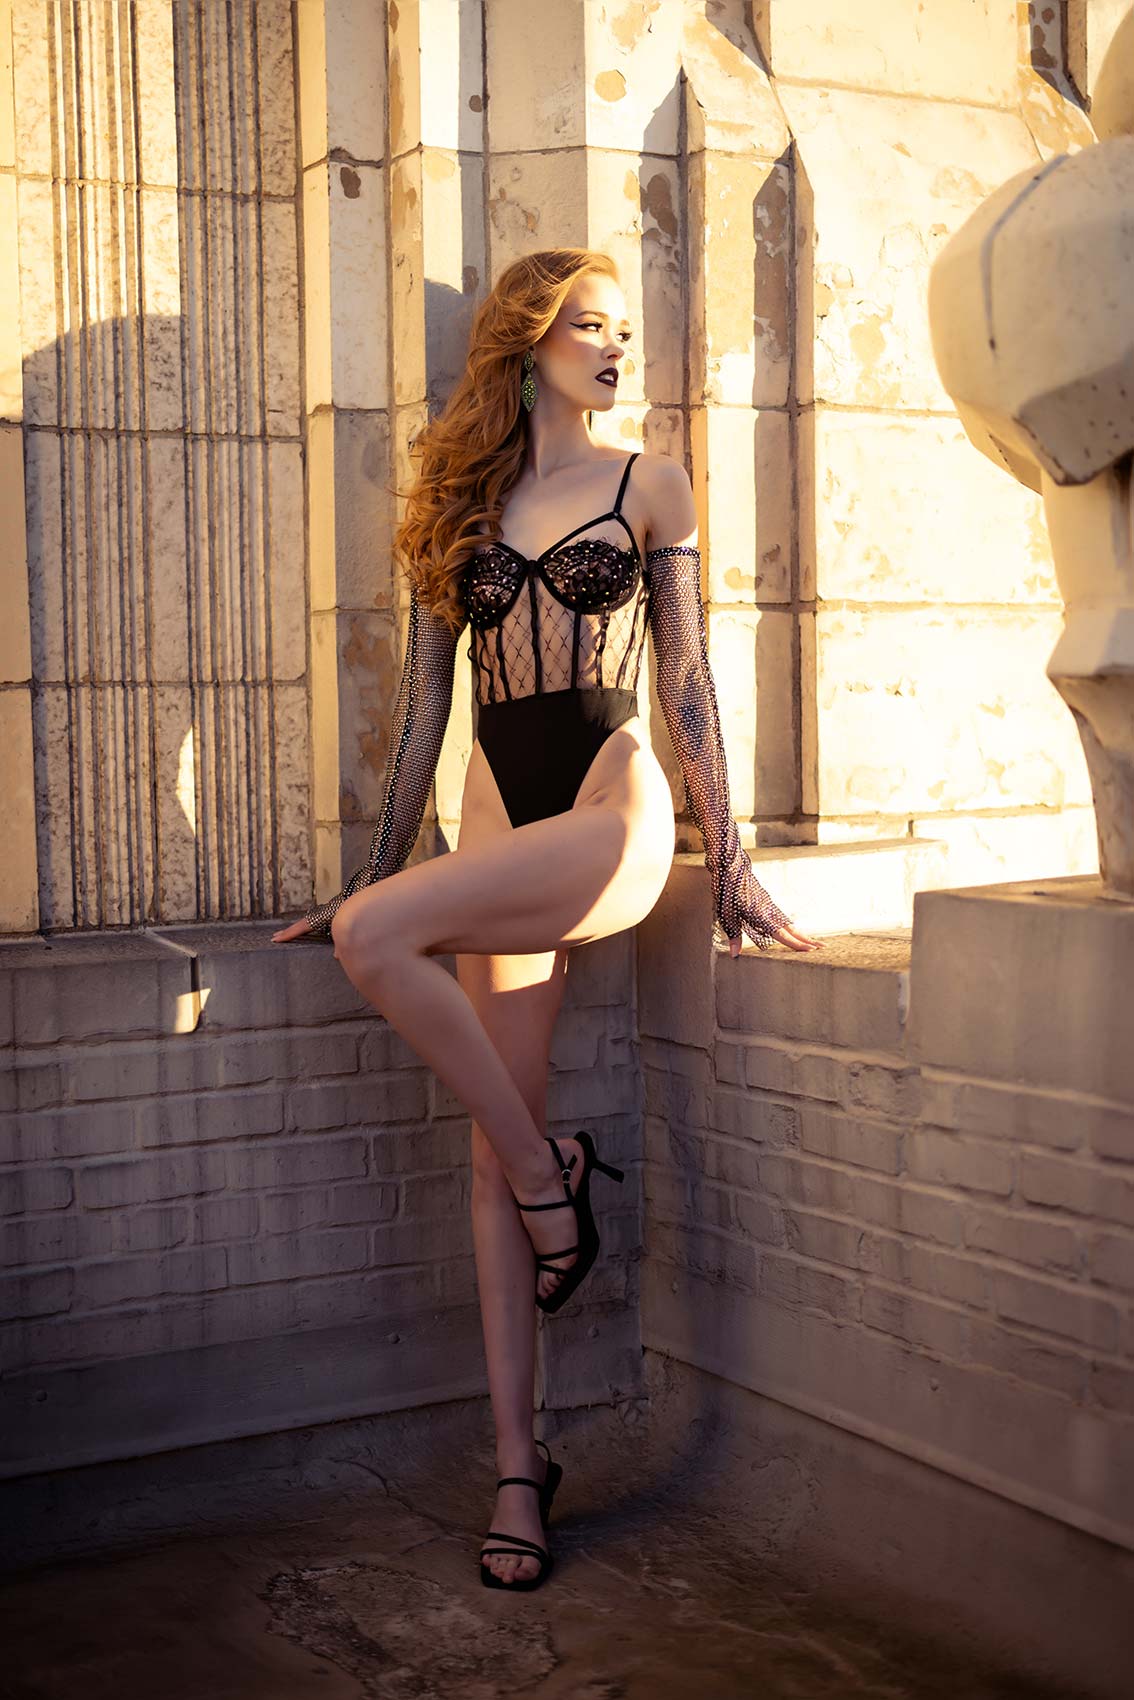
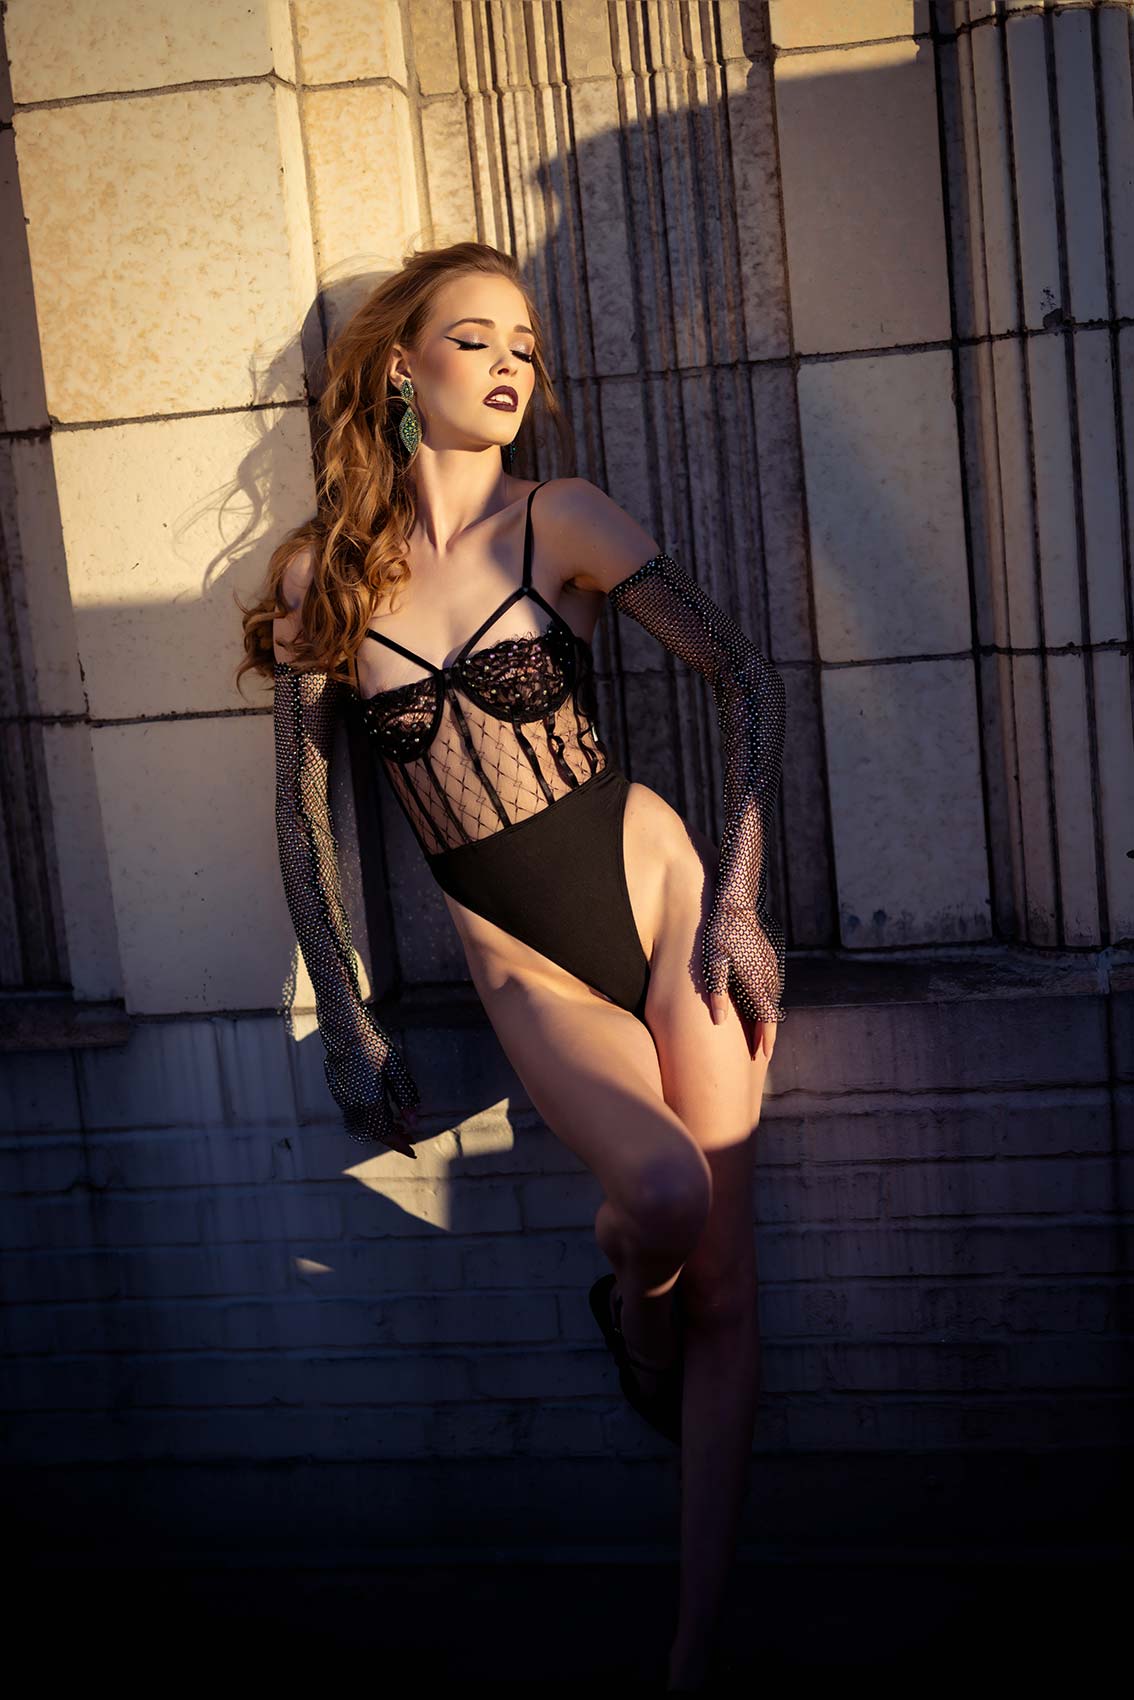
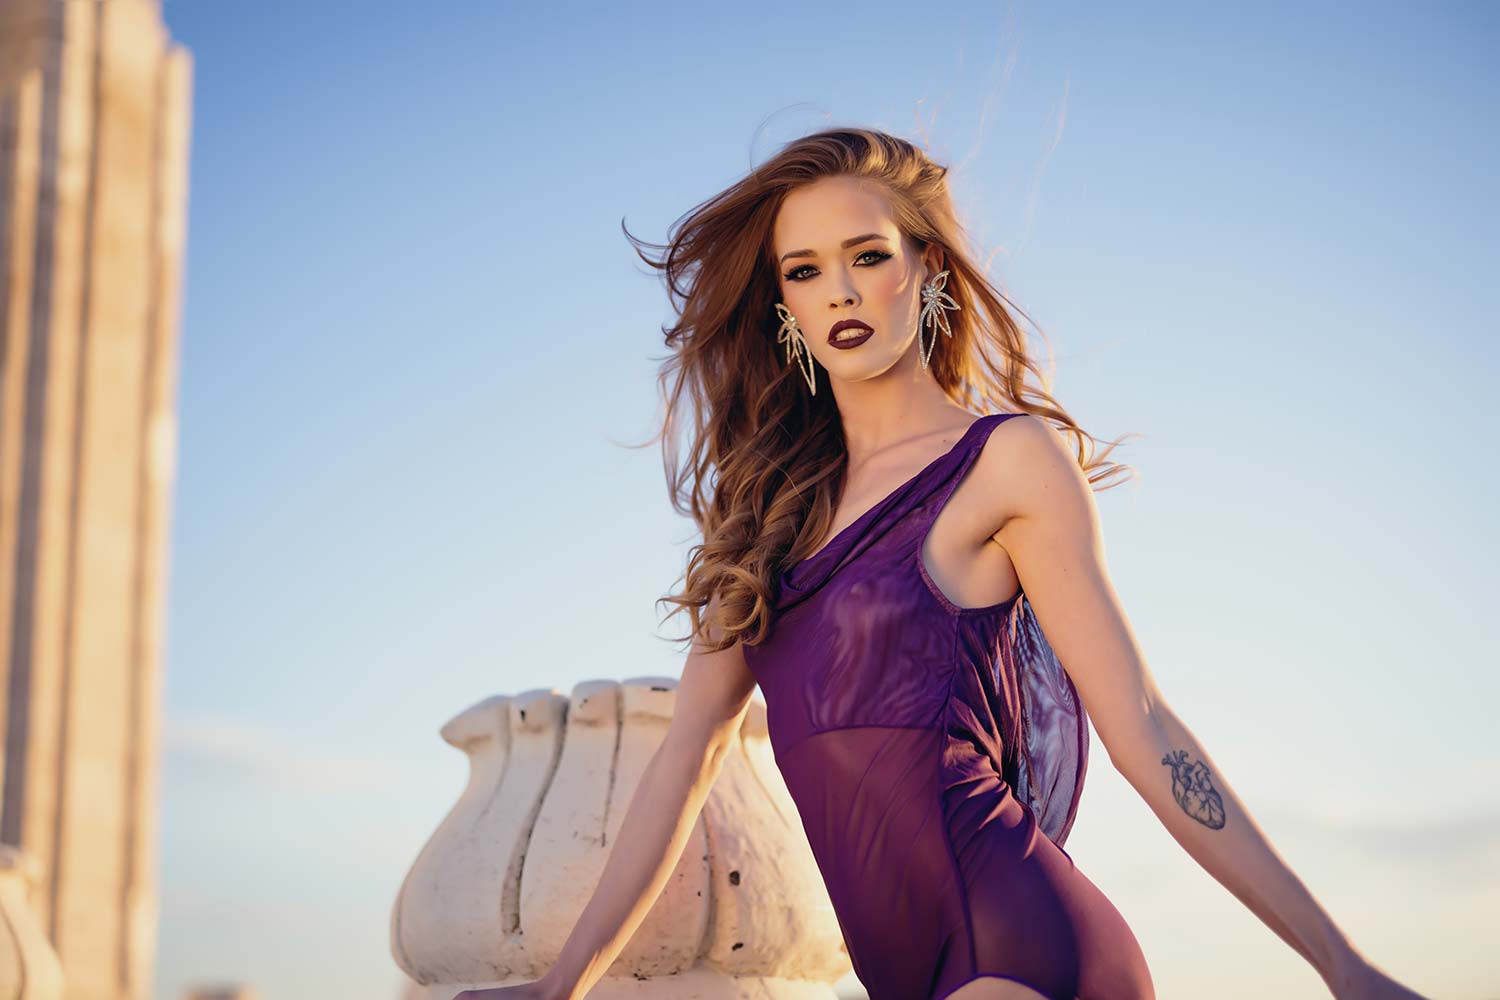

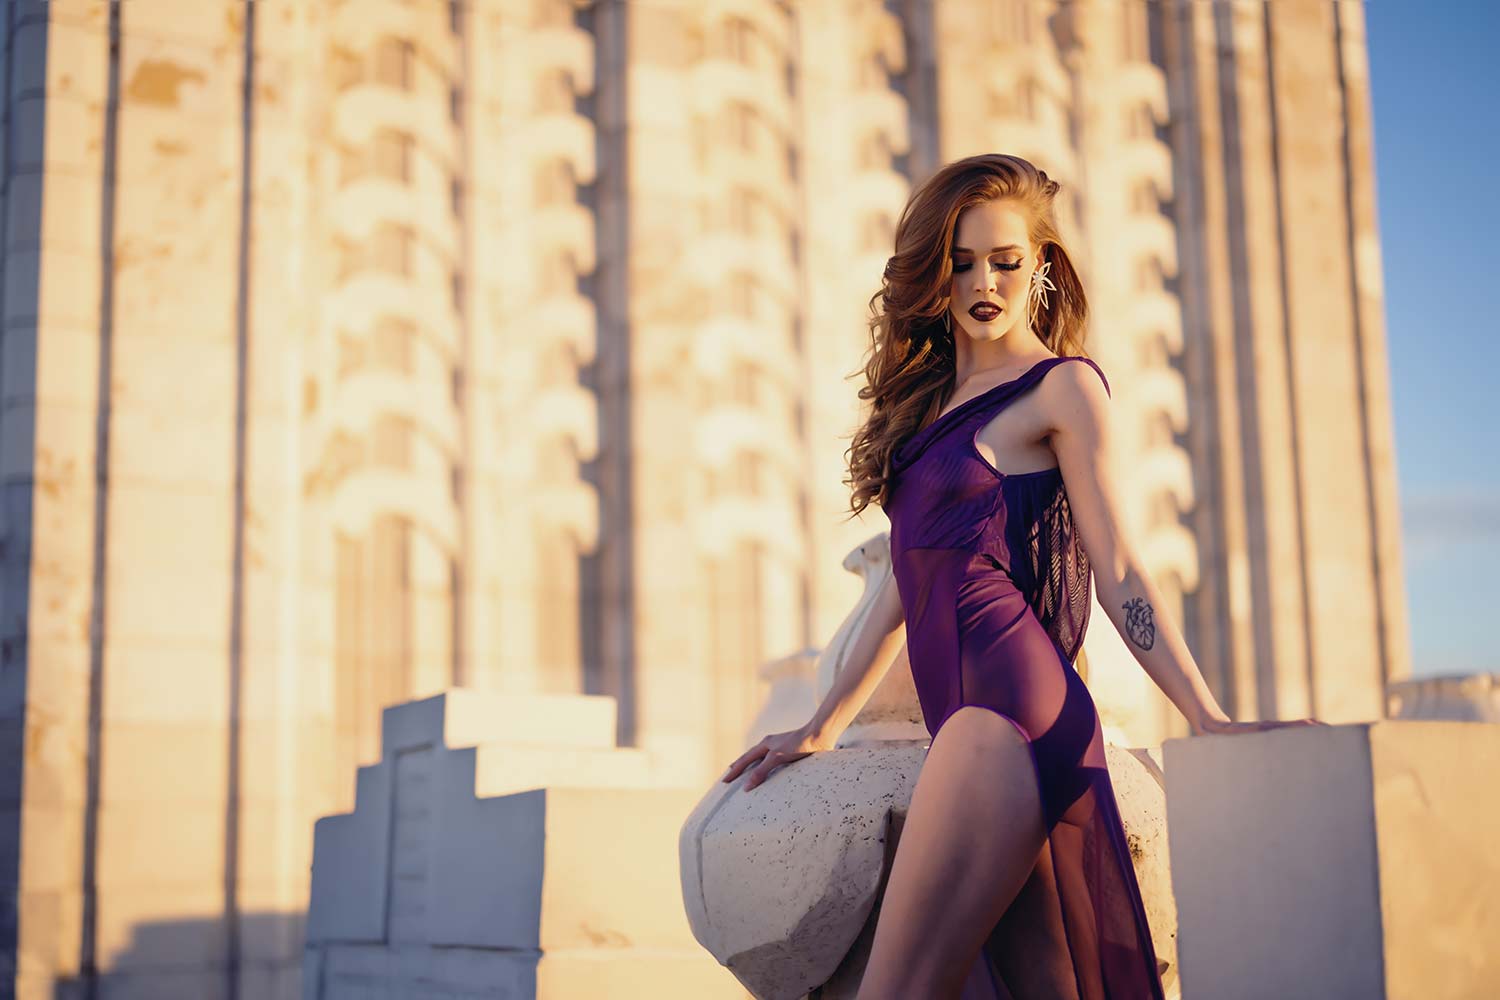
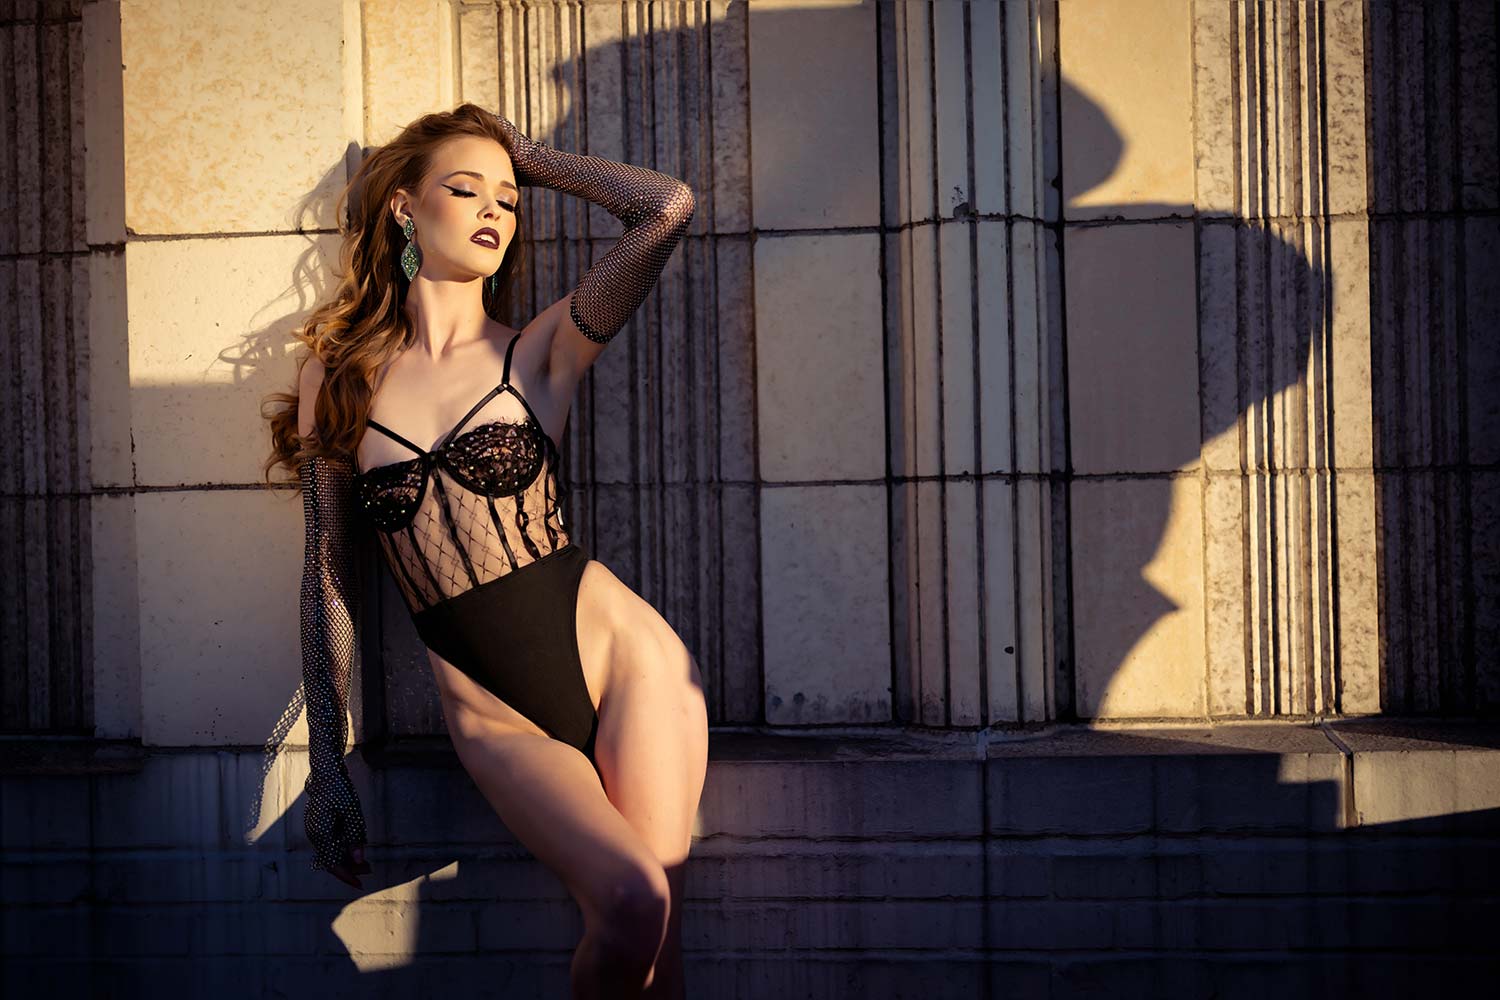
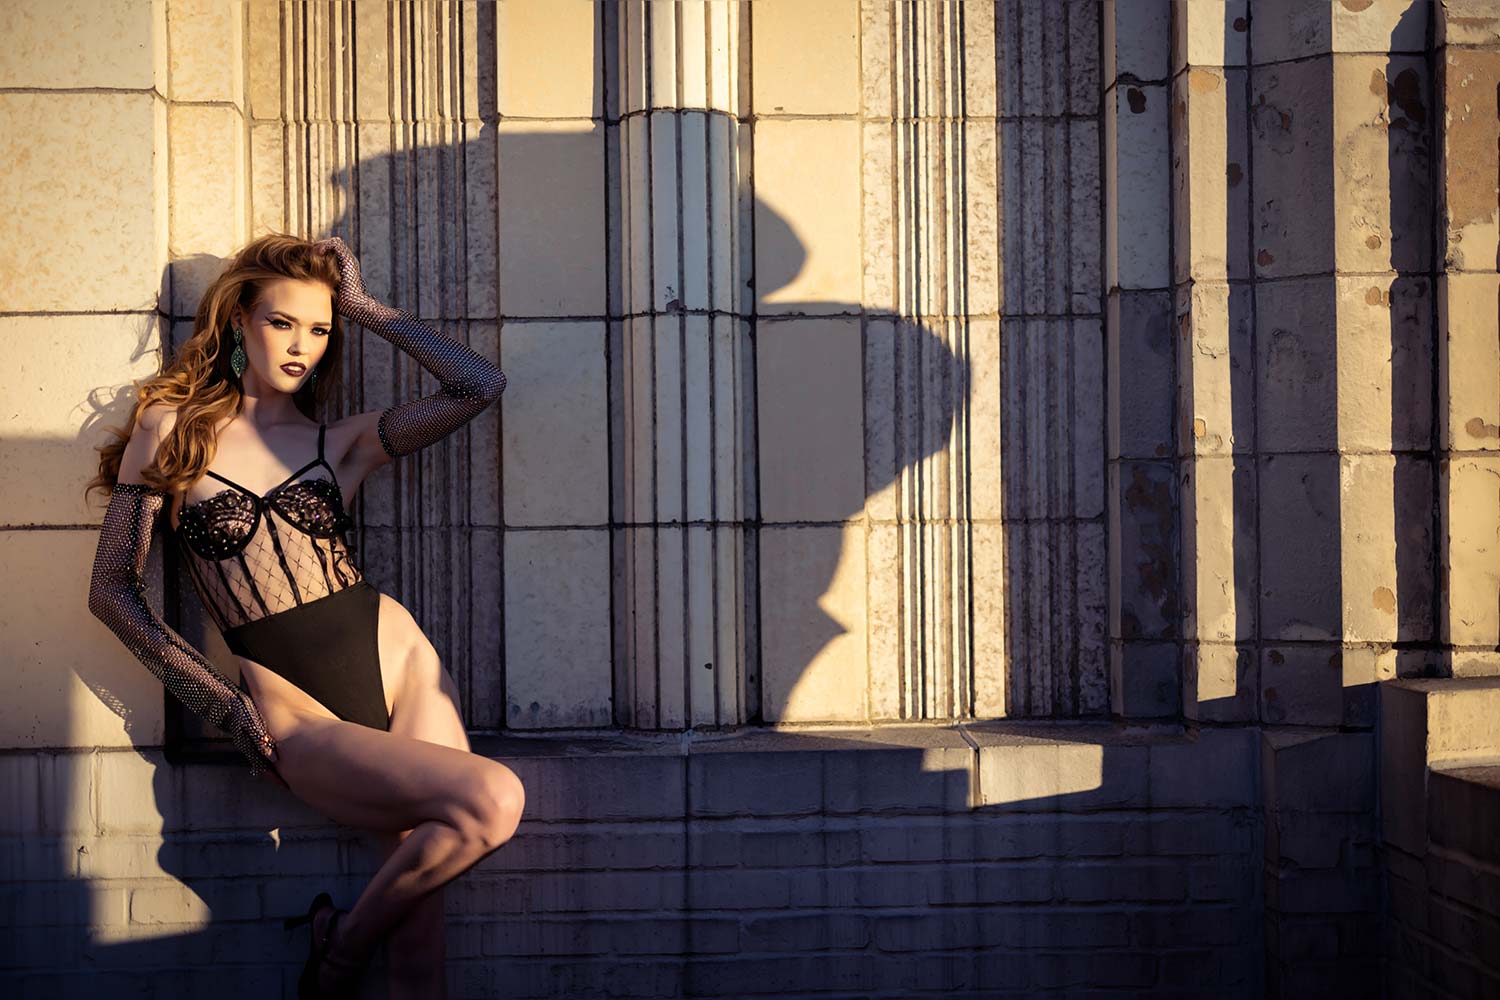
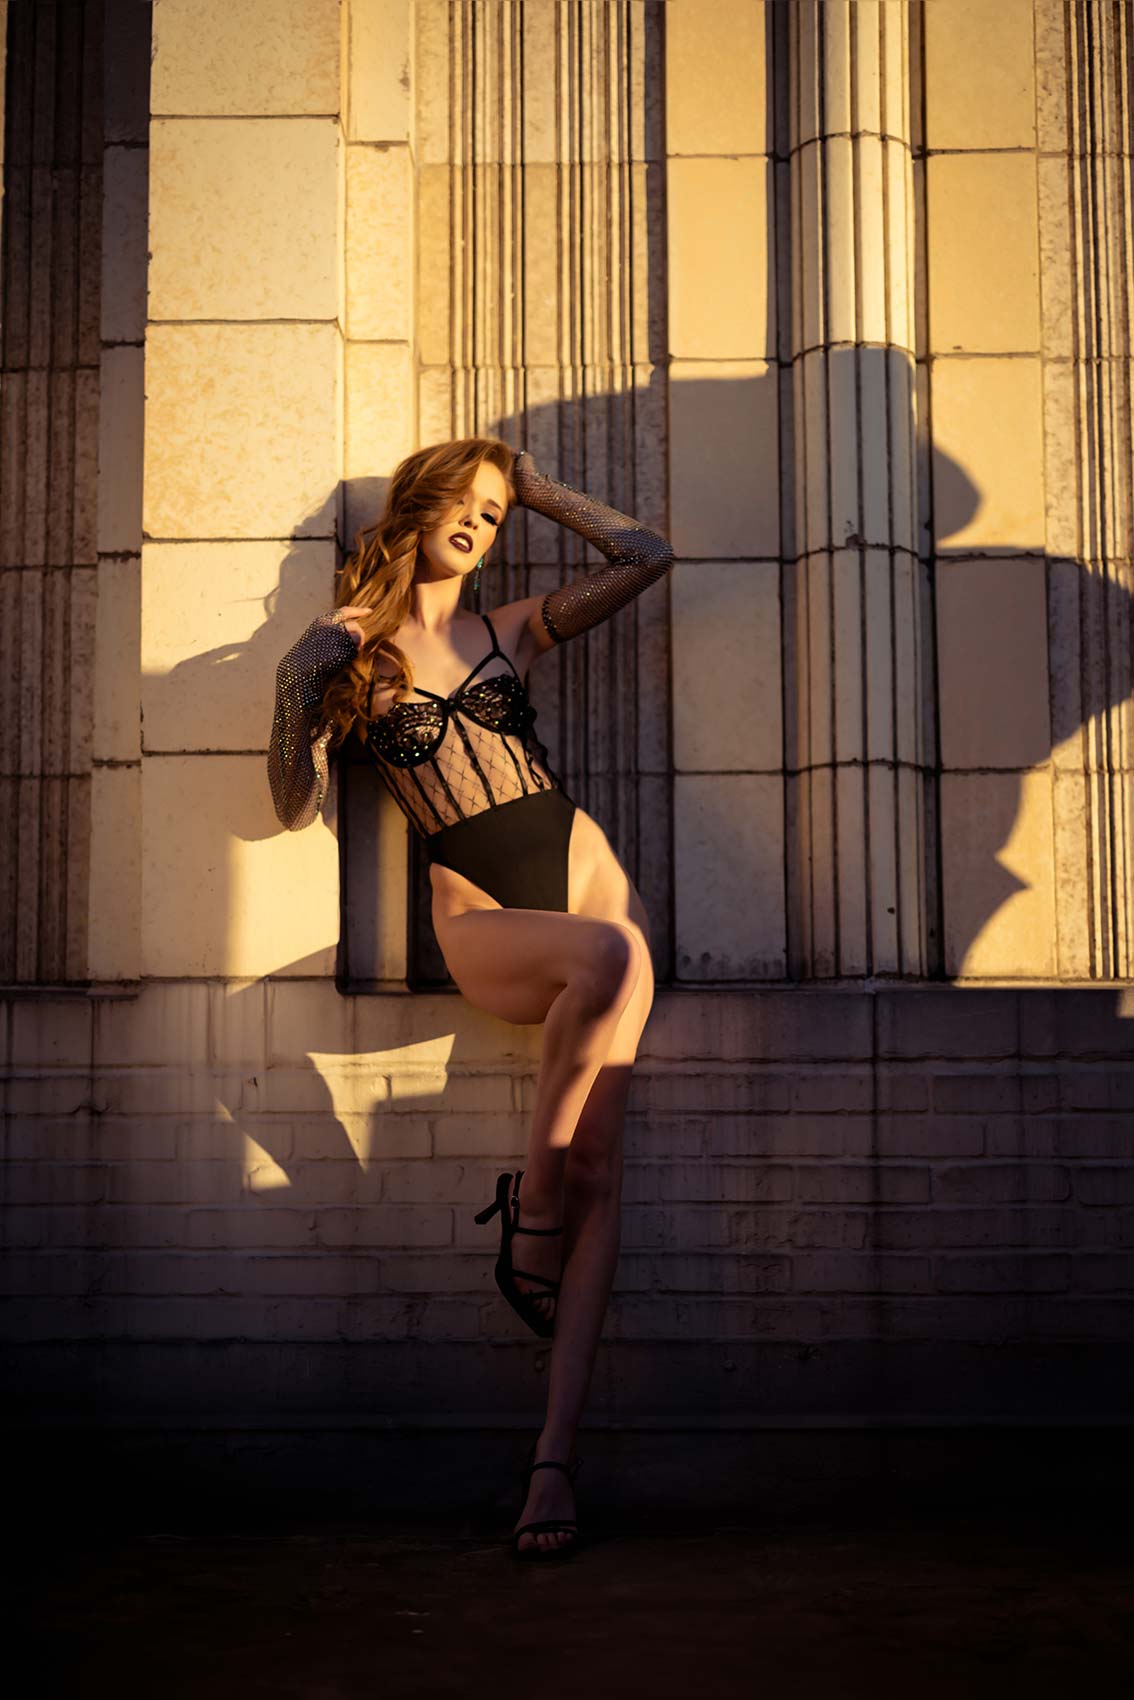
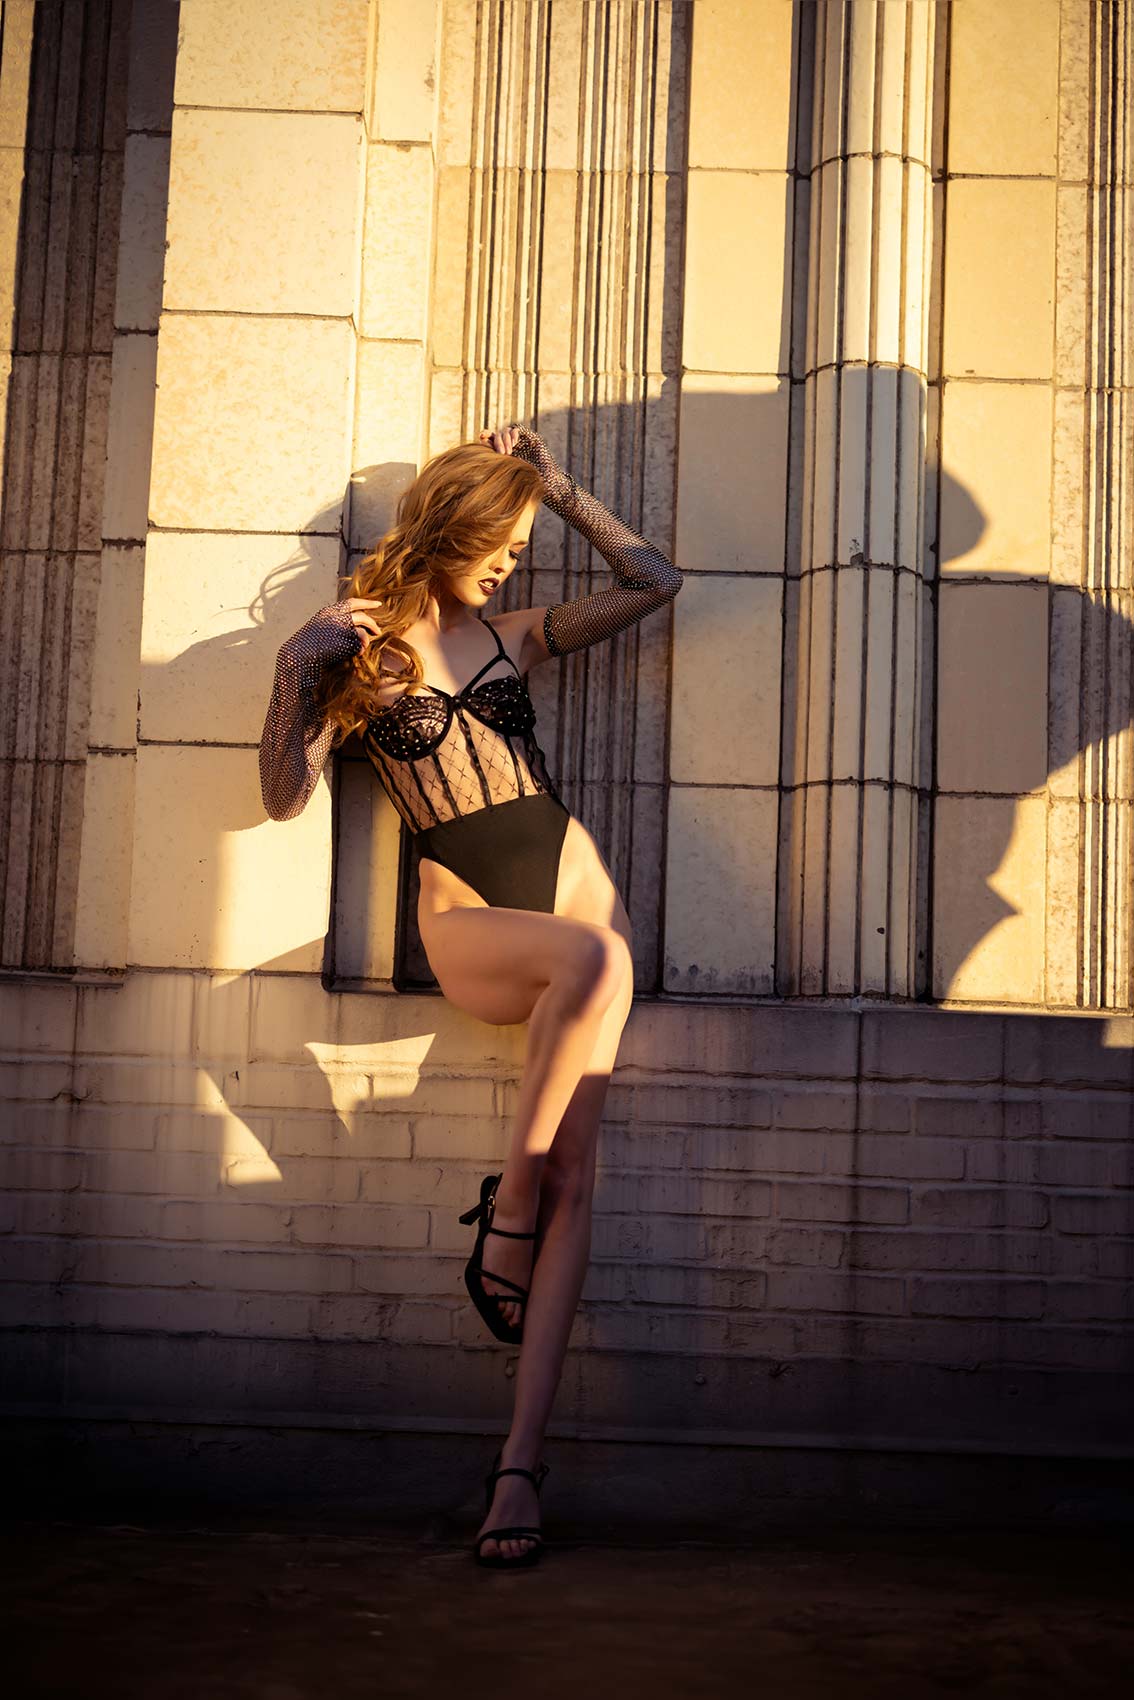
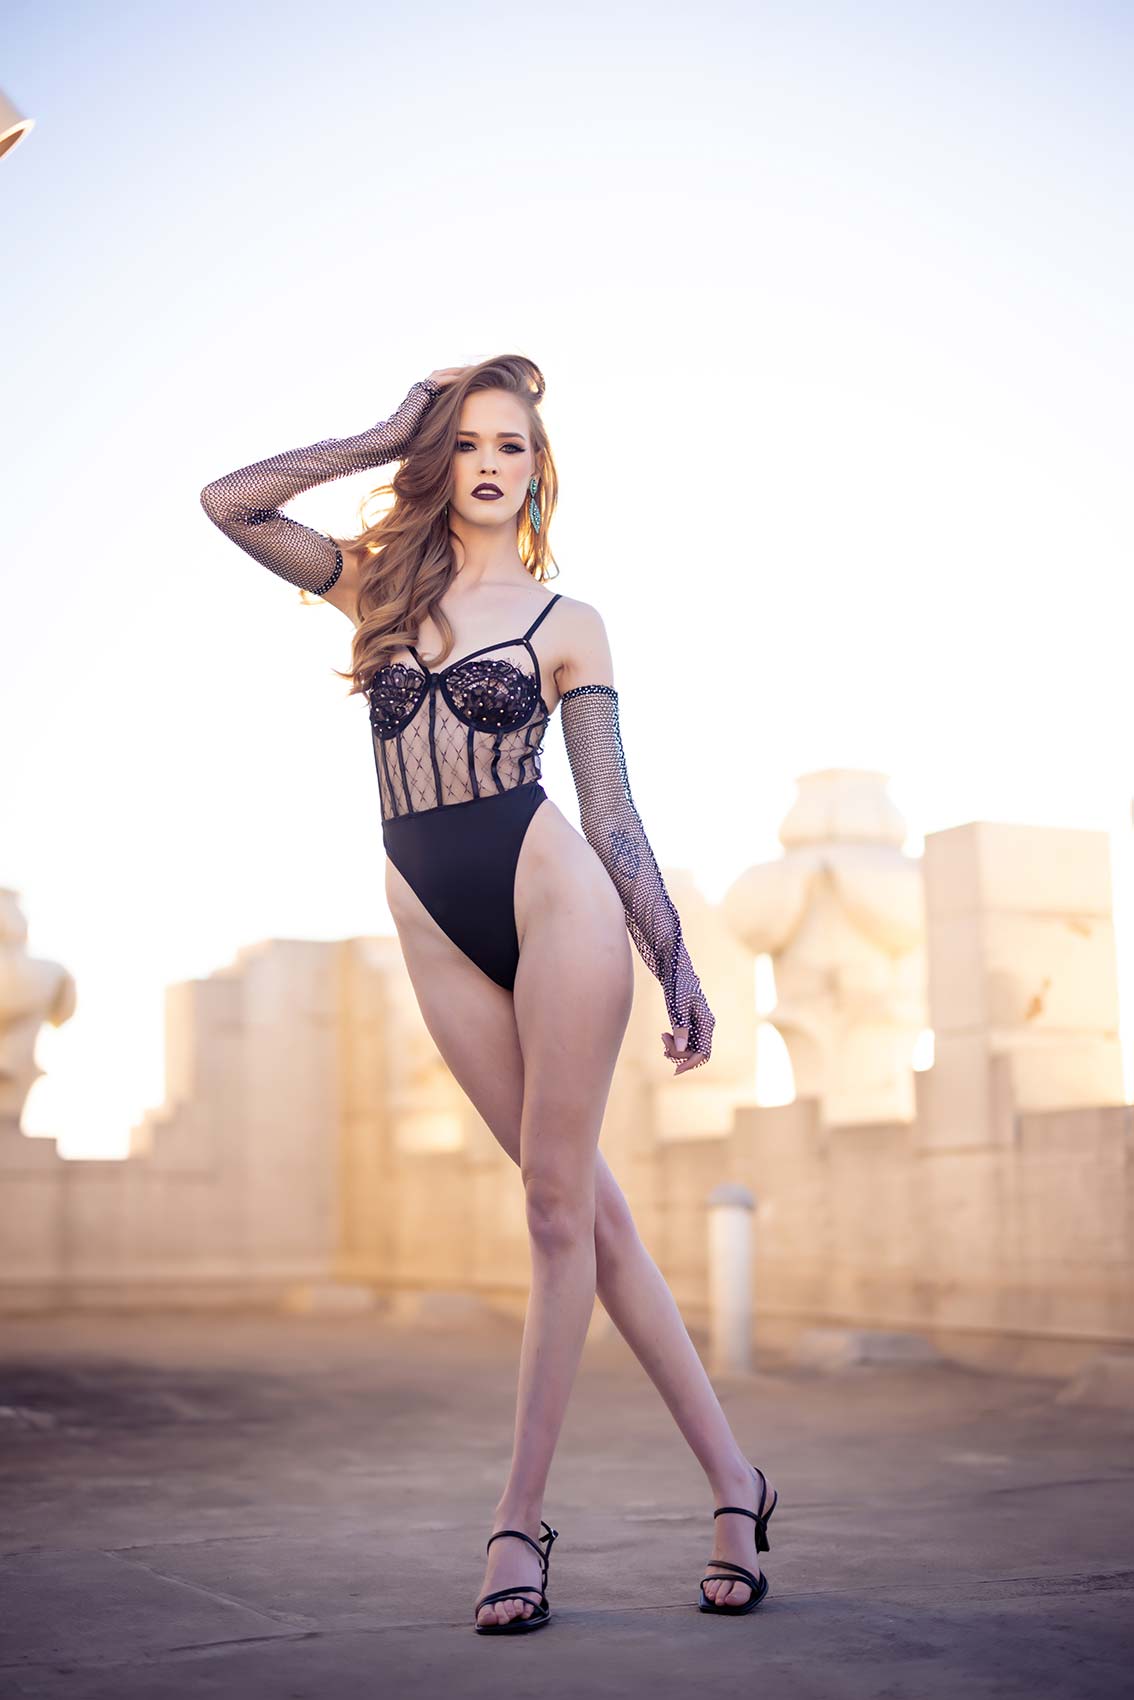
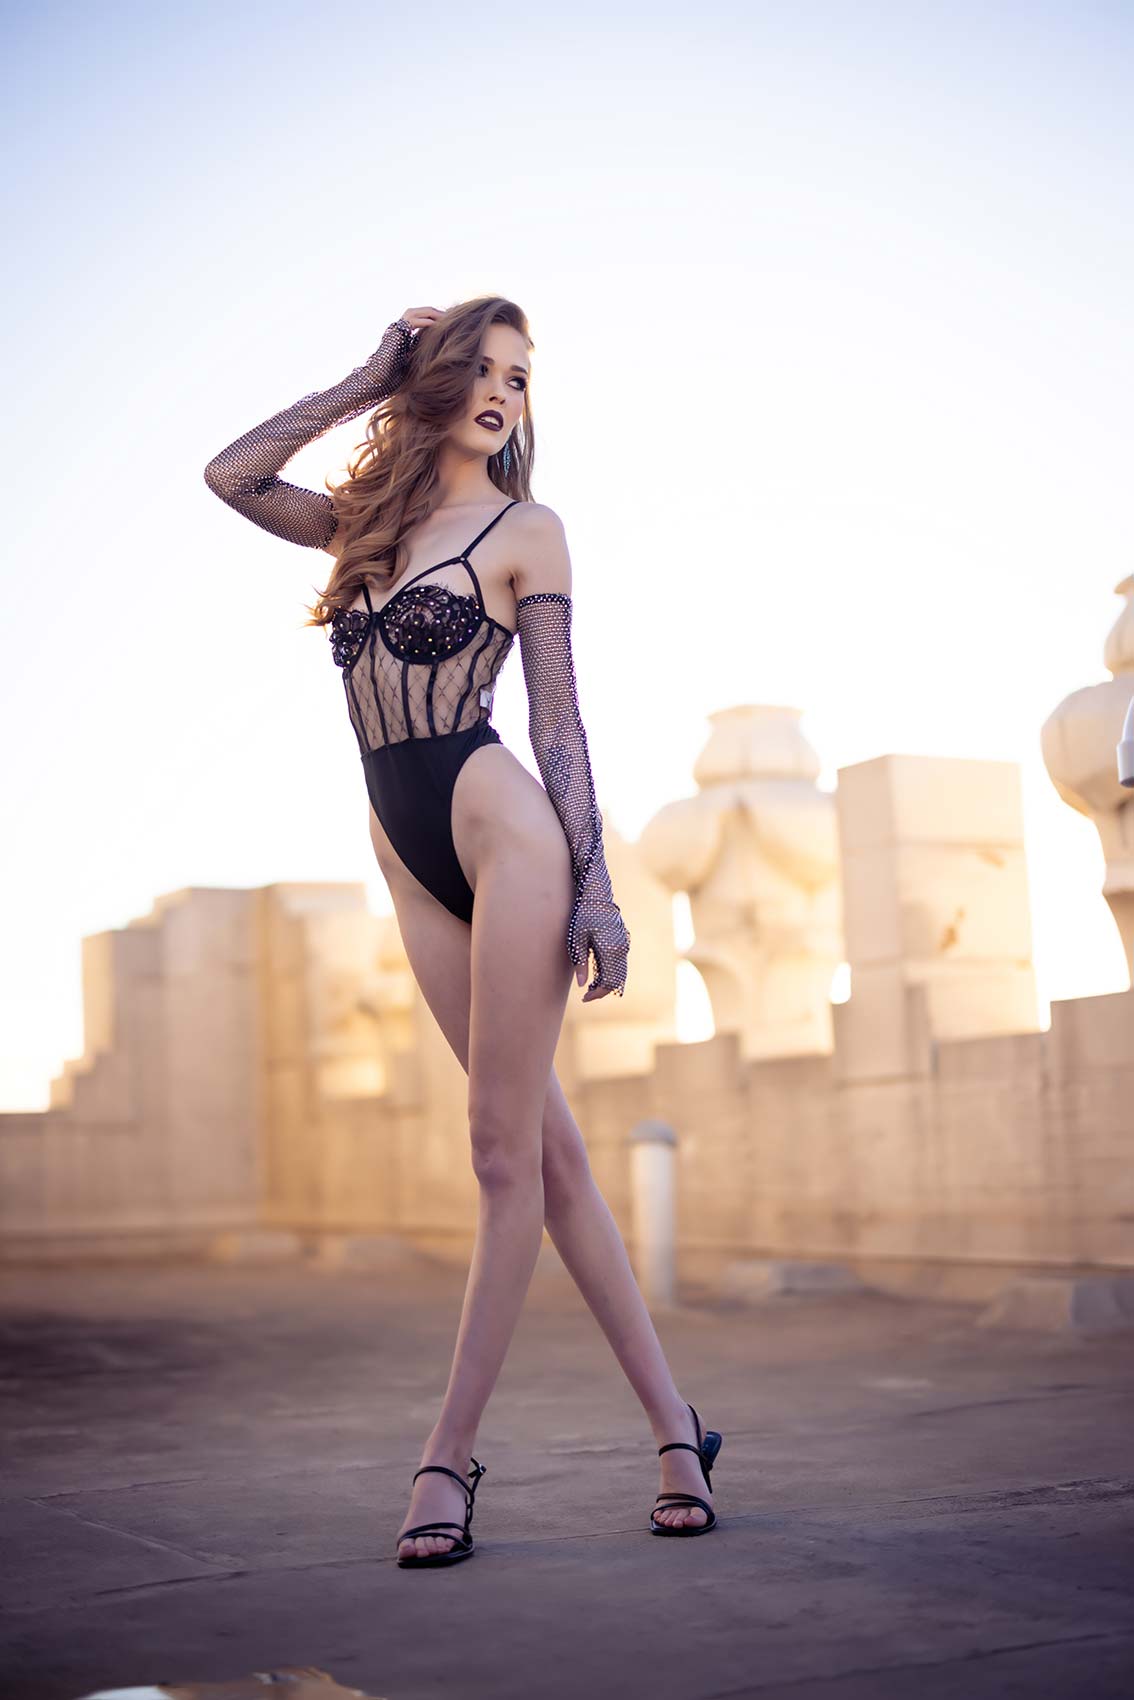


Learn how to create stunning moody portraits with simple photography hacks. Discover lighting, fog, and posing techniques to add depth, drama, and a cinematic feel to your photos.

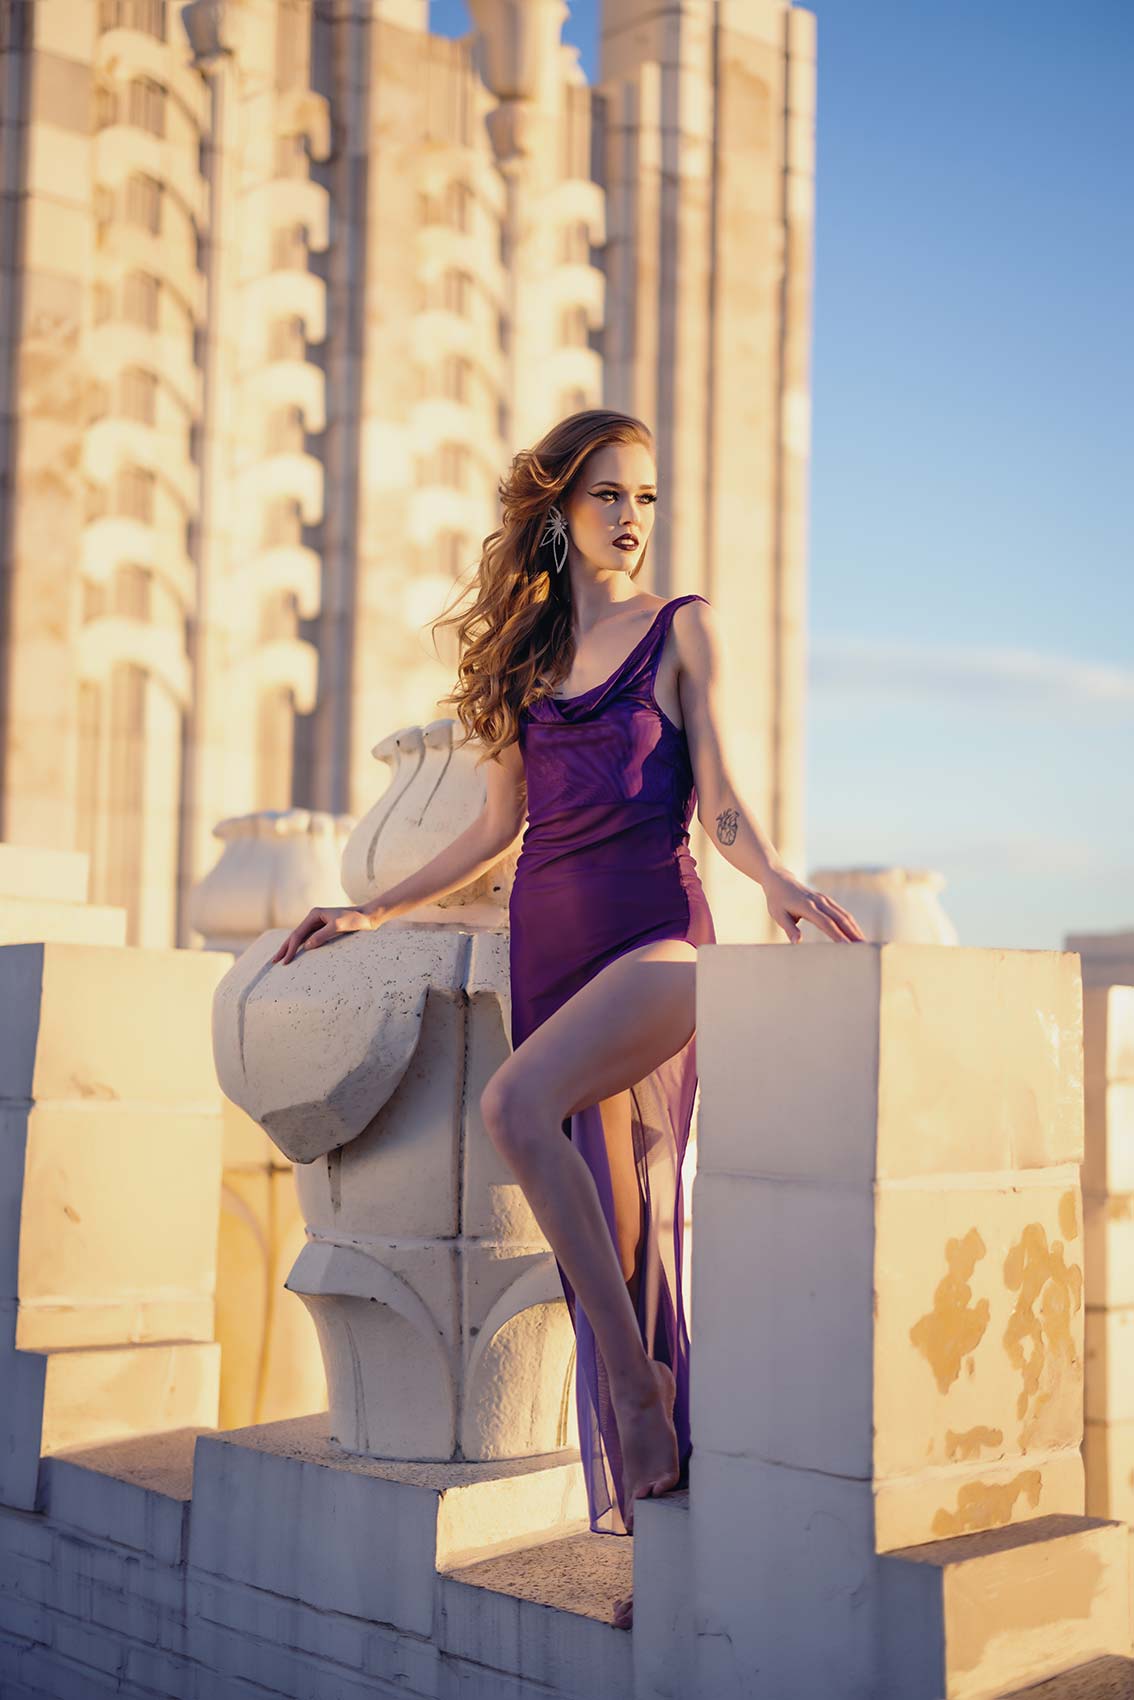
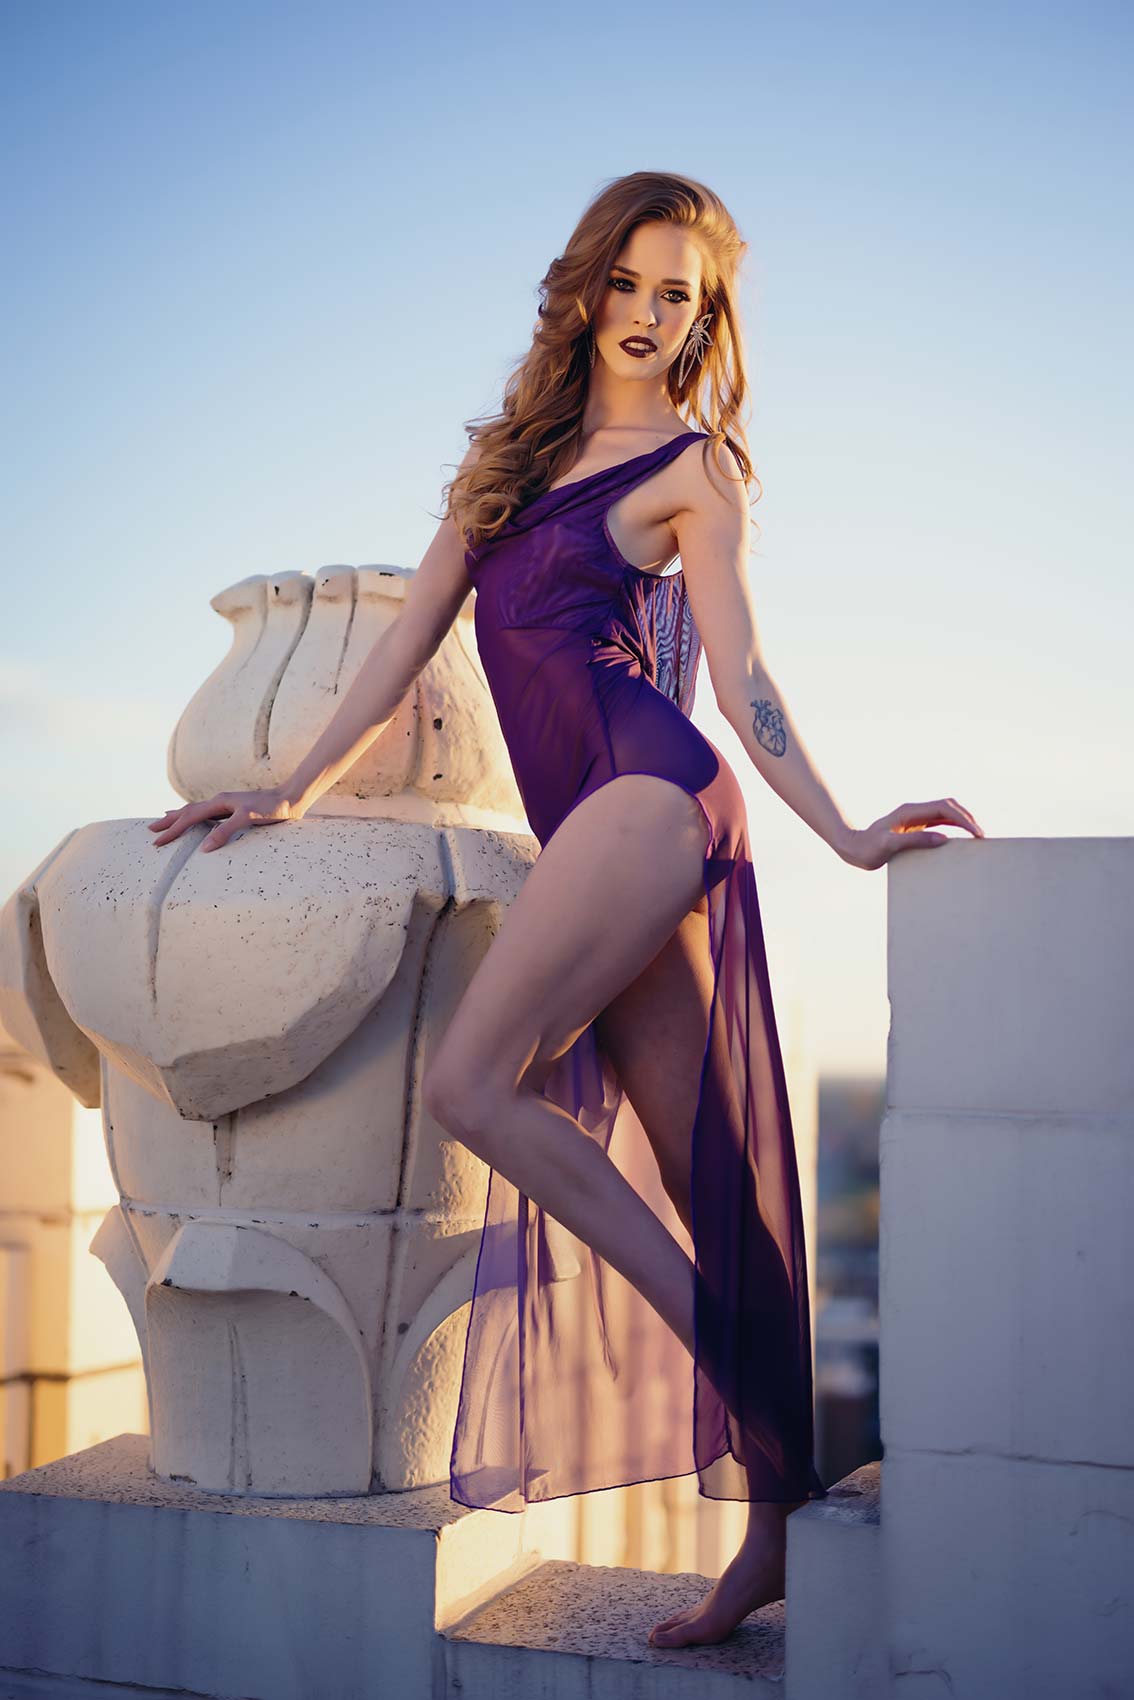
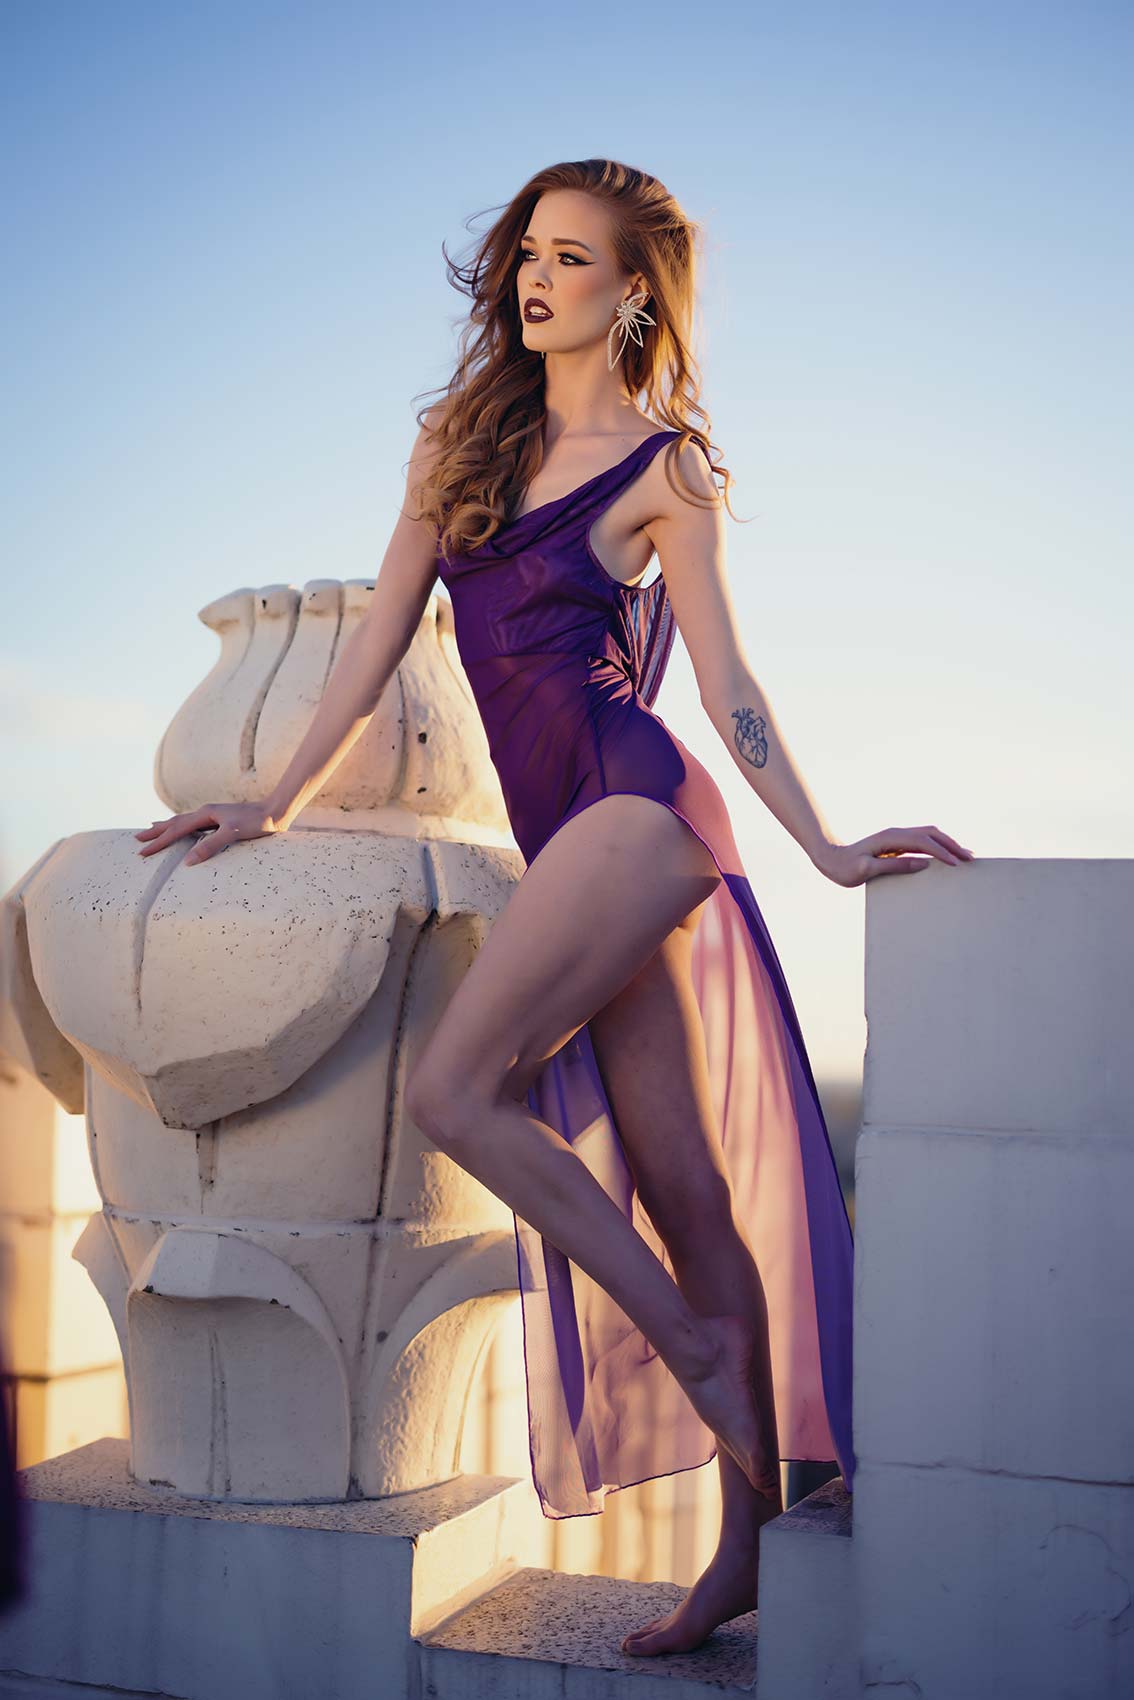
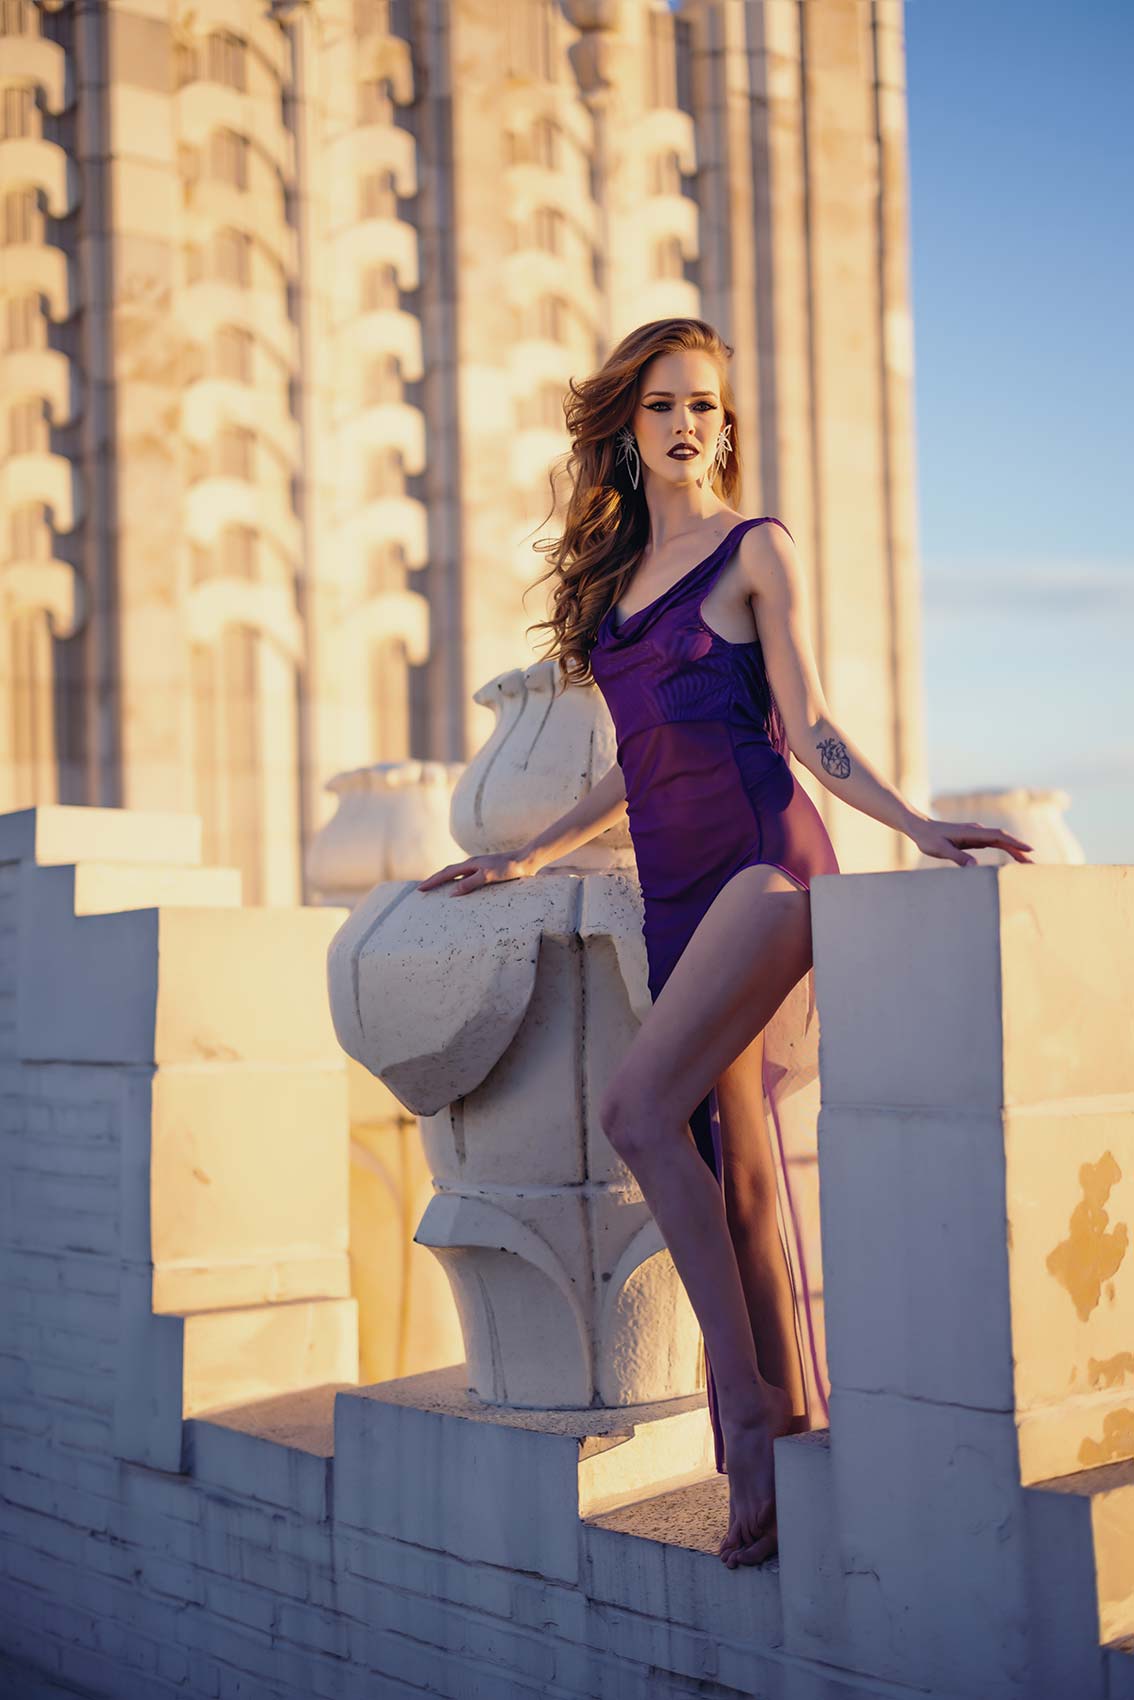
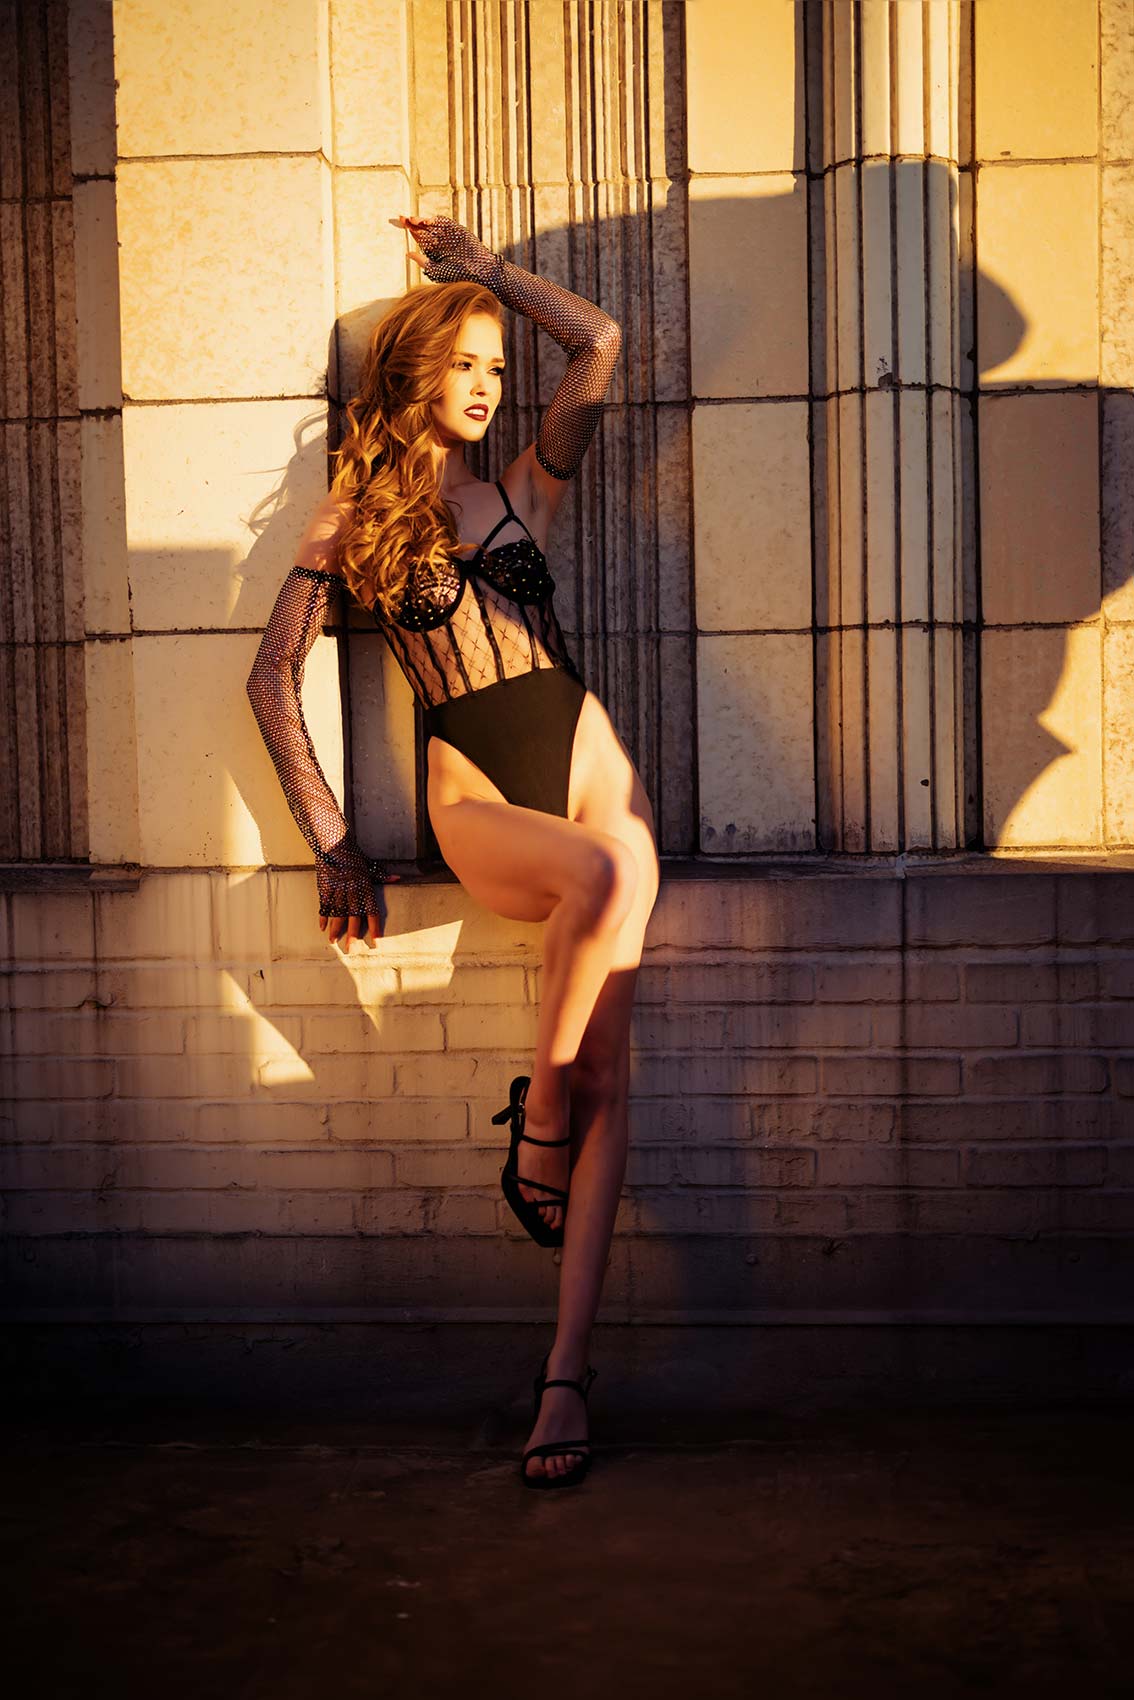
Discover how to use creative photoshoot locations and urban environments to capture stunning images anywhere. Learn lighting, composition, and layering techniques to turn ordinary spots into powerful photos.
