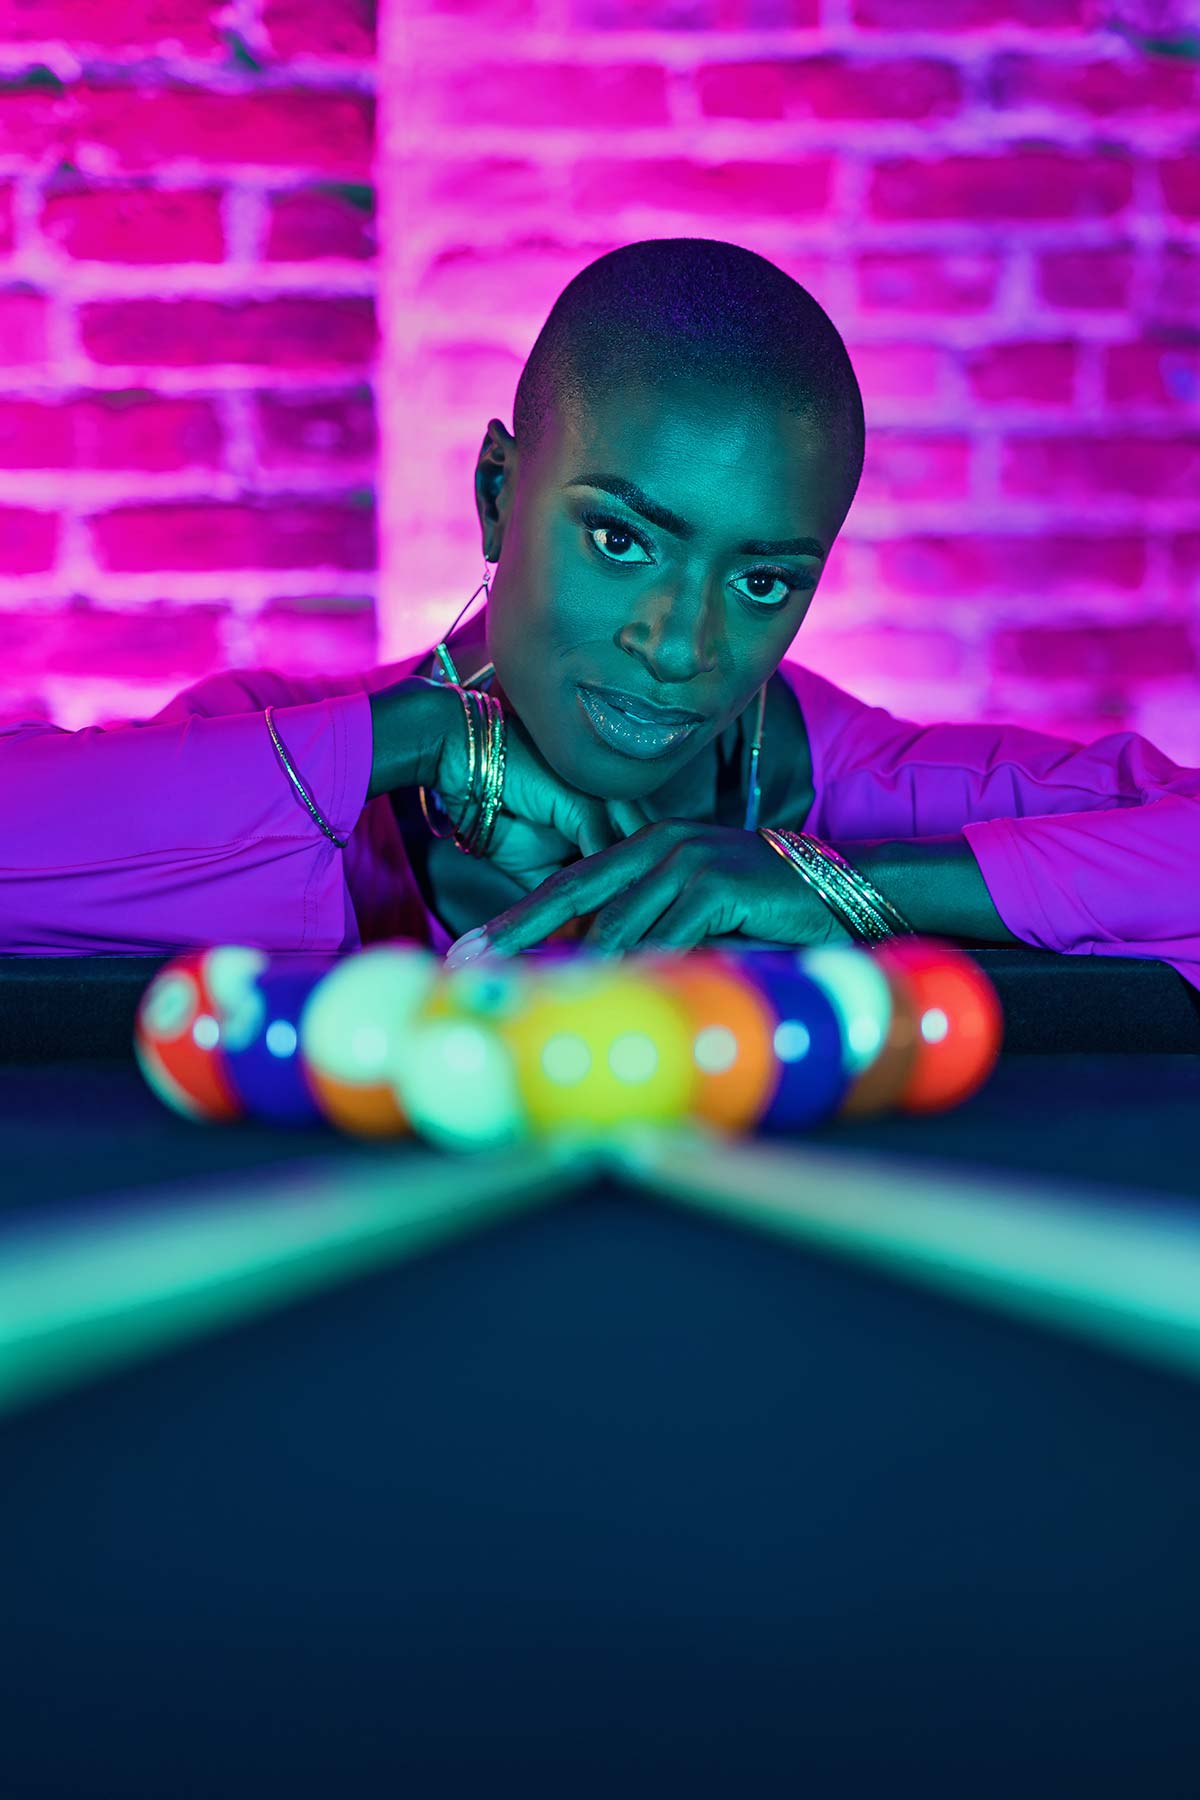
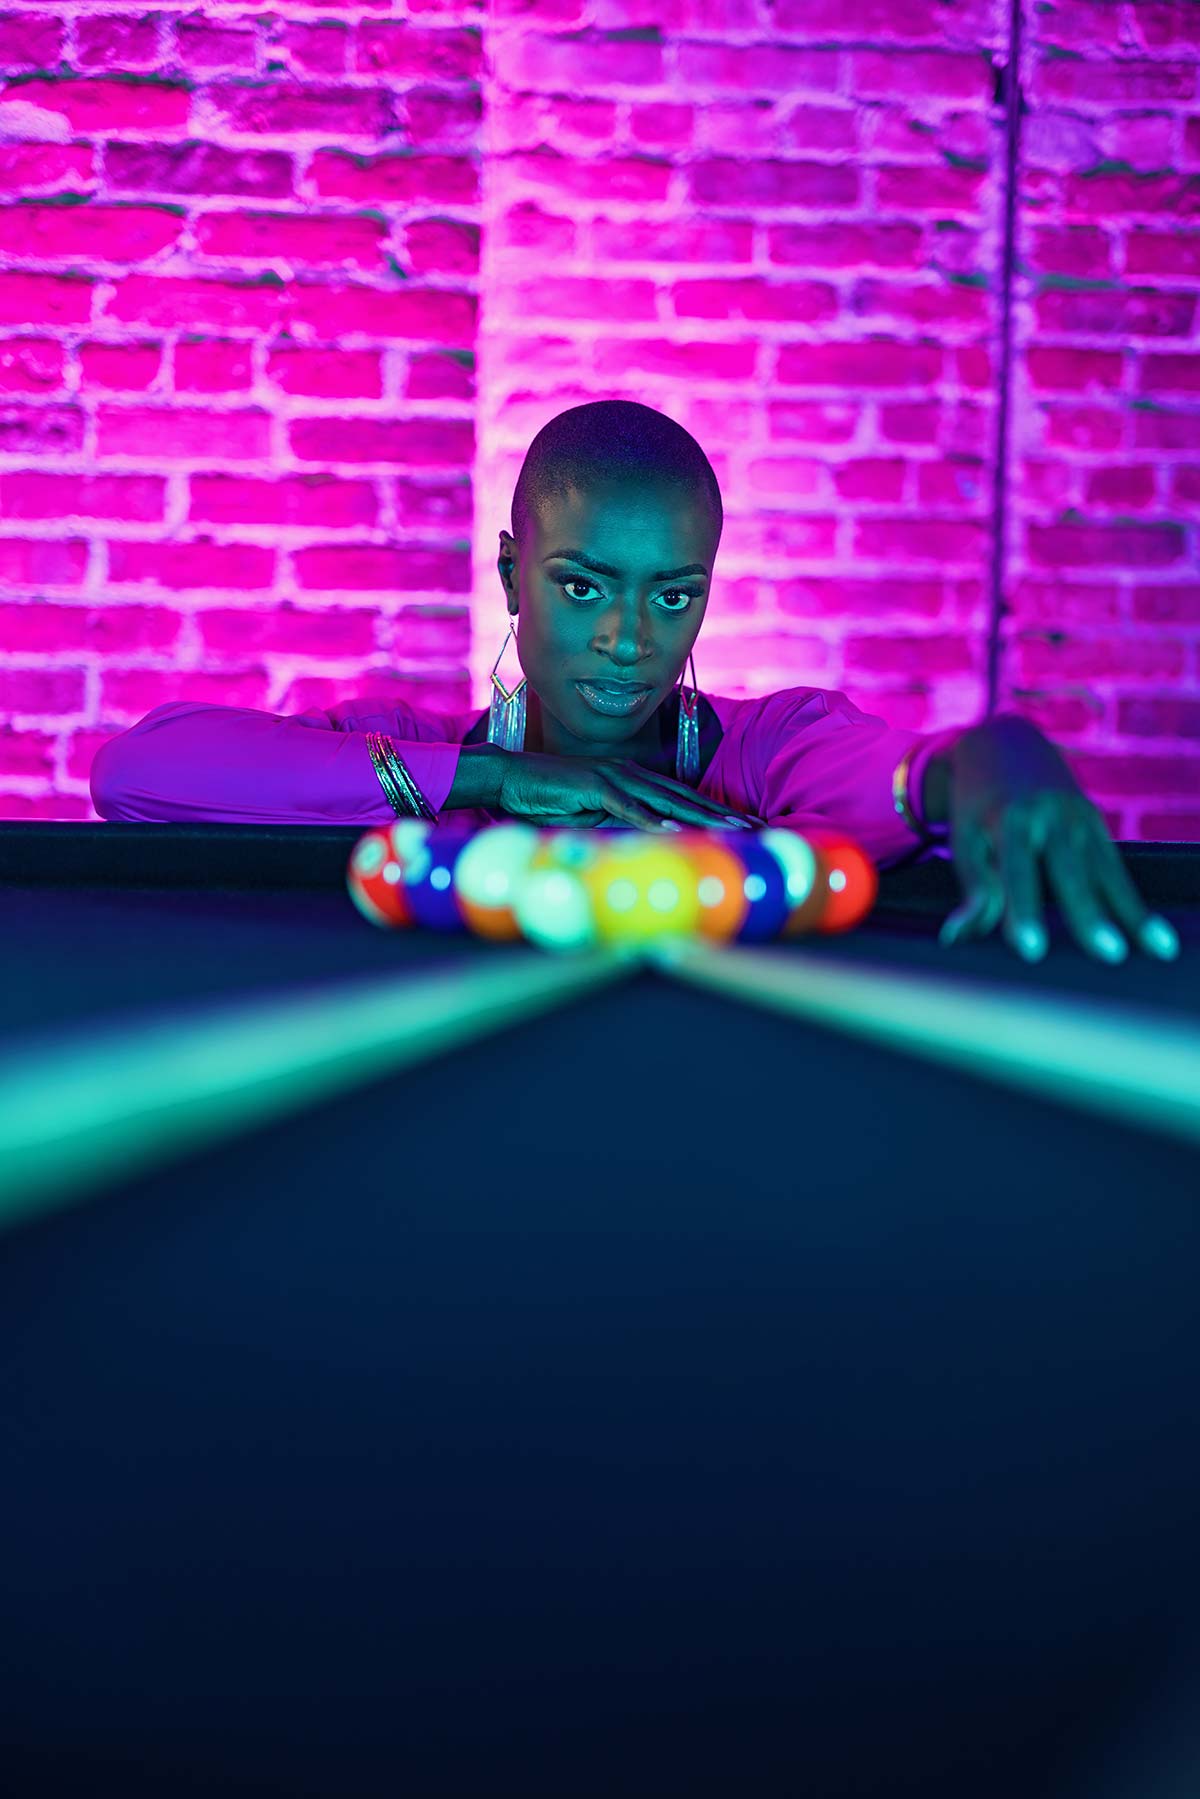
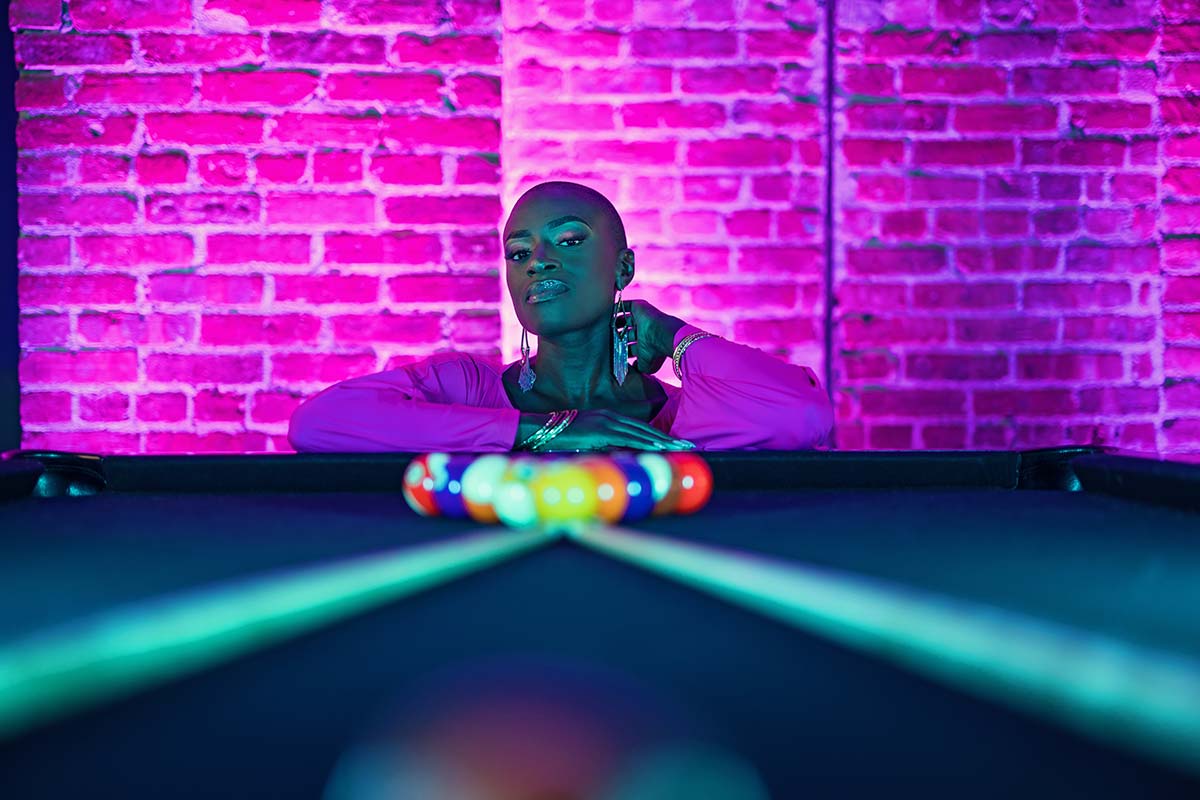
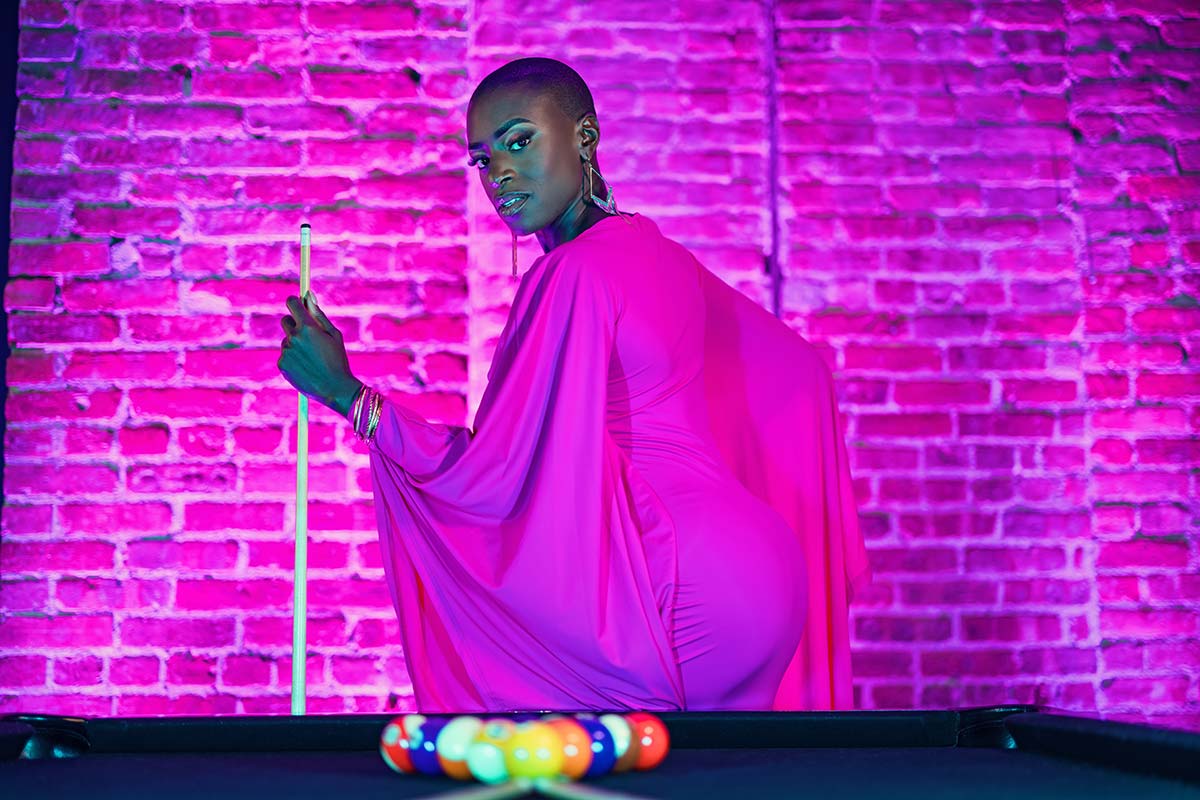
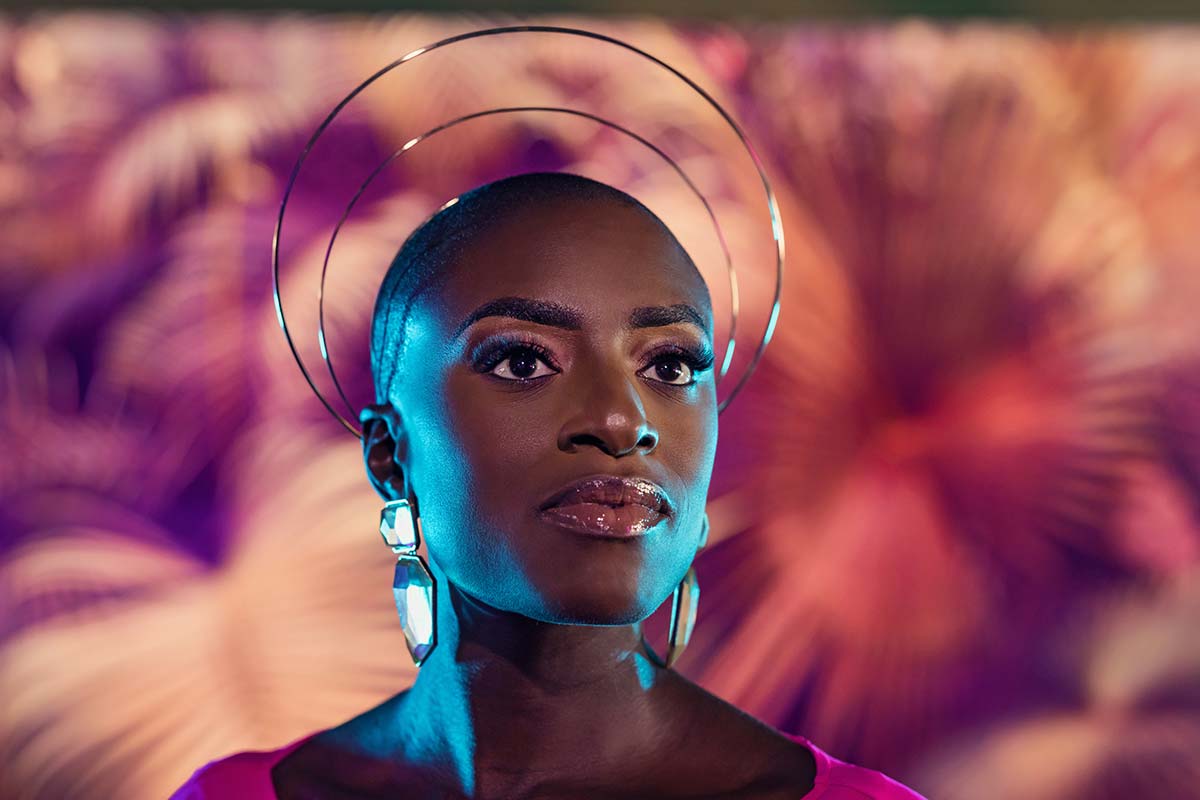
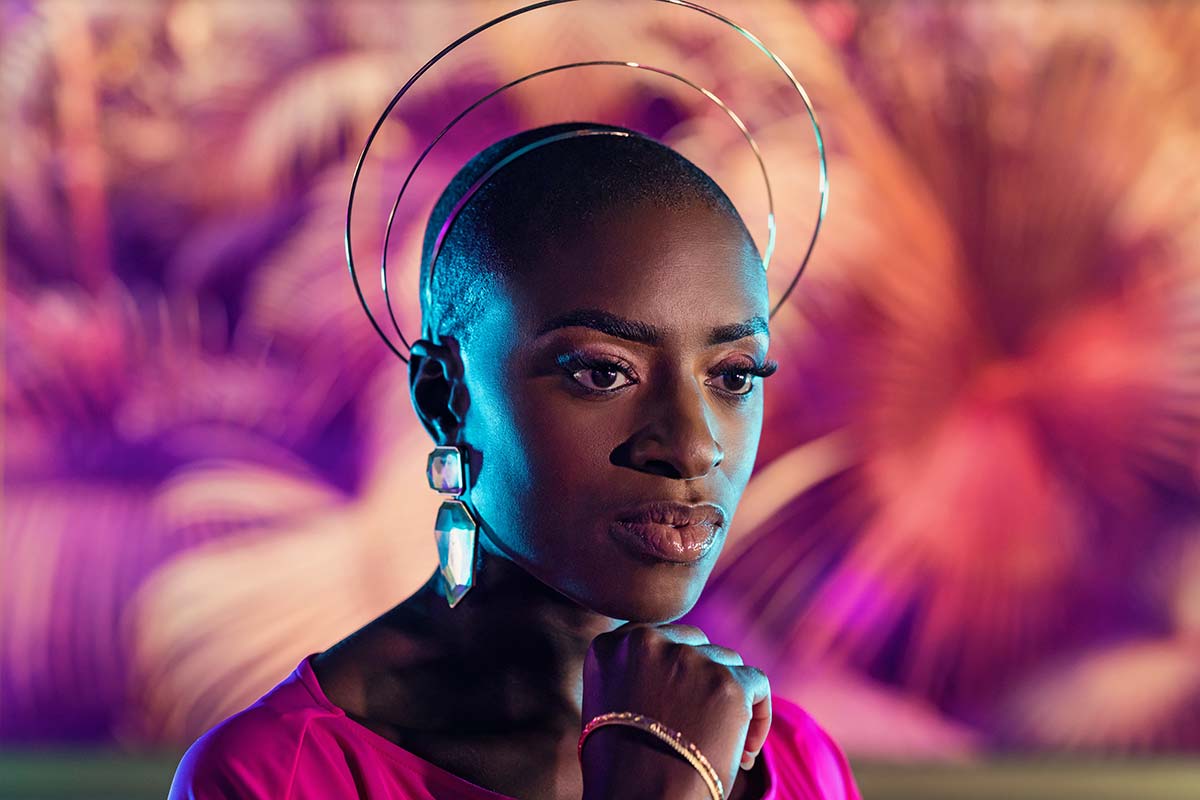
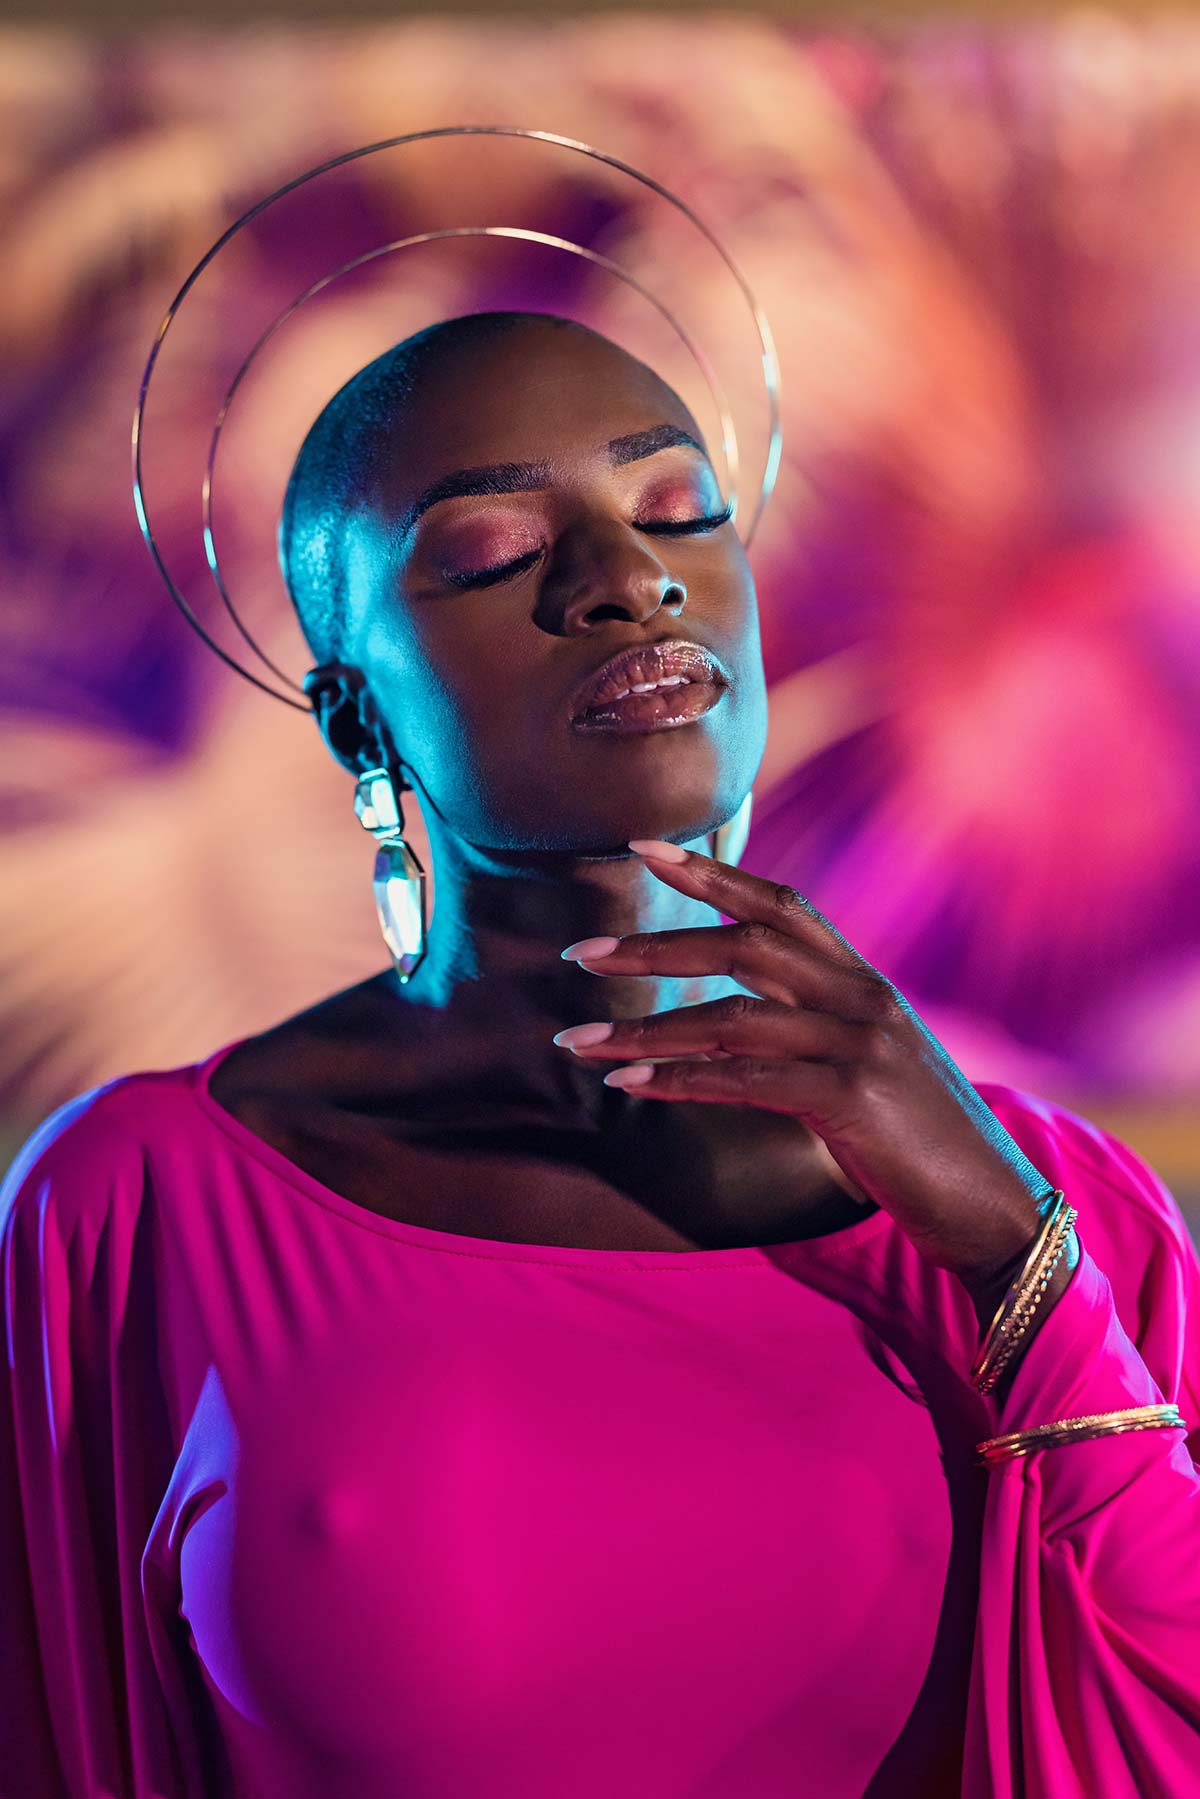
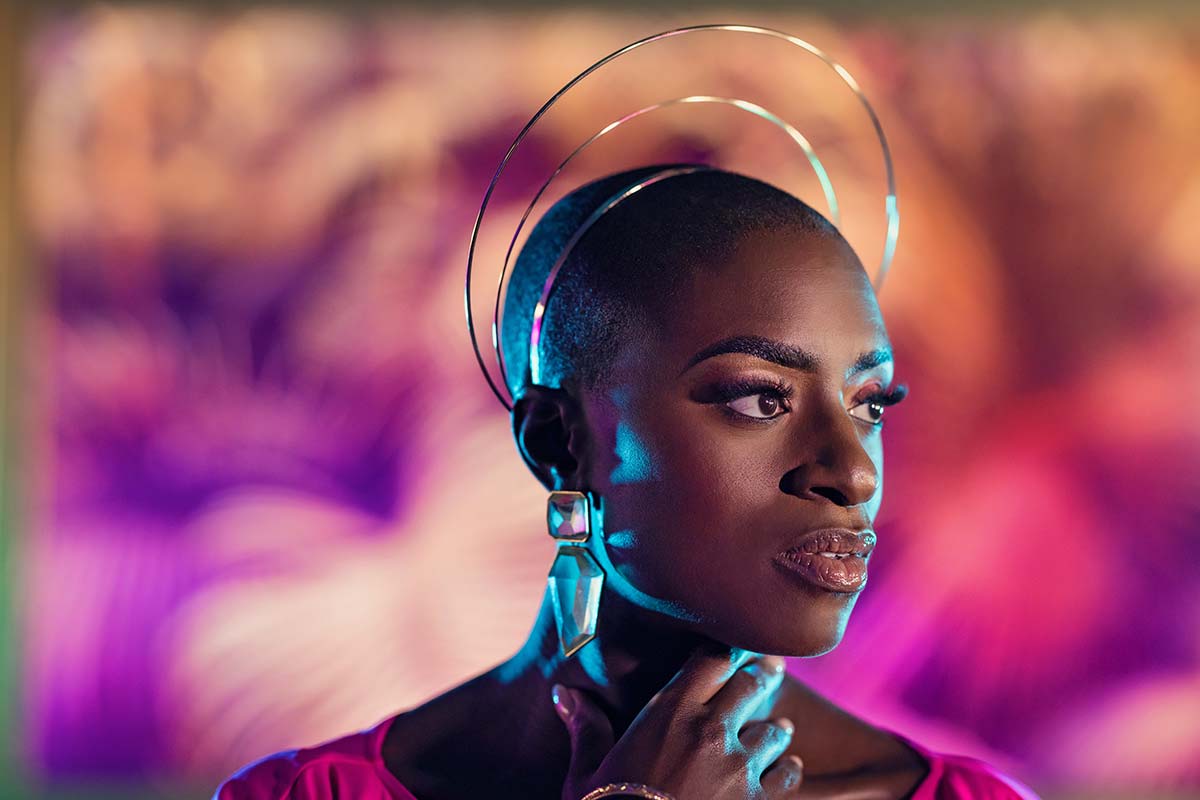
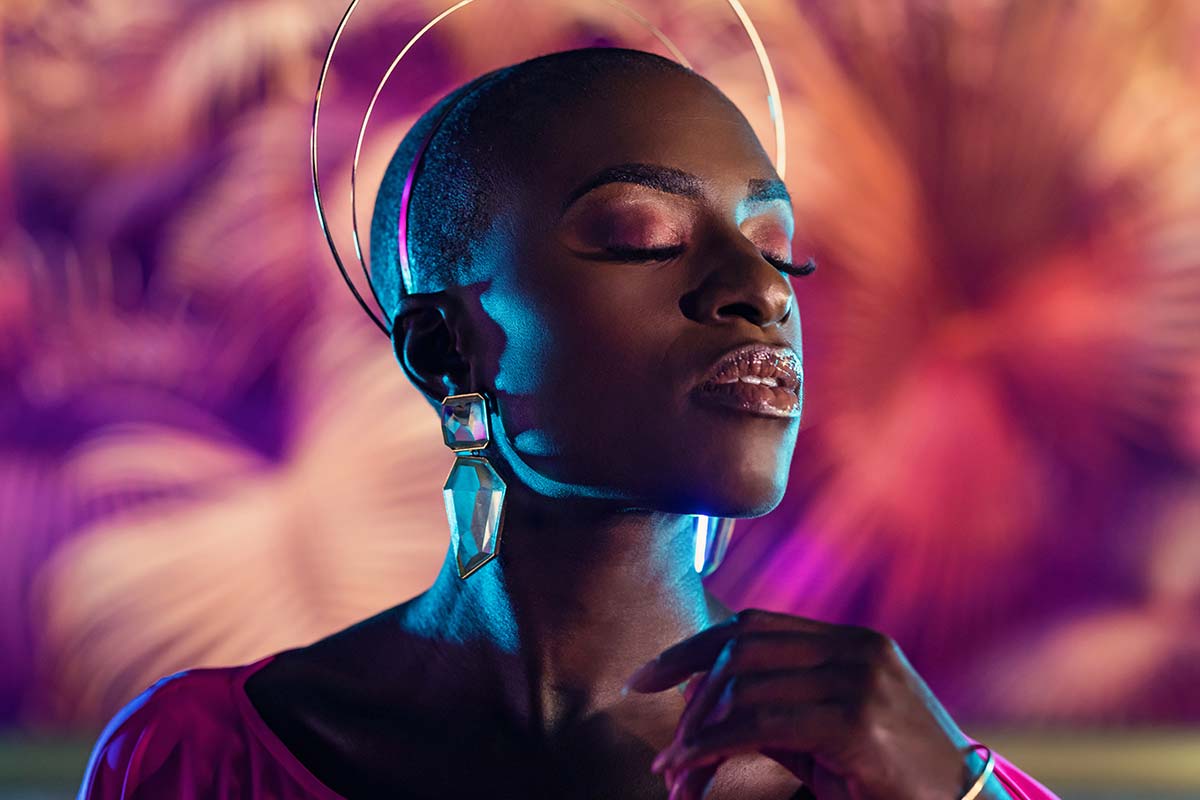
Are you ready for some edgy fashion portraits using continuous lights from nanlite? Im using 3 of the PavoTube II 6C’s, perfect for in-studio photography and for location work out of the studio. This video is the perfect how-to photography tutorial where you will see where I place the lights and how we use them to create more dynamic portraits
Equipment Used:
Camera: Canon EOS R5
Lens: Canon RF50 f1.2, Canon RF85 f1.2, Canon RF15-35 f2.8
Light: Nanlight PavoTube II 6C
Team:
Photographer: Sal Cincotta
Model: Faren
HMUA: Colours by KitaRoche’
What’s up everyone? My name is Sal Cincotta and in today’s video we’re going to talk about creating edgy fashion portraits using continuous light. I don’t know if you’ve heard of these particular lights, but I’m obsessed with them. These are the NanLite PavoTube II 6C. They’re only about $89 to $99, so check out the link below in the description. They’re LED lights and they put out some really cool light.
So these particular lights are super cool, inexpensive, and they allow you to create mood in an environment like this. So we’re in a very dark room, building, bar-like area, but I don’t want to lose that mood by firing flash all over the place and having it bouncing off the walls. You might be thinking, well, Sal, if you had more control of your light… True. But then I’m bringing in flats and I’m doing all sorts of things to control the light. Whereas if I want to move super fast, I can use lights just like this.With just a couple of them and I can completely control the mood.
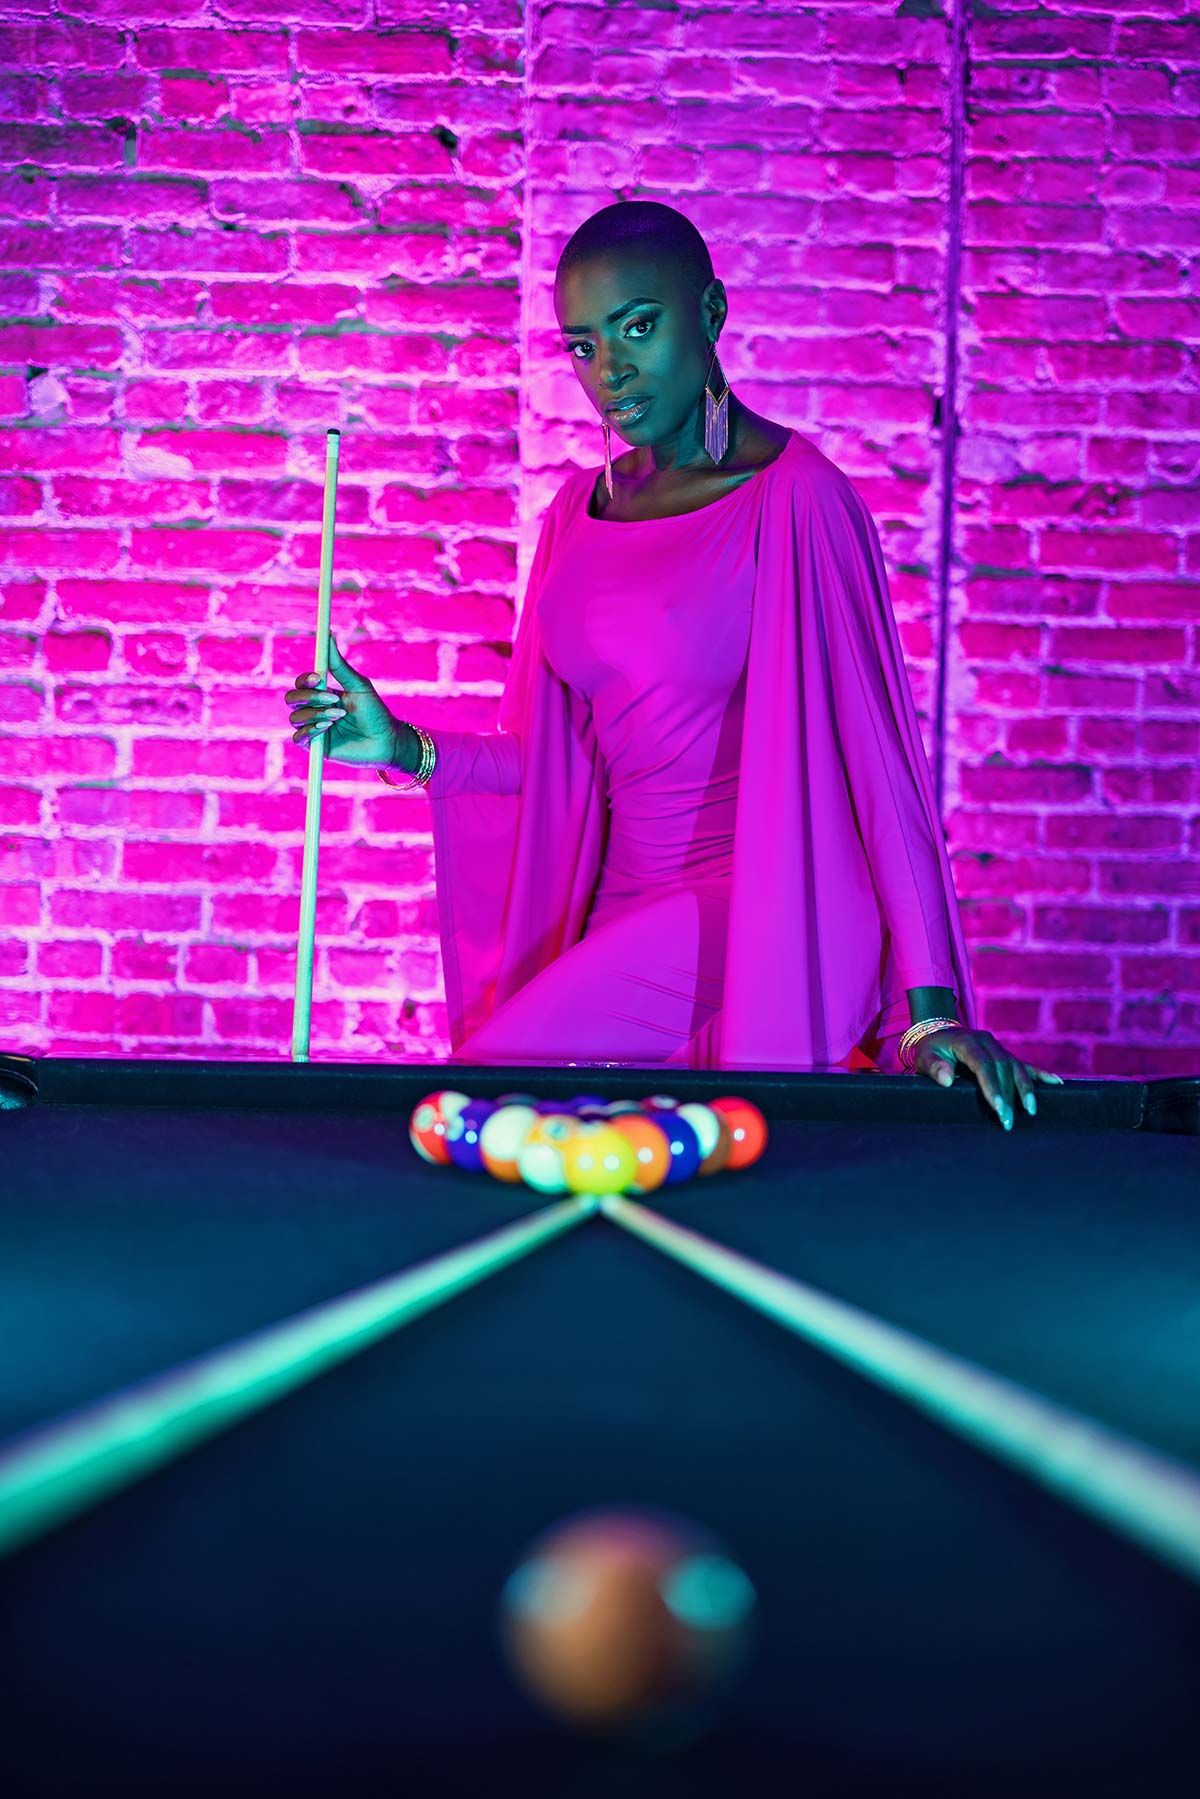
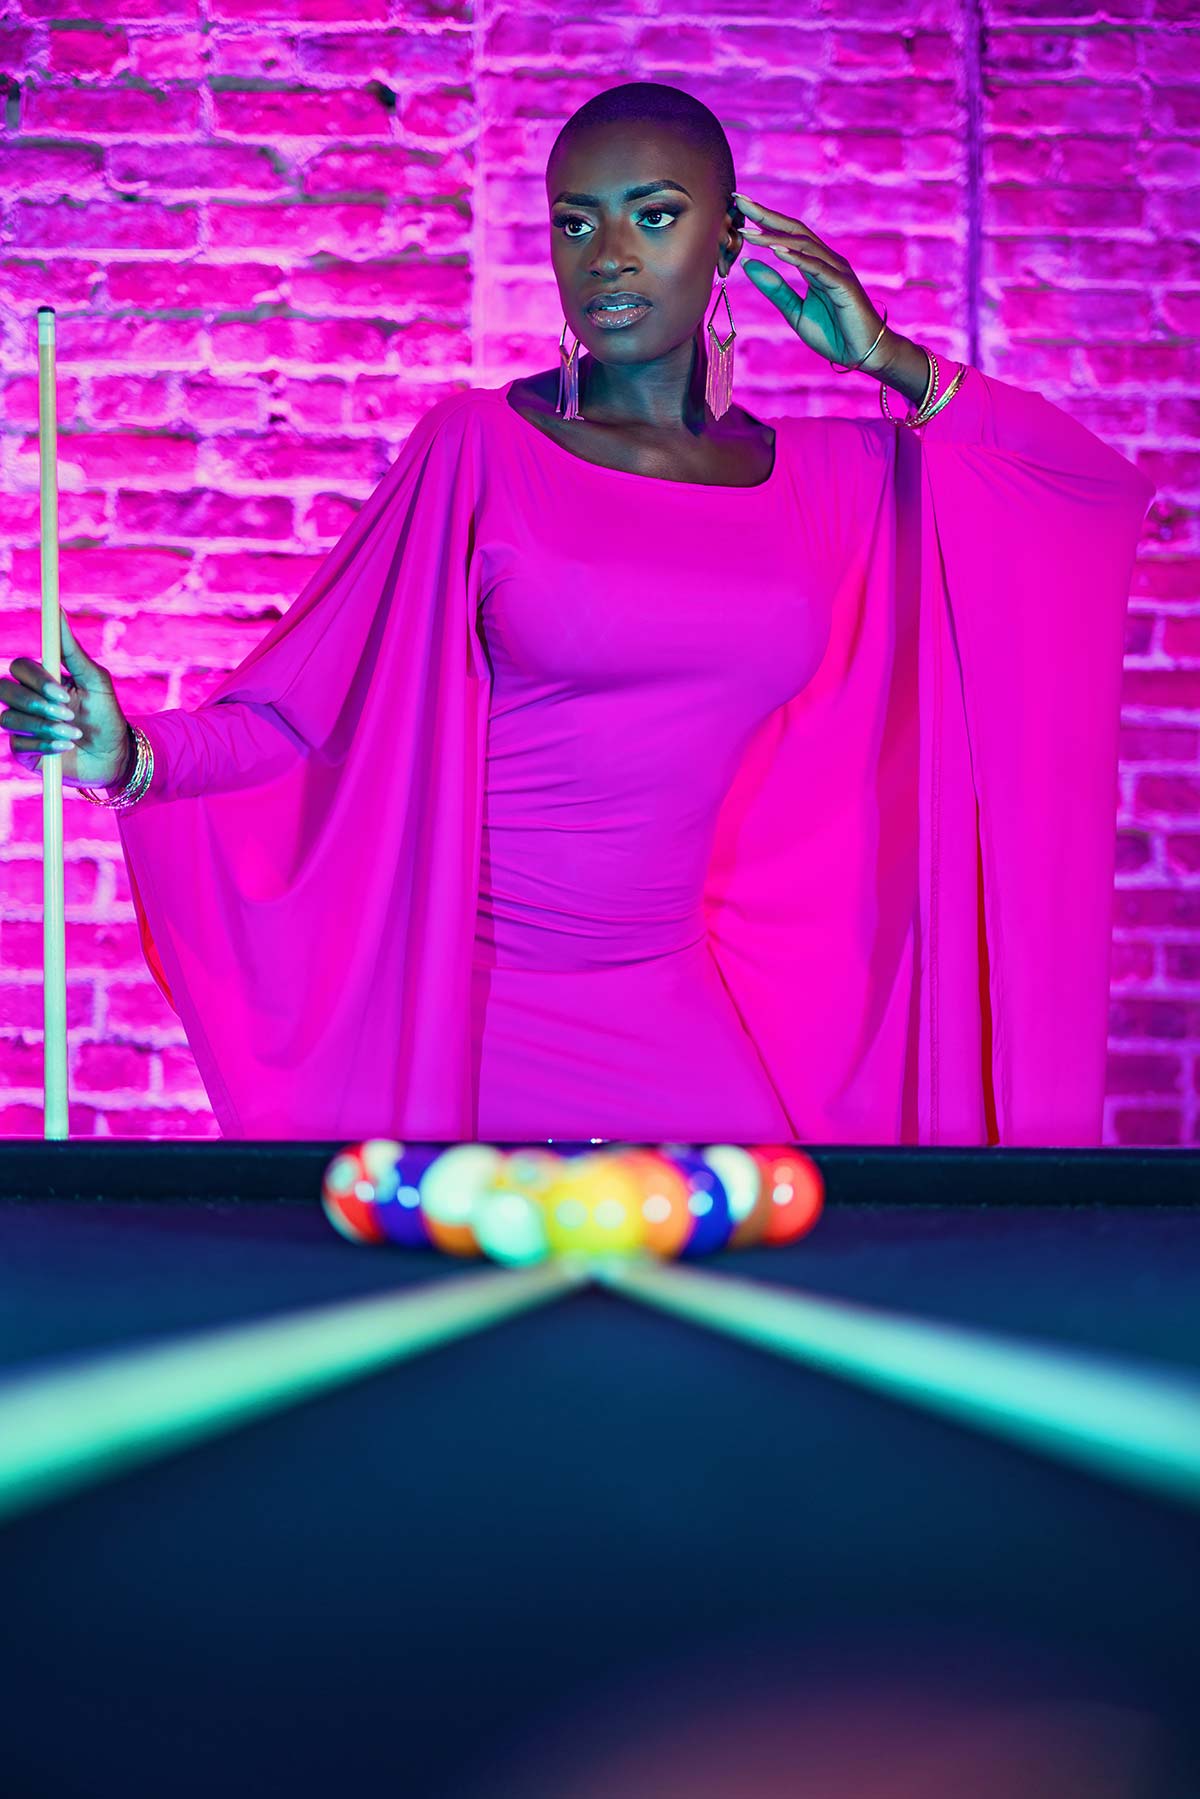
So what we’re going to do here is I’m going to use the same light that’s illuminating me and I’m going to use that on Faren. Then I’m going to take two of these PavoTubes and light the pool table. There’s two scenes in this building that we’re going to do. One is using the pool table. I really do love her pink dress and it just feels powerful, so I just had this vision to have her over the pool table, arms on the table, and then lighting her up that way. I also have some architectural elements with the cue sticks kind of leading us to her. And then I’m going to put her in another scene. So we will look at two different scenes, but let’s stop talking about it, let’s get to it.
Scene 1:
So as you can see in the video, it is dark in this room, right? That’s why we’re illuminating me. So I want to show you what I’m doing here. I’m going to turn this on and this is going to give us blue light. Now these are RGB lights, so you can set them to any color you want within the RGB spectrum. Then I’m going to put each of these here, kind of firing in at a V and illuminating the cue sticks, putting some blue highlights on her skin. You can see that it looks so good. And then we’re going to softly light her with the same white light that’s lighting me.
And so, this is a nice three light setup. There are some purple lights on the wall that happened to be in the venue. So if you’re a wedding photographer or something like that, they’ve got uplighting in there. But even if you didn’t, you can throw in a couple of these lights and fire them up on the wall as well.
Now, I want to put Faren in the chair there and move it over to a different location. I love the drink, love the shoes, and the light looks good. Okay, here we go.
Scene 2:
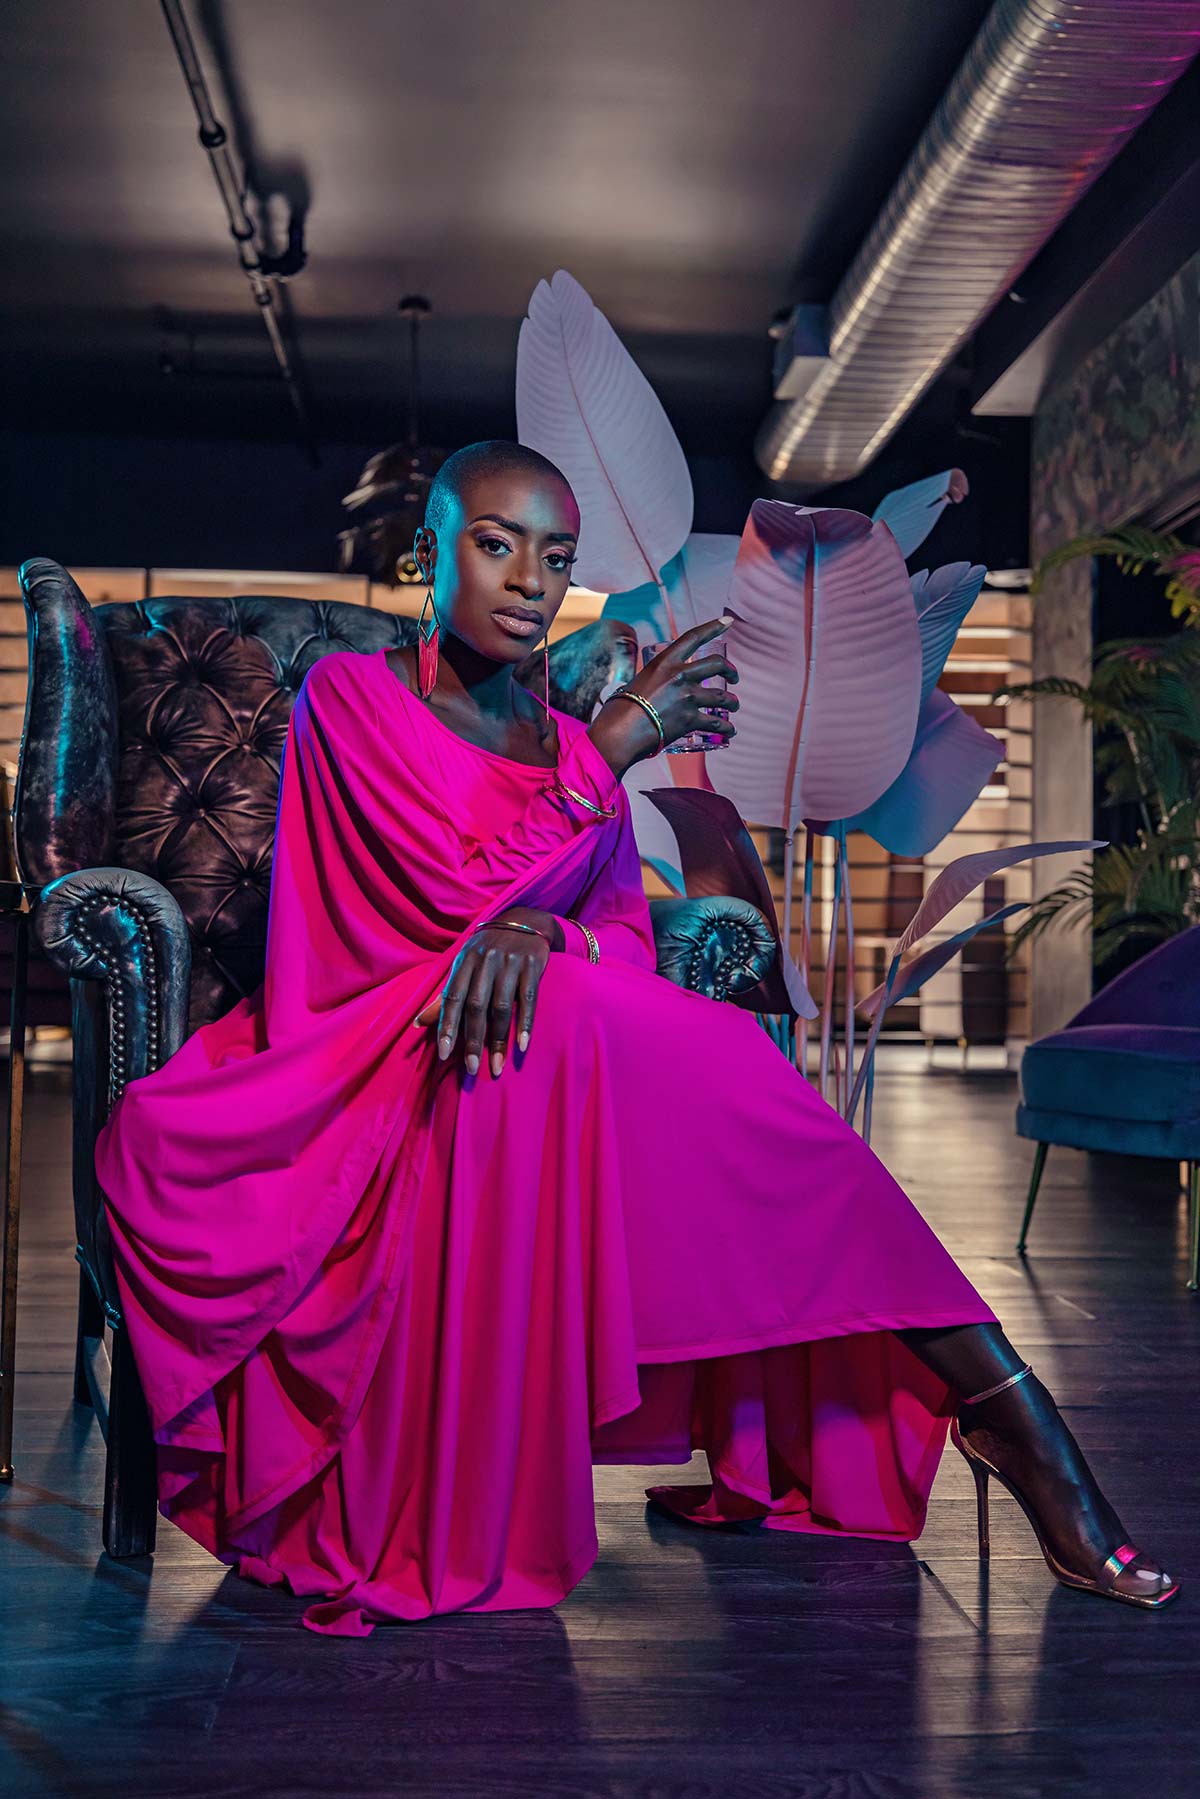
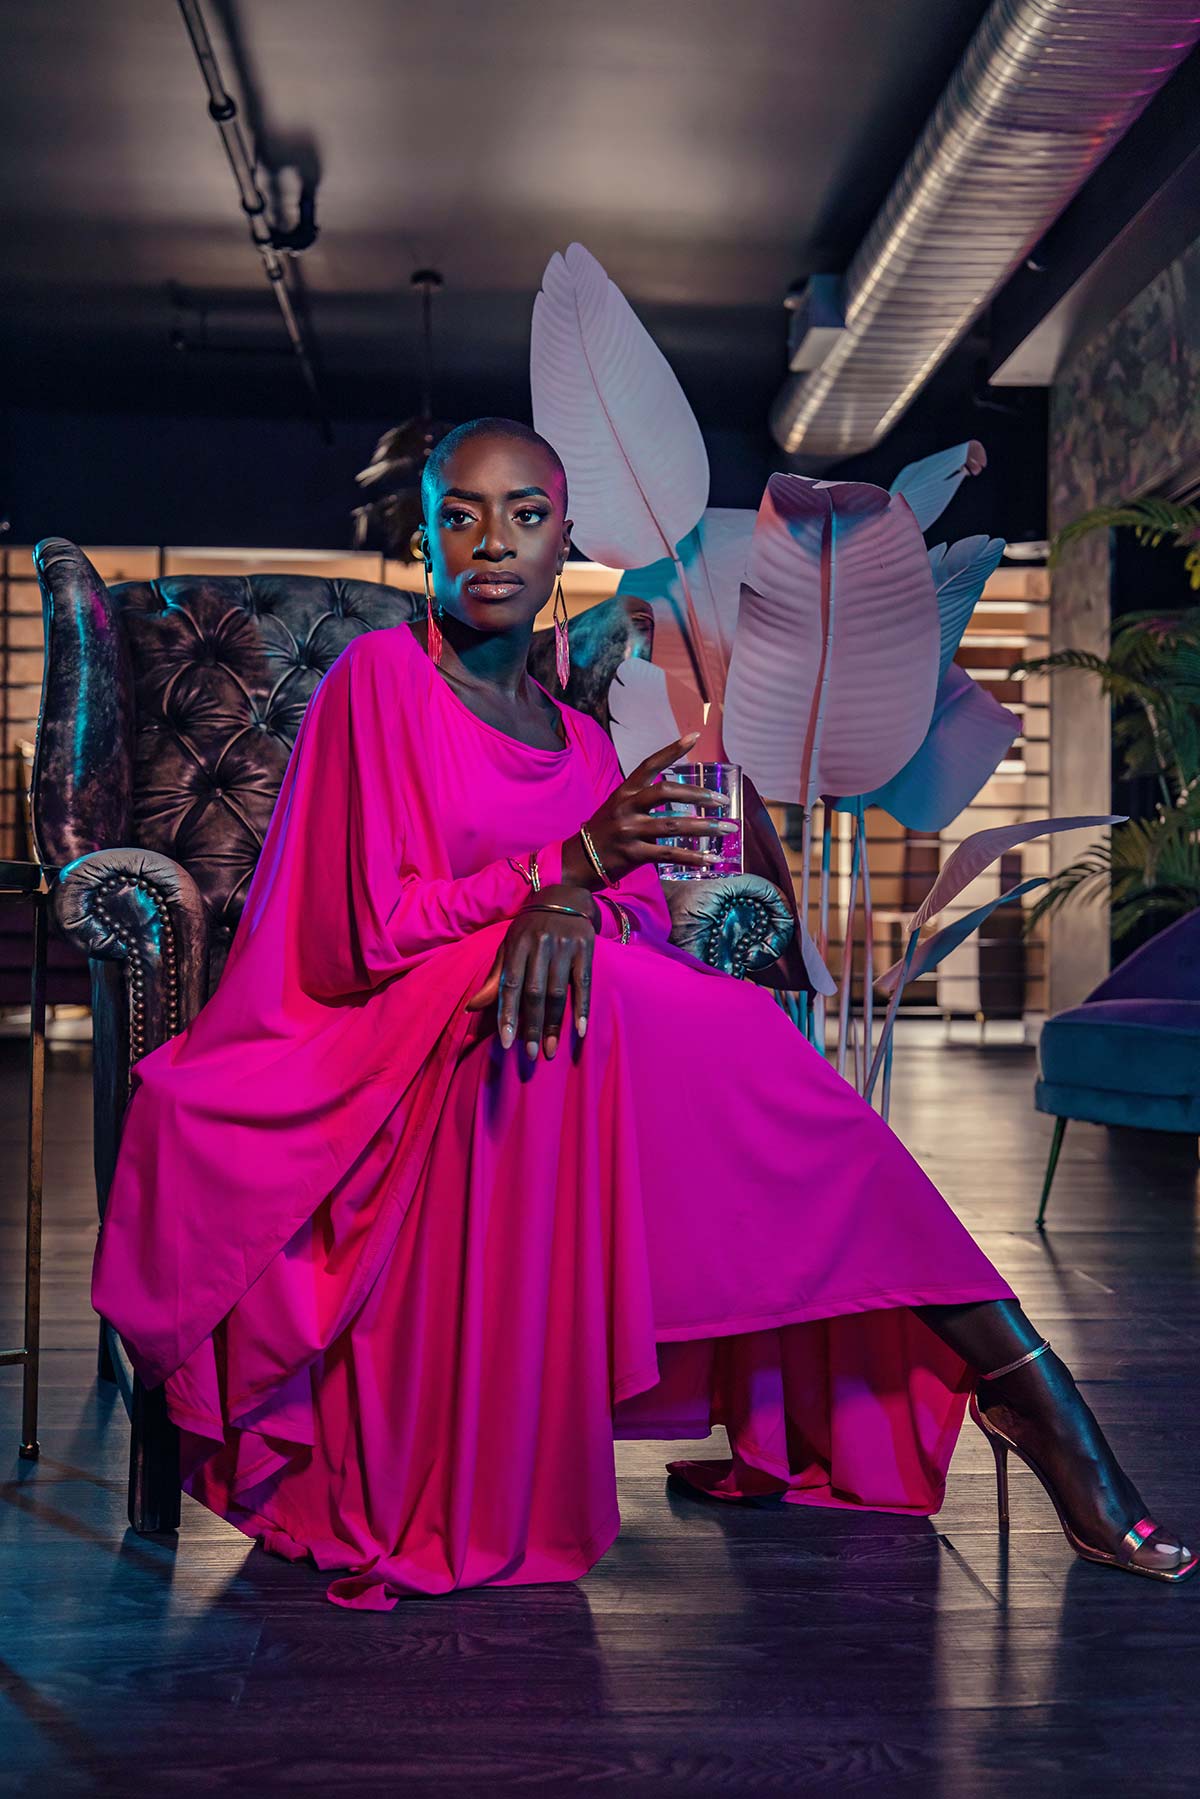
For the last shot in here, my wife Alissa, who’s always in charge of things, sees this picture that’s backlit. It’s got kind of these big fern leaves. We want to have some fun with this. But here’s the thing, when you’re in such a dark environment, where the lights are placed are going to matter. So we have to be conscious of the fact that angle in equals angle out when it comes to lighting. So these lights cannot be showing up in the reflection, but we also need to illuminate her so she’s popping off the background.
I want to show you how we’re going to build this. We’ve got two of the Nanlites being handheld by Gretchen, who’s one of the more professional helping hands that we have here. Then one light is being held by her husband, Roland, who she decided to bring along for this trip. That was very nice of them to help. We’re actually going to turn both lights away from her, just so nothing’s hitting her. So let’s get that light off her and then have Faren square up to me. Here’s the image with no lights, just her.
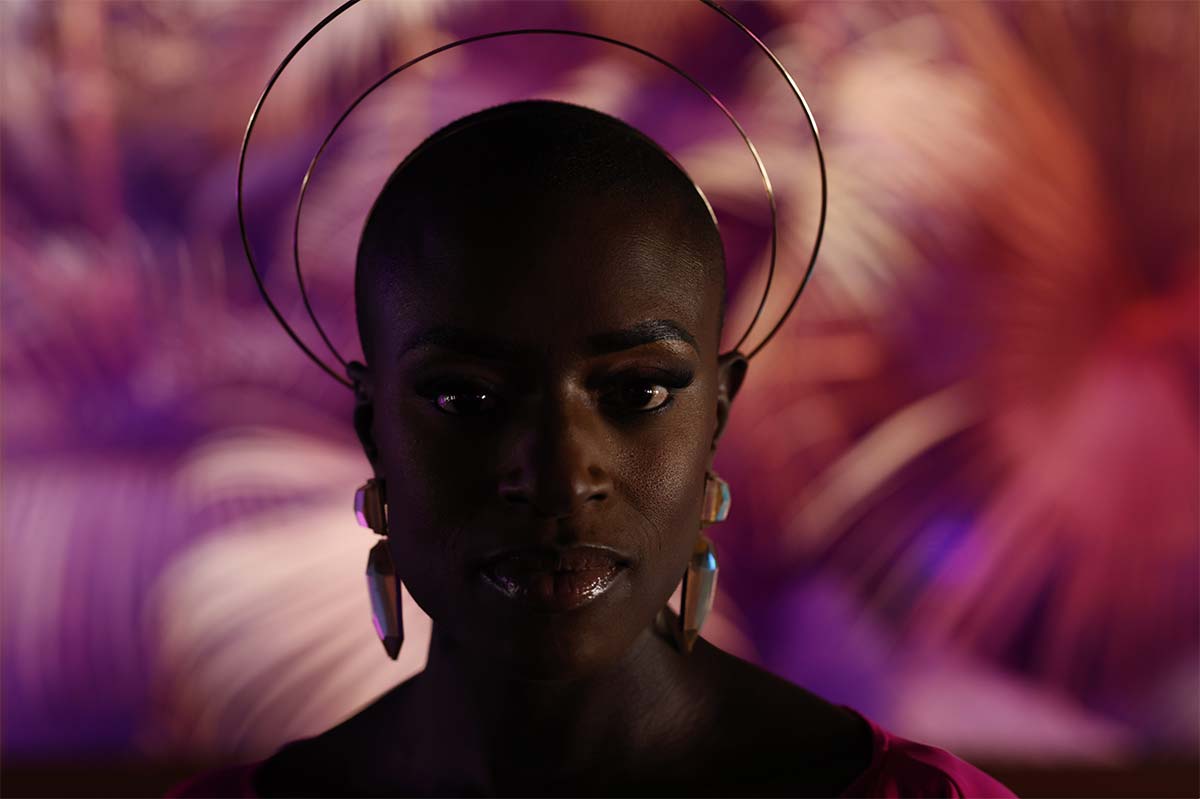
Image With No Lights
Settings: f/2.8 @ 1/1,250, ISO 100
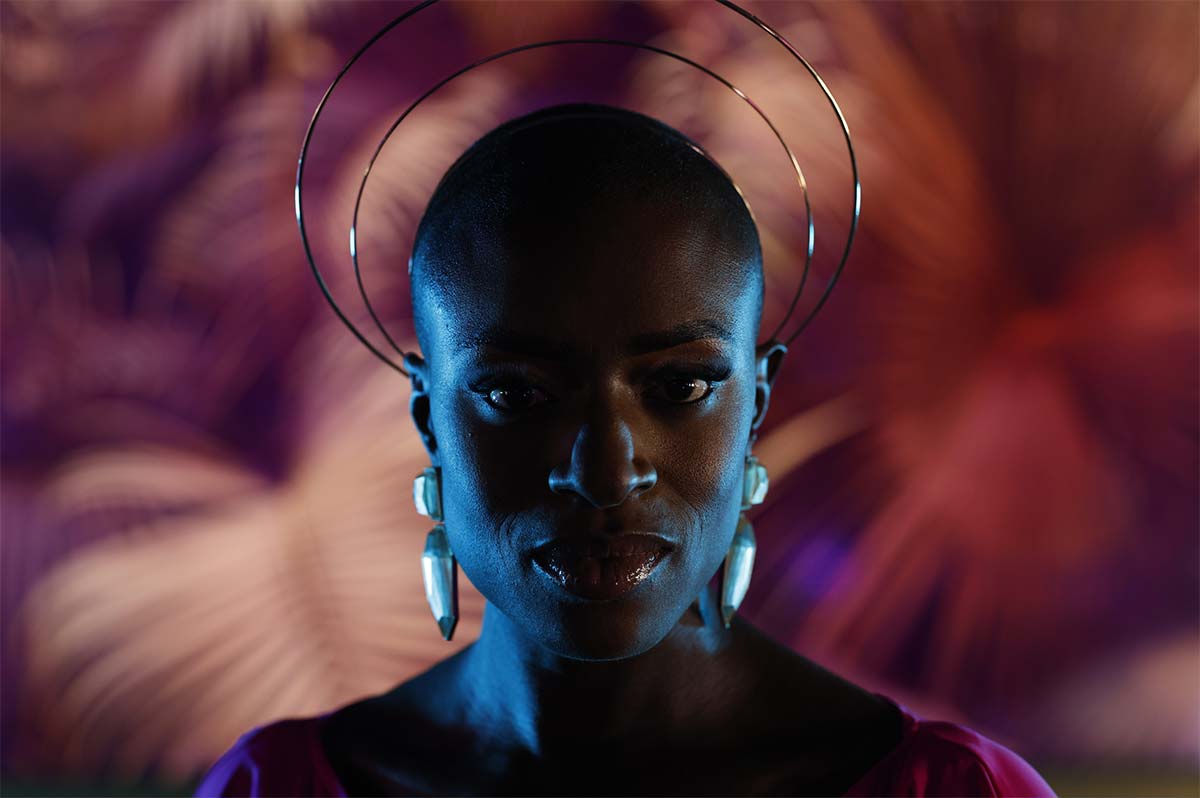
Now let’s bring in the edge lights. I’m watching because what you see is what you get. I see how the blue light is shaping the side of her face and I love it with the pink dress. And then believe it or not, the hue of that picture in the background is this purple-ish light. So everything’s kind of working together. So now I’m going to take a shot with just the edge lights on and you can see that.
Image With Edge Lights
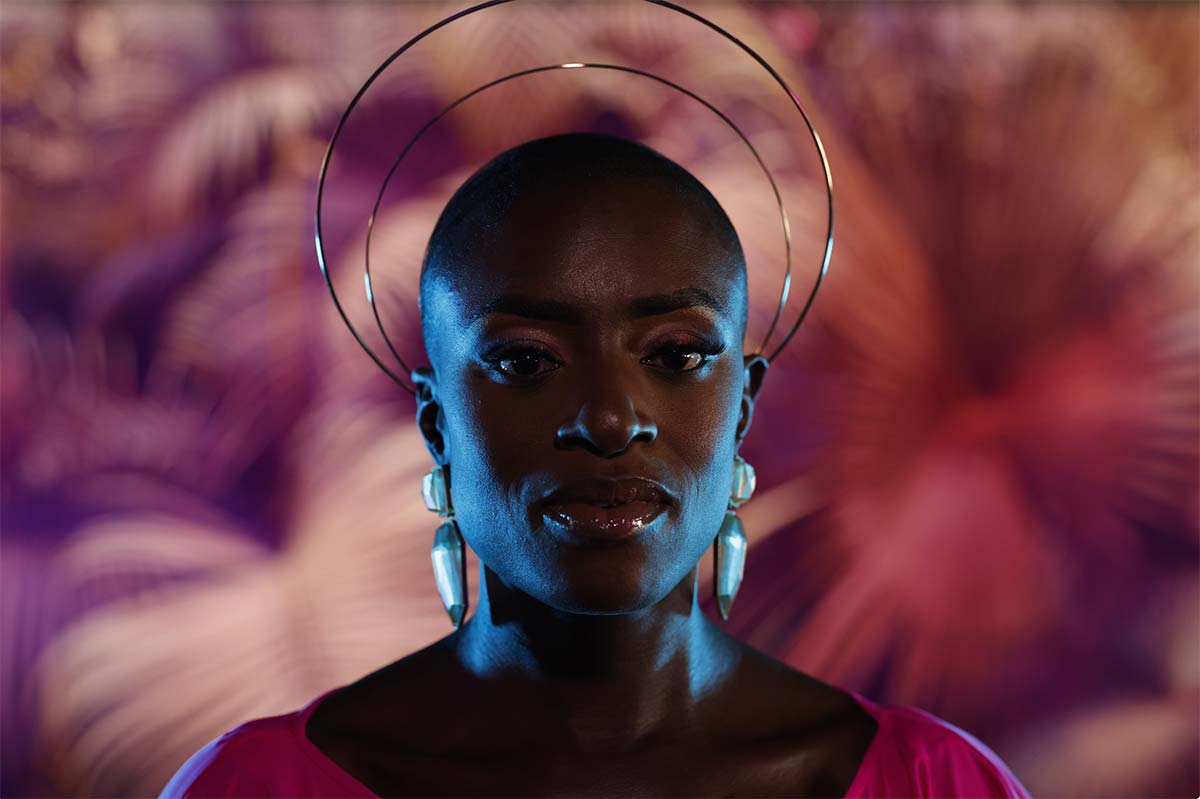
Now we’re going to bring in the main light and I have to watch this in the reflection. That light has to be higher so I’m not seeing it in the reflection. Remember: angle in is angle out. So if that light is at the same level as the camera lens, I’m going to see it in the reflection behind her. And so let’s see if I can get rid of that by turning the power down on that light to 50% power and having Brodie hold the light higher. The test shot is beautiful.
Image With Edge Lights & Front Light
Okay, so now I’ve got all the lights out of my reflection so I don’t have to edit any of that in post-production. Faren is going to cheat this way, with her face looking towards that light or towards me and that’ll give her some split light, maybe even Rembrandt on her face. So we’re all set to go.
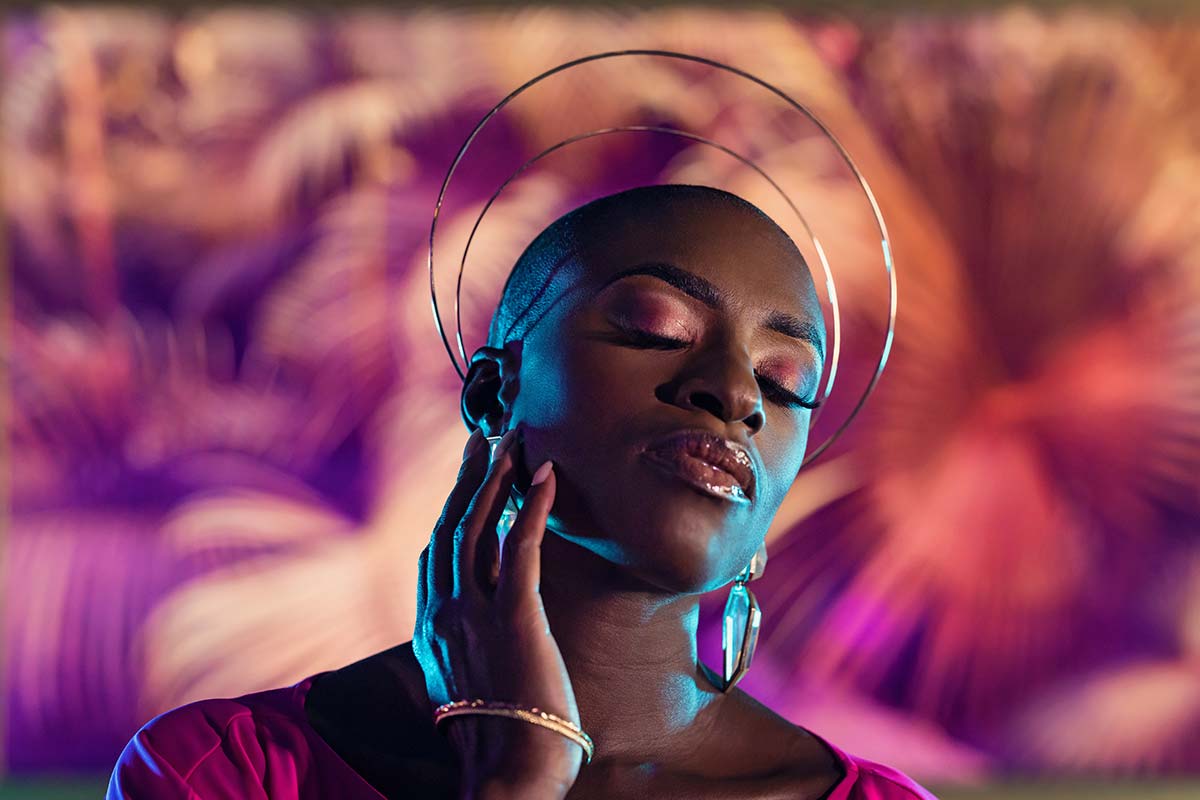
Faren is crushing it today. The look is incredible. Alissa put the look together from a stylists perspective. Chiquita did an incredible job with the hair and makeup. All their details are down below, so ollow these guys on Instagram. Let us know which one was your favorite. I think the last one was mine. What do you think? We’re going to go play some eight-ball right now. All right, peace out.

